Place into the pan: butter sweetener, all the spices, and banana preferably frozen and melted or mashed if fresh
Put it on the stove at medium heat and bring it to a boil.
Tip it out into the medium flat dish and put it aside to cool.
Whip the yolks till thicken
Add mixture to it whipping it together till combined
Add flour to the mixture with the spatula
Cover it with the glad wrap and put it into the fridge for 20 minutes
Heat up the oven on bake to 170 degrees Celcius
Pull out the mixture from the fridge, line your baking trays with baking paper
Shape your dough into 14 balls
Put it on the trays and send it into the oven
Bake it till golden
Cover with frosting
Frosting
Combine milk soft butter, sweetener, and protein powder together and whip it til it becomes one smooth mass.
Serve as you wishEnjoy
Bon Appetit
Nutrition Facts
14 servings per container
Serving size1 pryanik
Amount per serving
Calories196
% Daily Value*
Total Fat 7g9%
Saturated Fat 4g20%
Trans Fat 0g
Cholesterol 50mg17%
Sodium 136mg6%
Total Carbohydrate 49g17%
Dietary Fiber 1g4%
Total Sugars 3g
Includes 0g Added Sugars0%
Protein 7g
Potassium 78mg2%
Vitamin A5%
Vitamin C4%
Calcium11%
Iron3%
The Percent Daily Values are based on a 2,000 calorie diet, so your values may change depending on your calorie needs. The values here may not be 100% accurate because the recipes have not been professionally evaluated nor have they been evaluated by the U.S. FDA.
This Sugar-Free wholemeal Ruskiye Pryaniki recipe is a traditional Russian Christmas Puff cookies dessert loved by many. In Russia and Ukraine sold in every grocery store as it is very popular.
I have recreated this delicious goodness for you into an absolute healthy guiltless variant of it. It is warm from spices, beautifully sweet, and can be served as a dessert any day and time.
Once baked and cooled can be stored in an air-sealed jar or tin. Alternatively can be also refrigerated or even frozen.
Equipment: Use a strong blender like Ninja brand or something as powerful as that.
Directions:
Precut all the ingredients
Blend it all together with liquid ingredients and salt till smooth,
Store it in the fridge
Use it as a spice for marinades and cooking.
Nutrition Facts
65 servings per container
Serving size1 tbsp 15 ml
Amount per serving
Calories16
% Daily Value*
Total Fat 1g2%
Saturated Fat 0g0%
Trans Fat 0g
Cholesterol 0mg0%
Sodium 45mg2%
Total Carbohydrate 2g1%
Dietary Fiber 1g4%
Total Sugars 0g
Includes 0g Added Sugars0%
Protein 0.2g
Potassium 80mg2%
Vitamin C1%
Calcium1%
Iron13%
The Percent Daily Values are based on a 2,000 calorie diet, so your values may change depending on your calorie needs. The values here may not be 100% accurate because the recipes have not been professionally evaluated nor have they been evaluated by the U.S. FDA.
This Absolutely amazing spice is not only extremely healthy but it is also very delicious!
This universal spice can be used in sauces, general cooking, in all sorts of dips and marinades.
I call it “Immune System Booster spice” which is Great for the immune system, especially during the winter times. It is also great for your brain and your hormones, merely an allrounder offering various great health benefits period.
It is my ‘MUST HAVE’ paste that I always have in my fridge!
100 g – 1 slice, NZEALTH 7 Grain Crunch Bread or any other wholemeal/ wholegrain bread
76 g, Avocado or a quarter of the avocado medium size
36 g, Tomatoes or 2 cherry tomatoes
15 gram(s), Prosciutto
0.50 g, Parsley
Black pepper
Himalayan salt
Directions:
Toast your bread
Slice the avocado
Slice some tomatoes
Slightly grill a piece of prosciutto
Chop the parsley
Assemble the toast with avocado first followed by tomatoes black pepper, Himalayan salt, and prosciutto sprinkle it with parsley on the top
Serve as you wish
Enjoy
Bon Appetit
Nutrition Facts
1 servings per container
Serving size143 g
Amount per serving
Calories458
% Daily Value*
Total Fat 32g40%
Saturated Fat 4g20%
Trans Fat 0g
Cholesterol 11mg4%
Sodium 421mg19%
Total Carbohydrate 41g14%
Dietary Fiber 15g50%
Total Sugars 3g
Includes 0g Added Sugars0%
Protein 15g
Potassium 703mg16%
Vitamin A19%
Vitamin C24%
Calcium25%
Iron4%
The Percent Daily Values are based on a 2,000 calorie diet, so your values may change depending on your calorie needs. The values here may not be 100% accurate because the recipes have not been professionally evaluated nor have they been evaluated by the U.S. FDA.
Put egg, oatmeal, tvorog, stevia, salt, chopped banana into the bowl and combine well
Grease the waffle maker and heat it up
Once ready distribute with tablespoon mixture into the waffle slots
Close the lid and wait for 2 minutes
Open the lid and check if the waffles are golden
Take it out gently and serve it on the plate
Serve it with yogurt and drizzle with agave syrup
Serve with your favorite beverage
Bon Appetit
Nutrition Facts
1 servings per container
Serving size4 pieces
Amount per serving
Calories426
% Daily Value*
Total Fat 8g10%
Saturated Fat 2g10%
Trans Fat 0g
Cholesterol 185mg62%
Sodium 70mg4%
Total Carbohydrate 47g16%
Dietary Fiber 1g4%
Total Sugars 10g
Includes 0g Added Sugars0%
Protein 38g
Potassium 213mg5%
The Percent Daily Values are based on a 2,000 calorie diet, so your values may change depending on your calorie needs. The values here may not be 100% accurate because the recipes have not been professionally evaluated nor have they been evaluated by the U.S. FDA.
0.25 cup of rolled quinoa *** I buy 5-grain porridge by Marco and add 2 cups of those. You can look it up in your local stores and stock up on that.
0.5 cup of buckwheat
0.5 cup chopped almonds
Directions:
Sponge Layer
First, make a dough by adding warmed-up milk and water together, olive oil yeast, sourdough starter, and spices. Mix it with the spoon together and let it sit for 5 minutes.
Add all the grains, then flours and almonds and knead it with your hands.
Once combined, put it into the breadmaker on pizza regimen
When the cycle is finished, leave it in the breadmaker to rise fully, which will take you past the dough cycle of 40 minutes. I would say an hour and a half to the full rising.
Take it out kneed slightly forme a long loaf, make incisions upon the top of the bread.
Put it into the bread form sprinkle top of the bread with the flour. Cover with the lid. Put it into the cold oven, turn the oven on to 220 *C
Once the oven is heated, take the lid offBake for 15 minutes or till golden
Take it out of the oven cover it with a tea towel and let it cool completely.
Slice it and freeze it , or enjoy it fresh!
Bon Appetit
Nutrition Facts
17/18 servings per container
Serving size1 piece
Amount per serving
Calories244
% Daily Value*
Total Fat 10g13%
Saturated Fat 1g5%
Trans Fat 0g
Cholesterol 0mg0%
Sodium 158mg7%
Total Carbohydrate 30g10%
Dietary Fiber 4g14%
Total Sugars 1g
Includes 0g Added Sugars0%
Protein 8g
Potassium 0mg0%
Calcium20%
The Percent Daily Values are based on a 2,000 calorie diet, so your values may change depending on your calorie needs. The values here may not be 100% accurate because the recipes have not been professionally evaluated nor have they been evaluated by the U.S. FDA.
NZEALTH 7 grain loaf of bread will take you on the best adventure to Italy and back. I was inspired by our travel to Europe to make this beauty, and I reckon Italy will be the best country for all sorts of bread, pasta and good carbs.
I will never forget the supermarket experience when we were in Tuscany. The bread shelf was so big that it took me 20 minutes to choose it! The most important thing is that bread in Italy is all hard and crusty and mostly made as sourdough.
This bread will give you not only beautifully fibery nutritious value but also a marvellous nutty, sweet flavour that will make you come back for more.
You can enjoy this bread with a soup, as a sandwich, with almond butter, garlic butter, avocado, butter or any other way you can imagine! A little tip, cut it a bit thicker and freeze it. In this way, you will preserve this bread for longer. All you have to do is pull it out of the freezer, toast it on a ‘Frozen’ regime, and enjoy how you like it!
Enjoy
Bon Appetit
Please share your comments below
We really appreciate your Feedback
Remember to join our email list
For more natural health articles, new products and free giveaways
Frozen Cauliflower, Broccolli, snow peas, baby green beans, capsicums, carrot mix. Or you can use fresh vegetables.
Directions:
Curry
Slice the onions and fry them on the pan till slightly golden
Add the spices and tomato paste and mix well.
Add diced chicken and fry till cooked.
Add coconut cream mix well, bring it to a boil, reduce the heat keep stirring.
Add chopped parsley turn off the stove, and rest it under the lid.
Roasted Vegetables salad.
Take 2 frozen packs of viggie mix: broccoli, cauliflower, carrots, green beans, red pepper, onions and whole snow peas (optional)
Heat up the oven under the grill mode full tilt.
Put veggies onto the tray, sprinkle it with olive oil and salt, and put it into the oven.
Turn it twice as they turn golden, pull it out.
Serve as you wishEnjoy
Bon Appetit
Nutrition Facts
8 servings per container
Serving size1 serving
Amount per serving
Calories497
% Daily Value*
Total Fat 28g35%
Saturated Fat 21g105%
Trans Fat 0g
Cholesterol 0mg0%
Sodium 47mg3%
Total Carbohydrate 31g11%
Dietary Fiber 5g17%
Total Sugars 6g
Includes 0g Added Sugars0%
Protein 32g
Potassium 201mg5%
Vitamin A0%
Vitamin C3%
Calcium1%
Iron2%
The Percent Daily Values are based on a 2,000 calorie diet, so your values may change depending on your calorie needs. The values here may not be 100% accurate because the recipes have not been professionally evaluated nor have they been evaluated by the U.S. FDA.
This Sugar-Free wholesome Butter Chicken curry makes you travel virtually. The flavours of authentic spices and textures take you places where it belongs.
The sweetness of its taste and kick of the chilli, ginger and garlic gently warm up your mouth while giving you incredible sensations of wood fire nights.
Everything in this dish makes you feel happy, the colours, the warmth and the food varieties abundance. It’s a healthy and complete dish which nutritionally balanced and healthy.
Enjoy
Bon Appetit
Please share your comments below
We really appreciate your Feedback
Remember to join our email list
For more natural health articles, new products and free giveaways
4 Spice past – 2 tbsp ( or minced 8 cloves of garlic, 50 g of ginger, 1 chilli and 30 g of turmeric)
1 tsp 9 spice
2 tsp – Himalayan salt
Brown rice – 6 cups
Water 12 cups
Truffle butter – 2 tsp or porcini powder 2 tbsp
Coriander – 1 bunch
Directions:
Soak the rice in a big bowl, 6 cups to 12 cups of water, a drizzle of olive oil and some salt. Soak it in the morning, so it had about 6 hours in water by the time you cook dinner.
Preheat the oven to 180*C
Cut the venison
Divide it into 3 bunches, salt it and sprinkle it with 9 spice
Brown it 1 bunch at the time
Put it into the nonstick pot or casserole skillet.
Grate the carrots, divide it into two bunches, fry them until slightly golden with some salt and 4 spice paste.
Put carrot layer over the meat layer into the pot.
Slice the onions and fry it until golden with some salt.
Put the onion layer over the carrot layer into the pot.
Cover all the layers with the soaked rice with water, insert two garlic heads into the different sides of the pot so they are drowned.
Take the spoon and even up the top of the rice layer, forming a smooth surface.
Put truffle butter on the top. Heat the pot till it starts boiling.
Cover the pot with the lid and put it into the oven for an hour and 15 minutes.
Take the pot out of the oven and mix thoroughly.
Serve with your favorite salad.
Bon Appetit
Nutrition Facts
14 servings per container
Serving size1 - 250 ml bowl
Amount per serving
Calories311
% Daily Value*
Total Fat 5g7%
Saturated Fat 0g0%
Trans Fat 0g
Cholesterol 0mg0%
Sodium 703mg31%
Total Carbohydrate 19g7%
Dietary Fiber 2g7%
Total Sugars 2g
Includes 0g Added Sugars0%
Protein 45g
Potassium 740mg17%
Vitamin A258%
Vitamin C5%
Calcium17%
Iron1%
The Percent Daily Values are based on a 2,000 calorie diet, so your values may change depending on your calorie needs. The values here may not be 100% accurate because the recipes have not been professionally evaluated nor have they been evaluated by the U.S. FDA.
This dish is so delicious that it takes you to Russia’s most beautiful mountain picks with one bite. Originally plov comes from 4th BC where Alexander the Great asked his chefs to prepare the rice dish for his army cooking with everything they had in the food supplies. So his cooks used lamb or quail and a bit of chilli to cook that meal.
Furthermore, plov was endlessly upgraded by Turks and Persian until it reached Mongols and Uzbeks. Then and there, they stuck with lamb choice of protein while adding lots of carrot and garlic, which made it beautifully orange in colour.
Nevertheless, I have cooked this beautiful creation with so many types of proteins and found that with Venison it comes out to be pretty unique and healthy at the same time. The flavour of roasted garlic and carrots with a back end of the meat’s gaminess gives you a beautiful finish of grilled truffle.
Although adding the truffle was only an idea, but instead, I’ve used porcini mushrooms, but it still produced this beautiful truffly finish.
Serve as you wish
Enjoy
Bon Appetit
Please share your comments below
We really appreciate your Feedback
Remember to join our email list
For more natural health articles, new products and free giveaways
4 packets of coleslaw kits ( or 1600 g of cabbage cut) (4 large carrots grated)
1 big apple
1 big cucumber
8 garlic cloves
1 chilli
1/2 tsp of 9 spice
2 tbsp of Himalayan salt
1/2 cup of apple cider vinegar
2 tbsp of natvia (stevia mix)
4 tbsp of olive oil
1 bunch of coriander
Directions:
Unpack the coleslaw kits, take out the dressing as you won’t need it.
Put coleslaw into the big pot, the bigger the better.
Pour the vinegar over it and mix it.
Slice cucumber and apple, chope up the coriander and put it on the top of the coleslaw.
Chop up the chilli and garlic.
Put olive oil into the little pan, follow with chopped garlic, chilli, Himalayan salt, natvia and nine spice. Start frying till slightly golden.
Put the mixture over the vegetables. Start mixing, replicating the kneading, watch the video.
As soon as the juice is released, replace the content in a glass container and refrigerate it for 6-8 hours before you start eating it. Fermentation takes time, so the longer it ferments, the better it pickles.
Bon Appetit
Nutrition Facts
12 servings per container
Serving size1 serving 250 g
Amount per serving
Calories112
% Daily Value*
Total Fat 5g7%
Saturated Fat 1g5%
Trans Fat 0g
Cholesterol 1mg1%
Sodium 46mg2%
Total Carbohydrate 17g6%
Dietary Fiber 5g17%
Total Sugars 10g
Includes 0g Added Sugars0%
Protein 3g
Potassium 362mg8%
Vitamin A10%
Vitamin C87%
Calcium11%
Iron4%
The Percent Daily Values are based on a 2,000 calorie diet, so your values may change depending on your calorie needs. The values here may not be 100% accurate because the recipes have not been professionally evaluated nor have they been evaluated by the U.S. FDA.
This pickled salad is not only delicious it is also very good for your health! Easy to make and in about eight hours you can enjoy it with any meal you want. Take Coleslaw mix but chuck the dressing out of it as it’s ghastly and full of sugar. You can chop up the cabbage yourself if you have the time of course but then you also have to grate the carrots using a Japanese brand carrot grater. So what I do is I buy ready-made coleslaw mix and get rid of the dressing, easy as!
P.S. This fermented coleslaw can stay in your fridge for weeks. In fact, the longer it’s there the better it is for your health!
Enjoy
Bon Appetit
Please share your comments below
We really appreciate your Feedback
Remember to join our email list
For more natural health articles, new products and free giveaways
2 tbsp(s), Sourdough Starter ( or 2 tbl spoons of greek yoghurt)
550 ml of warm water
40 g, Natural Sweetener, 200g
4 tsp, Himalayan Salt
8 olives, we love Jalapeno Stuffed Olives
13 g (1.5 sachets), Instant Dry Yeast
350 g, Standard Flour
350 g, Wholemeal Flour
600 g, grated Mozarella
0.70 kg(s), chicken thighs (6 normal size or 8 small size)
12 cherry, Cherry tomatoes
1 medium-size sliced Red onion
200 g Mushrooms (optional)
Directions:
Take warm water, put it into the big bowl, and add yeast to it; vigorously stir it with a whisk till combined.
Aaadd sour though starter (yoghurt if you don’t have one), Himalayan salt, natvia, olive oil and flours, start mixing it with your hands until well combined.
Put some flour onto the bench and knead the dough with your hands until it forms the ball. If it sticks to your hands, add some more flour until smooth.
Put the dough into the breadmaker on the regime of pizza dough. All breadmakers are different, but it approximately takes 45-50 minutes to the completion.
Leave it in the breadmaking machine till the dough reaches the full height of the pan.
If you do not have a breadmaking machine, you can put the dough into the heat resistant glass bowl cover it with the foil, so it is fully cuddling the bowl tightly.
Put it into the oven on the bake mode at 50 degrees Celsius for 20 minutes.
Remove it from the oven and leave it on the bench top until fully risen. It takes about 40-50 minutes.
While your dough is in the making, marinade the chicken thighs with Himalayan salt and paper and grill it in the oven for 7 minutes on each side or until golden.
Once the dough has fully risen, cover the bench with the flour and kneed it gently 4-5 times form it into the ball, tucking it in down wise and cut it to 4 quarters. Cover it with a tea towel.
Chop your olives, tomatoes, basil, slice the onion, put it aside, divide grated mozzarella into four equal parts.
Chop up the mushrooms and dehydrate it under the grill with a drizzle of olive oil.
Roll one dough ball on the floured bench into the circle; the thickness should be about 3-5 mm, and transfer it gently onto the baking paper so half of it sits on paper and half is still on a floured bench.
Cover the dough with a pizza sauce, spread a bit of mozzarella, follow with sliced chicken distributing evenly upon the half of the dough, cover it with more mozzarella.
Add some tomatoes, onions, olives and basil, spreading it evenly through the half-circle.
Flip the empty half of the dough over the filled half and pinch the edges together gently.
Transfer the calzone onto the baking tray, leave it on the stove for 15 minutes.
Repeat with the other three parts of the dough, making them into three calzonesHeat the oven to 210 degrees Celsius on the fan bake.
Bake for 15 minutes or until golden Enjoy!
Bon Appetit
Nutrition Facts
8 servings per container
Serving size1/2 calzone
Amount per serving
Calories748
% Daily Value*
Total Fat 32g40%
Saturated Fat 14g70%
Trans Fat 0g
Cholesterol 121mg41%
Sodium 292mg13%
Total Carbohydrate 64g22%
Dietary Fiber 3g10%
Total Sugars 3g
Includes 0g Added Sugars0%
Protein 33g
Potassium 90mg2%
Vitamin A11%
Vitamin C5%
Calcium 7%
Iron0.2%
The Percent Daily Values are based on a 2,000 calorie diet, so your values may change depending on your calorie needs. The values here may not be 100% accurate because the recipes have not been professionally evaluated nor have they been evaluated by the U.S. FDA.
This Wholesome Calzone recipe is not only easy to make, but it is also very easy to improvise with just use your creativity. You can choose any filling you want, from savoury to sweet, you decide!
Because my authenticity comes from Ukraine, the bakery is big for me. I thoroughly enjoy making up all sorts of recipes from that category.
A little tip, once Calzone is baked, take it out of the oven and either leave it plain or brush it with some butter. Either or chuck it back to the oven for 5 minutes just before you eat it, as it will crisp it up a bit more!
Serve it with salad or on its own, it’s totally up to you! I enjoy it with rukola salad with some pear and toasted walnuts drizzled with some olive oil and balsamic, which definitely brings me back to the Italian coast!
Enjoy
Bon Appetit
Please share your comments below
We really appreciate your Feedback
Remember to join our email list
For more natural health articles, new products and free giveaways
Beat eggs and sweetener slowly for the first 3 minutes then slowly add the mixer speed and continue beating until triples in size. The mass must be very thick the total beating time is about 10-12 minutes.
Slowly sieve in the flour/ baking powder and soda while folding it with the spatula into the egg mass. Right in the end add the nuts.
Grease the baking tin, line the bottom with cooking paper, and put the mixture in.
Bake at bake fan 180°C for 25 minutes. Take the cake out of the oven and let it cool completely.
2 Meringue Layers
Preheat oven to 190°C , Line baking tray with baking paper
Take 8 eggs (room temperature, not refrigerated) Separate the egg whites. Make sure there is no yellow in them at all otherwise they will not be able to stiffen up.
Add half lemon squeezed and beat it until mass doubled add a pinch of cream tartar r beat it until reaching stiff highs, add sweetener slowly, beat mixture until shiny.
On the baking paper sheet put the cake tin you will be using for baking cake, and draw the circle
Put meringue mixture inside the circle leaving 1 cm not touching the edge.
@ 190°C at fan bake and bake it for 10 minutes then turn the temperature down to 100 °C and bake with the oven door open for 10 minutes, gently close the oven door and continue baking for 50 minutes.
Turn off the oven open the oven door slightly and leave the meringue to cool inside the oven.
Repeat the process with the second meringue cake
Chocolate Almond Mud Cake Layer
Preheat the oven to 190ºC. Grease a 20cm round springform tin and line the base with baking paper.
Cream the butter, sugar, and vanilla until light and fluffy, then beat in the egg yolks. Fold in the melted chocolate and ground almonds.
In another bowl beat the egg whites until soft peaks form. Gently fold the whites into the chocolate mixture. Keep folding until there are no white streaks then scoop into the prepared tin.
Bake for 20 minutes then reduce the heat to 150˚C for a further 15 minutes or until the cake is firm.
Leave in the tin to cool.
The Cream
Melt the butter
Beat the yolks and 1 tbsp of cold water till combined.
Keep beating while adding slowly melted butter over the steaming pot of water
Take 100 ml cold milk, natvia sweetener and combine it with protein powder blend it until smooth
Beat the milky mass with the yolk mass upon the steaming pot to double in size Add a pinch of salt Beat it until almost hot and thick
Cover with glad wrap upon the surface of the mass Leave to cool
Chocolate Ganache
Melt the chocolate in a bowl over a pan of simmering water.
Warm the cream in a pan until it just begins to steam.
Stir the cream into the melted chocolate gradually
Stir in the butter in chunks.
Allow the ganache to sit at room temperature to firm up slightly stirring occasionally until needed.
Putting cake together
Cut the sponge in half horizontally.
Cut the Chocolate cake horizontally.
Cut both Meringue cakes in half horizontally.
Place one chocolate cake half into the cake serving platter, put some cream on it, and spread well.
Place one half of the meringue over a chocolate cake layer put some cream on it and spread well.
Place one sponge cake half over a c meringue cake layer, put some cream on it, and spread well.
Place one half of the meringue over a sponge cake layer put some cream on it and spread well.
Place one chocolate cake half on the top of the meringue layer, put some cream on it, and spread well.
Place one half of the meringue over a chocolate cake layer put some cream on it and spread well.
Place one sponge cake half over a meringue cake layer, put some cream on it, and spread well.
Place one-half of the meringue over the sponge cake layer and put some cream on it and spread well.
Put chocolate ganache distributing it evenly over the whole cake and spread over the sides of the cake from all the angles using a spatula.
Serve with your favorite beverage
Bon Appetit
Nutrition Facts
18 servings per container
Serving size1 piece
Amount per serving
Calories408
% Daily Value*
Total Fat 32g40%
Saturated Fat 14g70%
Trans Fat 0g
Cholesterol 226mg76%
Sodium 227mg10%
Total Carbohydrate 11g4%
Dietary Fiber 3g10%
Total Sugars 2g
Includes 0g Added Sugars0%
Protein 14g
Potassium 151mg4%
Vitamin A17%
Vitamin C3%
Calcium41%
Iron10%
The Percent Daily Values are based on a 2,000 calorie diet, so your values may change depending on your calorie needs. The values here may not be 100% accurate because the recipes have not been professionally evaluated nor have they been evaluated by the U.S. FDA.
Sugar-Free Kyiv cake is an amazing cake that will blow all your expectations away, you will be so thrilled with flavour that it will make your memories going for a while.
I remember clearly one thing, once I’ve made it for my family, that was the only cake they will ask for period. even though it takes time to make one, every minute of it worth it no questions asked.
The ingredients are all wholesome and nutritious, the thing is that people associate cake with unhealthy food, well here at NZEALTH you will only find the healthy once. So roll your sleeves up and go for it, because it is going to be an experience to die for!
Enjoy
Bon Appetit
Please share your comments below
We really appreciate your Feedback
Remember to join our email list
For more natural health articles, new products and free giveaways
Mid Week Pick me up with Wholesome “Venetian Night” Lasagna!
When you have a big family and you work a lot, the week seems to be so busy and challenging that to get through one, we need one of those pick me up moments!
We found for us Wednesday night is one of those nights when we organize the Lasagna cooking event. It makes the week look more exciting, and things like cooking nice warm gathering meals are the key!
Not only it bring the whole family together for prepping the feast, but we also unintentionally reunite in joy, sharing laughs, tastes and conversations.
It makes the kitchen full of lovely interaction noisy and crowded, and the hectic action around the stove the smells of the food and giggles makes you feel like you are somewhere on holiday in Italy having the best time of your life!
It is almost somewhat therapeutical and a must-have during the week. To make you go harder to the end of the week and finish it on the high.
That’s how we came up with the name for our Lasagna: “Venitian Night” hence every time we have it, we get all together and have a fantastic night!
2 scoops – 27grams, Naturally Slim Protein Powder Vanilla Bean
15 g, Natural Greek Yoghurt
15 g, Unsalted butter
15 g, Natvia sweetener
8 walnut halves
Directions:
Preheat the oven to 180 °C
Take flour, spices and baking soda and mix them together
Grate the carrot and apple
Chop up the banana and the walnuts
Beat soft butter eggs and sweetener until doubled in volume
Combine all the ingredients together with the spatula until well mixed
Grease baking tin with butter or oil and fill it with the mixture
Bake for 35-40 minutes, let it cool completely
Frosting
Put soft butter, yoghurt, protein powder and sweetener into the bowl and beat it with the mixer until it is nice and smooth
Take walnuts put it onto the pan and toast it on the slow heat until golden
Transfer toasted nuts to the chopping board and chop it nice and fine
Distribute icing nice and even all over the cake, sprinkle walnuts on the top of the cake
Serve with tea or coffee on its own or with a dash of Greek yoghurt
Bon Appetit
Nutrition Facts
12 servings per container
Serving size1 piece
Amount per serving
Calories216
% Daily Value*
Total Fat 15g19%
Saturated Fat 9g45%
Trans Fat 0g
Cholesterol 27mg9%
Sodium 103mg5%
Total Carbohydrate 17g6%
Dietary Fiber 2g7%
Total Sugars 6g
Includes 0g Added Sugars0%
Protein 4g
Potassium 176mg4%
Vitamin A148%
Vitamin C4%
Calcium16%
Iron 4%
The Percent Daily Values are based on a 2,000 calorie diet, so your values may change depending on your calorie needs. The values here may not be 100% accurate because the recipes have not been professionally evaluated nor have they been evaluated by the U.S. FDA.
The Sugarfree Carrot Cake recipe is actually very easy to make as no major rules apply while preparing it to the baking!
This carrot cake is a bit different from the others not only because we are not using sugar in this recipe but also because we are replacing all the dry fruit – sultanas dates, figs and apricots with real fruit such as banana and apple. Please note, you could use other seasonal fruit which are mangos, apricots, peaches or even pears – no rules apply!
Use your creativity, to be honest with you this cake is going to taste very good with any fruit and it is still going to keep the title of being a carrot cake for as long as the ‘Carrot is in the cake!
This cake’s texture and the warmth of the flavours are so comforting that you cannot stop eating!
You can add some yoghurt on the side or whipped cream if you wish and have it with your favourite tea or coffee!
100 g, Natvia Strawberry Jam, or any sugar-free strawberry jam
Sweet shortcrust pastry directions:
Cut butter into small pieces and let it sit at room temperature for 30 minutes
Add hagride flour and baking powder into a mixing bowl, and drop into the glass bowl with the diced butter
Rub the butter into the flour with your fingertips until it resembles coarse breadcrumbs.
Add ice-cold water and Sweetener and salt to the mix and kneed
Put some wholemeal flour onto the benchtop and knead the dough until nice and smooth
Wrap it up into the glad wrap and put it into the fridge for 60 minutes or overnight
Take the pastry out of the fridge for 1 hour before baking if it was in the fridge overnight
Roll the pastry into the circle and put it into the flat pie tin evening nicely
Hit up the oven to 180° C on bake or 160°C on fan bake once the oven is ready put the tin into the oven
The pastry will be shrinking so we advise take it out as you see it shrinking and spread it into the tin’s shape and put it back in.
You will have to do it twice or three times, make sure you fix shape each time.
Bake it until slightly golden and cool it for 30- 40 minutes and cool it completely.
Cheesecake Directions:
Keep the Oven going at 160°C (140°C fan-forced).
Place cream cheese, Natvia sweetener and sour cream into the electric mixer bowl and beat it until smooth.
Add eggs one at a time until well-incorporated add and vanilla essence and mix well.
Pour mixture over the shortcrust pastry base and bake for 45 minutes.
Turn oven off and leave the cheesecake to cool in the oven.
Cut each strawberry into 4 quarters
Warm-up strawberry jam in the microwave so it is slightly runny
Decorate cheesecake with blueberries and strawberries and distribute strawberry jam with the spoon evenly throughout the cake upon the berries.
Serve with whipped cream or on its own
Enjoy your dessert
Bon Appetit
Nutrition Facts
12 servings per container
Serving size1 Serving
Amount per serving
Calories293
% Daily Value*
Total Fat 21g27%
Saturated Fat 15g75%
Trans Fat 0g
Cholesterol 90mg30%
Sodium 317mg14%
Total Carbohydrate 18g6%
Dietary Fiber 1g4%
Total Sugars 4g
Includes 0g Added Sugars0%
Protein 7g
Potassium 78mg2%
Vitamin A40%
Vitamin C0%
Calcium26%
Iron0%
The Percent Daily Values are based on a 2,000 calorie diet, so your values may change depending on your calorie needs. The values here may not be 100% accurate because the recipes have not been professionally evaluated nor have they been evaluated by the U.S. FDA.
For 1.5 cups of black and 1.5 brown rice you will need six and a half cups of water with a pinch of salt, and 1 tsp of olive oil
Put it on to cook using brown rice mode
Slice chicken nice and thin
Chop up garlic, ginger, and chilli
Cut onion into halves and slice
Slice the capsicums long side
Slice carrot long side and dice it into long stripes
Cut broccoli
Take the tails of snow peas removing the seam threads from the sides
Mix together soy sauce, tamarind paste, fish sauce, sesame oil, paprika, himalayan salt, natvia and 9 spice
Put olive oil in the pan, add chopped up spices and lime leaves and fry for 2 minutes constantly turning and add dry and wet spices mixture to it and mix well.
Follow with the chicken and fry until golden, then put it aside.
In the Separate pan fry onions, once half cooked add, carrots frying for one minute add capsicums, turn a couple of times and then add this mixture to the cooked chicken.
Hit up the pan with the olive oil then put broccoli and snow peas sprinkle it with a bit of salt and then fry it on the pan for 2 minutes, put it under the grill into the oven for 2 minutes then take it out and let it rest
On the meanwhile pour coconut cream into the little pot and bring it to the boil then add it to the pan with chicken and veggies and mix well then follow with the broccoli and snow peas and mix again.
Squeeze lime over the curry, then quarter the halves of the limes and put it in, take curry off the stove and let it rest for 15 minutes.
Remove lime leaves out of the curry as they are not edible.
Serve and enjoy your lunch.
Bon Appetit!
Nutrition Facts
6 servings per container
Serving size1
Amount per serving
Calories567
% Daily Value*
Total Fat 34g43%
Saturated Fat 22g111%
Trans Fat 0g
Cholesterol 85mg29%
Sodium 574mg25%
Total Carbohydrate 40g14%
Dietary Fiber 5g17%
Total Sugars 7g
Includes 0g Added Sugars0%
Protein 28g
Potassium 347mg8%
Vitamin A214%
VItamin C84%
Calcium17%
Iron7%
The Percent Daily Values are based on a 2,000 calorie diet, so your values may change depending on your calorie needs. The values here may not be 100% accurate because the recipes have not been professionally evaluated nor have they been evaluated by the U.S. FDA.
T hai Chicken Curry “Ko Samui” is a dish bursting with flavour and easy to put together with a nice balance of sweet and sour flavours which Thai food is known for.
Sprinkle nuts on top to add crunch, especially peanuts to add more Thai flare.
Best served fresh but could be kept airtight in the fridge for up to 1 week as leftovers
Hit up the olive oil in the pan add chopped spices, truffle paste, 9 spice, salt and fry for 2 minutes
Cool it for 2 minutes
Cube butter and spin it in the blender with truffled spices until smooth.
Store it in the jar in the fridge
Enjoy
Bon Appetit
Nutrition Facts
25 servings per container
Serving size1 Serving
Amount per serving
Calories65
% Daily Value*
Total Fat 7g9%
Saturated Fat 5g25%
Trans Fat 0g
Cholesterol 0mg0%
Sodium 1mg1%
Total Carbohydrate 0g0%
Dietary Fiber 0g0%
Total Sugars 0g
Includes 0g Added Sugars0%
Protein 1g
Potassium 8mg1%
The Percent Daily Values are based on a 2,000 calorie diet, so your values may change depending on your calorie needs. The values here may not be 100% accurate because the recipes have not been professionally evaluated nor have they been evaluated by the U.S. FDA.
This Garlic Truffled butter condiment recipe is an absolute must in your fridge. You can use it on sandwiches, pittas, plain bread, boiled potatoes, roasted veggies and also add it to your steak sauces!
It is very easy to make and lasts for ages. all you have to do is make it once in a while.
We use this butter in so many ways, last time I’ve checked we were making it way too often as we go through it pretty quickly.
The ingredients are simple and preparations take next to nothing 10 minutes and it is in your possession.
Chop up red onion, garlic chillies and coriander separately and put it aside in the side
Hit up the olive oil in the pan and put red onions into it, mix well and let it fry for 2 minutes.
Follow with chopped ginger and half of the amount of garlic and chillies, mix well let it caramelize till slightly golden.
Add beef mince into the mixture gradually bit by bit mixing in between so the mince is evenly distributed into the mix.
Once you see beef mince is half-cooked add mashed beans, paprika and Chipolte peppers Sauce, mix well and put it into the oven on grill setting set it to the highest temperature and leave it there for 10 minutes.
Guacamole
Cut each avocado in half and take the pip out
Skin it and cut each half into six parts put it into the big bowl
Chop up the tomatoes and jalapenos put it into the bowl
Hit up the olive oil in a non-stick pan put the leftovers of garlic and chillis into it, mix well and fry it for one and half minutes until nice and soft
Add precooked garlic and chillis into the bowl, season with Himalayan salt and 9 spice
Take a potato masher and mash content in the bowl until avocados are crushed into the semi mashed texture, you should be able to see small pieces of avocado through the mixture.
Take a serving spoon, mix guacamole well so it is all combined,
Take a cucumber and slice it, lay it out upon the flat dish, salt it.
Open 2 packets of corn chips and empty it into a serving bowl
Put mince sauce into the serving bowl, do the same with guacamole
Serve and enjoy your dinner
Bon Appetit
Nutrition Facts
6 servings per container
Serving size1
Amount per serving
Calories652
% Daily Value*
Total Fat 36g45%
Saturated Fat 5g25%
Trans Fat 0g
Cholesterol 52mg18%
Sodium 1002mg44%
Total Carbohydrate 58g20%
Dietary Fiber 14g47%
Total Sugars 7g
Includes 0g Added Sugars0%
Protein 30g
Potassium 1305mg29%
Vitamin A43%
Vitamin C 13%
Iron16%
The Percent Daily Values are based on a 2,000 calorie diet, so your values may change depending on your calorie needs. The values here may not be 100% accurate because the recipes have not been professionally evaluated nor have they been evaluated by the U.S. FDA.
Nacho “Delish Crunch” recipe is an incredibly easy dish to cook. The ingredients are pretty simple to find especially in Avocado season as good creamy guacamole is the key to this indulgence.
The soft, creamy rich taste of the guacamole combined with the Neapolitan like mince sauce emboldened by spices is divine!
What’s amazing about this meal is that you have so many nutritional benefits brought all together. Satisfying and flavorful, you wish you could eat it all day!
Take a flat serving dish and lay burrata evenly around the dish
Cut each tomato into 8 parts
Lay cut tomatoes between burrata’s pieces nice and even
Cut red onion into half first and then slice thinly into half circles
Sprinkle red onion over the salad
Detach basil leaves of the basil brunches
Follow with basil leaves sticking it into the spaces between burrata and tomatoes
Sprinkle some Himalayan salt and 9 spice
Drizzle over with chilli infused olive oil and balsamic vinegar.
Pasta & Scallop Sauce
Put Scallops on the sieve and let it drain while you are making other preparations
Chop up nice and fine: garlic, 2 chilies, ginger, one brunch of basil and turmeric, keep skin on ginger and turmeric, just wash it.
Take a bowl and mix chopped spices with 1 tbsp of olive oil half of tbsp of 9 Spice, 1 tsp of Himalayan salt and 1 tsp of Natvia
Add scallops to the mixture and massage it with the marinade, leave it aside
Put full pot of water on the stove in the 8L Pot, add olive oil, 1 tbsp of salt and 2 tsp of Natvia, cover pot with the lid and bring it to the boil.
Half white onions and then slice each half nice and thin
Half capsicums and then slice each half nice and thin
Chop up the chili
Heat the pan with olive oil, add onions 1 tsp of 9 spice and some Himalayan salt and fry it until nice and soft going slightly golden
Add capsicums to it and chili, mix well let it fry on the low heat
Once capsicums nice and soft put the pan aside
Put pasta into the boiling water and mix it well so spaghetti is well separated. Cook it until spaghetti is slightly soft it is called Al Dente. Or if you like it softer then Al Dente keep it cooking to your texture preference.
Once happy with the texture throw past onto the Sieve and let it drain
Put pasta back into the pot, drizzle some chili infused olive oil upon it and shake it well, leave it aside with the lid on to keep it hot while we cook the scallops.
Heat up wide shallow pan with a drizzle of olive oil.
Put marinated scallops on the pan on the high heat and fry it for two minutes
Once scallops released the juice, sieve them out with a skimmer spoon into a flat dish
Add coconut cream to the same pan with a scallop juice and spices and mix it well. Keep mixing it until slightly thickened.
Add scallops and fried onions with peppers back into the sauce and mix well turn it off. Put Scallop sauce into the serving bowl
Serve and enjoy your dinner
Bon Appetit
Nutrition Facts
6 servings per container
Serving size1
Amount per serving
Calories782
% Daily Value*
Total Fat 32g40%
Saturated Fat 14g70%
Trans Fat 0g
Cholesterol 1mg1%
Sodium 675mg30%
Total Carbohydrate 91g31%
Dietary Fiber 19g64%
Total Sugars 18g
Includes 0g Added Sugars0%
Protein 32g
Potassium 263mg6%
Vitamin A29%
Vitamin C95%
Calcium11%
Iron21%
The Percent Daily Values are based on a 2,000 calorie diet, so your values may change depending on your calorie needs. The values here may not be 100% accurate because the recipes have not been professionally evaluated nor have they been evaluated by the U.S. FDA.
This Wholemeal Scallop Pasta recipe is made from fresh, flavorful ingredients. The sauce is creamy, however light in consistency. The sauce combined with the juicy Scallops is not too heavy on the tummy and will leave you satisfied. It’s a good treat to have, and will leave you satisfied. This dish is filling yet, filled with so many nutrients. We usually eat pasta on our cheat days once a week. That way we can eat, and feel guilty-free about it!
The ingredients are pretty simple to find especially in spring or summer.
In the separate bowl beat 50 g of soft butter, 2 yolks, one third 35g of Natvia portion, cinnamon and ginger until nice and fluffy
In the non-stick pot mash banana and add the rest of butter to it and 35 g of Natvia, put it on the stove low hit to melt stirring so it doesn’t burn.
Once melted, Add oats to the mix and keep mixing it so it is slightly golden, take it of the stove let it cool for 5-10 minutes.
On the meantime, In the separate bowl beat whites with squeeze of fresh lemon, once you see whites are forming add 35 g of Natvia to it keep beating till whites are nice and high
Beat in Cooked dough and wholemeal flour to the butter/yolk mixture until well combined
Fold in whites with spatula into the mixture so it formed into nice and thick dough.
Leave the dough to rest for 15 minutes
Take the dough and with tablespoon depart it to 24 even pieces and let it rest for 5 minutes. Roll each piece into a ball, you will have 24 little balls in total.
Take a tray and align it with backing paper
Put first 12 balls on it and flatten each with your fingers, if it sticks a little, dip your hand into the flour slightly
Put it into the oven in about 10 minutes or when the edges start to get golden, turn each cookie and bake it on another side leaving it in the oven for another 5 minutes. Watch it so it does not burn. The times may vary as all ovens are different.
Take cookies out of the oven and place them on the rack to harden while cooling
Repeat steps with other 12 lot of cookies.
Bon Appetit
Nutrition Facts
24 servings per container
Serving size1
Amount per serving
Calories76
% Daily Value*
Total Fat 4g5%
Saturated Fat 2g10%
Trans Fat 0g
Cholesterol 0mg0%
Sodium 1mg1%
Total Carbohydrate 8g3%
Dietary Fiber 1g4%
Total Sugars 2g
Includes 0g Added Sugars0%
Protein 2g
Potassium 81mg2%
Vitamin A0%
Vitamin C2%
Calcium0%
Iron0%
The Percent Daily Values are based on a 2,000 calorie diet, so your values may change depending on your calorie needs. The values here may not be 100% accurate because the recipes have not been professionally evaluated nor have they been evaluated by the U.S. FDA.
This Sugar Free Wholegrain Digestive Cookies is an easy cookie recipe that can satisfy many. The crunchy crackled surface reminds you of the earth in the late summer, softly golden, crispy and chewy in all its Guilt free goodness! Feeling peckish? Or in need of an energy boost? No problem! Just grab one of these cookies to go!
Whats even better is that these delicious cookies are low in calories, you can eat as many as you want!
The ingredients are pretty simple to find in any supermarket all year round.
Take a flat serving dish and lay burrata evenly around the dish
Cut each tomato into 8 parts
Lay cut tomatoes between burrata’s pieces nice and even
Cut red onion into half first and then slice thinly into half circles
Sprinkle red onion over the salad
Detach basil leaves of the basil brunches
Follow with basil leaves sticking it into the spaces between burrata and tomatoes
Sprinkle some Himalayan salt and 9 spice
Drizzle over with chilli infused olive oil and balsamic vinegar
Serve and enjoy your lunch
Bon Appetit
Nutrition Facts
2 servings per container
Serving size1
Amount per serving
Calories483
% Daily Value*
Total Fat 28g35%
Saturated Fat 9g45%
Trans Fat 0g
Cholesterol 0mg0%
Sodium 1535mg67%
Total Carbohydrate 44g15%
Dietary Fiber 7g24%
Total Sugars 30g
Includes 0g Added Sugars0%
Protein 17g
Potassium 1248mg28%
Vitamin A94%
Vitamin C100%
Iron3%
Calcium23%
The Percent Daily Values are based on a 2,000 calorie diet, so your values may change depending on your calorie needs. The values here may not be 100% accurate because the recipes have not been professionally evaluated nor have they been evaluated by the U.S. FDA.
Burrata Salad “Toscana” is a very simple recipe, easy to make, It is absolutely delicious and will satisfy many!
It’s made out of simple ingredients which are available at any super market. This salad is not only tasty, but it is extremely nutritious, rich in calcium, omega 3s, and protein.
The fresh tomatoes and the soft burrata combined with the sweetness of the Balsamic vinegar and pungency of olive oil is a match made in heaven, just one bite of this goodness will take you to a momentous adventure at Tuscany!
• 8 large eggs • 1 tbsp of Olive oil • 1 tsp of Himalayan Salt • 3 tbsp of vinegar • 8 Egg rings (no worries if you don’t have any) • 8 slices of Smoked Salmon • 8 Wholemeal/wholegrain English Muffin Splits
Hollandaise Sauce:
• 3 egg yolks • 1 tbsp. of cold water • 1 tbsp of apple cider vinegar of lemon juice • 1 tsp of English Mustard • 65 g of butter • 1 tsp of truffle butter • 0.5 tsp of 9 Spice or pinch of black pepper
Roman Grilled Vegetables:
• 300 g of colourful cherry tomatoes • 2 red capsicums • 2 chillies (if you like spicy, if not leave it out) • 8 garlic cloves • 1 red onion medium size • 1 white onion medium size • 1 handful of Fresh Rocket • Drizzle of infused olive oil • 2 tsp 9 Spice • 1 tsp Himalayan Salt
Directions:
Poached Eggs:
Put on the deep pan with water on the stove
Add tsp of Himalayan salt, 3 tbsp of white vinegar and drizzle of olive oil and stir it
Turn the hit on so water keeps hitting. **Start preparing your grilled veggies
Make sure you reduce the hit as soon as you see the steam, do not allow it to boil, just keep it steady hot.
Break each egg and Put each egg into a small cup or rosette
If you have egg circles, tip each egg into each circle slowly, from a low hight
If you don’t have egg rings, take a soft spatula and mix the water in the pan so it forms a loop, with another hand sink an egg from the cup into the loop, with two spatulas form egg white into the circle.
Do the same thing with every egg until all in. Please note, the water has to be very hot but not simmering or boiling, or white with spread everywhere
Constantly touch your eggs with the finger, to make sure they still soft not too firm, or it won’t’ be semi runny inside.
As soon as eggs ready, take them out one by one into the flat platter covered with 5 sheets of paper towel.
Roman Grilled Vegetables:
Wash the vegetable, half all the cherry tomatoes,
Slice the capsicums lengthwise so it looks like 1 cm stripes
Cut your chillies into 4 quarters lengthwise
Half each garlic clove
Cut onions into the quarter, then half it horizontally
Add 9 spice and salt and drizzle with olive oil
Put it into the oven under the ‘grill mode’ at 220° C for the first 10minutes
**while veggies are in the oven, move onto hollandaise sauce
Take the pan out, mix it well add some more olive oil if needed, put it back into the oven for another 7-10 minutes, butch it.
Take the pan out one more time, if veggies look soft and covered in thick veggie juice and golden, add some rocket to it toss it in the pan, mix it with the tongs spreading the rocket amongst the veggies, leave it to rest.
Hollandaise Sauce:
While your water for Poached eggs is hitting up and vegetables are slowly grilling, start making the sauce
Boil 2 cups of water in the pot
Put butter and truffle butter into the small pot for melting
In the stainless steel bowl combine 3 egg yolks, 1 tsp of mustard, 1.5 tbsp of cold water, 1 pinch of salt, 1 pinch of 9 spice or black pepper, 1 tbsp of apple cider vinegar or lemon juice (after trying bote we did stick with apple cider vinegar )
Whisk it vigorously until swollen in size
Put the bowl over the boiling pot of water and keep whisking until thickened and warmer than warm but cooler than hot.
The trick is you do not keep the bowl on the boiling pot all the time, you are 1 minute on, one minute of and so on until thickened. The thickness should be like yoghurt.
Assemble
Toast the wholegrain English muffin splits or two small pieces of bread
On the plate lay down toasties following by poached eggs, salmon topping it off with hollandaise sauce. Complete it with a spoon of grilled veggies on the side or how you like it.
Serve and enjoy your meal
Bon Appetit
Nutrition Facts
4 servings per container
Serving size1 Serving
Amount per serving
Calories661
% Daily Value*
Total Fat 43g54%
Saturated Fat 14g70%
Trans Fat 0g
Cholesterol 141mg47%
Sodium 381mg17%
Total Carbohydrate 38g13%
Dietary Fiber 6g20%
Total Sugars 8g
Includes 0g Added Sugars0%
Protein 28g
Potassium 322mg8%
Vitamin A39%
Vitamin C71%
Calcium10%
Iron3%
The Percent Daily Values are based on a 2,000 calorie diet, so your values may change depending on your calorie needs. The values here may not be 100% accurate because the recipes have not been professionally evaluated nor have they been evaluated by the U.S. FDA.
This Roman Eggs Benedict is our favourite lunch recipe which we’ve been mastering to the perfection for quite a while now.
First, it was just a challenge of how.. to make this hollandaise sauce to come out right, then when we’ve got a hang of it and started improvising to make it with different flavours, In the end, we all agreed that the ‘truffle flavour is the one!
Nevertheless, what could be better than the Eggs benedict made in your own kitchen! I must admit that this hollandaise sauce is extremely delicious and quite easy to make, we are giving away some tricks on how to make it perfect every time!
This is our Weekend special lunch meal which we are always looking forward to, it’s our cheat meal to die for and that’s our way to finish the week!
Here we have combined our Eggs benedict with the grilled veggies with exotic flavours to give you a little bit of Roman experience. It definitely does go well with the creaminess of the eggs and hollandaise sauce, it brings some spicy tomato and sweet peppery flavours into this dish curling it with a little more sophistication.
Even though it seems like a tricky dish to cook it is actually not if you organise everything prior to it. You can also equip yourself with a partner in crime to make this dish faster while having some fun!
Whisk softened butter and Natvia’ Sweetener till fluffy
Add 1 egg at the time continuing whisking
Put milk into the cup, heat it up in the microwave for 50 sec watching the overflow it has to come to the slight boil.
Add soda to the cup mixing together let it foam. Add it into the mixture
Mash bananas with a potato masher until soft
Add bananas to the mix
Add baking powder and flour to the mix and whisk together slowly until JUST combined
Grease the baking tin and cover bottom of it with baking paper or cover the whole baking tin with baking paper to avoid the hassle.
Put mixture into the tin and bake for 40 minutes
Check the colour of the cake is golden, poke it through the middle with the toothpick, and if free of cramps, it’s ready to come out
Take the cake out, let it cool completely ( little tip, we do use baking paper covering the whole tin so we could remove the cake straight after baking out of the tin for the purpose of cooling it faster)
Frosting:
Combine all the ingredients for the frosting in the deep bowl
Whisk it until creamy and thick If still not thick enough, add some more protein powder
Toast the walnuts
Chop them finely with the knife
Serve and enjoy your cake with a cup of coffee or tea
Bon Appetit
Nutrition Facts
12 servings per container
Serving size1 Serving
Amount per serving
Calories261
% Daily Value*
Total Fat 15g19%
Saturated Fat 8g40%
Trans Fat 0g
Cholesterol 64mg22%
Sodium 98mg5%
Total Carbohydrate 25g9%
Dietary Fiber 2g7%
Total Sugars 8g
Includes 0g Added Sugars0%
Protein 7g
Potassium 276mg6%
Vitamin A103%
Vitamin C5%
Calcium29%
The Percent Daily Values are based on a 2,000 calorie diet, so your values may change depending on your calorie needs. The values here may not be 100% accurate because the recipes have not been professionally evaluated nor have they been evaluated by the U.S. FDA.
This SugarFree Banana cake is so easy to make, it simply bakes for 40 minutes so you can have it ready in one-hour hands down if you have it without frosting on the top.
This scrumptious cake is also guilt-free due to its nutritional properties, not only it is sugar-free it is also wholemeal which instantly means- powered with essential enzymes for the smooth digestion!
It takes slightly longer with the frosting because the cake needs to cool down. To be honest, for me personally, I solely love this cake plain without frosting and I would have it with some Greek yoghurt on the side.
However, when it comes to my family and friends, they definitely enjoy it more with frosting on the top as Frosting gives this cake a little more sophistication and crunch if you decorate it with some nuts. So, it is totally up to you how you prefer it, play it to the occasion and try both versions of it! Who knows you may whip some cream or make sugarfree ice cream, on this occasion, you don’t need any frosting and could have it plain.
Alternatively, as I’ve mentioned before you may have it with Frosting and serve it without any sides, do what you think may suite you and have fun with it!
3 chilli ( if you like spicy, if not, either add 1 small chilli for its properties or leave it completely out)
2 big white onions
3 tbsp Olive oil
2 tbsp of 9 spice
1.5 tbsp of Himalayan salt (adjust amount if you need it)
1 tube of sugarfree tomato paste
2 tbsp of paprika powder
800 gm of pure Turkey mince, or any mince if you prefer ( it will be more calories if you choose beef mince)
1 cup of water
1 tbsp of porcini powder
4 steams of fresh Basil
2 tsp of dried flakes of onion
2 tsp of dried flakes of garlic
White Sauce
2.5 cups of Milk
2.5 tbsp of whole meal flour
30 g of butter
2 tbsp of olive oil
1 tsp of truffle butter
130 gm of Gouda cheese or mozzarella cheese
0.5 tsp of Himalayan salt
Pinch of nutmeg or allspice powder
Pinch of 9 spice (see the recipe in condiments section)
Salad
1 pack of Mescalin lettuce or rocket lettuce
1 pear
1 Orange
Hand full of Almonds or Walnuts if you prefer
2 tbsp of Balsamic
Half of medium size of red onion
2 drizzles of Chilli Infused Olive oil
2 drizzles of Balsamic
1 Pinch of Himalayan salt
1 Pinch of 9 spice
3 steams of balsamic chopped
40 gm of Parmesan
Directions:
Red Sauce
Chop up Garlic and chillies
Chop up the capsicums
Half onions then slice each half -thinly
Quarter big cherry tomatoes and half smaller once
Turn on the grill oven to the full heat
Turn on the other oven to the bake mode to 180 C, note, if you only have one oven heat up that oven on the grill mode full heat, then switch it to the bake mode 200°C when you finish with preparation of Red Sauce.
Heat up the olive oil in the non-stick pan and put in the chopped chillies and garlic, add 1 tblsp of 9 spice and a bit bigger than half tbsp of Himalayan salt, stir it all together and let it obtain more golden colour ( please note, you salt it to your preference if you wish)
Add sliced onions, mix well and leave it on the slow heat
Meanwhile onions are cooking heat up a smaller pan with olive oil, once heated add tomatoes into the pan followed by 2 tsp of dried onions and garlic flakes, 1 tblsp of Himalayan salt and 1 tblsp of 9 spice, mix well and leave it on the medium heat occasionally stirring. When softened slightly and released the juice add chopped capsicums and tomato paste in and mix well and leave it on the stove until capsicums softened then put the pan into the oven under the grill for 5 minutes or until softened and released more juice.
Keep mixing Onions occasionally until it softened than gradually add mince constantly stirring. Check on your Tomato/Capsicum mixture and take it out of the oven.
Once mince half cooked pour in tomatoes and capsicums sauce and mix well.
Add porcini powder and paprika powder and 1 cup of water and mix thoroughly.
Bring it to the boil then put this pan into the oven under the grill for 3 minutes or until slightly thickened and grilled. Check on it constantly taking it out and stirring.
White Sauce
Grate the cheese and put it aside
Heat up the pot with some olive oil and 30 g of butter on medium heat
Stir wholemeal flour into it, Himalayan salt, pinch of nutmeg or allspice and 9 spice and keep stirring for 2 minutes or until slightly golden
Slowly little by little stir in some milk constantly whisking so it doesn’t lump up.
Once all the milk is in keep stirring it until mass is thickened, then slowly introduce grated cheese and mix it to combine it all properly until it’s smooth constantly stirring
Take it of the heat when the sauce simmers but just before it stars boiling
Put mixture a side
***Please refer to the ‘step by step’ photos available below the recipe to help you to achieve great outcome of each stage of your meal prep so you don’t have to guess.
Assembling the Lasagne
Take a non-stick roasting pan or dish for baking, I personally use the roasting pan as it cooks beautifully by allowing sauces penetrate through the past without drying the pasta sheets
Take two ladles and put one into the mince sauce and another one into the white sauce
Into the roasting pan first put 2 ladles of mince sauce then 1 a ladle of white sauce distributing it evenly over mince sauce
Take the spatula and spread it lightly to even it up then place two sheet of lasagne upon the sauce side by side so the sheets touch and press it down gently (Please see the photos)
Take one ladle of mince sauce put it over one sheet and then fill the ladle again and place over second sheet of lasagne. Likewise, take one ladle of white sauce and empty one half upon one sheet then other half over the second sheet of lasagne
Repeat step 5 four more times until all 8 sheets are used
When you come to the last layer of Lasagne, cover generously evenly distributing the rest of mince sauce the follow with the rest of white sauce, even if it looks too much to put on, believe me, just plop it on to the last drop.
Put roasting dish into the oven, set the timer to 35 -40 minutes, depending on the oven, please refer to the photo.
Take it out of the oven, cover with the foil or the roasting pan’s lid and let it rest for 15 minutes.
Salad
Take lettuce and place them into the wide but shallow salad dish
Cut pear in half then quarters then remove the core
Slice the pear length wise and arrange it starting around the edge then arrange it through the middle placing slices circle wise
Peel the orange, cut it in half then slice it aligned to the core lines, then arrange every slice of orange between every slice of pear
Cut red onion in half slice one half very thinly, separate the layers the sprinkle it evenly upon whole entire salad
Take a carrot peeler and shave Parmigiana all over the salad evenly distributing as you go.
Chop the almonds or walnuts and sprinkle it all over the top of the salad
Follow with chopped up basil
Sprinkle some Himalayan salt and pinch of 9 spice
Generously drizzle with Chilli infused olive oil and Balsamic vinegar
Serve and enjoy your dinner
Bon Appetit
Nutrition Facts
8 servings per container
Serving size1 Serving
Amount per serving
Calories553
% Daily Value*
Total Fat 25g32%
Saturated Fat 7g35%
Trans Fat 0g
Cholesterol 28mg10%
Sodium 774mg34%
Total Carbohydrate 43g15%
Dietary Fiber 7g24%
Total Sugars 10g
Includes 0g Added Sugars0%
Protein 39g
Potassium 405mg9%
Vitamin A65%
Vitamin C20%
Calcium28%
Iron3%
The Percent Daily Values are based on a 2,000 calorie diet, so your values may change depending on your calorie needs. The values here may not be 100% accurate because the recipes have not been professionally evaluated nor have they been evaluated by the U.S. FDA.
Wholemeal Lasagna “Venetian Night” This Lasagna recipe is simply brilliant due to its nutritional properties, it is full of good vitamins, minerals and healthy lipids and proteins which are especially important for our brainpower and central nervous system.
It’s made out of wholesome and wholemeal ingredients powered by essential enzymes for healthy digestion which gives it so many pros that you don’t have to worry about calories or the amount of fat. and just enjoy it!
Even though this recipe takes time to make it is actually reasonably easy, just follow the steps and step-by-step photos and you will be away and done with it before you know it.
This hearty meal will take your mind to Venice with the first bite of it, the flavours, the textures the smell of fresh basil and Parmesan and crispy juice refreshing salad… Mmmmm..nothing can bit that!
As a bonus to all the cooking efforts, this recipe feeds 8 or so, if you have a family of 4 or less you can always freeze it dividing the rest to the 1 serving portions, or have leftovers for lunch the next day.
1 tsp of peppercorn mix (green, pink, white, black)
2 tsp Chilli flakes
1 tsp of Fenugreek seeds
1 tsp of yellow mustard seed
1 tsp of black mustard seed
1 tsp of coriander seed
1 brunch of rosemary, or few brunches of any other herbs (oregano, parsley, mint, thyme, sage, basil, tarragon) you pick to your preference.
Directions:
Take olive oil, all the listed spices and herbs
Fill the empty glass bottle with the dry spices first
Follow with fresh cayenne chilli, garlic, ginger, turmeric and lime or lemon.
Insert herb brunches
Fill bottle with olive oil to the top
Cover bottle with the cork and shake it
Store in the dark place for a week allowing the oil infusion process
Replace cork with the olive oil nozzle and use it on your salads, cook with it or serve it with nicely toasted sour dough and pickled olives.
Bon Appetit
Nutrition Facts
33 servings per container
Serving size1 tbsp
Amount per serving
Calories130
% Daily Value*
Total Fat 15g19%
Saturated Fat 2.1g11%
Trans Fat 0g
Cholesterol 0mg0%
Sodium 28mg2%
Total Carbohydrate 1g1%
Dietary Fiber 0g0%
Total Sugars 0.1g
Includes 0g Added Sugars0%
Protein 0.3g
Potassium 29mg1%
Choline<1%
Niacin1%
Vitamin A6%
Vitamin B62%
Vitamin E11%
Calcium1%
Iron2%
Valine1%
Tryptophan1%
Vitamin K9%
Oleic acid11%
The Percent Daily Values are based on a 2,000 calorie diet, so your values may change depending on your calorie needs. The values here may not be 100% accurate because the recipes have not been professionally evaluated nor have they been evaluated by the U.S. FDA.
Nine spice Infused Olive oil is an essential part of cooking and it’s a must at everybody’s pantry due to its countless health benefits!
We have decided to share it with you for the simple reason, Olive Oil carrying a wide array of Anti-Inflammatory Substances which reduce inflammation, oxidation, while improving cardiovascular health and balancing blood pressure.
Originally Extra Virgin Olive oil is a super food however, because we came up with the perfect health-tonic infusion for it, this made it into an extraordinary Super food which is also incredibly tasty!
When we make our Oil infusions, we do more than 5 bottles at the time, so we go crazy creative putting different herbs into each bottle. And just like that, couple of weeks later we have this beautiful infused Extra virgin olive oil with absolutely divine flavour and aroma, which can be used for cooking meals, on any salads, marinades ,with your favourite toasted sourdough and olives and even popcorn for the savoury lovers!
Beat the egg with sweetener together so it is all combined and fluffy
Combine all the dry ingredients: flour, cinnamon, all spice, salt and sultanas
Pour Milk and butter into the bread maker pan, follow with the dry ingredients mixture
Add dry yeast on the top of the dry ingredients
Close the bread maker lid and set it on the mode of ‘Dough Making’ it should show 1 hour and 30 minutes as a time for making it. Please note, all the bread makers are different and the time may vary, nevertheless take whatever is given and press start
In 15 minutes check the dough in the bread maker, make sure it doesn’t look sticky and wet if it does sprinkle some flour on the top while it’s knitting.
In about 15 minutes open the lid of the Bread maker and with the spatula shape the dough tightly into a rounder shape
Turn on the oven on bake 180°C
Once Bread maker biped. take the ready-made dough out of the pan and put it into the big dish and cover it with the tea towel, put it into the warm place for 20 minutes. I usually put it outside when it is sunny, or on the stove, while your oven is hot the stove will remain warm.
You will notice after 20 minutes that the dough has risen half size bigger. Lift the towel and take the dough out, cut off one-third of it, put it aside and knit the rest of the dough 4 times shaping it into the ball, return it to the dish covering it with the tea towel again.
Take the piece of the dough you just parted of and roll it into sausage, cut it into the 3 cm bits. Roll each bit between your palms into the little rolls.
Line the baking tray with the baking paper, put rolls onto the tray and leave it in the warm place to double in size.
Once all your rolls are doubled in size, cover it with mixed yolk and yoghourt for a nice finish.
start baking for about 20 minutes or until golden. Make sure your Oven is set on 180°C
While buns are in the oven prepare the frosting for the crosses, please see below how.
Once each lot is ready, take them out and cover them with the crosses drawing upon each bun.
and it is totally up to you, but we do cover them with a bit of soft butter brushing its tops, it gives some softness and creamy flavour to the buns. Cover it with a tea towel to keep it soft.
Frosting For Crosses :
Take all the ingredients, put it into the bowl and beat it until smooth.
Take a thin brush and brush it upon the bans forming crosses. Just make sure you cooled them because the frosting with not go upon hot buns, they have to be warm, not hot.
Enjoy your Guilt-free Hot Cross buns with some butter and hot cup of tea or coffee!
Bon Appetit
Nutrition Facts
1 bun servings per container
Serving size14
Amount per serving
Calories297
% Daily Value*
Total Fat 4g5%
Saturated Fat 2g10%
Trans Fat 0g
Cholesterol 10mg4%
Sodium 50mg3%
Total Carbohydrate 25g9%
Dietary Fiber 1g4%
Total Sugars 6g
Includes 0g Added Sugars0%
Protein 4g
Potassium 29mg1%
The Percent Daily Values are based on a 2,000 calorie diet, so your values may change depending on your calorie needs. The values here may not be 100% accurate because the recipes have not been professionally evaluated nor have they been evaluated by the U.S. FDA.
It is always quite special to have fresh homemade Hot cross buns on Easter Holiday!
To keep the traditions going we do make an effort to get the whole family around and make those delicious treats while gathering. We have decided to share guilt-free Hot Cross buns recipe with you, so you could try to make something sweet and actually healthy.
Sugarfree Hot Cross Buns recipe is reasonably easy to make and can be pleasing to many! Even though it takes more than 2 hours to get them ready, I can assure you, the time flies fast when you are having fun cooking with your family around!
These fluffy, delicious hot cross buns are much more scrumptious than your standard ones- What’s amazing about this sugar-free recipe is that you can stuff your face and still remain healthy!
Take one pita pocket and put it inside the grill for 30 seconds
Take it out and with food scissors or a very sharp small knife cut it along the edge to open up the pita pocket making a quarter length incision
Slice up the onions, tomatoes and cheese, chop up rocket salad and mix it all together
Slice cooked chicken
Take some light mayo and spread it upon both walls of pita inside
Line up bottom wall of the Pita pocket with cheese slices, follow it with some chicken and veggies mix you have just prepared and season it with 9 spice sprinkle.
Press pocket closed and place it into the hot grill press
Press it for about 2-3 minutes or until you see the cheese melting, turn pita clockwise press it for another 30 seconds, then take it out
Cut pita pocket into two halves
Serve with your favourite beverage.
Bon Appetit
Nutrition Facts
1 servings per container
Serving size1 Serving
Amount per serving
Calories484
% Daily Value*
Total Fat 19g24%
Saturated Fat 7g35%
Trans Fat 0g
Cholesterol 21mg8%
Sodium 807mg36%
Total Carbohydrate 40g14%
Dietary Fiber 1g4%
Total Sugars 3g
Includes 0g Added Sugars0%
Protein 39g
Potassium 172mg4%
The Percent Daily Values are based on a 2,000 calorie diet, so your values may change depending on your calorie needs. The values here may not be 100% accurate because the recipes have not been professionally evaluated nor have they been evaluated by the U.S. FDA.
This lunch is so easy to make, all you need is precooked chicken, few cherry tomatoes, some gouda slices, red onion and hand full of fresh rocket. If you don’t have grill press available, you can always tuck it into the hot oven on ‘grill function for a few minutes and you are done!
Simple ingredients, small to none of the effort in cooking and your lunch is served in no time!
If you are planning lunch for two, just double the ingredients and you are away!
Heat up a small pan with a drizzle of chilli-infused olive oil
Slice the onion and put it into the pan, turning occasionally until slightly golden.
Add watercress, salt and 9 spice, mixing it thoroughly until combined. Take it of the stove let it rest
In the separate olive oil greased pan Fry Halloumi and 2 eggs, please make sure you cook it on the medium to slow heat, as halloumi tend to burn quickly.
Flip the eggs, then flip the halloumi
Touch the eggs yolks, if you like it soft and runny remove them from the pan, if you like it firmer, keep it on for a bit.
As soon as halloumi is golden and swollen in size, remove them from the pan, cut each slice diagonally.
Toast the English muffin splits, cover it with the butter.
Assemble the Slopes: Put each egg upon each split, follow with caramelised onions and watercress, top it off with slices of halloumi. Please refer to the step by step photos.
Enjoy your meal
Bon Appetit
Nutrition Facts
1 servings per container
Serving size1 Serving
Amount per serving
Calories524
% Daily Value*
Total Fat 35g44%
Saturated Fat 13g65%
Trans Fat 0g
Cholesterol 338mg113%
Sodium 518mg23%
Total Carbohydrate 29g10%
Dietary Fiber 4g14%
Total Sugars 4g
Includes 0g Added Sugars0%
Protein 21g
Potassium 123mg3%
Vitamin A176%
Vitamin C5%
Calcium52%
Iron3%
The Percent Daily Values are based on a 2,000 calorie diet, so your values may change depending on your calorie needs. The values here may not be 100% accurate because the recipes have not been professionally evaluated nor have they been evaluated by the U.S. FDA.
This breakfast or lunch scrummy recipe is very easy to cook and not only it is made out of very simple ingredients it’s also under 20 minutes job done!
It will keep you fuller for longer, and even though it seems like a calorie expensive meal it is actually not if you have something smaller for lunch. So as long as your daily calories intake is intact you are totally fine with this breakfast!
For the individuals on intermittent fasting, it is no brainer a guilt-free fuel intake!
• 1 tablespoon, Oil – Olive • 2 tsp of “Eight Spice Sprinkle” • 1 tsp of Pink Himalayan Salt • 1 tsp of Oregano • 3 Medium sized Strips of Salmon, Raw (150gm Each) • 1 Lemon – cut to three thirds
Vegetables:
• 1 small Chilli • 3 cm sized piece of Ginger- peeled • 3 clove (3g), Garlic Clove- peeled • 1 medium, Organic Red Onion- peeled • 14 Baby Wild carrots- peeled • 2 Heads of Broccoli • 2 pinches of Himalayan Salt • 1 tbsp of Olive Oil • 1 oz of Goat Feta cheese
Directions:
Salmon:
Take a small bowl and fill it with 1 tbsp of olive oil, 1 tsp of Himalayan salt and 2 tsp of “Eight Spice Sprinkle” (Please see the recipe in “Sweet and Savoury Condiments”), mix well.
Rub your Salmon pieces with the marinate you’ve just prepared.
Leave it to marinate and on the meantime, start cooking your vegetables.
When your vegetables are in the oven, start frying Salmon.
Heat up the pan and put salmon –(skin down) onto it, reduce the heat and cook for 3 minutes on one side.
When you can see salmon is faded in colour half way up, turn it gently to another side and cook for another 3 minutes.
Take Salmon Out onto the serving dish.
Vegetables:
Heat up the oven to 240 °C on “Grill” or “Bake”
Take Broccoli and de-flower it so you’ve got the flowers nice and semi small. Put it into the ball.
Peel and wash carrots, ginger and garlic.
Chop up your ginger, chilli and garlic
Slice the onion
In big non-stick baking tray mix together red onion, garlic, chilli and ginger, drizzle it with some olive oil sprinkle it with 1 pinch of salt., massage it with your hands and put it into the oven for 5 minutes.
Turn it well using two wooden spoons and leave in the oven for another 5 mines or until slightly golden.
Add broccoli and carrots, mix thoroughly and leave it in the oven for 2 minutes; turn it well using two wooden spoons and leave it in the oven for another 2 minutes. Turn it again and leave it in the oven for 1 more minute, then take it out of the oven and replace vegetables into a serving dish.
Take goat feta cheese and with your fingers crumble it over the vegetables.
Assembly:
Serve salmon and vegetables together on the same dish with three thirds of fresh lemon on the side. Enjoy your dinner Bon Appetit ?
Nutrition Facts
3 servings per container
Serving size1 Serving
Amount per serving
Calories426
% Daily Value*
Total Fat 26g33%
Saturated Fat 7g35%
Trans Fat 0g
Cholesterol 83mg28%
Sodium 247mg11%
Total Carbohydrate 11g4%
Dietary Fiber 2g7%
Total Sugars 4g
Includes 0g Added Sugars0%
Protein 33g
Potassium 748mg17%
The Percent Daily Values are based on a 2,000 calorie diet, so your values may change depending on your calorie needs. The values here may not be 100% accurate because the recipes have not been professionally evaluated nor have they been evaluated by the U.S. FDA.
This Salmon With Grilled Vegetables Dinner recipe is very easy to prepare, it is also a good meal choice for people with low carbohydrate and keto diet preferences, yet it will feed 3 adults.
This dish is also great for pescatarians or people that trying to eat healthier.
It is quite a light meal perhaps for one of those nights when you need to unload while satisfying your taste buds with rich and beautiful flavours!
4 medium corn cobs + 2 pinches of Himalayan salt + 1 tsp of butter
1/3 of red onion- chopped
1/2 of telegraph cucumber- cubed
16 cherry tomatoes- cut to 4 quarters
1/2 red capsicum- chopped
2 handful of rocket lettuce- chopped
10 leaves of basil- chopped
4 skinless chicken breasts
1/3 cup Extra virgin Olive oil
1 tsp of pink Himalayan salt
1 tsp of “Eight Spice Sprinkle”
2 cups of Greek yogurt unsweetened
1 tsp of tahini butter
Pinch of Himalayan salt
2 pinches of paprika
1/2 lemon squeezed
Drizzle of chilly infused olive oil
Directions:
Chicken: Turn on your oven on grill. Take chicken breasts and slice each breast to three parts by the length of the breast so slices are long. In the little bowl combine olive oil, salt, and “Eight Spice Sprinkle “blend mix all together. Marinate chicken with prepared potion massaging it into the breast slices. Sit it for 15 minutes. Heat non-stick pan, place 4 slices on the pan at once leaving some space between them, fry for 1 minutes or until golden then turn, wait for 1 minutes on another side and put the pan into the Grill oven for 1 minute. Take chicken out of the pan and put it onto the serving platter covering it with the foil. Repeat
Corn: Put Corn Cobs into wider the pot cover with cold water, put couple of pinches of salt, once brought to the boil, cover it with the lead and slow simmer for 15 minutes. Once time is up tip the water out of the pot, take piece of butter and rub corn slightly with it. Leave corn in the pot till the serving so it’s nice and warm.
Salad: Chop up all the vegetables (tomatoes, cucumber, capsicum, onion, basil, rocket lettuce) drizzle it with olive oil and squeeze half of the lemon over the salad, mix turning it gently few times.
Yogurt Dip: Combine together yogurt, tahini, lemon, salt and paprika, mix it thoroughly until even texture, Put it into the serving bowl, drizzle it over with chilly infused oil.
Serve and enjoy your dinner
Bon Appetit
Nutrition Facts
4 servings per container
Serving size1 Serving
Amount per serving
Calories417
% Daily Value*
Total Fat 18g23%
Saturated Fat 5g25%
Trans Fat 0g
Cholesterol 75mg25%
Sodium 563mg25%
Total Carbohydrate 25g9%
Dietary Fiber 4g14%
Total Sugars 11g
Includes 0g Added Sugars0%
Protein 37g
Potassium 497mg11%
Vitamin A50%
Vitamin C21%
Calcium14%
Iron5%
The Percent Daily Values are based on a 2,000 calorie diet, so your values may change depending on your calorie needs. The values here may not be 100% accurate because the recipes have not been professionally evaluated nor have they been evaluated by the U.S. FDA.
Grilled Chicken “Persian Night” dinner Recipe is reasonably easy to make and it Feeds four. The flavours are all fresh zesty and very mediterranean and would satisfy some of the fussy once!
If you’ve got less than four people to feed no drama as you can always use the leftovers for lunch!
The ingredients are pretty simple to find especially in spring or summer.
0.5 tsp Natvia Sweetener or Maple syrup (*it will add 53 extra Calories if you decide use Maple instead as oposed to Natvia which zero calories)
Directions:
Chicken: In the little bowl combine olive oil, salt, and “Eight Spice Sprinkle” blend mix all together. Take whole chicken breasts and place it into the big bowl, marinate it with prepared potion massaging it into the breast. Sit it for 15 – 20 minutes. Heat up non-stick pan, place breasts onto the pan at once leaving some space between them, fry for 1 minute and reduce stove heat to the low continue frying on that side for another 2 minutes or until golden then turn. Wait for 2 minutes on another side and cover it with the lid. Fry it with the lid on for another 2-3 minutes or until golden then turn the stove off. Open the lid and cover breasts with the piece of foil so it’s all nice and cuddly, cover back with the lid. Let it sit foiled under the lid covered for 7 minutes. Take chicken out of the pan and put it onto the Chopping board.
Bacon: Place 2 Strips of Streaky Bacon onto the heated non-stick pan. Fry it on medium low heat on both sides until nice and golden. Take cooked bacon and place it on the doubled piece of paper towel to absorb the access of the fat.
Crotons: Take 2 slices of whole meal bread and put it into the toaster, bake it until nice and crispy, when popped up let it cool sitting in the toaster. Once cooled place it onto the chopping board and slice it into the 1 x 1 cm cubes.
Salad: Take a big bowl, wash Cos lettuces, slice it and put it into the bowl. Slice Cucumber into 2 halves then slice each half onto the thin slices, place it over cos lettuces. Slice cherry tomatoes into 4 quarters if bigger or onto the haves if smaller and place it into the bowl over cucumbers. Slice half of the red onion and separate it sprinkling it on the top of the salad. Slice chilly onto the thin slices add it to the salad. Slice chicken breast onto the thin slices put it over the vegetables. Chop up the bacon nice and small, sprinkle it over the chicken.
Cesar Dressing: Take mayonnaise and put it into the small blender cup. Add a juice from 1 squeezed lemon. Follow it with chopped dill, salt and sweetener and blend it till nice and smooth.
Mixing: Pour Cesar Dressing over the salad and mix it thoroughly until all well combined. Or you could mix salad without dressing and serve it to the table with croutons and parmesan cheese, do it by your preference.
Serving: Once salad is served into individual plates, Parmesan cheese and croutons can be tossed right over the top of each plate just before eating to your preference.
Bon Appetit
Nutrition Facts
2 servings per container
Serving size1 Serving
Amount per serving
Calories414
% Daily Value*
Total Fat 23g29%
Saturated Fat 6.1g31%
Trans Fat 0g
Cholesterol 48mg16%
Sodium 451mg20%
Total Carbohydrate 21g8%
Dietary Fiber 5g17%
Total Sugars 6g
Includes 0g Added Sugars0%
Protein 28g
Potassium 479mg11%
The Percent Daily Values are based on a 2,000 calorie diet, so your values may change depending on your calorie needs. The values here may not be 100% accurate because the recipes have not been professionally evaluated nor have they been evaluated by the U.S. FDA.
The “Caesar Salad” is the most famous salad of all times! The recipe itself has a lot of varieties but we decided keep it simple this time!
This recipe will never let you down, merely made out of simple and affordable ingredients available all year round.
The salad is easy and fun to make which in the end provides you with big plate of Fresh , crispy nutritious and scrummy food which would satisfy anyone.
100-gm, Roast Deli Lamb or Lamb Roast from the night before.
1 tsp Olive Oil
4 tbsp – Thai Chilli Sauce 1 serving (see the recipe in “Sweet & Savoury Condiments”)
Directions:
Rice:
Take Rice, wash it and put it into the pot.
For 1/2 measuring cup of rice you need 1 measuring cup of water
Put the pot onto the stove cover it with the lid and on a slow heat bring it to the boil.
Reduce heat even more to almost nothing and let it steam until all water evaporated
Turn the stove off and let it rest for 30 minutes under the lid.
Mix rice thoroughly *** If you have a rice cooker, just cook it on the regime of “brown rice” or if you don’t have “Brown rice” mode, add a little bit more water into the cooker 1 cup of water for 1/2 cup of Black rice and cook it on “White rice” regime.
Stir-fry:
Cut carrot into long thin strips or if you have stripe slicer for vegetables use that choosing medium size slicing insert.
Half red onion and slice it into a half circles, then separate half rings one from another
Cut one third of a capsicum and slice it into thin strips
Cut lamb into small cubes
Heat up the pan with some olive oil
Add diced onions, carrots and capsicum an fry until half cooked
Add chopped lamb and “Thai Chilli Sauce” and mix well
Take it of the heat and leave it aside.
Assemble:
In the bowl combine Wild rice and Stir-Fry
Mix well Serve
Enjoy your Lunch
Bon Appetit
Nutrition Facts
1 servings per container
Serving size1 Bowl
Amount per serving
Calories403
% Daily Value*
Total Fat 12g15%
Saturated Fat 4g20%
Trans Fat 0g
Cholesterol 0mg0%
Sodium 745mg33%
Total Carbohydrate 47g16%
Dietary Fiber 6g20%
Total Sugars 9g
Includes 0g Added Sugars0%
Protein 29g
Potassium 509mg12%
Vitamin A130%
Vitamin C22%
Calcium4%
Iron6%
The Percent Daily Values are based on a 2,000 calorie diet, so your values may change depending on your calorie needs. The values here may not be 100% accurate because the recipes have not been professionally evaluated nor have they been evaluated by the U.S. FDA.
Wild Rice “Extravaganza Bowl” recipe is reasonably easy to make, and the reason being it’s solely based on your “Leftover Feast” material.
Simply Plan it out, when you usually have “Thai Beef Salad” for dinner from the night before the recipe can be found in the Dinner Menu section.
Just use the leftover of wild rice, the beef and Sweet Chilli Sauce and add some veggies to it.
Little Tip:
When you are planning on using your “dinner” leftovers the next day, just make sure you cook a little extra the night before so you could benefit yourself with an upcoming lunch, it’s just merely planning, as simple as that!
*** You can replace Apricot seeds with some other nuts or seeds. The reason I use Apricot seeds is that they are very rich in powerful antioxidant compounds which makes them into a super-food.
Directions:
Chop up the Apple first nice and small.
Chop up the rest of the ingredients to semi fine texture and mix thoroughly using a fork.
Put the mixture into a glass jar or a glass container with sealing lid.
Refrigerate. You can add Fruit vinaigrette to your favourite breakfast meals such as porridge, cereal or simply have it with some Greek Yogurt.
BonAppetit
Nutrition Facts
16 servings per container
Serving size2 Tbl Sp/ 32 gm
Amount per serving
Calories70
% Daily Value*
Total Fat 1g2%
Saturated Fat 0g0%
Trans Fat 0g
Cholesterol 0mg0%
Sodium 1mg1%
Total Carbohydrate 14g5%
Dietary Fiber 2g7%
Total Sugars 11g
Includes 0g Added Sugars0%
Protein 1g
Potassium 89mg2%
Calcium4%%
Iron1%%
The Percent Daily Values are based on a 2,000 calorie diet, so your values may change depending on your calorie needs. The values here may not be 100% accurate because the recipes have not been professionally evaluated nor have they been evaluated by the U.S. FDA.
Crunchy Fruite Vinaigrette is a Meal preparation – condiment that can be in your fridge for weeks. The good thing is once you’ve done it, it can be very handy anytime you wanted a nice breakfast addition. It could be added to your porridge, Pikelets mixture, Greek Yogurt or even Carrot cake!
Vu’a la, have fun adding it to your breakfast meals, Snacks and Desserts!
Follow with Rocket, Onion, Gherkin, Tomatoes and Capsicum
Grade some Gouda cheese on the top of the vegetables
Sprinkle with some Himalayan salt and Pepper
Wrap it up in the envelop manner and press it in the grilling toaster for 1 minute horizontally
Turn wrap clock wise and leave it in the toaster for another minute
Cut wrap through the middle in an angle and serve with your favourite beverage
Bon Appetit
Nutrition Facts
1 servings per container
Serving size1 Wrap
Amount per serving
Calories393
% Daily Value*
Total Fat 19g24%
Saturated Fat 7g35%
Trans Fat 0g
Cholesterol 13mg5%
Sodium 374mg17%
Total Carbohydrate 22g8%
Dietary Fiber 6g20%
Total Sugars 25g
Includes 0g Added Sugars0%
Protein 33g
Potassium 76mg2%
Vitamin A6%
Vitamin C13%
Calcium7%
Iron0%
The Percent Daily Values are based on a 2,000 calorie diet, so your values may change depending on your calorie needs. The values here may not be 100% accurate because the recipes have not been professionally evaluated nor have they been evaluated by the U.S. FDA.
The Wholemeal “Cold Lamb Wrap” is one of those recipes that you usually make when you have lamb roast leftover. Since we are huge on using leftovers we don’t really mind cooking a bit extra of protein dishes at dinner time. Thus, one of the accessible ways to utilize the feast from the night before is to use it for your lunches or breakfasts if you like. It is right there at the length of your arms sitting in your fridge ready to go when you need it!
As a matter of fact, when you have those “Lamb Roast” nights, you most probably have salad leftovers as well and that’s when it is most convenient for you to fix it up into the wrap or a sandwich, all you have to do is just use it!
Simple lunch like that always can be “pack and Go ” option for busy individuals. The Hint is If some of you don’t have a Grill Toaster Press at home, it’s not a drama! Just prepare the wrap, fold it up and put it into the oven on “Grill” regime for a few minutes, and it will certainly do the job.
Take a container from the blender and feel it with listed spices
Screw on the lid and turn on blender on the blend mode, mill it for 60 seconds
Repeat 2 more times shaking it between each time
Put it into the spice jar
Enjoy with any meal, salads or marinades
Nutrition Facts
28 servings per container
Serving size2.86 g (1tsp)
Amount per serving
Calories9.6
% Daily Value*
Total Fat 0.4g1%
Saturated Fat 0g0%
Trans Fat 0g
Cholesterol 0mg0%
Sodium 17mg1%
Total Carbohydrate 1.5g1%
Dietary Fiber 0.7g3%
Total Sugars 0.1g
Includes 0g Added Sugars0%
Protein 0.5g
Potassium 32mg1%
Vitamin A4%
Vitamin B6 2%
Vitamin C<1%
Vitamin E1%
Vitamin K1%
Calcium1%
Choline (Folate)1.61 mcg <1%
Niacin 1%
Riboflavin1%
Thiamin1%
Copper, Cu3%
Iron, Fe3%
Magnesium, Mg2%
Manganese, Mn5%
Phosphorus, P2%
Selenium, Se3%
Zinc, Zn1%
The Percent Daily Values are based on a 2,000 calorie diet, so your values may change depending on your calorie needs. The values here may not be 100% accurate because the recipes have not been professionally evaluated nor have they been evaluated by the U.S. FDA.
The Nine Spice Sprinkle was designed by NZEALTH and the reason of bringing all those spices together came across as a therapeutic venture. We thought we will design a spice blend targeting health imbalances rather than taste buds, but when it came through as one sprinkle, surprisingly the flavour appeared not only great but absolutely tasty!
This spice blend is not only great for the immune system but also amazing for the day to day well-being maintenance.
It tastes great with everything: meats, poultry, fish, vegetables, grains, pastas raw salads and sandwiches. We use it in all our marinades, sauces and we cook with it all the time adding it to all our dishes, raw veges salads, fruit salads and even sandwiches!
Nine Spice is a ‘Win-Win’ spice all around, spice up your life and keep it interesting!
Take mayonnaise and spread it evenly upon two slices of the bread.
Layer first piece of the bread with some Ham; Sliced up cherry tomatoes; Chopped up rocket lettuces; Red onion halved rings separated; chopped basil leaves; drizzle it with balsamic vinegar; Follow with Slices of Gouda and cap it all up with a second piece of the bread.
Press it all together and put it into the grilling toaster.
Grill for 5 minutes, turn sandwich clockwise and grill for another minute.
Serve and enjoy with your favourite beverage
Bon Appetit
Nutrition Facts
1 servings per container
Serving size1 Sandwich ( 2 slices of bread)
Amount per serving
Calories456
% Daily Value*
Total Fat 13g17%
Saturated Fat 4g20%
Trans Fat 0g
Cholesterol 20mg7%
Sodium 2118mg93%
Total Carbohydrate 54g18%
Dietary Fiber 7g24%
Total Sugars 2g
Includes 0g Added Sugars0%
Protein 31g
Potassium 475mg11%
Vitamin A30%
Vitamin C12%
Calcium26%
Iron15%
The Percent Daily Values are based on a 2,000 calorie diet, so your values may change depending on your calorie needs. The values here may not be 100% accurate because the recipes have not been professionally evaluated nor have they been evaluated by the U.S. FDA.
Wholemeal Sourdough Grilled Sandwich recipe is very easy to make, you simply need two pieces of wholemeal sourdough, few slices of ham, and cheese, some veggies and greens, grill toaster and way you go.
Mind you, simple lunch like that is always can be “pack and Go ” option for busy individuals. Moreover, if some of you don’t have a Grill Toaster, not a dilemma, i am more than sure toaster alone will do! In that case toast your bread slices, assemble the sandwich and press it all together. If you still want your cheese melted, before you close your sandwich with a second slice of bread put it into the oven on “Grill” regime for 2 minutes or so and then press it with second slice of bread.
1 tbsp- Olive oils extra virgin organic by Spectrum
2 eggs- organic large (size 7) eggs
130 gm- Organic Wholemeal flour
130 gm- Fine Italian “00” flour or High-Grade White Flour or you can stick with wholemeal flour only.
1 tsp (no hip)- Baking soda
0.5 tsp Himalayan Salt
2 tbsp of Apple Cider Vinegar
10 gm- Organic Unsalted butter
2 tbsp- Healthy Sweetener erythritol & stevia blend Natvia blend or other brands
For Blinni’s Filling:
1 head, medium Cabbage
1 big Carrot
7 cloves of Fresh Raw Garlic
2 Medium, Red Onions
1 small chilli
1 container (140 gm) Tomato Paste
1 container (500 gm) Premium Beef Mince
1 big Capsicum, Red
1 tsp Himalayan Salt
1 tsp “Eight Spice Sprinkle”
1 tsp of Olive Oil
Directions:
For Wholemeal Blini:
Put together into the 1 litter blender or food processor milk, water, flour, olive oil, 2 eggs and blend it for 2 minutes or until the smooth texture achieved
In the cup mix baking soda and vinegar, wait for the chemical reaction to pass then add it to the mixture and blend for another minute or so.
Let mixture to rest for 15 minutes
Hit the crepes non-stick pan till you can see a slight smock rising.
Prepare a small bowl with some olive oil in it.
Dip a paper towel into the olive oil, squeeze an access back into the bowl so there is no dripping.
Wipe the pan with it oily paper towel before every crepe goes into it.
Lift the pan with one hand while with another hand filling the ladle with the mixture. Pour the mixture into the pan meanwhile rotating pan clockwise so mixture is evenly distributed on the bottom of the pan.
When edges of the crepe slightly golden flip it over by lifting the edge of the crepe with a thin spatula then pick it up with your fingers and turn to the other side.
In about 10-15 seconds remove crepe from the pan to the flat platter.
Cover crepe with melted butter using plain or silicone brush for baking
Repeat the routine (steps from 7 to till all mixture is fully used
Blinni’s Filling:
Chop up the cabbage so it’s nice and thinPeel and Chop up red onion, half it and slice it nice and thin.
Grate the carrot
Peel and chop garlic nice and small
Chop up the Chilli
In the big pan heat up the olive oil
Put into the pan garlic and chilli and mix well, wait till slightly golden
Follow with sliced onions, mix well and let it soften turning it occasionally
Follow with grated carrots, mix well.
Add the mince into the pan gradually separating bit by bit with your fingers
Season mixture with salt, “Eight Spice” and mix well.
When you see mice is half cooked add tomato paste constantly steering.
Add chopped cabbage partially turning it well with each portion and keep adding it until all in.
Mix well and turn it occasionally until cabbage is soft and cooked.
Turn the mixture off and let it cool naturally
Assembling:
Before you start rolling “Blinni Wraps”, heat up the oven to 220°C on Bake and Line up the baking tray with some baking paper so it’s completely covering the bottom of the tray.
Take pile of “Blinni” you just made
Take cooled Cabbage & Mince filling and start rolling wraps
On the top of the top 1st Crepe put 2 tbsp of the filling right into the centre of the circle
Flip first edge side of the crepe that facing you over the filling so the edge of the crepe just covered the filling
Follow with flipping over left edge side of the crepe then flip right edge side of the crepe so it looks like an open envelop
Roll the wrap forward to close the envelop and put it onto the flat baking tray covered with baking paper envelop edges facing bottom of the tray.
Repeat steps from 1 to 6 until all blini made into the wraps
Put baking tray with Blini wraps into the oven and bake for 7 minutes or until golden
Take it out of the oven and Serve.
You can serve it with a Side Salad or Simply with some Greek Yogurt
Enjoy your Dinner Bon Appetit ?
Nutrition Facts
6 servings per container
Serving size3 Rolls
Amount per serving
Calories479
% Daily Value*
Total Fat 19g24%
Saturated Fat 7g35%
Trans Fat 0g
Cholesterol 123mg41%
Sodium 278mg13%
Total Carbohydrate 51g17%
Dietary Fiber 9g30%
Total Sugars 13g
Includes 0g Added Sugars0%
Protein 33g
Potassium 758mg17%
Vitamin A78%
Vitamin C143%
Calcium56%
Iron10%
The Percent Daily Values are based on a 2,000 calorie diet, so your values may change depending on your calorie needs. The values here may not be 100% accurate because the recipes have not been professionally evaluated nor have they been evaluated by the U.S. FDA.
This Dinner recipe is not easy to make, but it is very possible and totally worth it! plus you will abtain some cooking skills you will never forget, and each time you make it you will become better and better at it!
Once in the while to surprise your family or friends and spoil them with this indulgence. Moreover, you can always eat leftovers the next day or even freeze those wraps for some lazy nights or quick lunches. Just wrap it up and put it into your freezer then when you need it pull it out of the freezer and leave it on the kitchen bench till the morning than in the morning put it into the oven for 5-7 minutes and you are sorted.
In the Little Bowl put together Olive oil, “eight Spice Sprinkle, Rosemary leaves taken of the steam and Himalayan Pink salt, mix well. If you’ve bought a whole piece of 3 ribbed steak, Cut Steak by the Rib Line. Rub Steaks with the spices potion you’ve just prepared. Leave it for 30 minutes.
Grill the steak on the barbecue to the medium rear of the finish you like. Leave it to rest for 10 minutes before serving. Make sure you start to cook your stake when you are half way through in cooking your roasted vegetables.
Vegetables Roast:
Heat up the oven to 240 °C on “Bake”
Take Cauliflower and de-flower it so you’ve got the flowers nice and semi small. Put it into the ball.
Peel and wash kumara, cut it into the cubes 0.5 cm x 0.5 cm
Chop up your ginger, chilli and garlic
Slice the onion
In big non-stick baking tray mix together red onion, garlic, chilly and ginger, drizzle it with some olive oil sprinkle it with 1 pinch of salt and put it into the oven for 5 minutes, mix it and leave in the oven for another 5 mines or until slightly golden.
Add cauliflower, mix thoroughly and leave it in the oven for 7 minutes; turn it well using two wooden spoons and leave it in the oven for 10 minutes. Turn it again and leave it in the oven until slightly golden, then take it out of the oven and leave it on the cooking top to cool.
Take cubed kumara and put it into the big non-stick baking tray, drizzle it with some olive oil sprinkle it with 1 pinch of salt and grind of black pepper, mix well massaging it through and then put it into the hot oven.
Turn kumara using two wooden spoons so it rotated evenly every 5 minutes until it’s nice and golden, then take it out of the oven.
“Au jus”
Please start cooking “Au jus” when your steak is cooked and resting. It should take you about 10 minutes to prepare the “Au jus”
In the non-stick frying pan heat some olive oil, add some wholemeal flour to it and steer constantly on low heat.
Add some truffle paste and Butter and steer vigorously. Add 1 ladle of beef stock and steer constantly.
Add some sundried Tomato & Olive paste, 2 pinches of Himalayan salt, 1 pinch of “Eight Spice Sprinkle”, 1 tsp of paprika mix quickly and add 1 ladle of beef stock and keep steering.
Keep adding a beef stock steering until all stock been used.
Add some blue cheese and keep steering, turn it off and leave it to rest. Put it into the serving sauce jug.
Assembling:
Slice the steaks and serve slices into the individual plates
Follow with roasted vegetables
Complete with Au jus drizzling it over the meat Enjoy your meal
Bon Appetit ?
Nutrition Facts
4 servings per container
Serving size1 Serving
Amount per serving
Calories426
% Daily Value*
Total Fat 20g25%
Saturated Fat 7g35%
Trans Fat 0g
Cholesterol 56mg19%
Sodium 2955mg129%
Total Carbohydrate 29g10%
Dietary Fiber 7g24%
Total Sugars 9g
Includes 0g Added Sugars0%
Protein 36g
Potassium 765mg17%
Vitamin A8%%
Vitamin C175%%
Calcium7%%
Iron20%%
The Percent Daily Values are based on a 2,000 calorie diet, so your values may change depending on your calorie needs. The values here may not be 100% accurate because the recipes have not been professionally evaluated nor have they been evaluated by the U.S. FDA.
This dinner recipe is reasonably easy to cook, the trick is to marinade the beef and let it soak for about 20-30 minutes, as soon as this done it is not a brainier to pull it off.
To grill the steak and prepare roasted vegetables with sauce will be easy to do if you follow the recipe steps, as simple as that!
You will enjoy that protein rich dish during one of those winter nights with your family or friends! If you’re expecting to feed more than 4 people, just double the ingredients and have some leftovers for lunch the next day!
Sourdough French baguette “Petit” size. If it’s a normal size baguette cut one third of it.
0.5 tbsp of Organic mayonnaise
80 gram of Shaved organic champagne ham
1 ring of Red onion raw
½ a handful of Rocket salad
3 thin slices of Gherkins
3 thin slices of “Dutch” Gouda Cheese (16 gm)
Directions:
Preheat a Grill toaster Press or an Oven on Grill mode.
Take a mini Baguette sandwich size which is 1/3 of a full-size baguette and cut it through the middle horizontally.
Take mayonnaise and spread it evenly each half of the baguette.
Layer the bottom part of the baguette with some Ham; Sliced Gherkins; Chopped up rocket lettuces; Red onion halved ring separated; Follow it with some Slices of Gouda.
Cap it all up with the second piece of a Baguette.
Press it all up together and put it into the grilling toaster.
If Grill press is not an option, push baguette right open and slide it into the oven till cheese melts.
Serve with sauce of you choice and enjoy it with your favourite beverage
Bon Appetit
Nutrition Facts
1 servings per container
Serving size1 Sandwich (1 Mini french baguette)
Amount per serving
Calories464
% Daily Value*
Total Fat 16g20%
Saturated Fat 6g30%
Trans Fat 0g
Cholesterol 17mg6%
Sodium 280mg13%
Total Carbohydrate 52g18%
Dietary Fiber 6g20%
Total Sugars 5g
Includes 0g Added Sugars0%
Protein 26g
Potassium 25mg1%
Vitamin A3%
Vitamin C2%
Calcium13%
Iron0%
The Percent Daily Values are based on a 2,000 calorie diet, so your values may change depending on your calorie needs. The values here may not be 100% accurate because the recipes have not been professionally evaluated nor have they been evaluated by the U.S. FDA.
French Grilled Sandwich recipe is very easy to make, you simply will need to buy French Mini Baguette cut it open and fill it with few slices of ham, few slices of a gherkin some rocket salad and nice dutch gouda, grill press it in the toaster and you done. You can also have it fresh and untoasted which is totally your personal preference!
Mind you, simple lunch like that is always can be “pack and Go ” option for busy people.
For the individuals that do like sandwiches grilled and you don’t have a Grill Toaster, not a problem at all. I am more than sure ordinary oven will do the trick!
So when you Baguette lined up with all the ingredients push it a bit more open and put it into the oven on “Grill” regime for a few minutes, when you see that cheese is melted pull it out of the oven and then press it together. If you like sauce on it, please do not hesitate, I personally love balsamic vinegar in mine!
Take Tvorog (Unsalted Cottage cheese) put it into a small bowl, add 2 pinches of Himalayan salt and 1 pinch of black pepper and mix it thoroughly with the fork until smooth.
Spread Cottage cheese evenly over two halves of the bagel.
Shred Smoked Salmon into small pieces with your hands or a fork.
Layer Salmon pieces evenly distributing over two halves of the bagel.
Sprinkle Capers over the top of the bagel haves with Salmon and follow with chopped dill or parsley.
Enjoy your Meal
BonAppetit
Nutrition Facts
1 servings per container
Serving size1 Bagel ( two halves)
Amount per serving
Calories398
% Daily Value*
Total Fat 15g19%
Saturated Fat 6g30%
Trans Fat 0g
Cholesterol 0mg0%
Sodium 1251mg55%
Total Carbohydrate 42g15%
Dietary Fiber 1g4%
Total Sugars 7g
Includes 0g Added Sugars0%
Protein 15g
Potassium 209mg5%
Vitamin A2%
The Percent Daily Values are based on a 2,000 calorie diet, so your values may change depending on your calorie needs. The values here may not be 100% accurate because the recipes have not been professionally evaluated nor have they been evaluated by the U.S. FDA.
This breakfast recipe is very easy to make, you simply have to take a bagel, some hot smoked salmon, capers, herbs, black pepper and cream cheese from your fridge.
To be honest I have always preferred “Fromage de Chèvre à Tartiner” or French Spreadable goat cheese to the cream cheese. Merely because it has this wonderful sophisticated gently melting in feel to it, yet it’s very natural and has no preservatives in it unlike any supermarket’s “Cream Cheese” – with all due respect.
In that said pick your bagel apart and toast it then cool it a bit, as you don’t want your “Fromage” or Cream Cheese to run. Once Cooled, dress it up in Fromage spread and layers of Hot smoked Salmon, Capers, Herbs and Spices.
Little Tip:
Eat it with a cup of Coffee or Tea, and look out of your window, have a moment with it… It may give you a Dreamer of the Sea like Experience!
Heat Non Stick Pan slightly grazing it with some Olive Oil
Slice Onion and put it into the heated pan
Follow with sliced Mushroom, Capsicum and Tomatoes, steer turning it over and over
Follow with Slices shaved champagne ham, turn it few times and toss, reduce heat to the minimum, take it of the sove.
In the Bowl whisk Eggs, pinch of Himalayan Salt and Milk without over-beating it.
Heat wide (32cm D) Non-Stick Pan slightly rub it with some Olive Oil
Pour Egg mixture distributing evenly all over the pan, as soon as you see the bottom is set but liquidie on the top take it of the stove, so it doesn’t overcook.
Take vegetables & Ham Filling and distribute it over the egg crepe so it’s nice and centred
Follow with grated Gouda and sprinkle it with pinch of “8 Spice” and chopped parsley
Put pan into the Grill for 30-40 seconds and take it out.
Gently put two small spatulas under the bottom edge of the omelette and flip the end of it into the middle of the pan, flip again and again so it looks like it’s folded. Please see Pictures below.
Slide Folded omelette of the pan to your plate. You can serve it with the drizzle of “Smoky Lava” Sauce.
You can serve it with the drizzle of “Smoky Lava” Sauce.
Enjoy your breakfast with Coffee or Tea
Bon Appetit ?
Nutrition Facts
1 servings per container
Serving size1 Omelette
Amount per serving
Calories391
% Daily Value*
Total Fat 27g34%
Saturated Fat 9g45%
Trans Fat 0g
Cholesterol 17mg6%
Sodium 288mg13%
Total Carbohydrate 9g3%
Dietary Fiber 2g7%
Total Sugars 5g
Includes 0g Added Sugars0%
Protein 29g
Potassium 271mg6%
Vitamin A41%
Vitamin C43%
Calcium49%
Iron 6%
The Percent Daily Values are based on a 2,000 calorie diet, so your values may change depending on your calorie needs. The values here may not be 100% accurate because the recipes have not been professionally evaluated nor have they been evaluated by the U.S. FDA.
This Omelette recipe is easy to make yet it is very delicious, nutritious and comforting meal which always will fill you up and keep you happy till lunch!
One note, if you’ve never folded omelette before don’t worry, all you have to do is relax your hands and make them work for you without stiffing them up. So with two of your hands you hold two separate silicon fine spatulas, and from both sides of one end of the omelette flick it once and then flick it again and you’ve got this pretty folded Omelette! If it rips a little not a drama, i’m telling you you are getting better at it every time!
2 hipped tbsp of Crunchy Almond Butter ( or any other nut butter) or if your almond butter is not crunchy, chop up 8 almonds and mix it before you put it on your toast. If you like your almond butter runny it’s up to you.
1 date “Medjool”
1 small Banana or 60g of banana in total
1 Wholegrain/ wholemeal toast 100 g or 2 small toasts 50 g each
Directions
Take whole grain bread and toast it. you have two options: either having 2 x 50 g each toast or 1 x 100 g toast. totally up to you.
Slice banana into the 0.7 mm rings, it will give you approximately 8 slices in total.
Half the date lengthwise into two halves and take the pit out. Then slice each half of the date lengthwise into 5 strips each.
Take toasted piece(s) bread and cover it (them) evenly with Crunchy Almond butter.
Assemble the towers in the following order:
Take toast(s) and cover it(them) with almond butter
Put banana slices upon the toast(s) looking like a flower or how you want it.
Follow with date’s strips placing them on the top nicely in a decorative manner.
Enjoy with your favourite Coffee or Tea
Bon Appetit
Nutrition Facts
1 servings per container
Serving size2 x 50g toasts/ 1 x 100g toast
Amount per serving
Calories443
% Daily Value*
Total Fat 25g32%
Saturated Fat 2g10%
Trans Fat 0g
Cholesterol 0mg0%
Sodium 2mg1%
Total Carbohydrate 48g16%
Dietary Fiber 10g34%
Total Sugars 19g
Includes 0g Added Sugars0%
Protein 14g
Potassium 1133mg25%
Vitamin A1%
Vitamin C7%
Calcium94%
Iron2%
The Percent Daily Values are based on a 2,000 calorie diet, so your values may change depending on your calorie needs. The values here may not be 100% accurate because the recipes have not been professionally evaluated nor have they been evaluated by the U.S. FDA.
This breakfast recipe is extremely easy to prepare, it’s a no-brainer! When you are in a rush and feel like a treat in the morning to power start your day, this recipe will do it for you!
It takes about 10 to 15 minutes make hands down! All you have to do is pull out all the listed ingredients from your fridge, employ the toaster an way you go.
Little Tip:
Any nut butter can be used in this recipe. Yet if you sprinkle it with some chopped mint it will bring some freshness to it, but it is always up to you, as you know your best!
• 2 cups of Black Rice (180 ml cup) • 4 cups of water
Steak:
• 4 Beef steak cuts, 125 gm each • 1 tsp of “Eight Spice Sprinkle” • 2 tbsp, Himalayan Pink Salt • 1 tsp olive oil • 2 tbsp, Rosemary, fresh de-leafed Sauce: • 2 Pickled capsicums • 3 cloves of Garlic • 1 division of ginger (3 cm cut) • 2 tbsp Fish sauce • 1 cup of Brag’s Aminoacid Soy sauce • 2 tbsp of coconut Aminoacid • 2 tbsp of Maple Syrup • 2 tbsp of Natvia (erythritol/ Stevia Sweetener blend) • ½ tsp Himalayan Salt • 1 tbsp Olive oil • 1 tsp of chilli flacks • ½ cup of water • ½ cup of beef stock • Rice Vinegar • ½ lemon • Half a bunch of fresh coriander
Salad:
• 1 Head of Cos Lettuce • 1 Hand full of Rocket salad • 1 red Capsicum • 1 big carrot • 1 big cucumber • 1 small red onion • 200 gm cherry tomatoes
Directions:
Rice:
Take Rice, wash it and put it into the pot.
For 2 measuring cups of rice you need 4 measuring cups of water
Put the pot onto the stove cover it with the lid and on a slow heat bring it to the boil.
Reduce heat even more to almost nothing and let it steam until all water evaporated
Turn the cooker off and let it rest for 30 minutes under the lid.
Mix rice thoroughly
*** If you have a rice cooker, just cook it on the regime of “brown rice” or if you don’t have “Brown rice” mode, add a little bit more water into the cooker 4,25 cups of water for 2 cups of Black rice and cook it on “White rice” regime.
Salad:
Cut carrot into long thin strips or if you have stripe slicer for vegetables use that choosing medium size slicing insert.
Cut Cucumber into long 7mm thick strips diagonally
Half the Cos lettuce head, cut the core out and slice it thinly.
Half red onion and slice it into a half circles, then separate half rings one from another
Half the capsicum and slice each half into thin strips
Cut cherry tomatoes into quarters.
Mix all those vegetable ingredients breaking it up with some rocket salad lettuces.
Sauce:
Chop up the garlic and ginger nice and fine
Chop up pickled capsicums
In the blender put together soy sauce, fish sauce, seseme oil, water, beef stock, maple syrup, coconut amino-acid, Himalayan salt, rice vinegar, natvia sweetener, chopped up pickled capsicum and blend together for 2 minutes.
Heat up the oil in the pot and fry garlic and ginger until slightly golden
Add chilli flakes and mix
Pour slowly mixture from the blender and mix
Let the mixture simmer constantly steering with a wooden spoon until start boiling.
Reduce the heat to the minimum and simmer until thickened occasional steering it.
Squeeze lemon into the mixture, follow with chopped up coriander, mix well, and turn it off.
Steak:
In the Little Bowl put together Olive oil, “eight Spice Sprinkle, Rosemary leaves taken of the steam and Himalayan Pink salt, mix well.
Rub Steaks with the spices potion you’ve just prepared. Leave it for 30 minutes. Grill the steak on the barbecue to the medium rear of the finish you like. Leave it to rest for 10 minutes before serving.
Slice Meat nice and thin and serve.
Assemble:
Serve on the individual plate distributing evenly meat, rice, salad and topping it up with nice and warm sauce.
Enjoy your meal
Bon Appetit ?
Nutrition Facts
4 servings per container
Serving size1 Serving
Amount per serving
Calories454
% Daily Value*
Total Fat 13g17%
Saturated Fat 3g15%
Trans Fat 0g
Cholesterol 93mg31%
Sodium 2958mg129%
Total Carbohydrate 43g15%
Dietary Fiber 4g14%
Total Sugars 11g
Includes 0g Added Sugars0%
Protein 45g
Potassium 438mg10%
Vitamin A59%%
Vitamin C137%%
Calcium7%%
Iron17%%
The Percent Daily Values are based on a 2,000 calorie diet, so your values may change depending on your calorie needs. The values here may not be 100% accurate because the recipes have not been professionally evaluated nor have they been evaluated by the U.S. FDA.
This Dinner recipe is reasonably easy to make and it is quite entertaining as well! You are a master of quite a few pieces in here: your Thai beef Sauce, your wild rice your salad and of course your grilled beef!
There is a little tip to it to make it even easier for you.
During the working week I usually put my rice on in the rice cooker and leave it on using the ‘delay’ regime setting so the timer is set for it being ready and cooked by the time we have dinner, something like 7 pm.
Likewise, I marinate beef in the morning before I leave for work, which allows all these beautiful spices to penetrate through making meat nice and soft. Then when I get home from work I put the sauce on and while it’s cooking along I prepare the salad and grill the meat. And Just like that, the rice is ready, the meat was marinated and ready for the barbecue and all you needed to do is get the salad and sauce sorted and grill your meat!
2 tbsp of “Crunchy Fruit Vinaigrette”45 or a fruit salad of your choice
Directions:
Take frozen berries and defrost them in the microwave or simply leave them out in the bowl while your porridge is getting cooked.
Take ½ cup of steel cut oats, 1 cup and a bit of water, 1 tsp of Natvia ( erythritol & Stevia sweetener blend), 1 pinch of Himalayan Salt and put it into a rice cooker. If you don’t have a rice cooker you can use Pressure cooker or multi cooker. Select “White Rice” Cooking mode click “Start”.
When the “cooker” beeped “Ready” open the lead and add some butter, mix thoroughly.
Extract porridge into the serving bowl.
Add 2 tbsp of “Crunchy Fruit Vinaigrette” and defrosted berries into the bowl
Serve with Milk on the side
*** If none of the listed above electric cookers are present soak steel cut oats over night in the small cooking pot and add sweetener and salt just before cooking. Slowly bring it to the boil, simmer on the very slow heat for 10 minutes, turn it off, put the lead on and keep it under the lead for 10 minutes. Add butter and mix thoroughly. Follow steps from 4-6.
Enjoy with your favourite Coffee or Tea
BonAppetit
Nutrition Facts
1 servings per container
Serving size1 Bowl
Amount per serving
Calories365
% Daily Value*
Total Fat 10g13%
Saturated Fat 5g25%
Trans Fat 0g
Cholesterol 5mg2%
Sodium 8mg1%
Total Carbohydrate 41g14%
Dietary Fiber 7g24%
Total Sugars 11g
Includes 0g Added Sugars0%
Protein 10g
Potassium 1mg1%
Vitamin A1%
Vitamin C0%
Calcium112%
Iron0%
The Percent Daily Values are based on a 2,000 calorie diet, so your values may change depending on your calorie needs. The values here may not be 100% accurate because the recipes have not been professionally evaluated nor have they been evaluated by the U.S. FDA.
This breakfast recipe is very easy to make, the only thing is that it takes time to cook the porridge. It takes about 15 to 20 minutes depending on the cooker of course.
You can surely cook it on the stove, or if you have a multi cooker or rice cooker it is just to your best convenience. In multi cookers it take no time leaves no mess, 15 minutes and you done, also you can put it into the cooker the night before with a delay start.
Just work out what time you need it ready by, press delay button, put in the number of hours you need it ready by – from the time onward and press start. In the morning you open the lid of the cooker and Vu’a la, serve adding some fruit salad and milk!
Sweetener (low calorie) erythritol & stevia blend like Natvia1.5 tbsp Himalayan pink salt – 1 pinch
Cottage cheese (big or small curd) -2 hipped tbsp
Free range egg, size extra large- 1 egg
Butter unsalted -2 gm-(for covering the pie tin & pie when it’s baked)
Blueberries fresh (or other berries) 50 gm- for serving
Greek strained yogurt 2 tbsp for serving
Directions:
Preheat the oven to 220 C° on “bake”
Mix all ingredients together, cover the small baking tin with some butter
Fill it with the mixture, bake for 20 minutes or until golden.
Take the pie out of the oven, cover it with a tiny bit of butter, let cool for 10 minutes. Serve with Greek yogurt and ½ cup (50 gm) of Blueberries or any other berries.
Enjoy with your favourite Coffee or Tea
Bon Appetit
Nutrition Facts
1 servings per container
Serving size1 Pie
Amount per serving
Calories364
% Daily Value*
Total Fat 13g17%
Saturated Fat 6.1g31%
Trans Fat 0g
Cholesterol 230mg77%
Sodium 731mg32%
Total Carbohydrate 40g14%
Dietary Fiber 4.2g15%
Total Sugars 9.4g
Includes 0g Added Sugars0%
Protein 26g
Potassium 119mg3%
Vitamin A10%
Vitamin C8%
Vitamin D10%
Calcium19%
Iron14%
The Percent Daily Values are based on a 2,000 calorie diet, so your values may change depending on your calorie needs. The values here may not be 100% accurate because the recipes have not been professionally evaluated nor have they been evaluated by the U.S. FDA.
This breakfast recipe is very easy to make, the only thing is that it takes time to bake it. It takes about 15 to 20 minutes depending on the oven of course. In the oven such as “Smeg” it takes 15 minutes at 220ºC to the beautiful golden colour. You can serve it not only with blueberries but any other berries or fruit. My daughter, for instance, loves it with some yogurt and thin slices of orange, there is no limit to it, try it how you like it the most!
Little Tip:
Prepare this Cottage Cheese Pie mixture from the night before, pack it into the food container and leave it overnight in the fridge. The next day all you have to do is put it into the greased with olive oil baking tin and throw it into the oven. And just in no time, you’ve got your scrummy breaky right in-front of you!
2 big chillies (optional, if you like chillies then use them)
0.5 head large Cabbage
6 tbsp, Olive Oil for cooking
30 gram, Himalayan Salt
5 Bay leaves
2 tbsp of 9 Spice (see the recipe in Platters & Condiments)
I Bunch of fresh coriander
1 Bunch of Spring onion
400 gram, Cherry Tomatoes
0.85 kg, Pork neck steaks
8 slice, Wholemeal Sourdough
8 pat (1-inch sq, 1/2 inch high), Butter
150 g, Sour Cream (1 tsp p/s)1L
Directions:
Take the meat and washed beetroots and put it into the pot of water
Add 1 tbl sp of Himalayan salt and bring it to the boil
Remove residue from the top of the stock and continue cooking until beetroots are cooked through, (30-40 minutes or so)
On the meantime: grate the carrots; slice the onions; chop up the garlic and chillies; cut kumara into the small cubes; chop up the cabbage nice and thin; slice the capsicums and chop up tomatoes.
Take out of the pot beetroot and meat, place it onto the flat platter and let it cool off.
Put sliced cabbage and cubed kumara into the simmering stock, add chicken broth to the pot, bring it to the boil, reduce the heat.
Chop up cooked pork and put it into the pot with cabbage and kumara, add the bay leaves, put the lid on.
Heat up the pan with the olive oil, add the onions, garlic and chillies, keep frying on the medium heat until softened, add 9 spice and salt
Add carrots and capsicums, and keep frying it until nice and soft
Grate cooked beetroots into the mix, following with chopped tomatoes, cook until tomatoes are softened.
Add fried vegetables to the pot of soup, mix it thoroughly, let it simmer for 10 minutes on the medium heat.
Try the flavour, add some salt if necessary, add more of the 9 spice if you feel that it needs some more spice, let it simmer for another 10 minutes
Turn it off, close the lid and let it rest for 20 minutes
Chop up fresh coriander and spring onions put it into the bowl.
Toast the bread, butter it.
Serve borscht in medium-sized bowls, topping it with some sour cream and greens ans toasted bread slices on the side.
Enjoy your dinner
Bon Appetit
Nutrition Facts
8 servings per container
Serving size1 Serving
Amount per serving
Calories509
% Daily Value*
Total Fat 23g29%
Saturated Fat 8g40%
Trans Fat 0g
Cholesterol 64mg22%
Sodium 604mg27%
Total Carbohydrate 22g8%
Dietary Fiber 9g30%
Total Sugars 11g
Includes 0g Added Sugars0%
Protein 31g
Potassium 283mg7%
Vitamin A277%
Vitamin C41%
Calcium53%
Iron13%
The Percent Daily Values are based on a 2,000 calorie diet, so your values may change depending on your calorie needs. The values here may not be 100% accurate because the recipes have not been professionally evaluated nor have they been evaluated by the U.S. FDA.
This recipe is time taking only because it requires some extra time for preparing the broth with the meat and cooked beetroots.
Usually, I would plan this dish during the winter on Friday night so we can have some leftovers the next day for lunch or a small dinner for two.
It may seem like a big deal while reading the recipe, but really it is not that complicated, you just have to get organized and allow 2 hours for cooking – all up. So once you’ve planned for it cooking comes naturally and just flows easy.
So pop your favourite move on and you won’t know how quickly time is passed while cooking this absolutely delicious recipe!
130 gm- Fine Italian “00” flour or High Grade White Flour
1 tsp (no hip)- Baking soda
2 tbsp of Apple Cider Vinegar
10 gm- Organic Unsalted butter
2 tbsp- Healthy Sweetener erythritol & stevia blend (Natvia blend) or other brands
“Blini’s Sweet Side”
50 gm- Frozen Mixed Berries or Fresh Berries
30 gm- Organic Unsweetened Greek Yogurt
1 tsp- Canadian Maple syrup
Directions:
Put together into the 1 litter blender or food processor milk, water, flour, olive oil, 2 eggs and blend it for 2 minutes or until the smooth texture achieved
In the cup mix baking soda and vinegar, wait for the chemical reaction to pass then add it to the mixture and blend for another minute or so.
Let mixture to rest for 15 minutes
Hit the crepes non-stick pan till you can see a slight smock rising.
Prepare a small bowl with some olive oil in it.
Dip a paper towel into the olive oil, squeeze an access back into the bowl so there is no dripping.
Wipe the pan with it oily paper towel before every crepe goes into it.
Lift the pan with one hand while with another hand filling the ladle with the mixture. Pour the mixture into the pan meanwhile rotating pan clockwise so mixture is evenly distributed on the bottom of the pan.
When edges of the crepe slightly golden flip it over by lifting the edge of the crepe with a thin spatula then pick it up with your fingers and turn to the other side.
In about 10-15 seconds remove crepe from the pan to the flat platter.
Cover crepe with melted butter using plain or silicone brush for baking
Repeat the routine (steps from 7 to 12 till all mixture is fully used ♦♦♦♦♦♦♦♦♦♦♦
You Can serve Blini with various things, you can make sweet and savory fillings or sides and wrap it up or simply serve it on the side.
You Can simply Serve it with “Blini’s Sweet Side”
Bon Appetit
NUTRITIONAL FACTS
Wholemeal Blini
Nutrition Facts
6 servings per container
Serving size3 Blinis
Amount per serving
Calories274
% Daily Value*
Total Fat 13g17%
Saturated Fat 4g20%
Trans Fat 0g
Cholesterol 72mg24%
Sodium 132mg6%
Total Carbohydrate 31g11%
Dietary Fiber 3g10%
Total Sugars 3g
Includes 0g Added Sugars0%
Protein 8g
Potassium 128mg3%
Vitamin A2%
Vitamin C0%
Calcium48%
Iron5%
The Percent Daily Values are based on a 2,000 calorie diet, so your values may change depending on your calorie needs. The values here may not be 100% accurate because the recipes have not been professionally evaluated nor have they been evaluated by the U.S. FDA.
NUTRITIONAL FACTS
Sweet Side
Nutrition Facts
1 servings per container
Serving size87
Amount per serving
Calories87
% Daily Value*
Total Fat 1g2%
Saturated Fat 0g0%
Trans Fat 0g
Cholesterol 0mg0%
Sodium 33mg2%
Total Carbohydrate 17g6%
Dietary Fiber 2g7%
Total Sugars 17g
Includes 0g Added Sugars0%
Protein 3g
Potassium 38mg1%
Vitamin A0%
Vitamin C0%
Calcium10%
Iron2%
The Percent Daily Values are based on a 2,000 calorie diet, so your values may change depending on your calorie needs. The values here may not be 100% accurate because the recipes have not been professionally evaluated nor have they been evaluated by the U.S. FDA.
Wholemeal Blini Recipe is one of those recipes that you usually make on Saturday Morning organising breakfast for a “family Plus”.
In other words, when you feel like making breakfast for your family and friends it’s a perfect recipe for it.
Moreover, with this recipe sometimes you have left over which you can freeze and use it some other morning. Call it “Monday Morning Easy Start” breakfast, when you don’t have to worry about cooking at all. In this case all you have to do is pull it out of the freezer the night before and leave it on kitchen bench for the night. In the Morning, warm it up in the microwave and add “the Sweet Side” to it and you just jump – started your engine for the day!
Take wholegrain English Muffin and cut it horizontally through the middle. All English muffins usually come pre-cut, but because they were packaged and pressed together for quite a while, they need to be separated with a butter knife.
Put it into the toaster. When nicely toasted take them out while still hot.
Take some “Garlic Truffle Butter” or any butter and spread it nice and even over hot toasted muffin splits.
In the small pan wiped with olive oiled paper towel fry an Egg on one side, then flip an egg to the other side until cooked or semi soft if you like.
Cut two Slices of Gouda Cheese.
Assemble in the following order:
Take one half of Buttered English Muffing split.
Put hot fried egg on the top of it.
Put two slices of Gouda Cheese on the top of the egg.
Follow with coriander.
Cap it all up with a second half of the English Muffin split.
Enjoy your Breakfast with your favourite beverage
Bon Appetit
Nutrition Facts
1 servings per container
Serving size1
Amount per serving
Calories298
% Daily Value*
Total Fat 15g19%
Saturated Fat 6g30%
Trans Fat 0g
Cholesterol 204mg68%
Sodium 361mg16%
Total Carbohydrate 23g8%
Dietary Fiber 3g10%
Total Sugars 2g
Includes 0g Added Sugars0%
Protein 15g
Potassium 81mg2%
Vitamin A11%
Calcium 9%
Iron5%
The Percent Daily Values are based on a 2,000 calorie diet, so your values may change depending on your calorie needs. The values here may not be 100% accurate because the recipes have not been professionally evaluated nor have they been evaluated by the U.S. FDA.
This breakfast recipe is easy to make with simple ingredients which would be always in your possession.
It takes about 15 minutes to make it and this is the best recipe choice if you are on the run and need a “Grab and Go” option.
Just throw an Egg on the pan, flip it over, toast your Whole Grain English Muffin, graise it with a bit of Truffled Garlic Butter follow with couple of slices of cheese, sprinkle of some fresh herbs and way you go!
Truffled Garlic Butter recipe is available under ” Platters & Condiments”
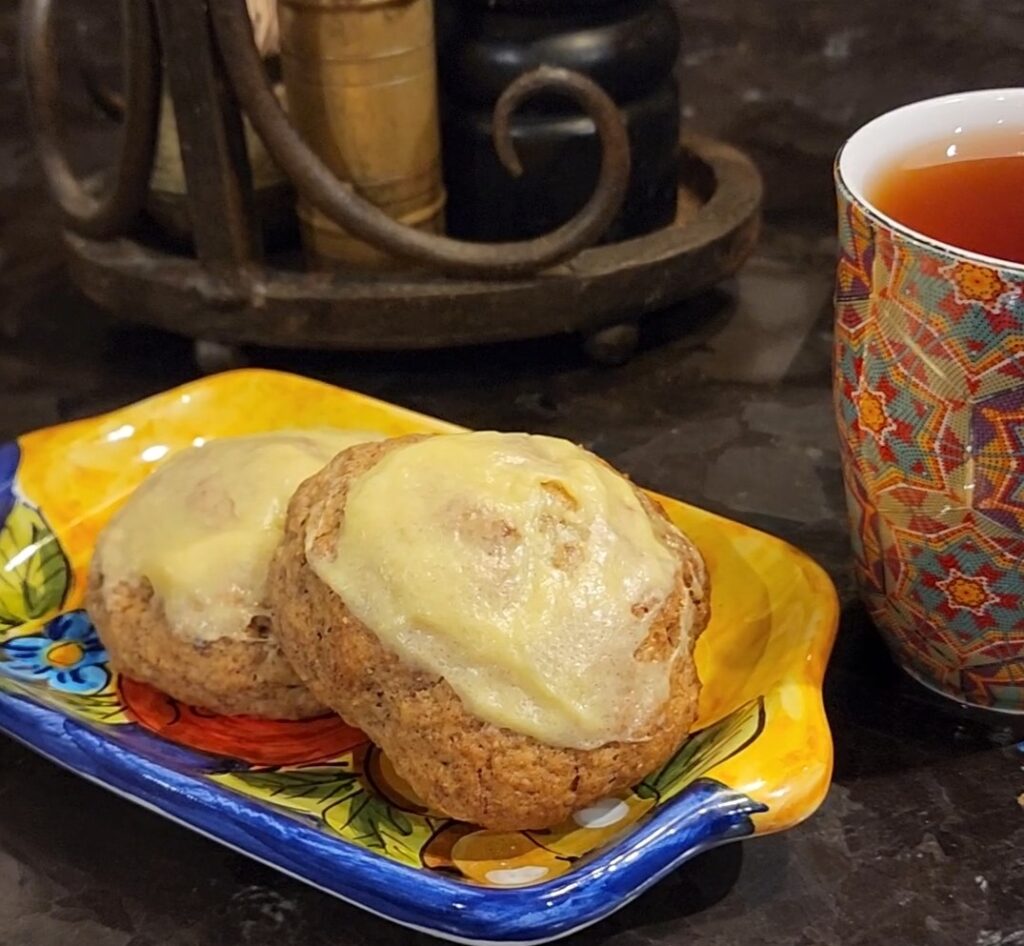


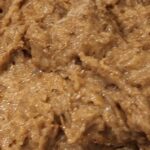


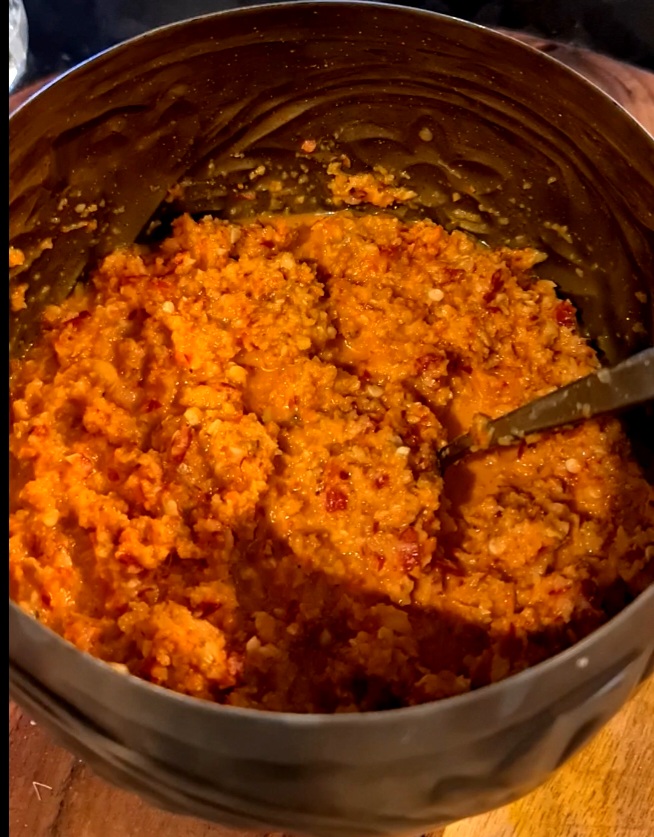

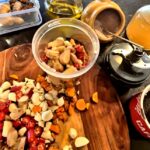

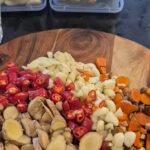
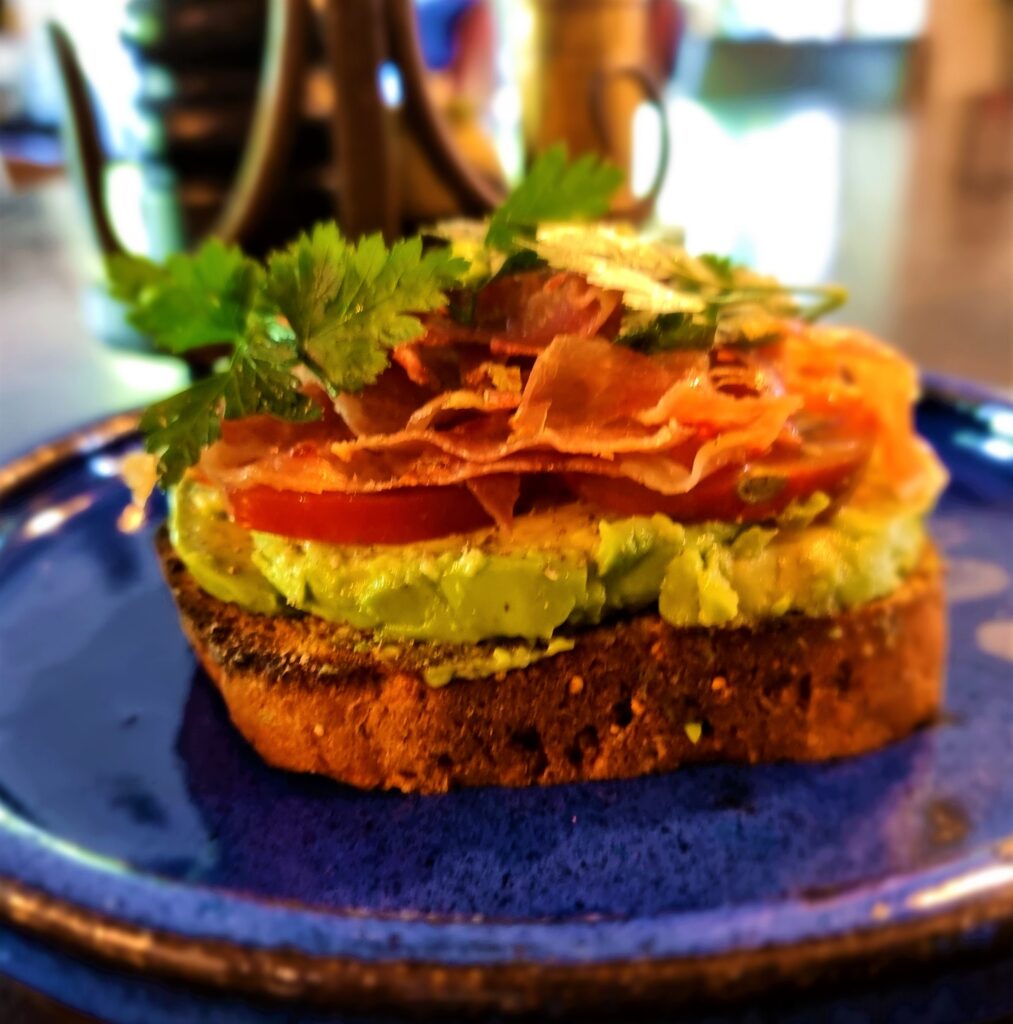

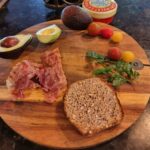
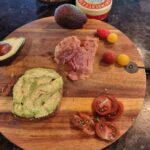
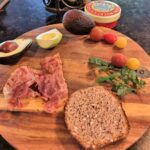
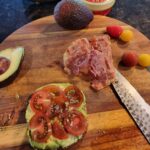
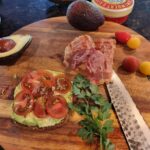
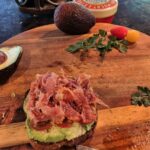
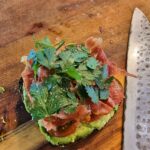
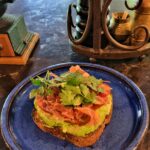


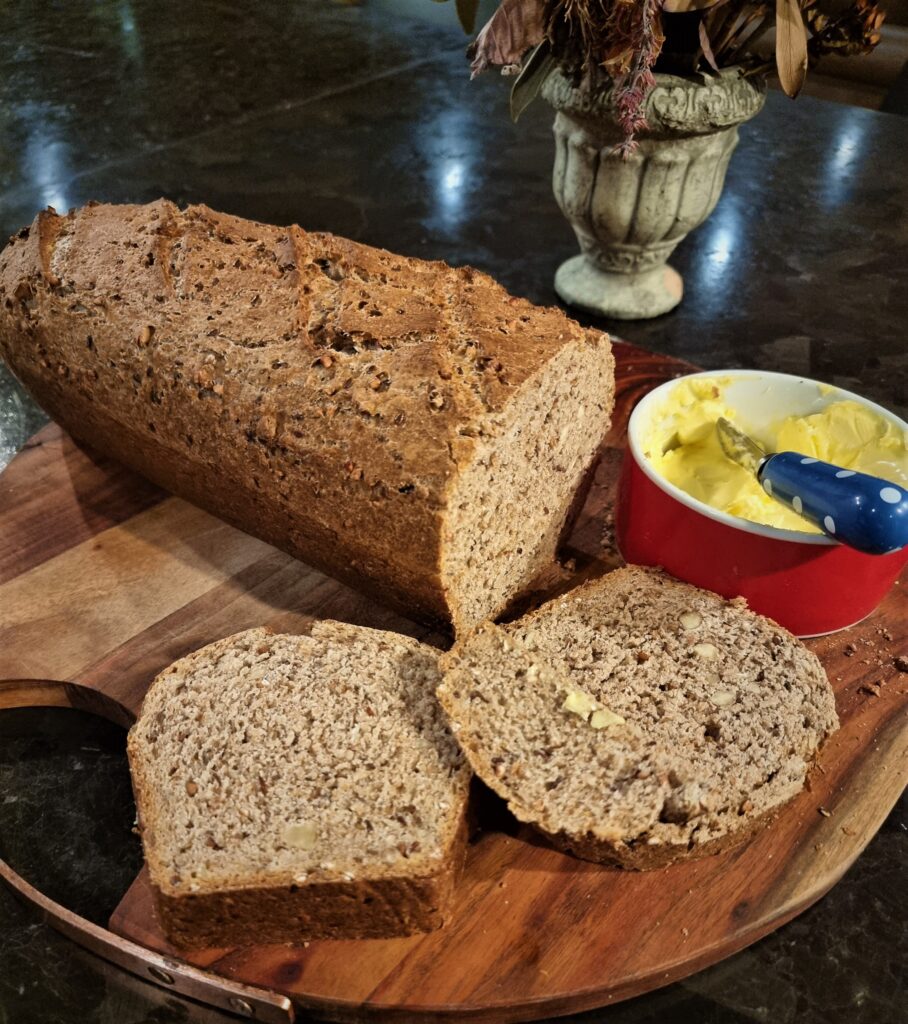

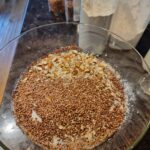
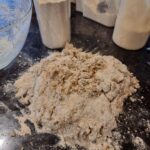


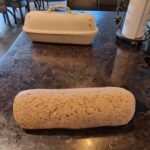


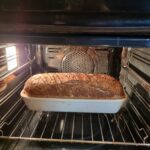


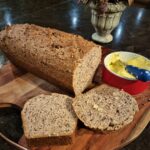
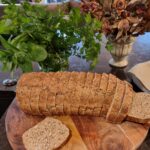


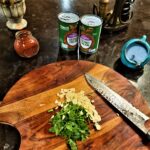


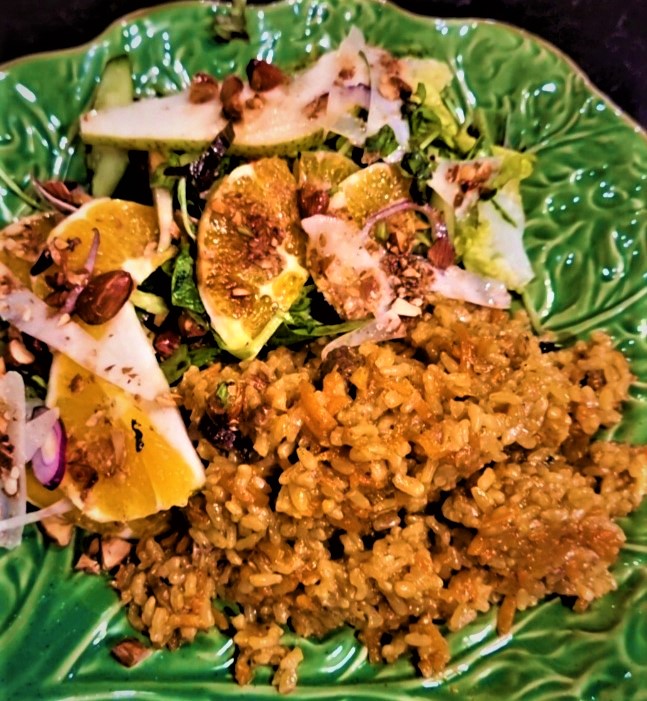

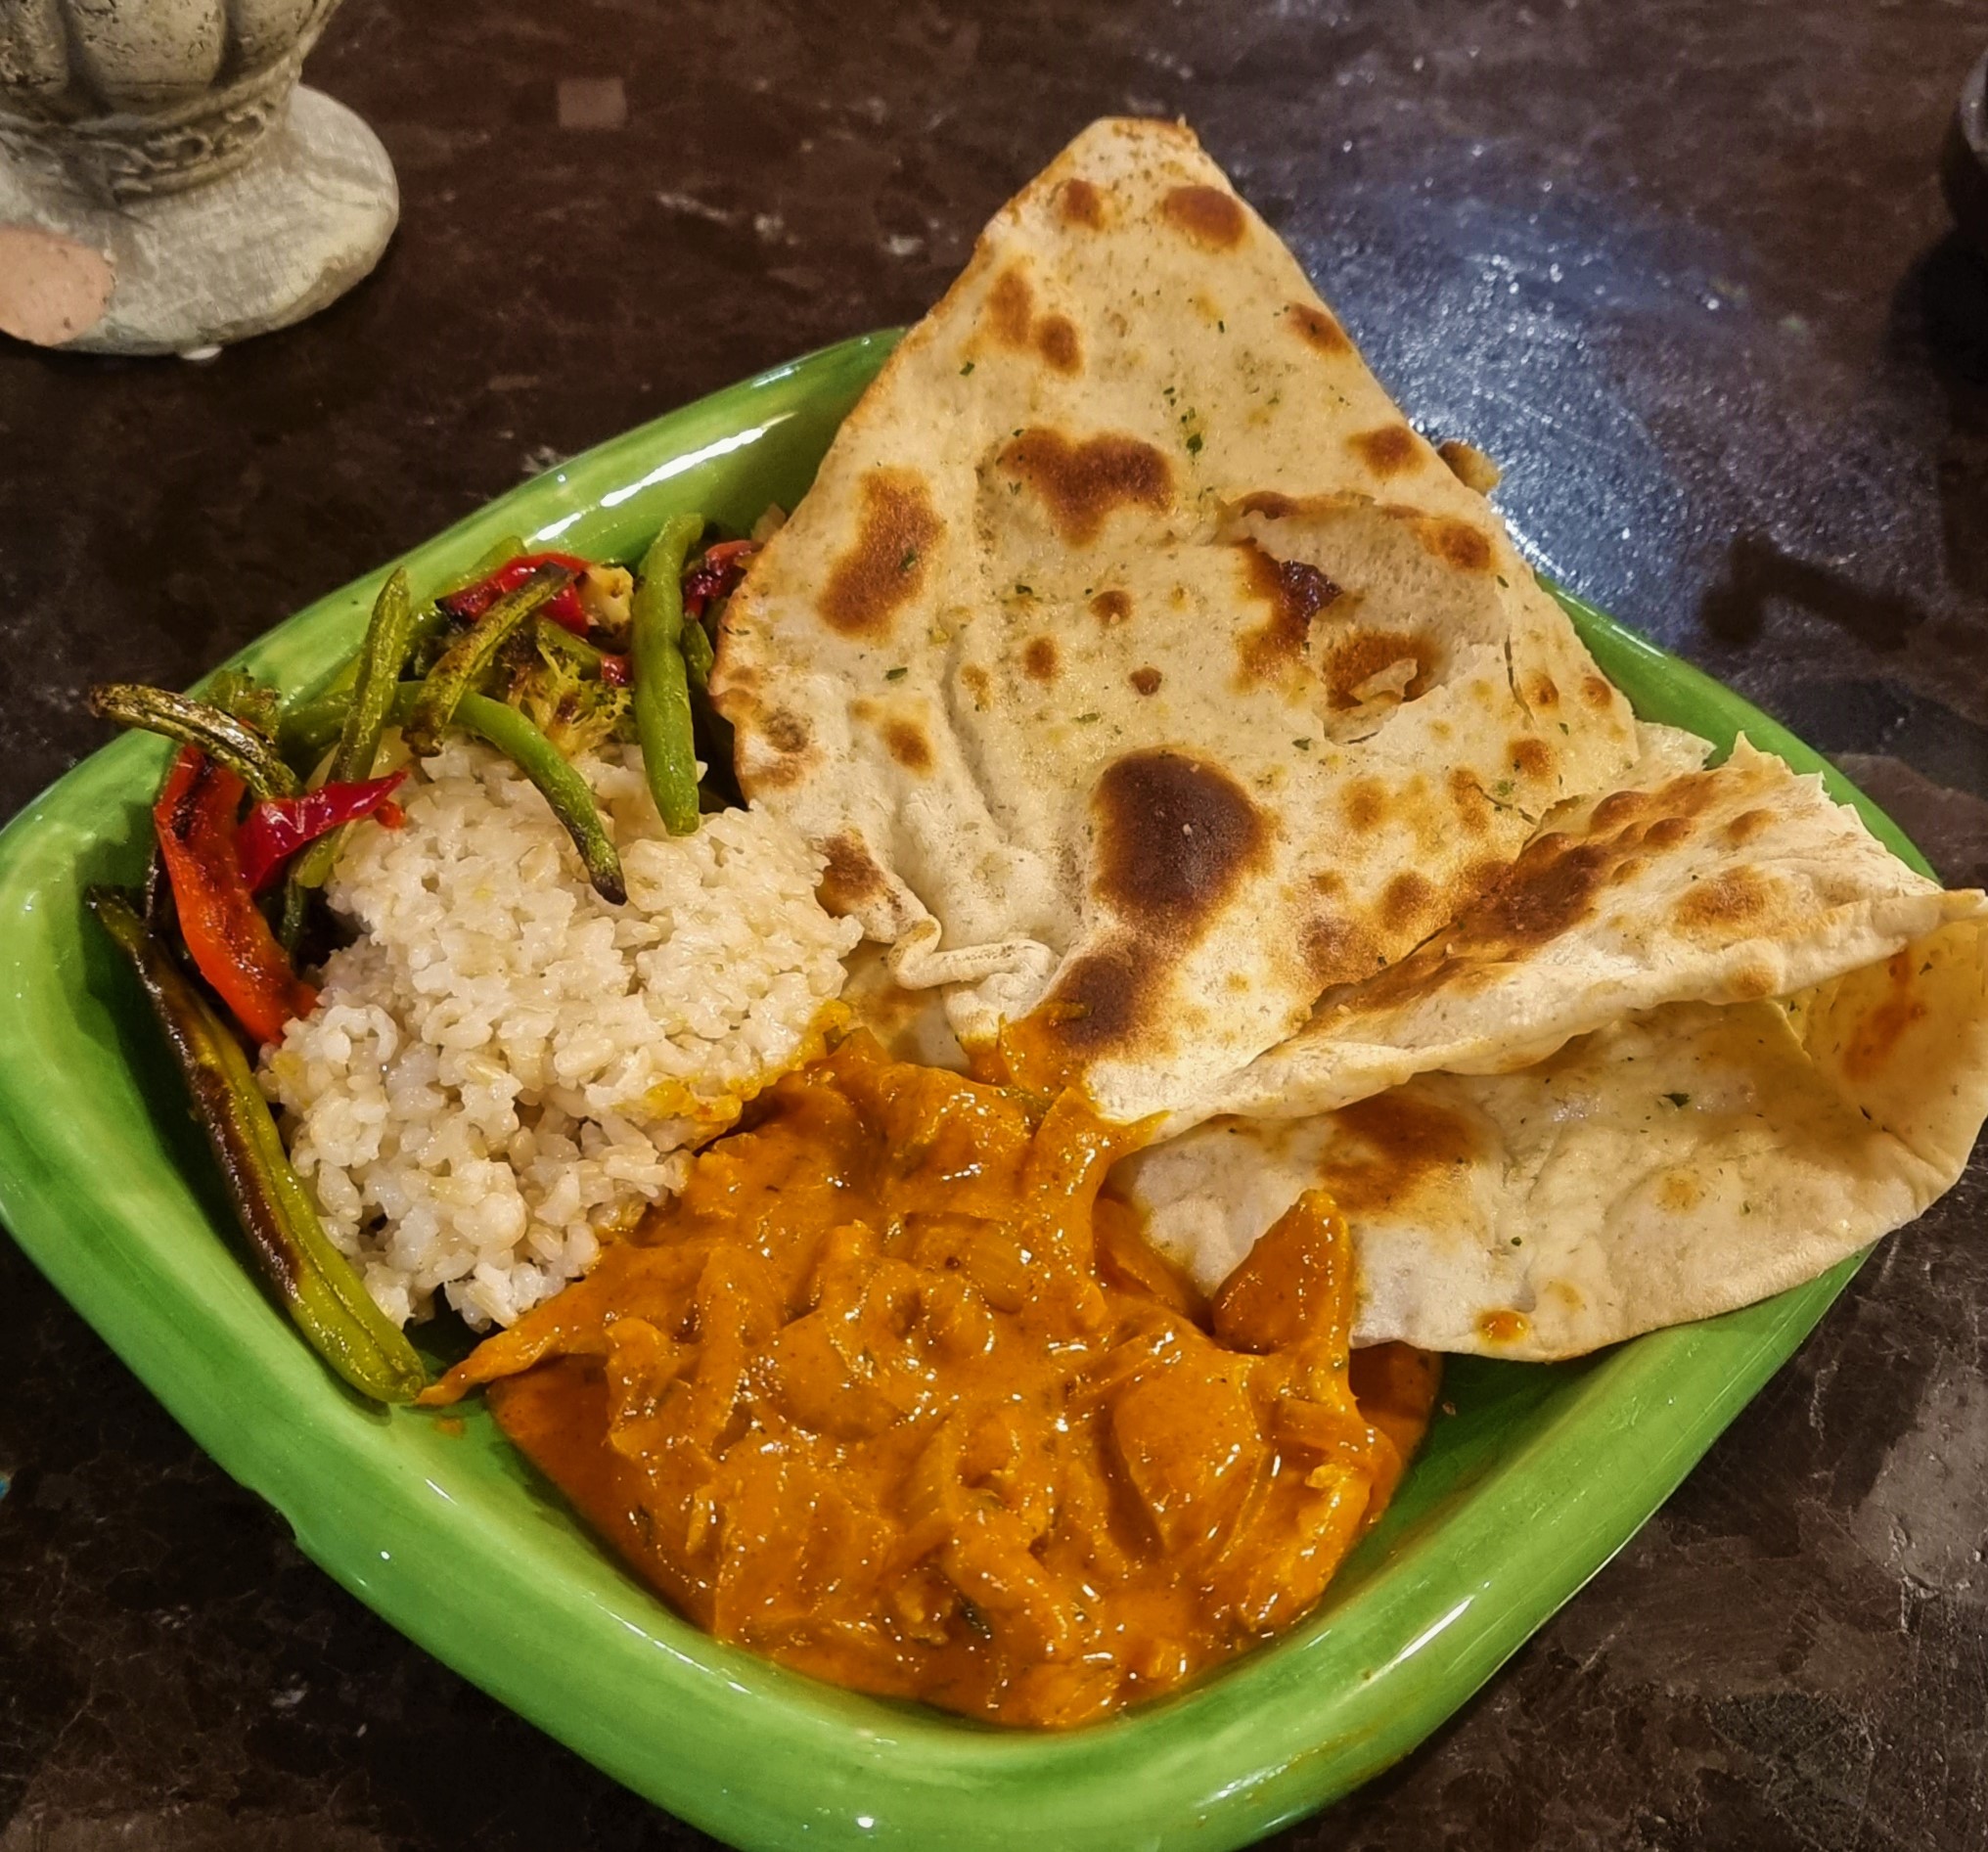
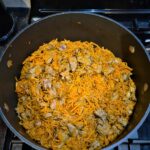

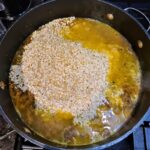


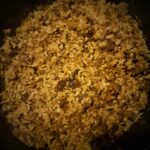
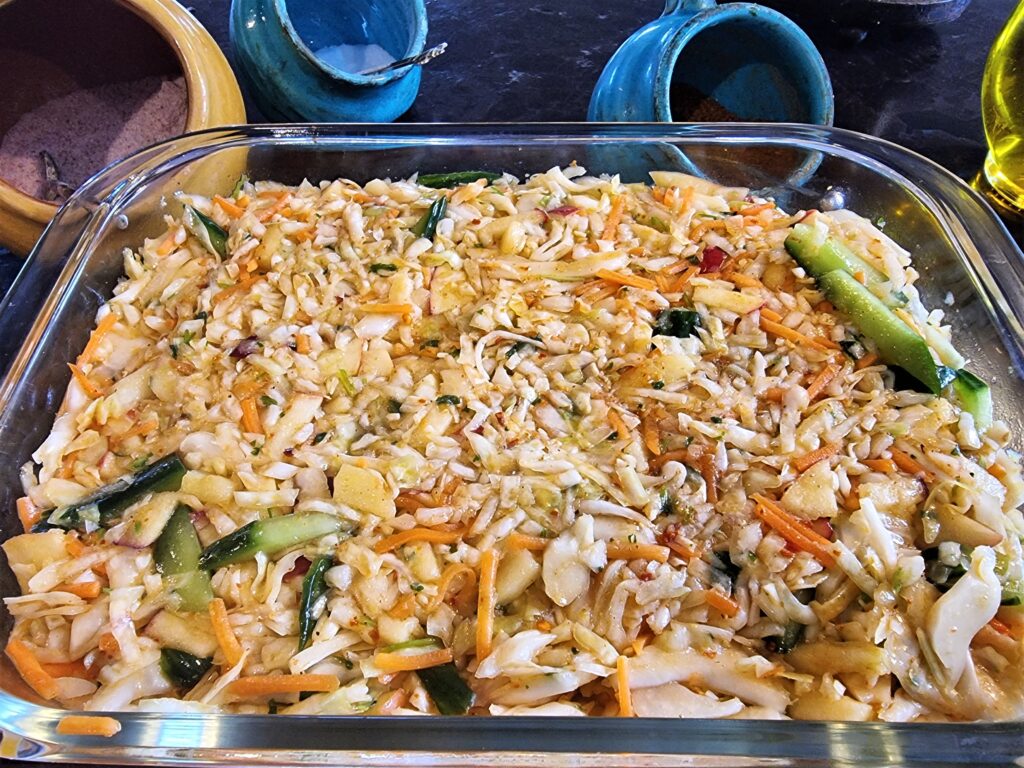
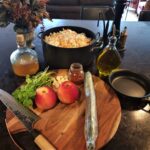


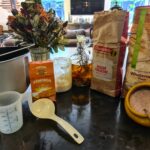


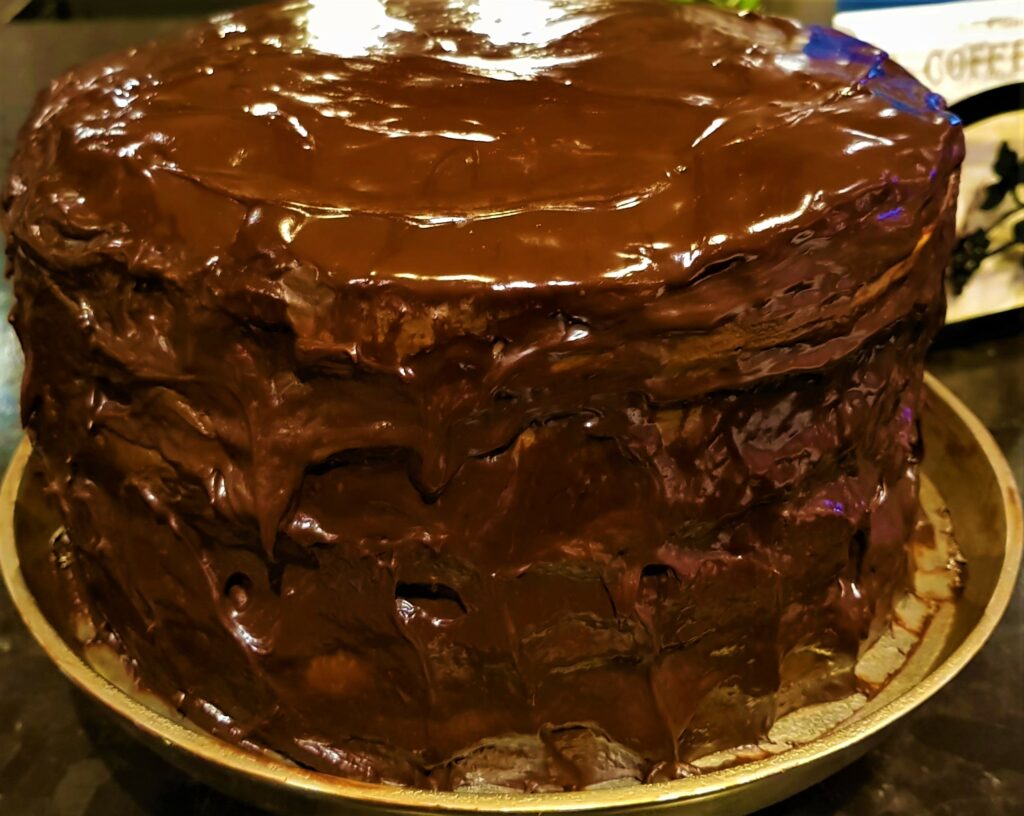


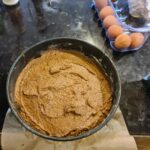
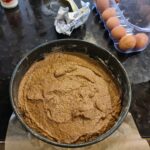


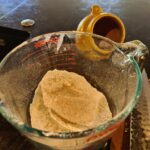


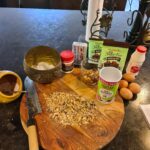
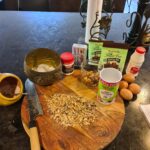
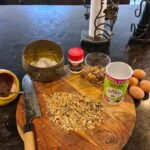


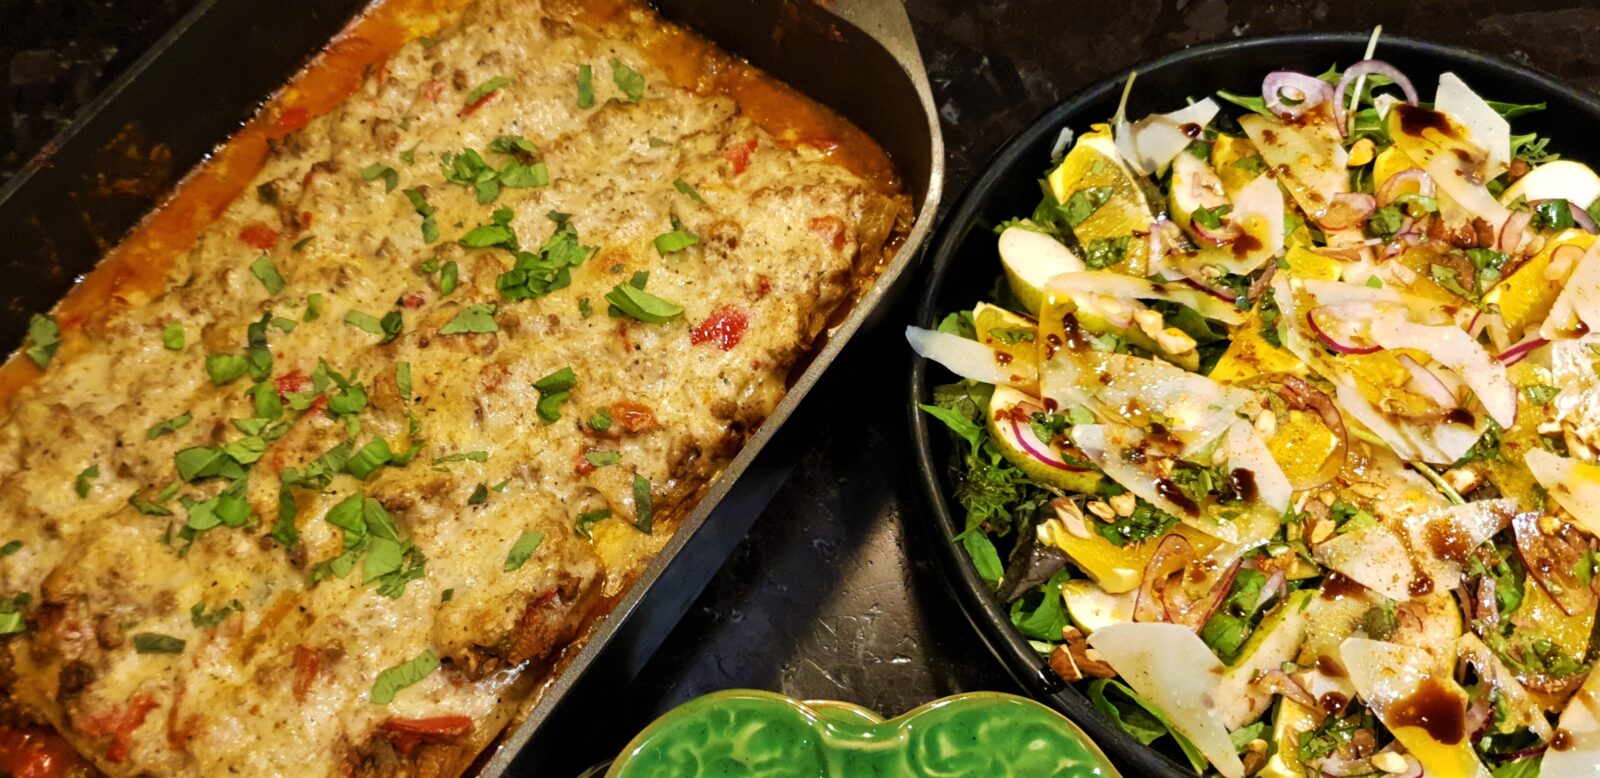
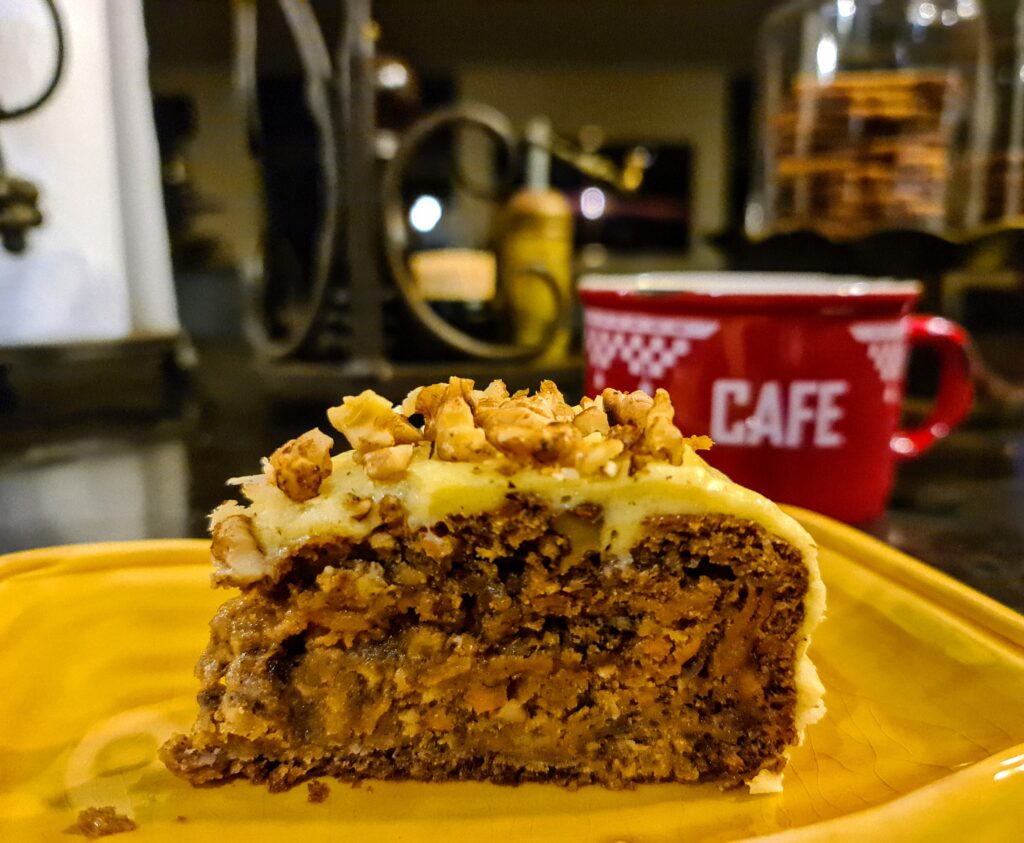
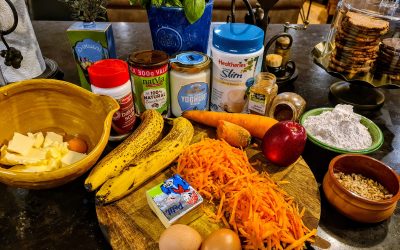

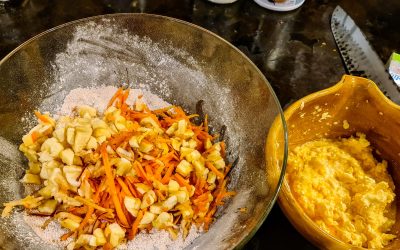
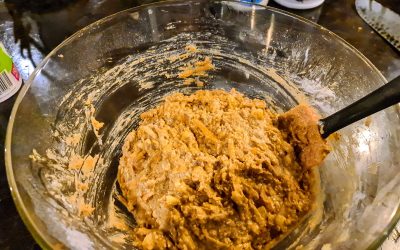
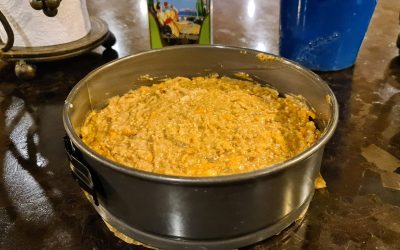
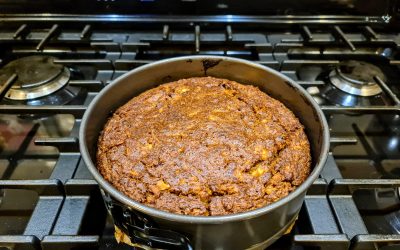
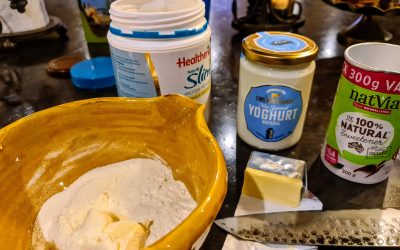
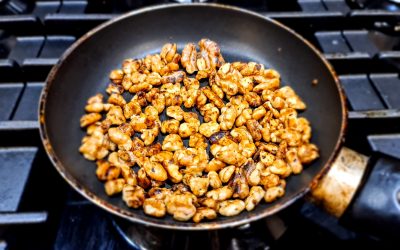
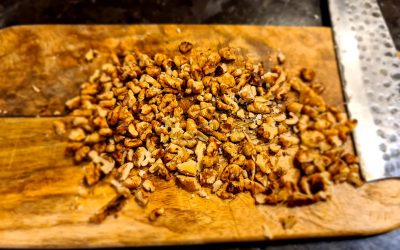
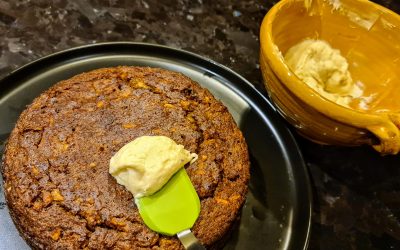


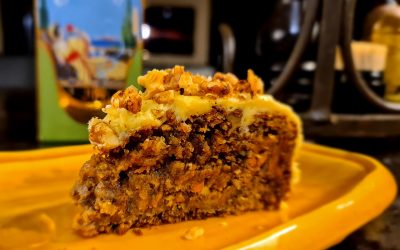
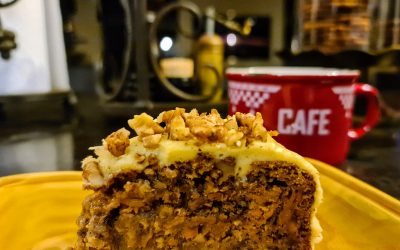


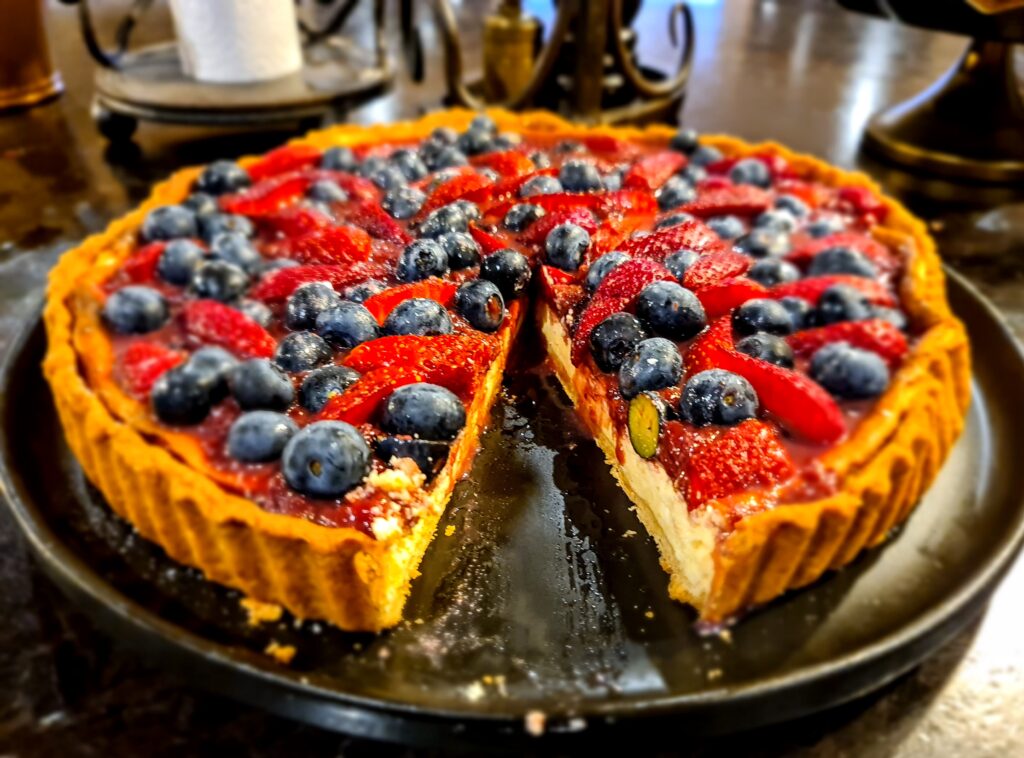

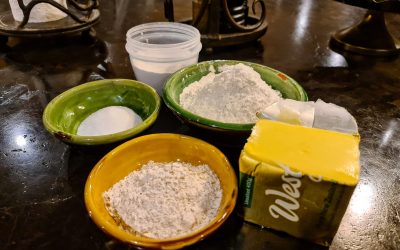
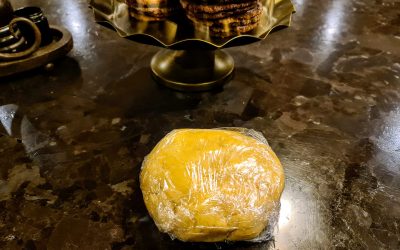


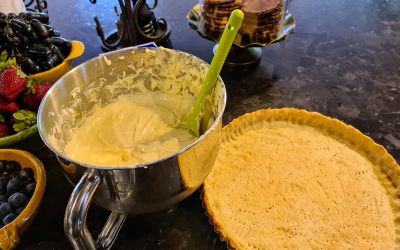


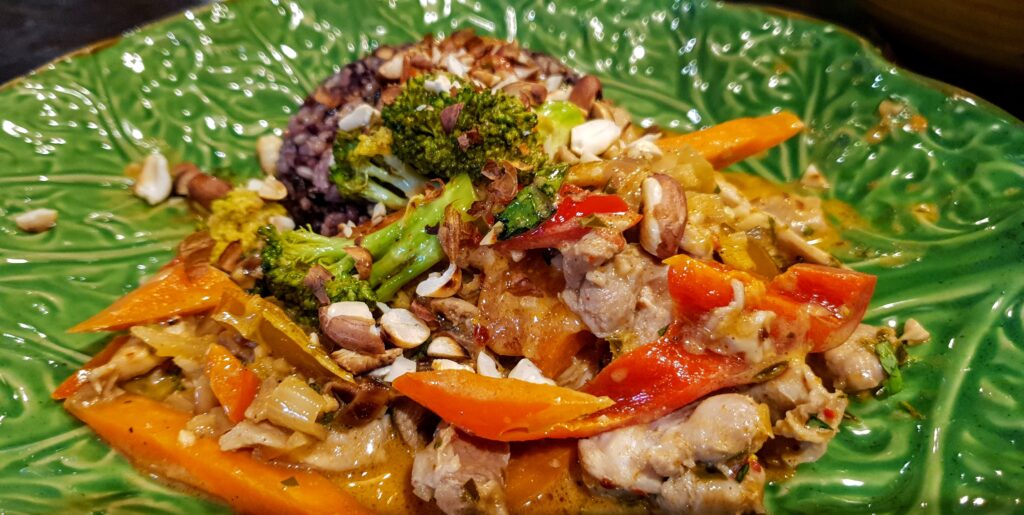
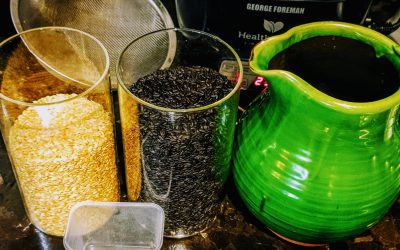
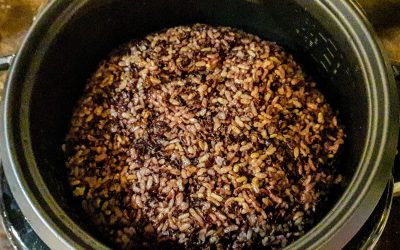
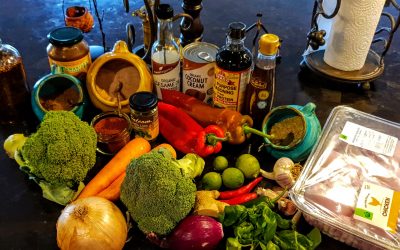
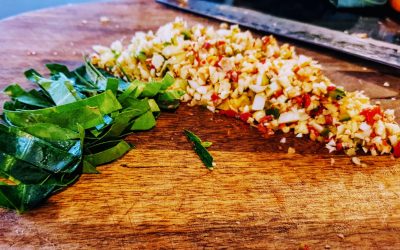
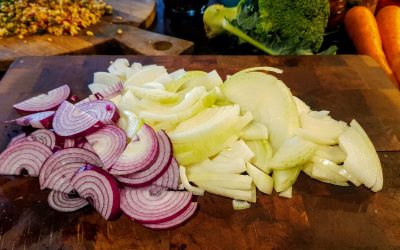
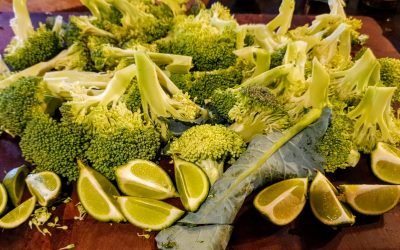


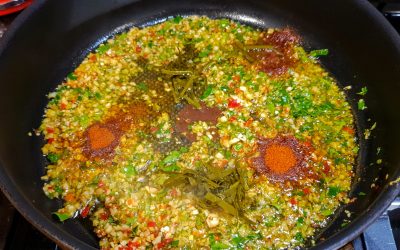

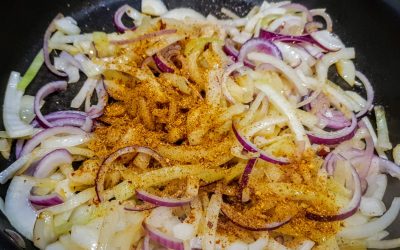


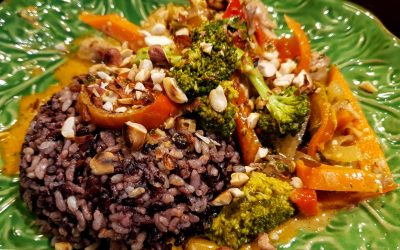

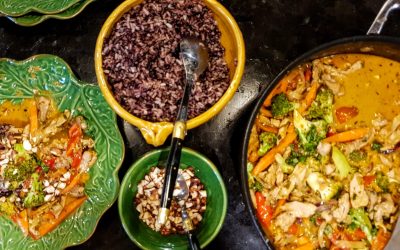
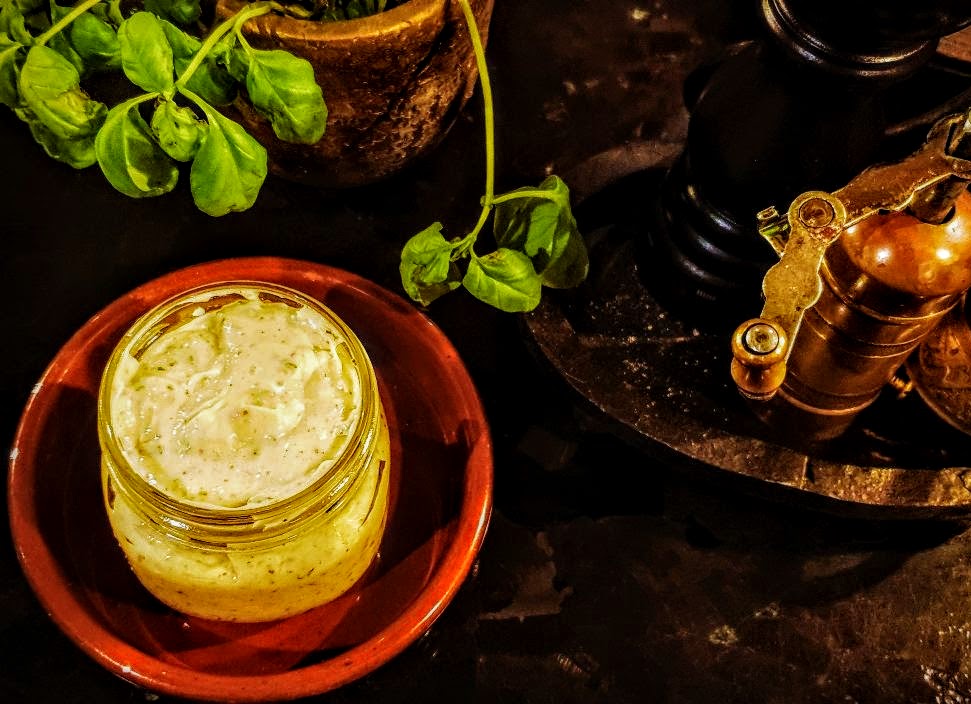

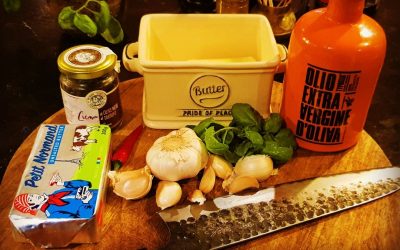
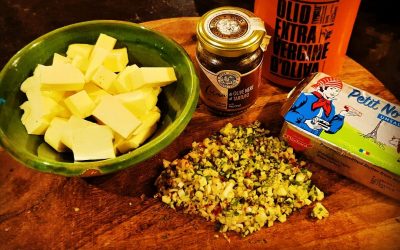
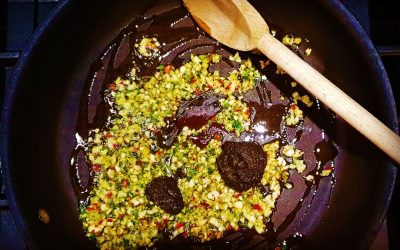
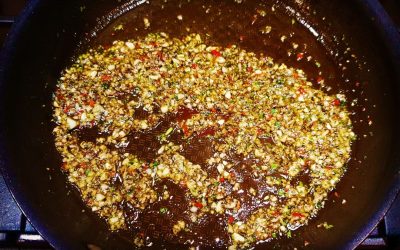
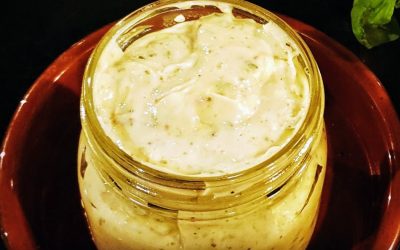
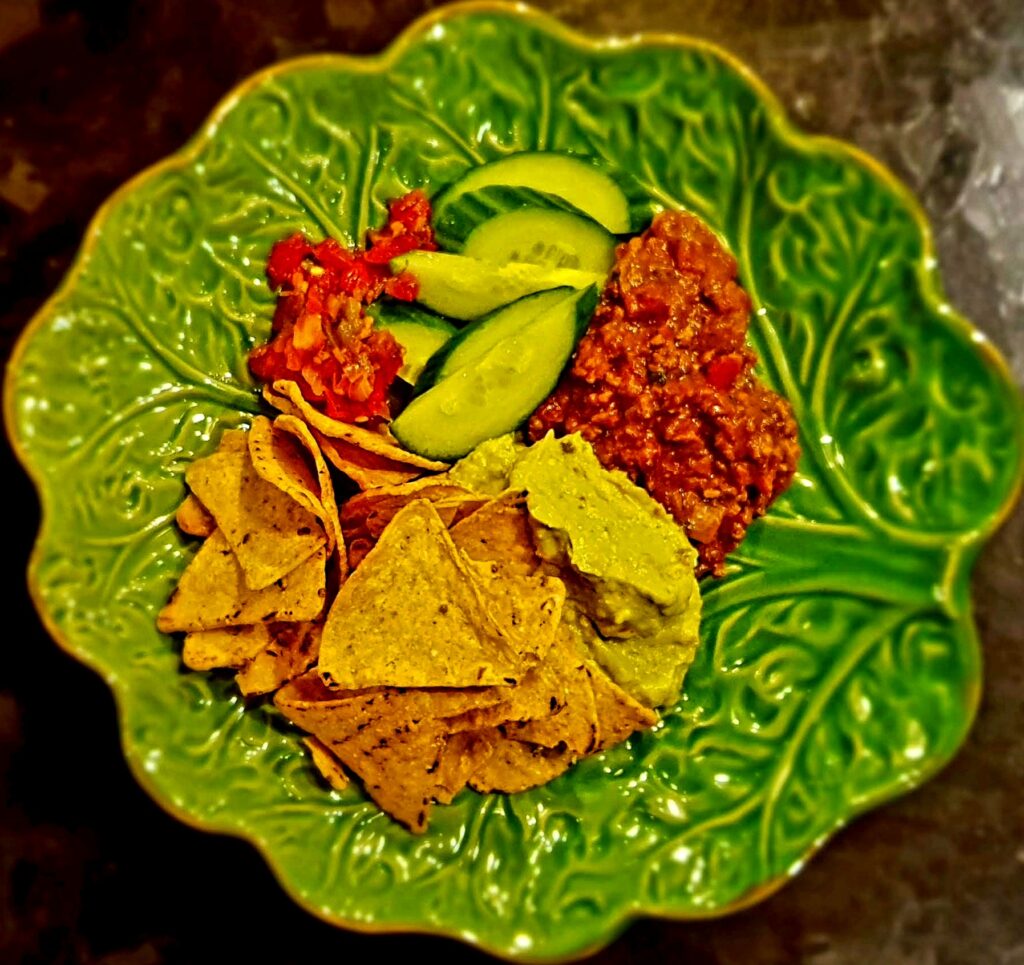

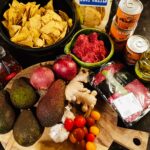
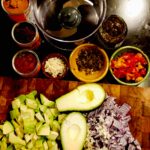
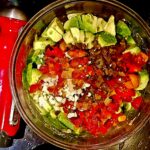


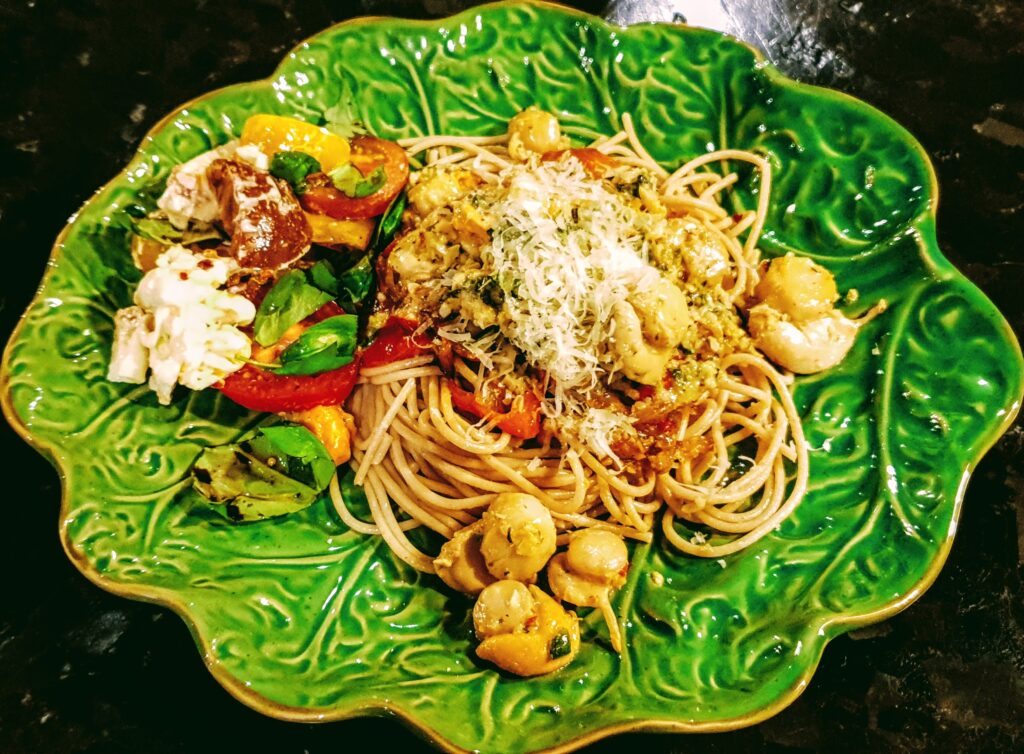

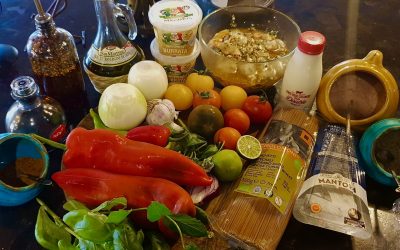


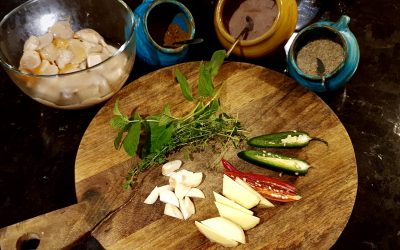
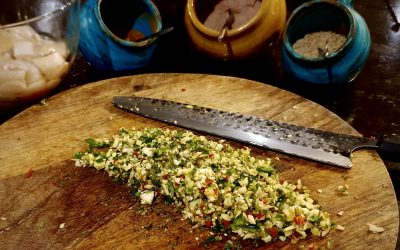
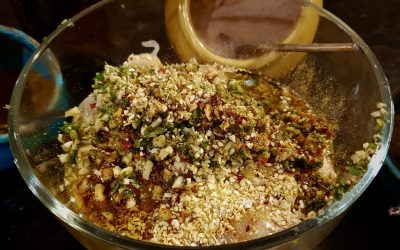

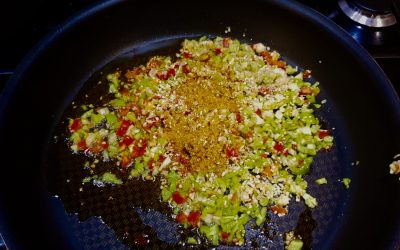


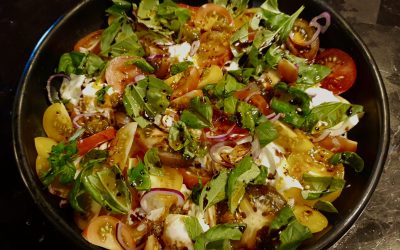
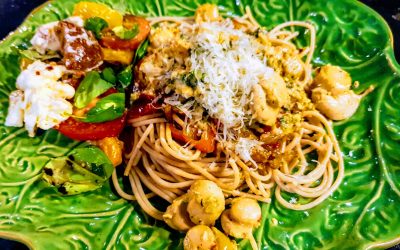

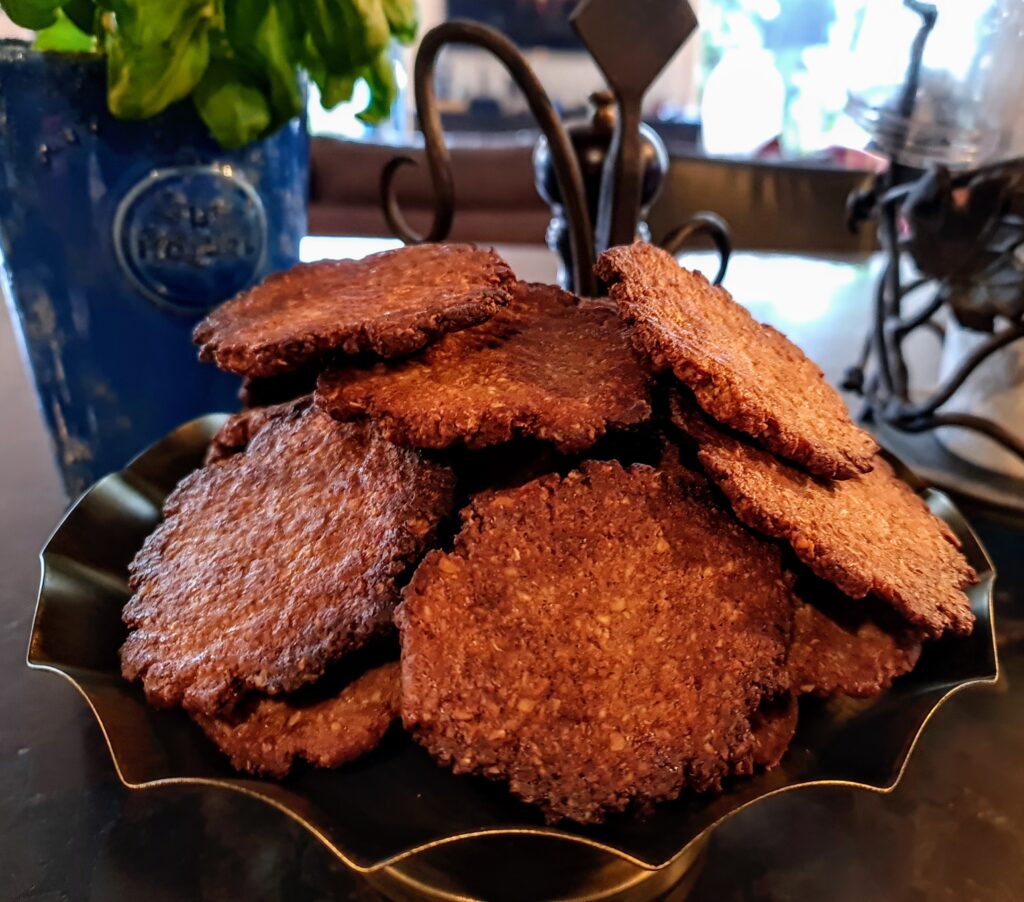
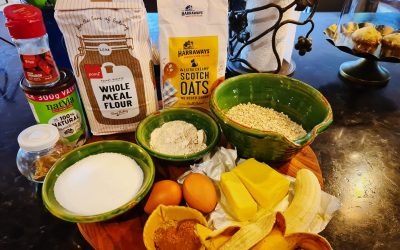


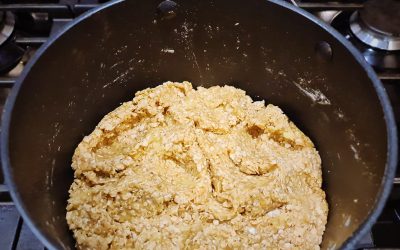


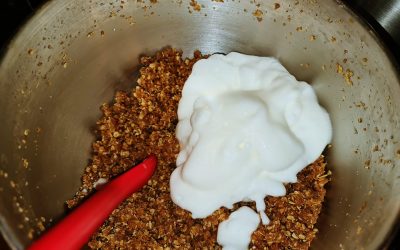
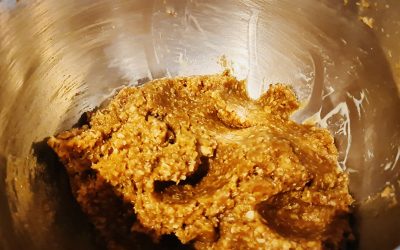


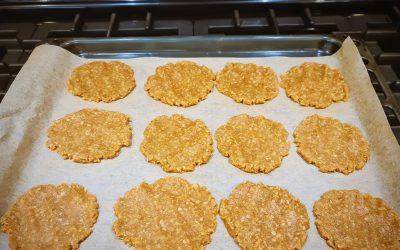


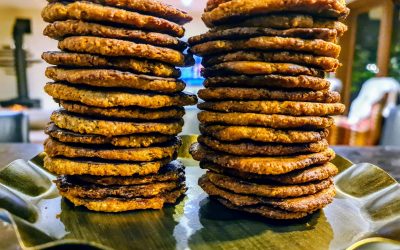

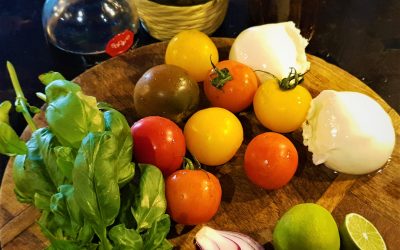
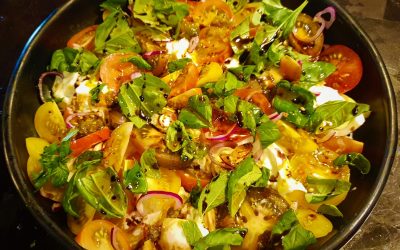
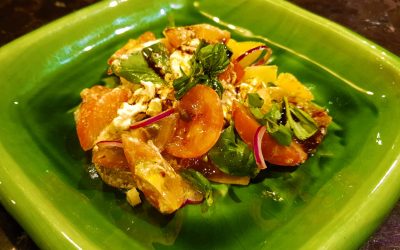


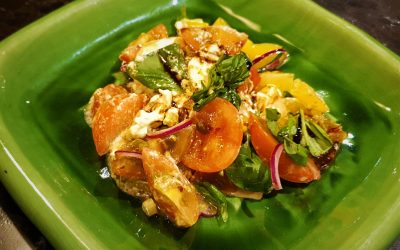


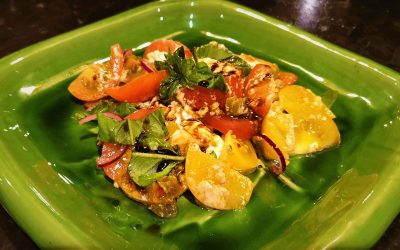
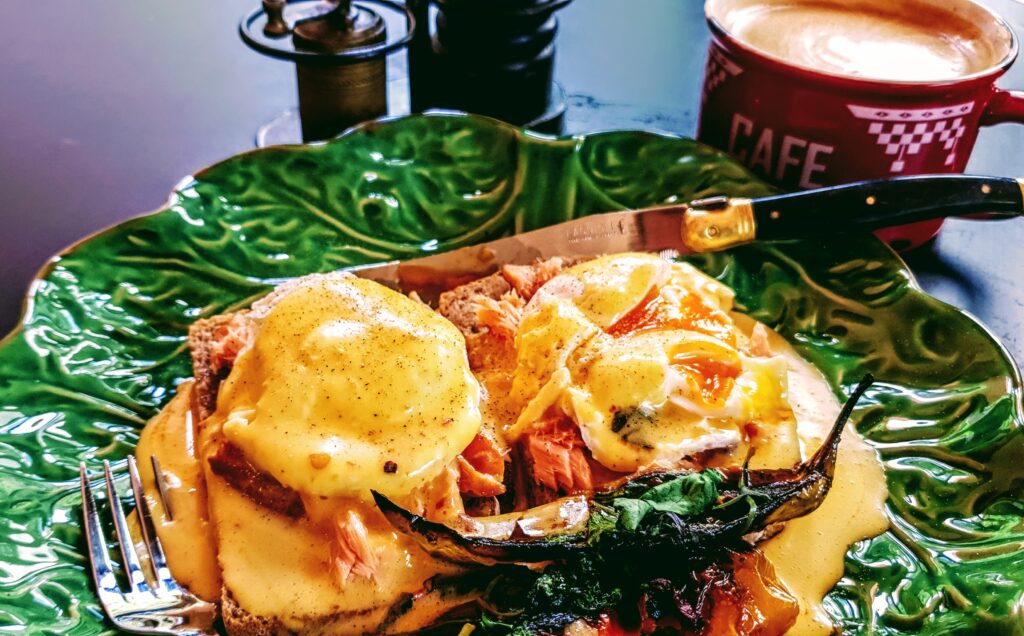


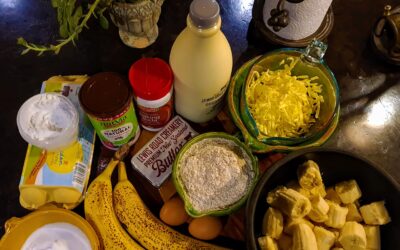


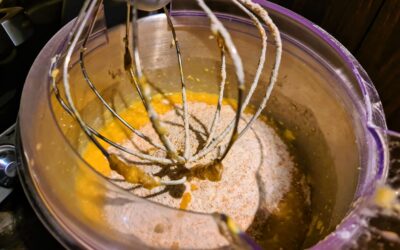

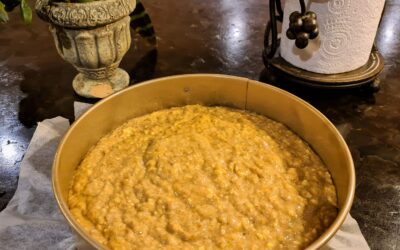

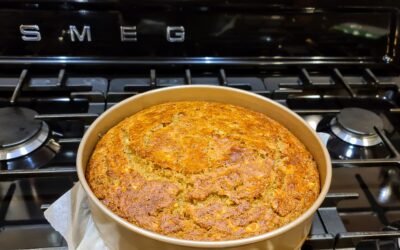
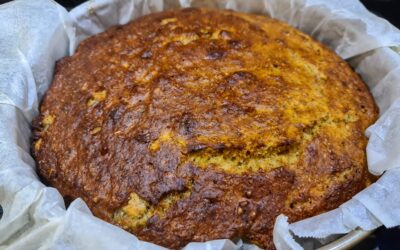
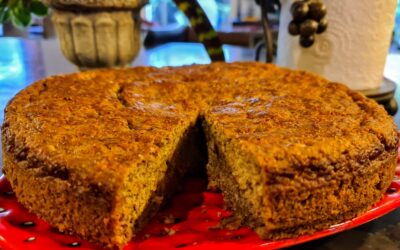
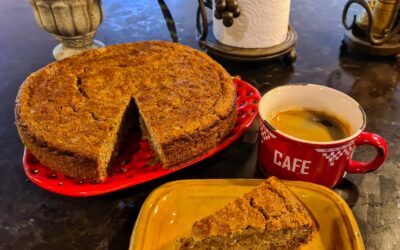

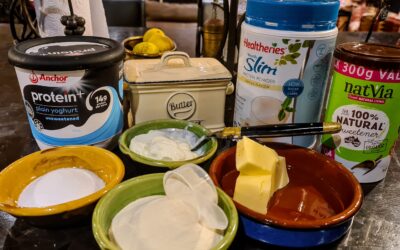
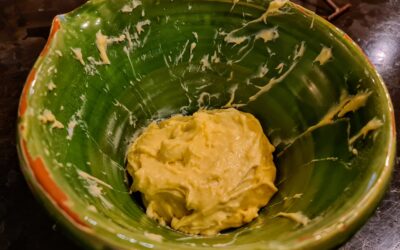
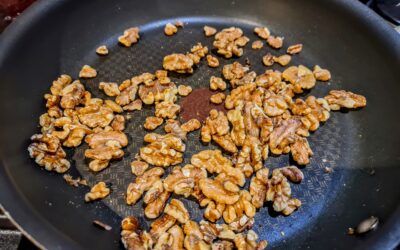


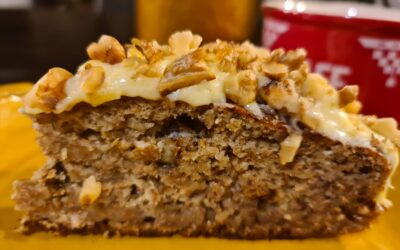

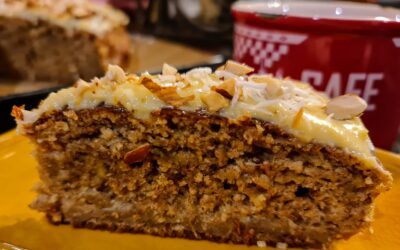
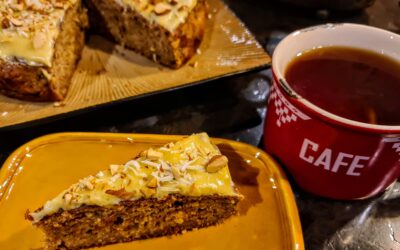
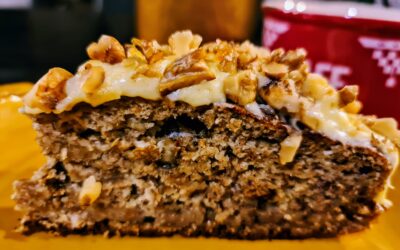

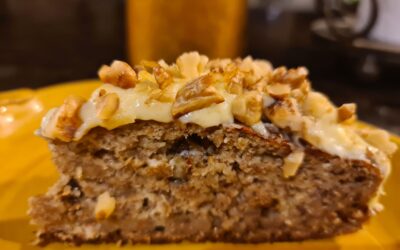
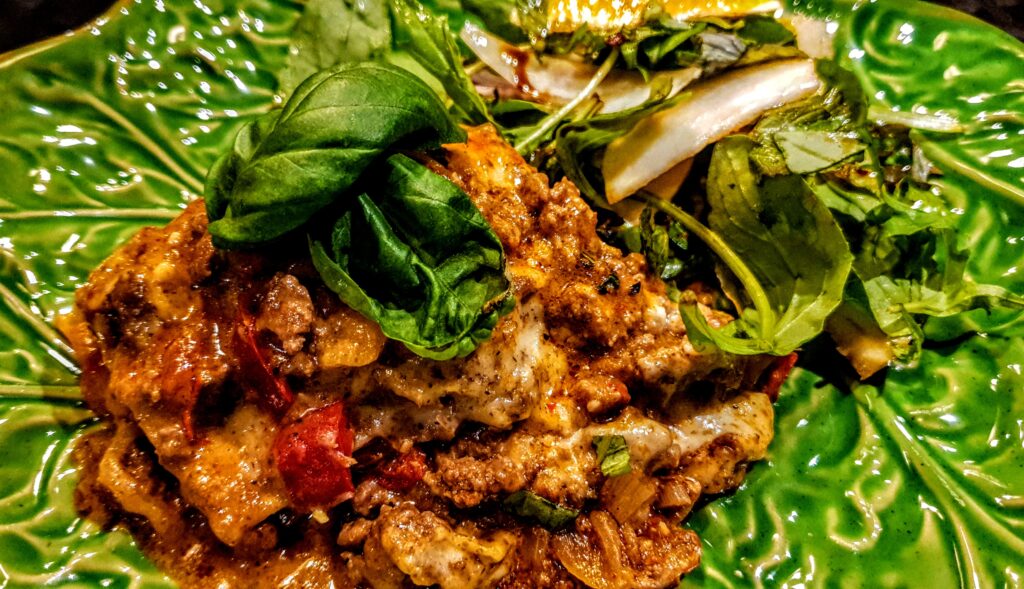


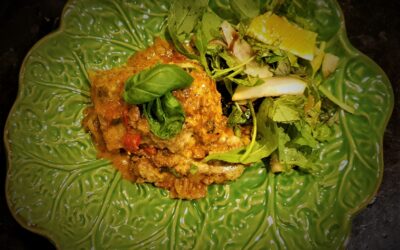
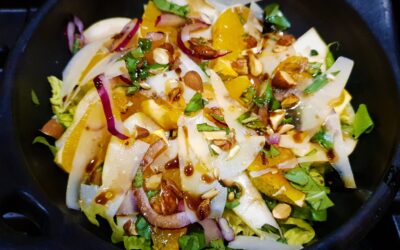


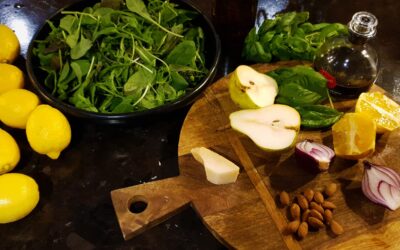

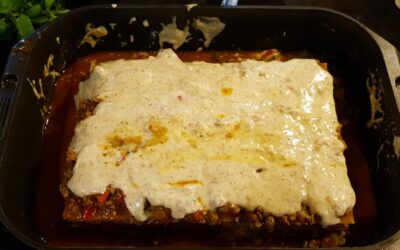

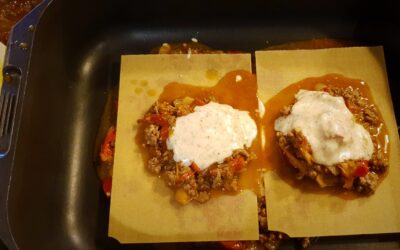
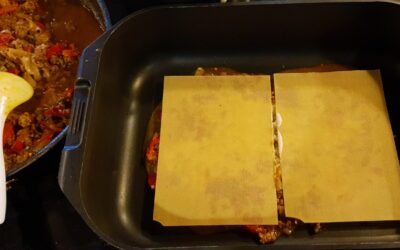
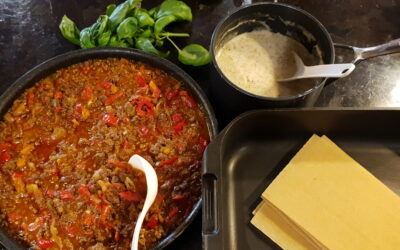

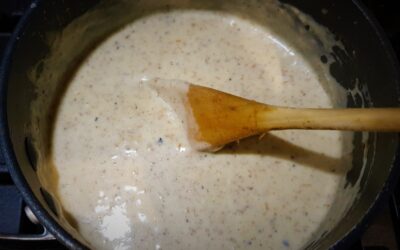

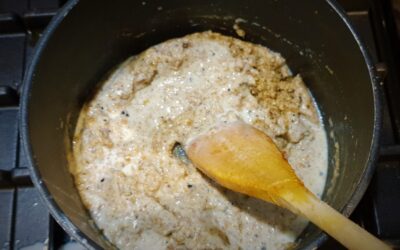
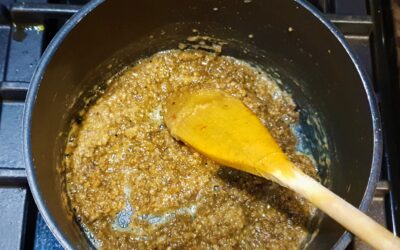
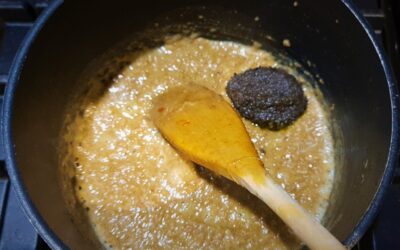
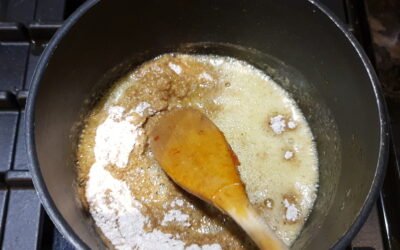
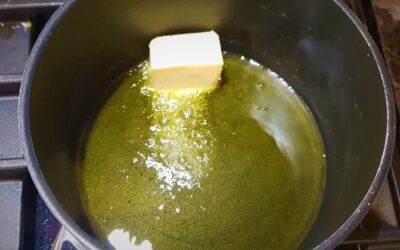


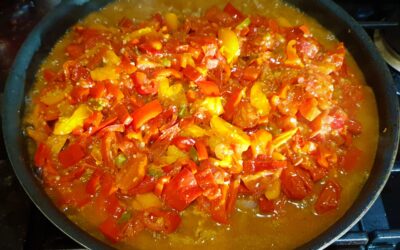

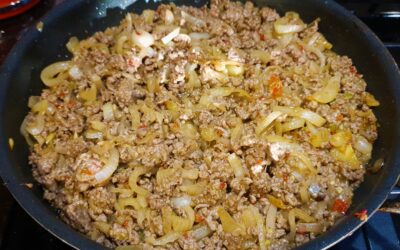

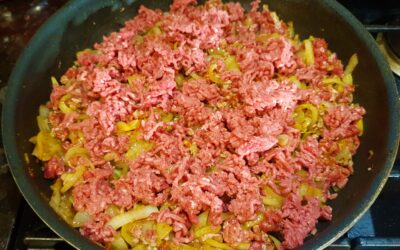


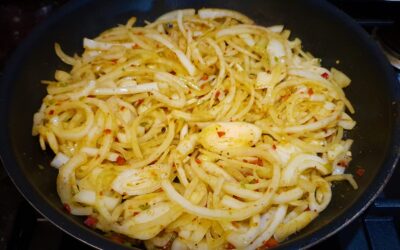
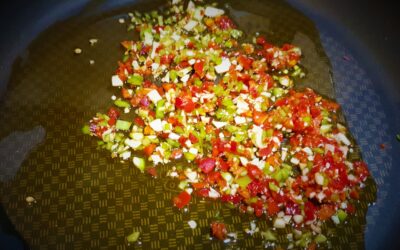
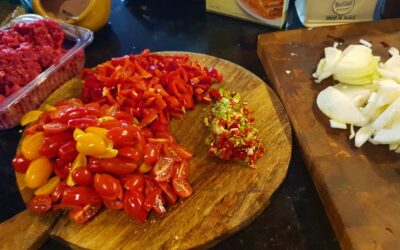
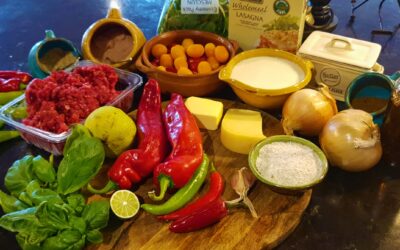

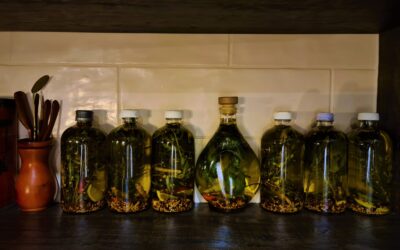


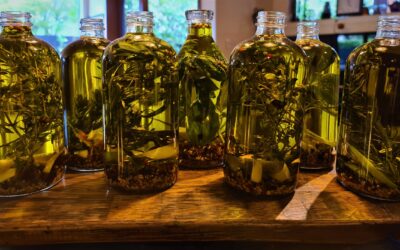


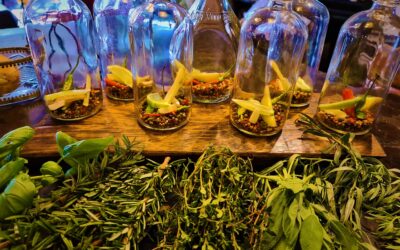
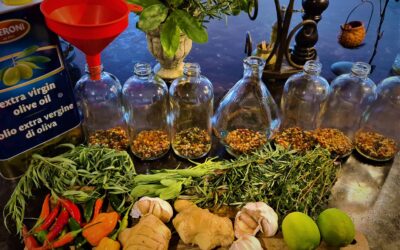

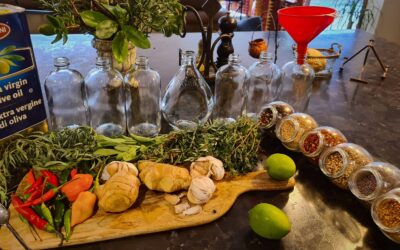


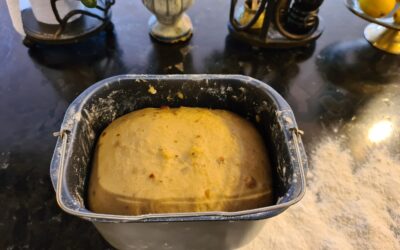

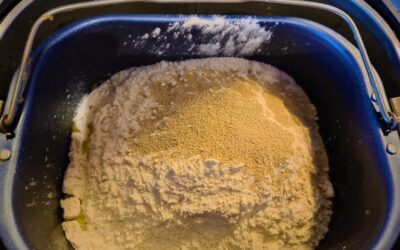


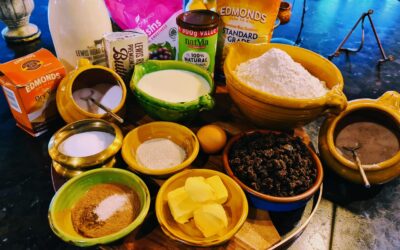

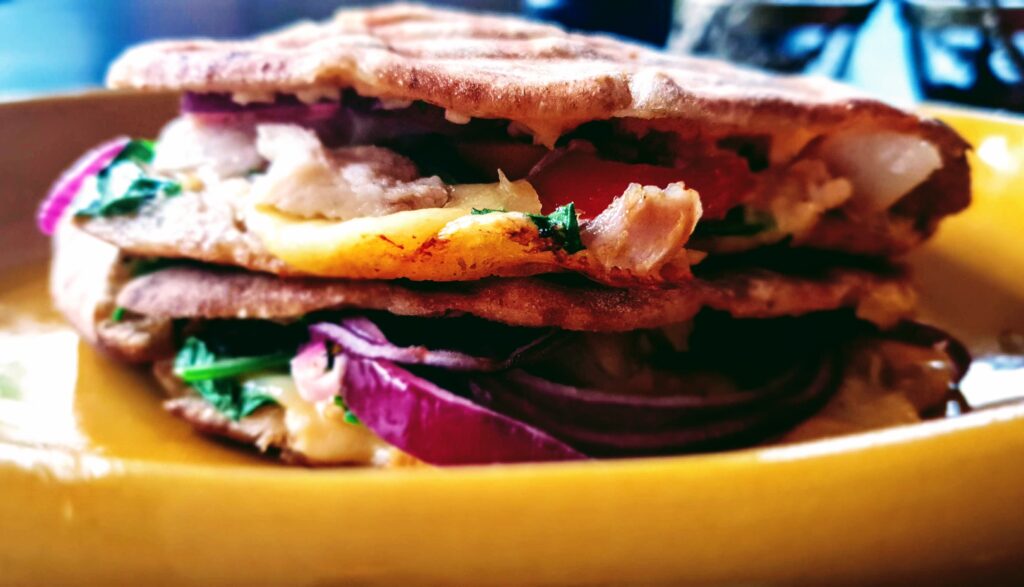
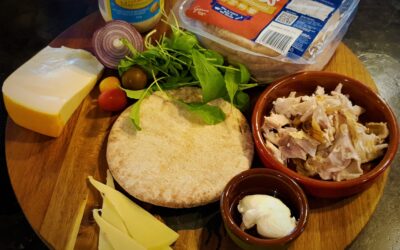
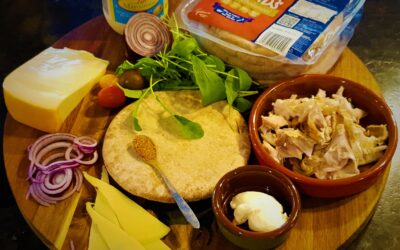
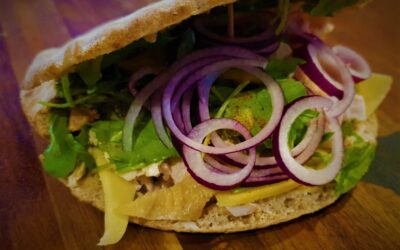


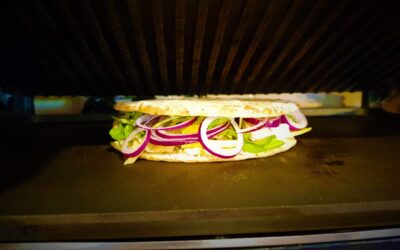


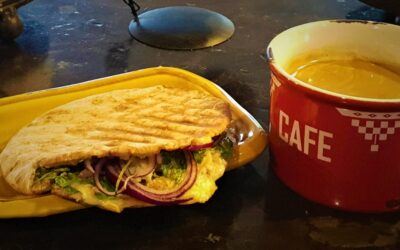


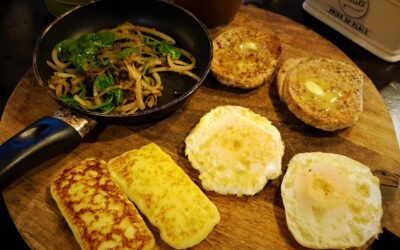


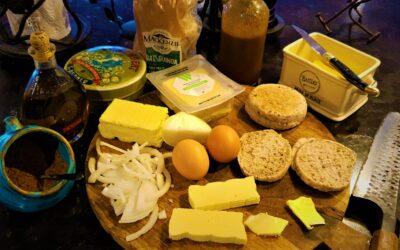
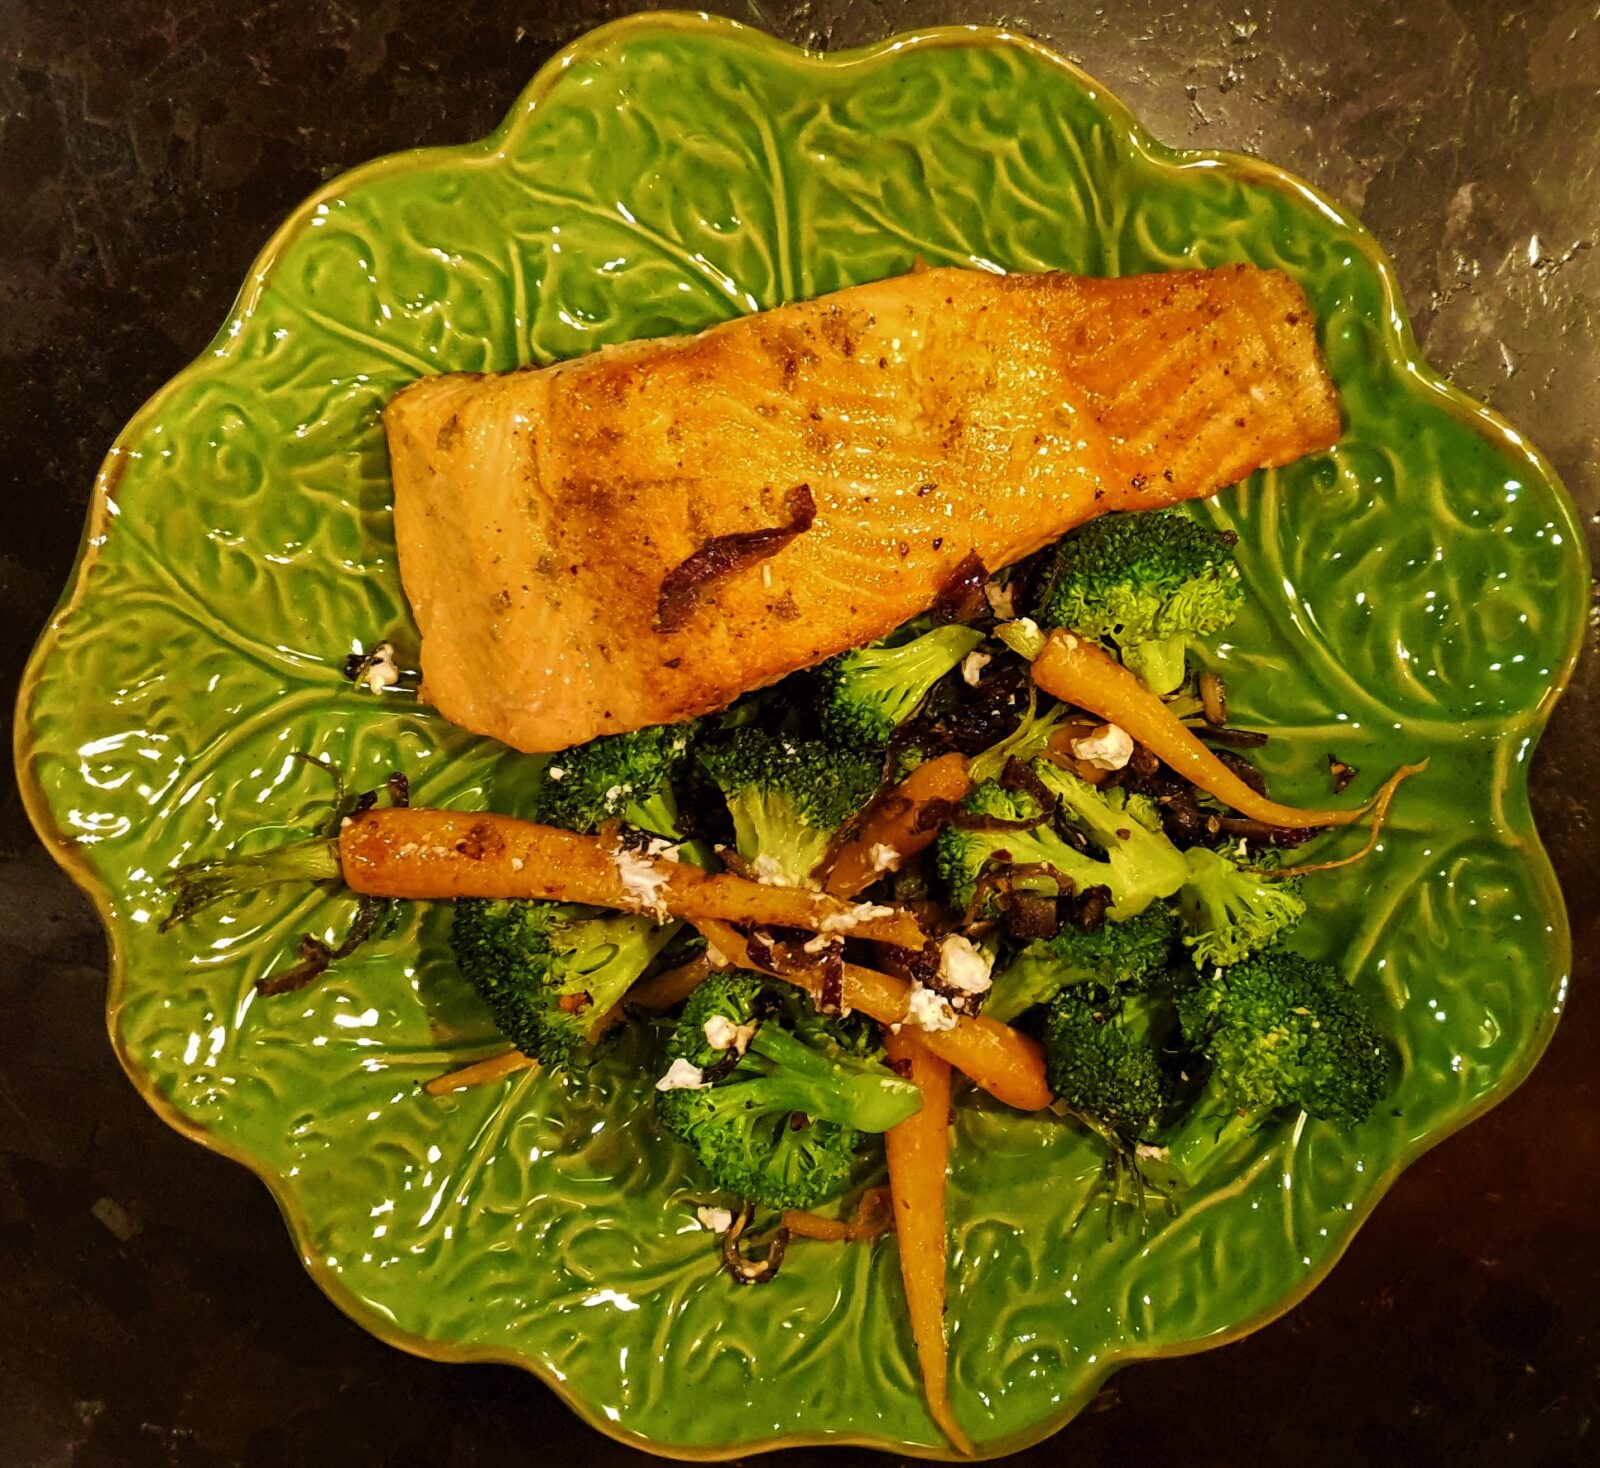
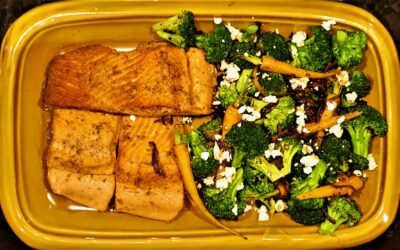
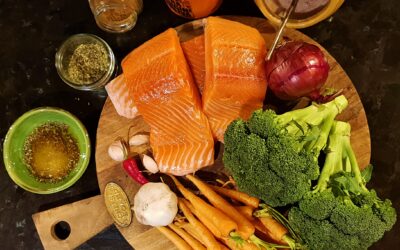
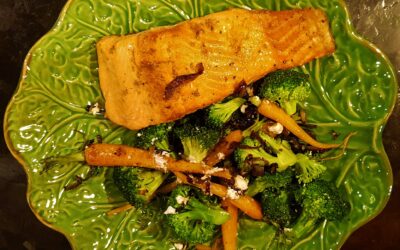
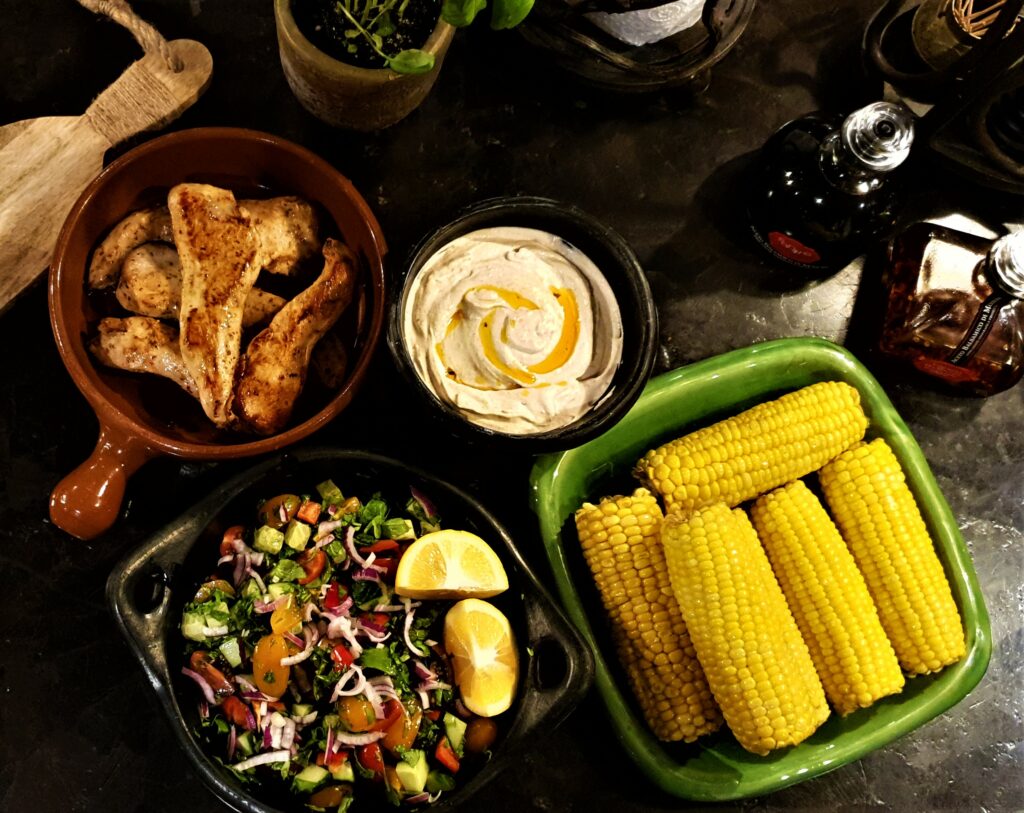
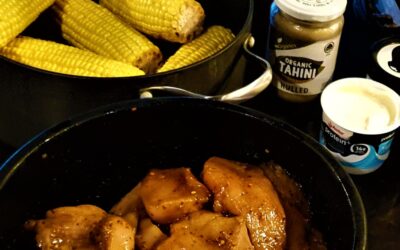
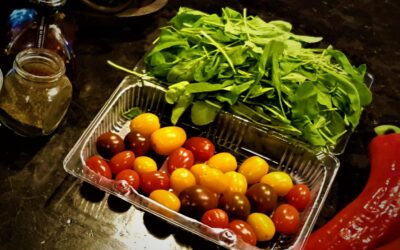


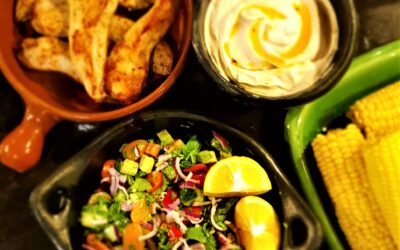

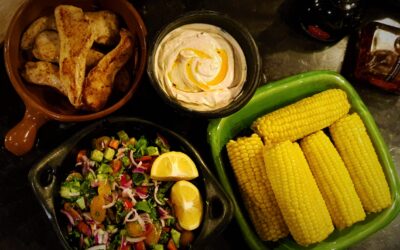


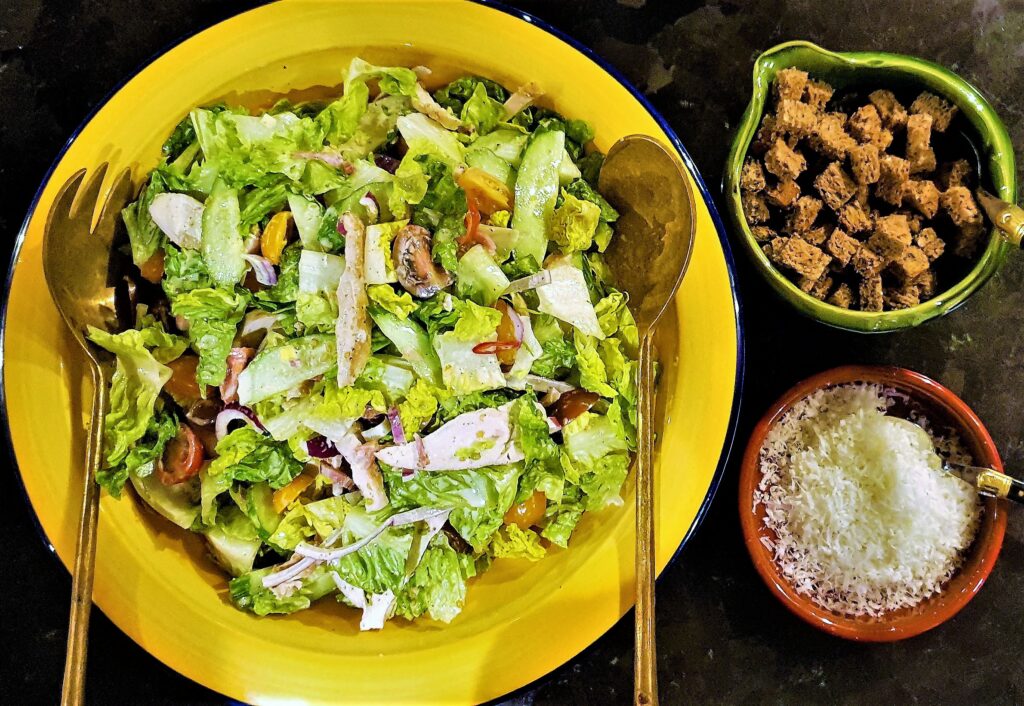
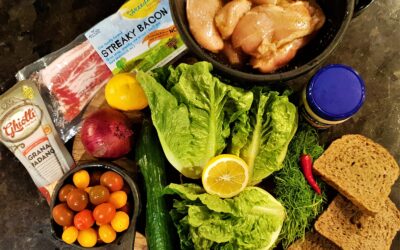
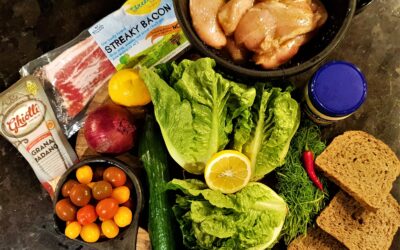


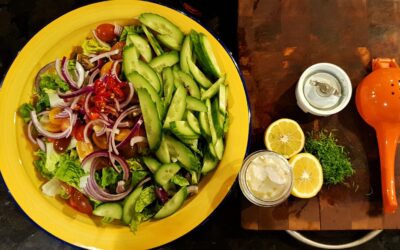
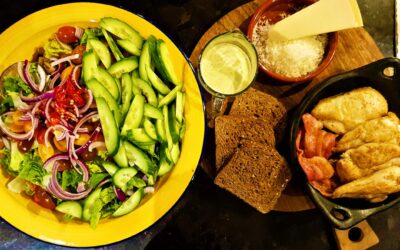
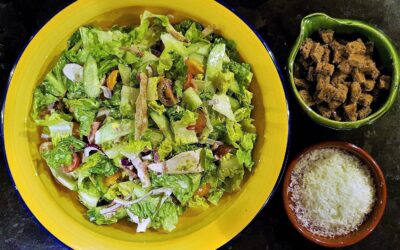
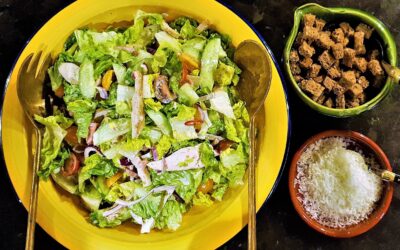
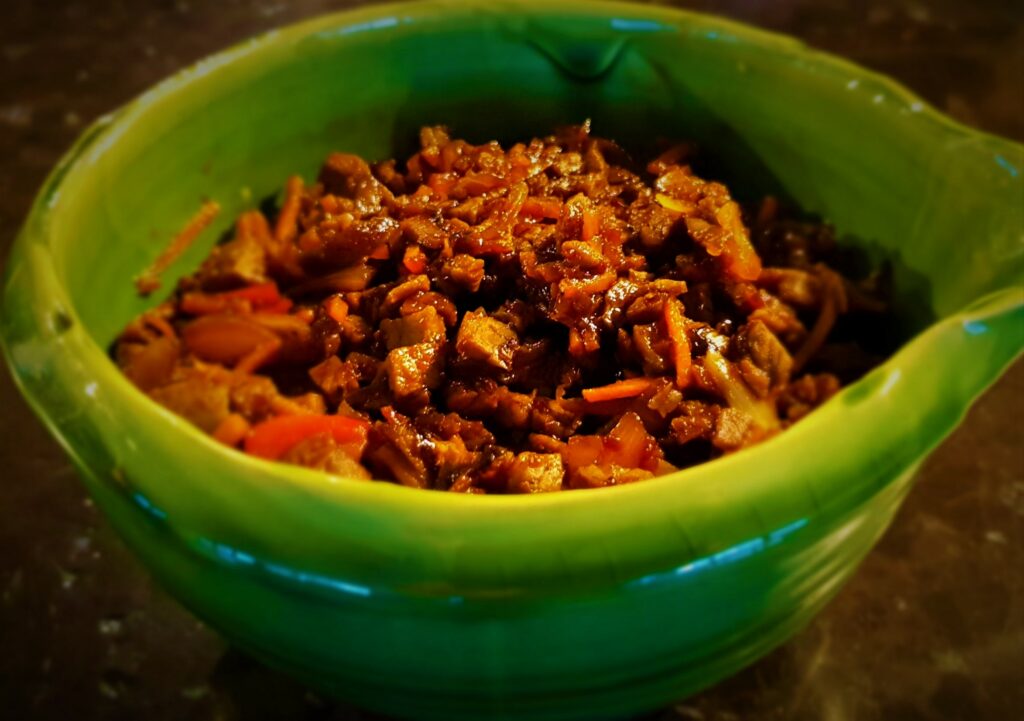
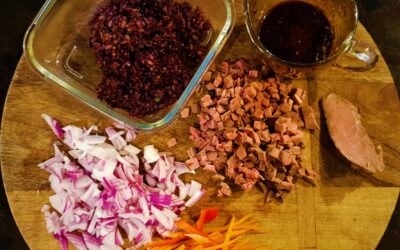
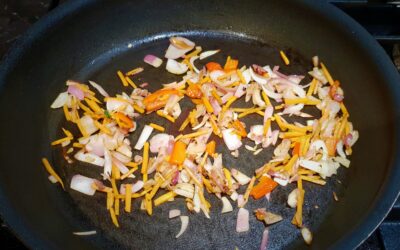


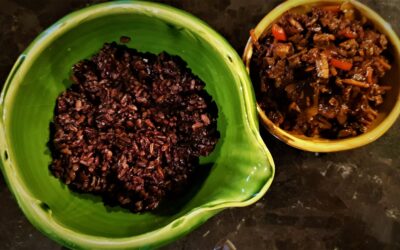
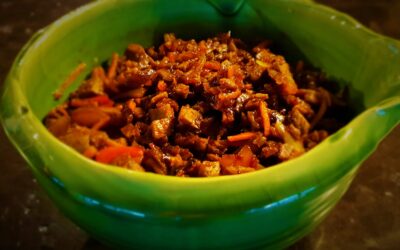
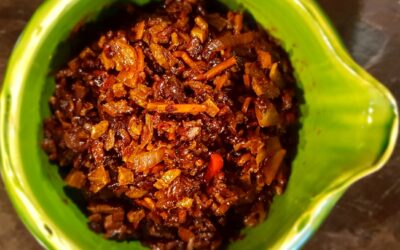

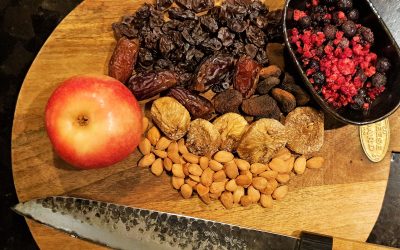
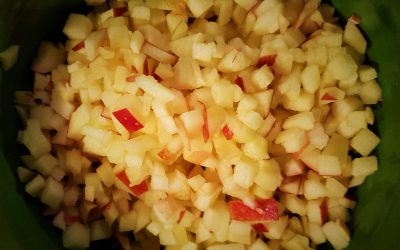
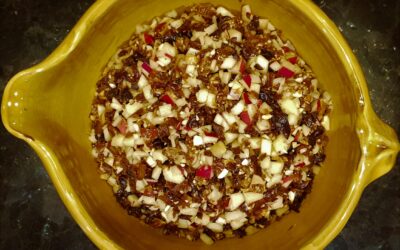


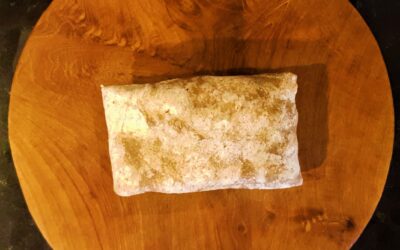


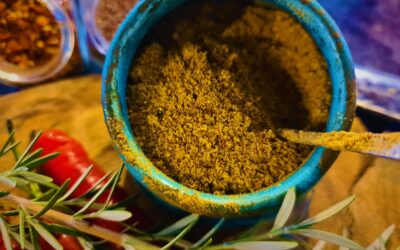

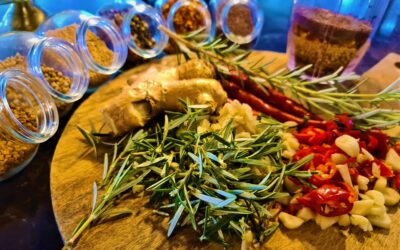
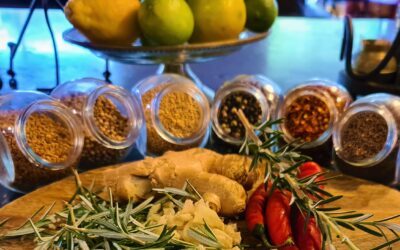
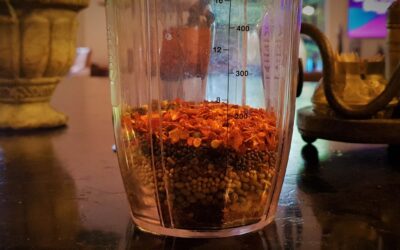
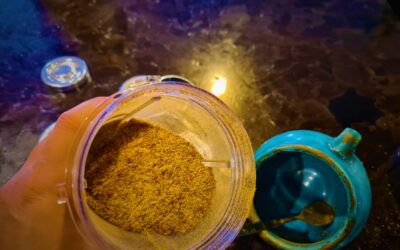
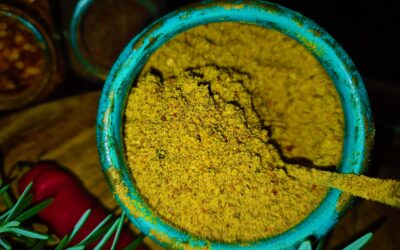
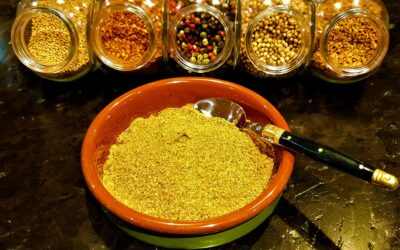


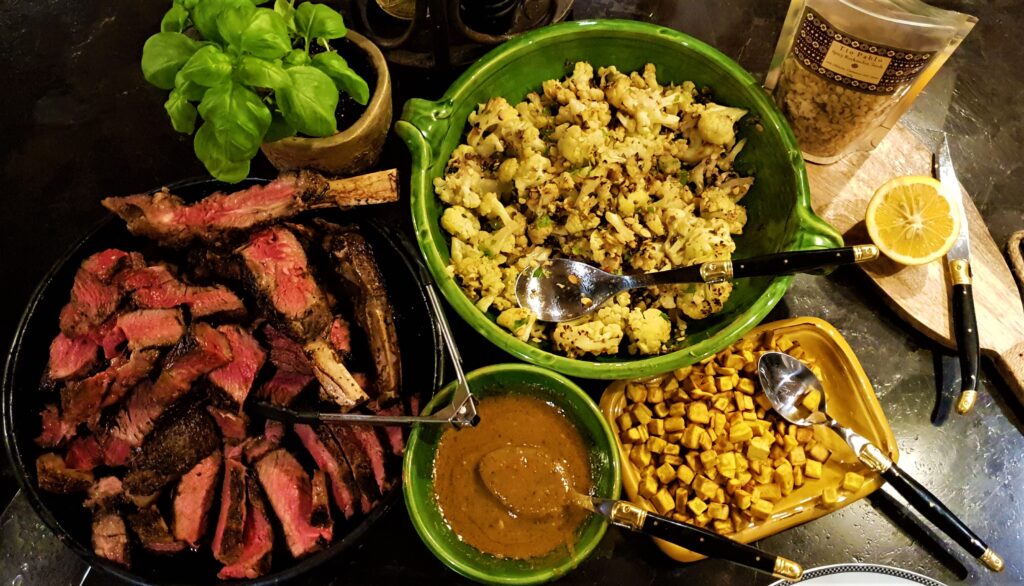
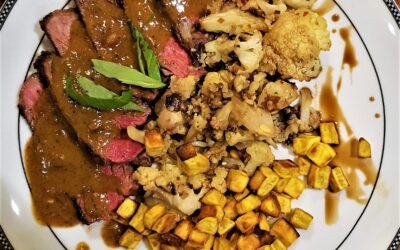

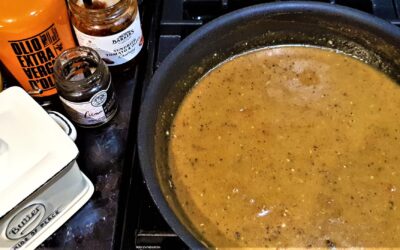
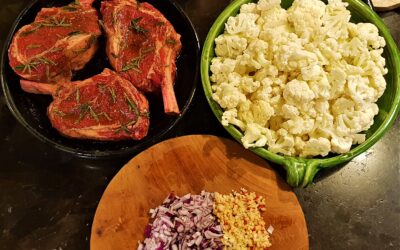
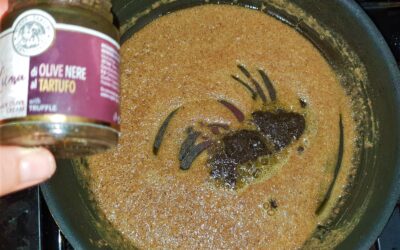

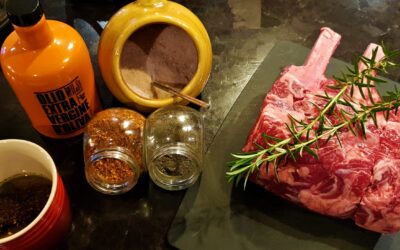


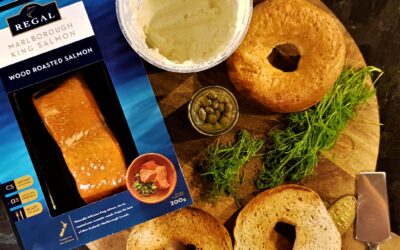


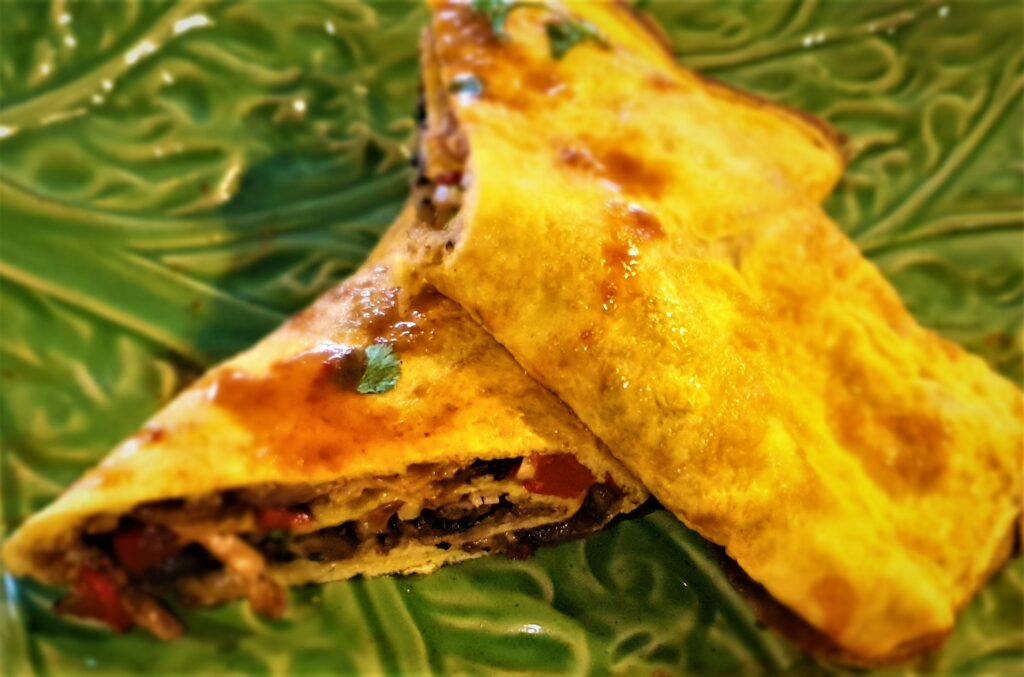

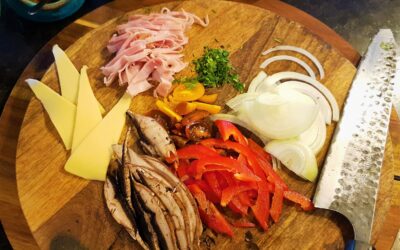


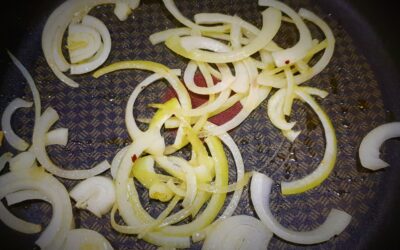
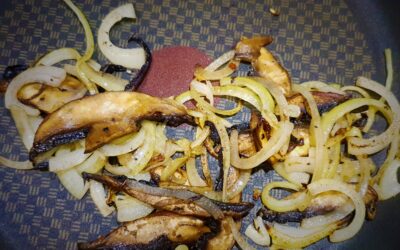
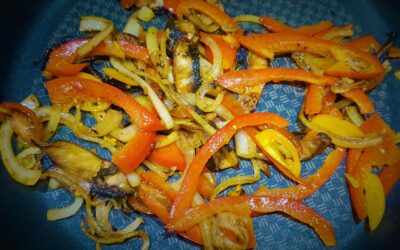
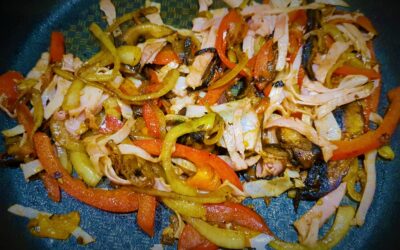


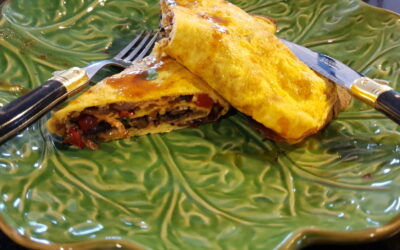


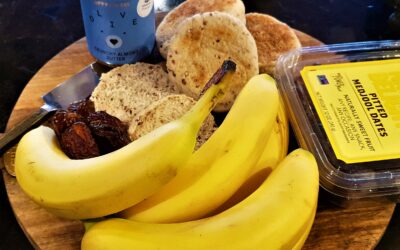
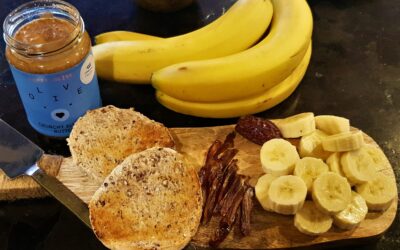
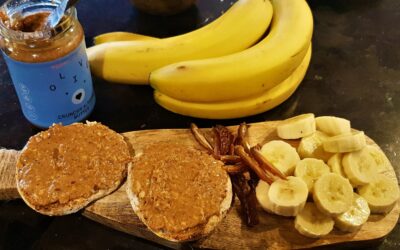


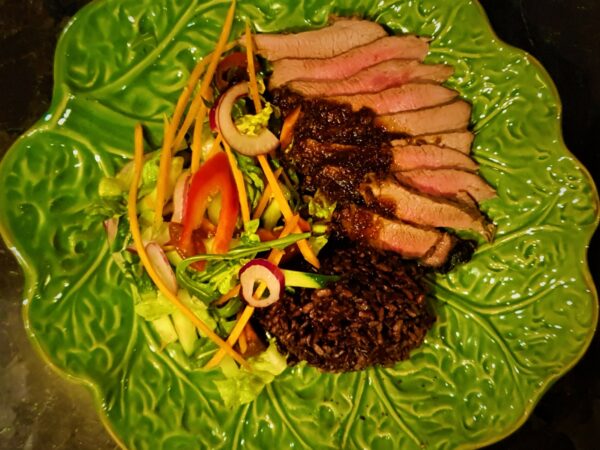
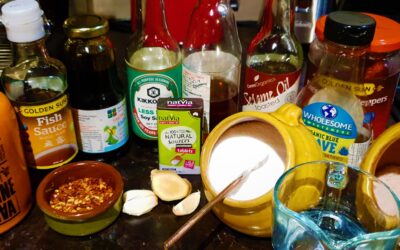

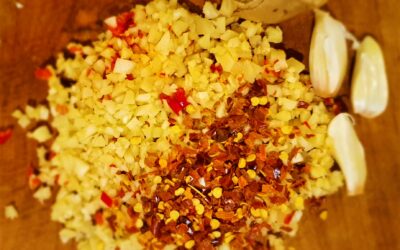
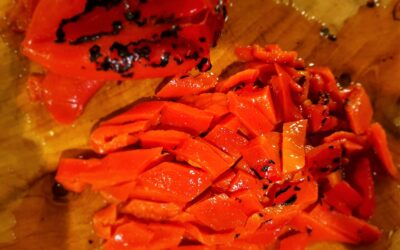

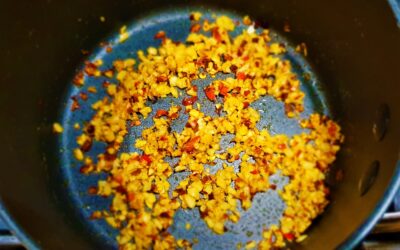
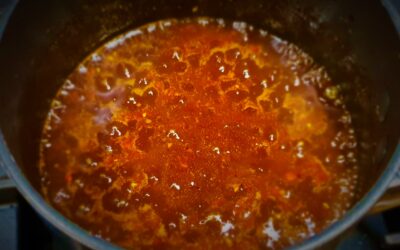


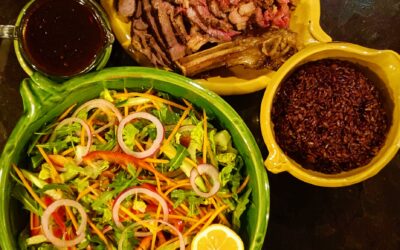
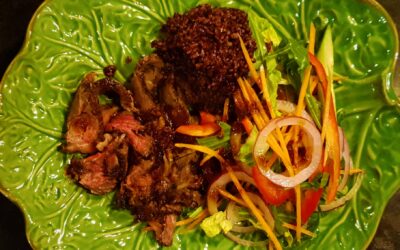
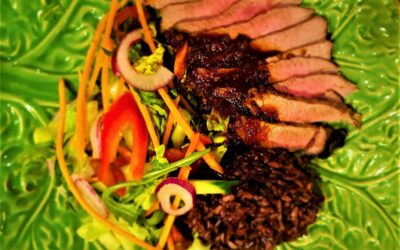
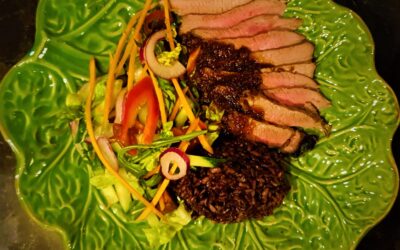
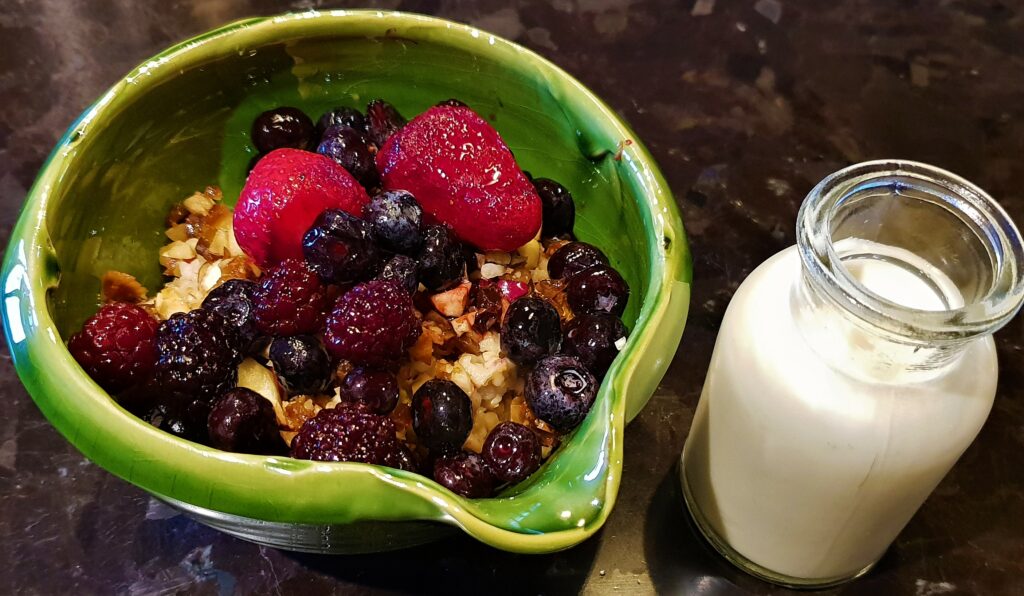
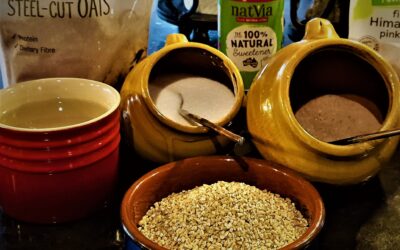
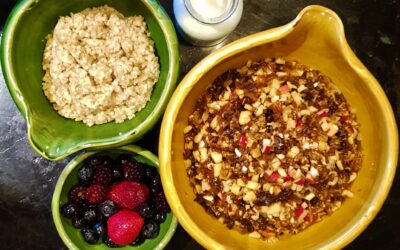
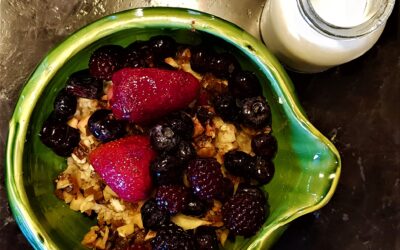
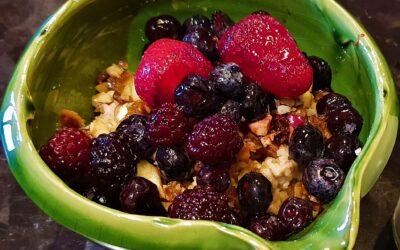


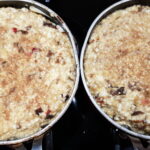


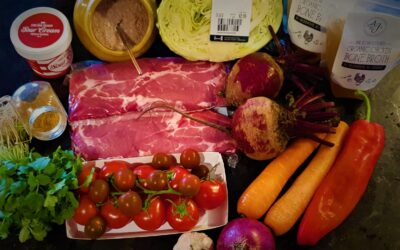
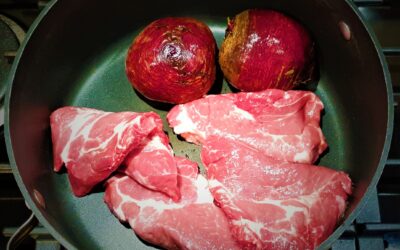
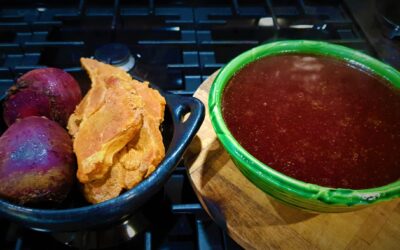


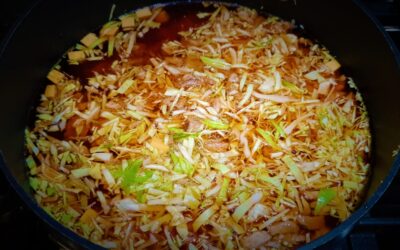
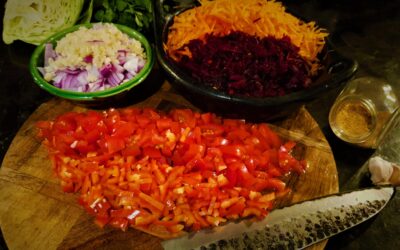
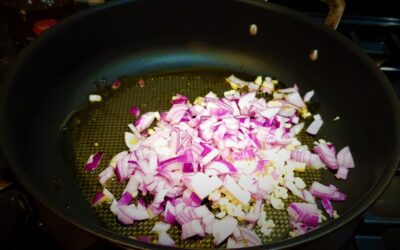
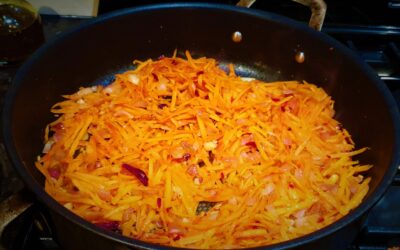
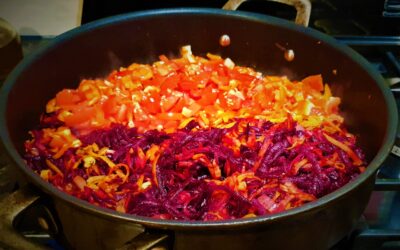
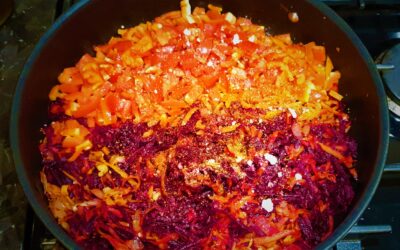


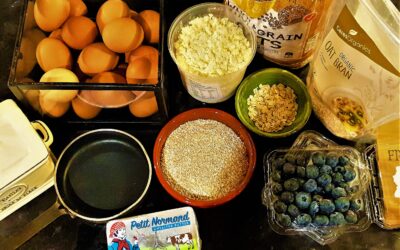


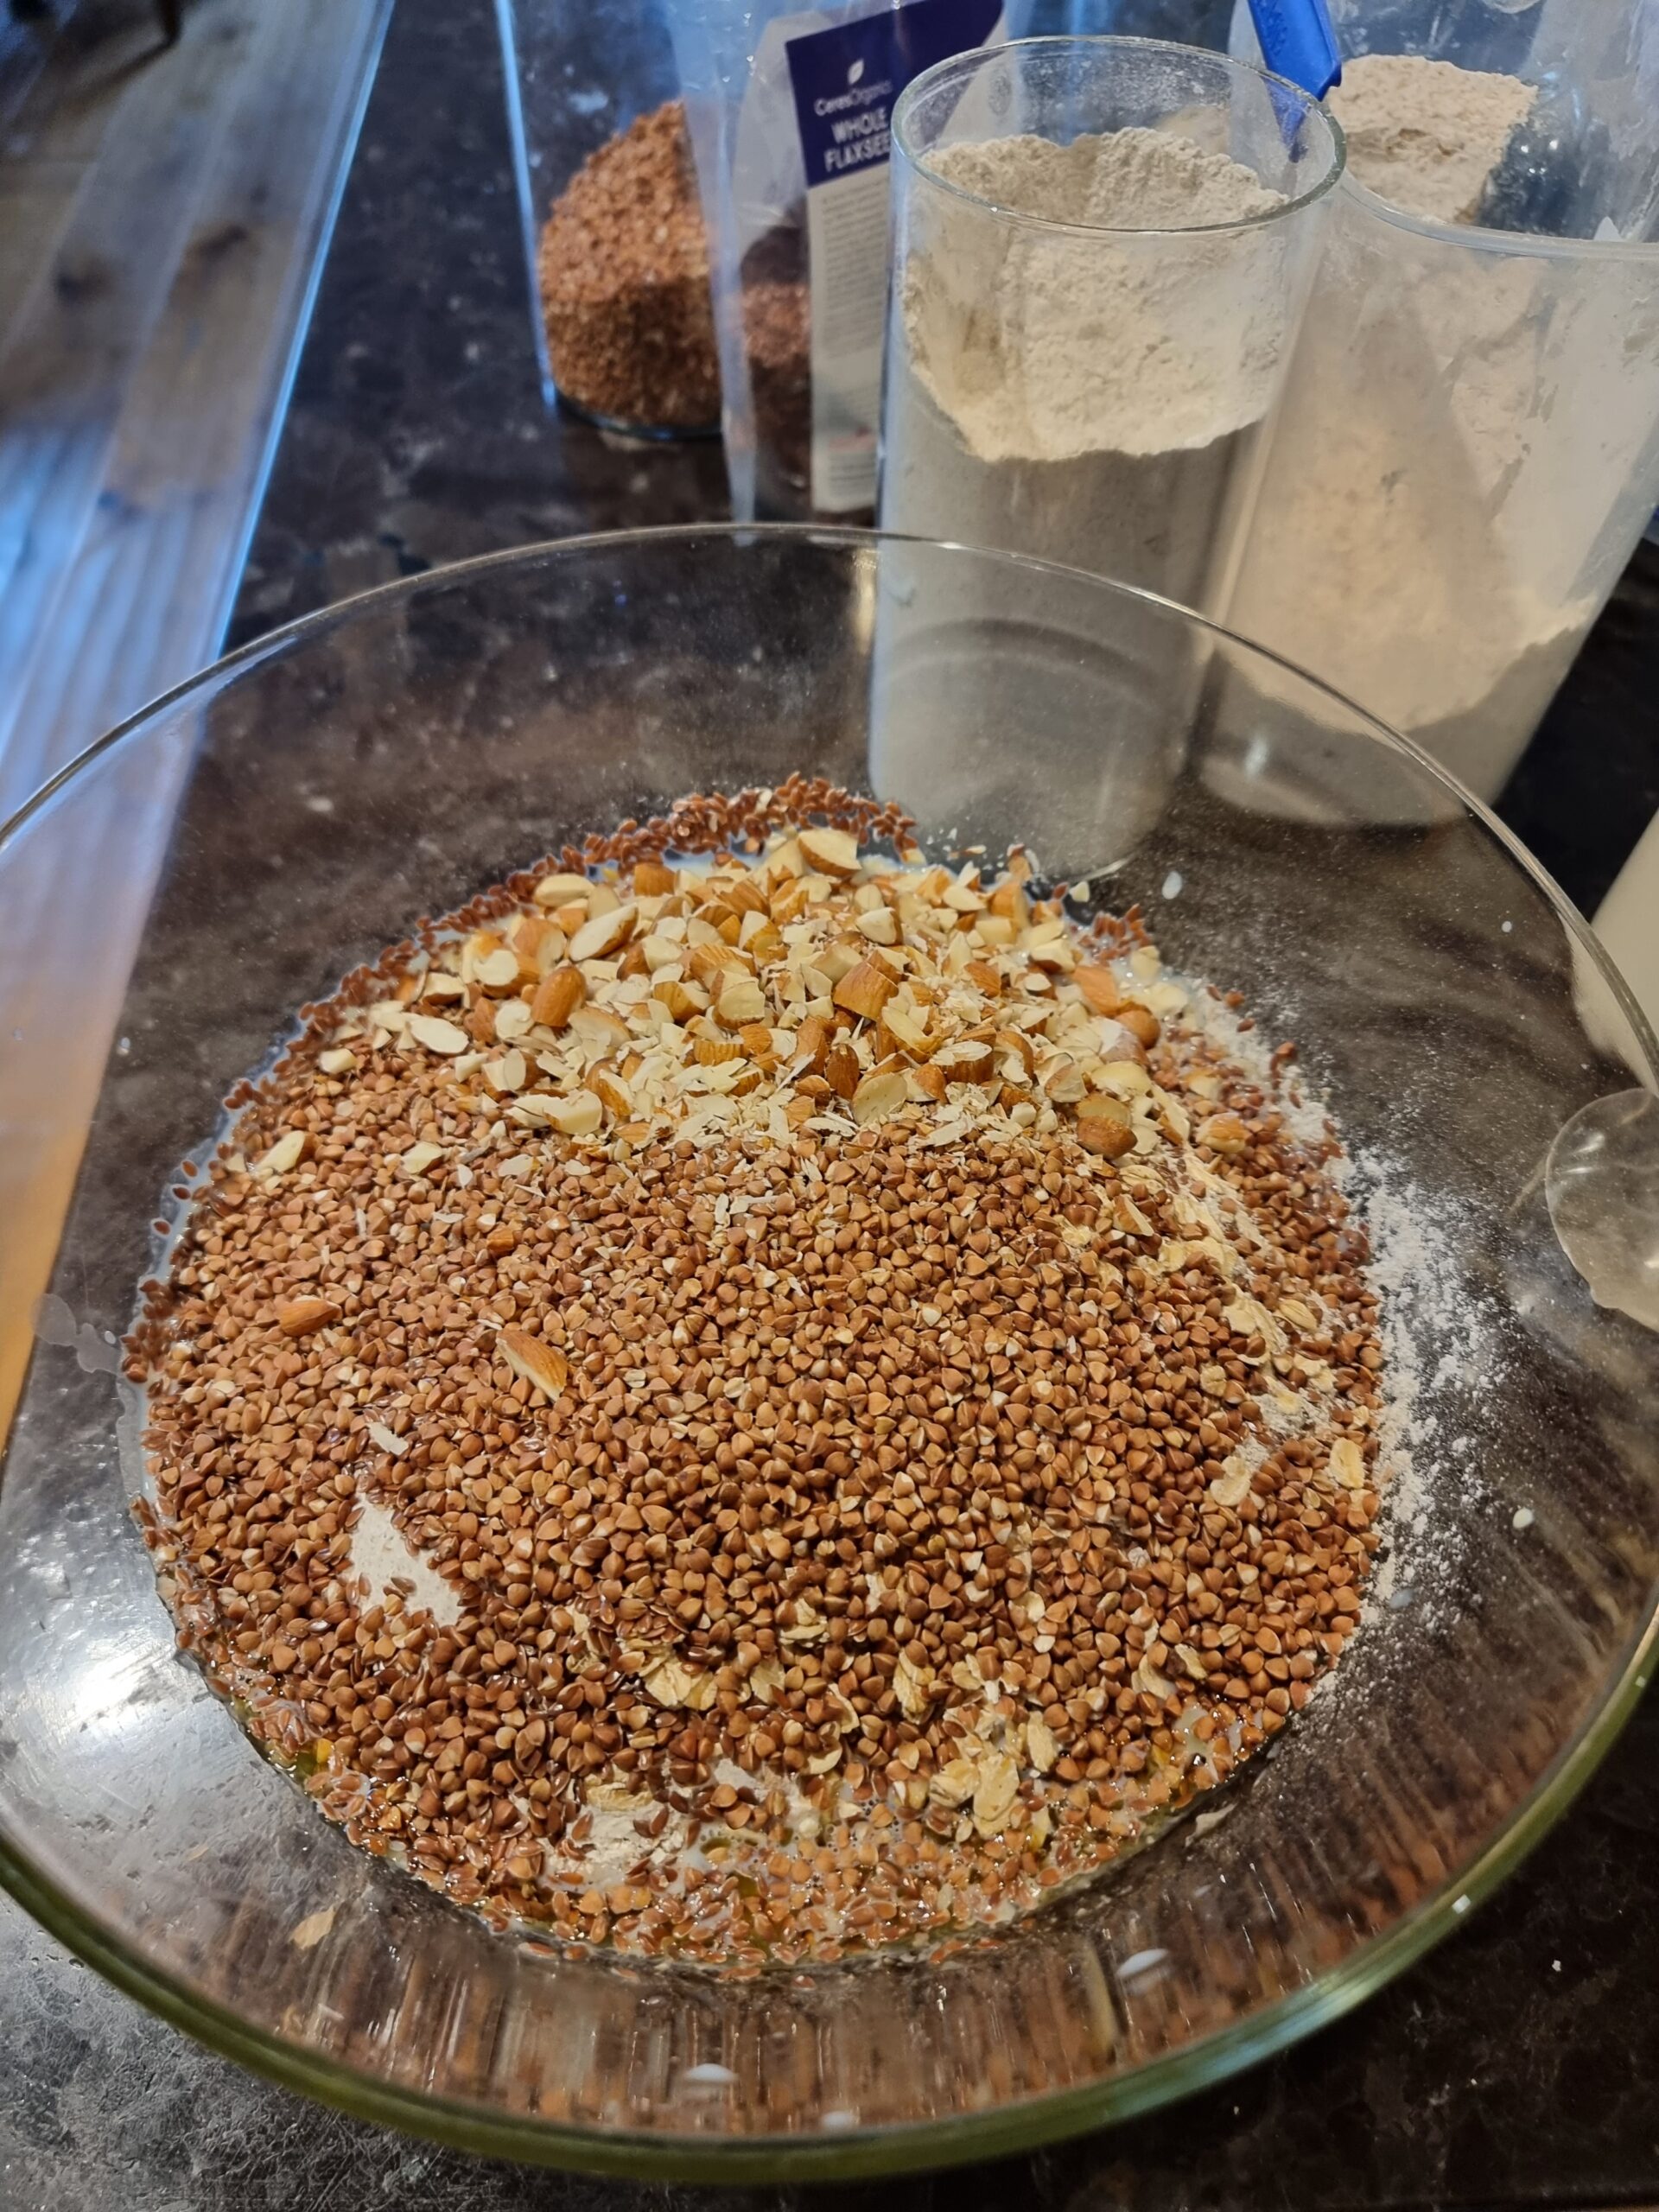
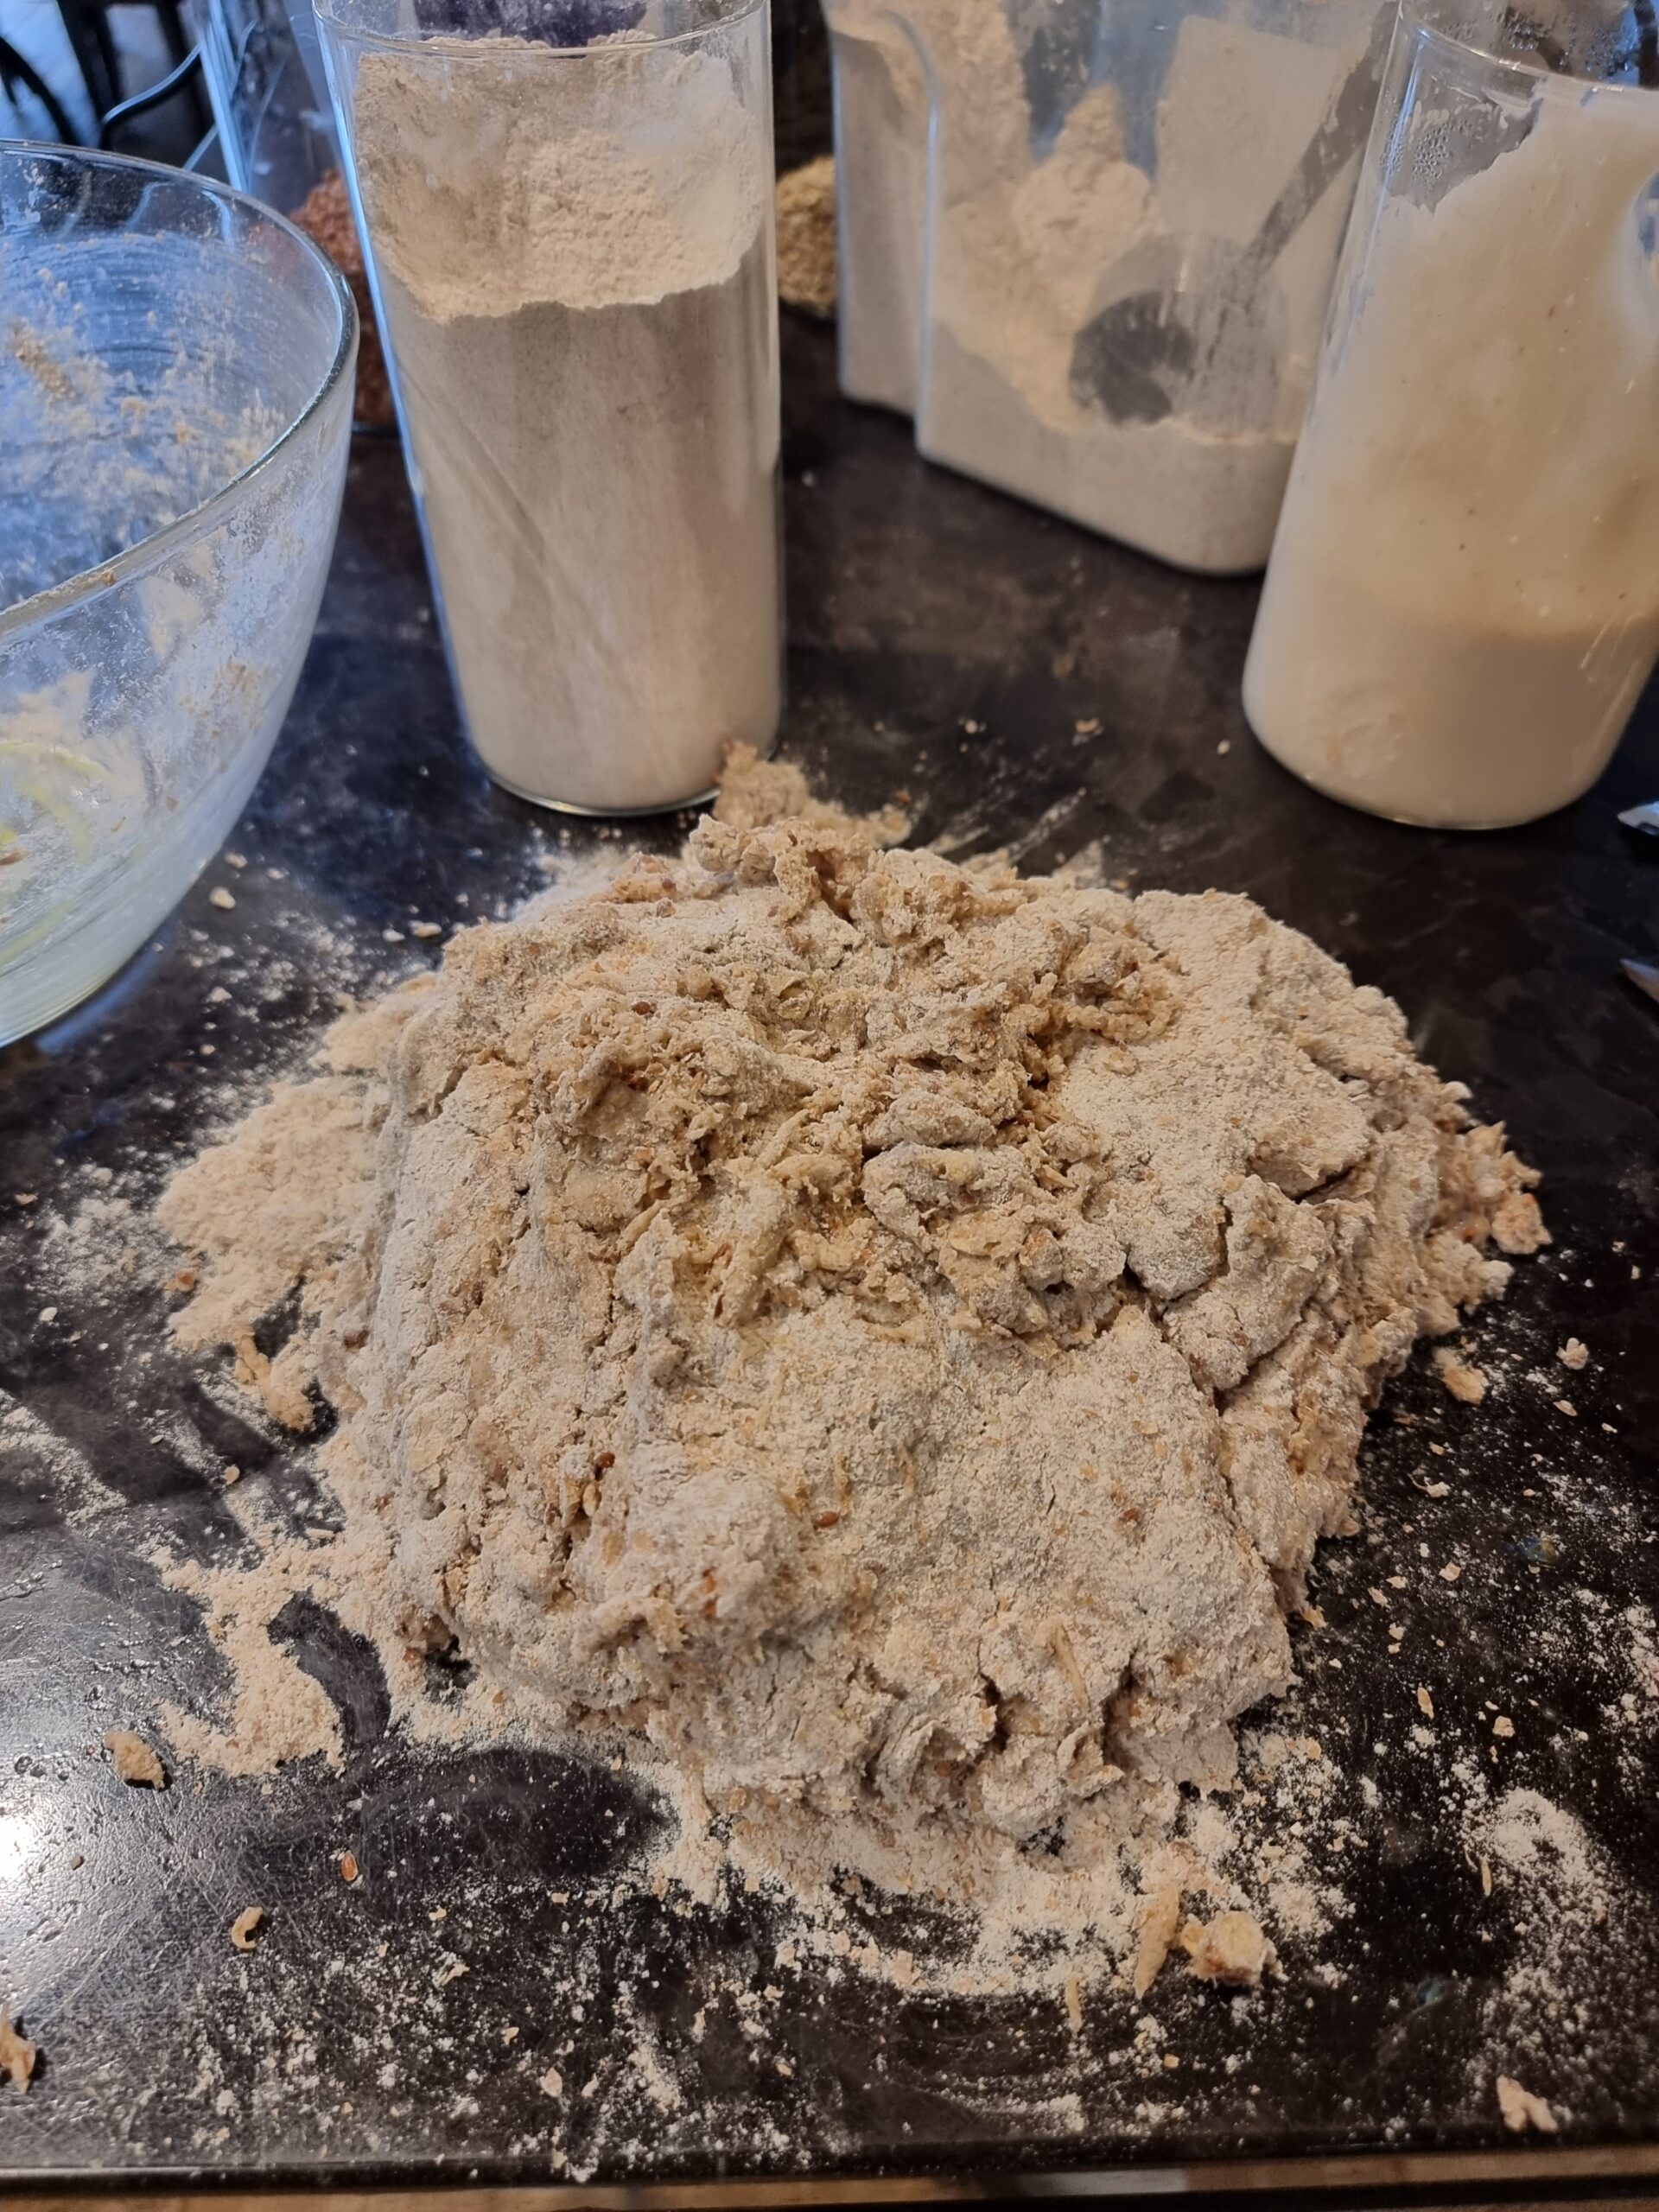
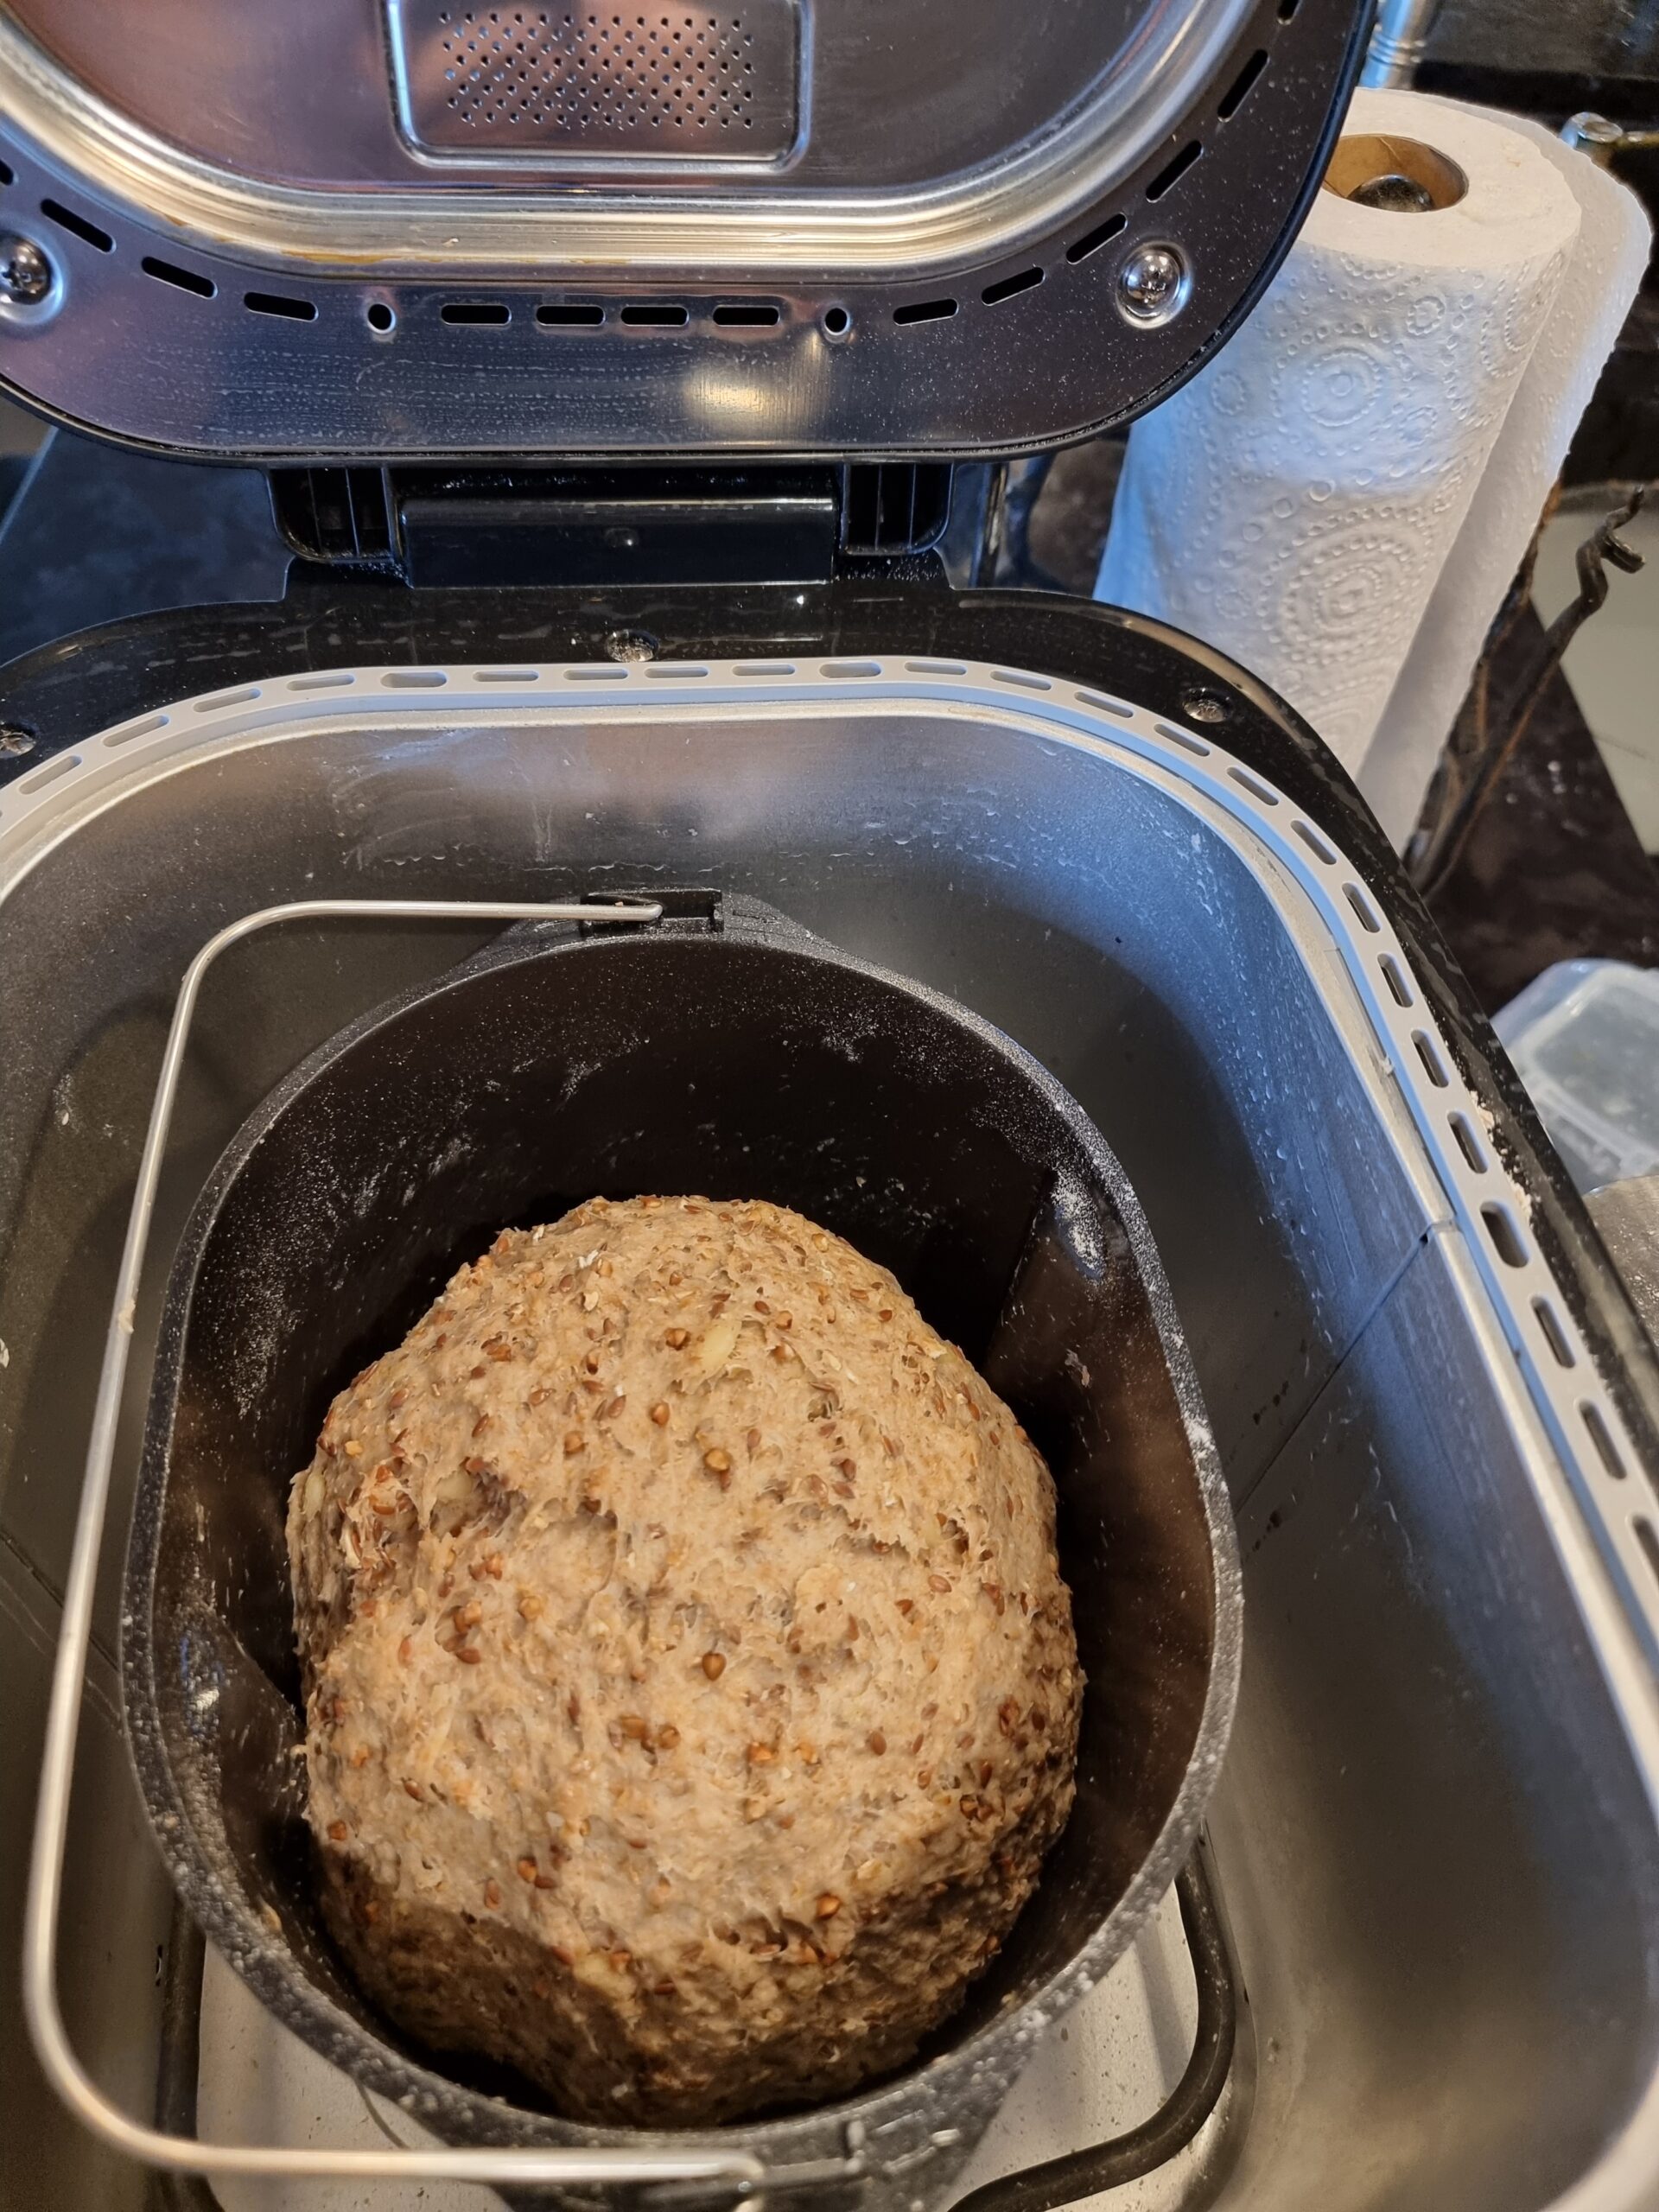
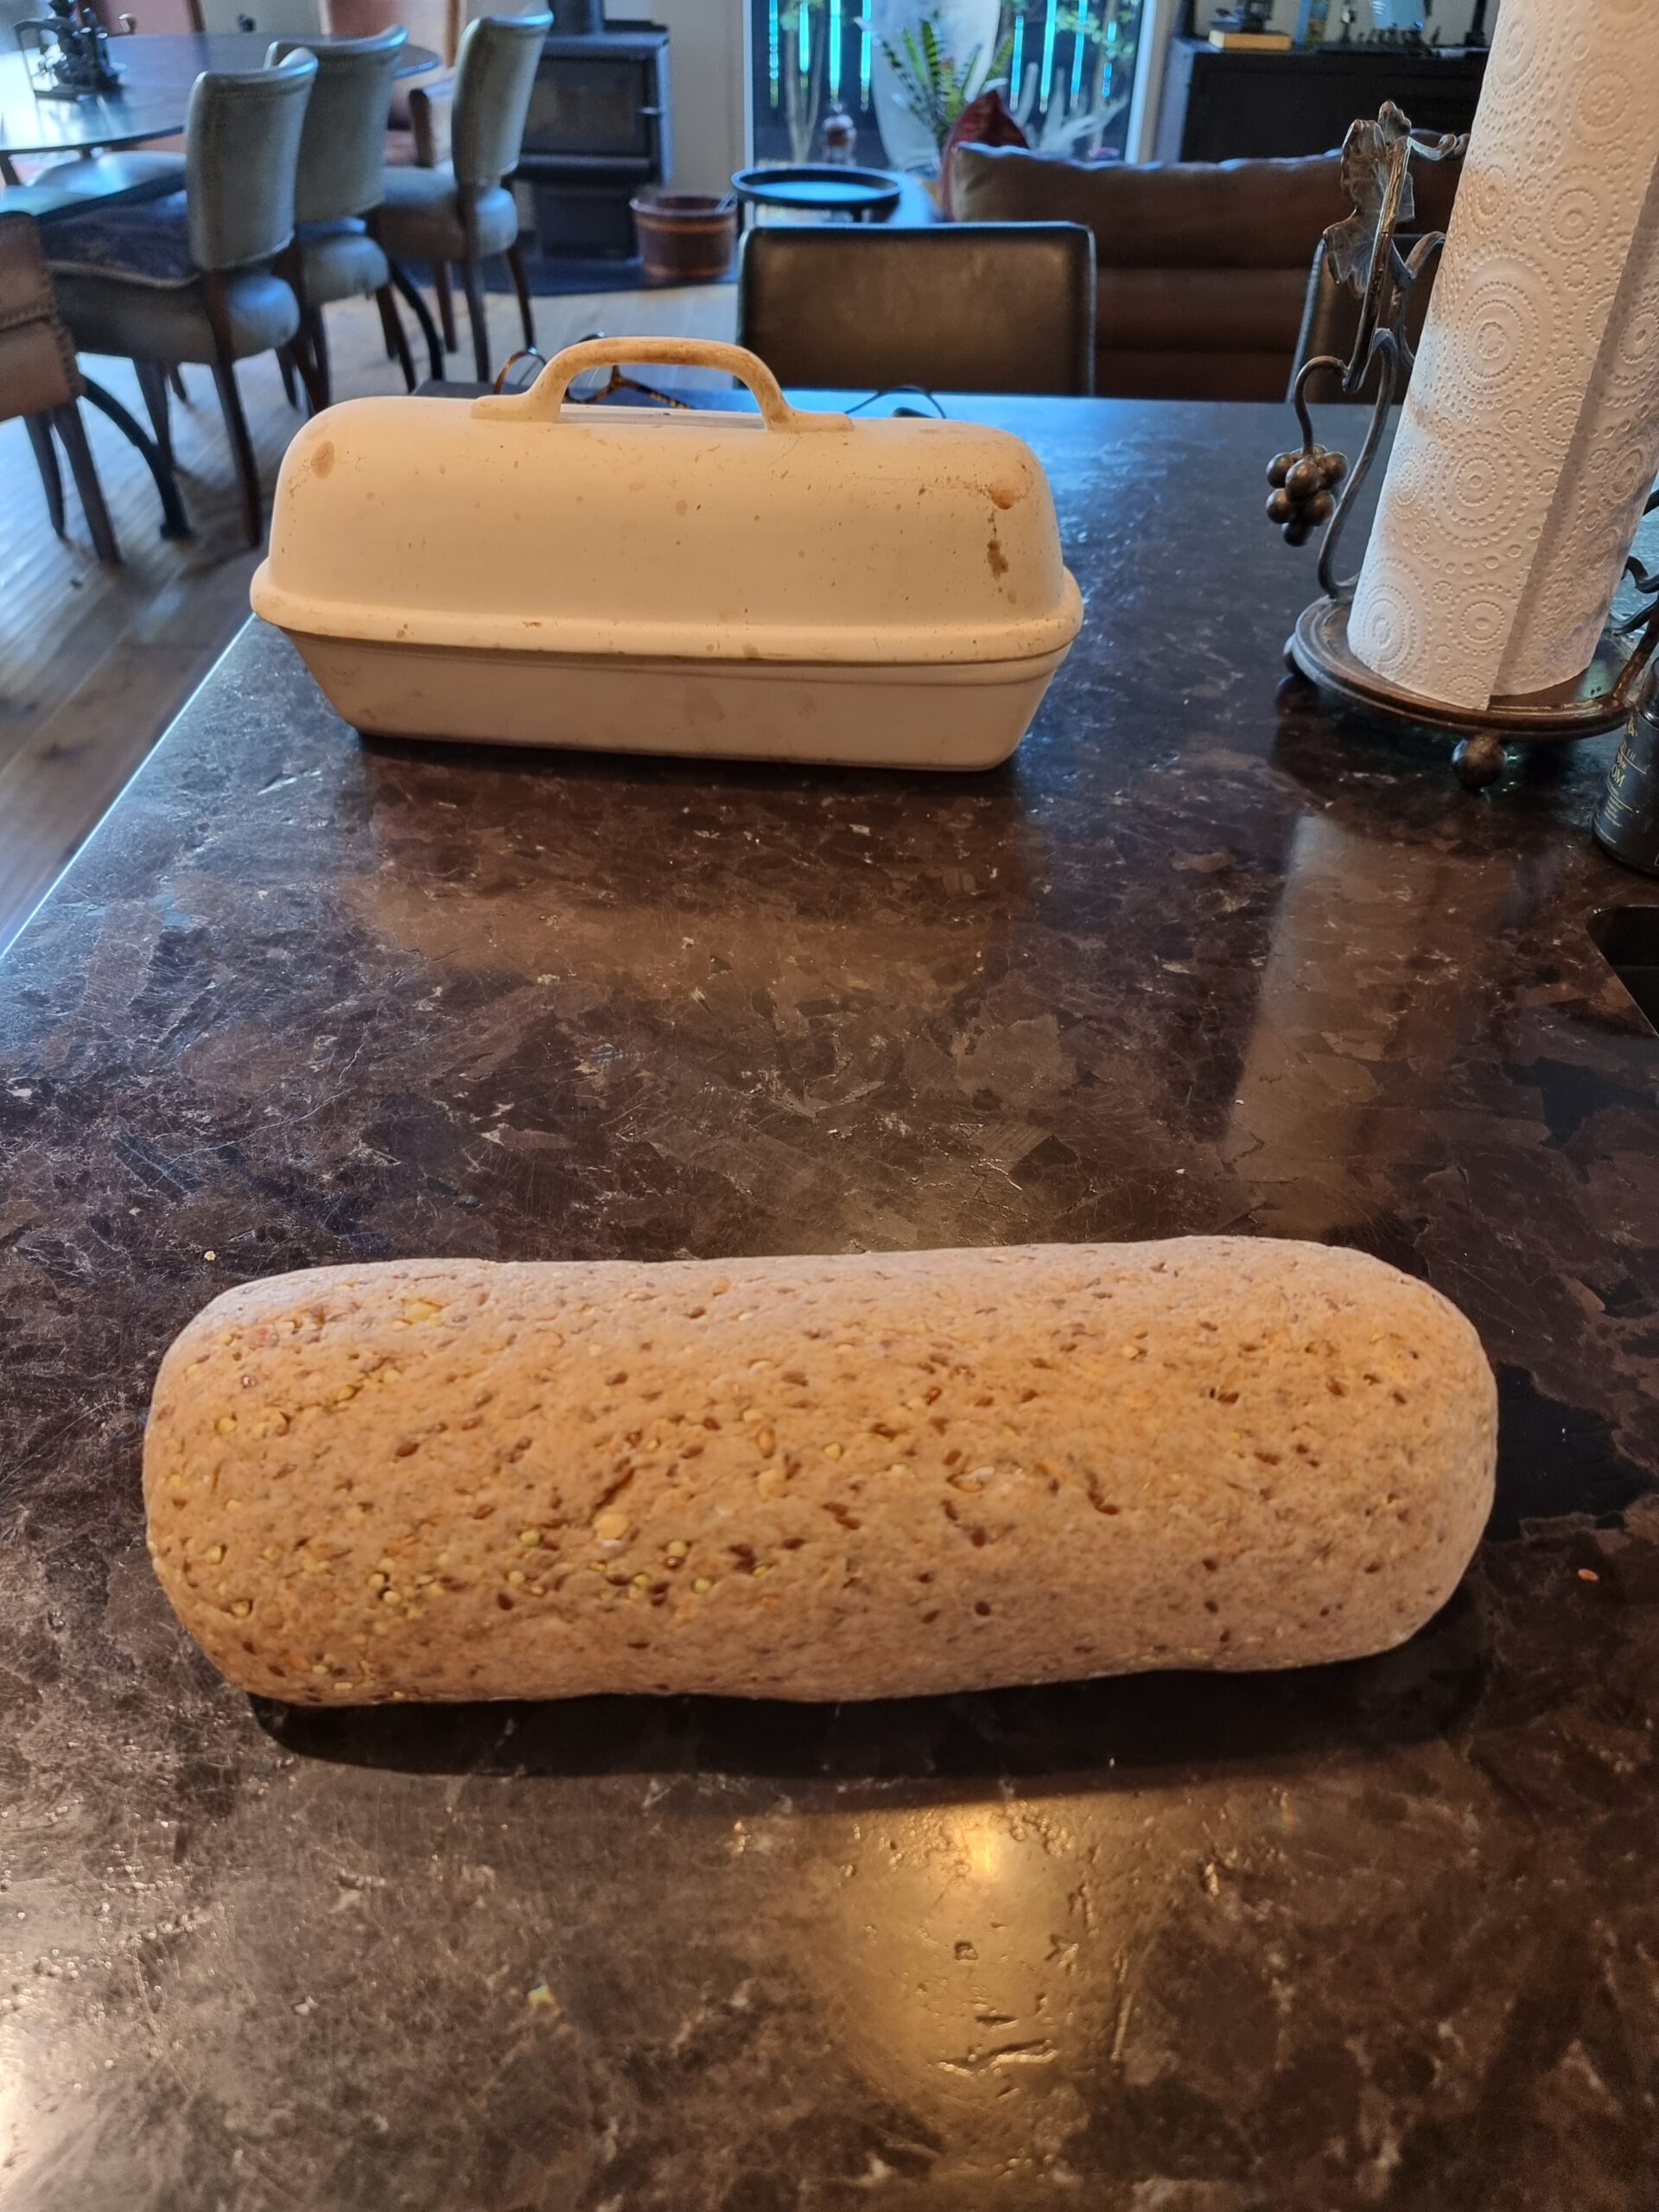
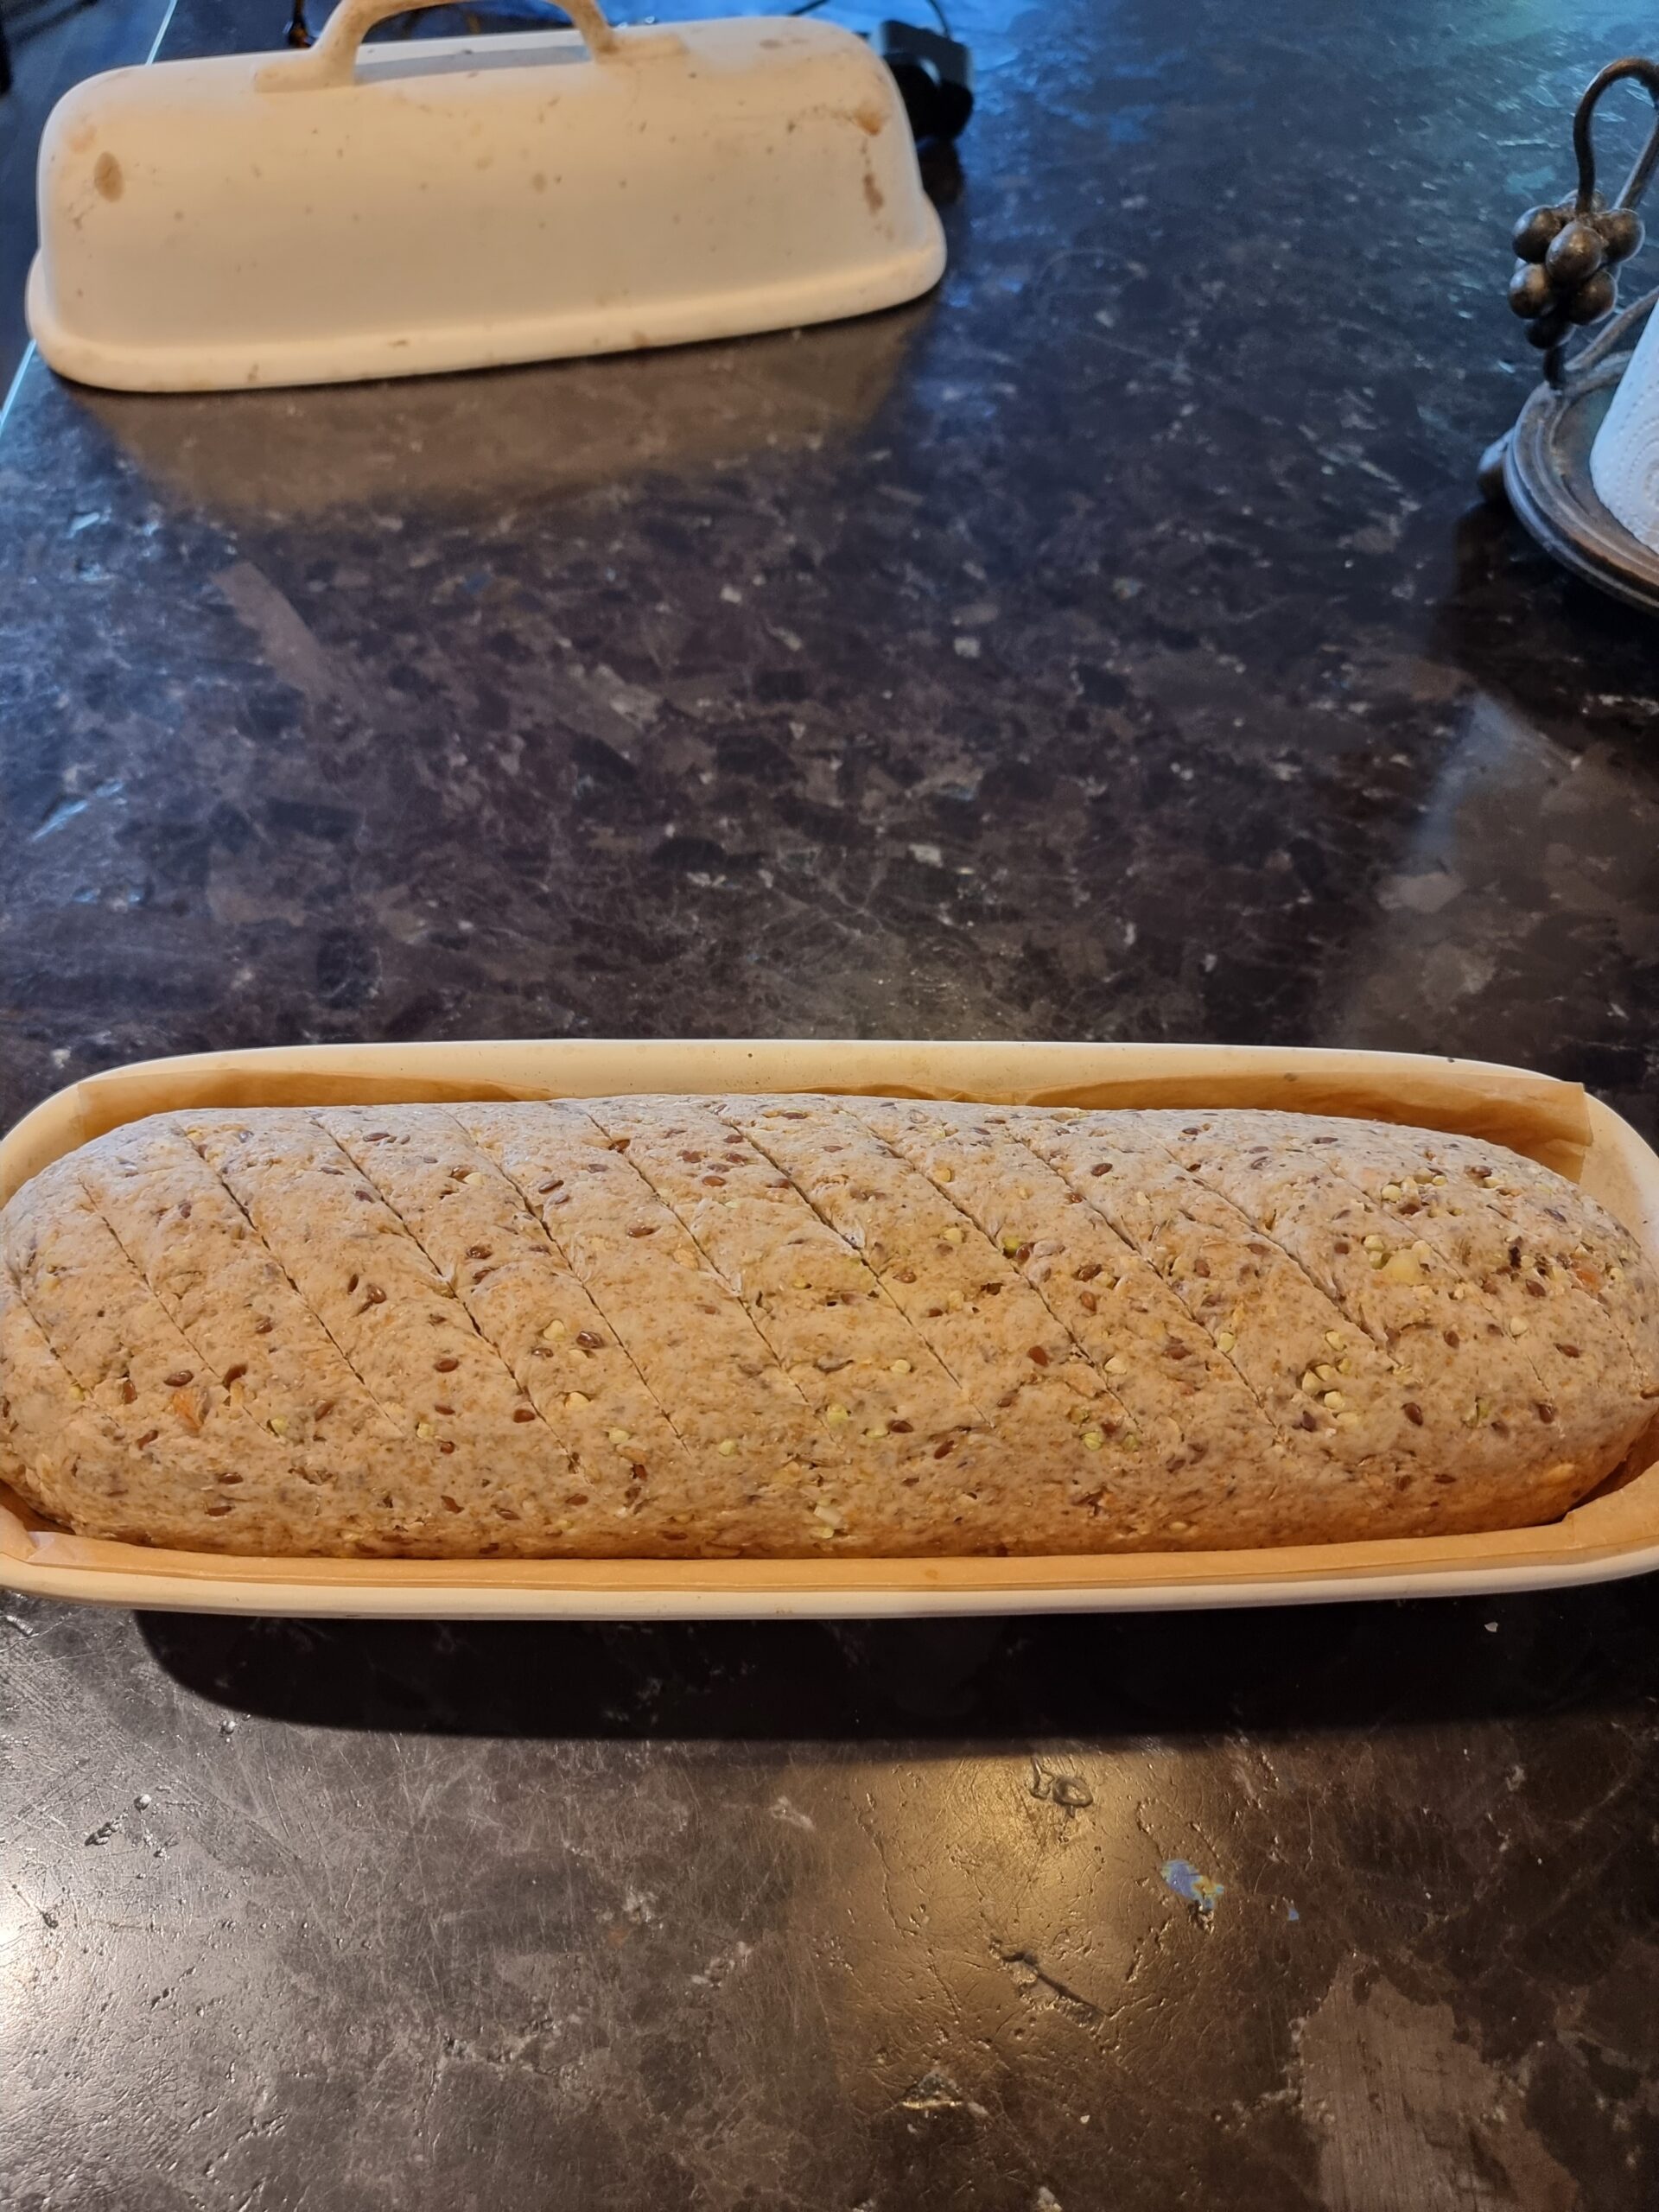
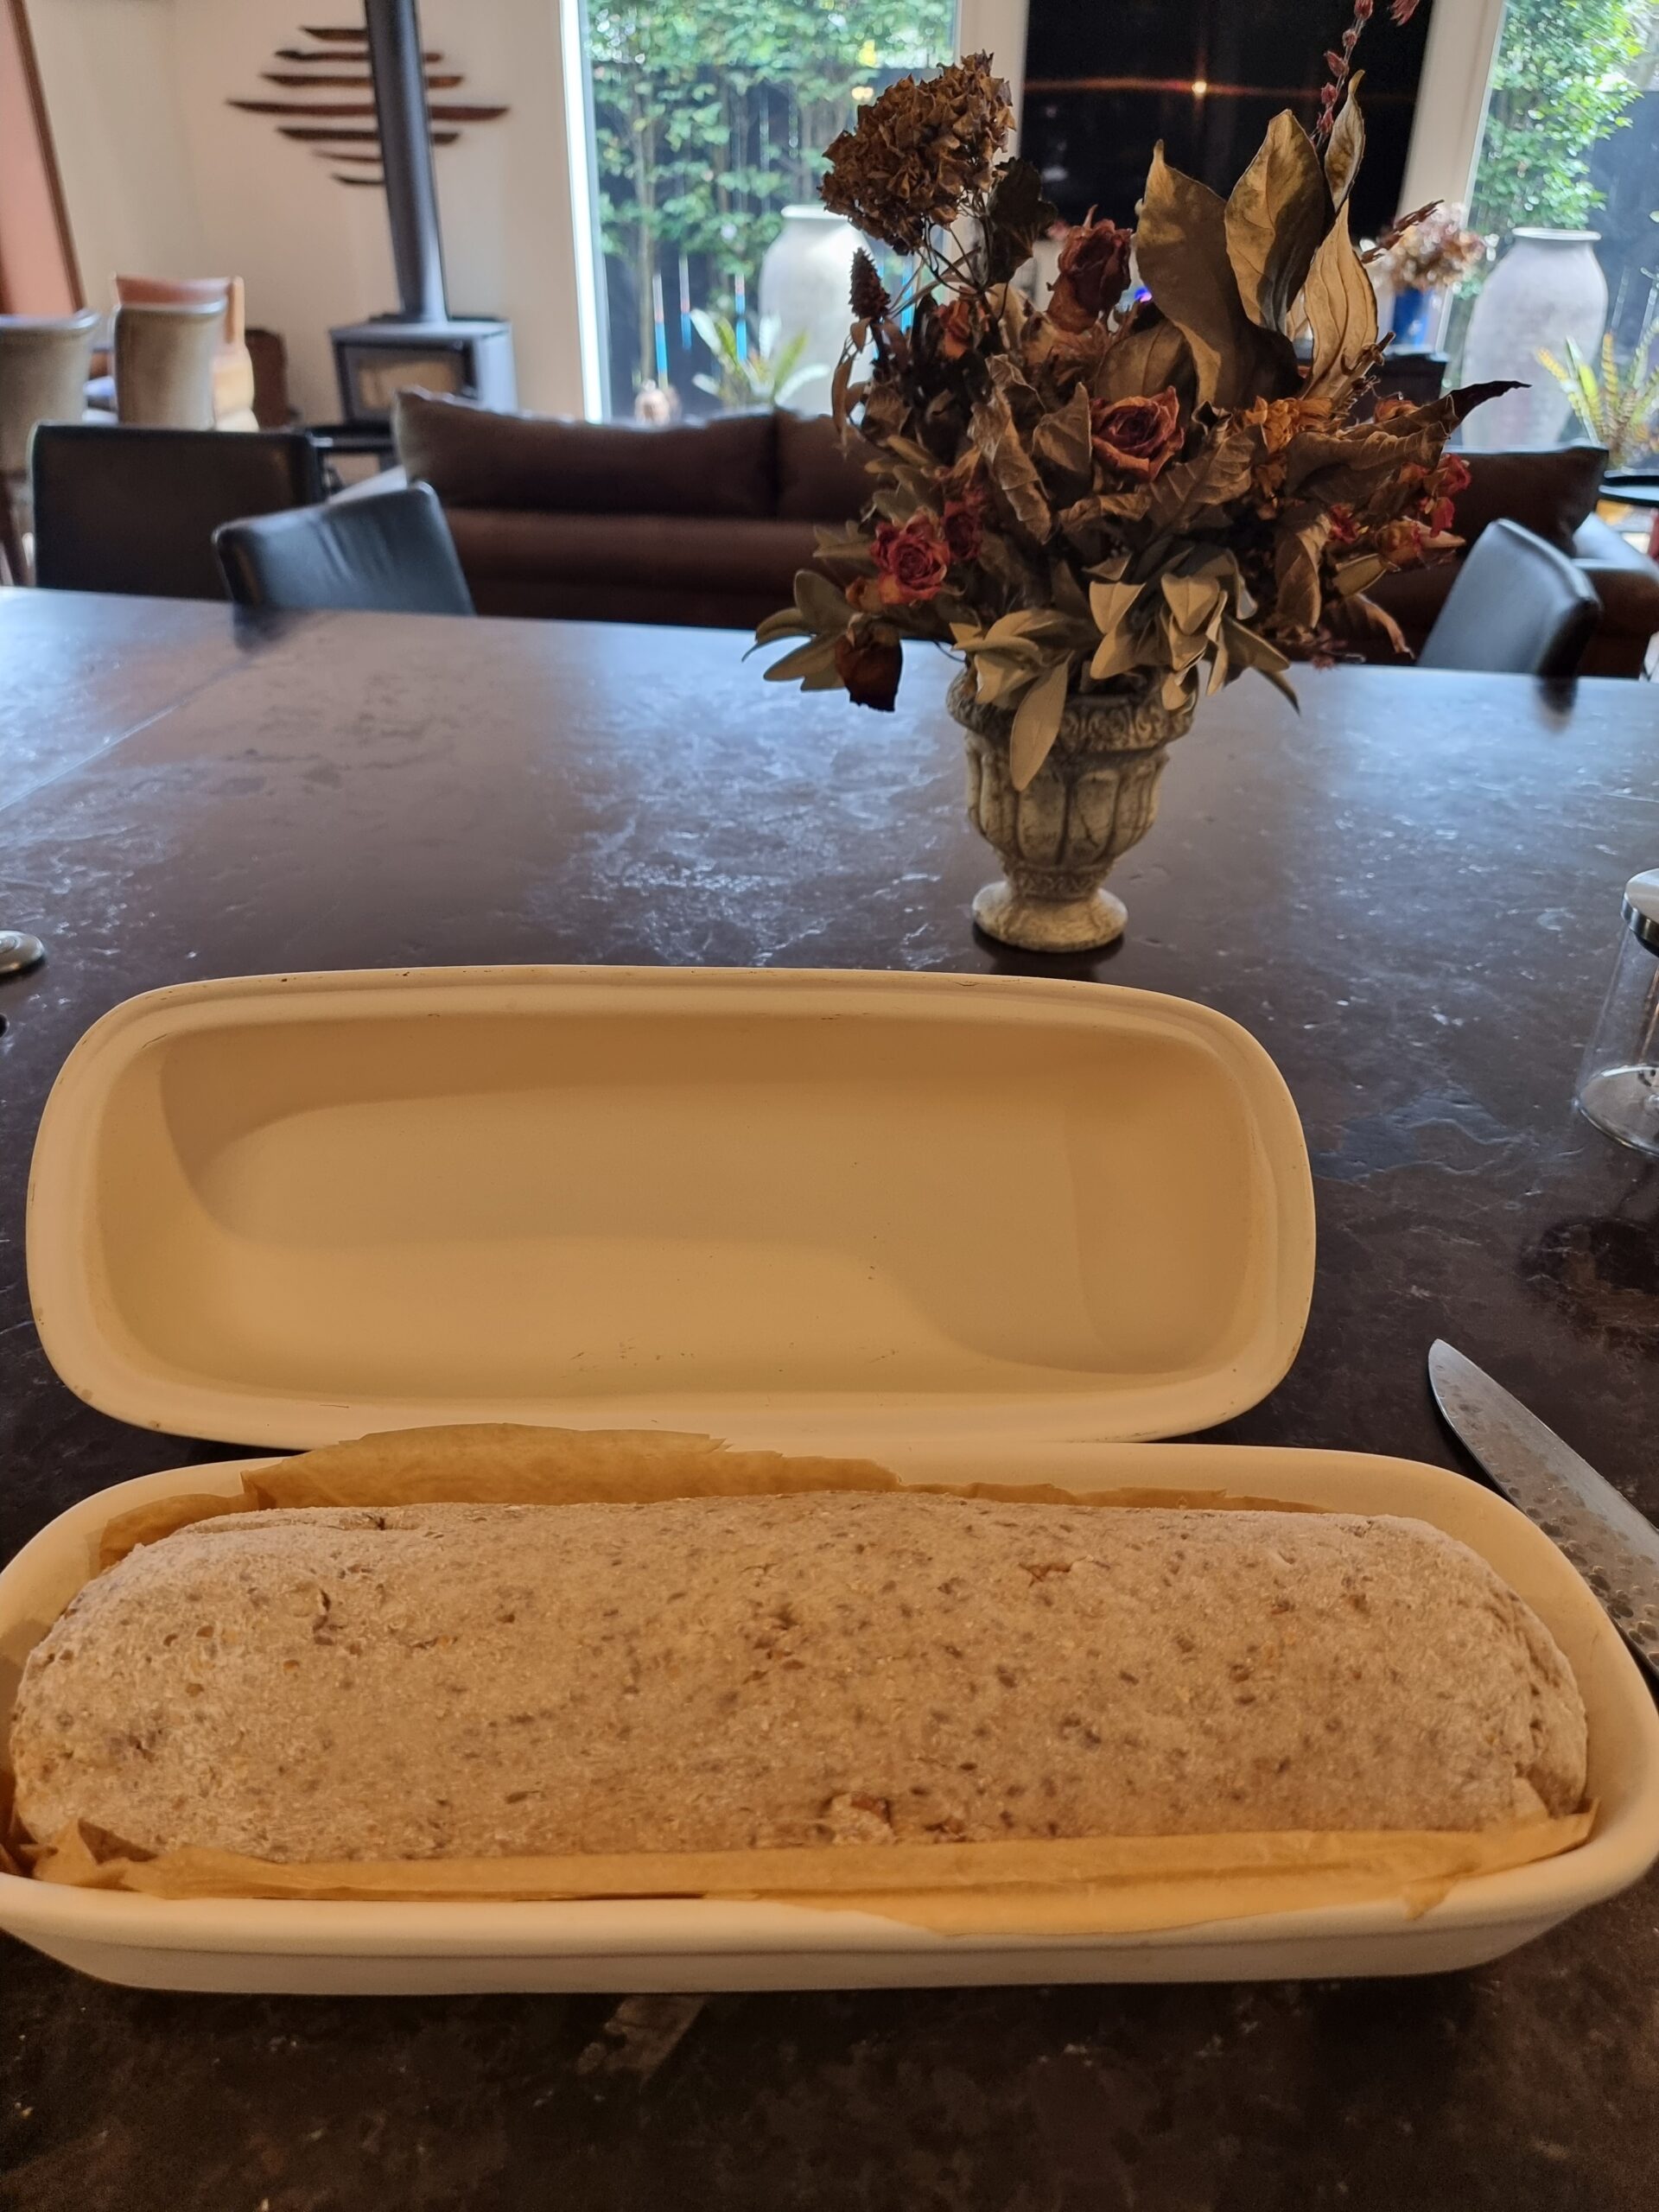
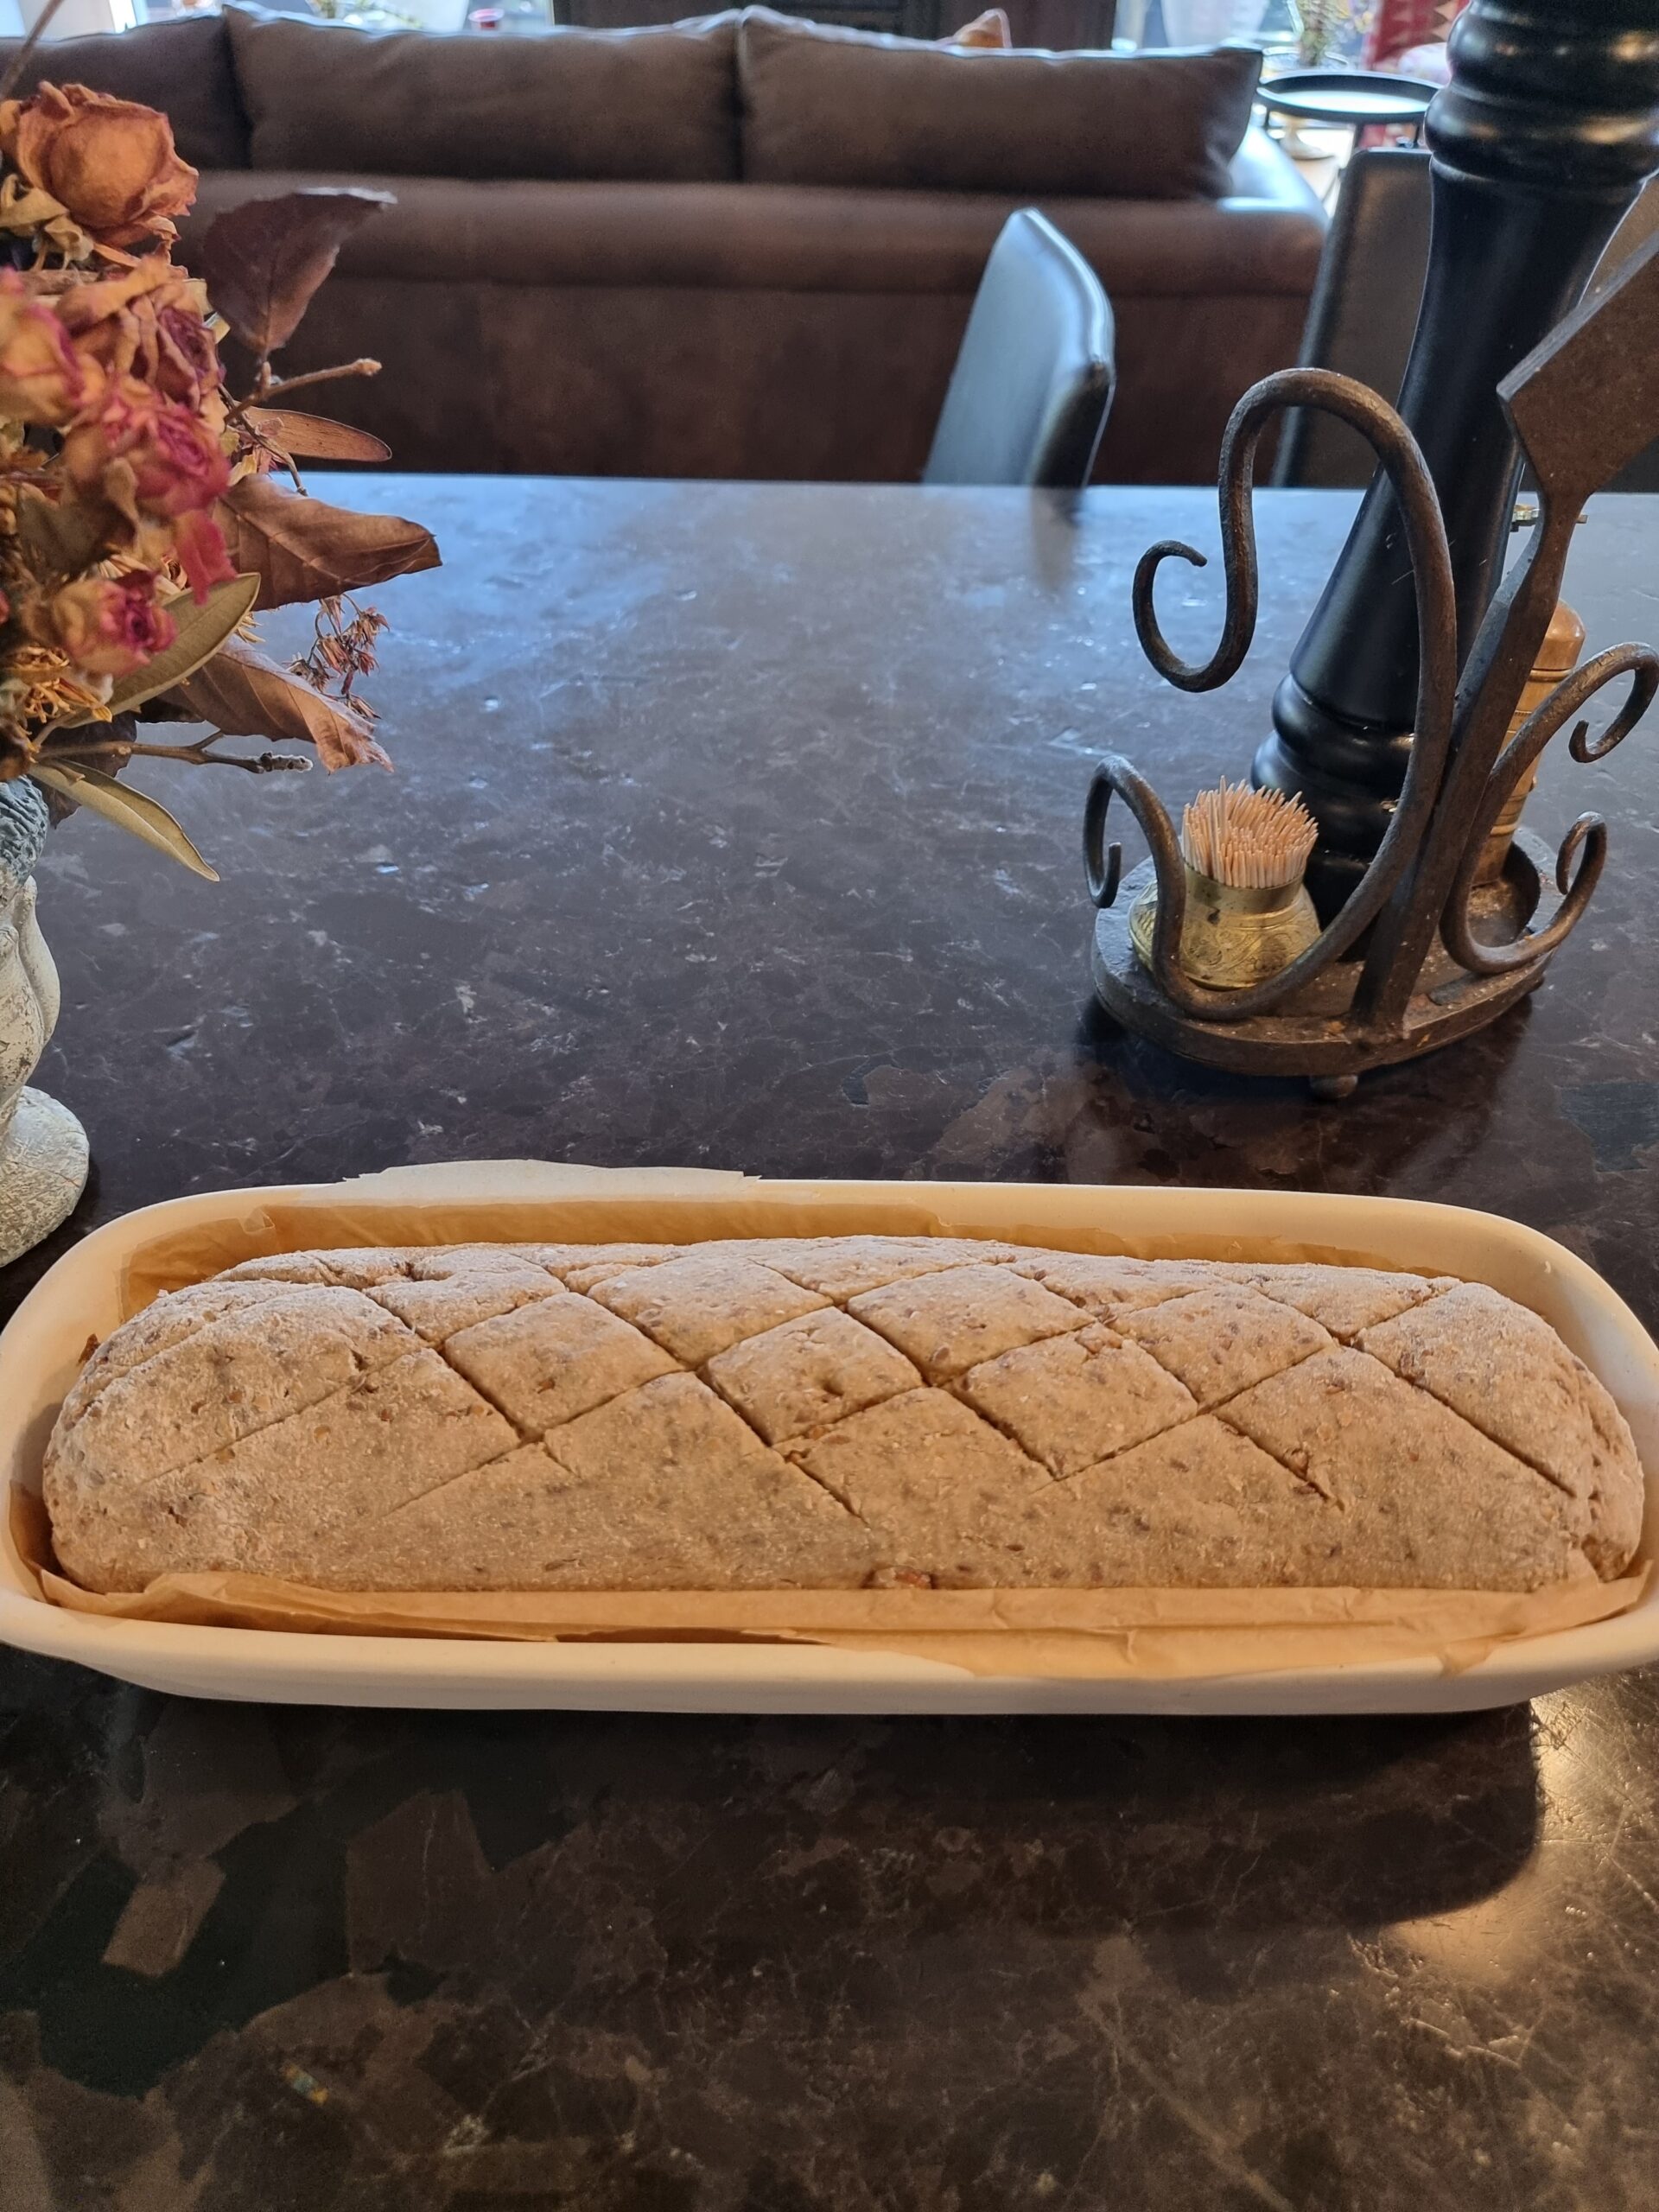
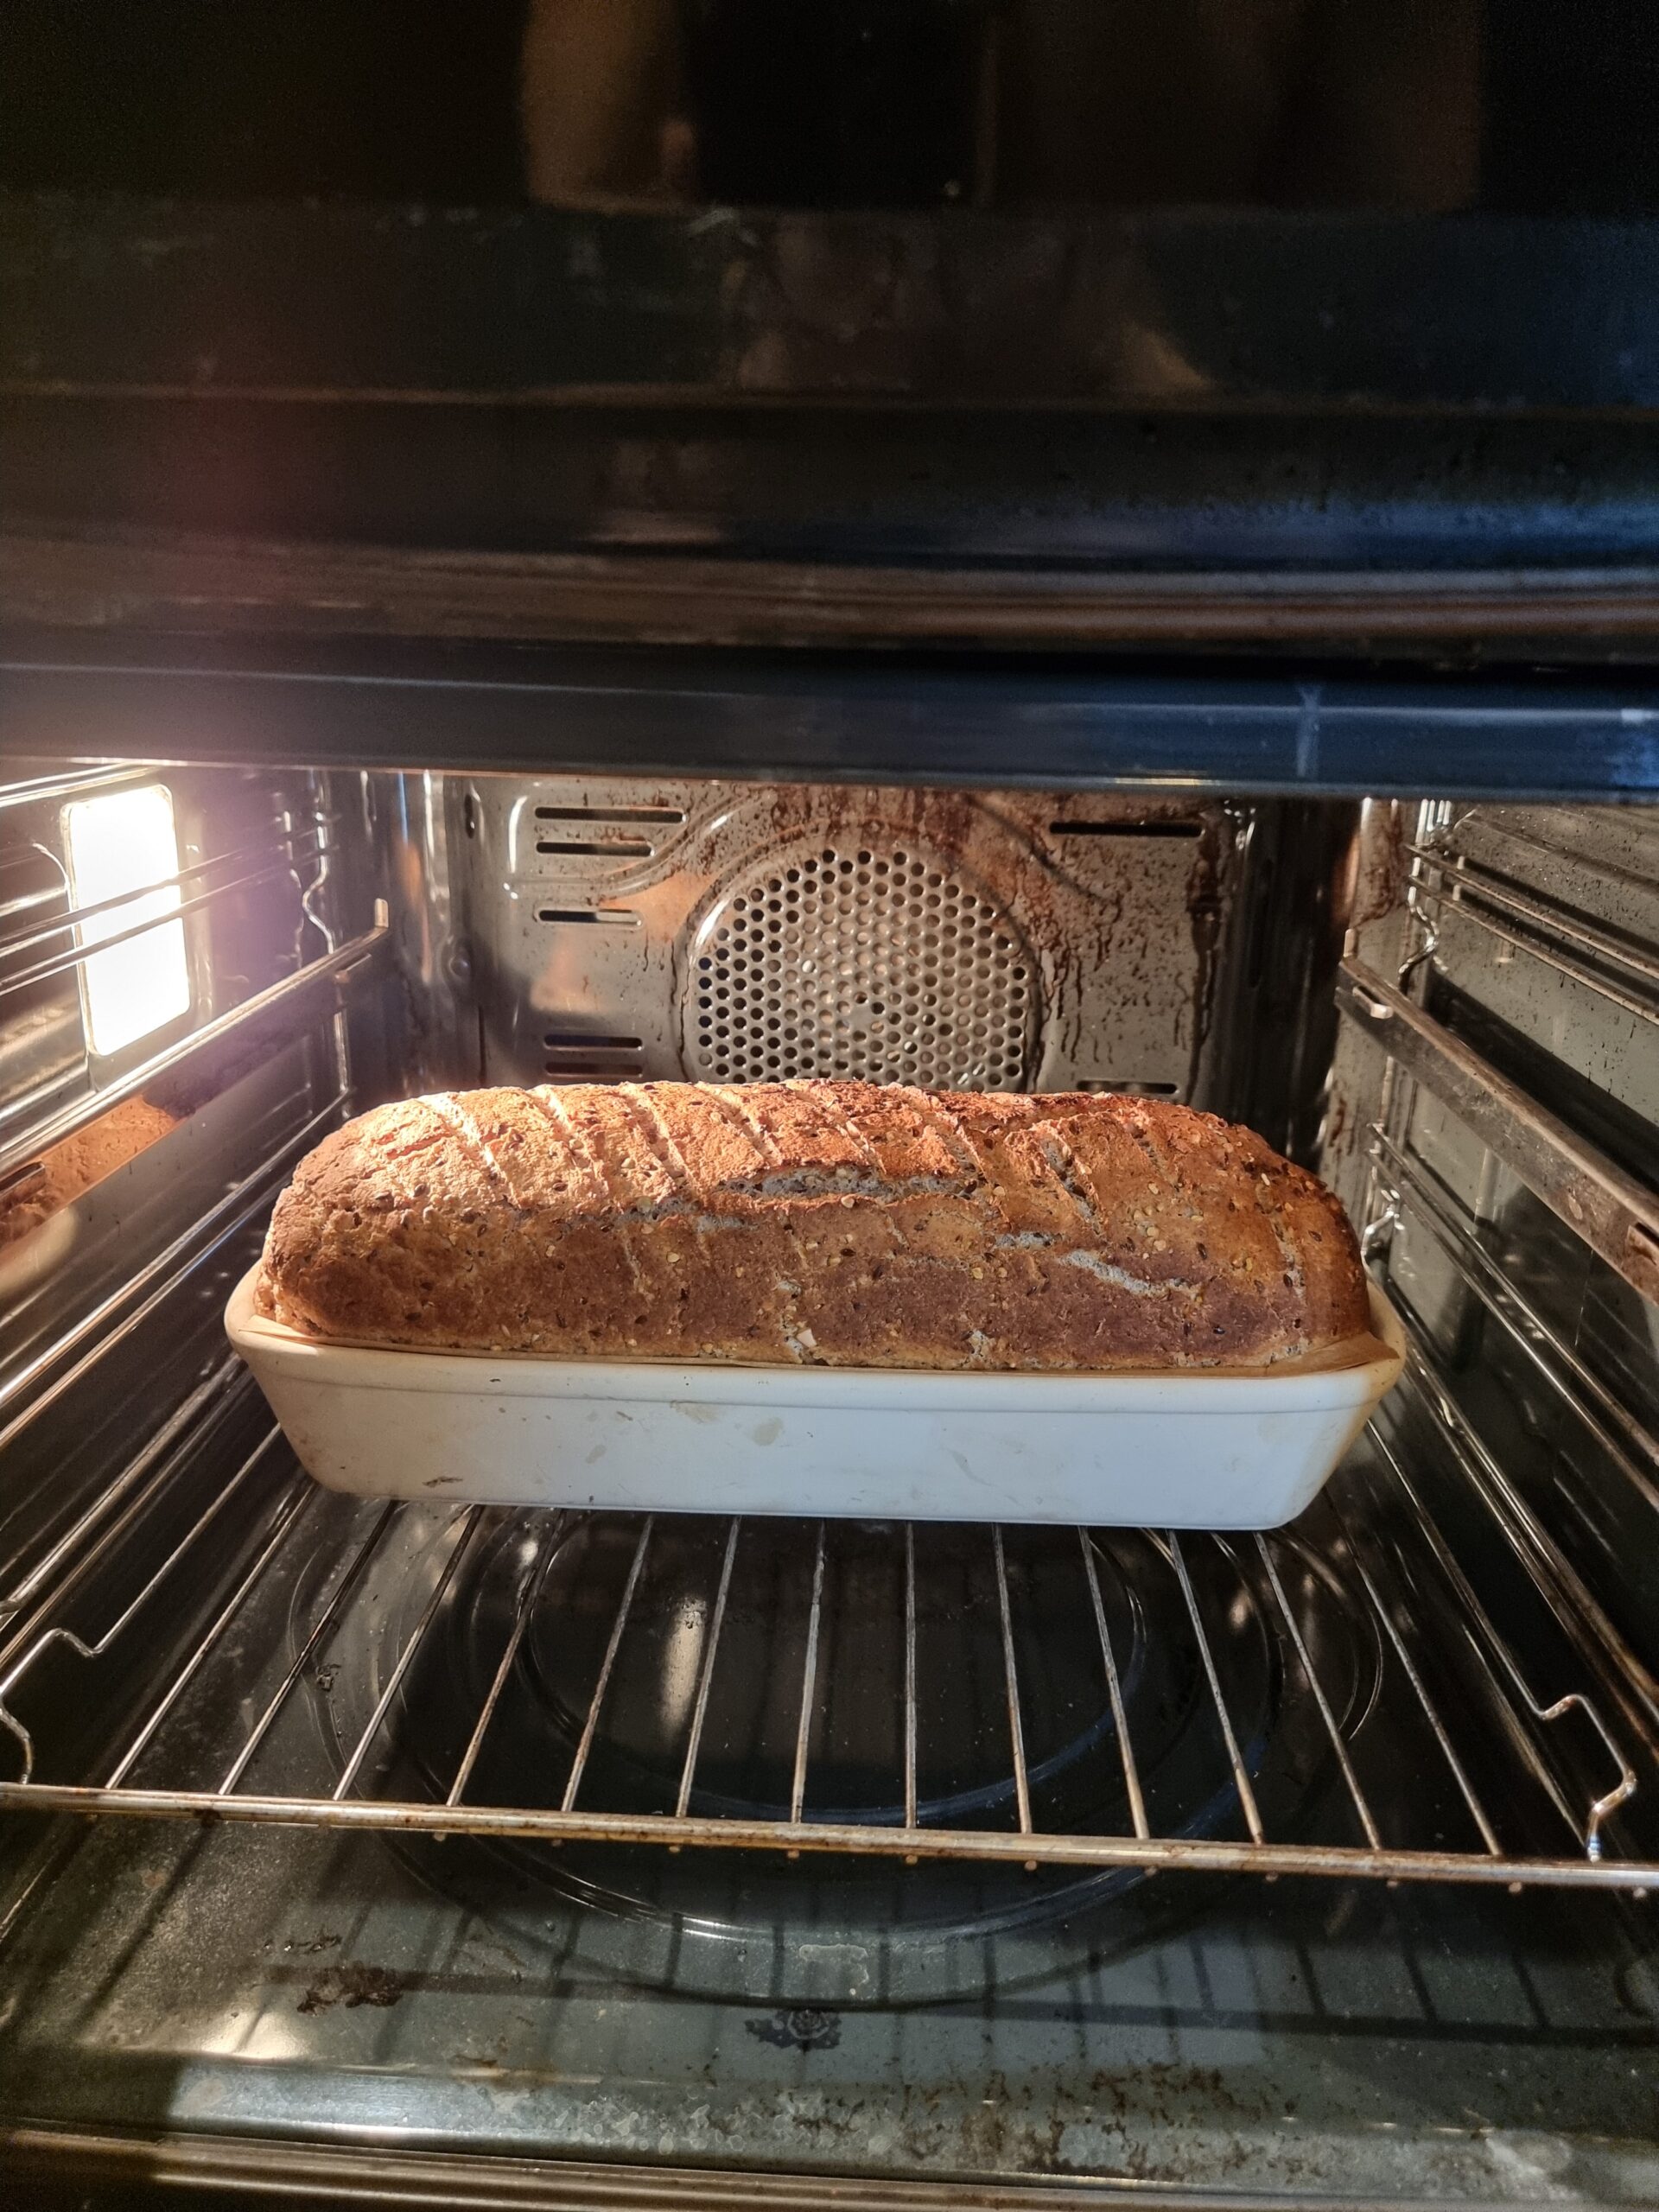
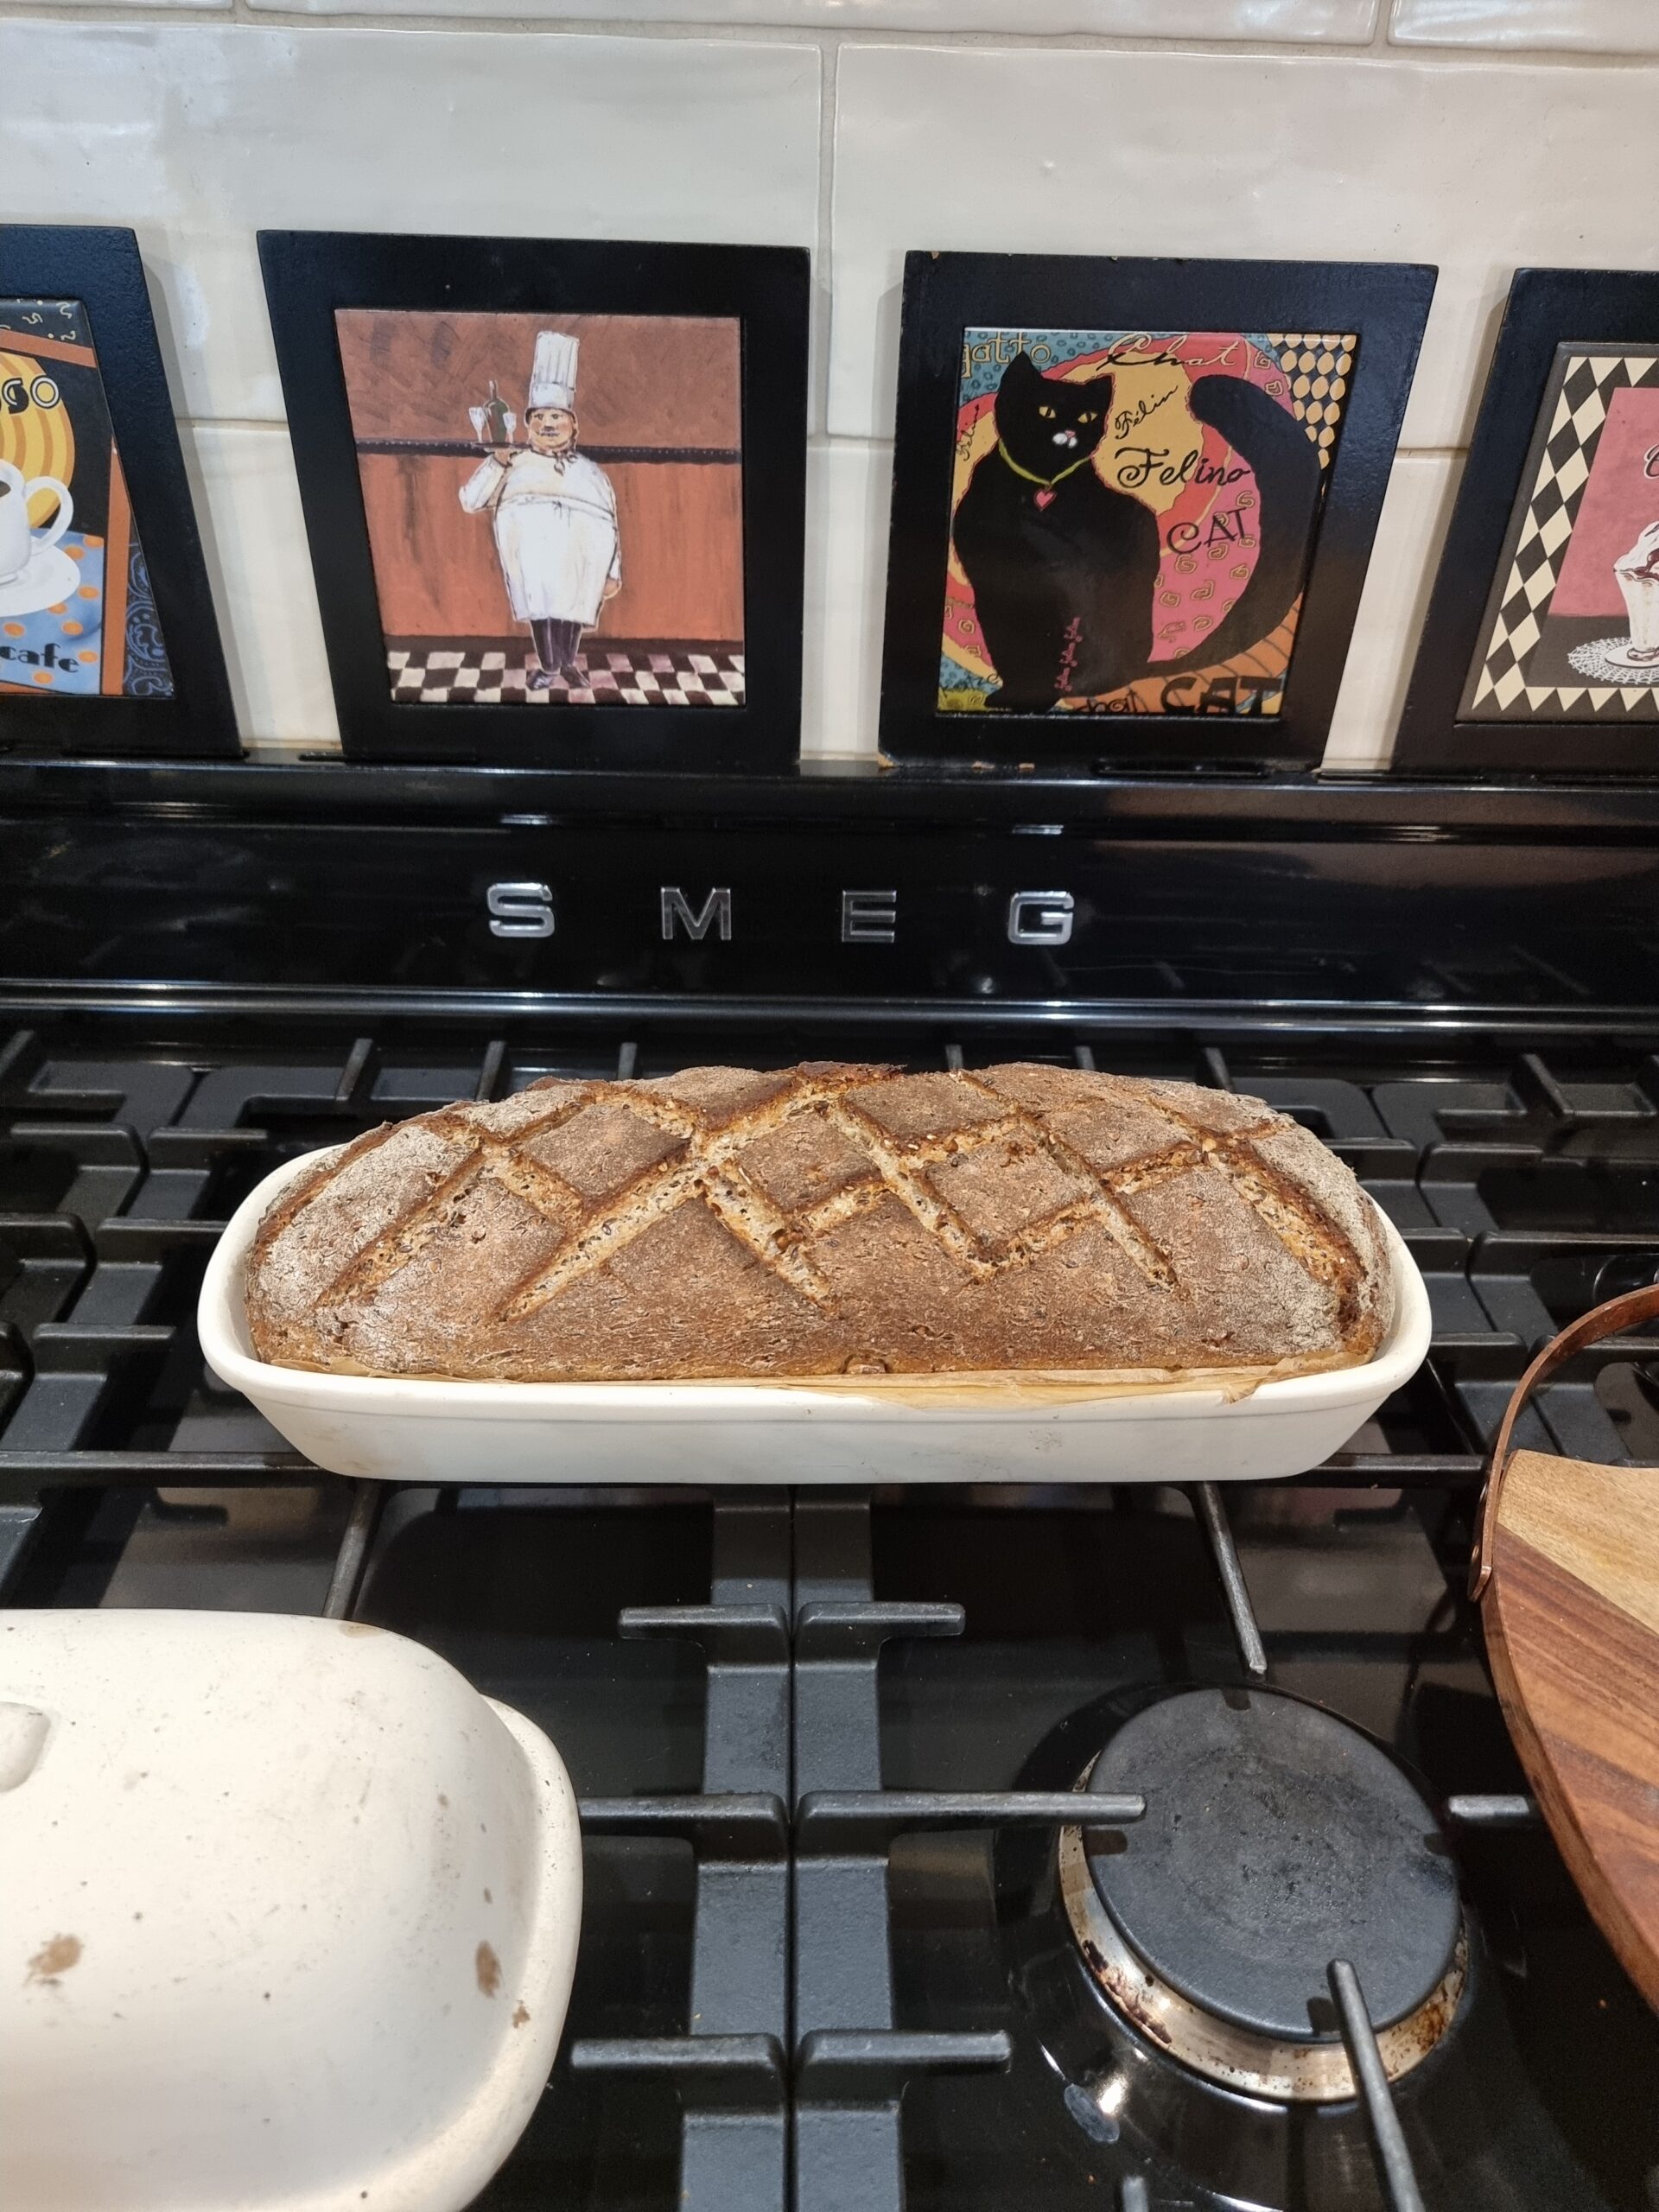
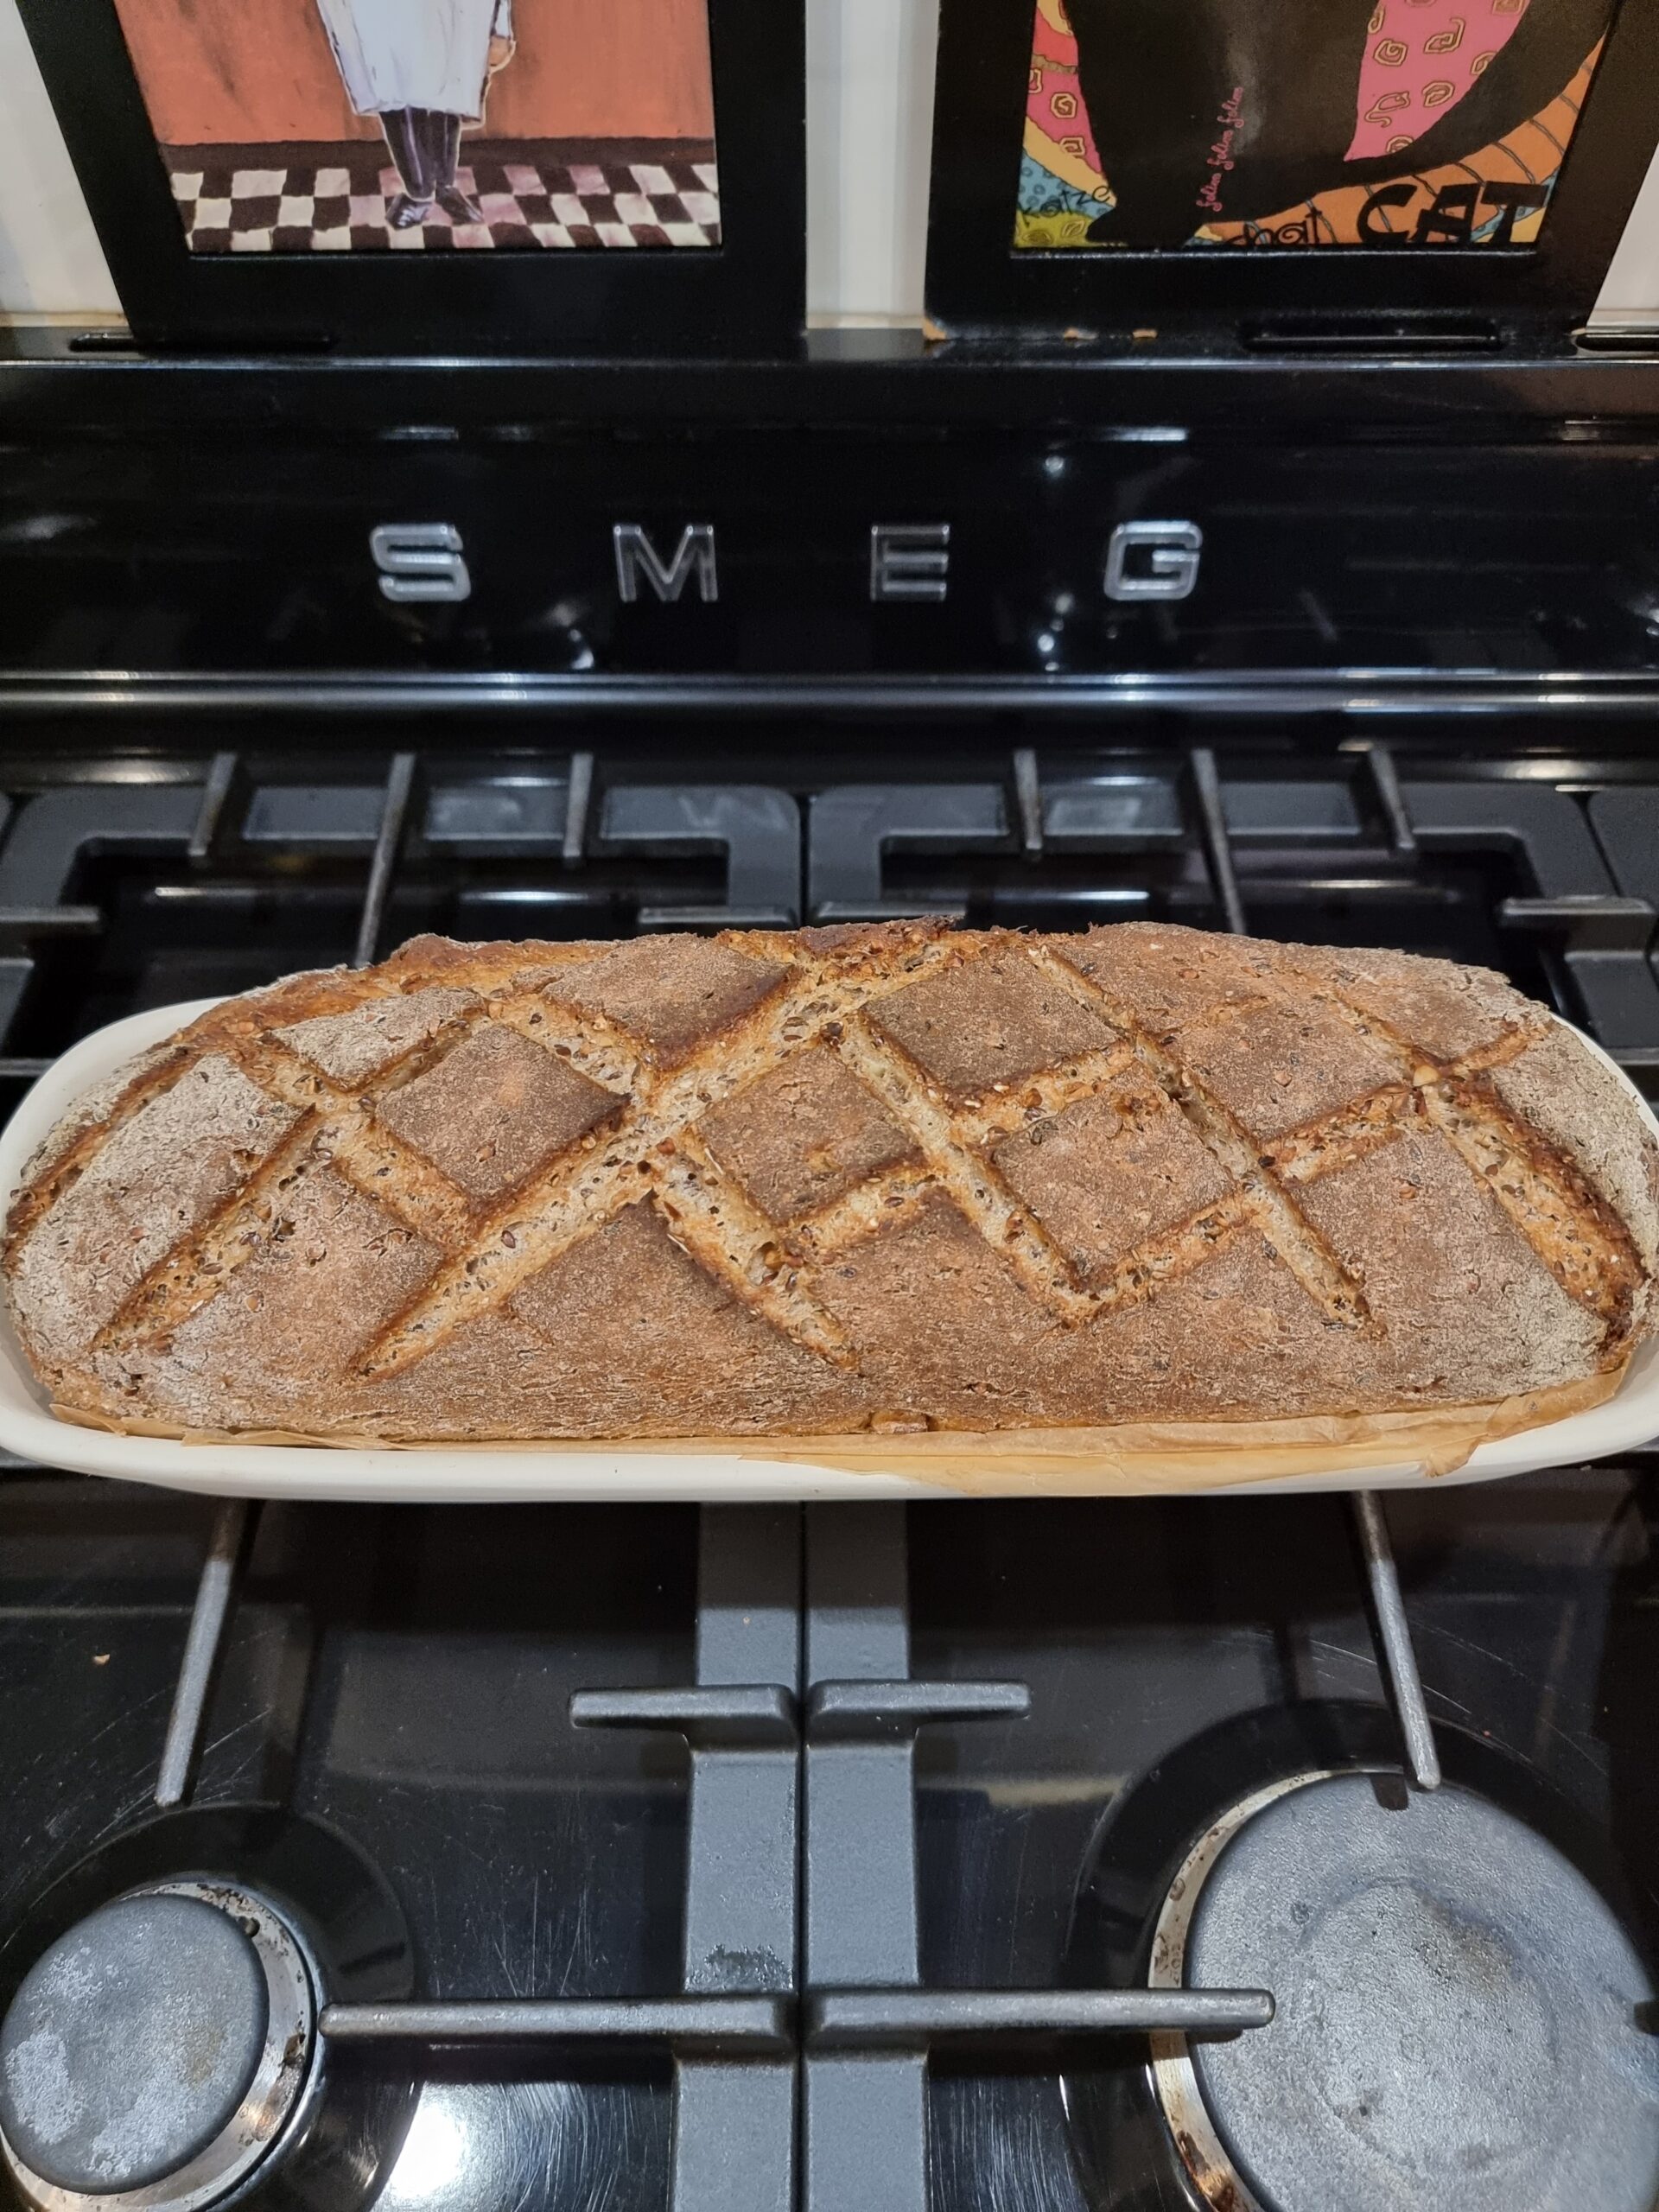
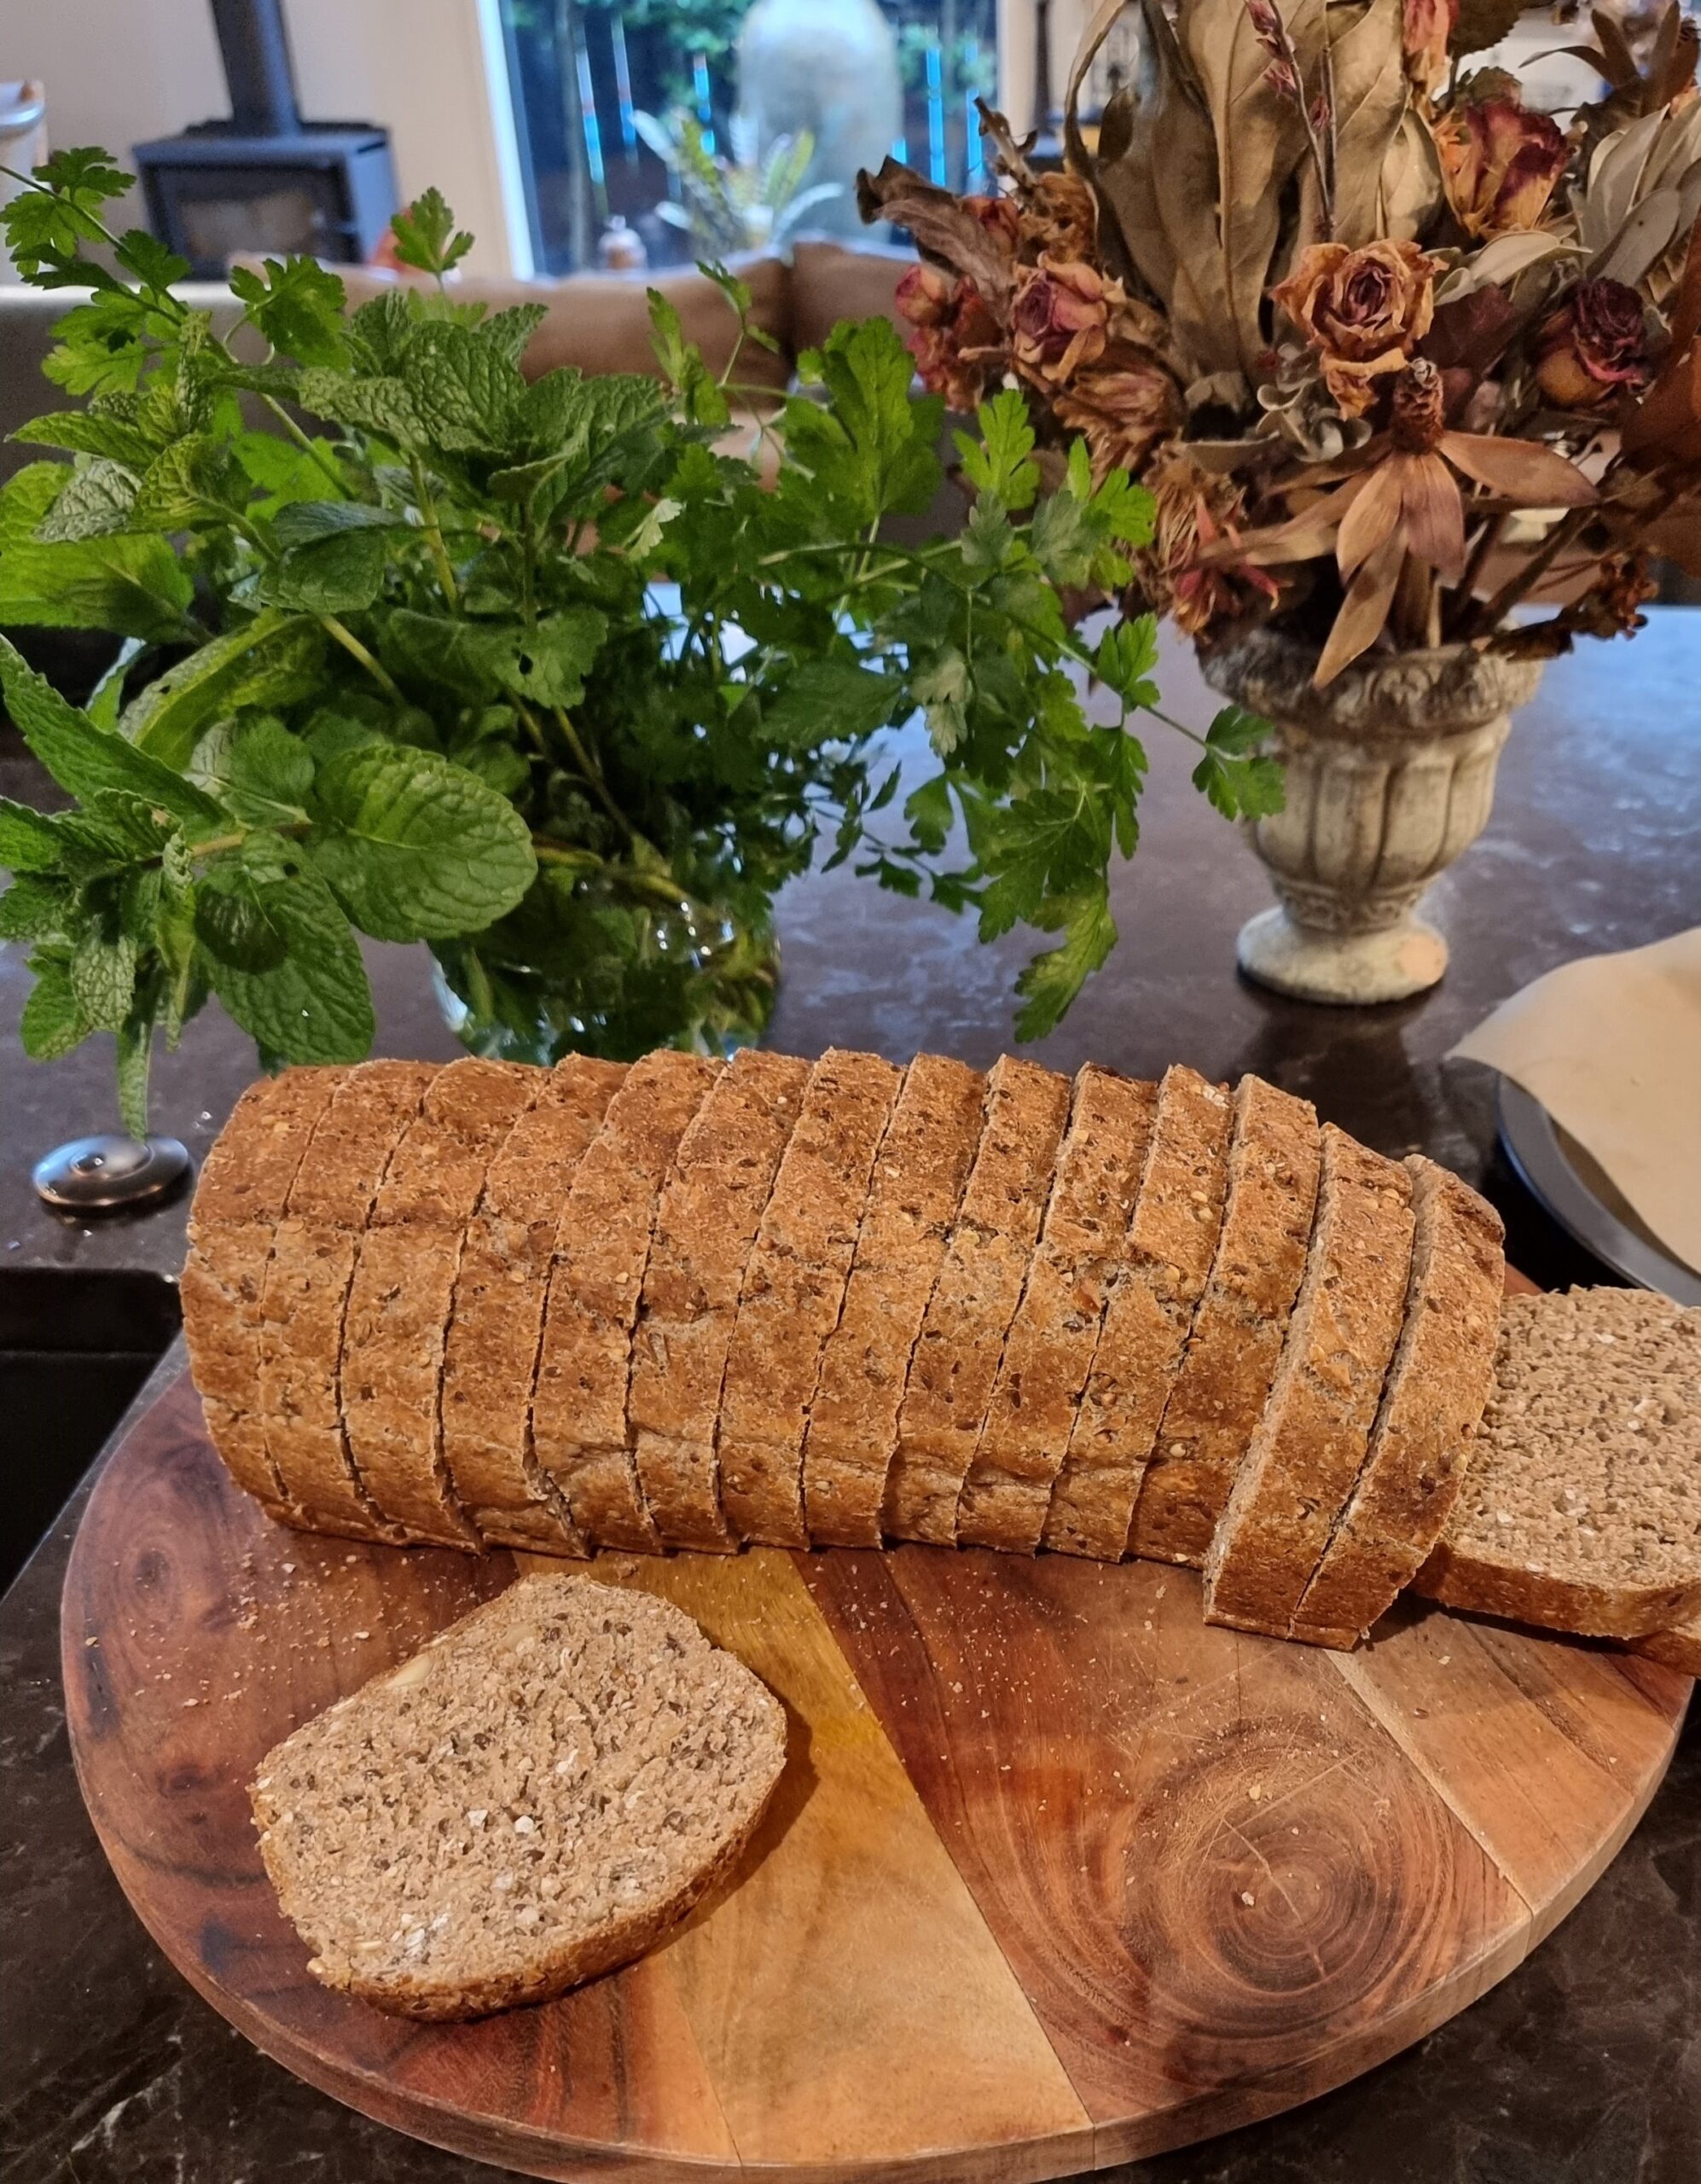
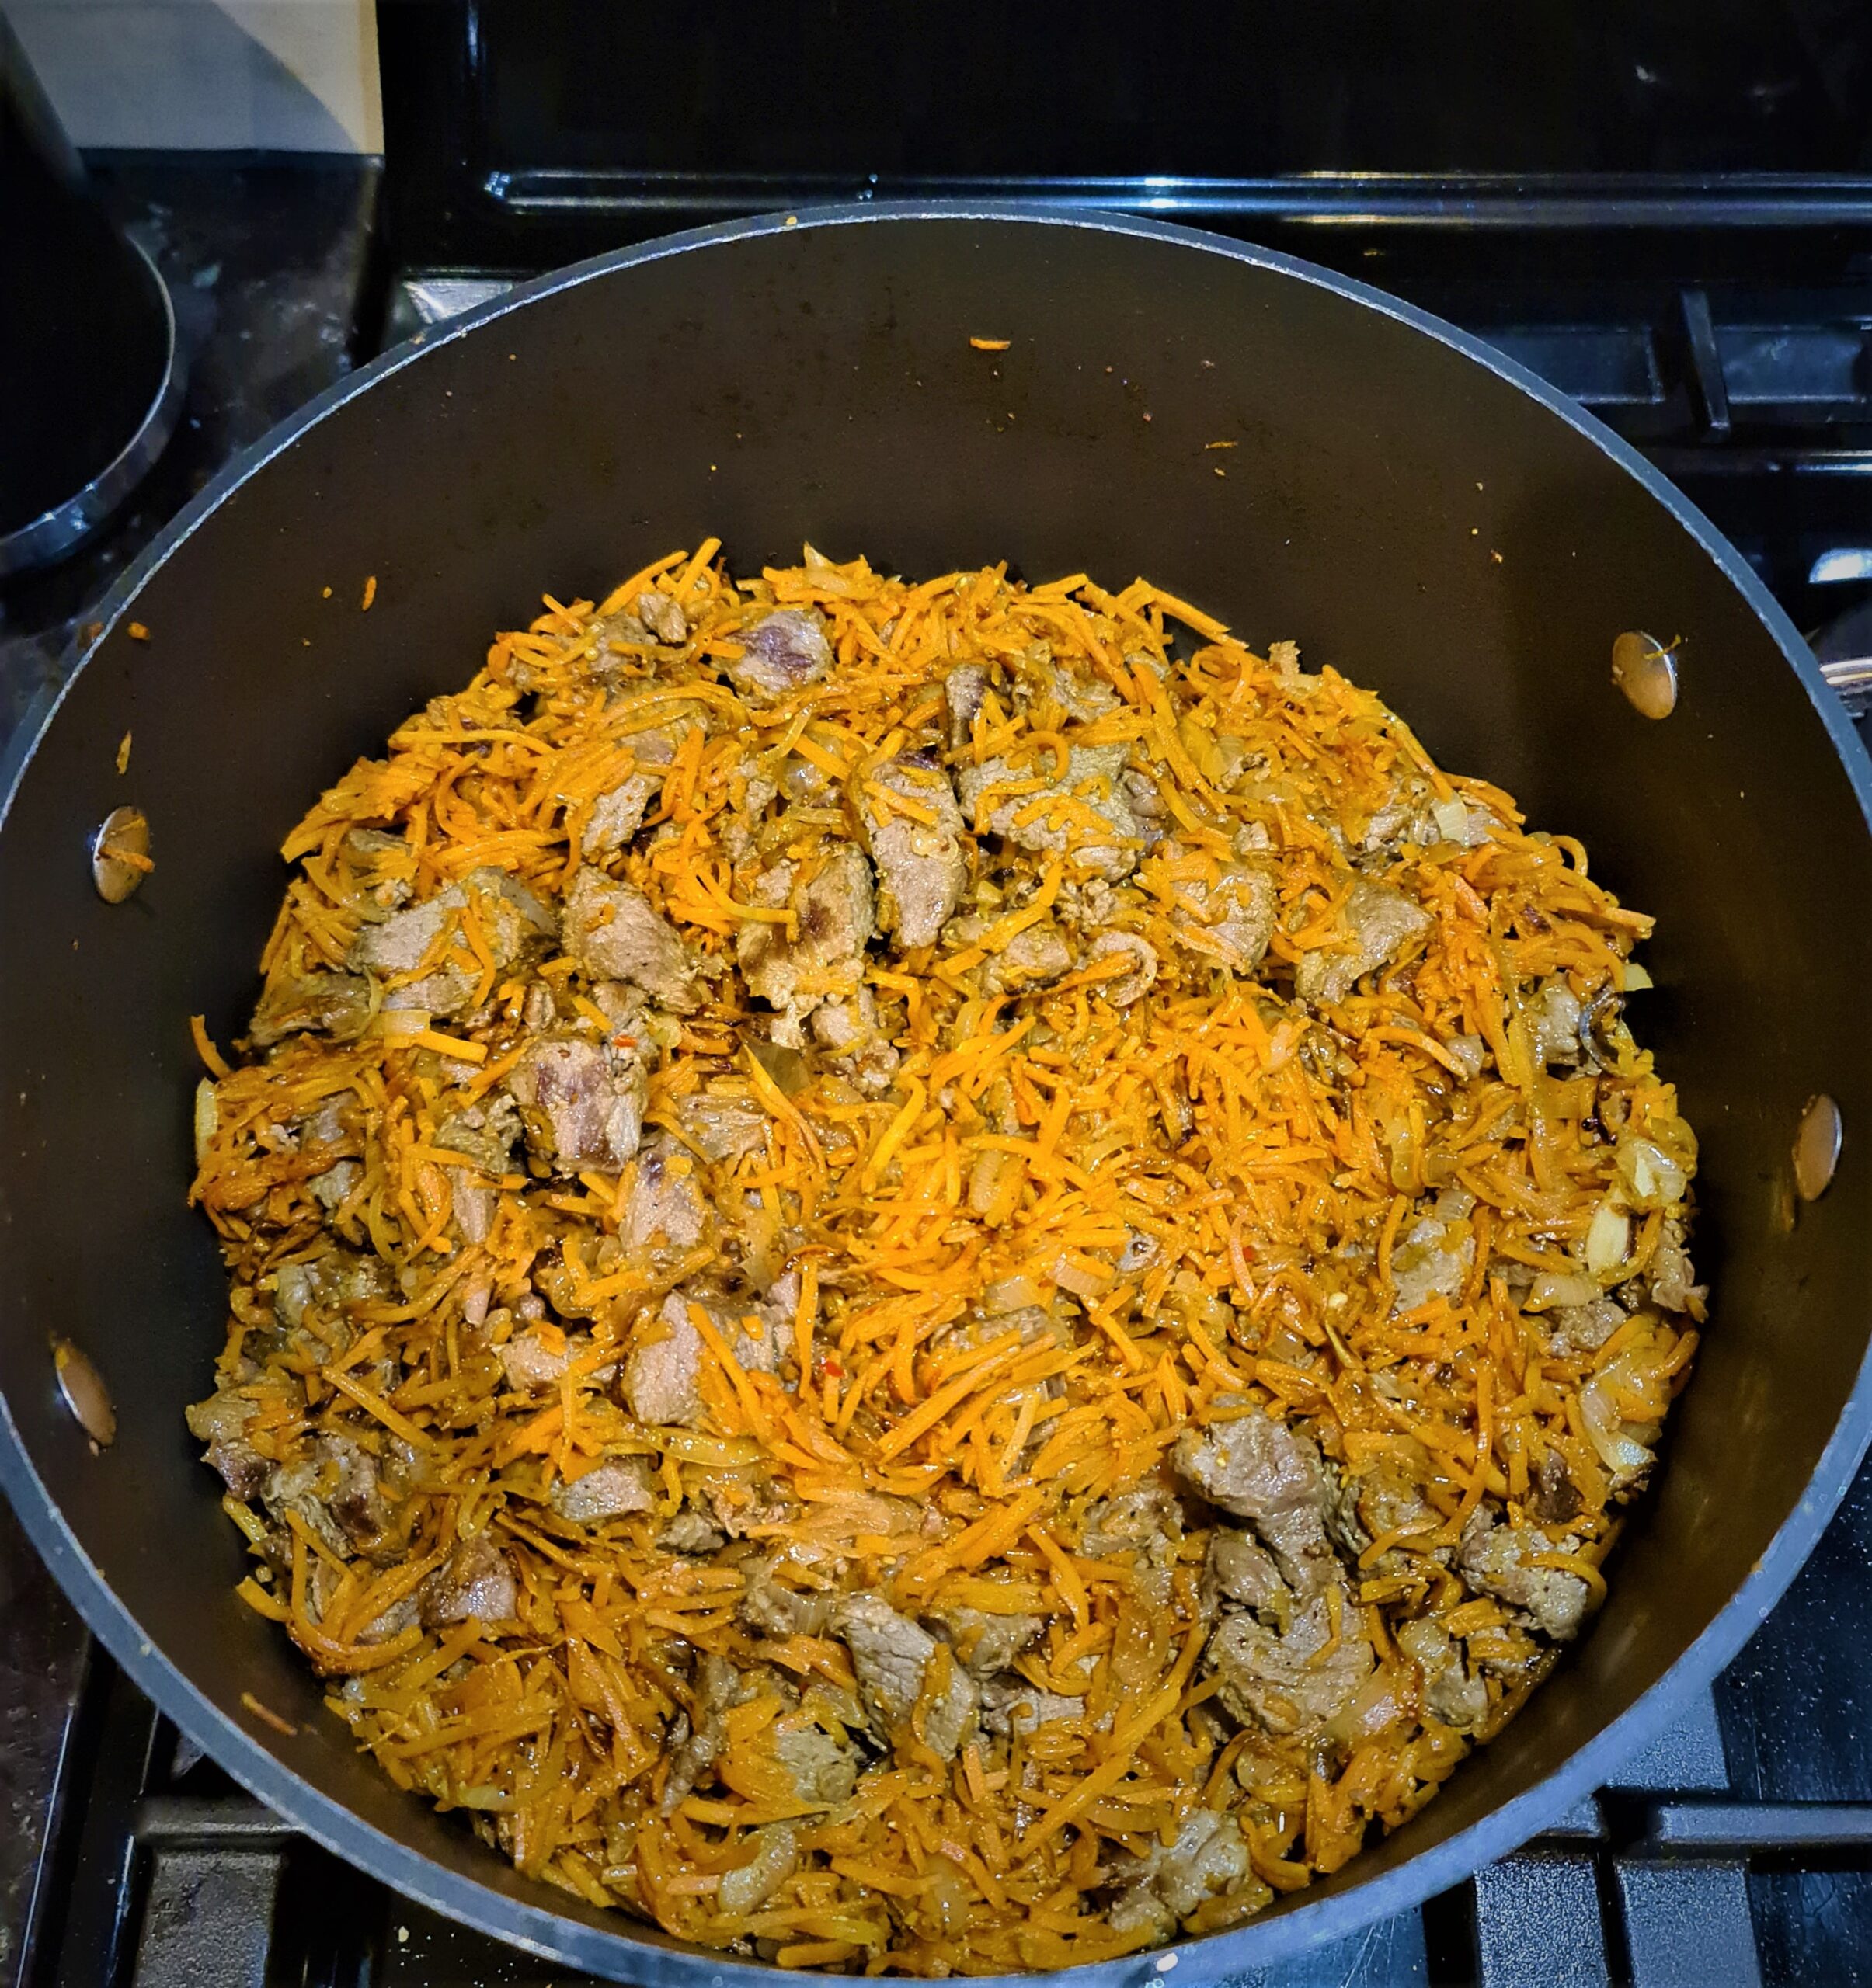
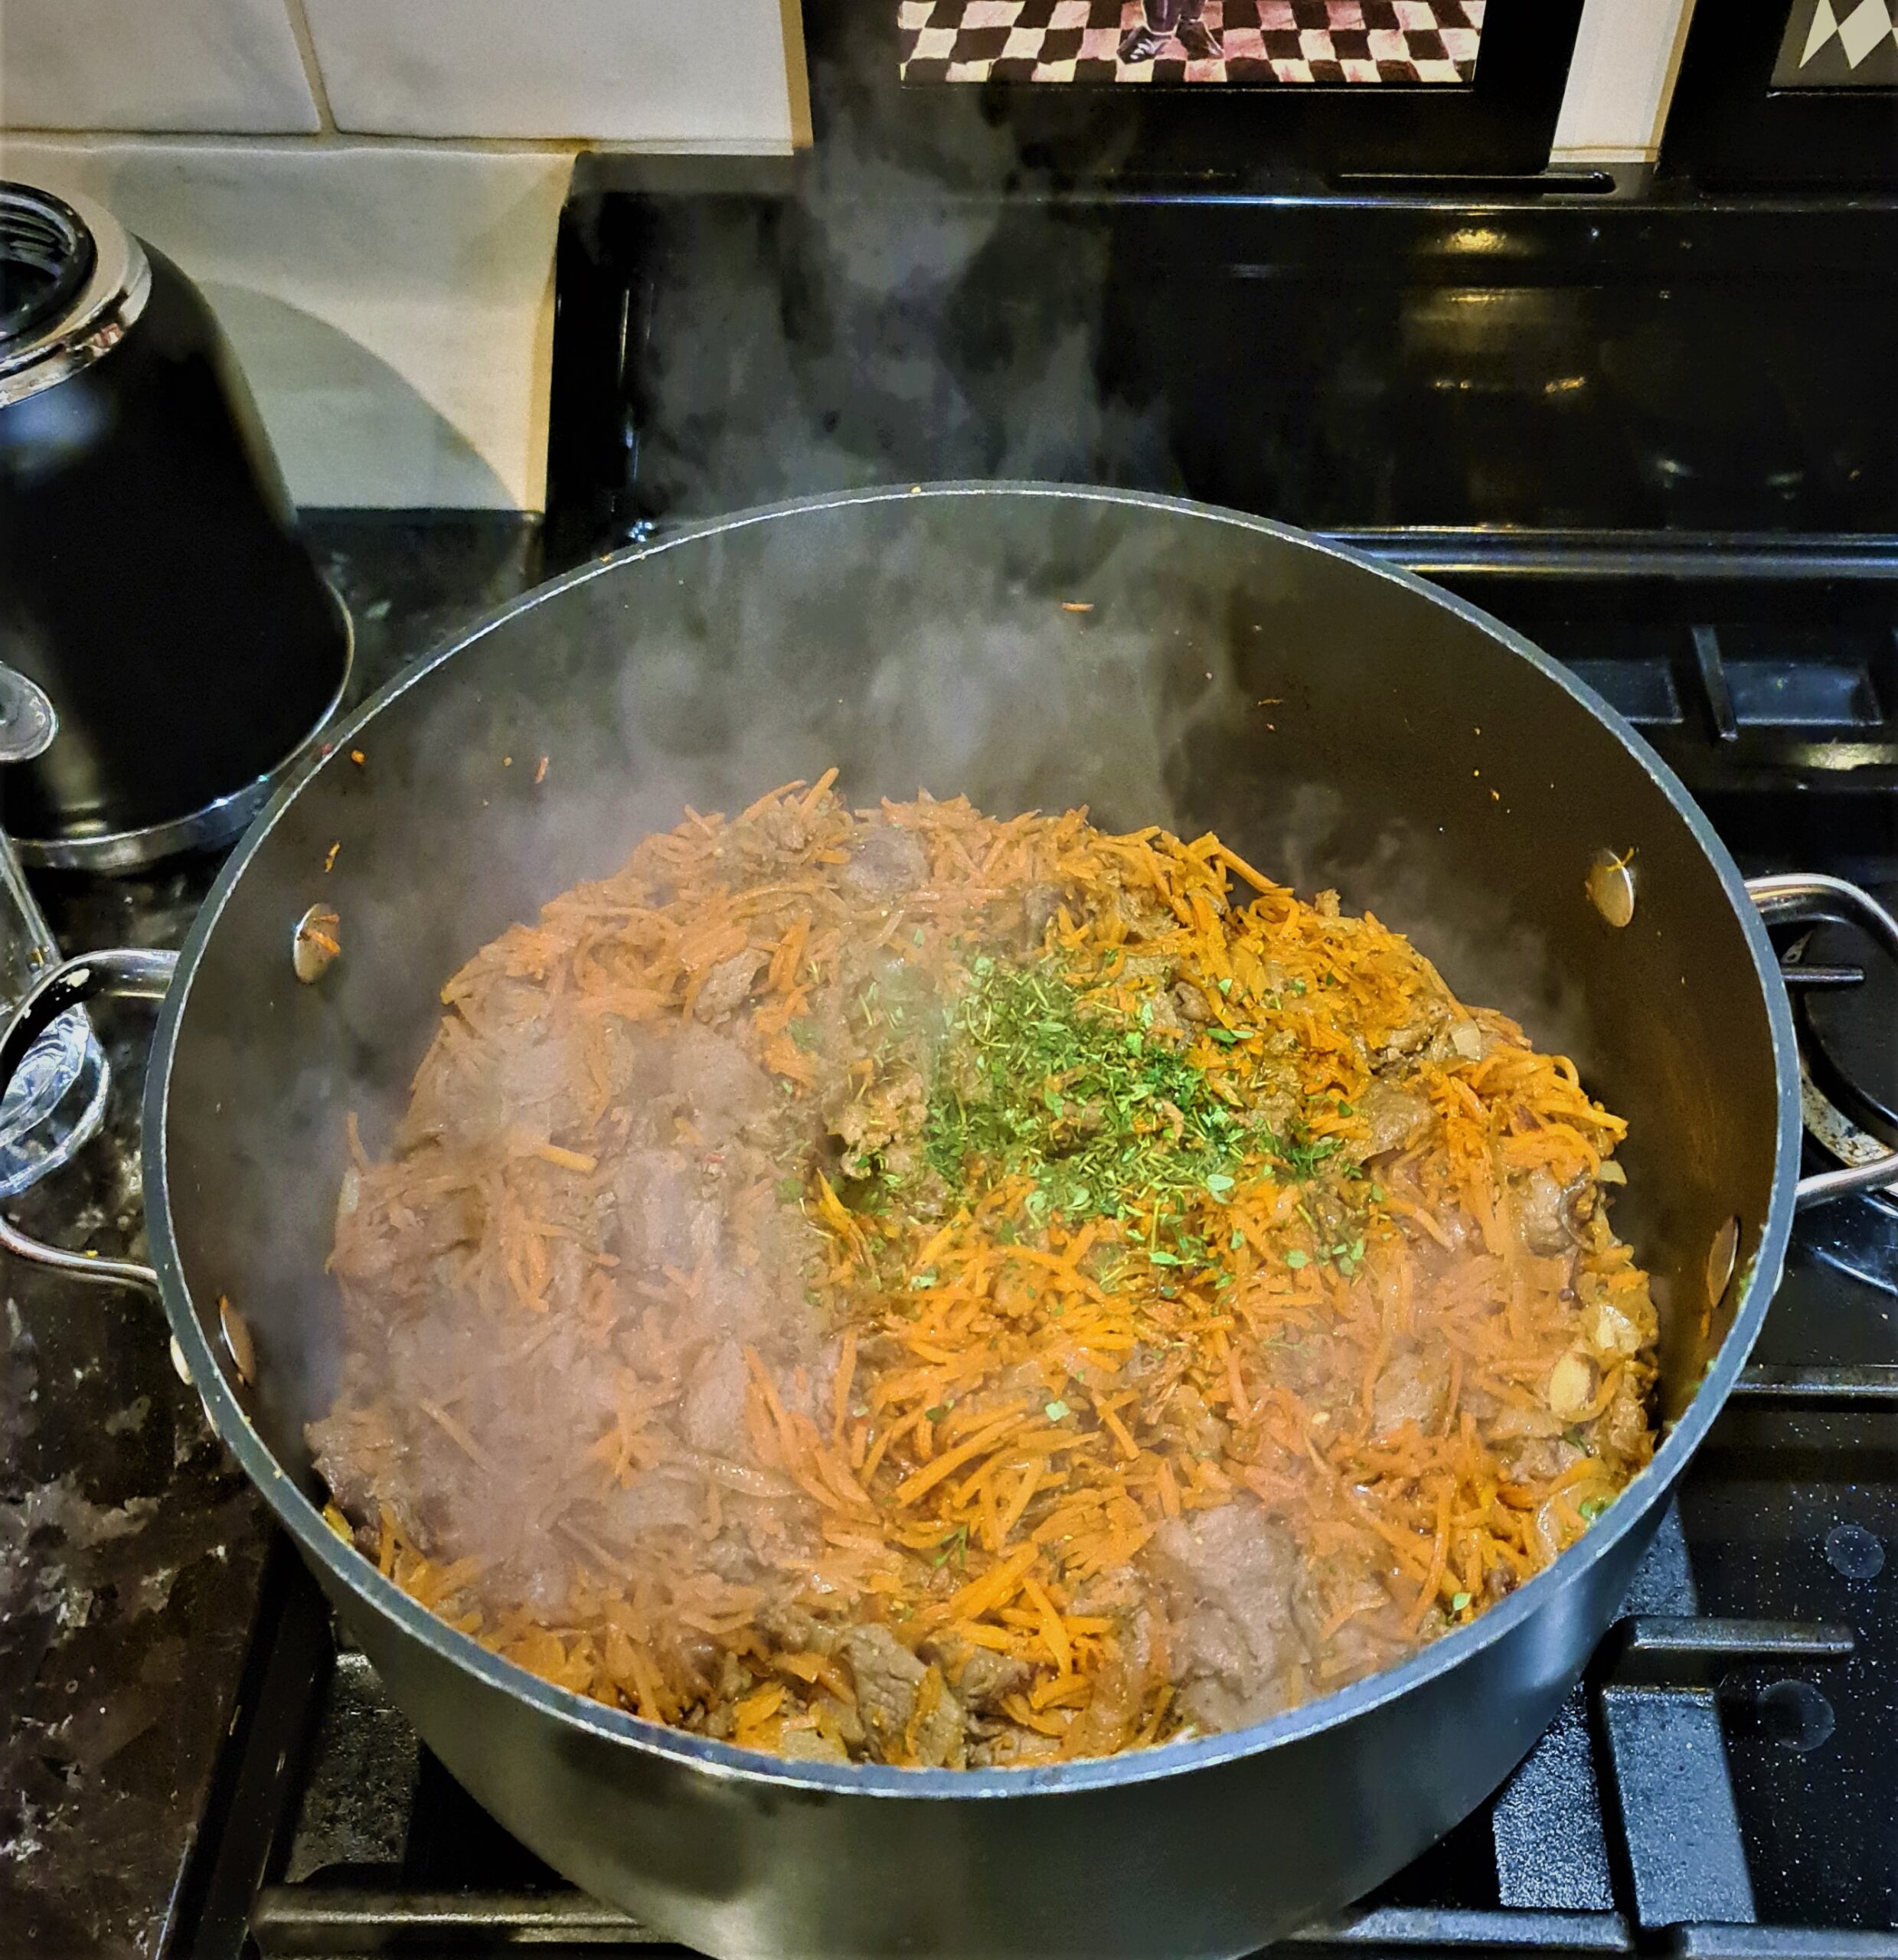
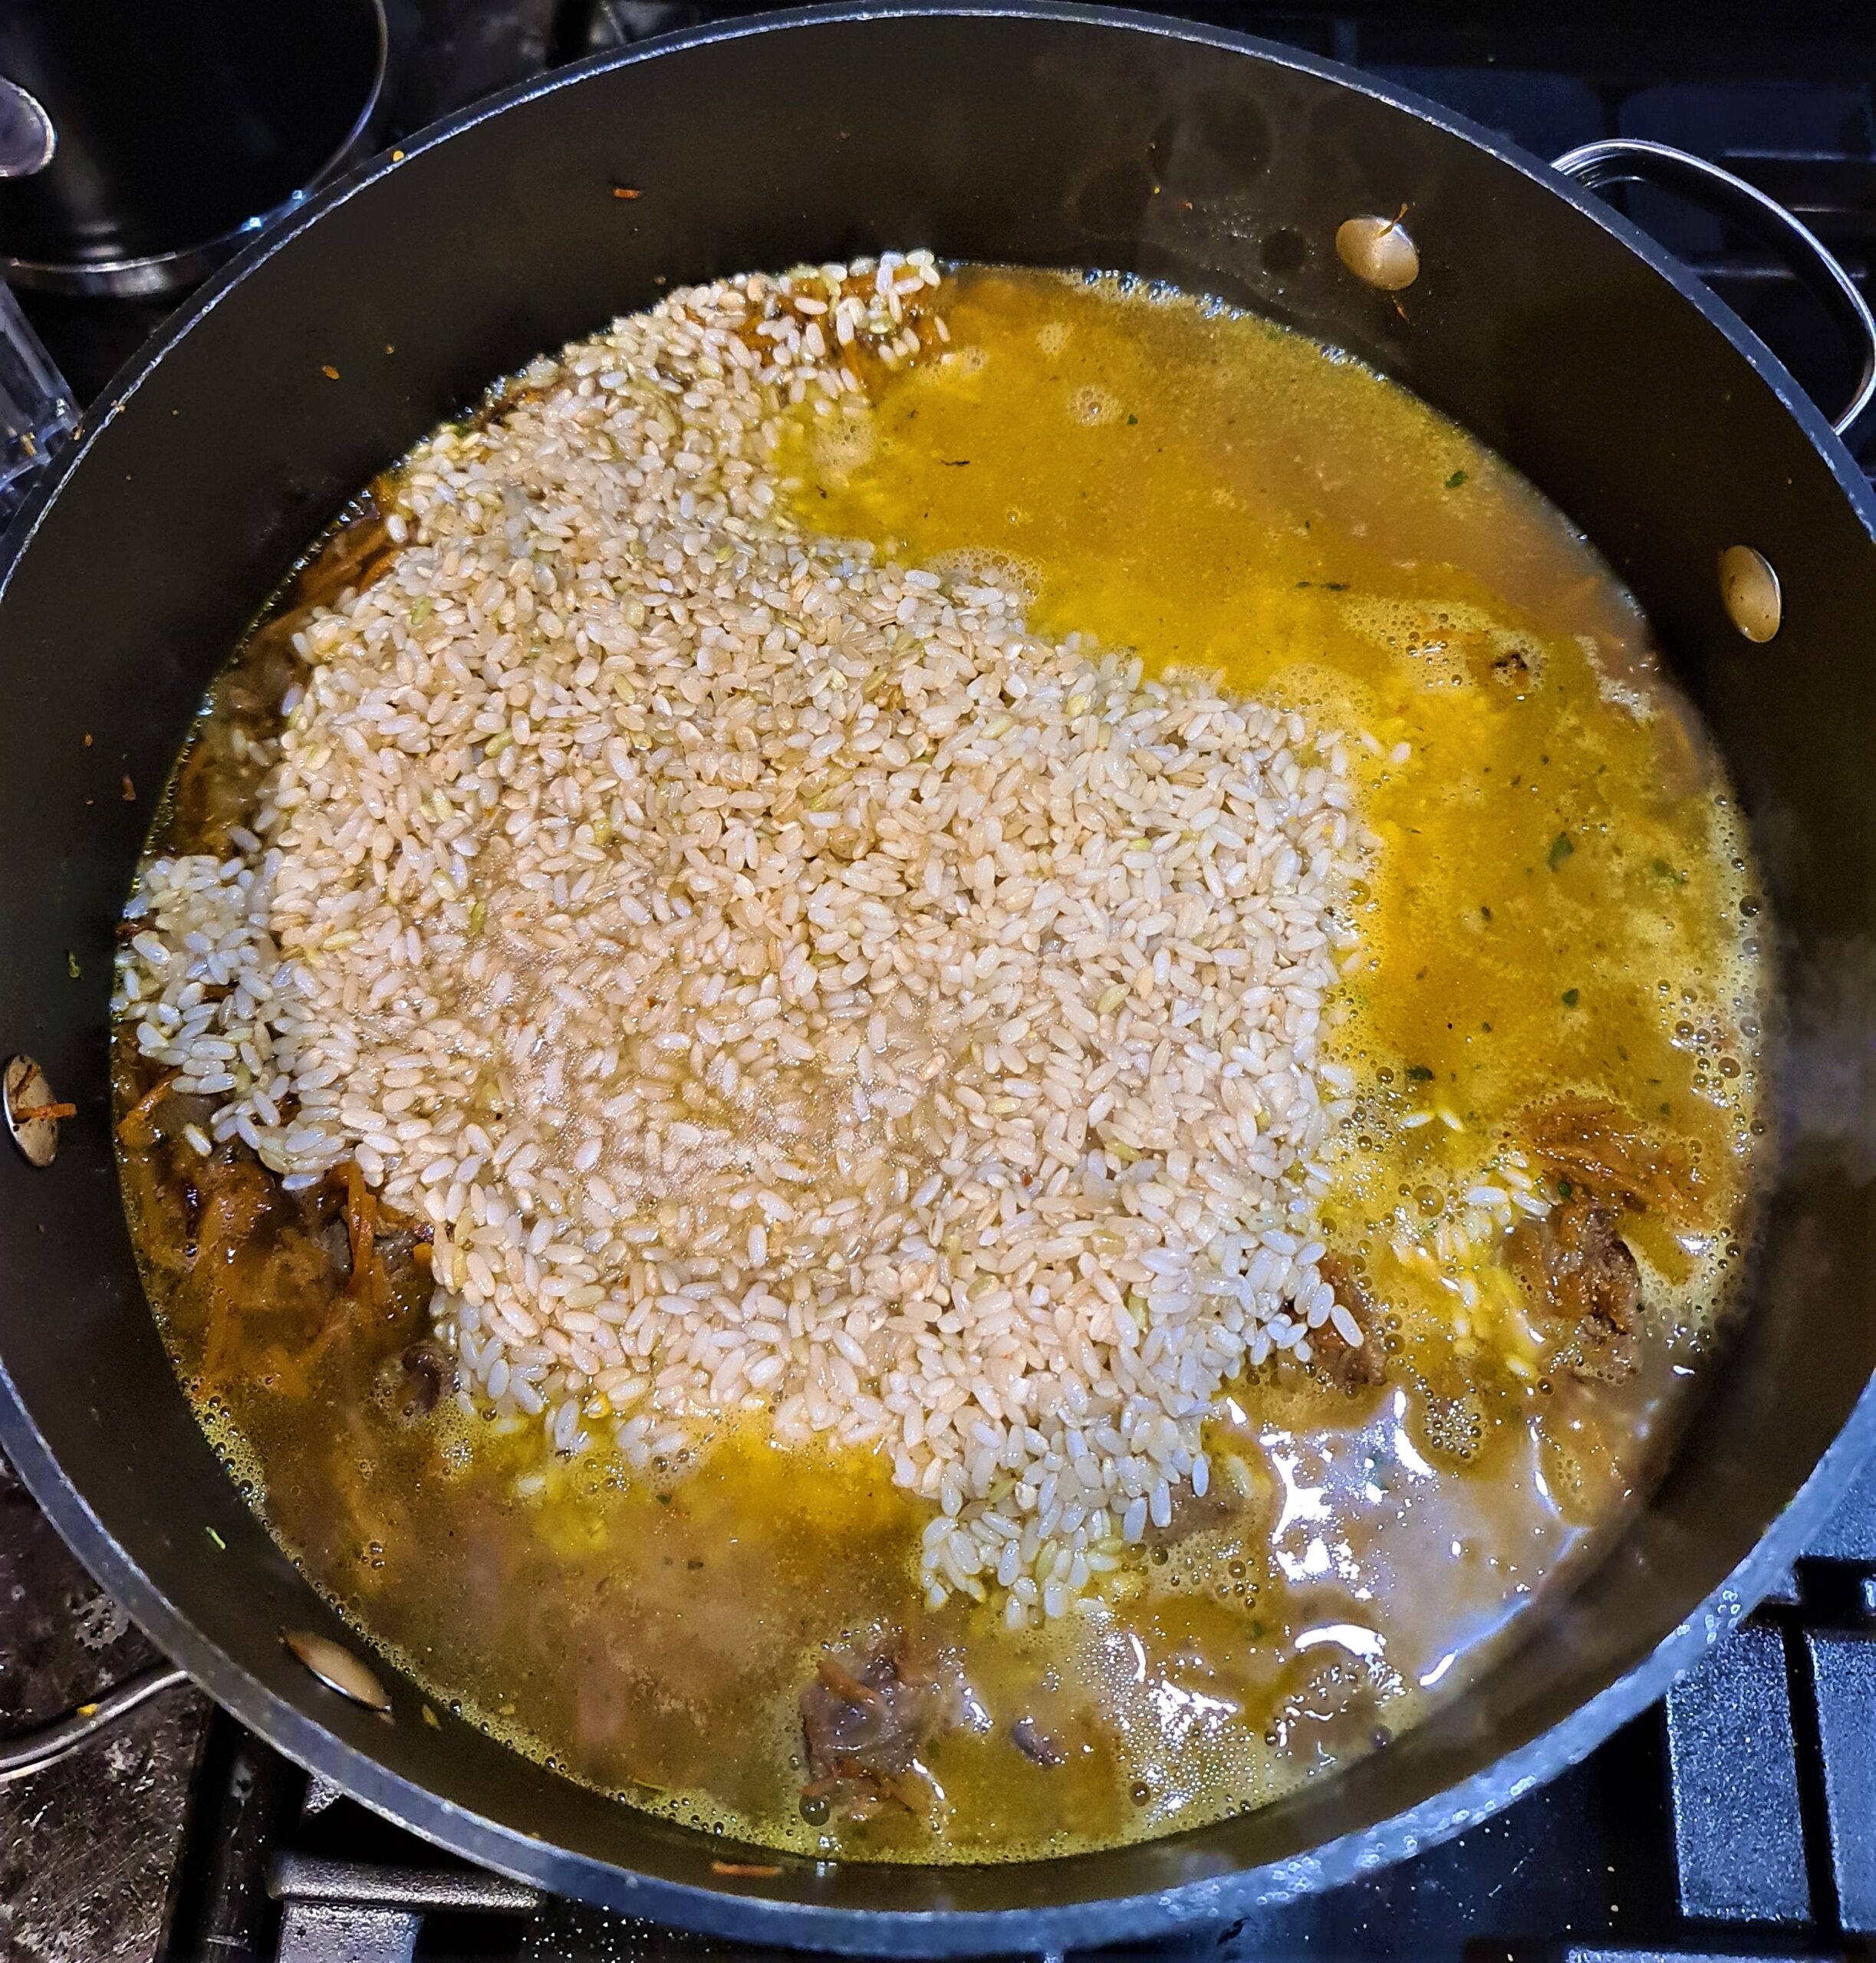
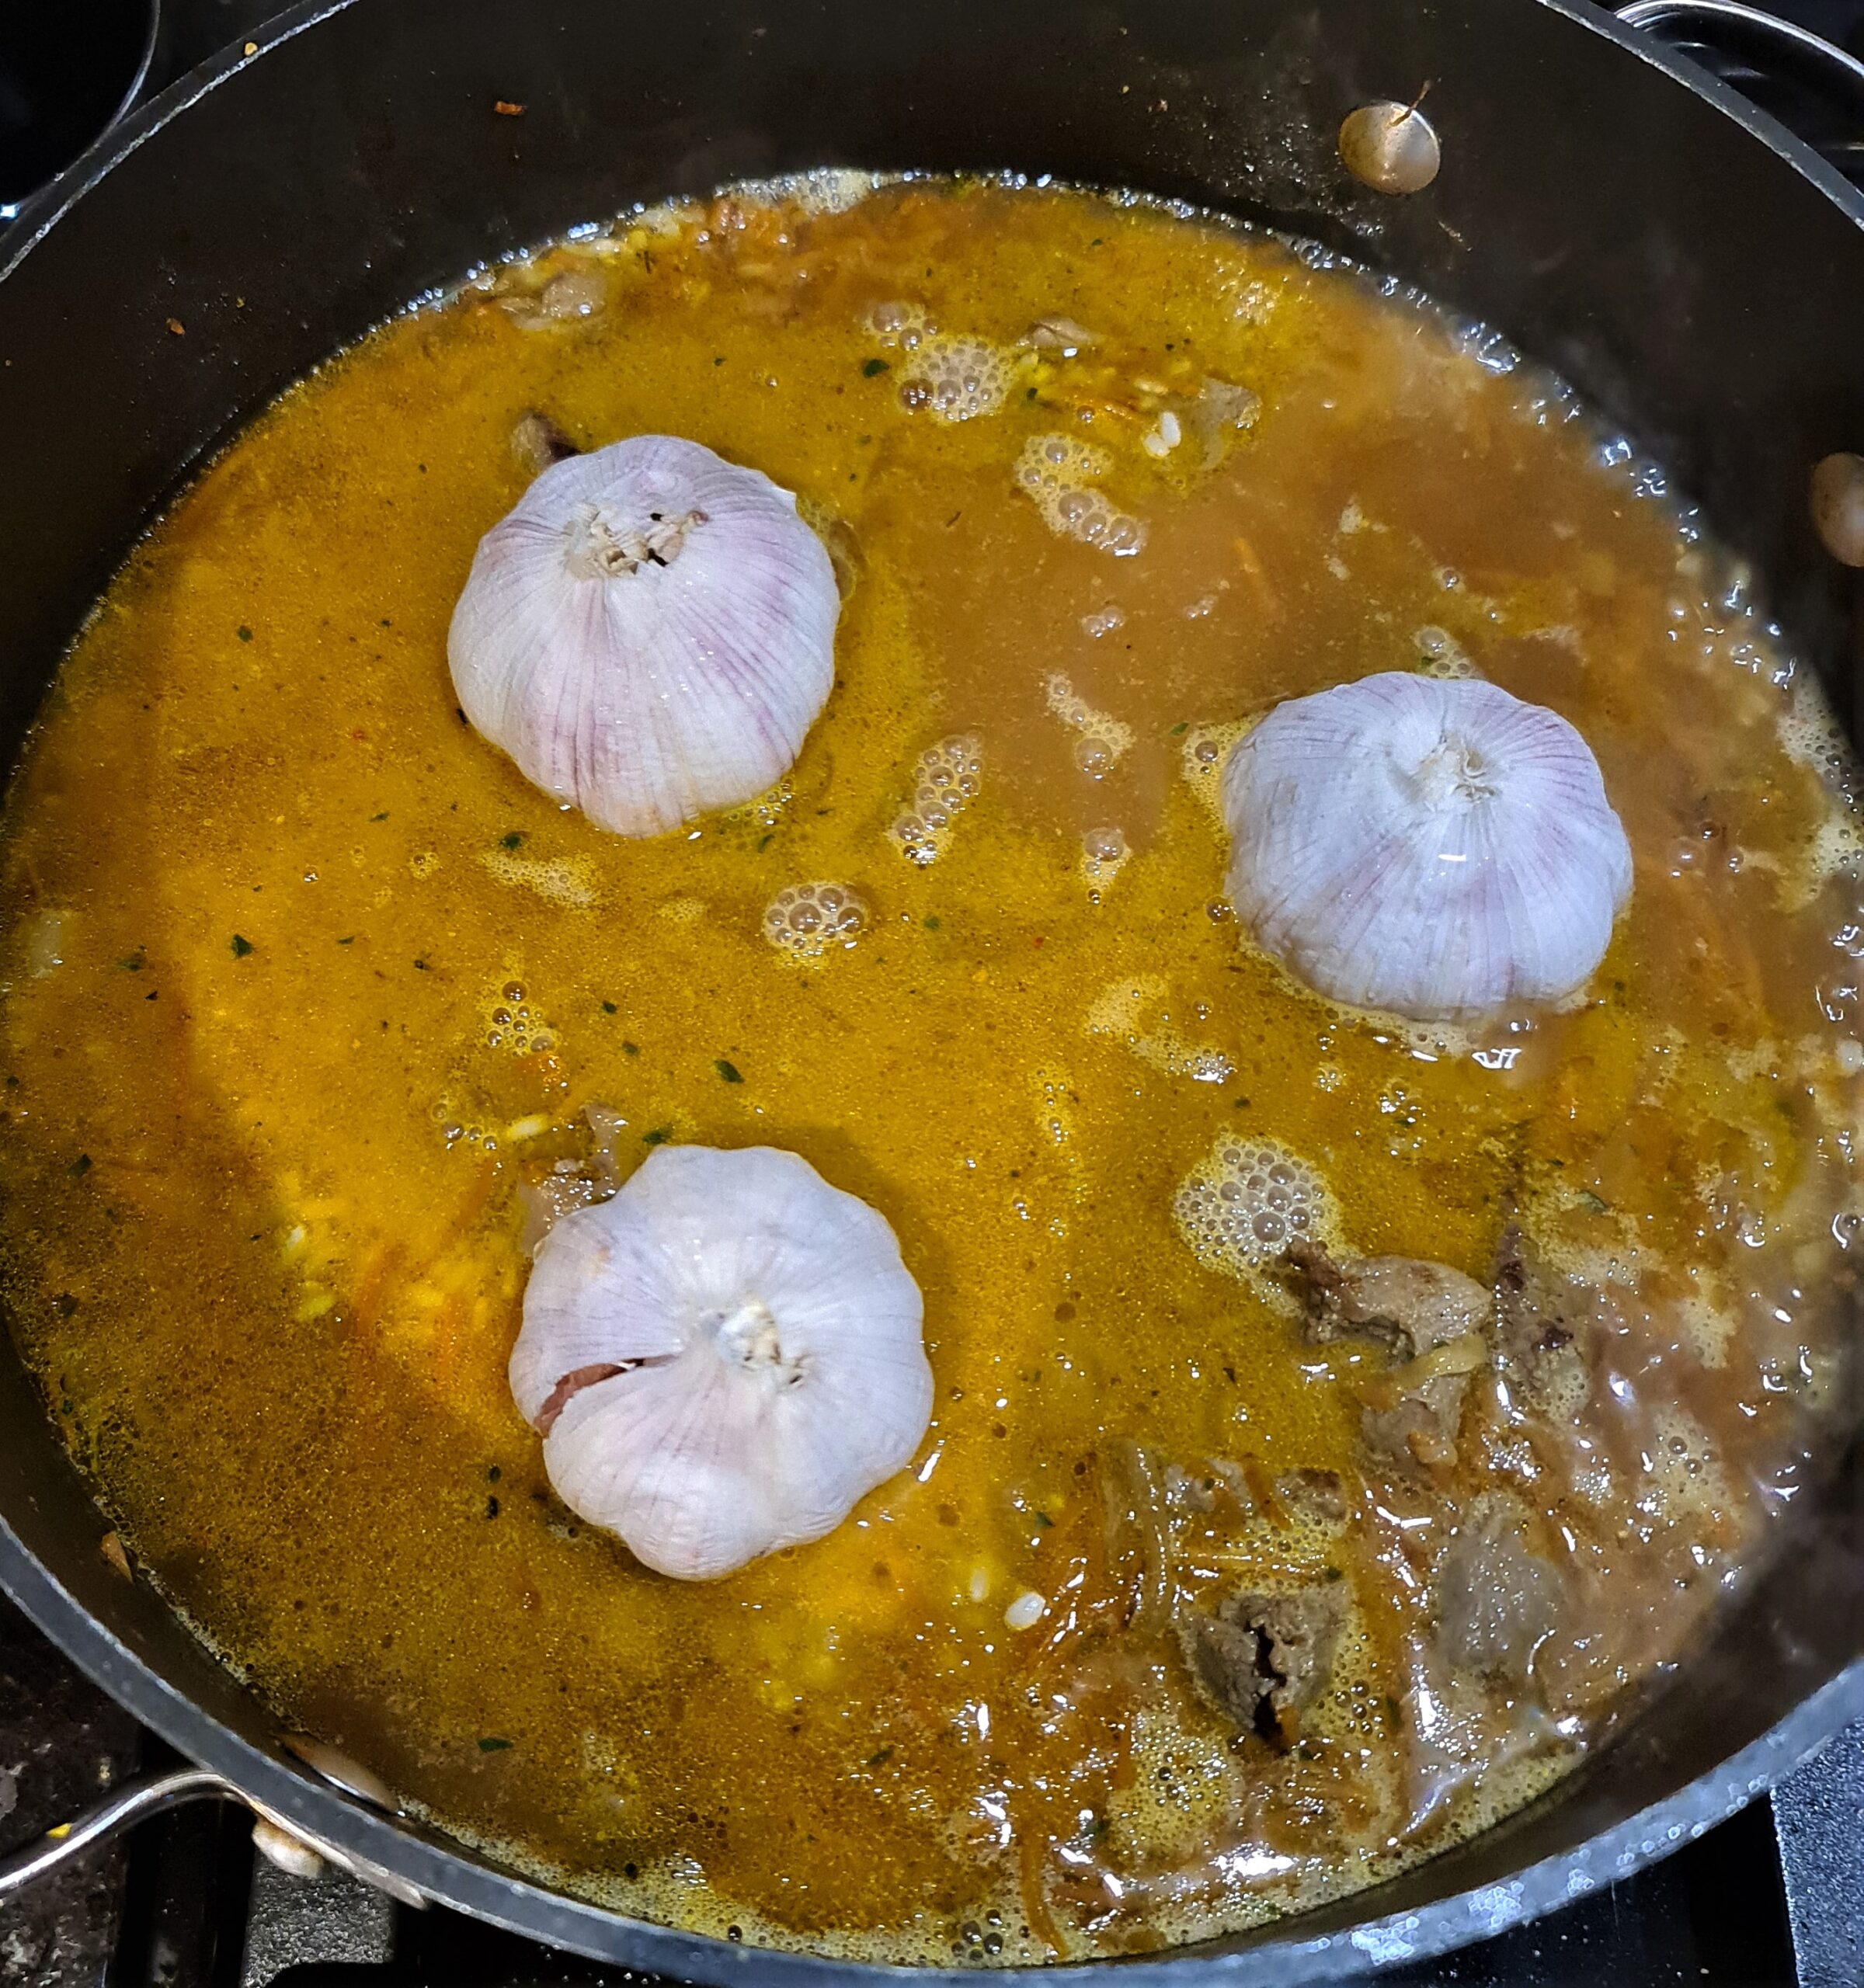
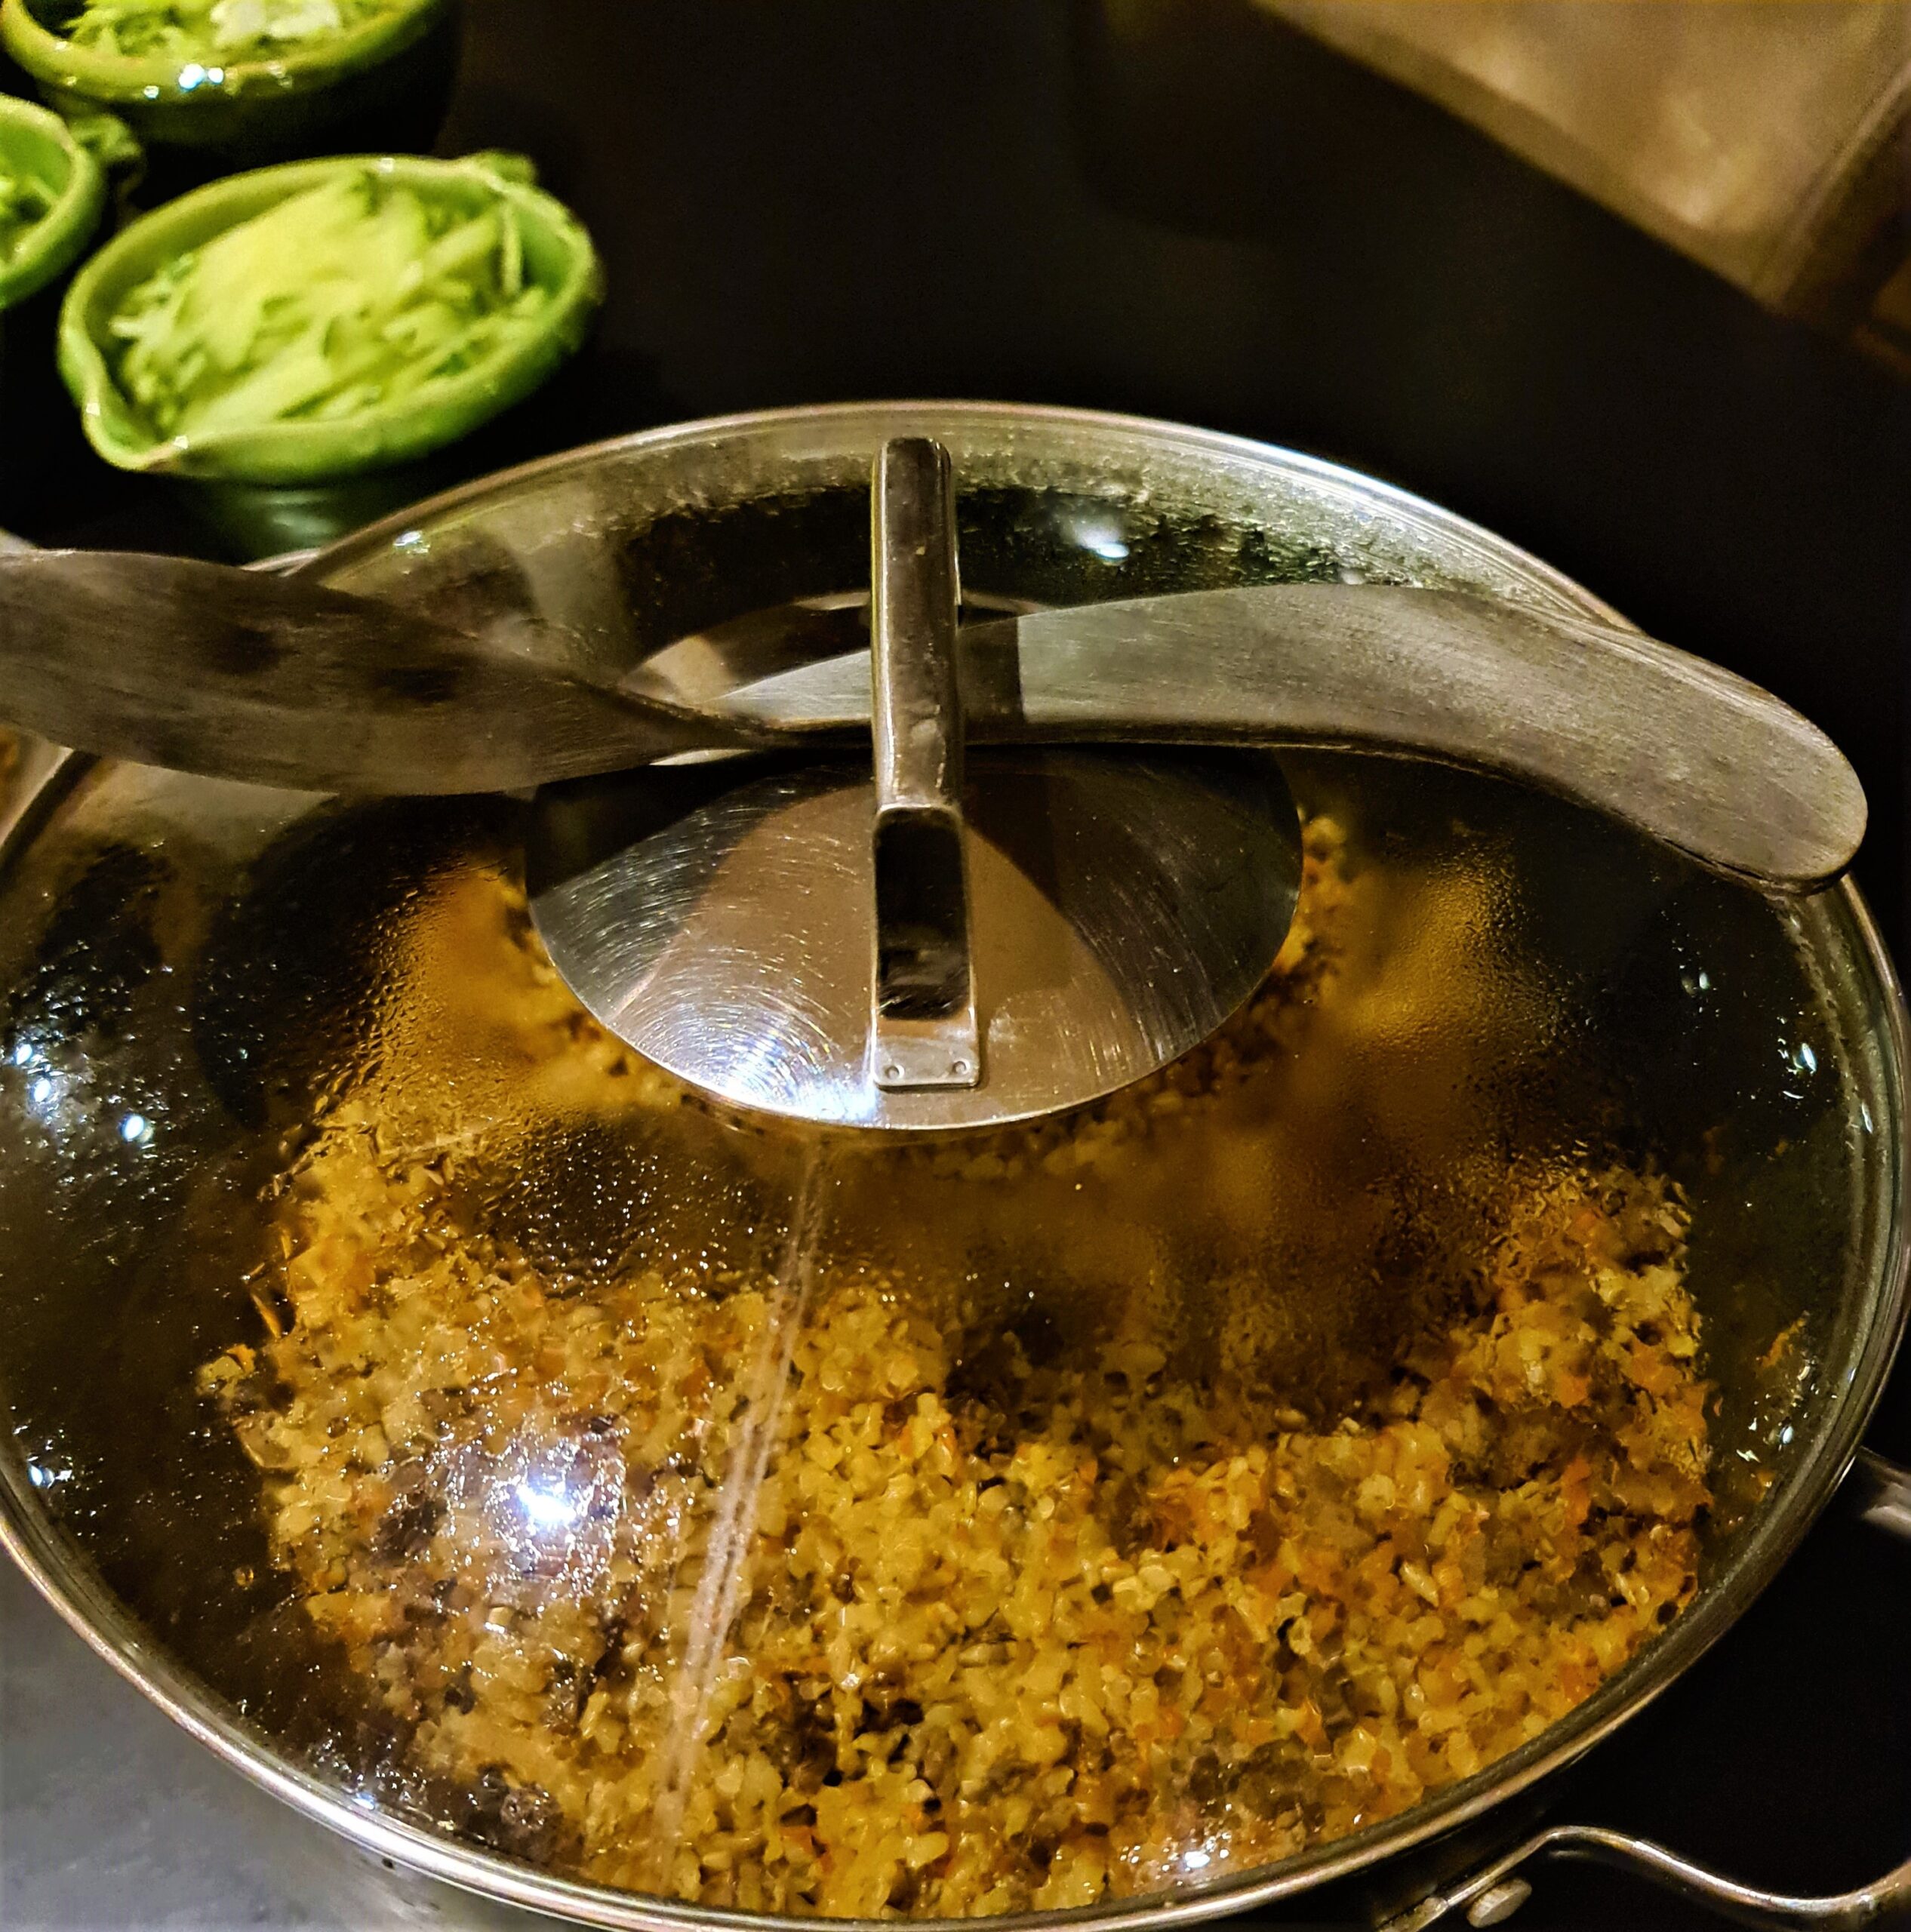
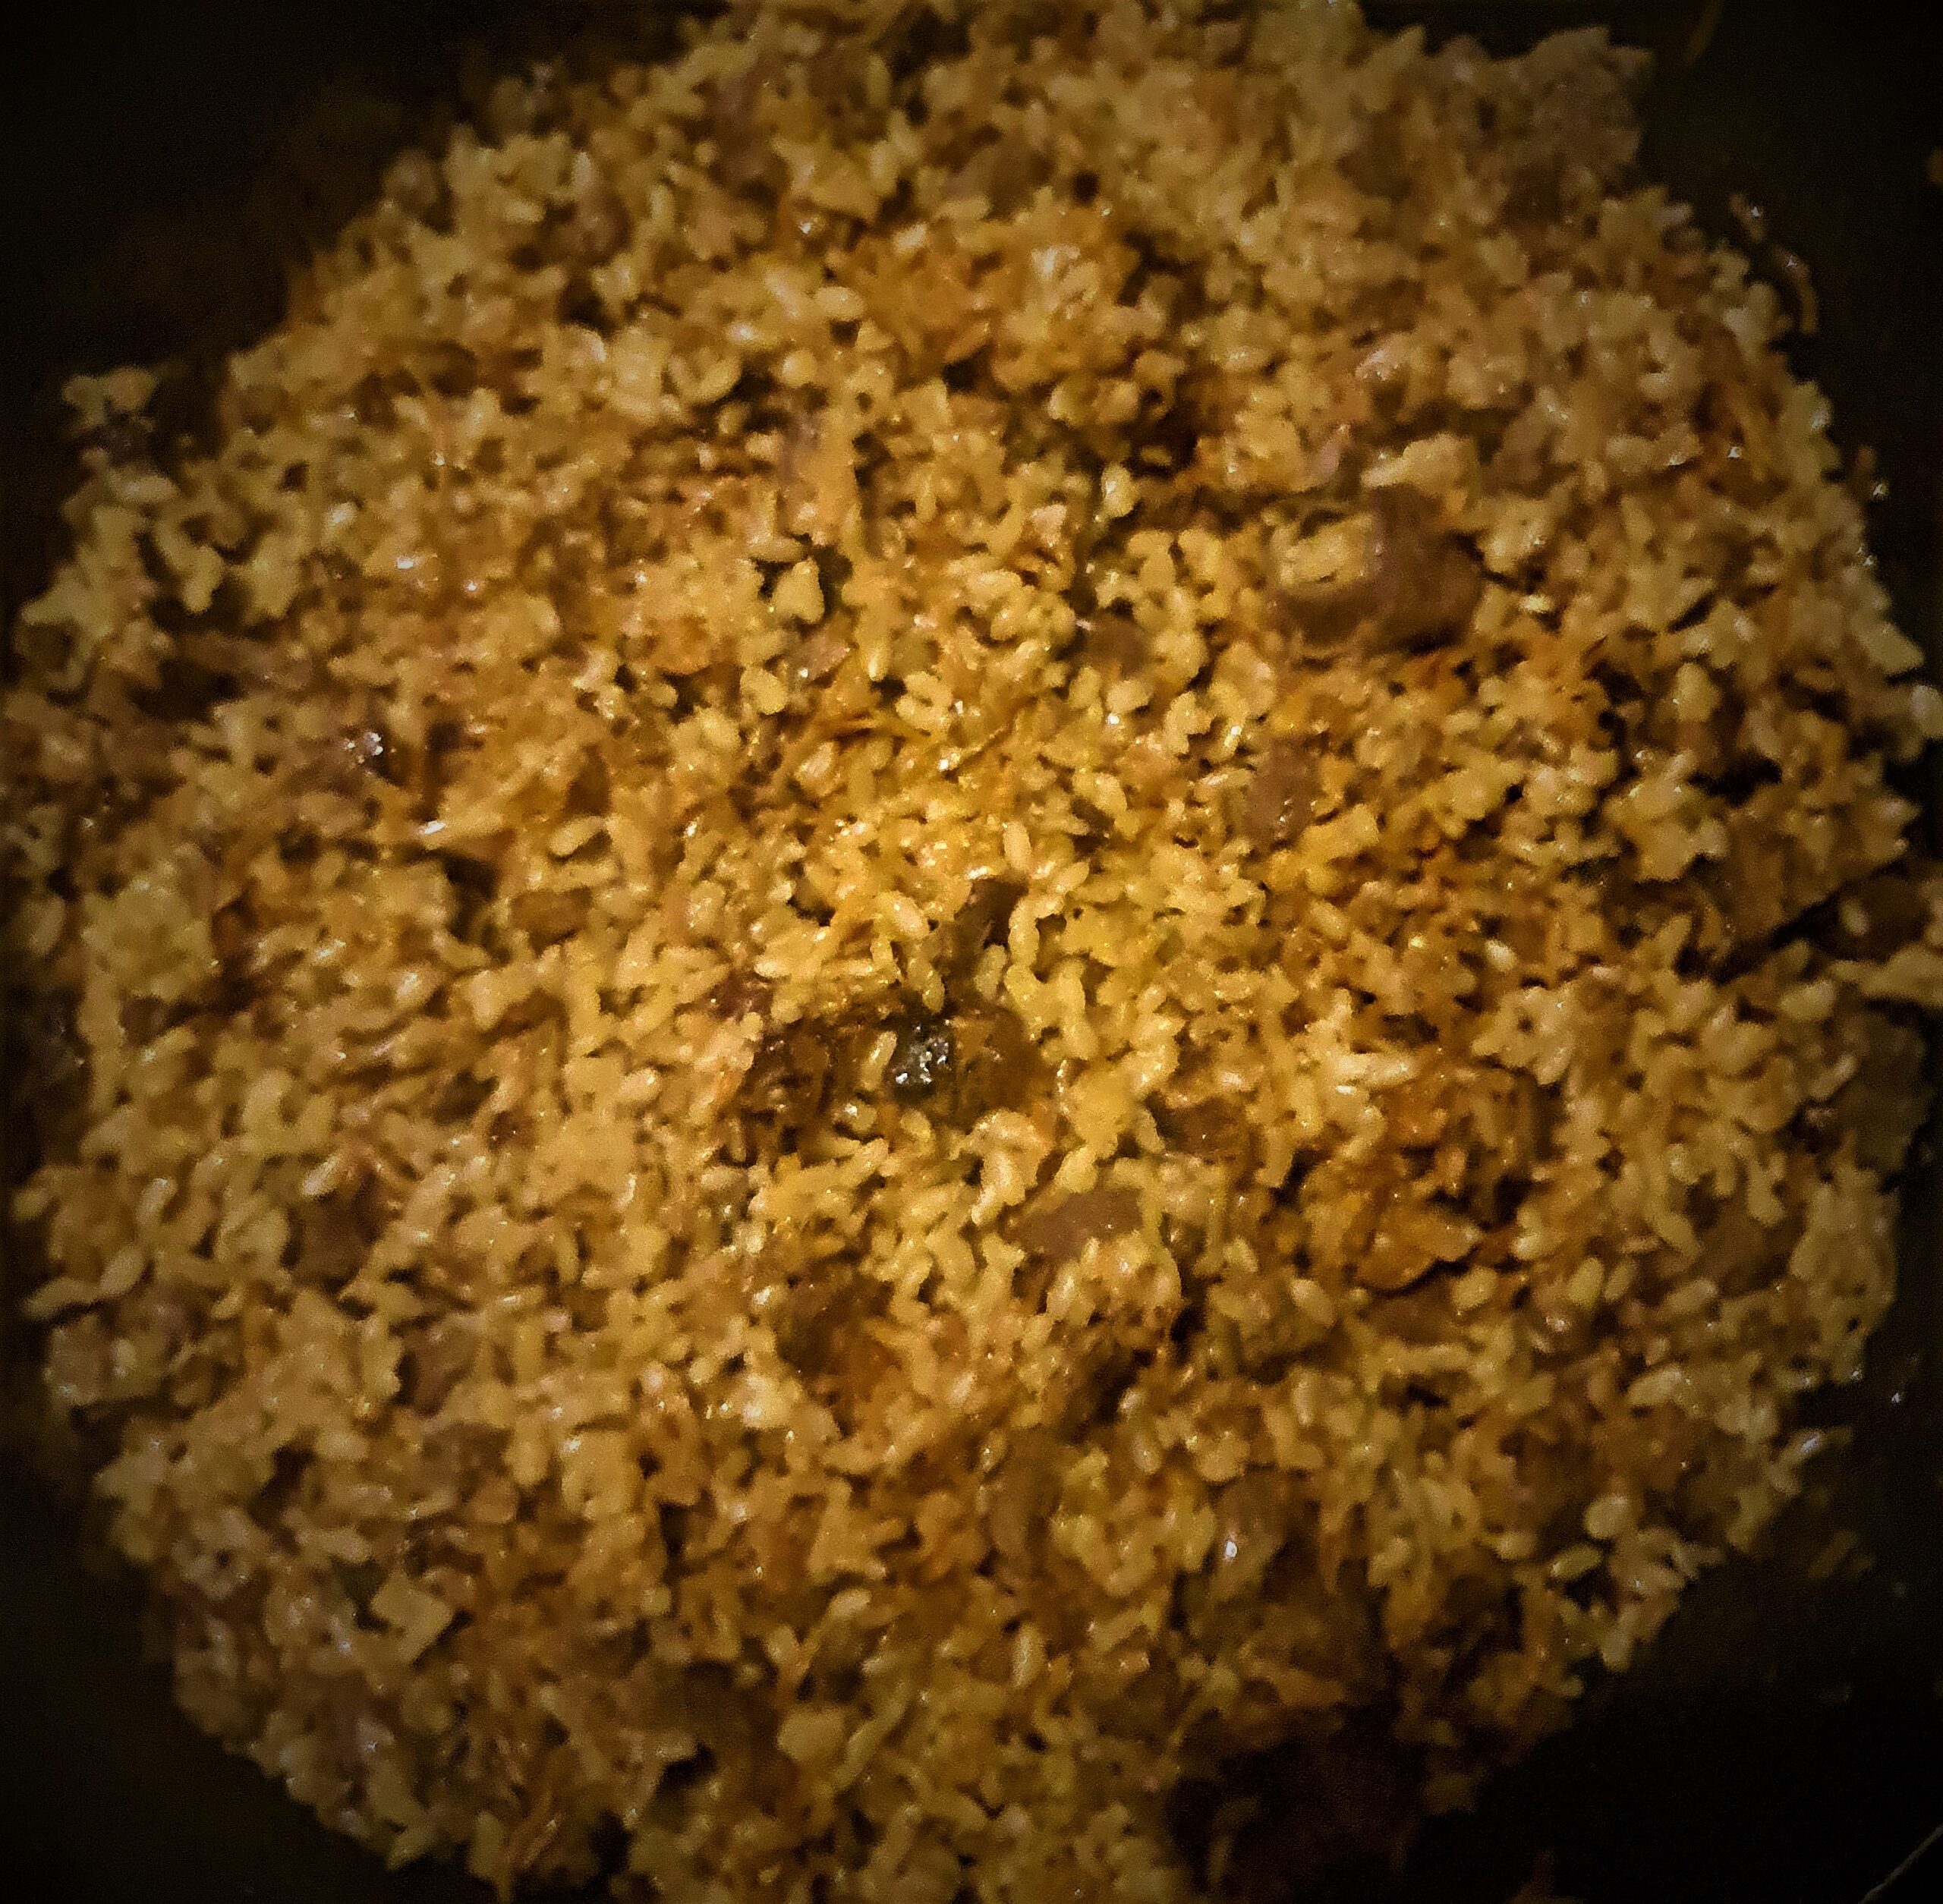
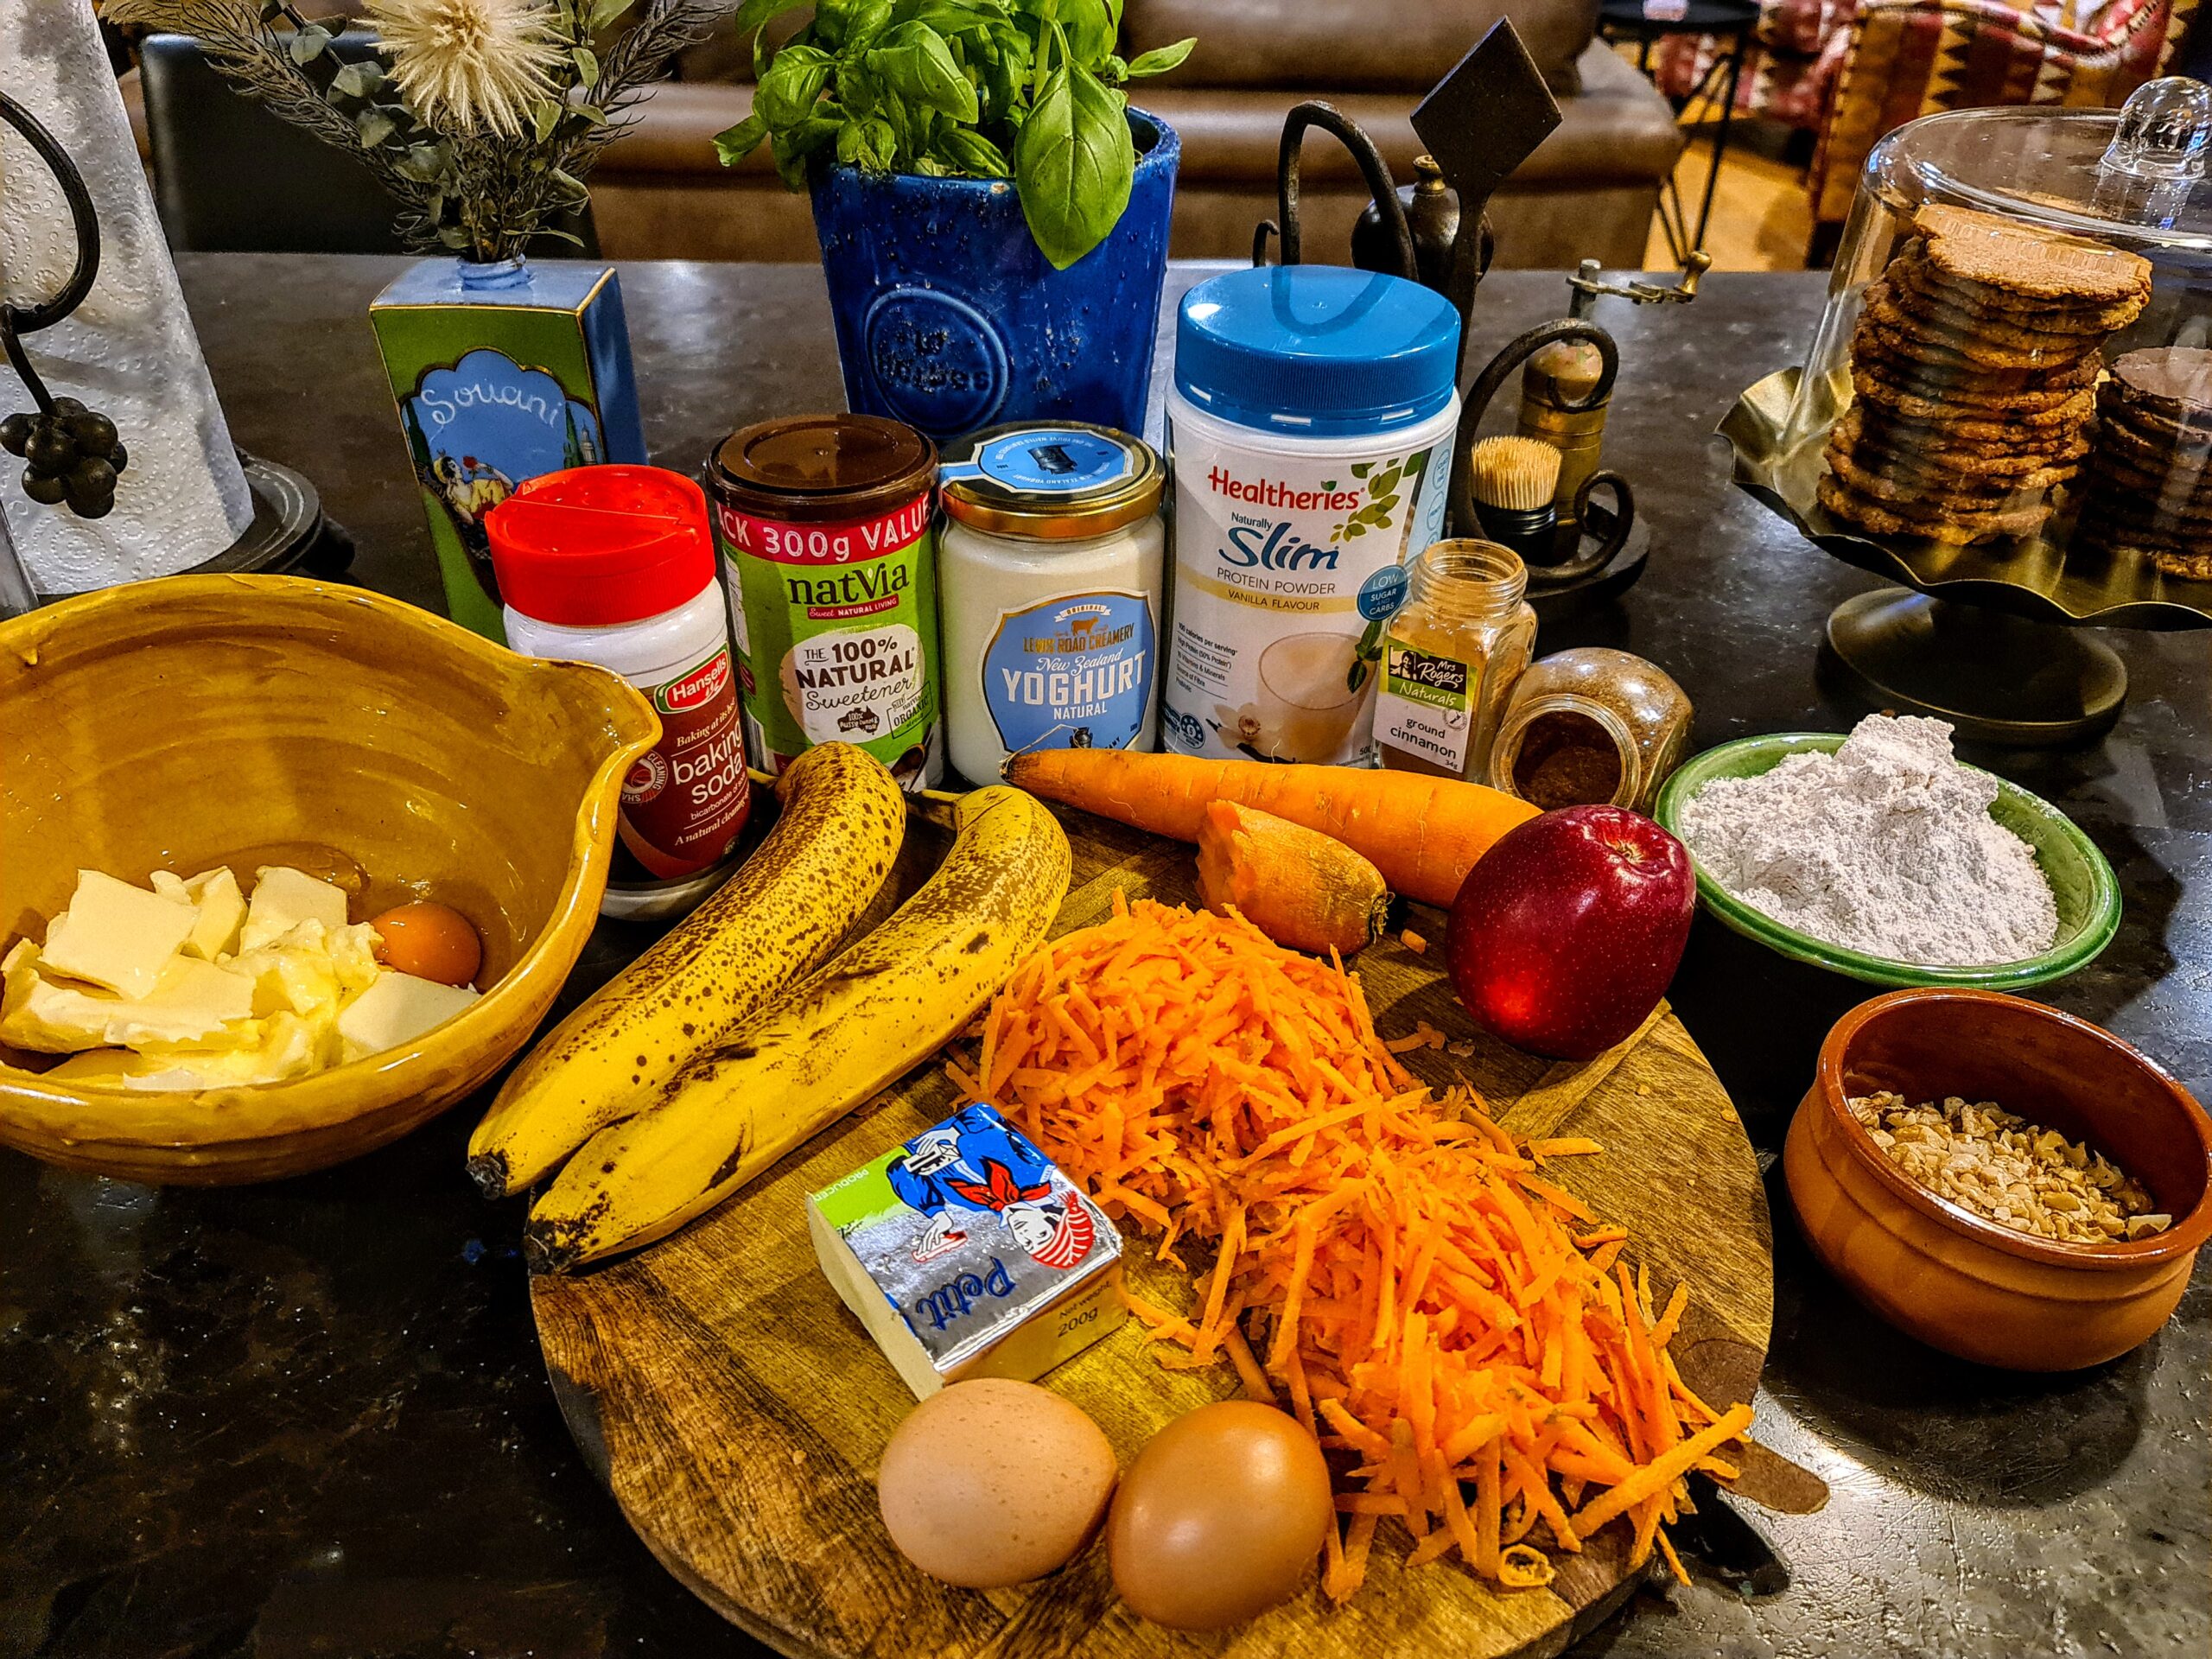
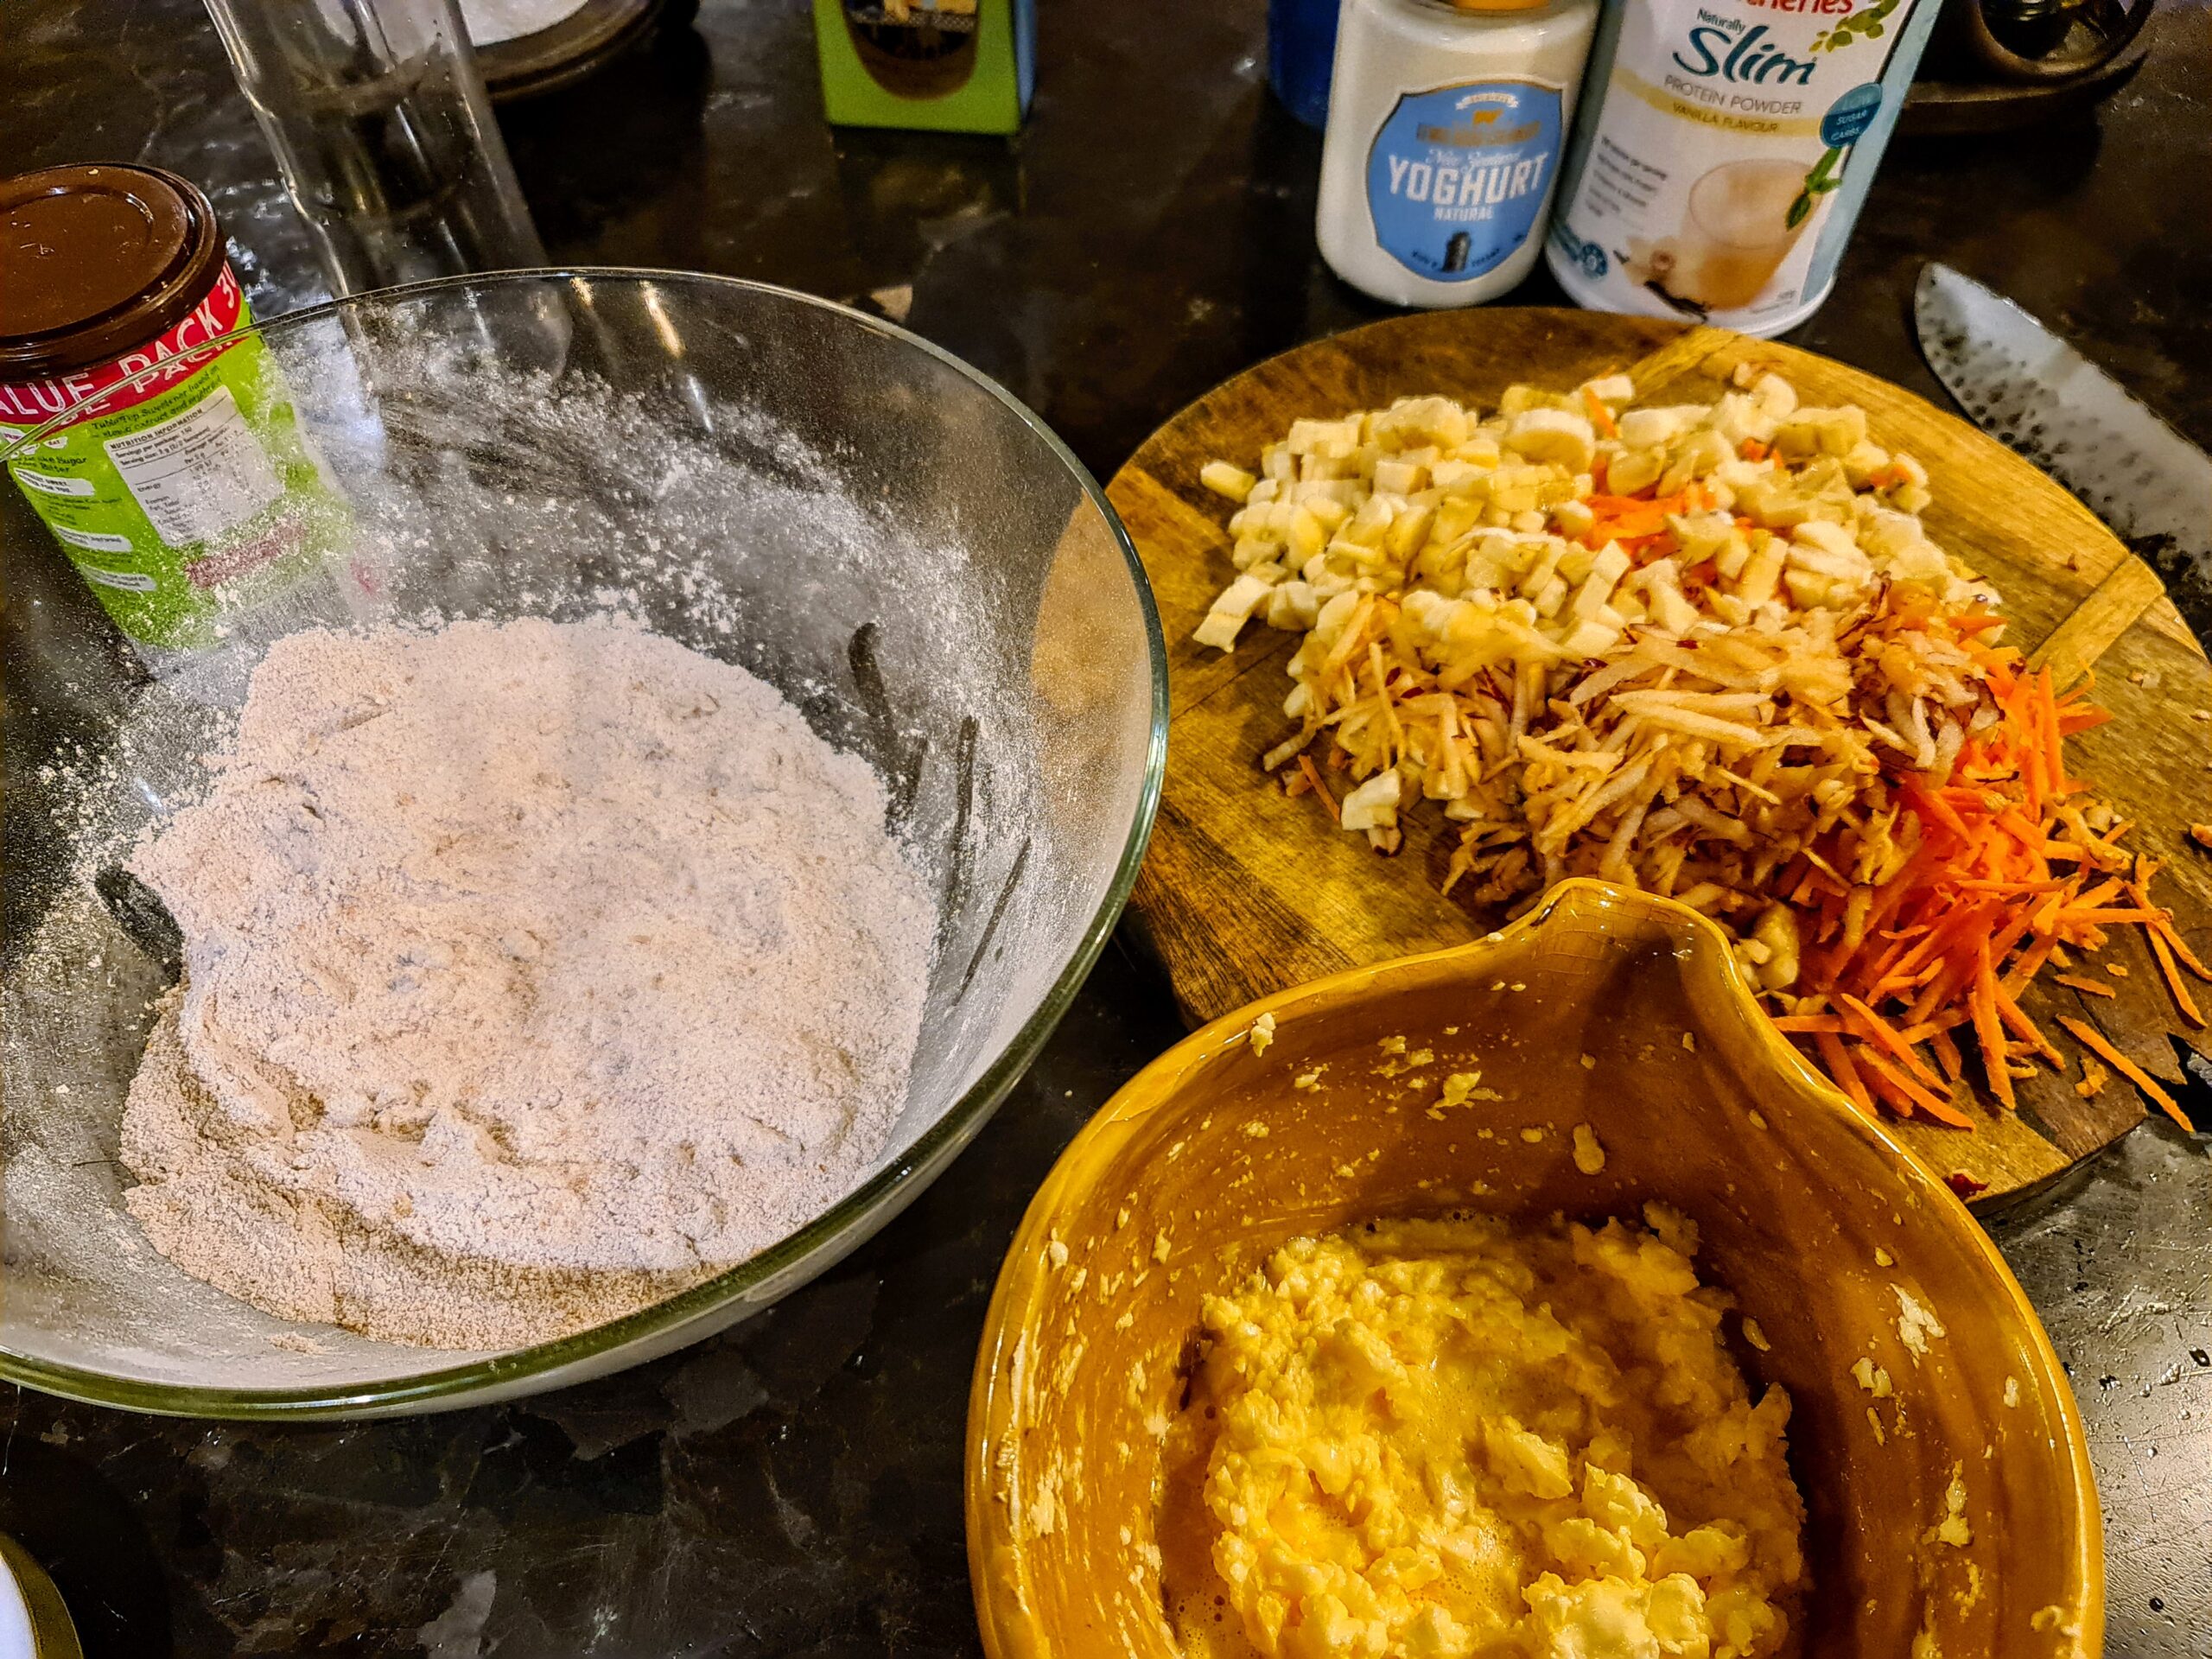
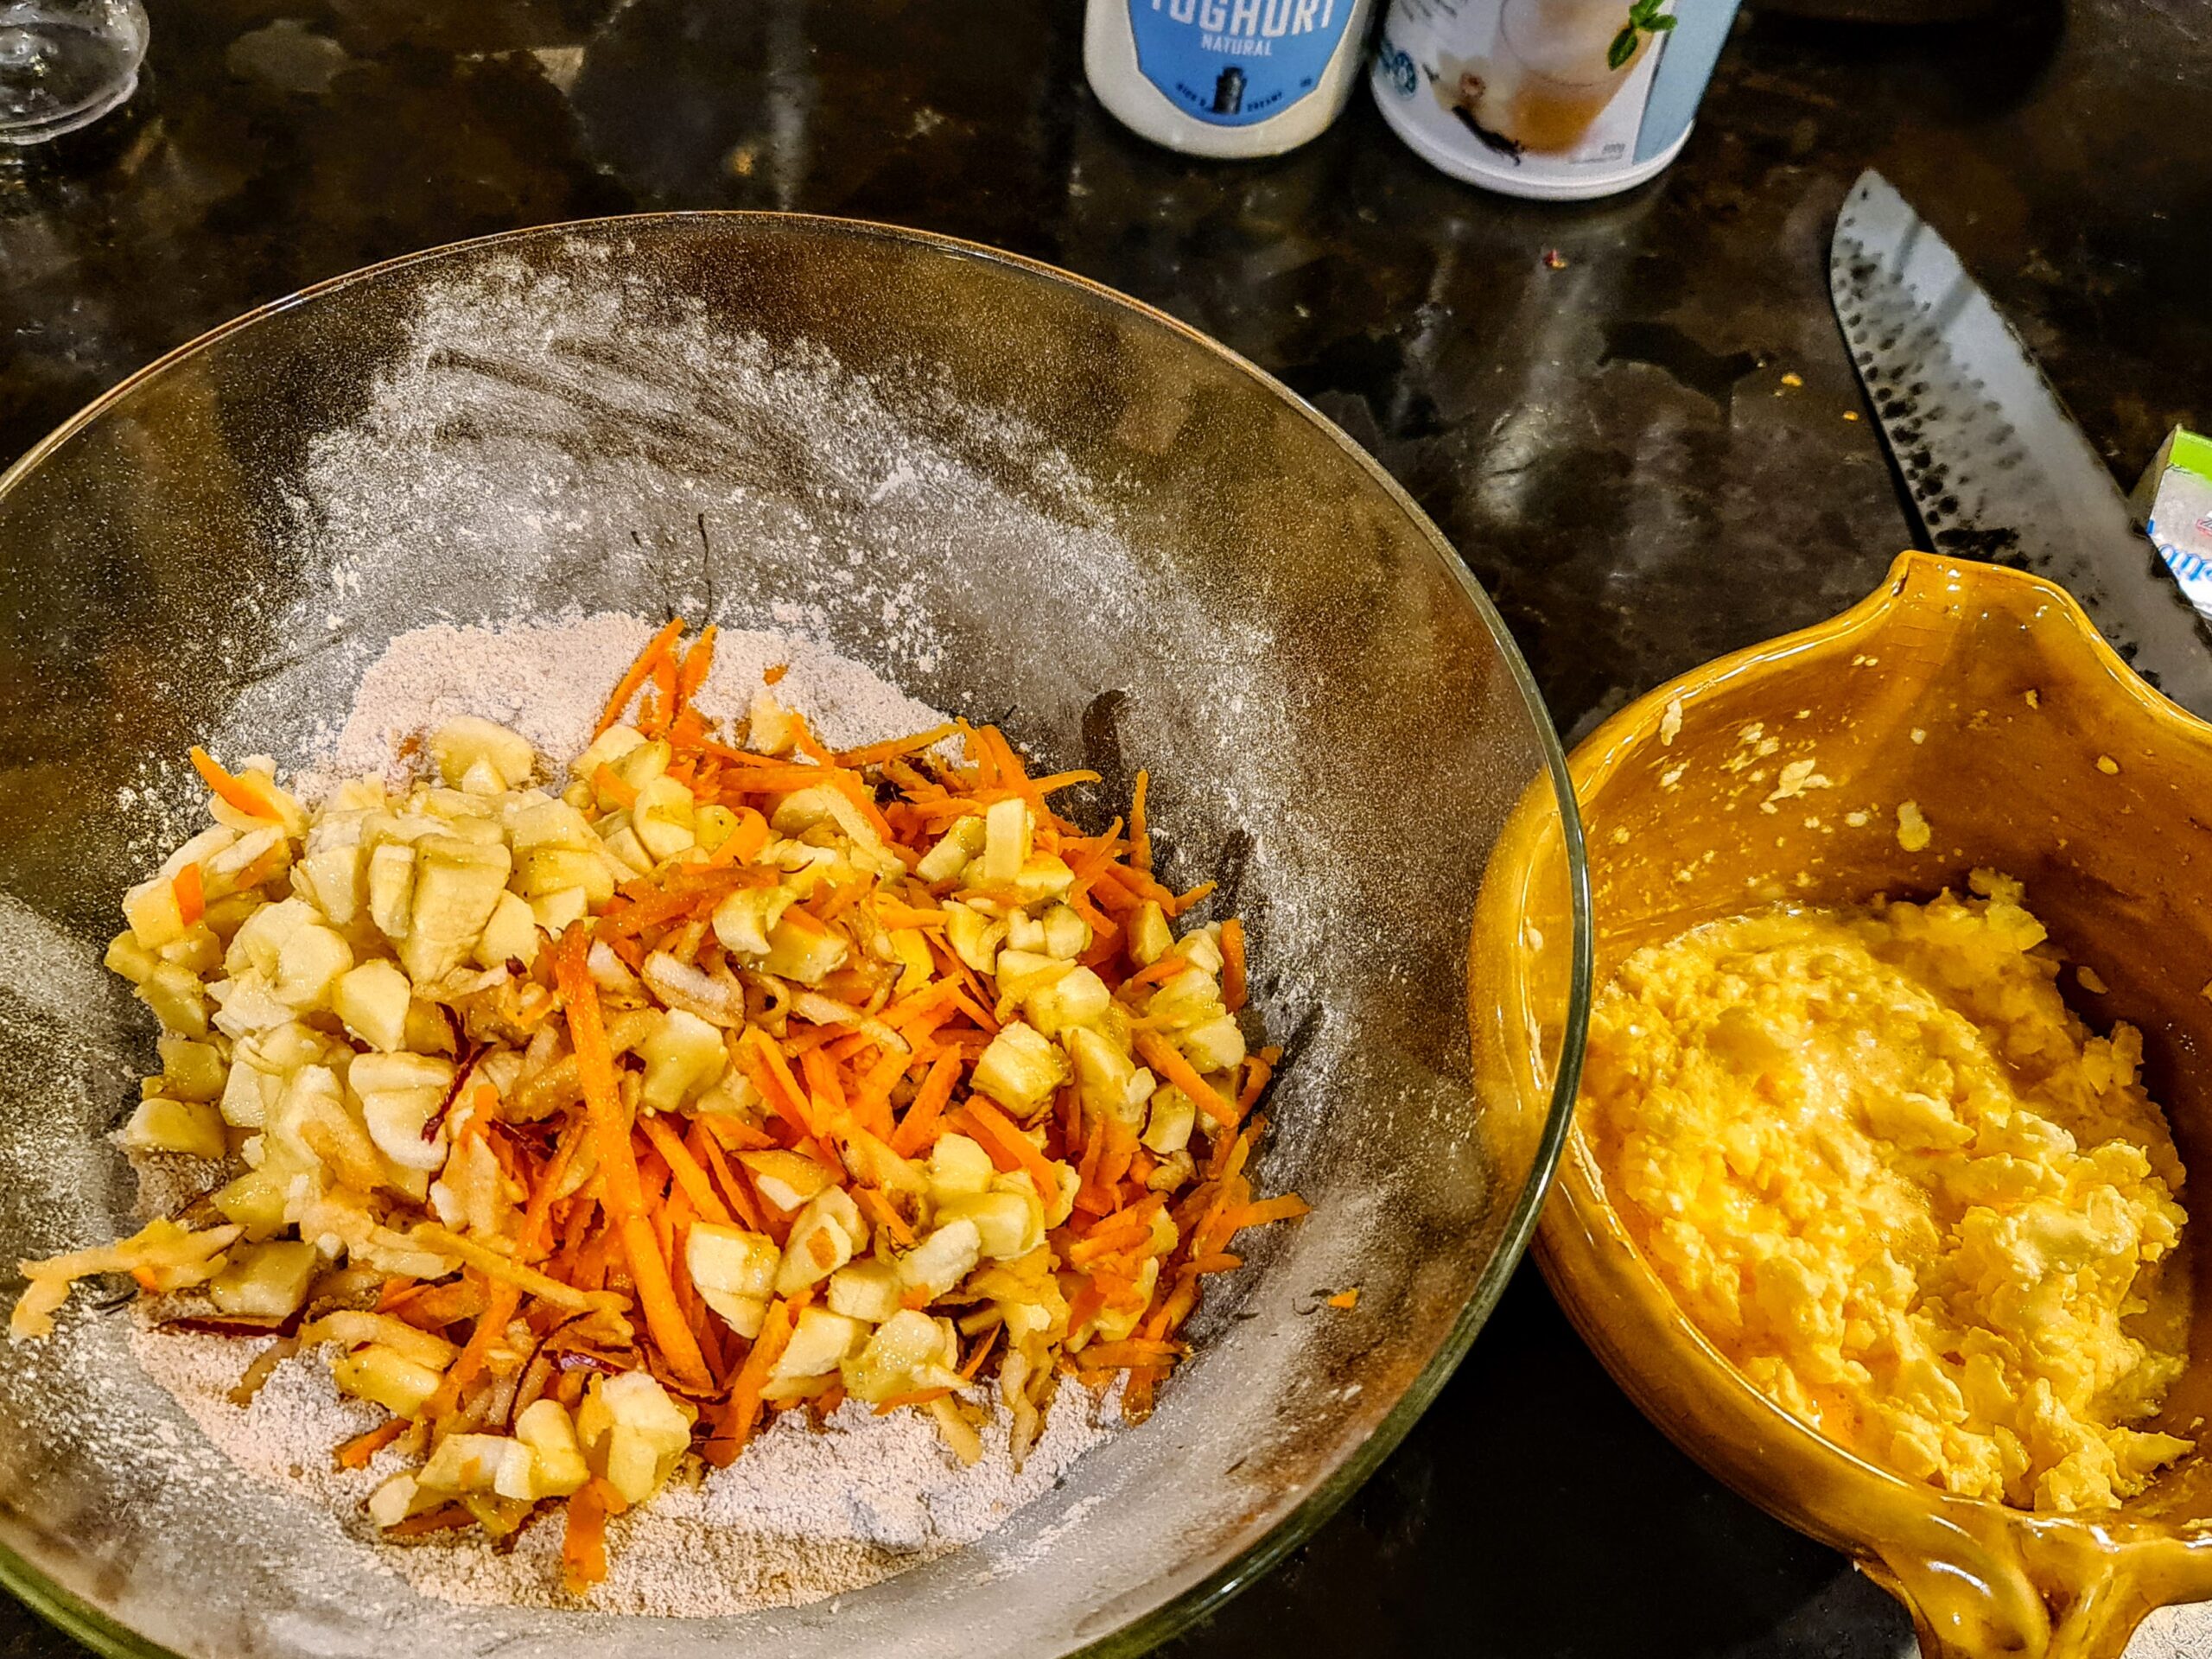
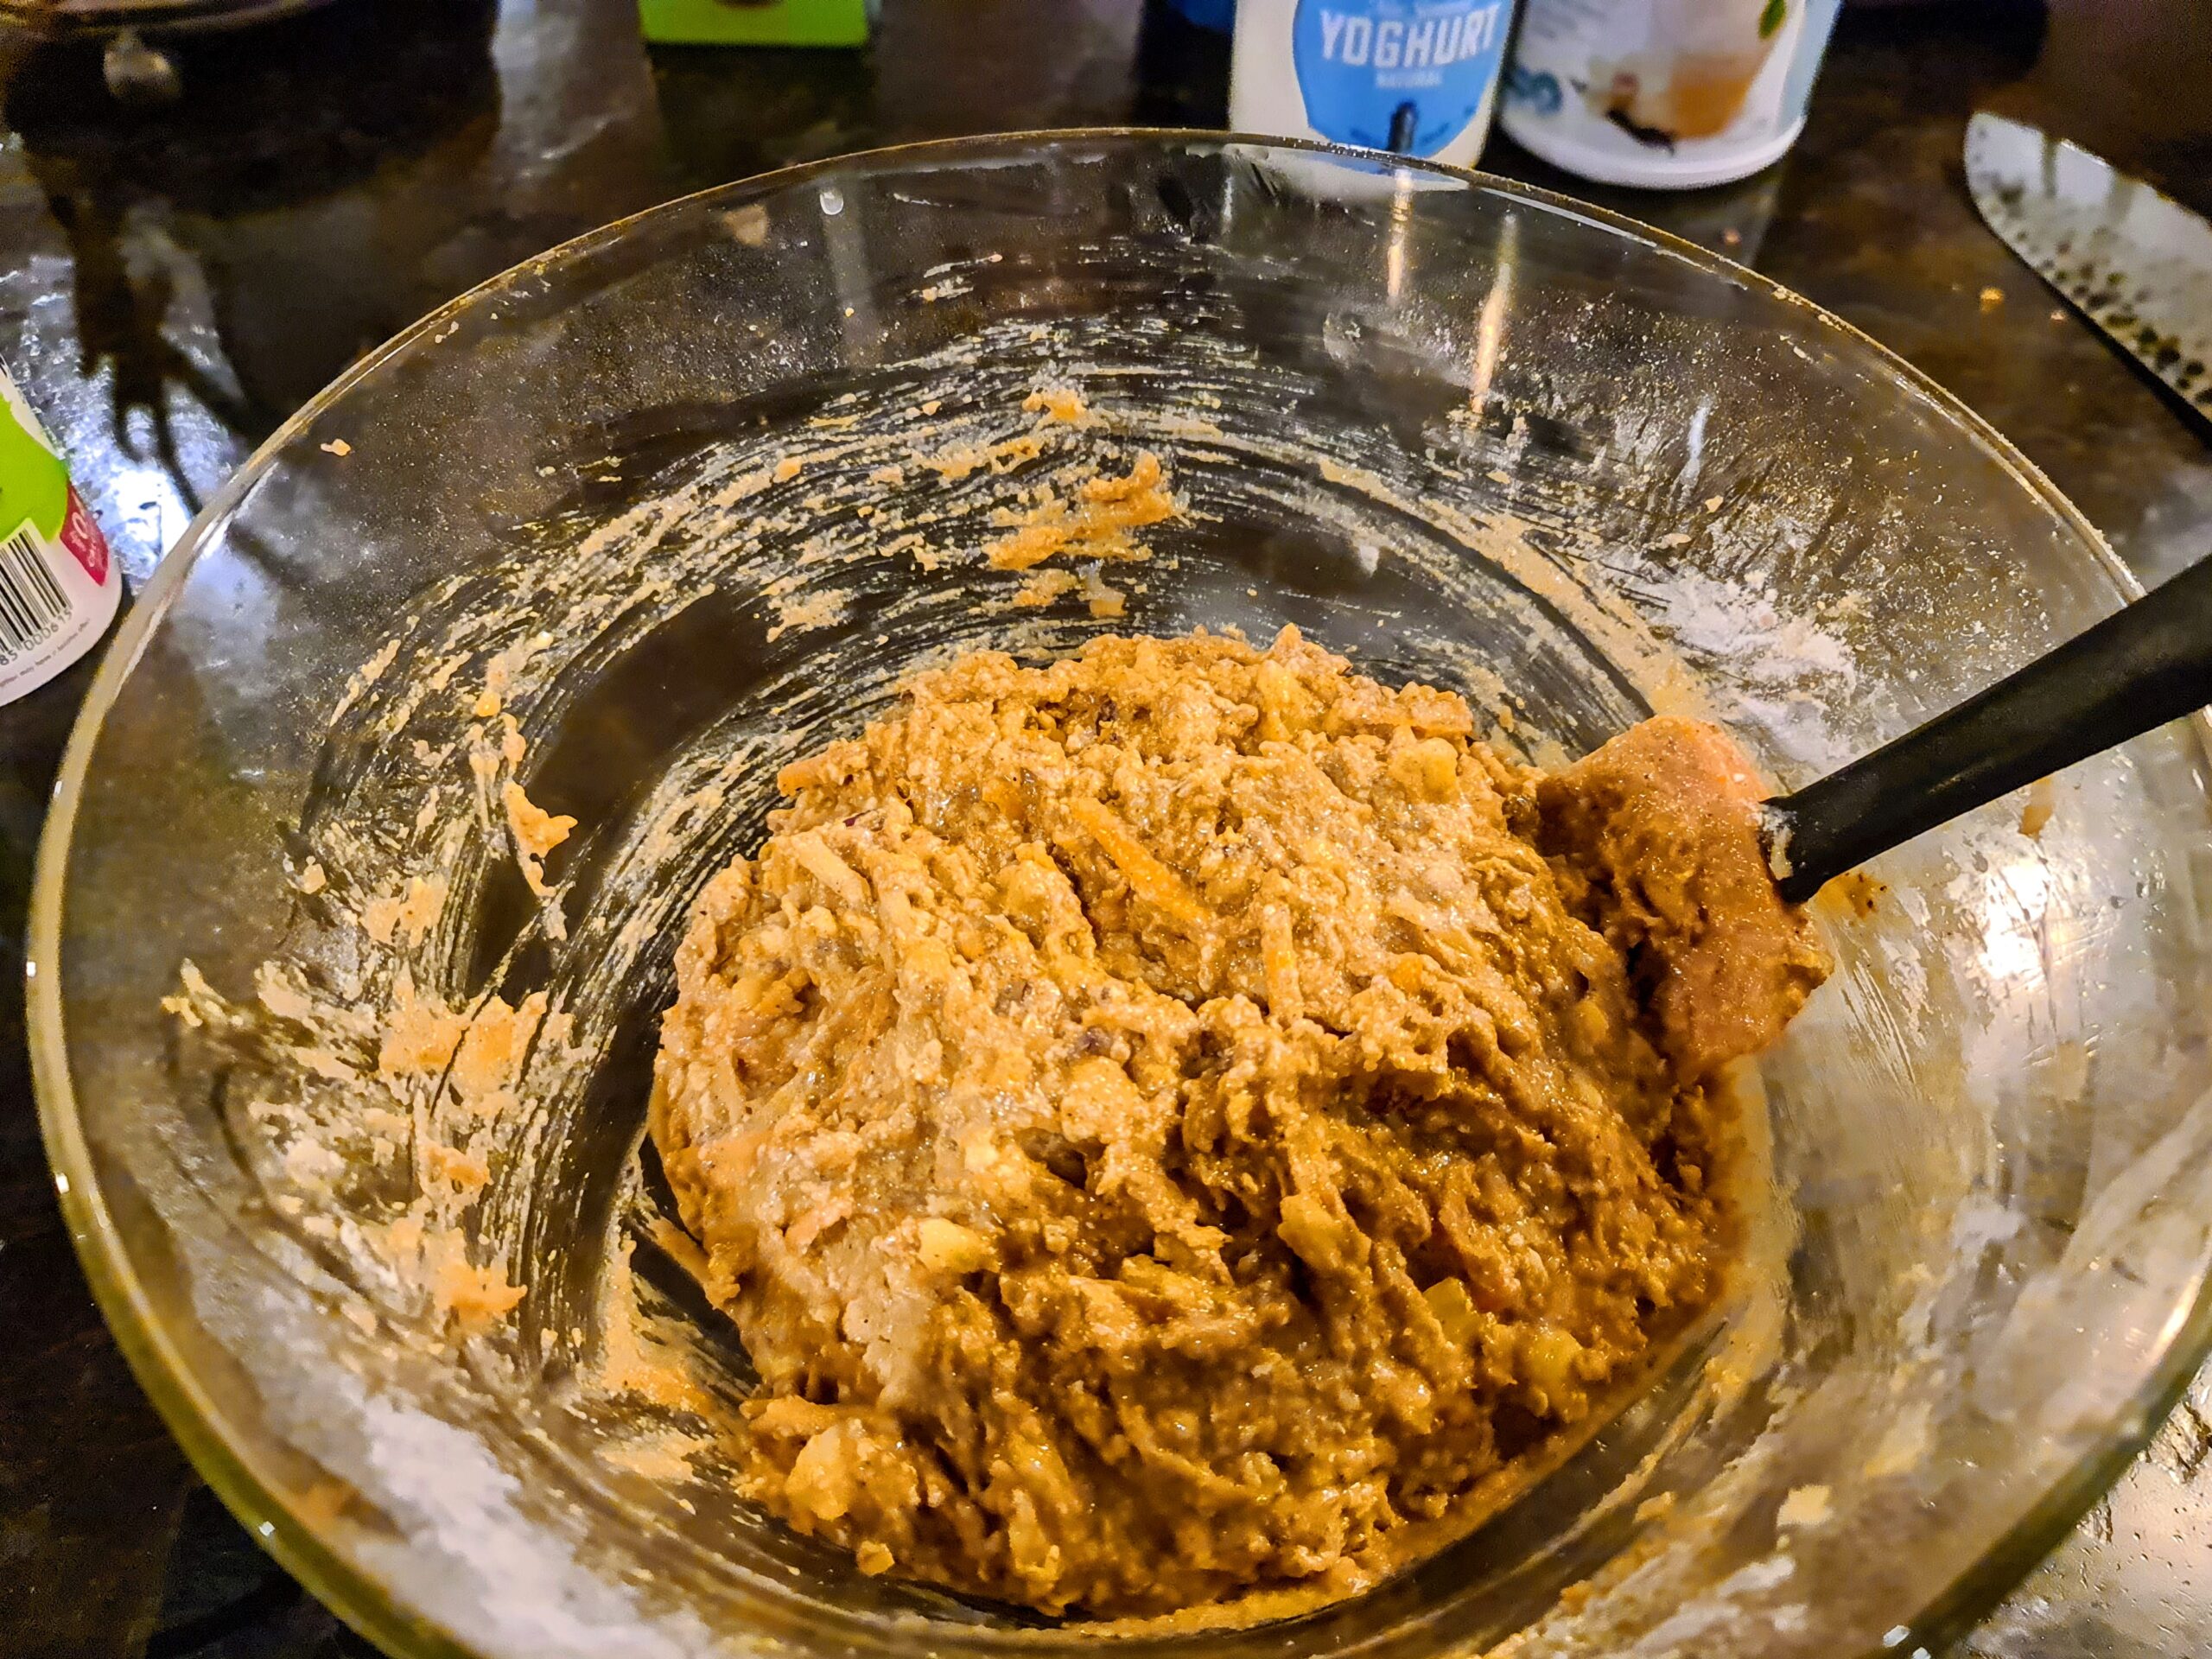
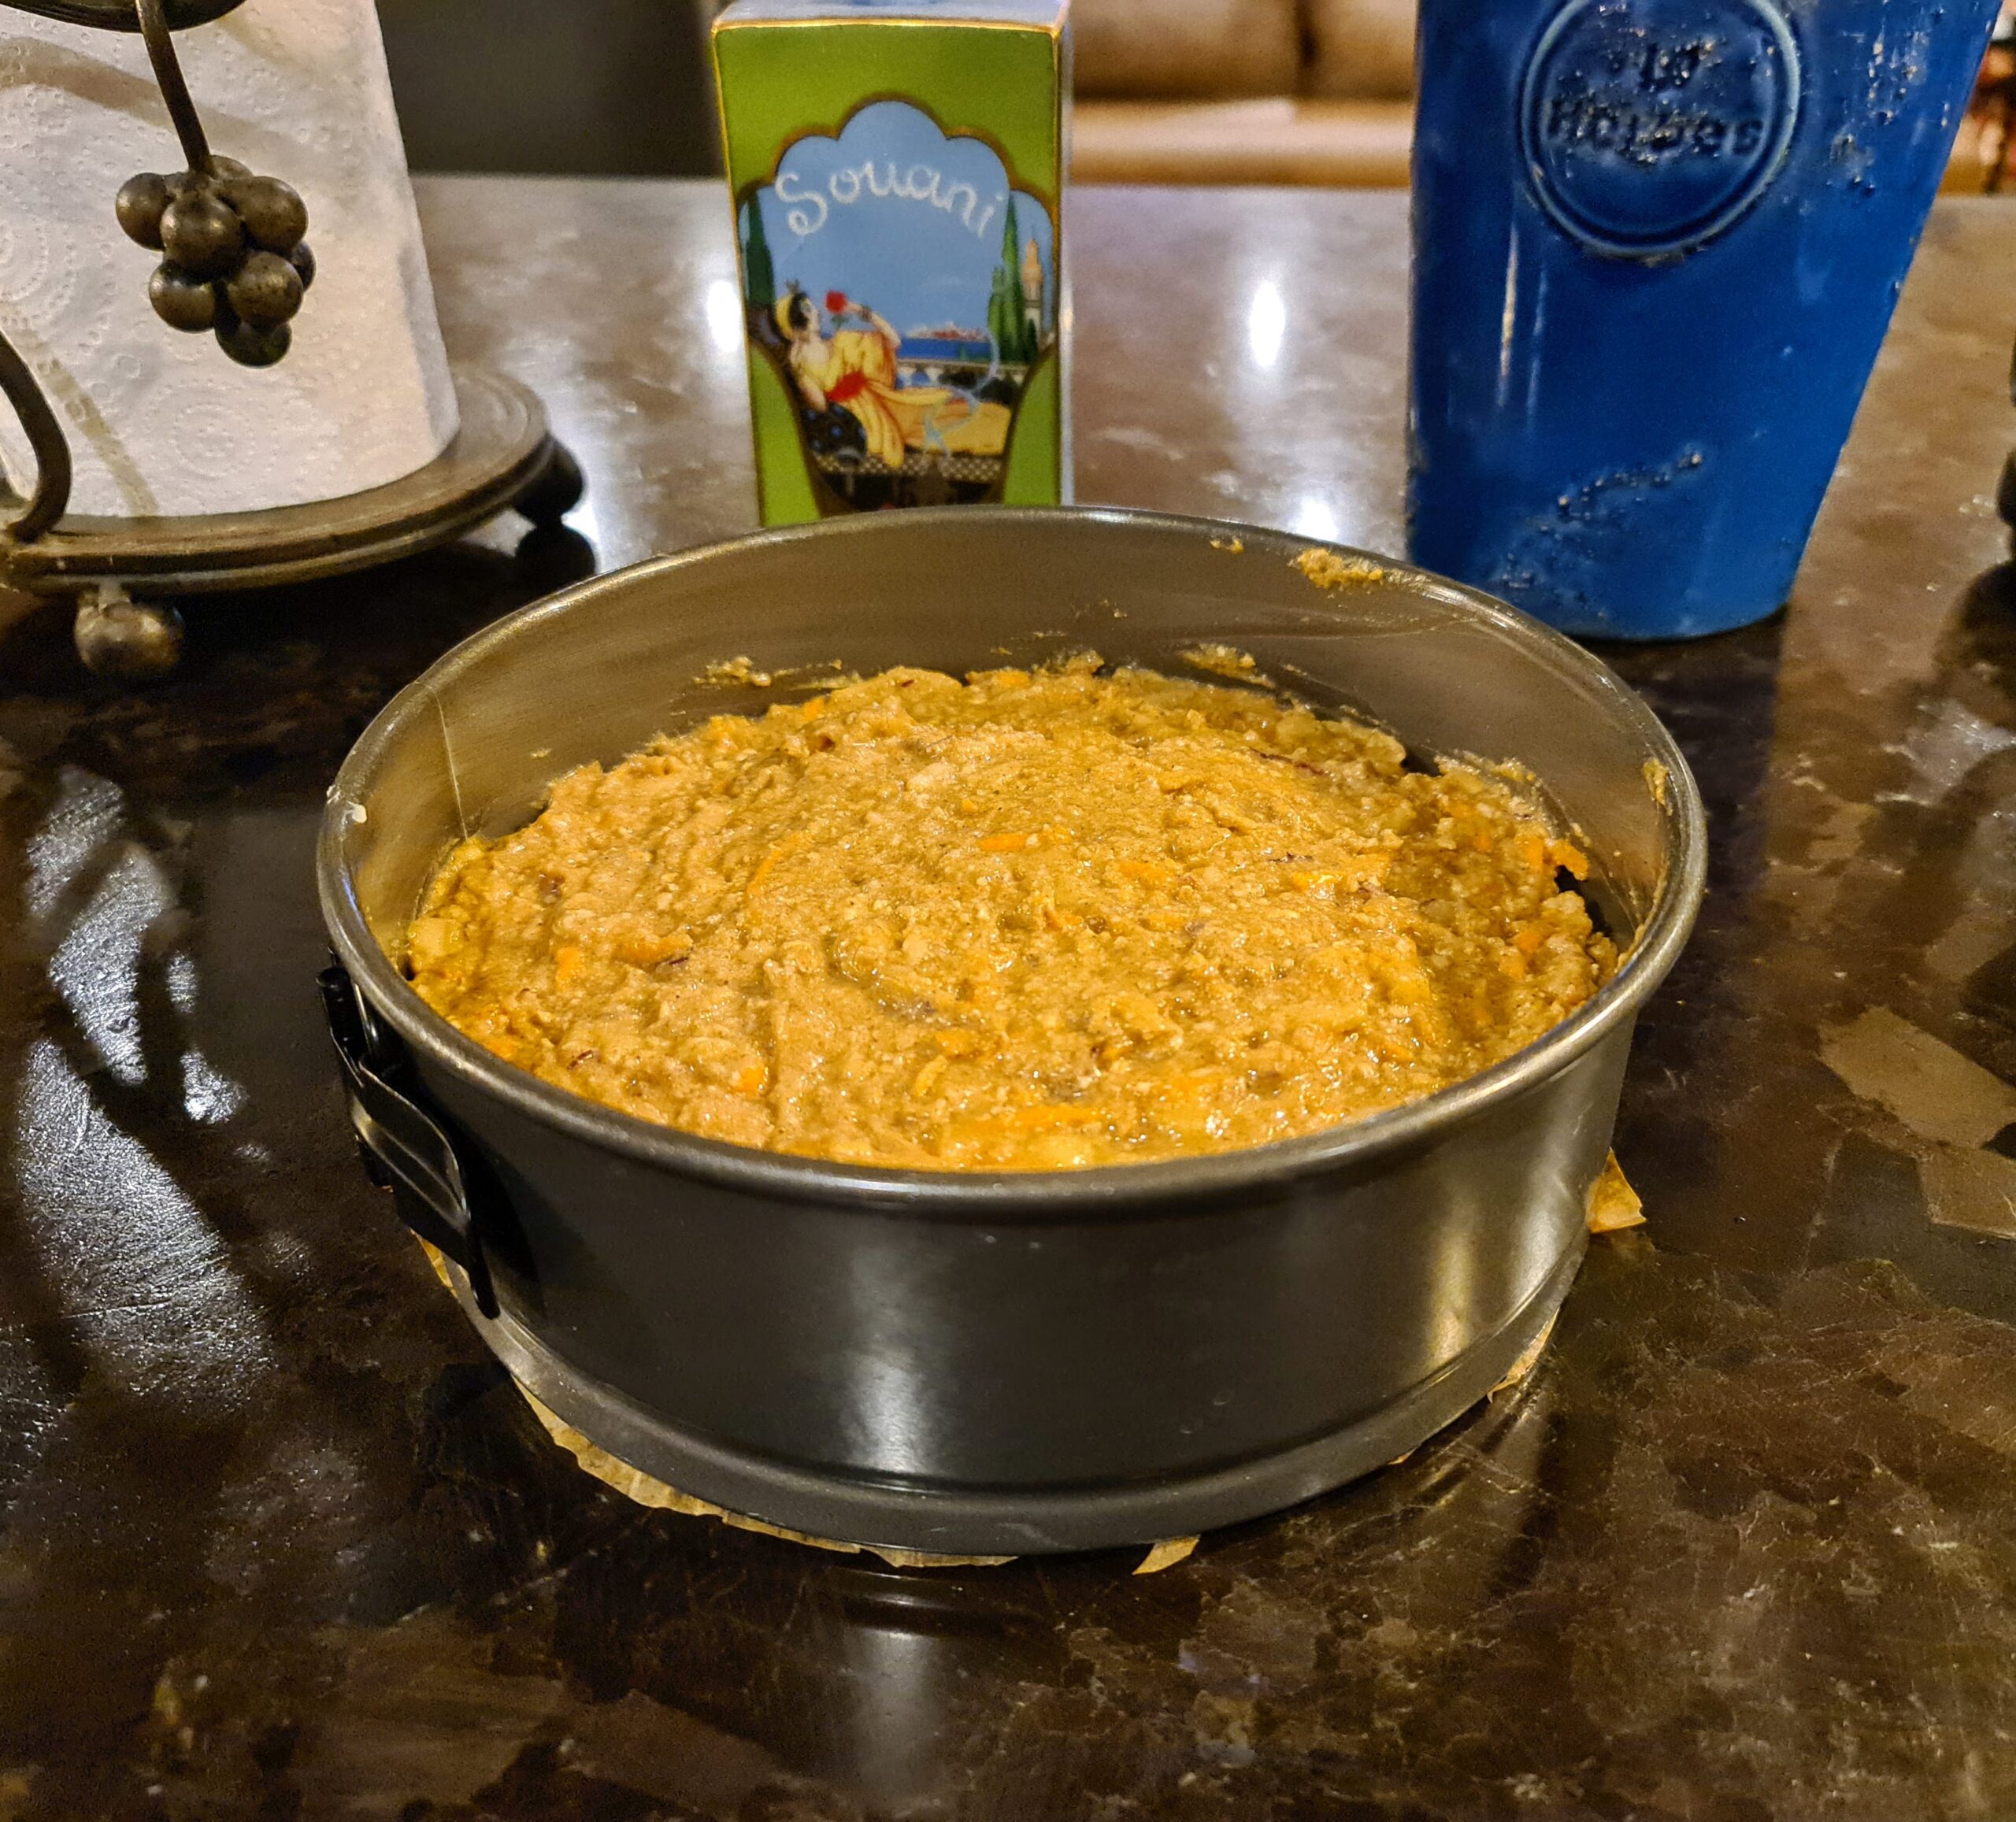
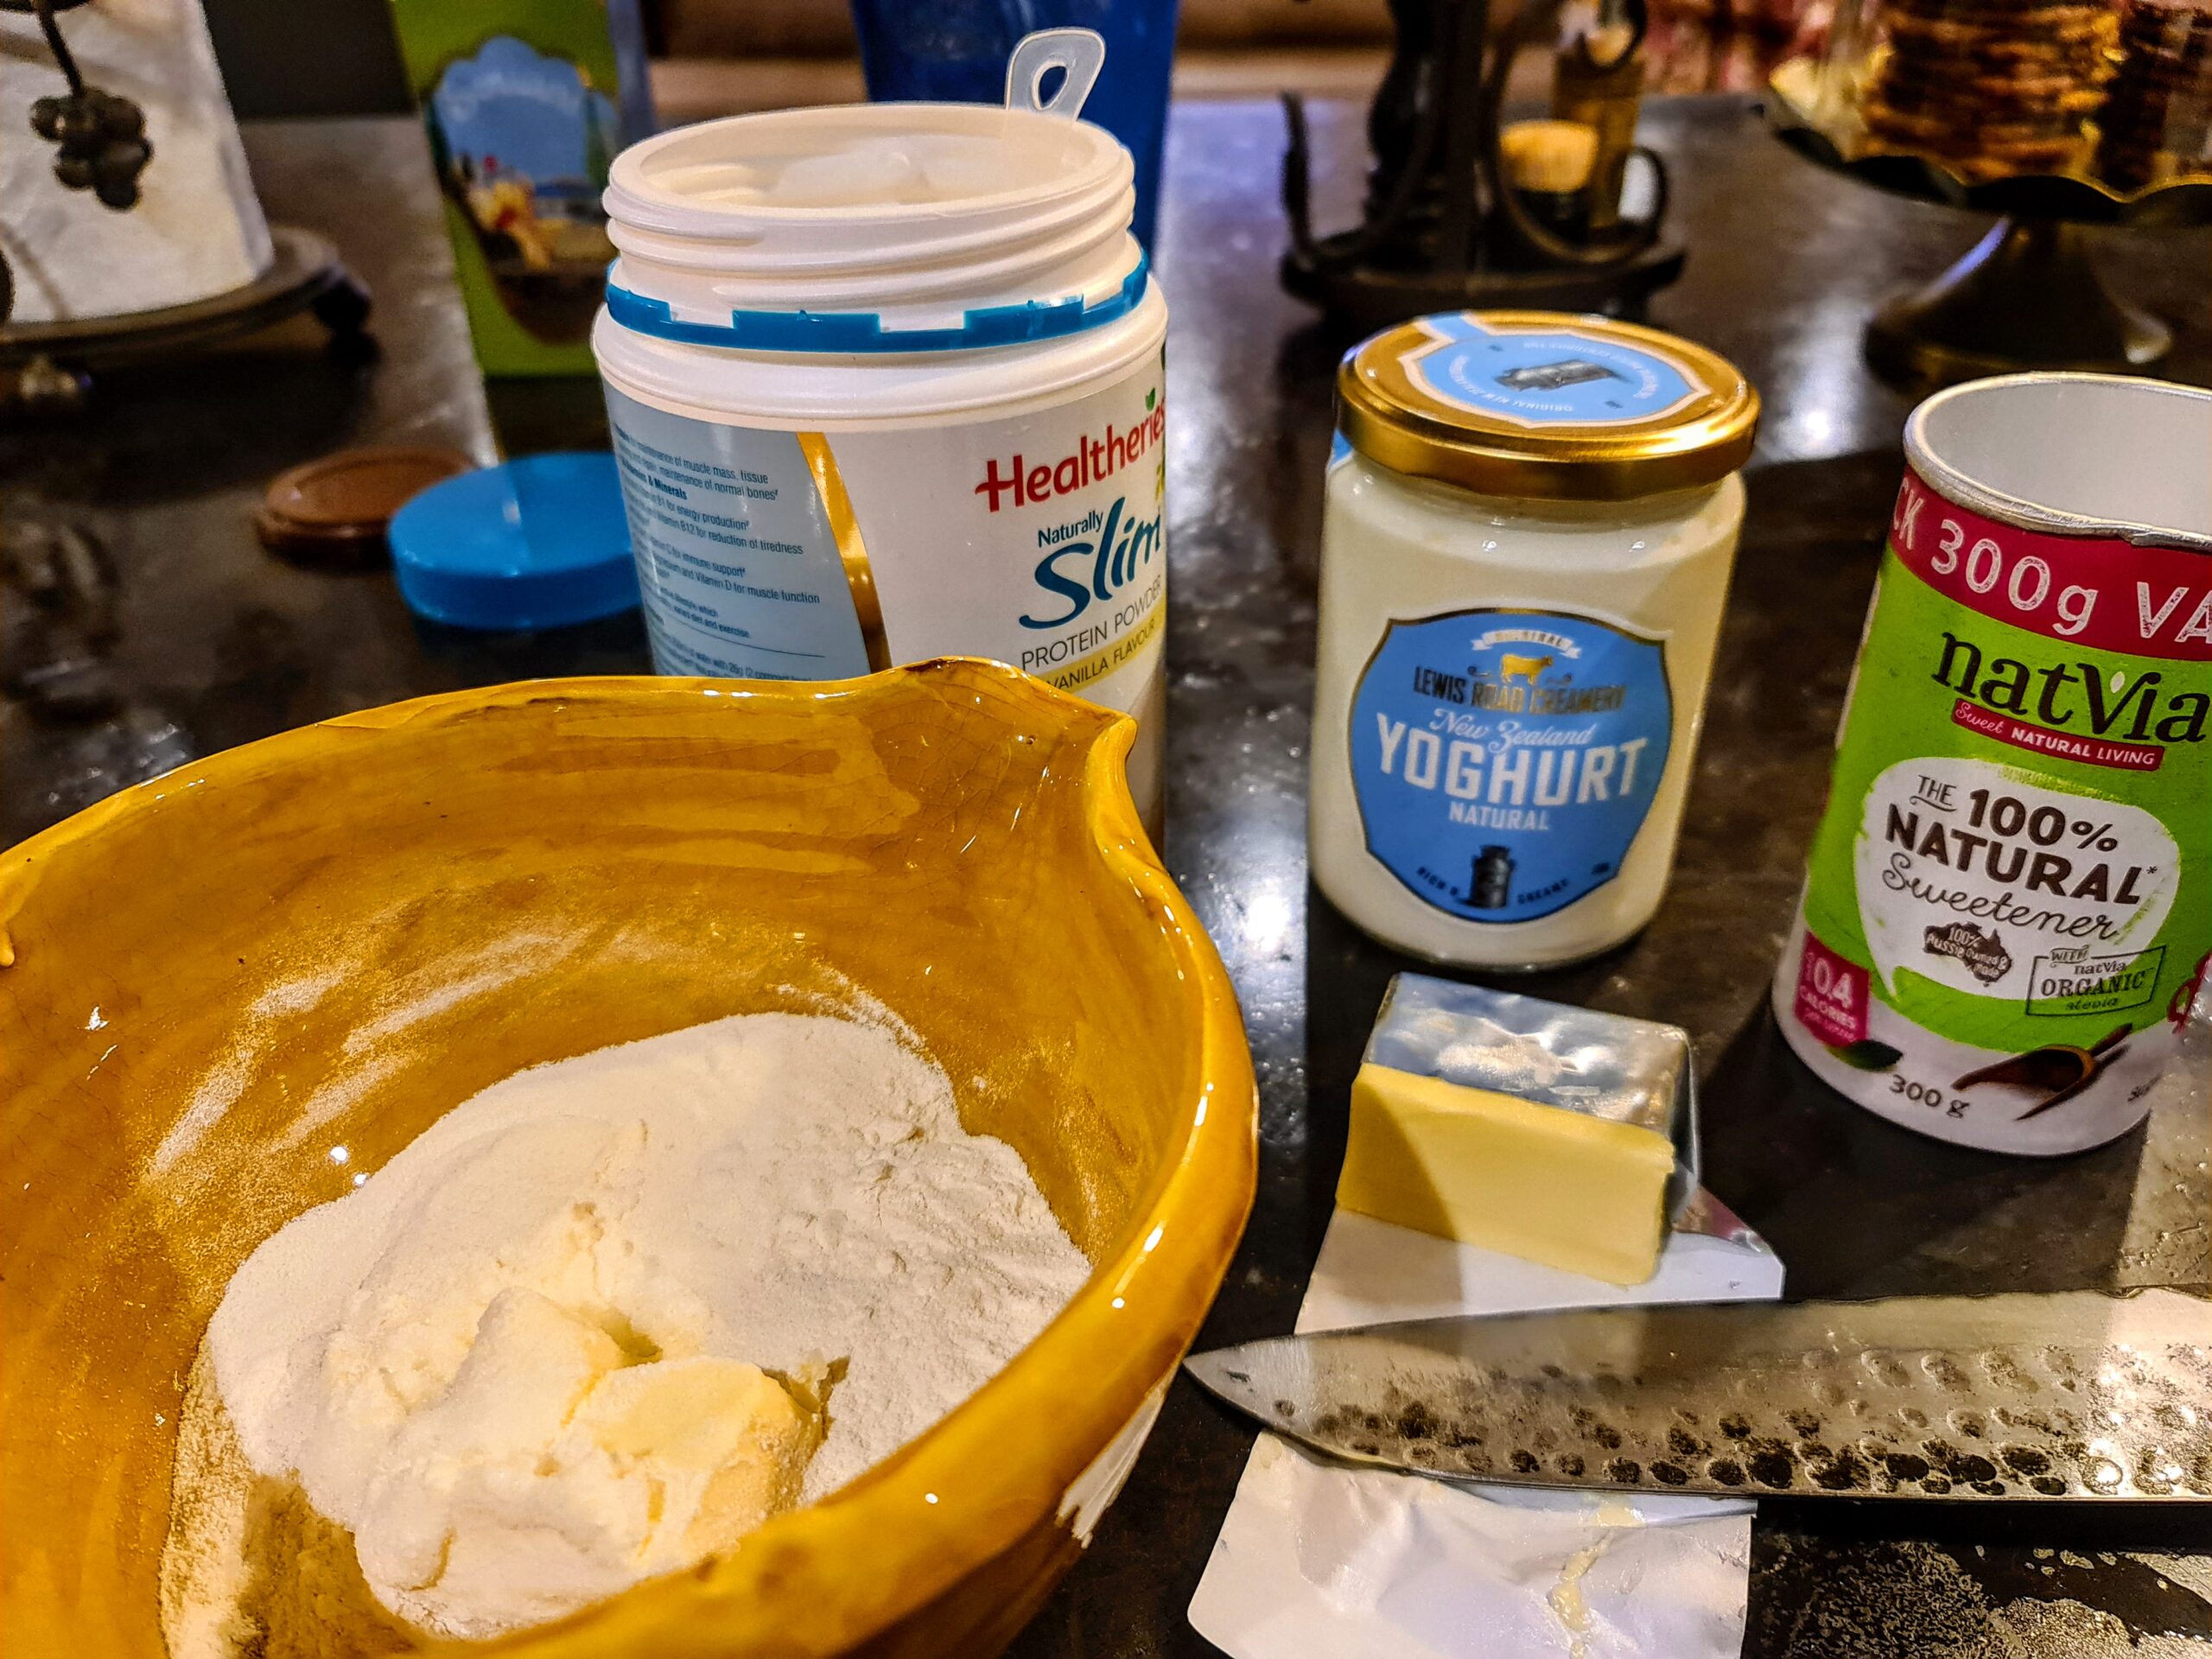
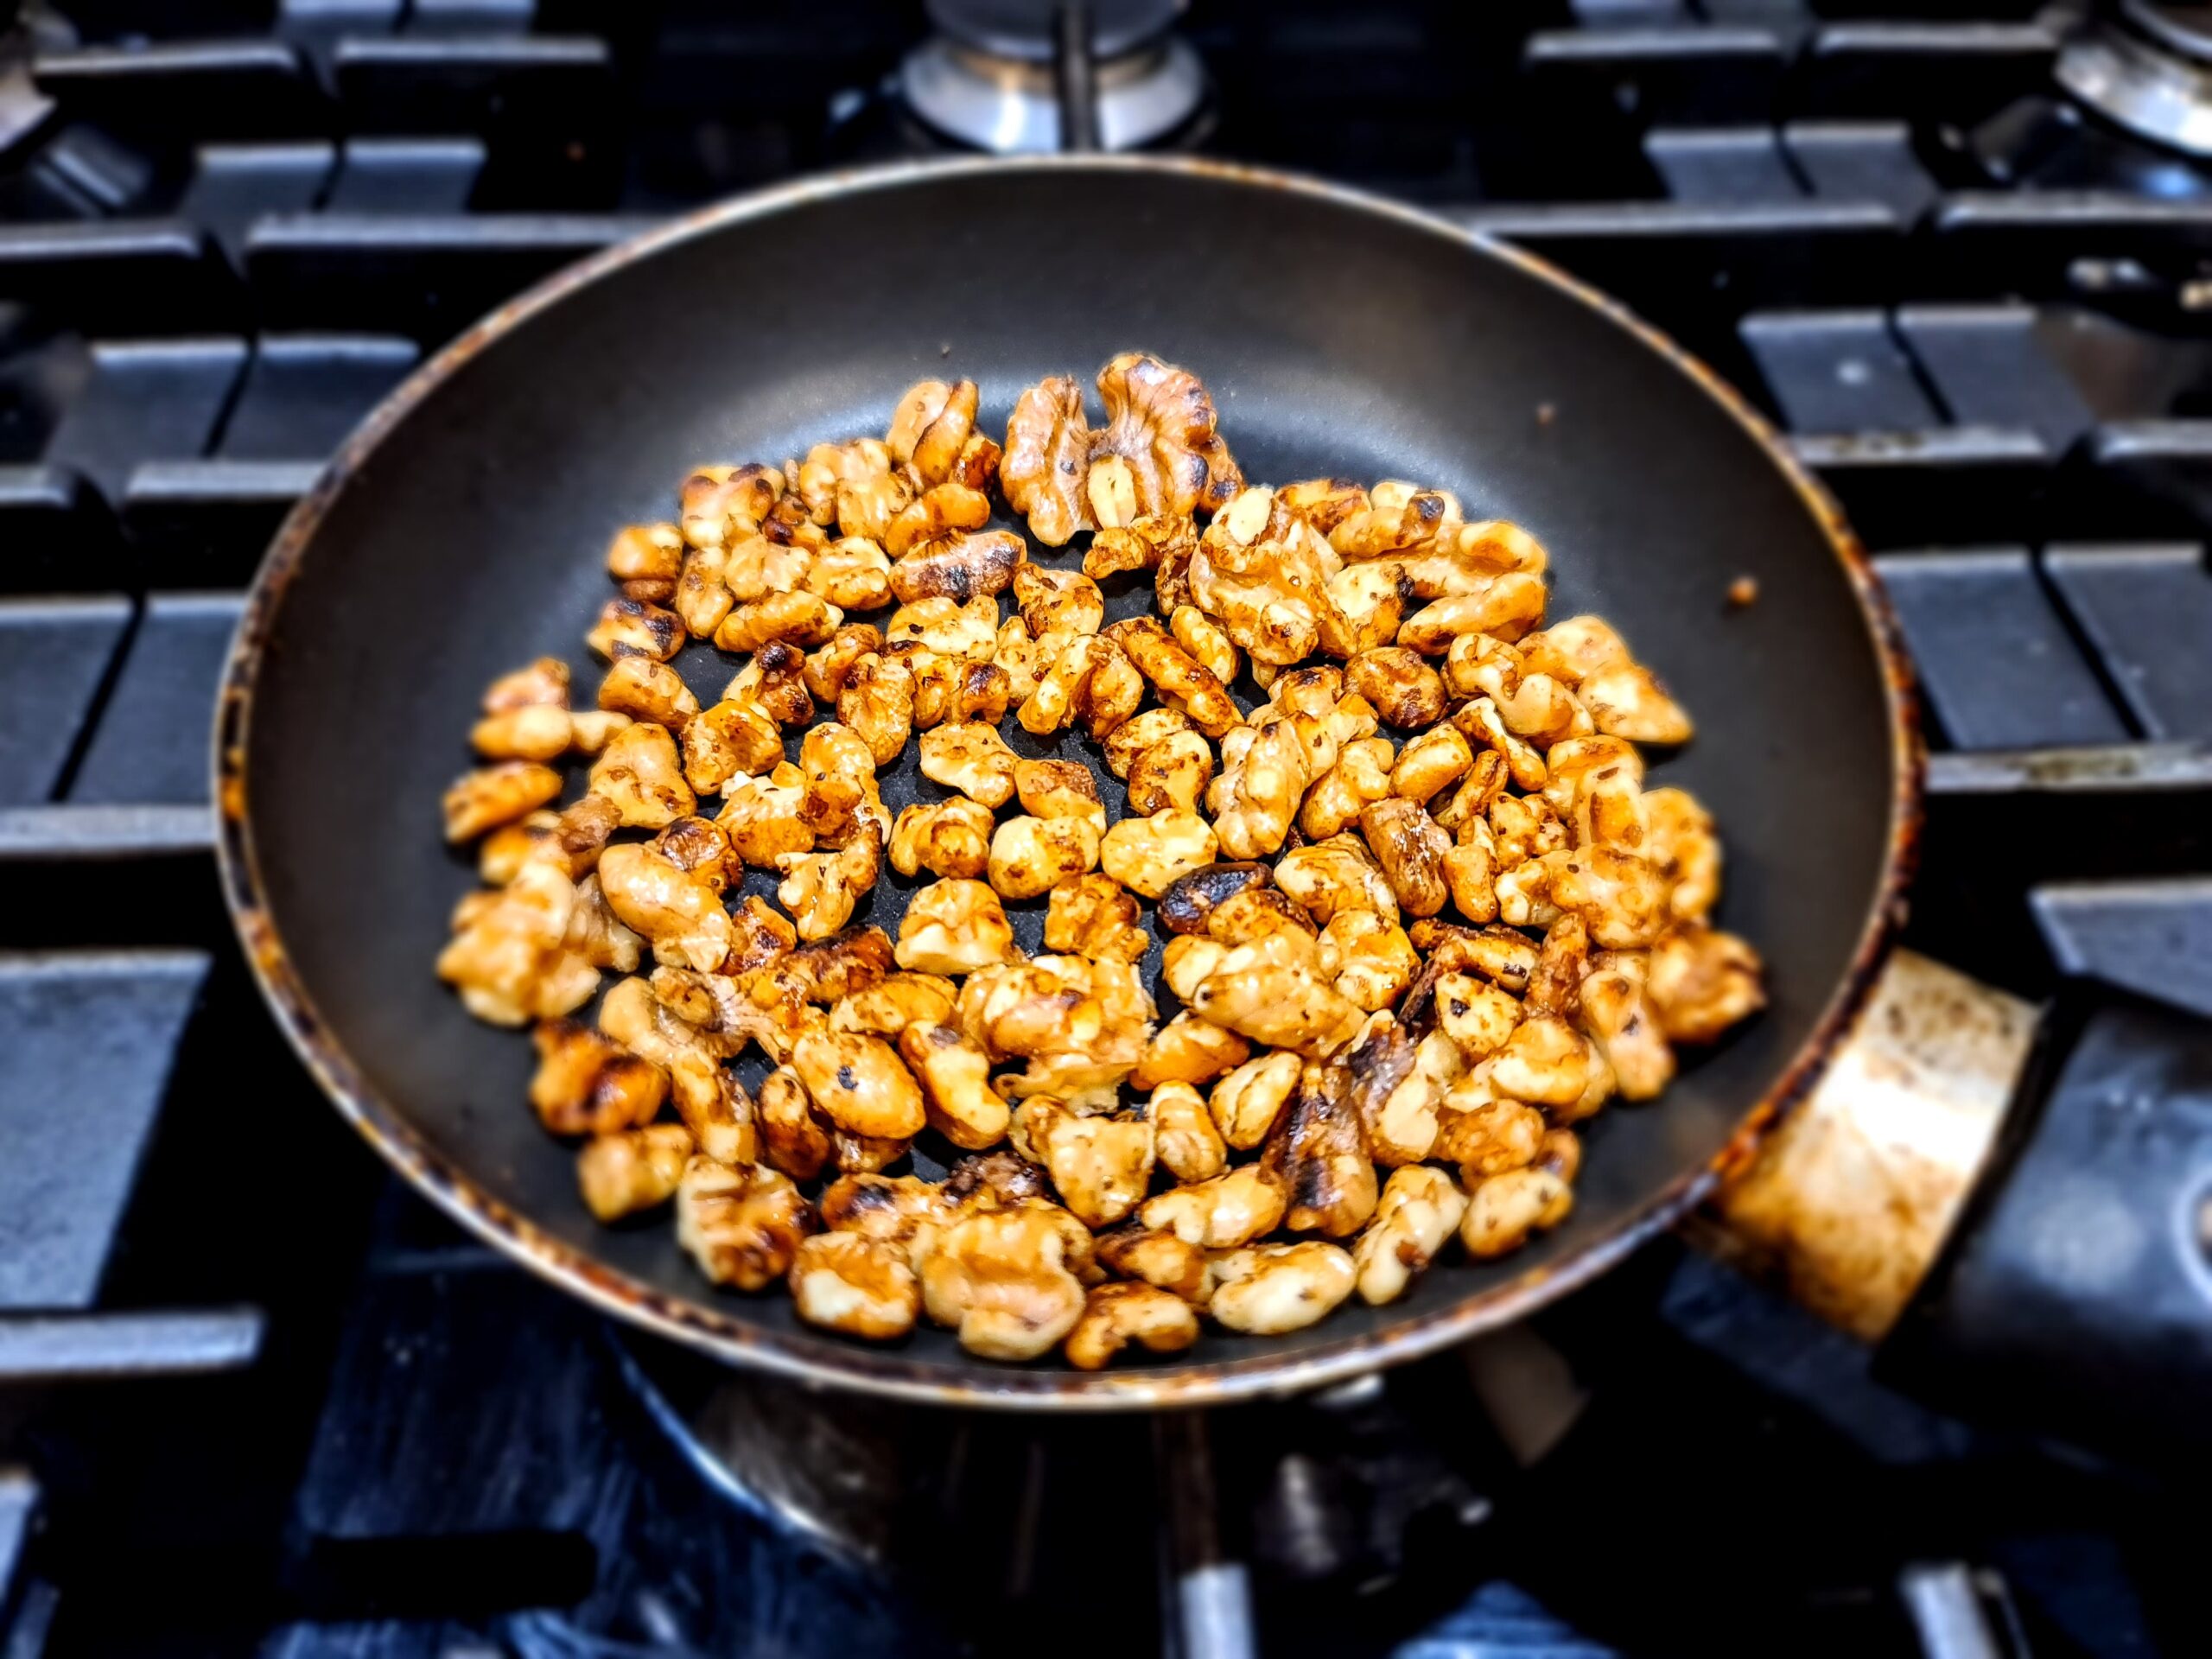
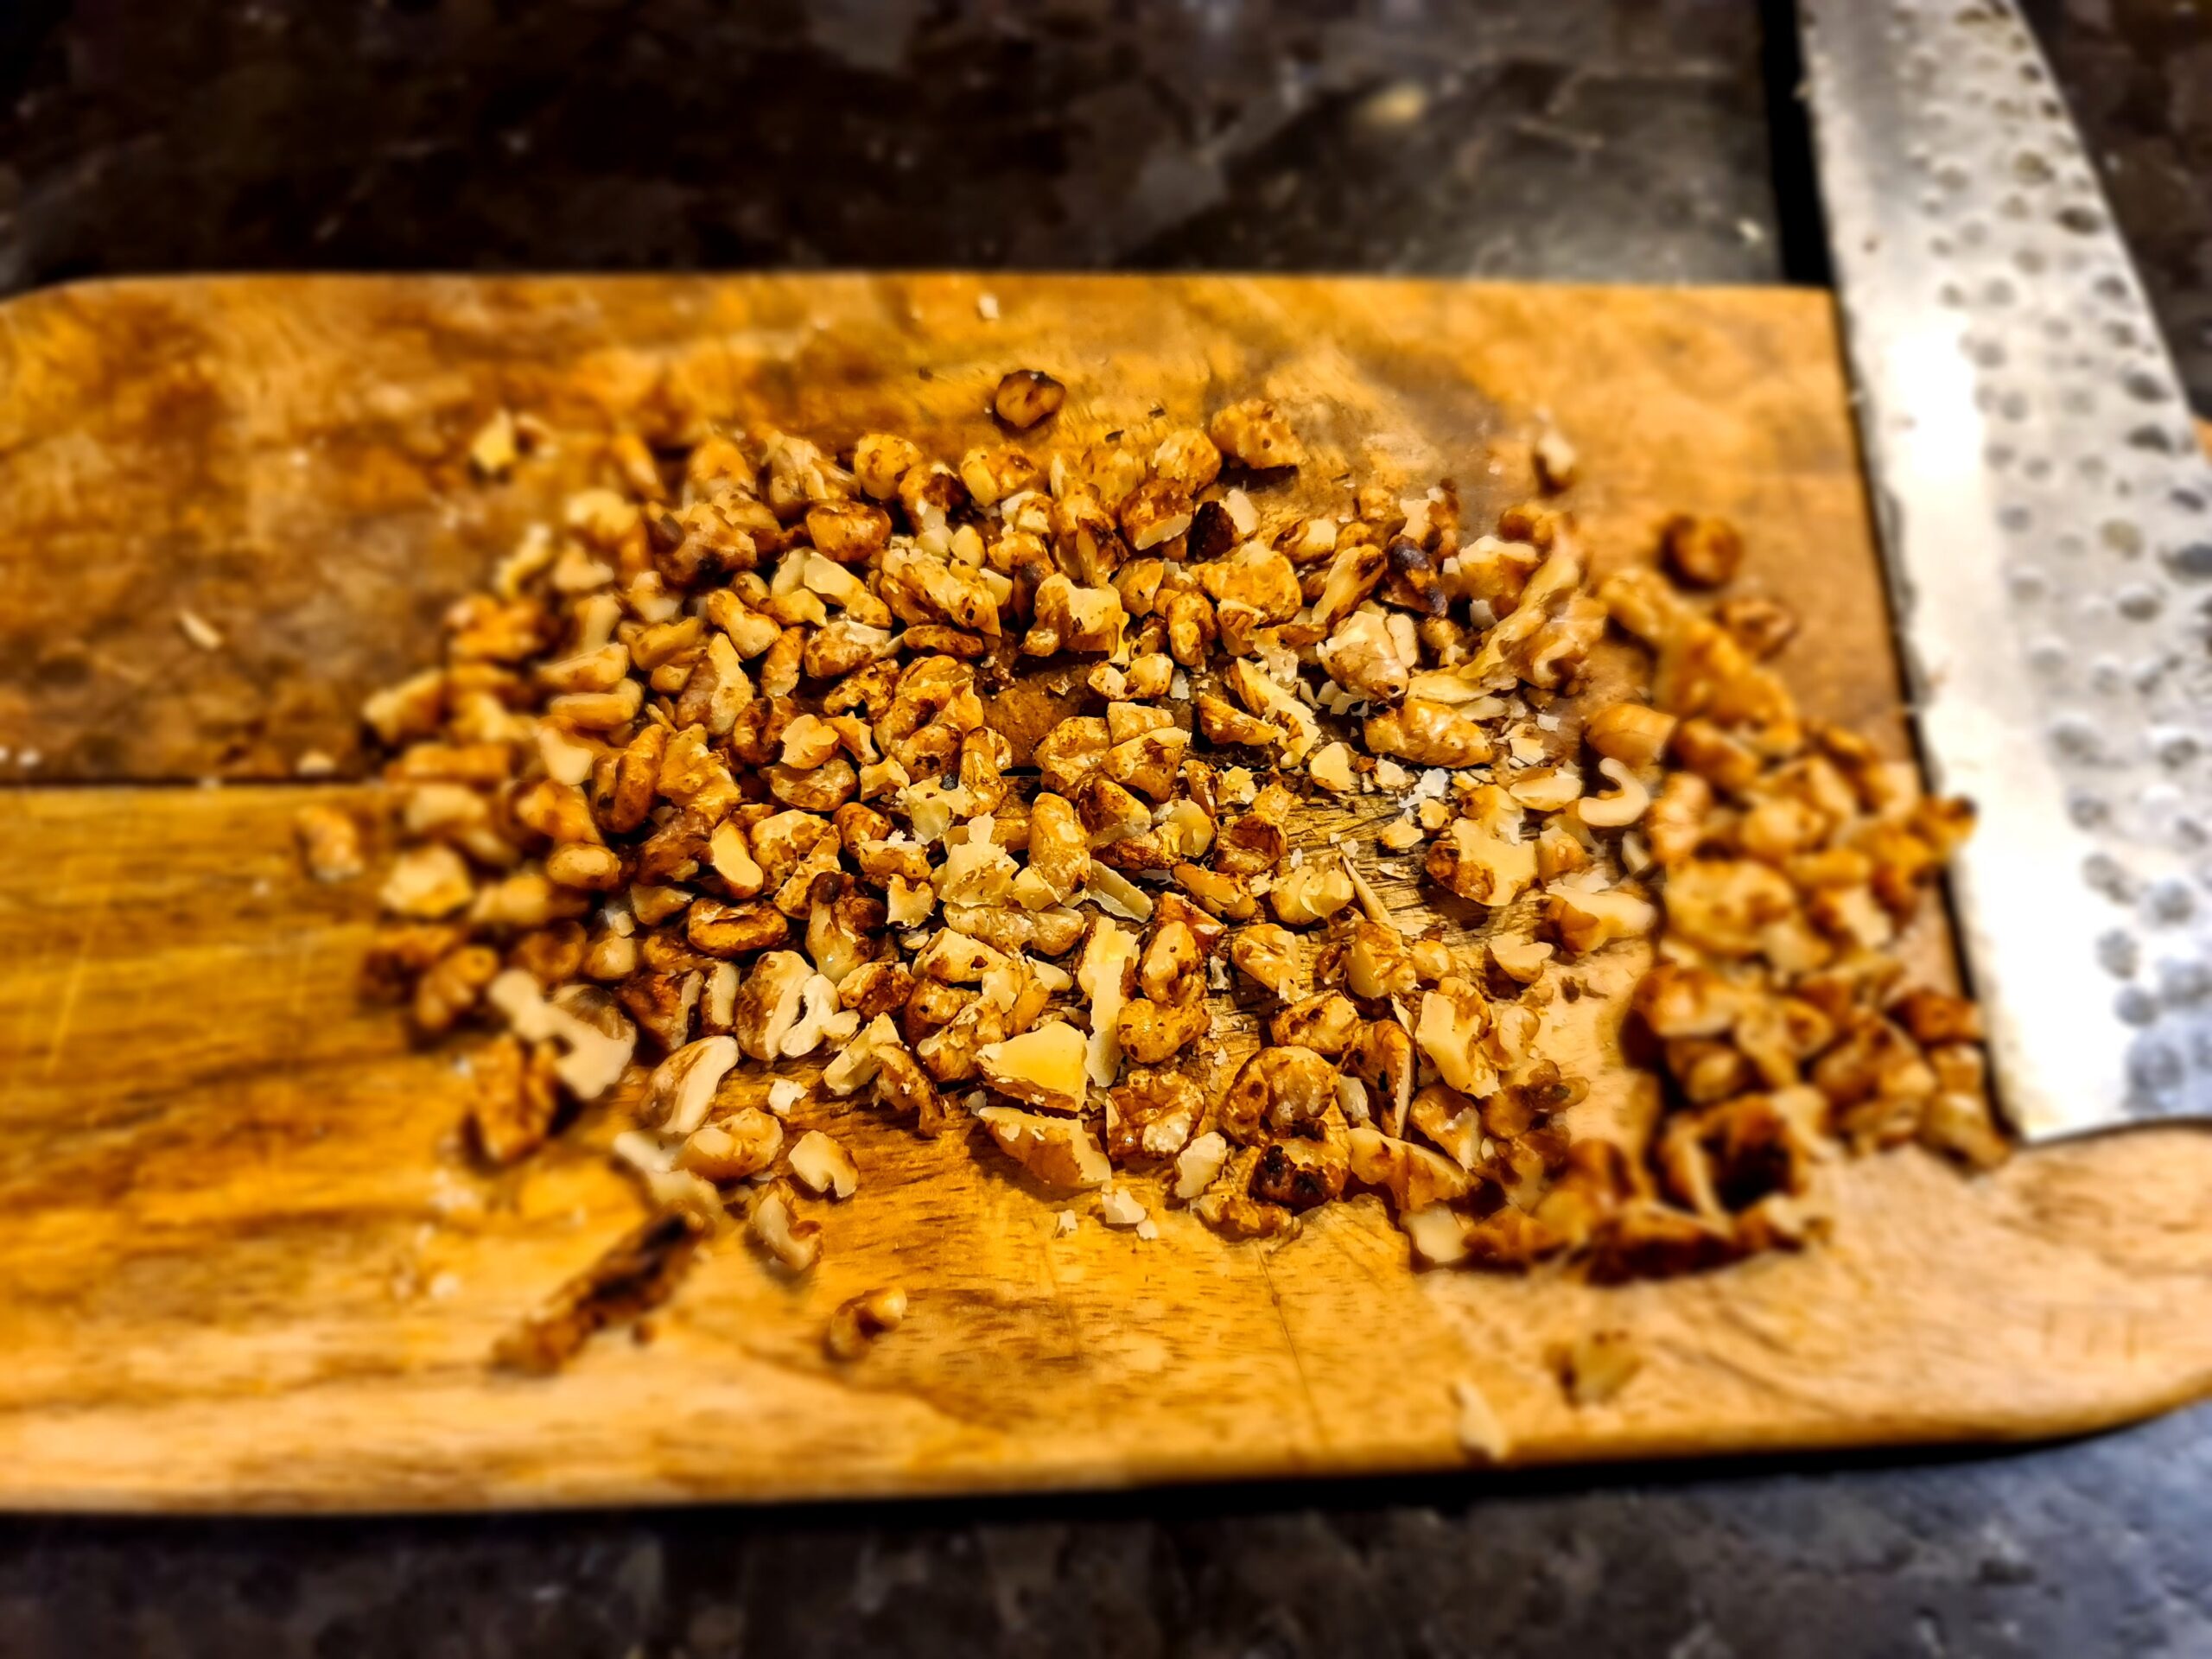
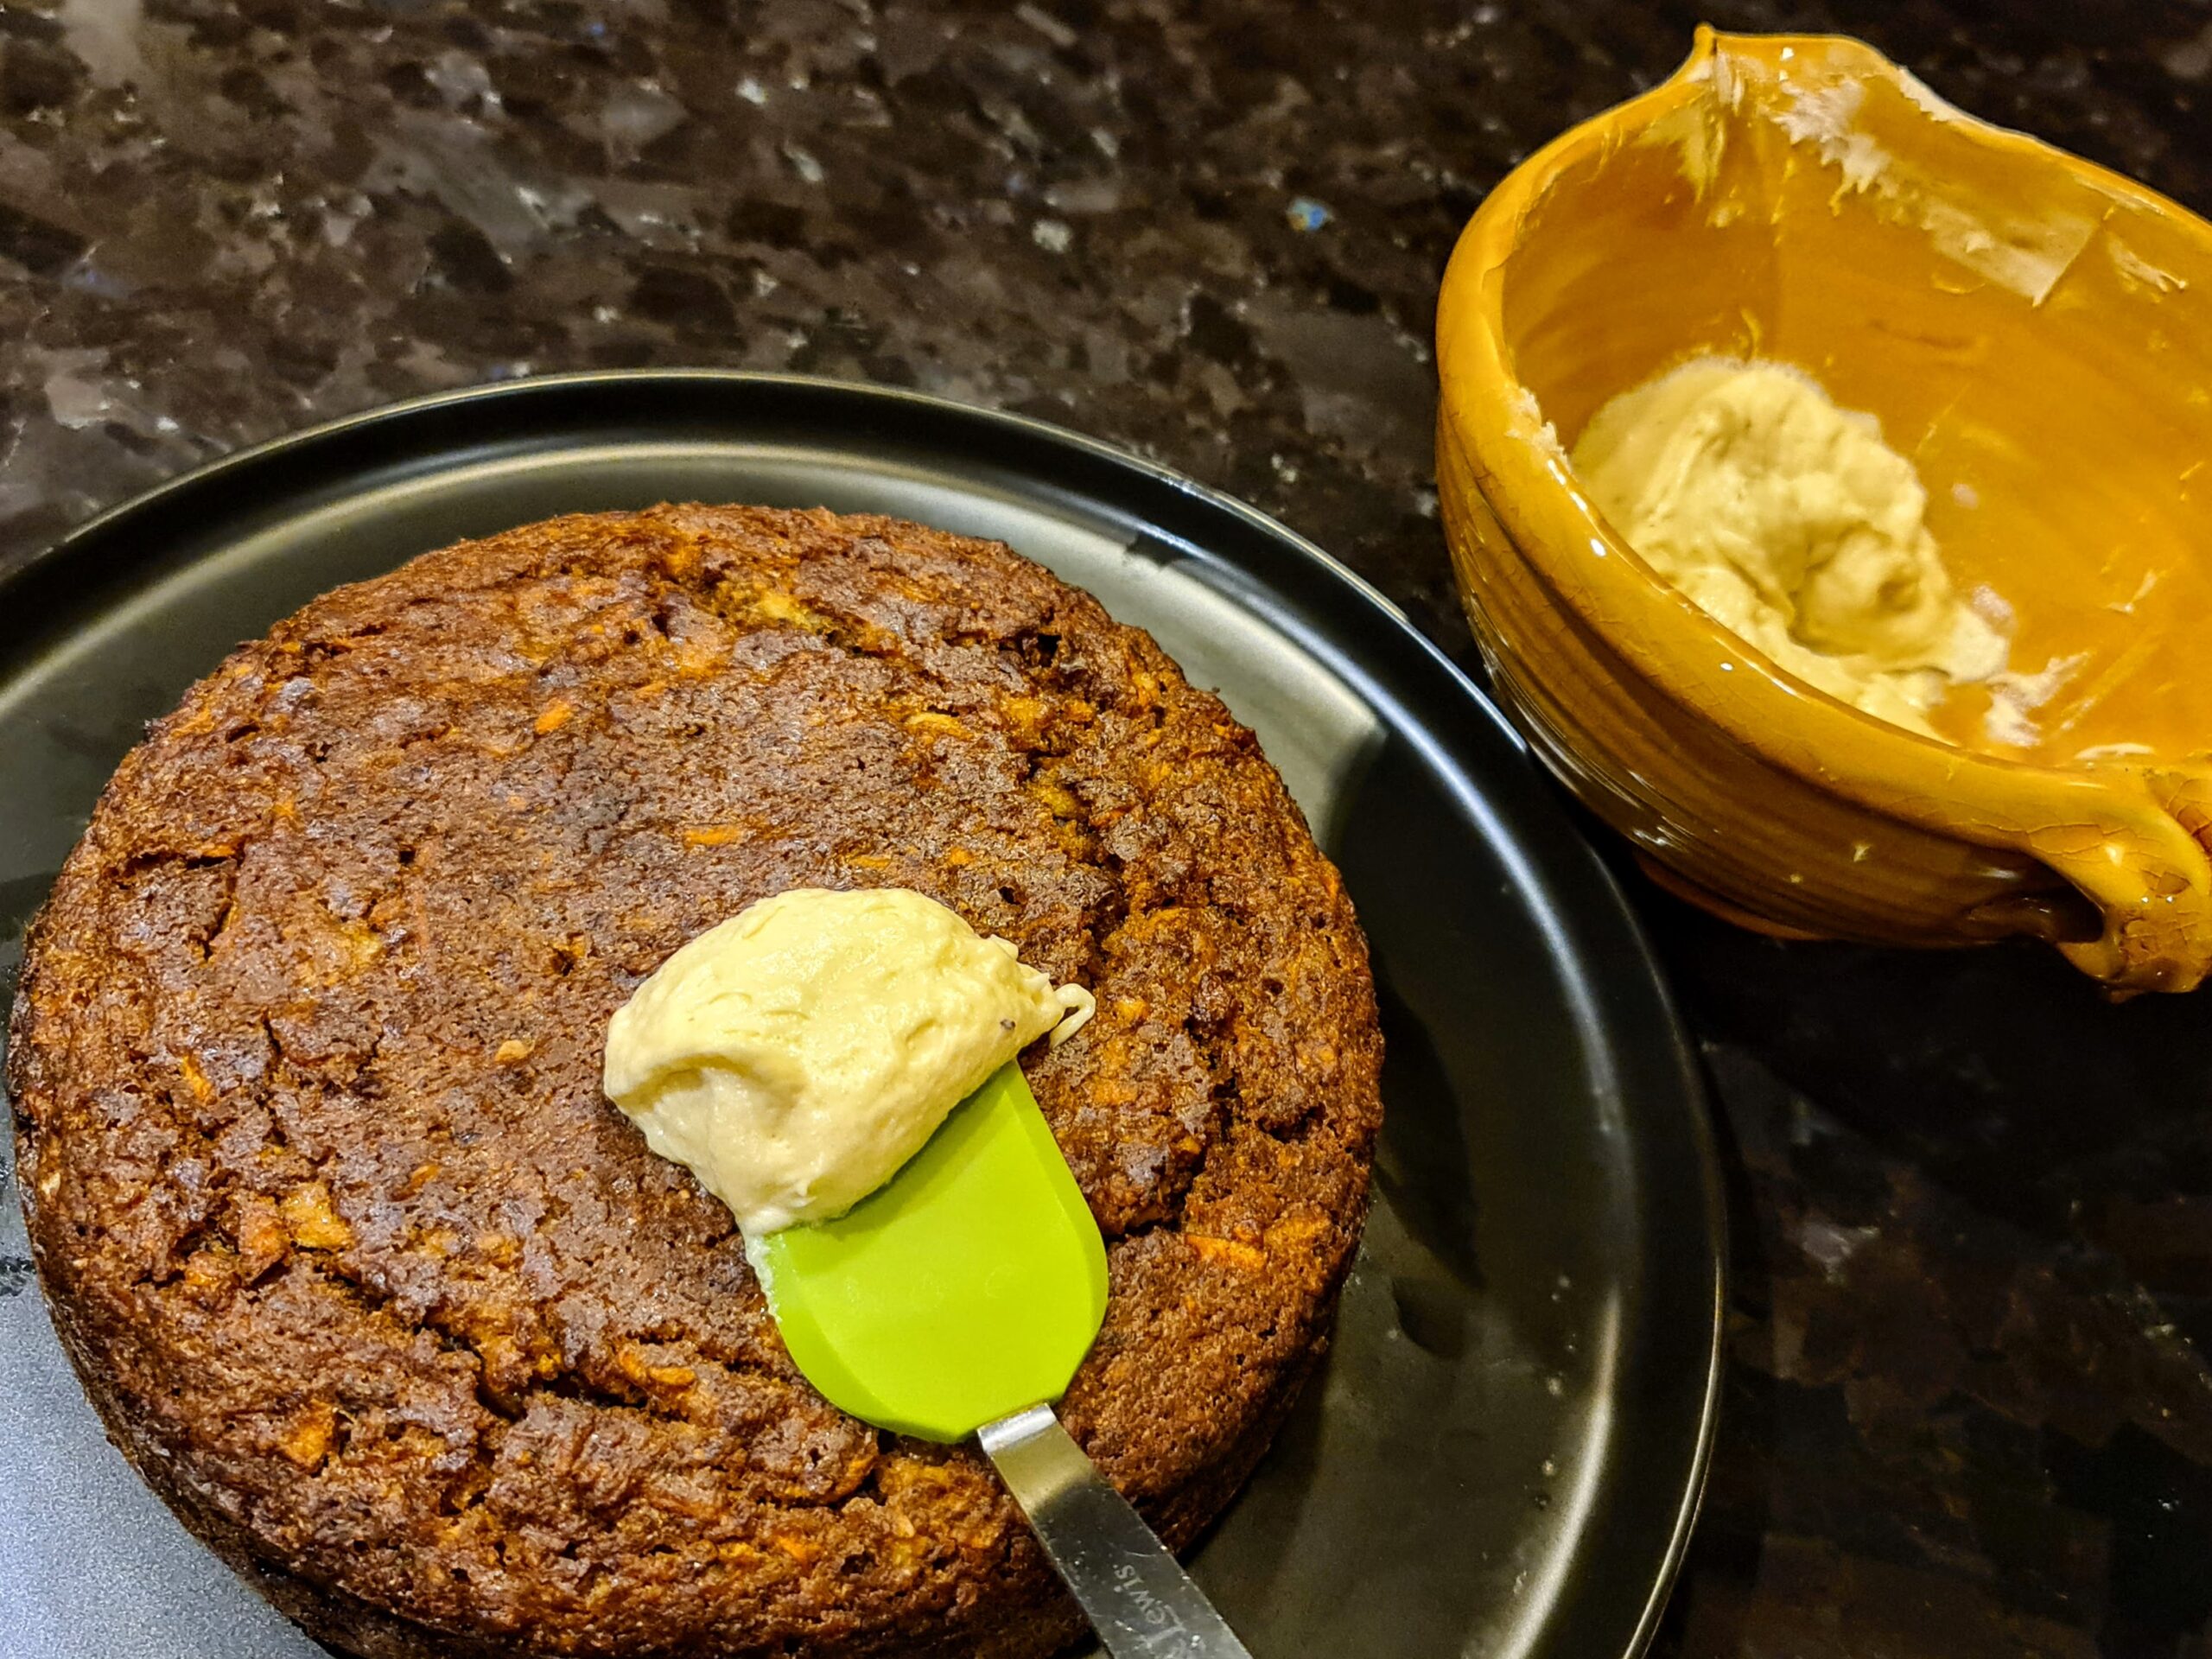
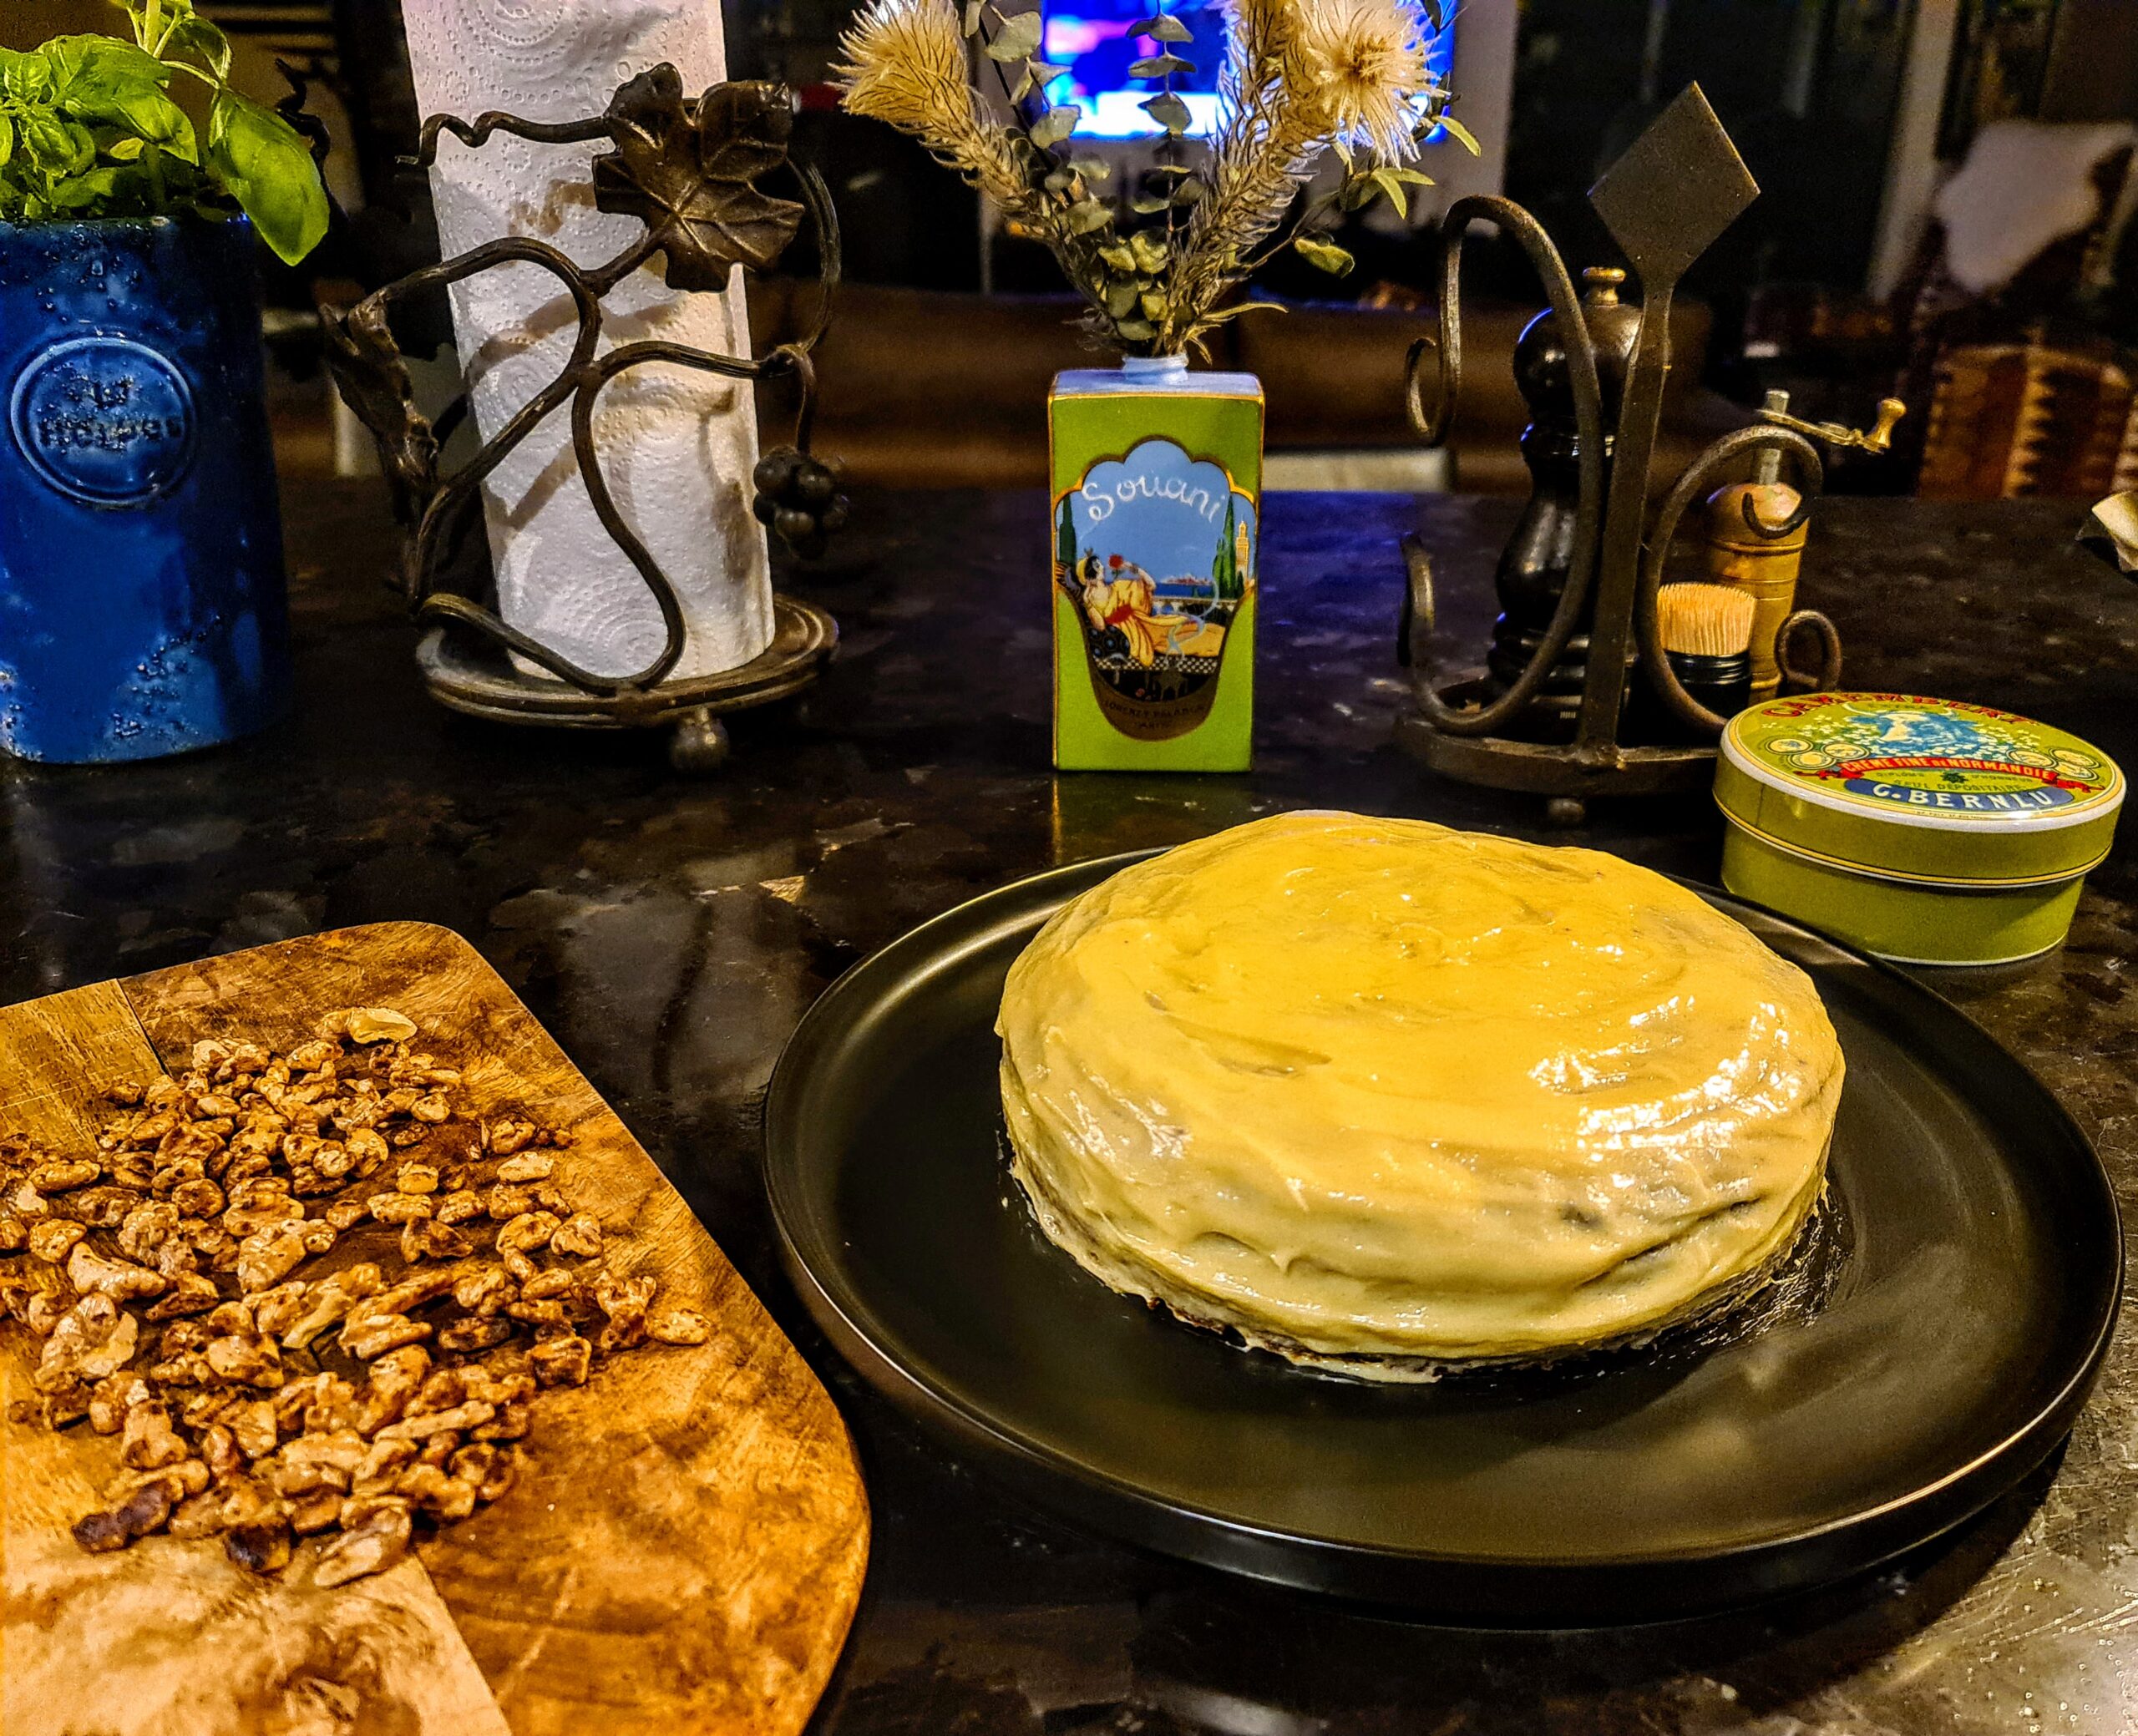
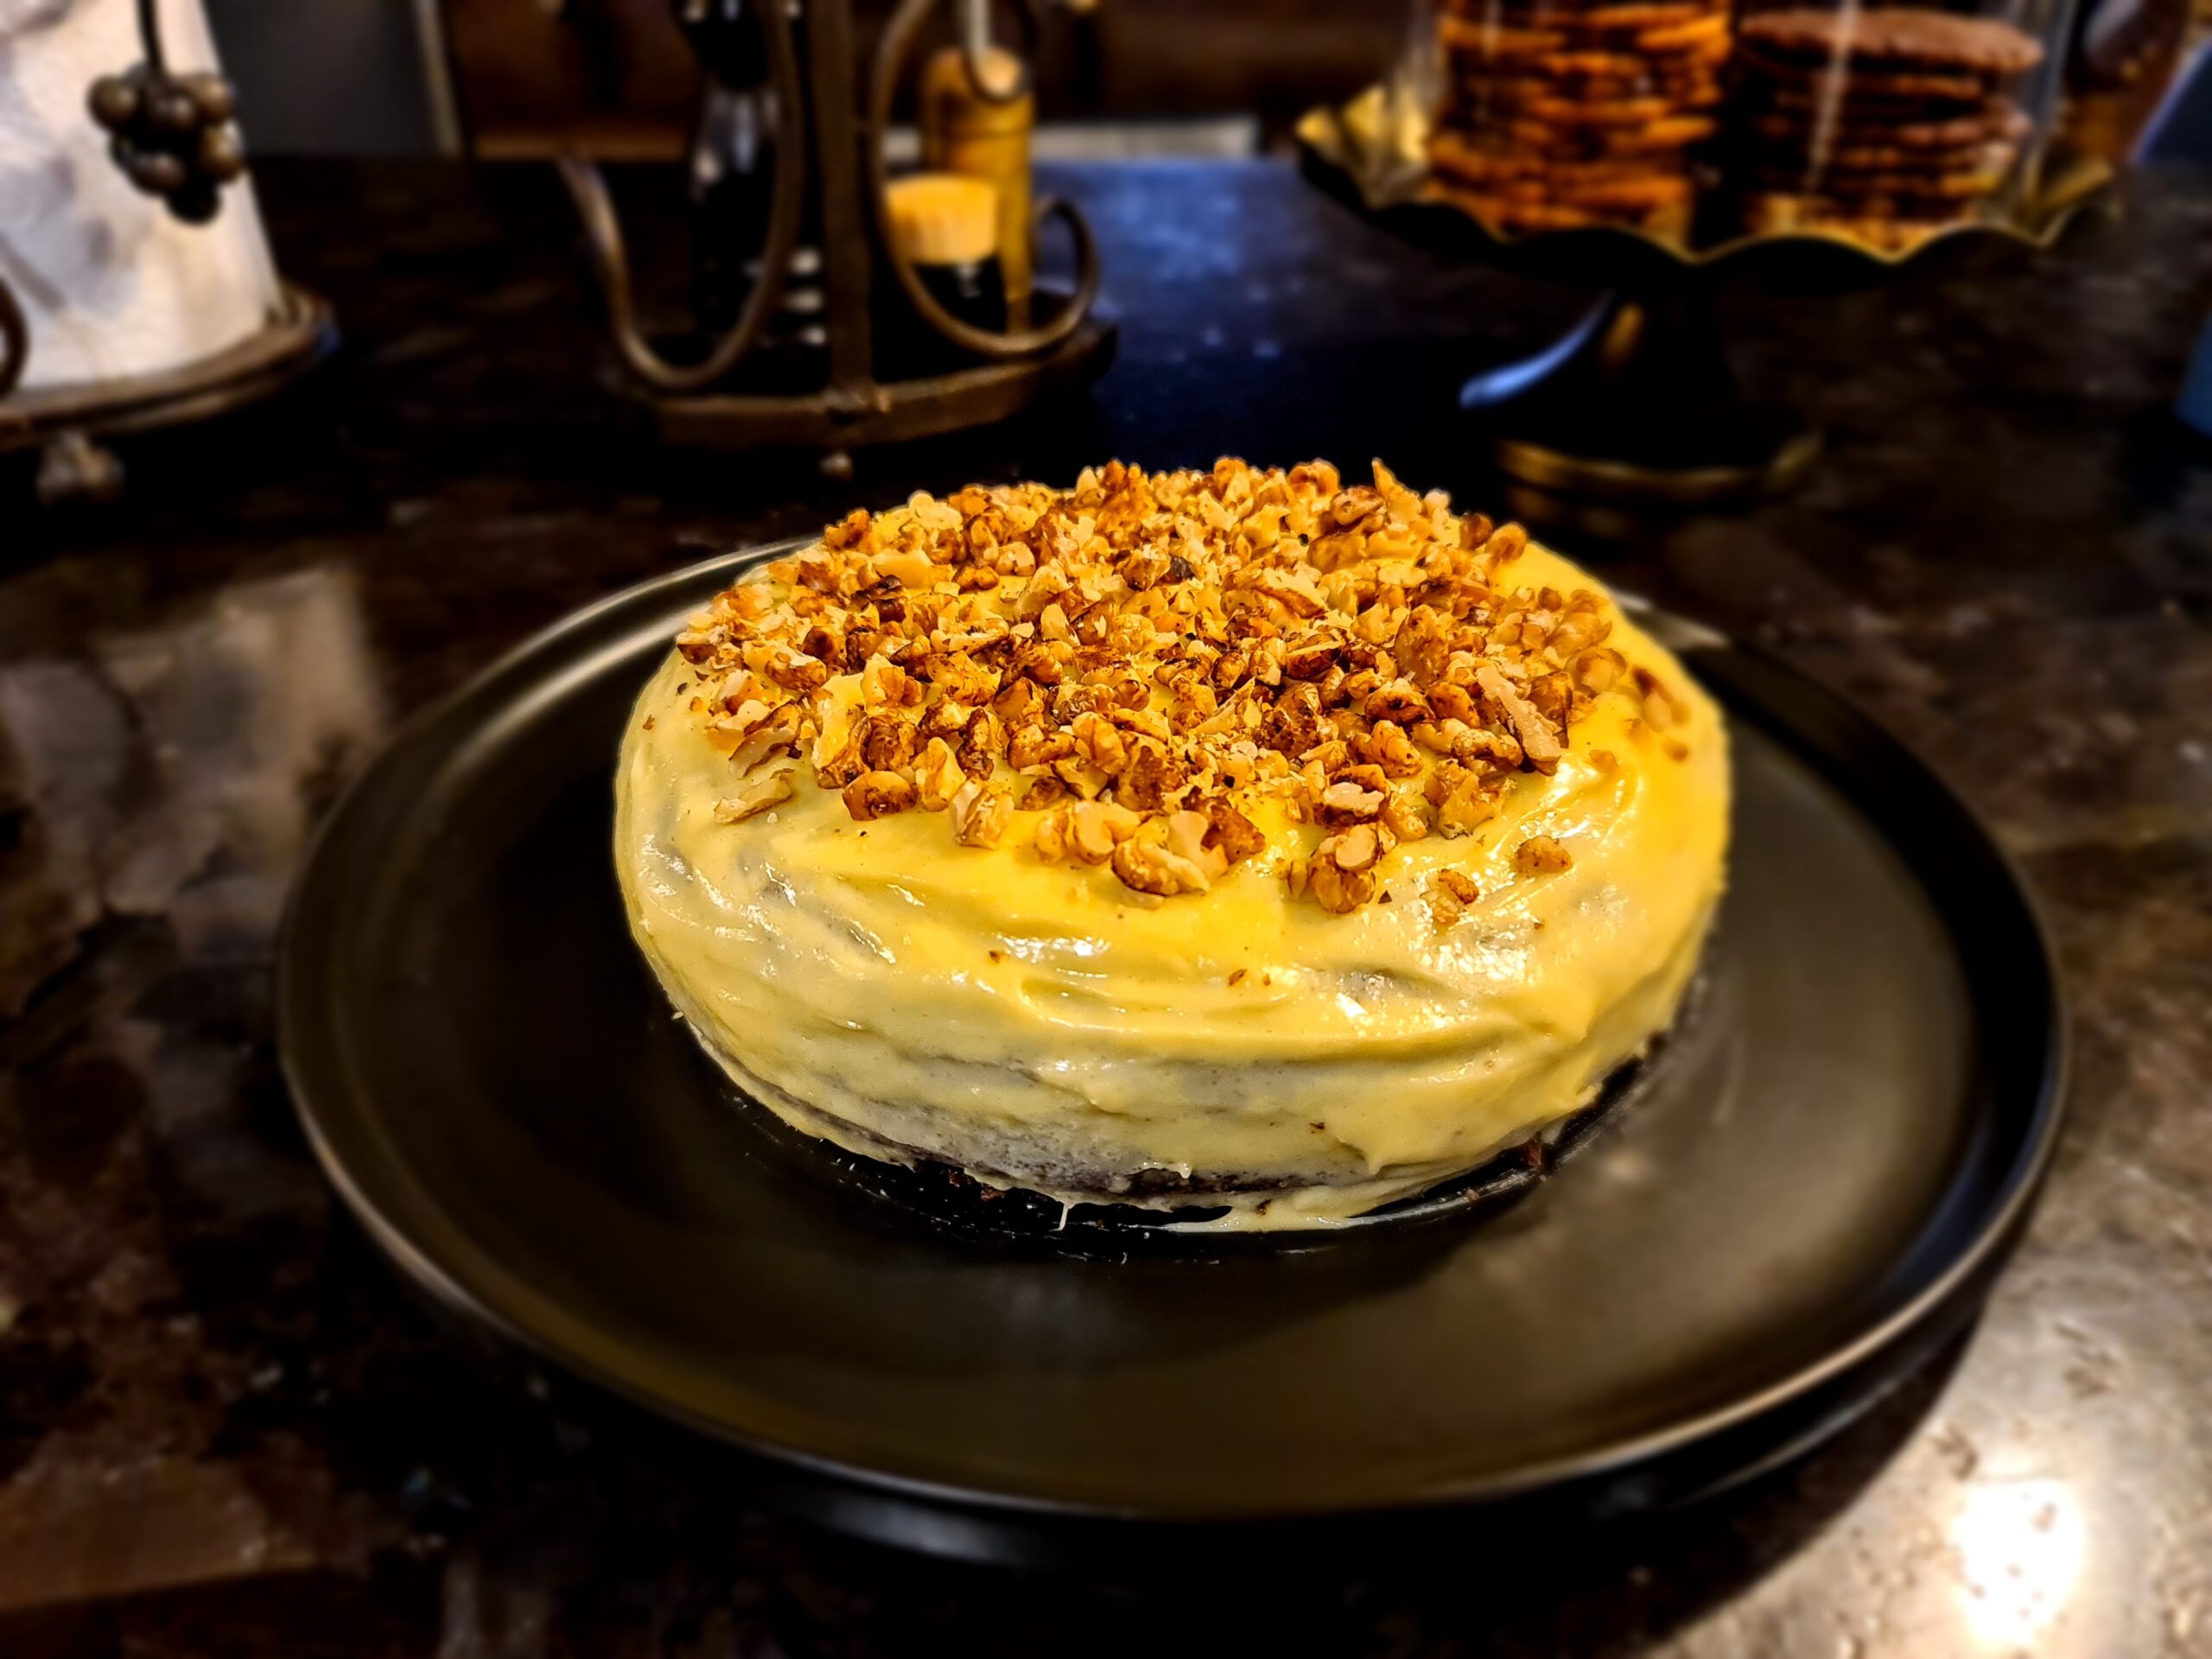
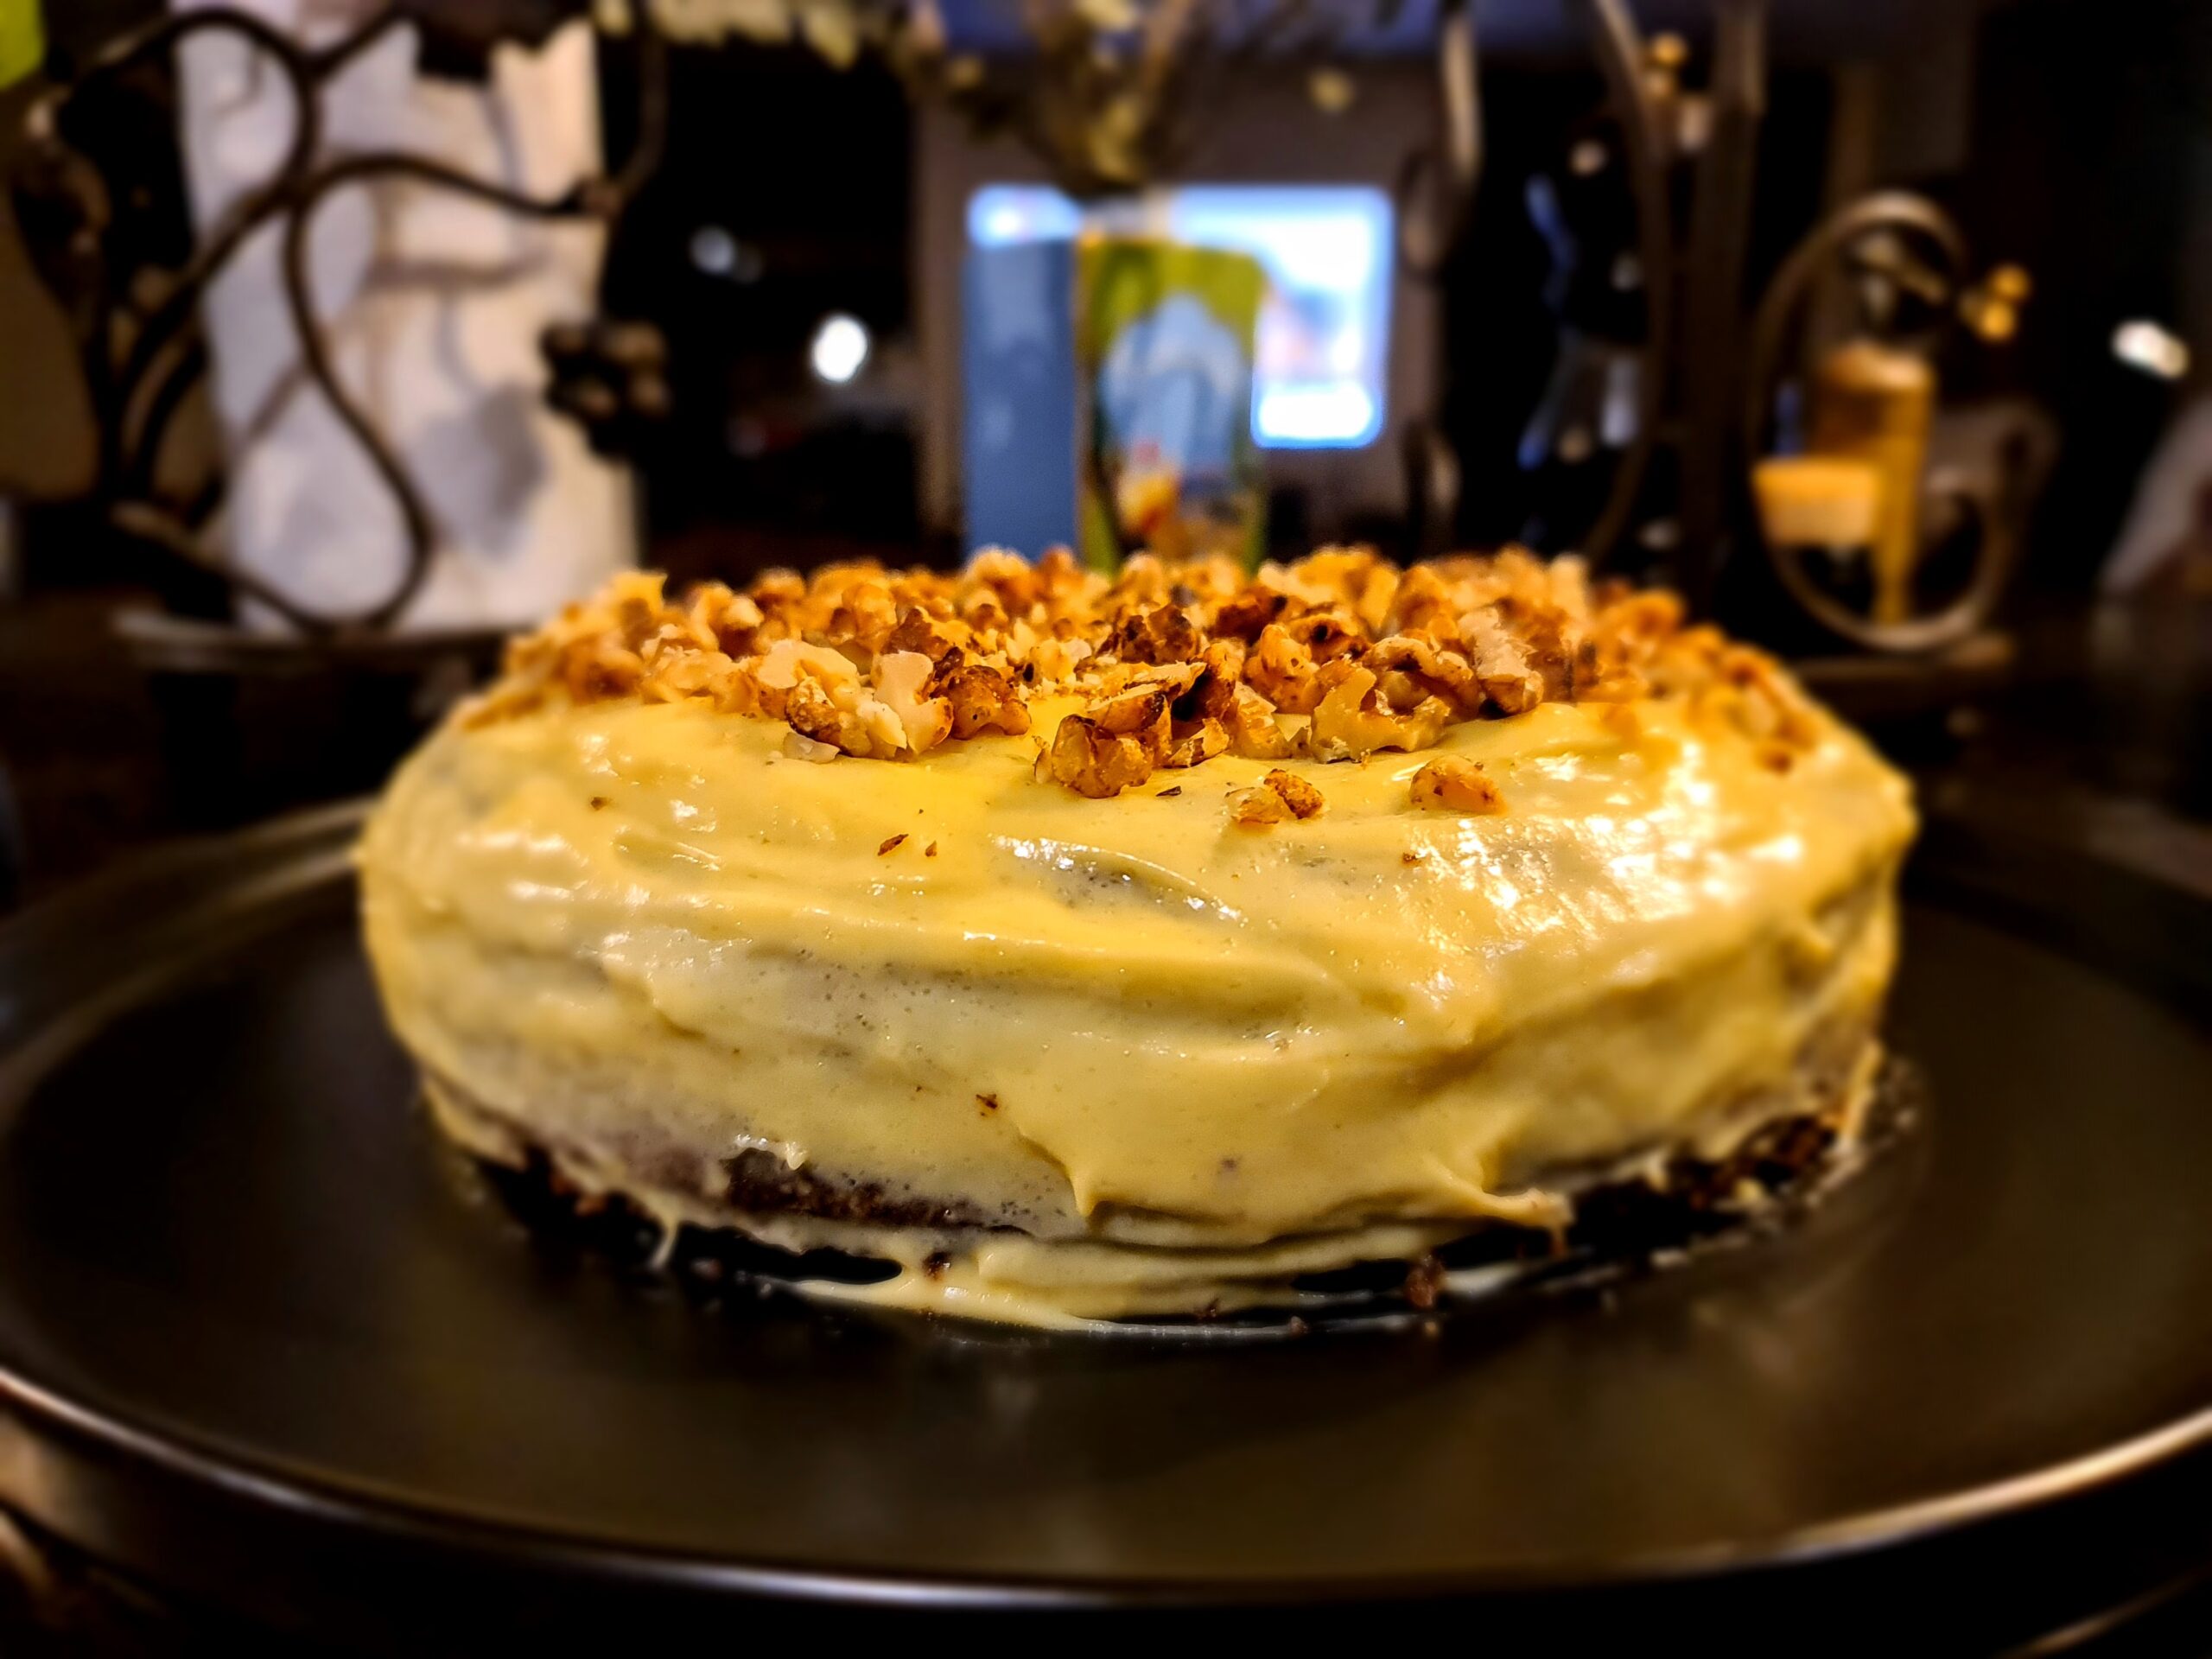
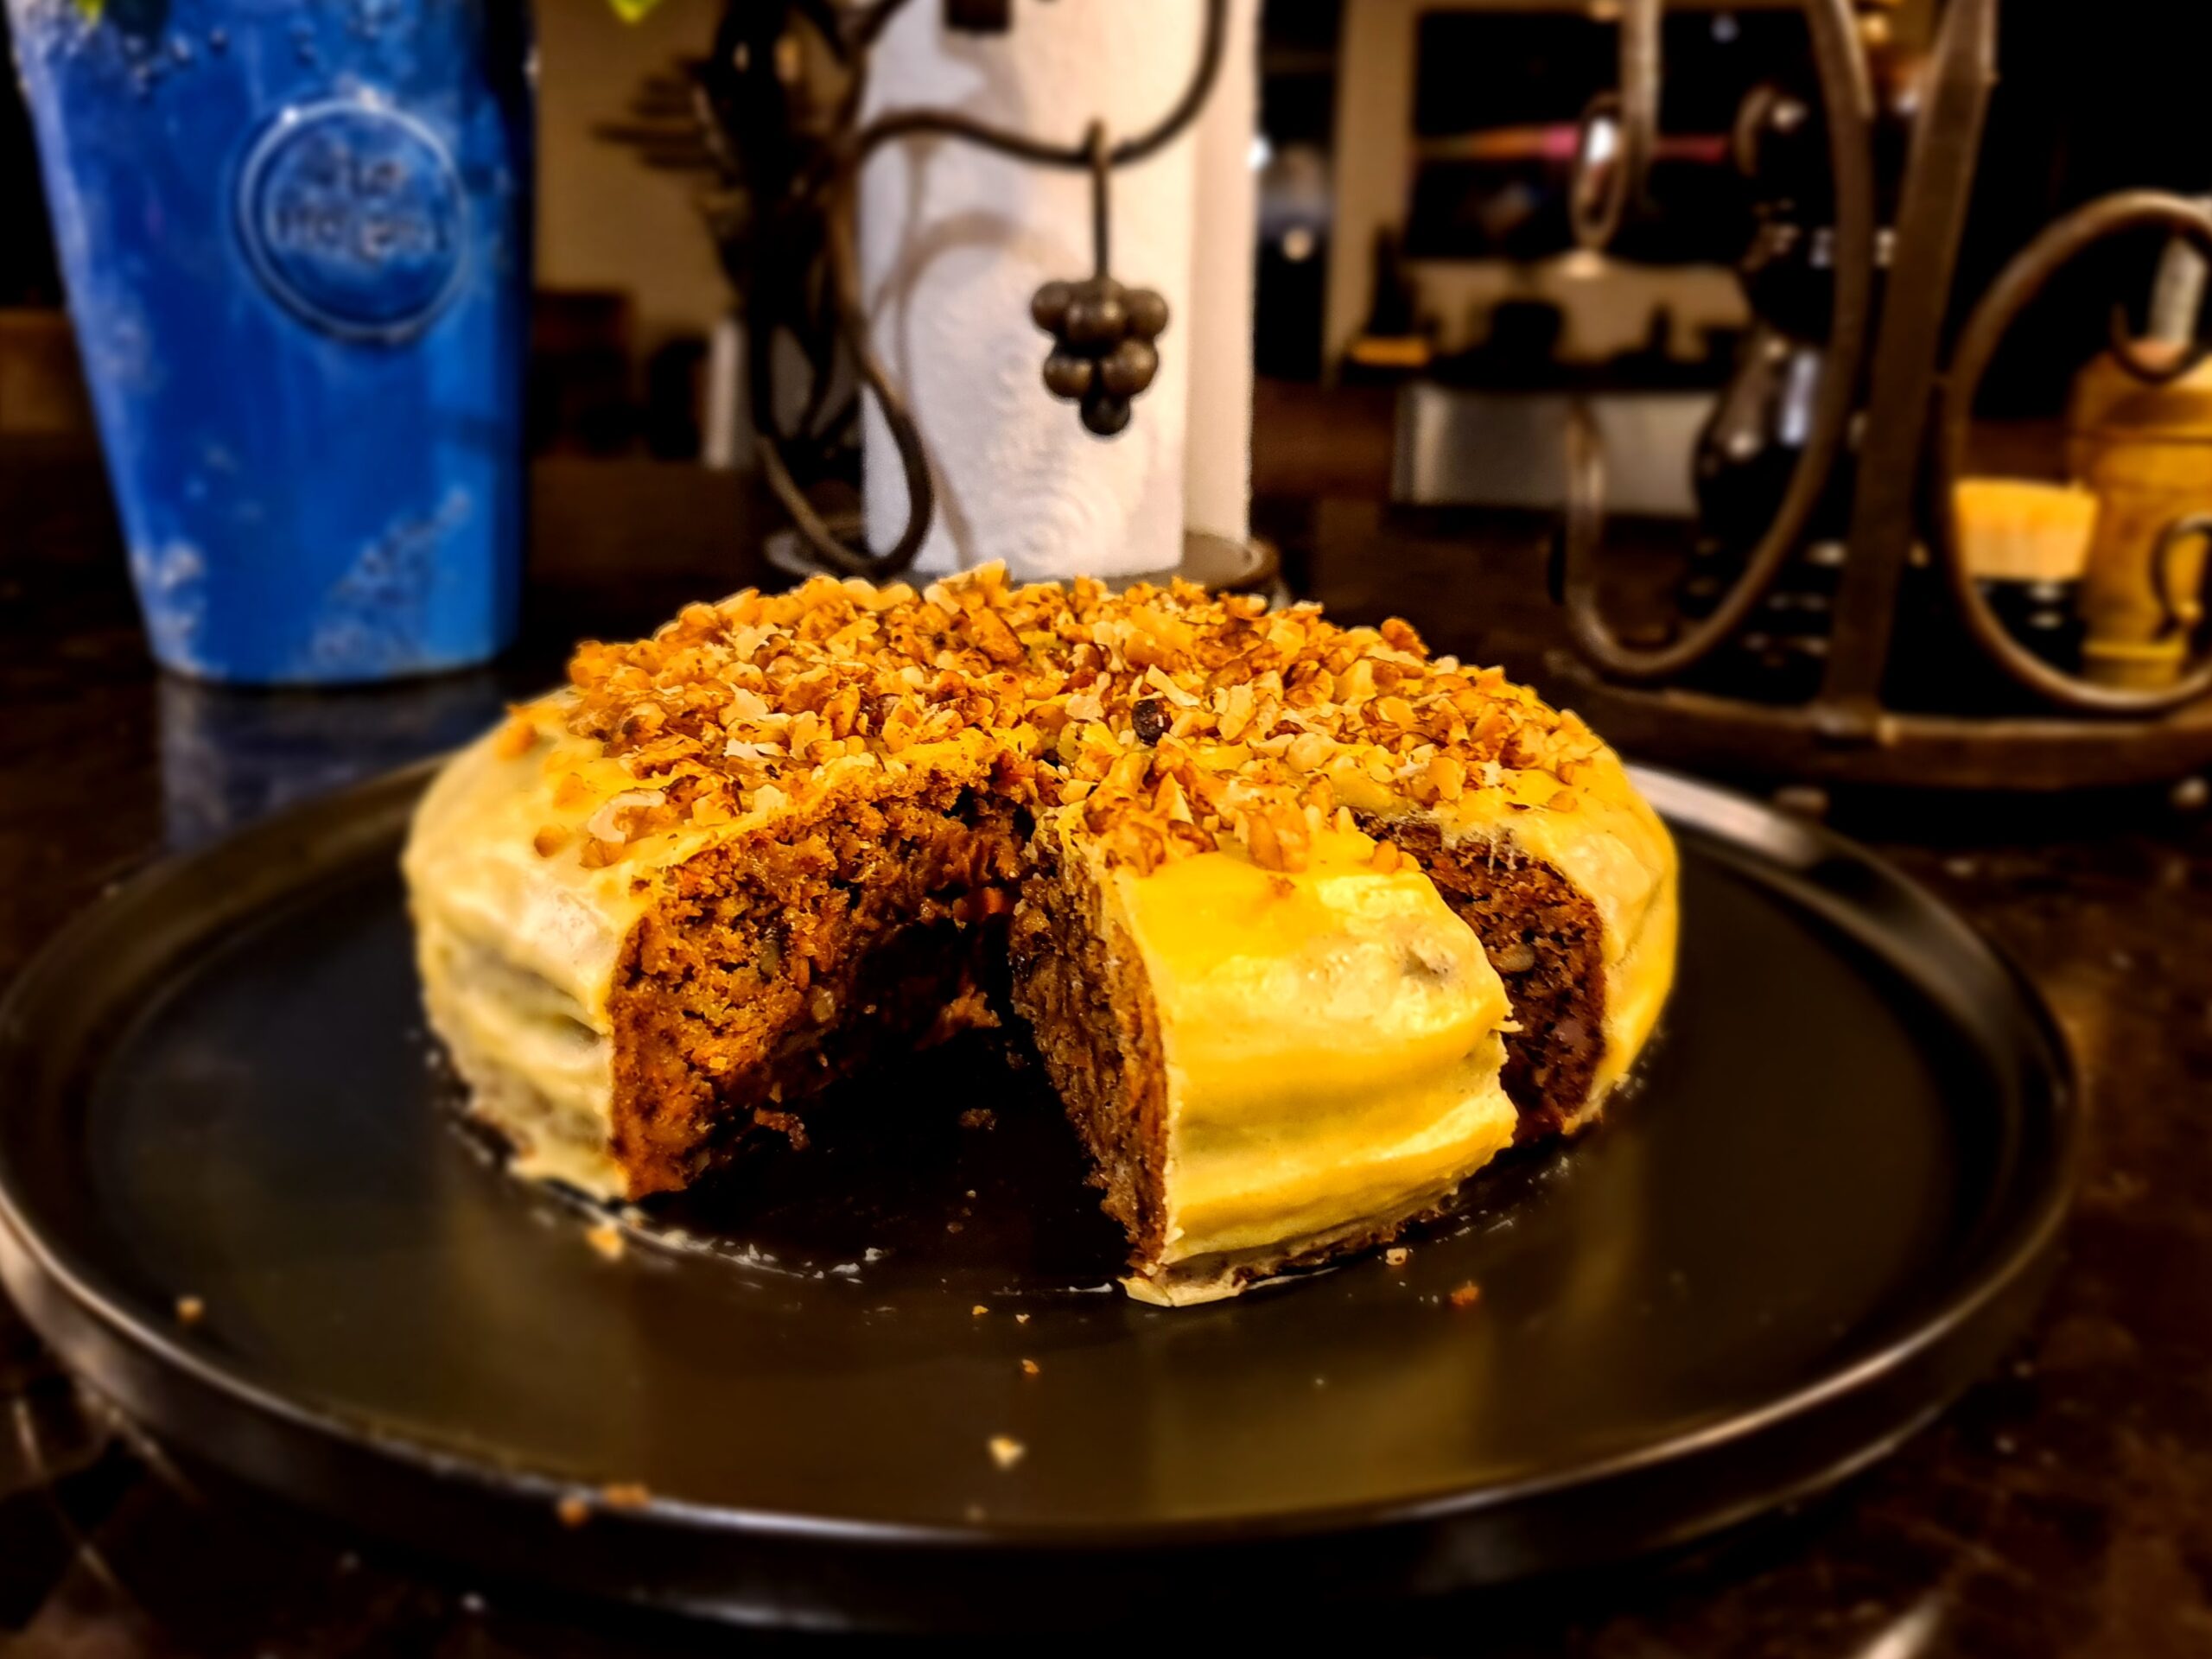
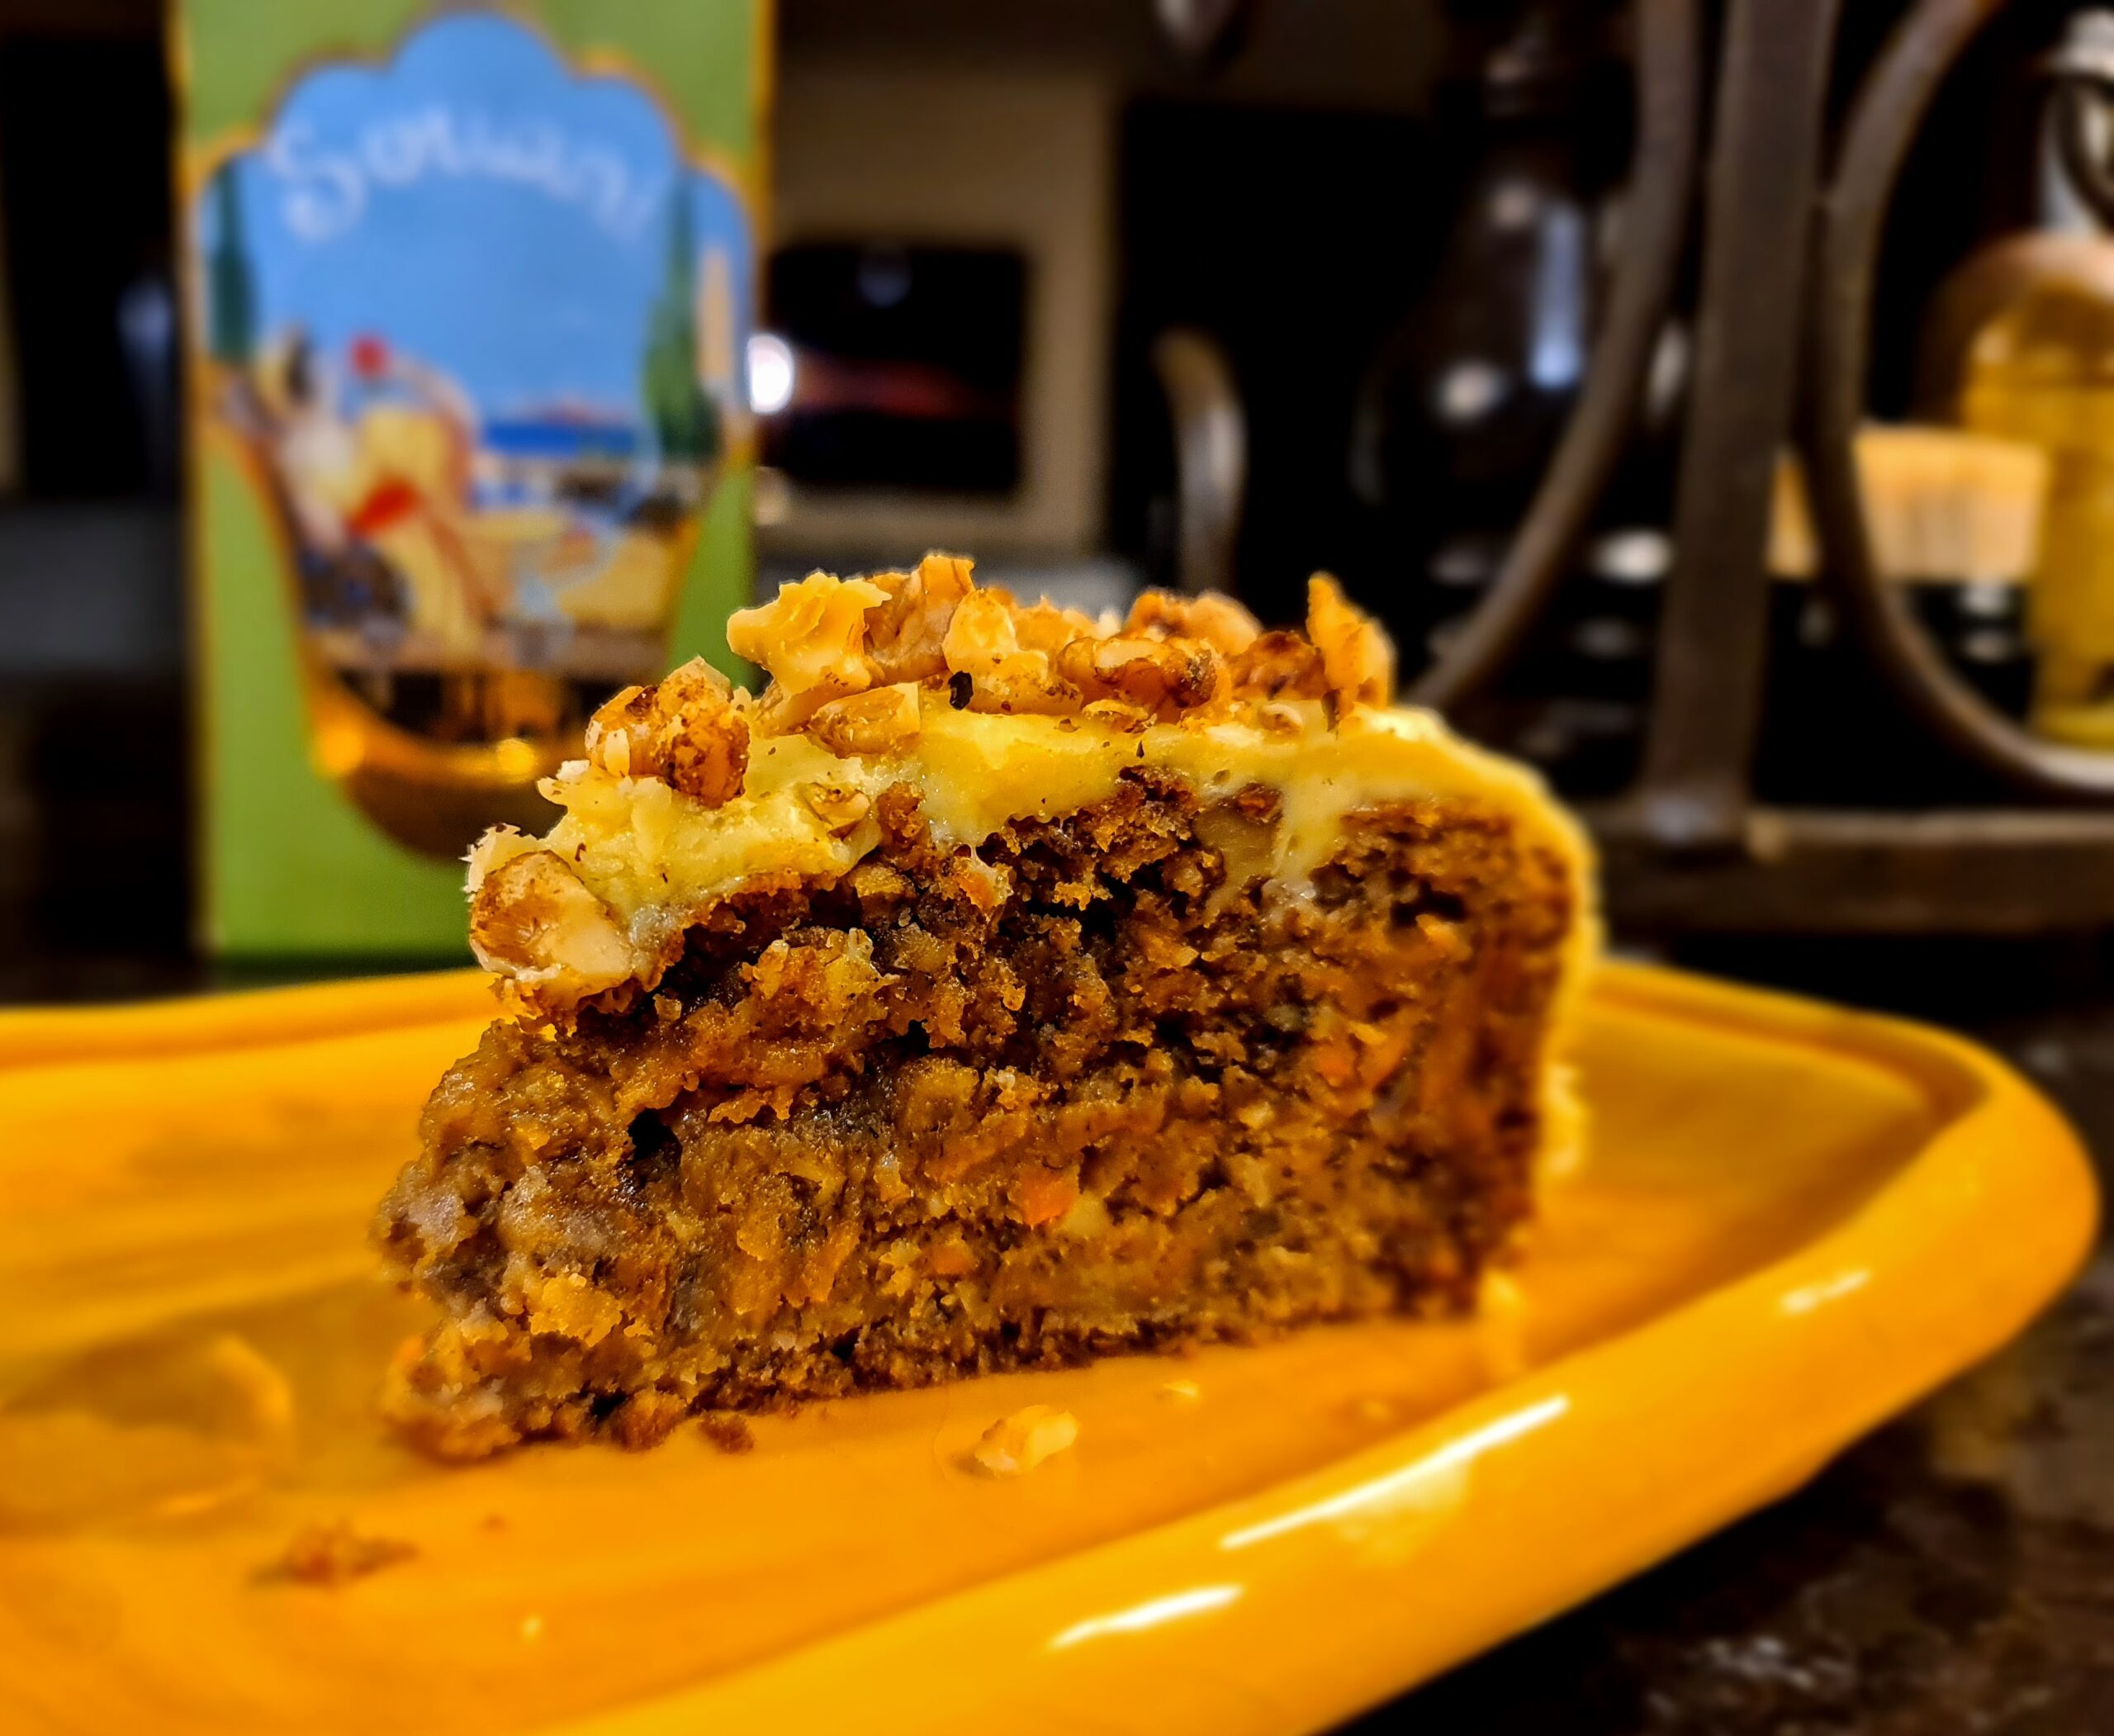
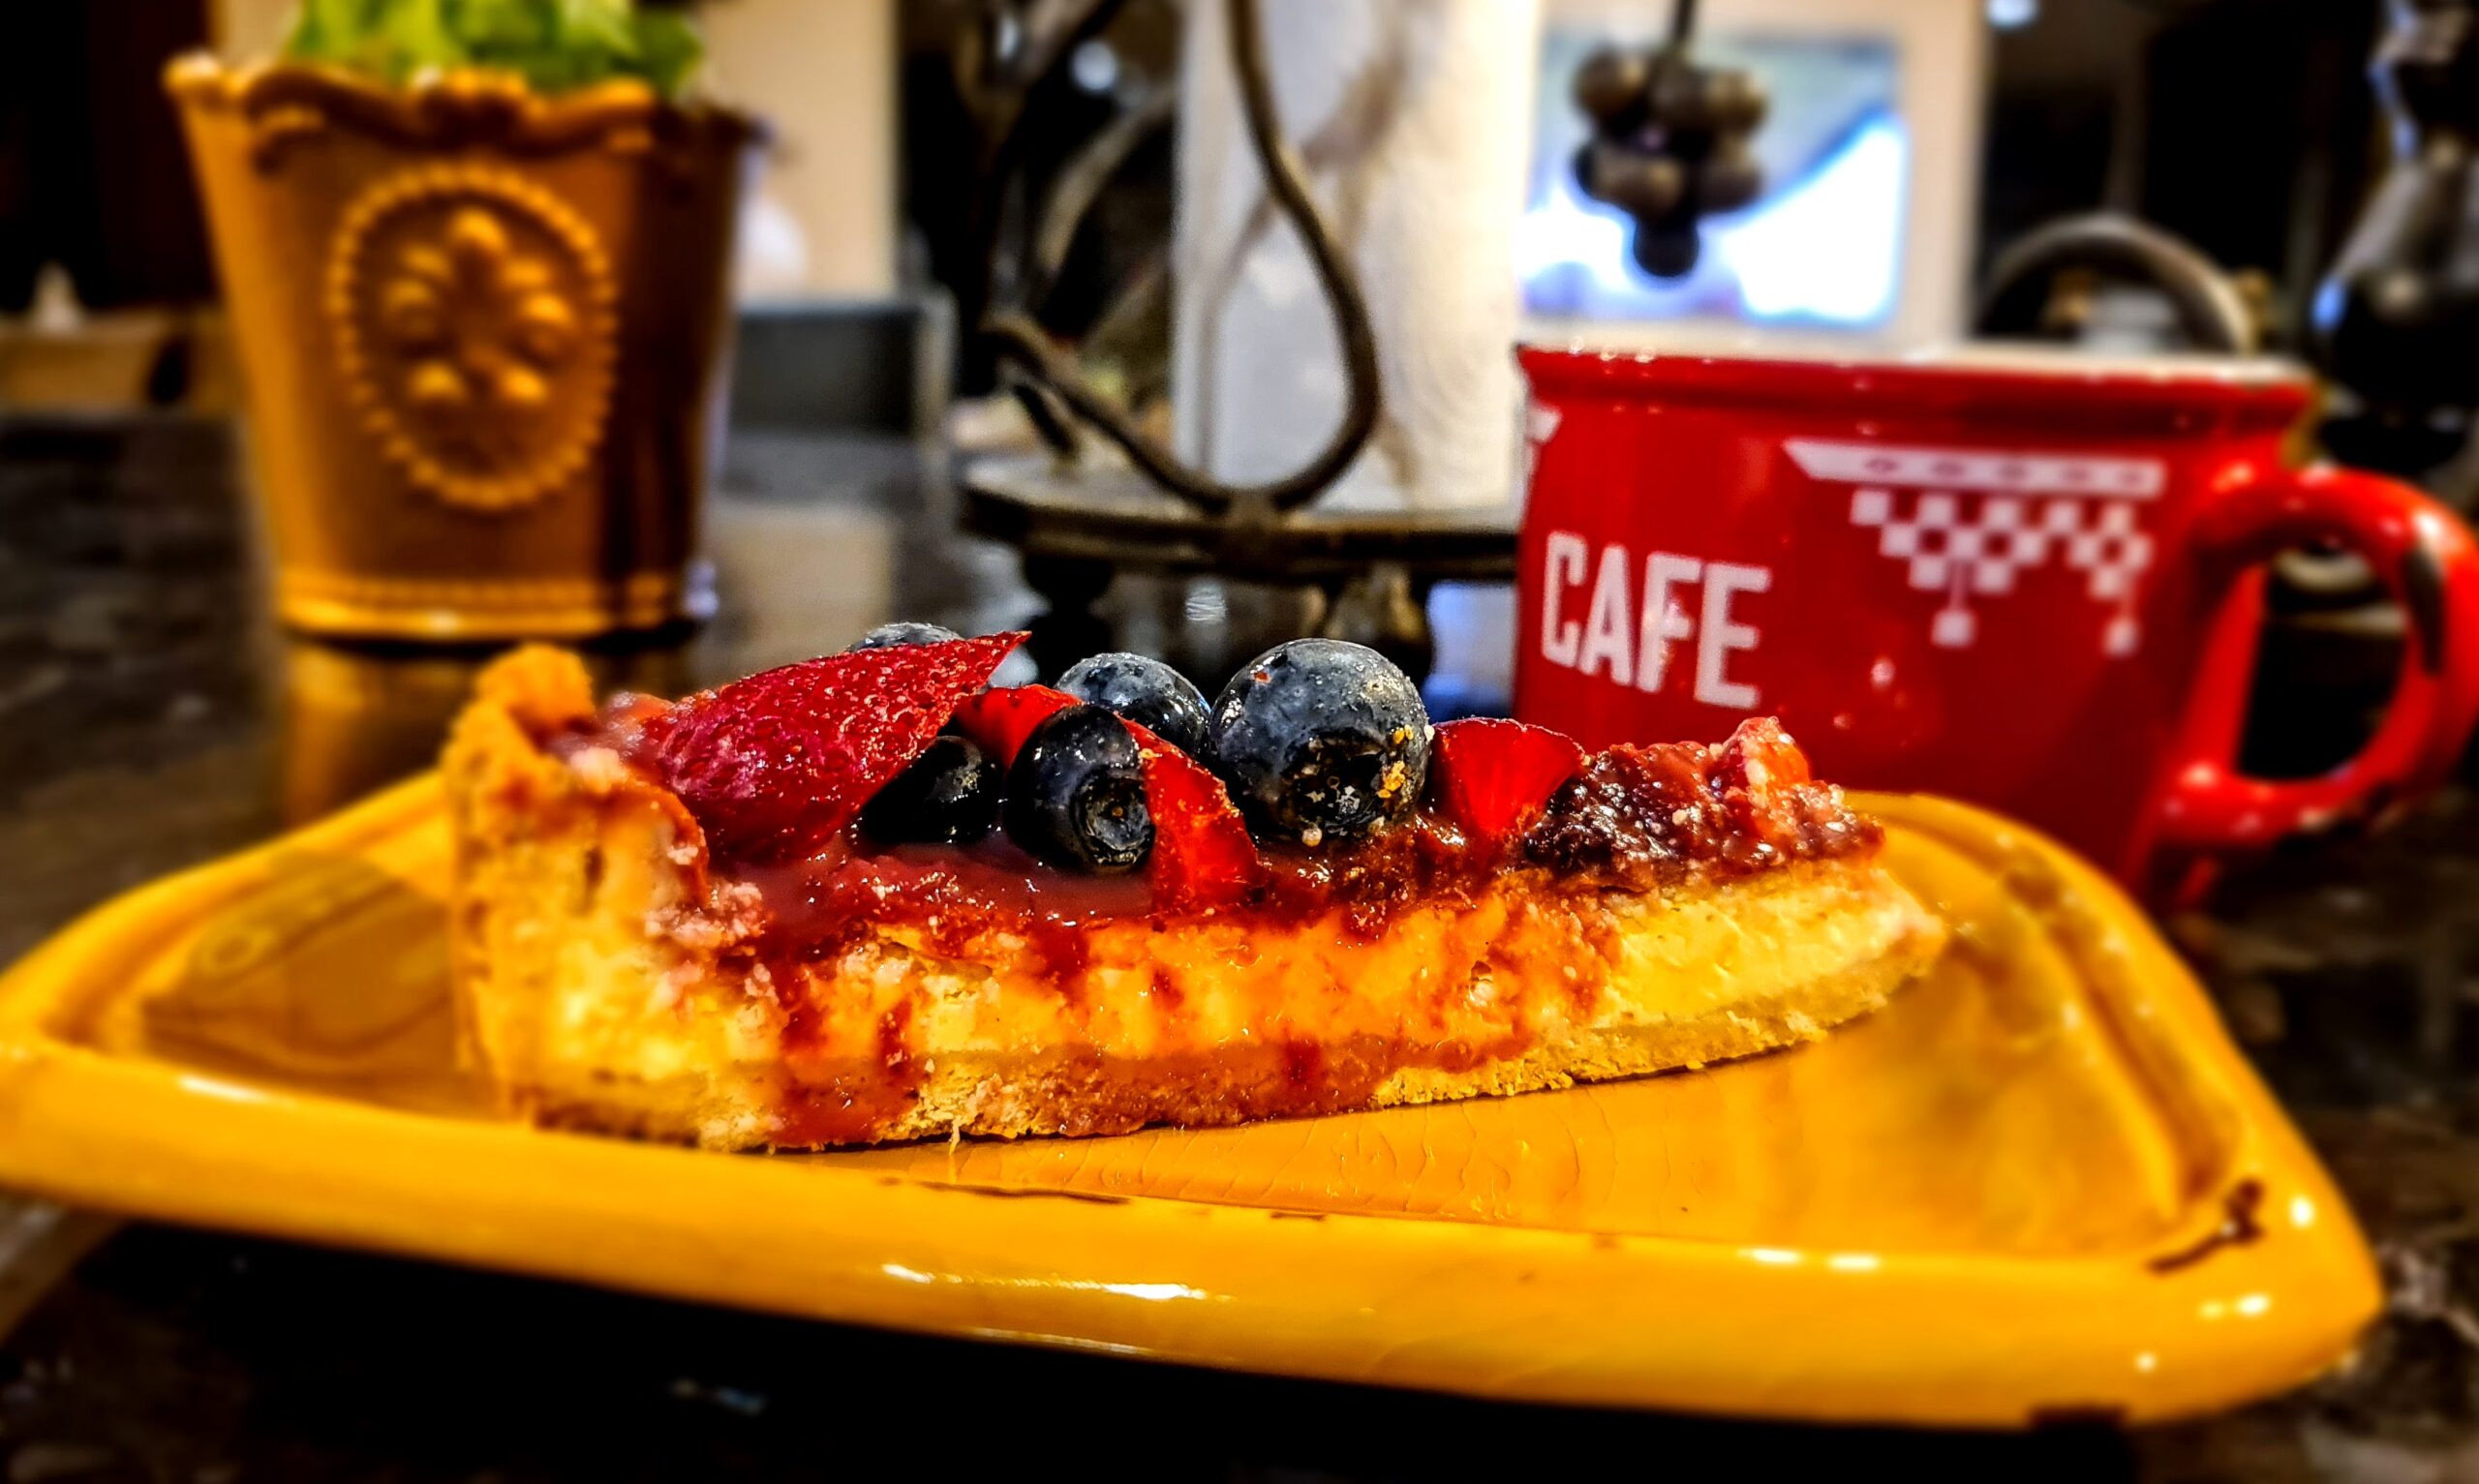
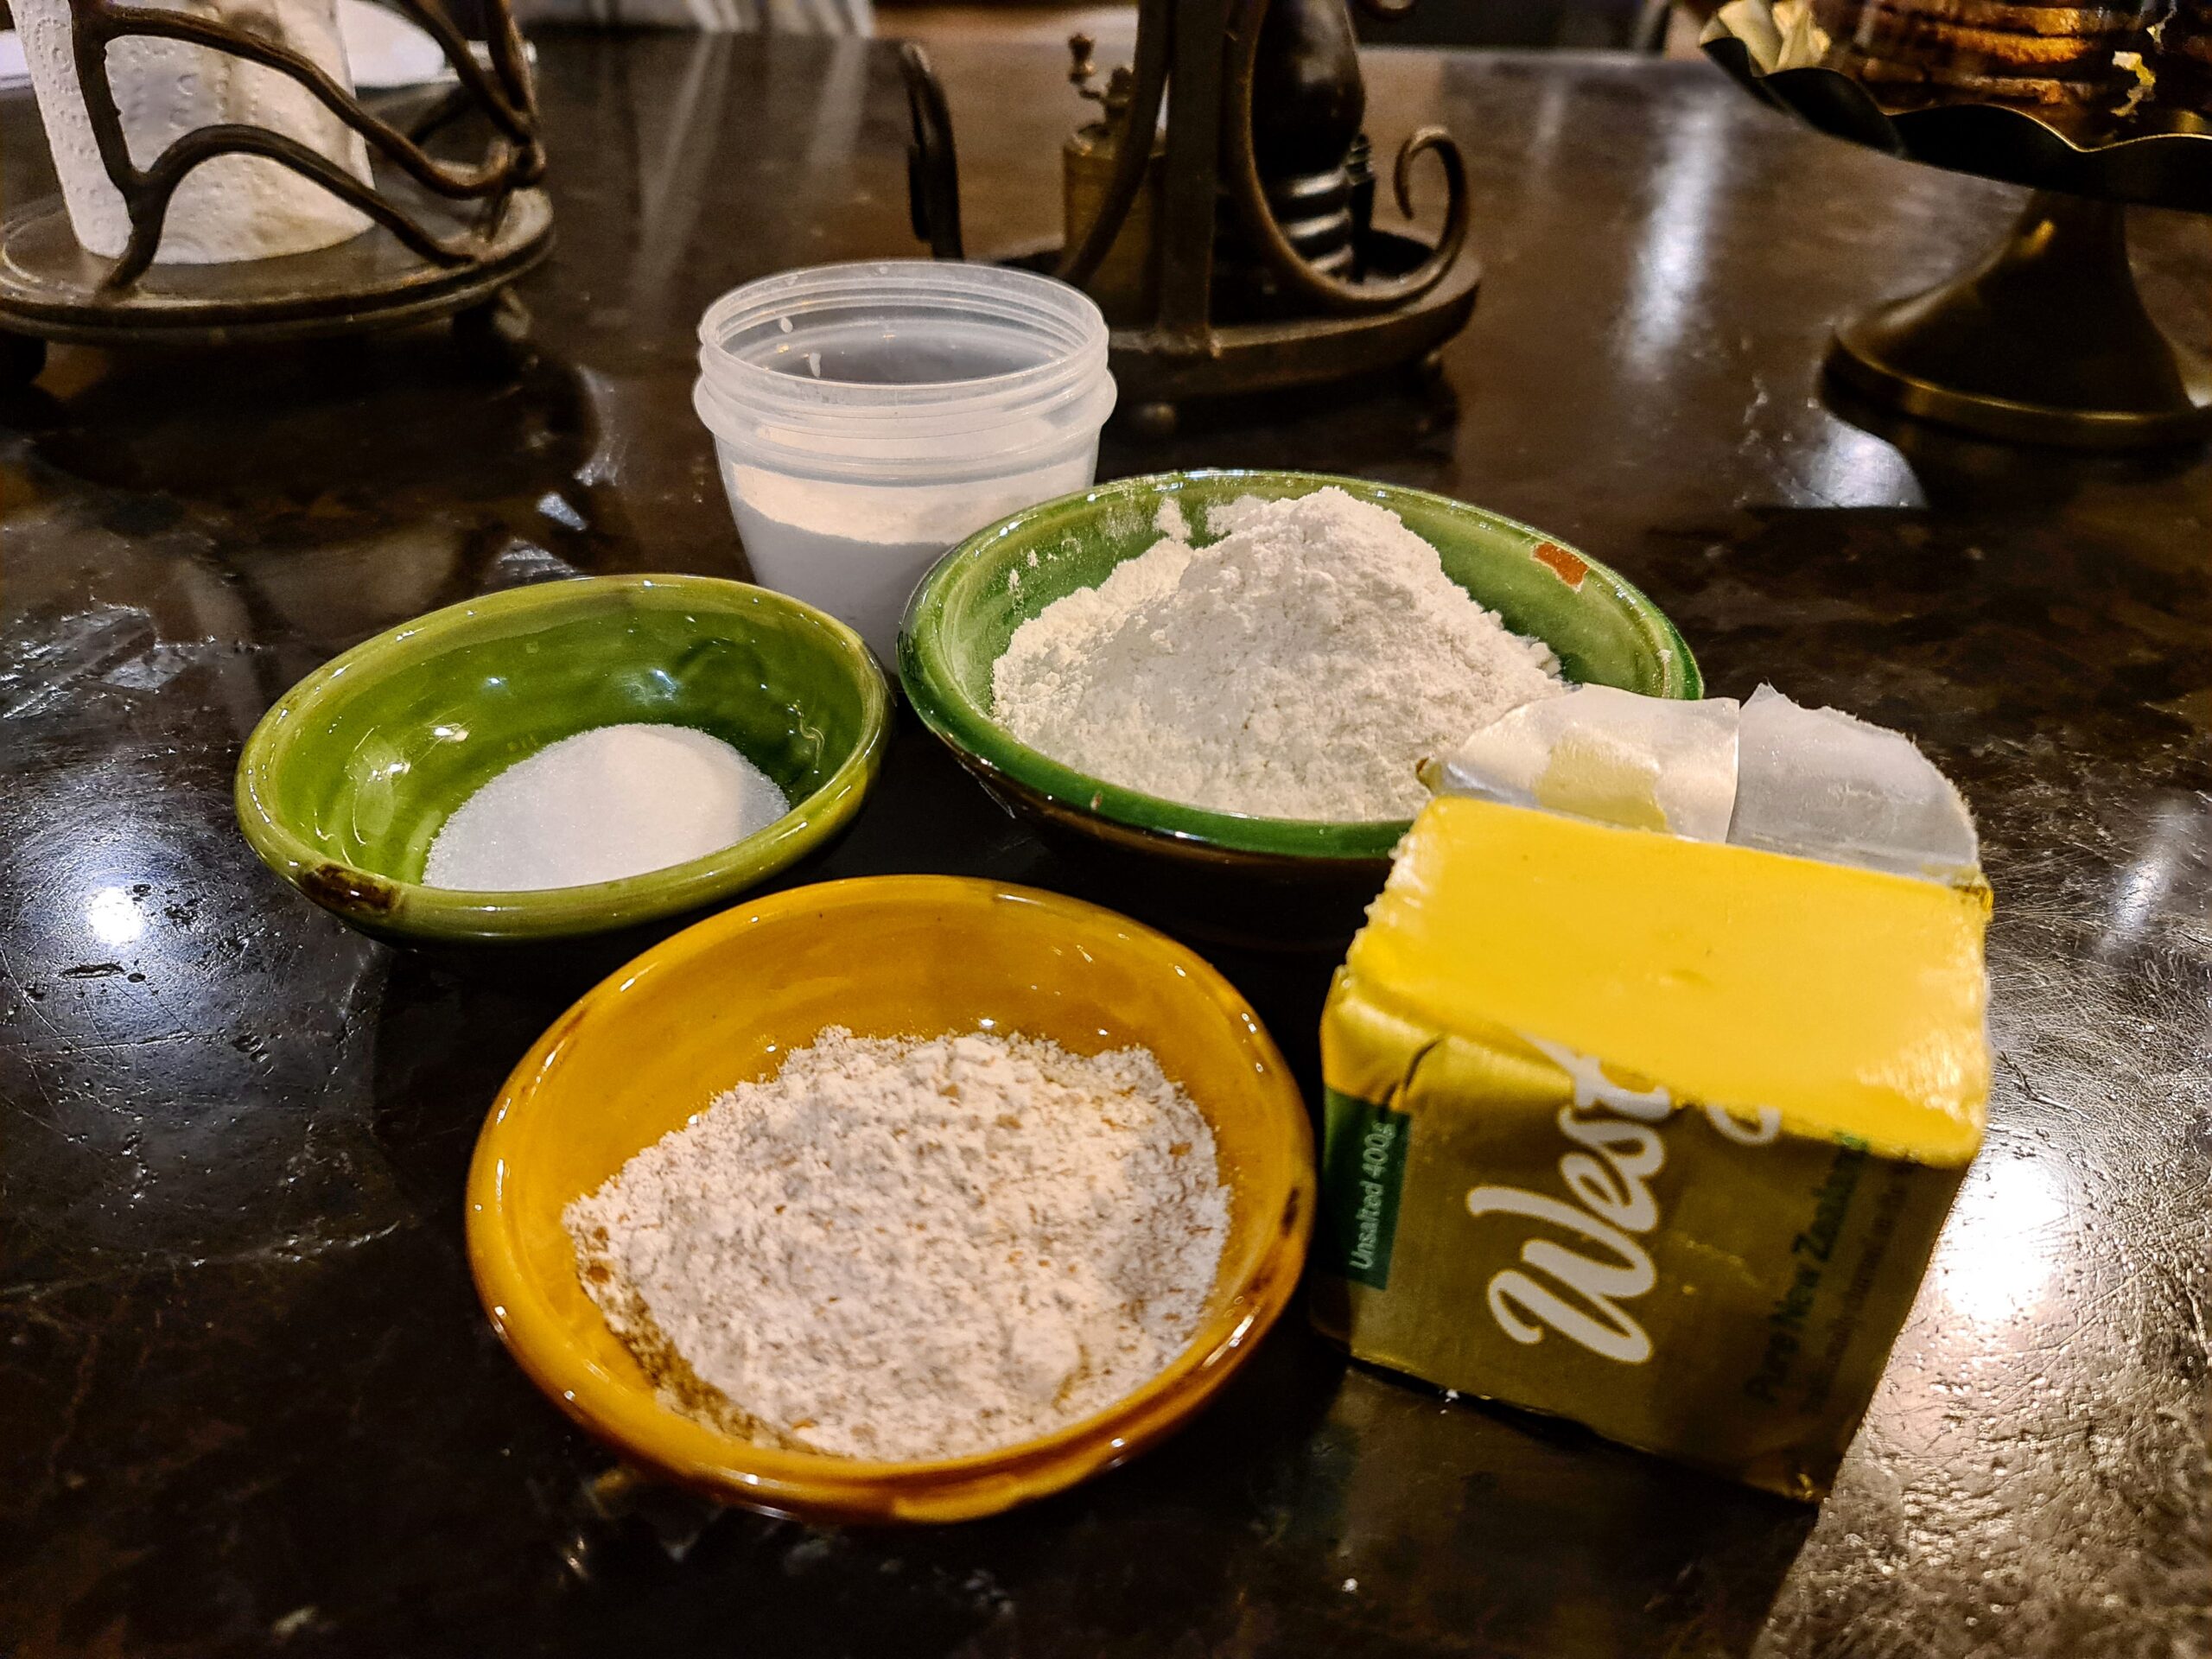
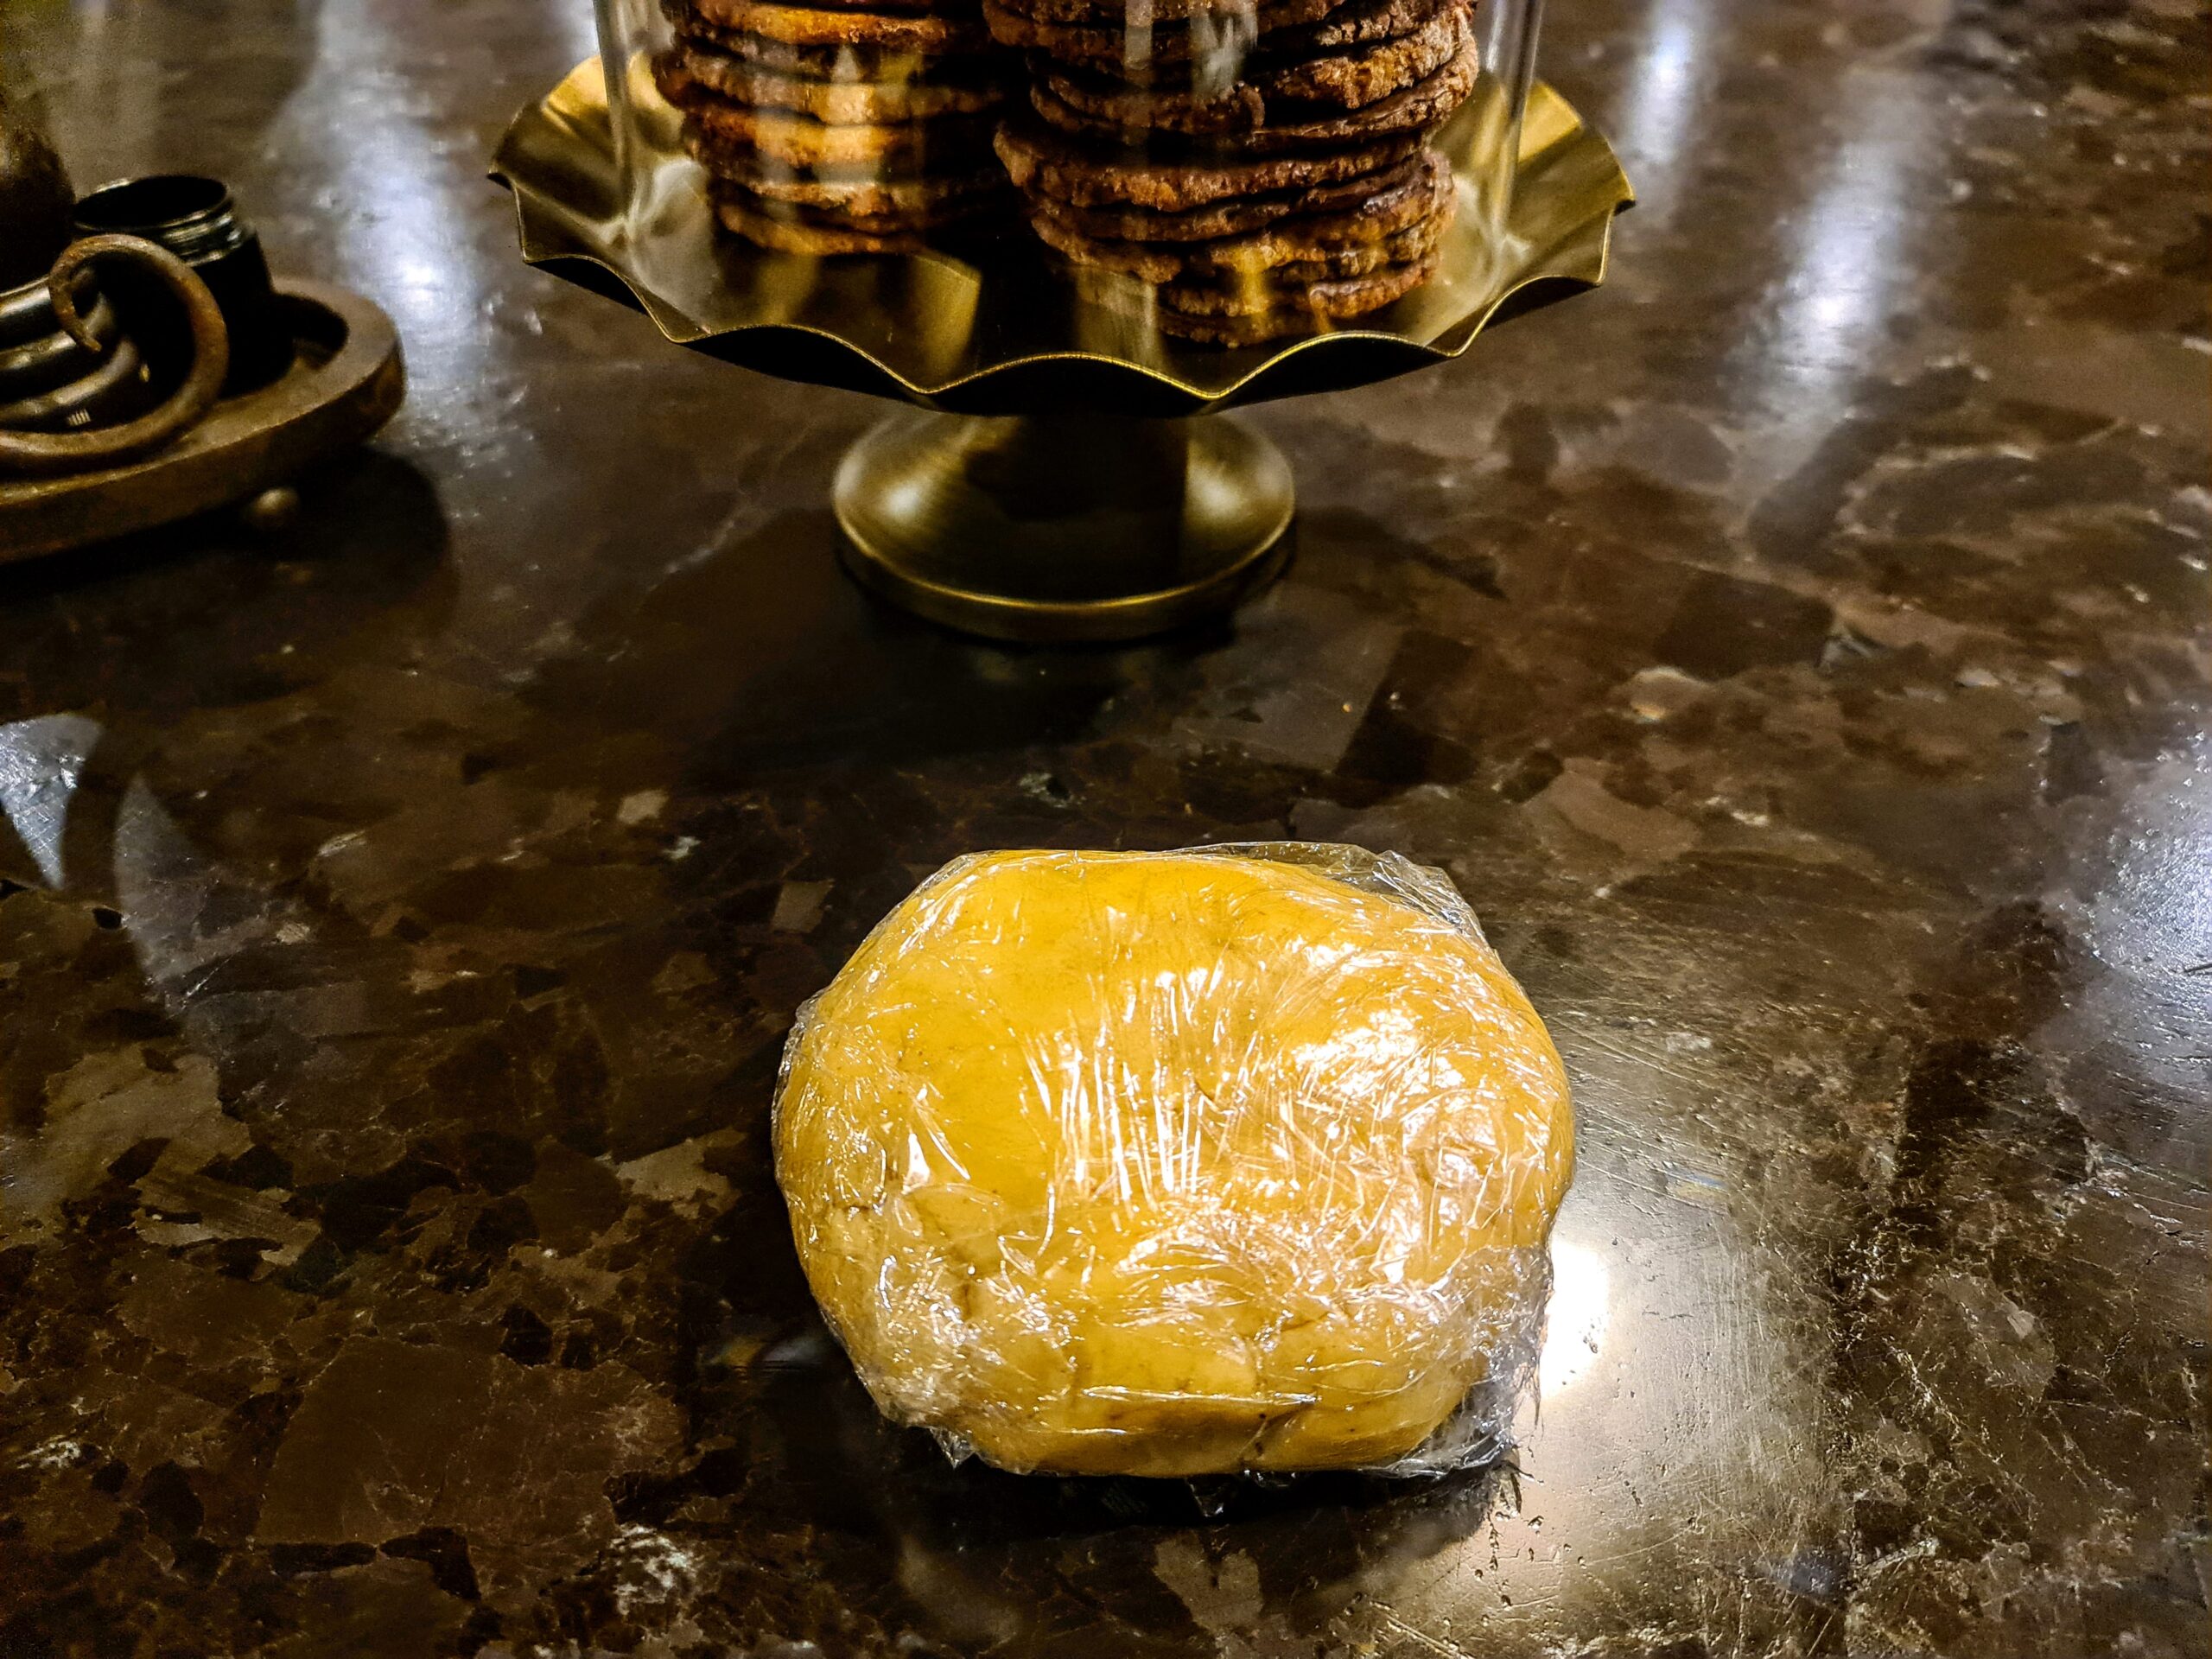
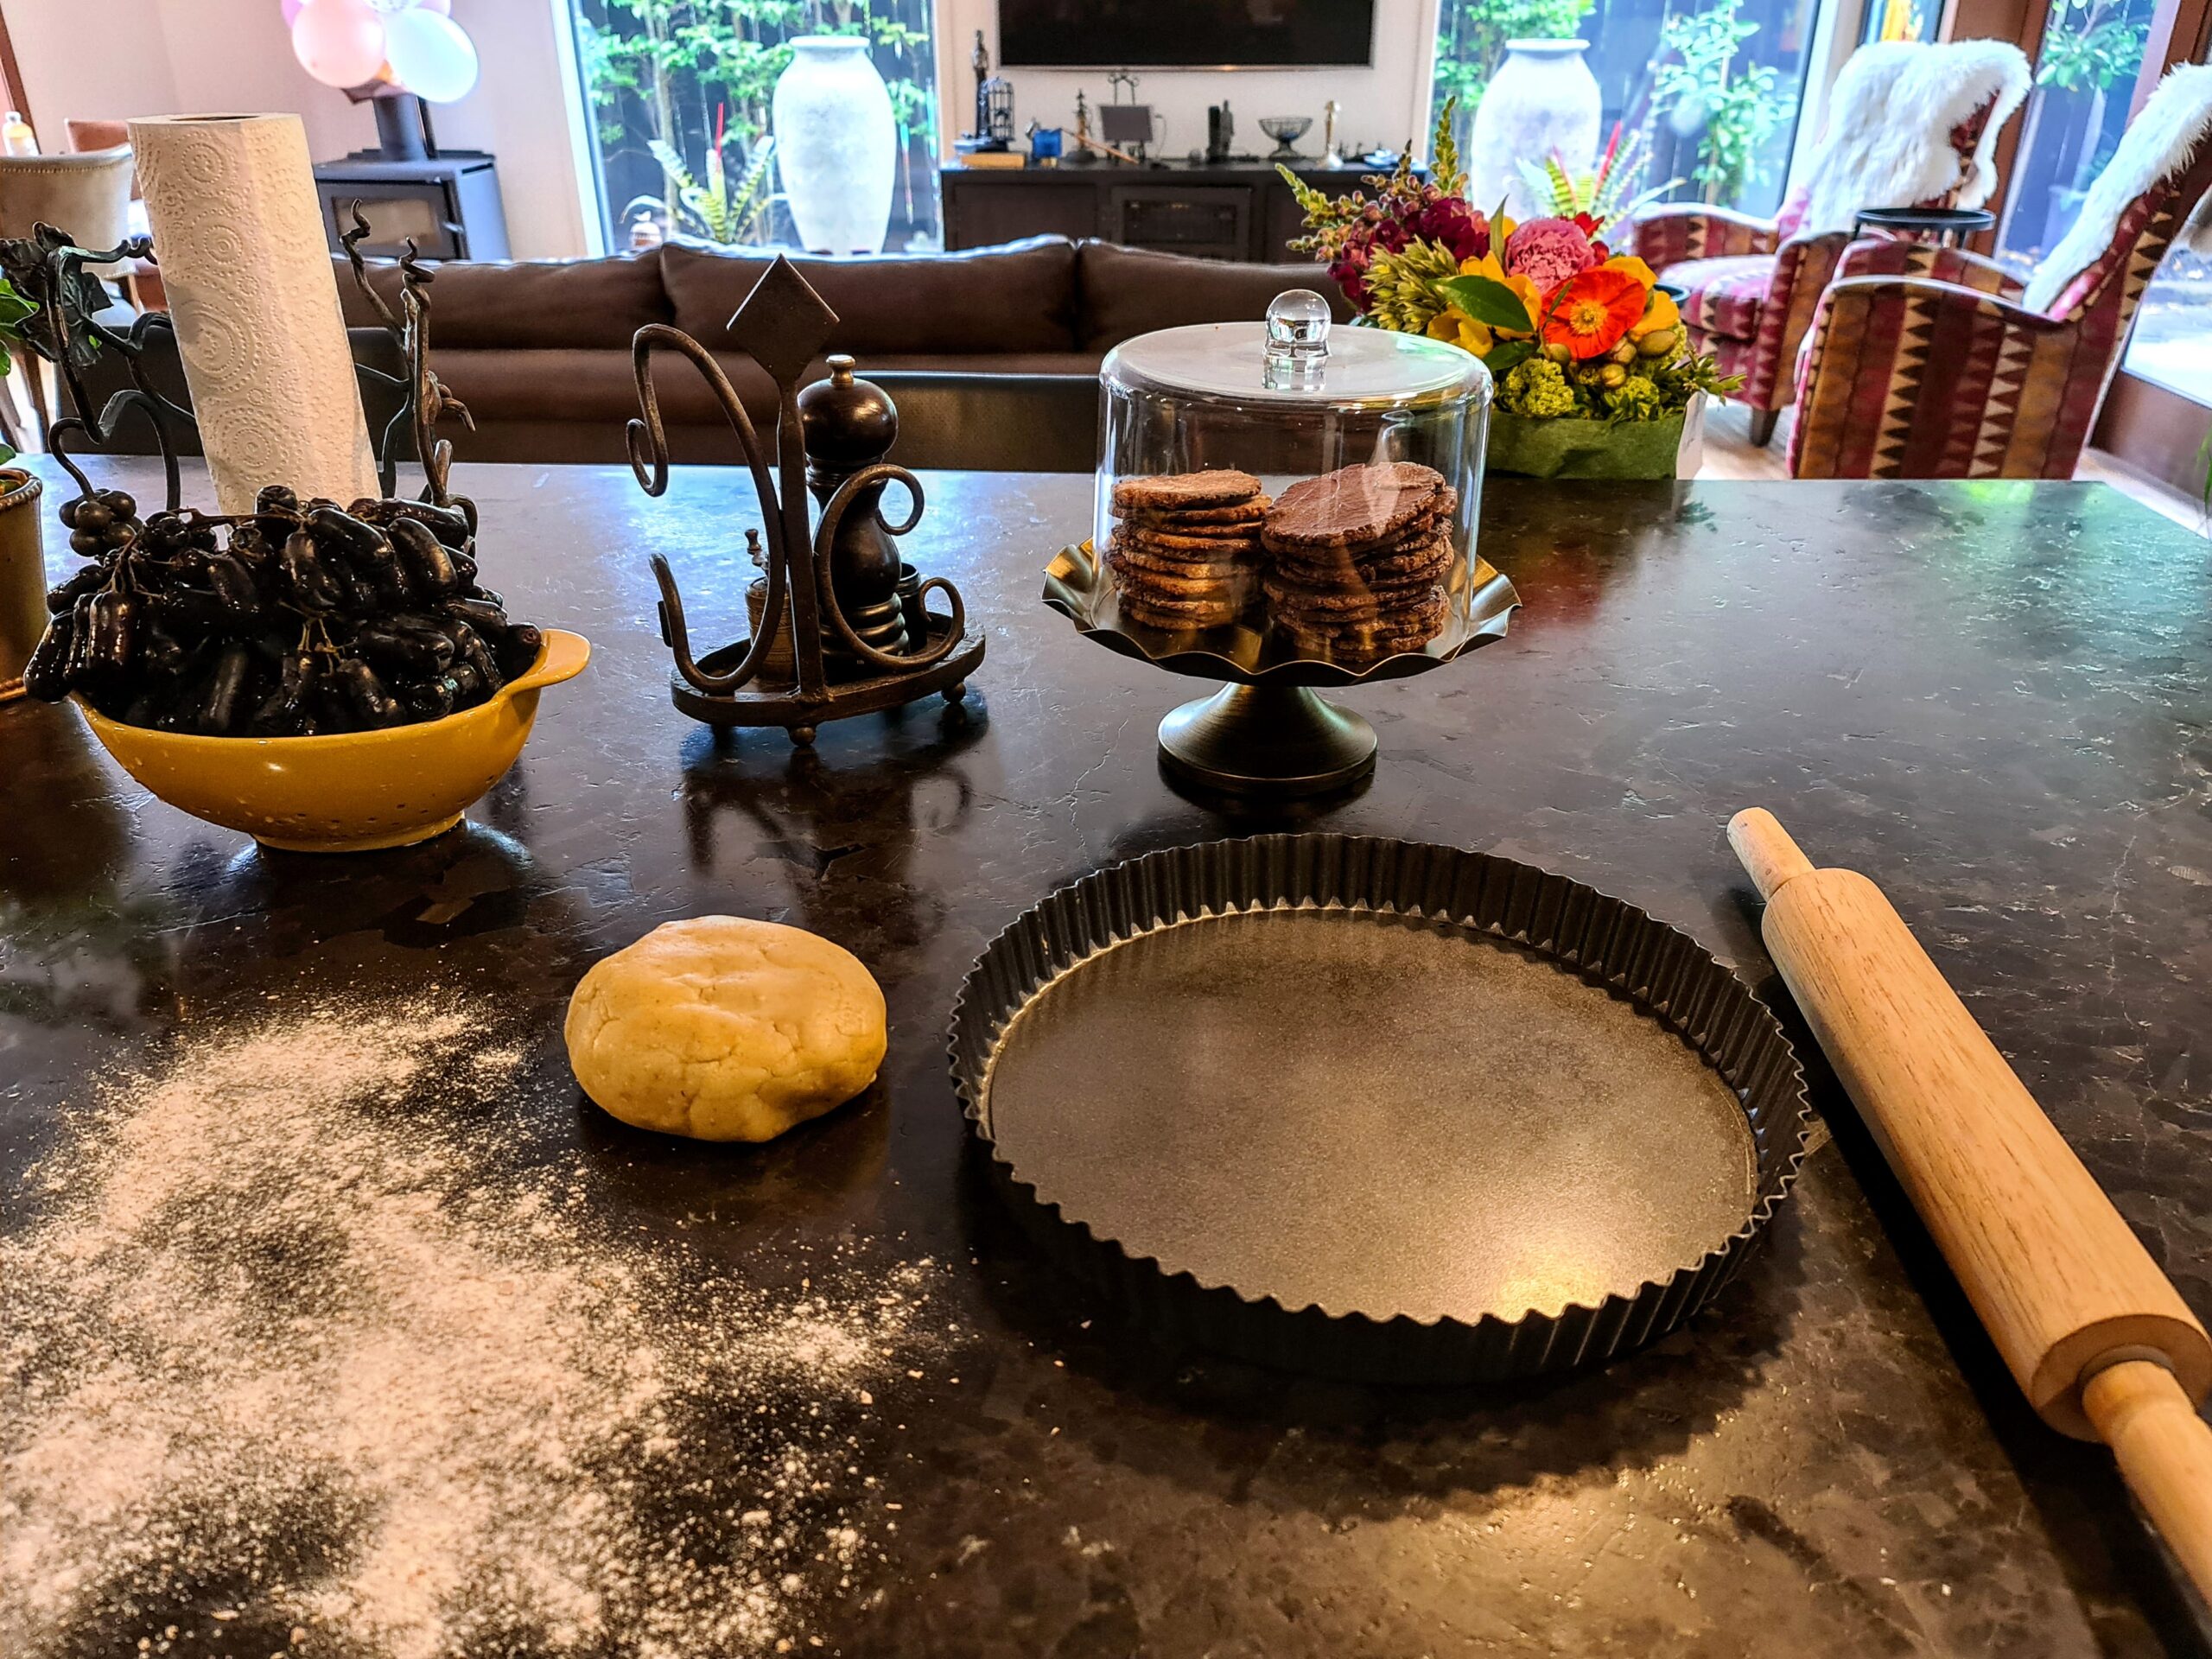
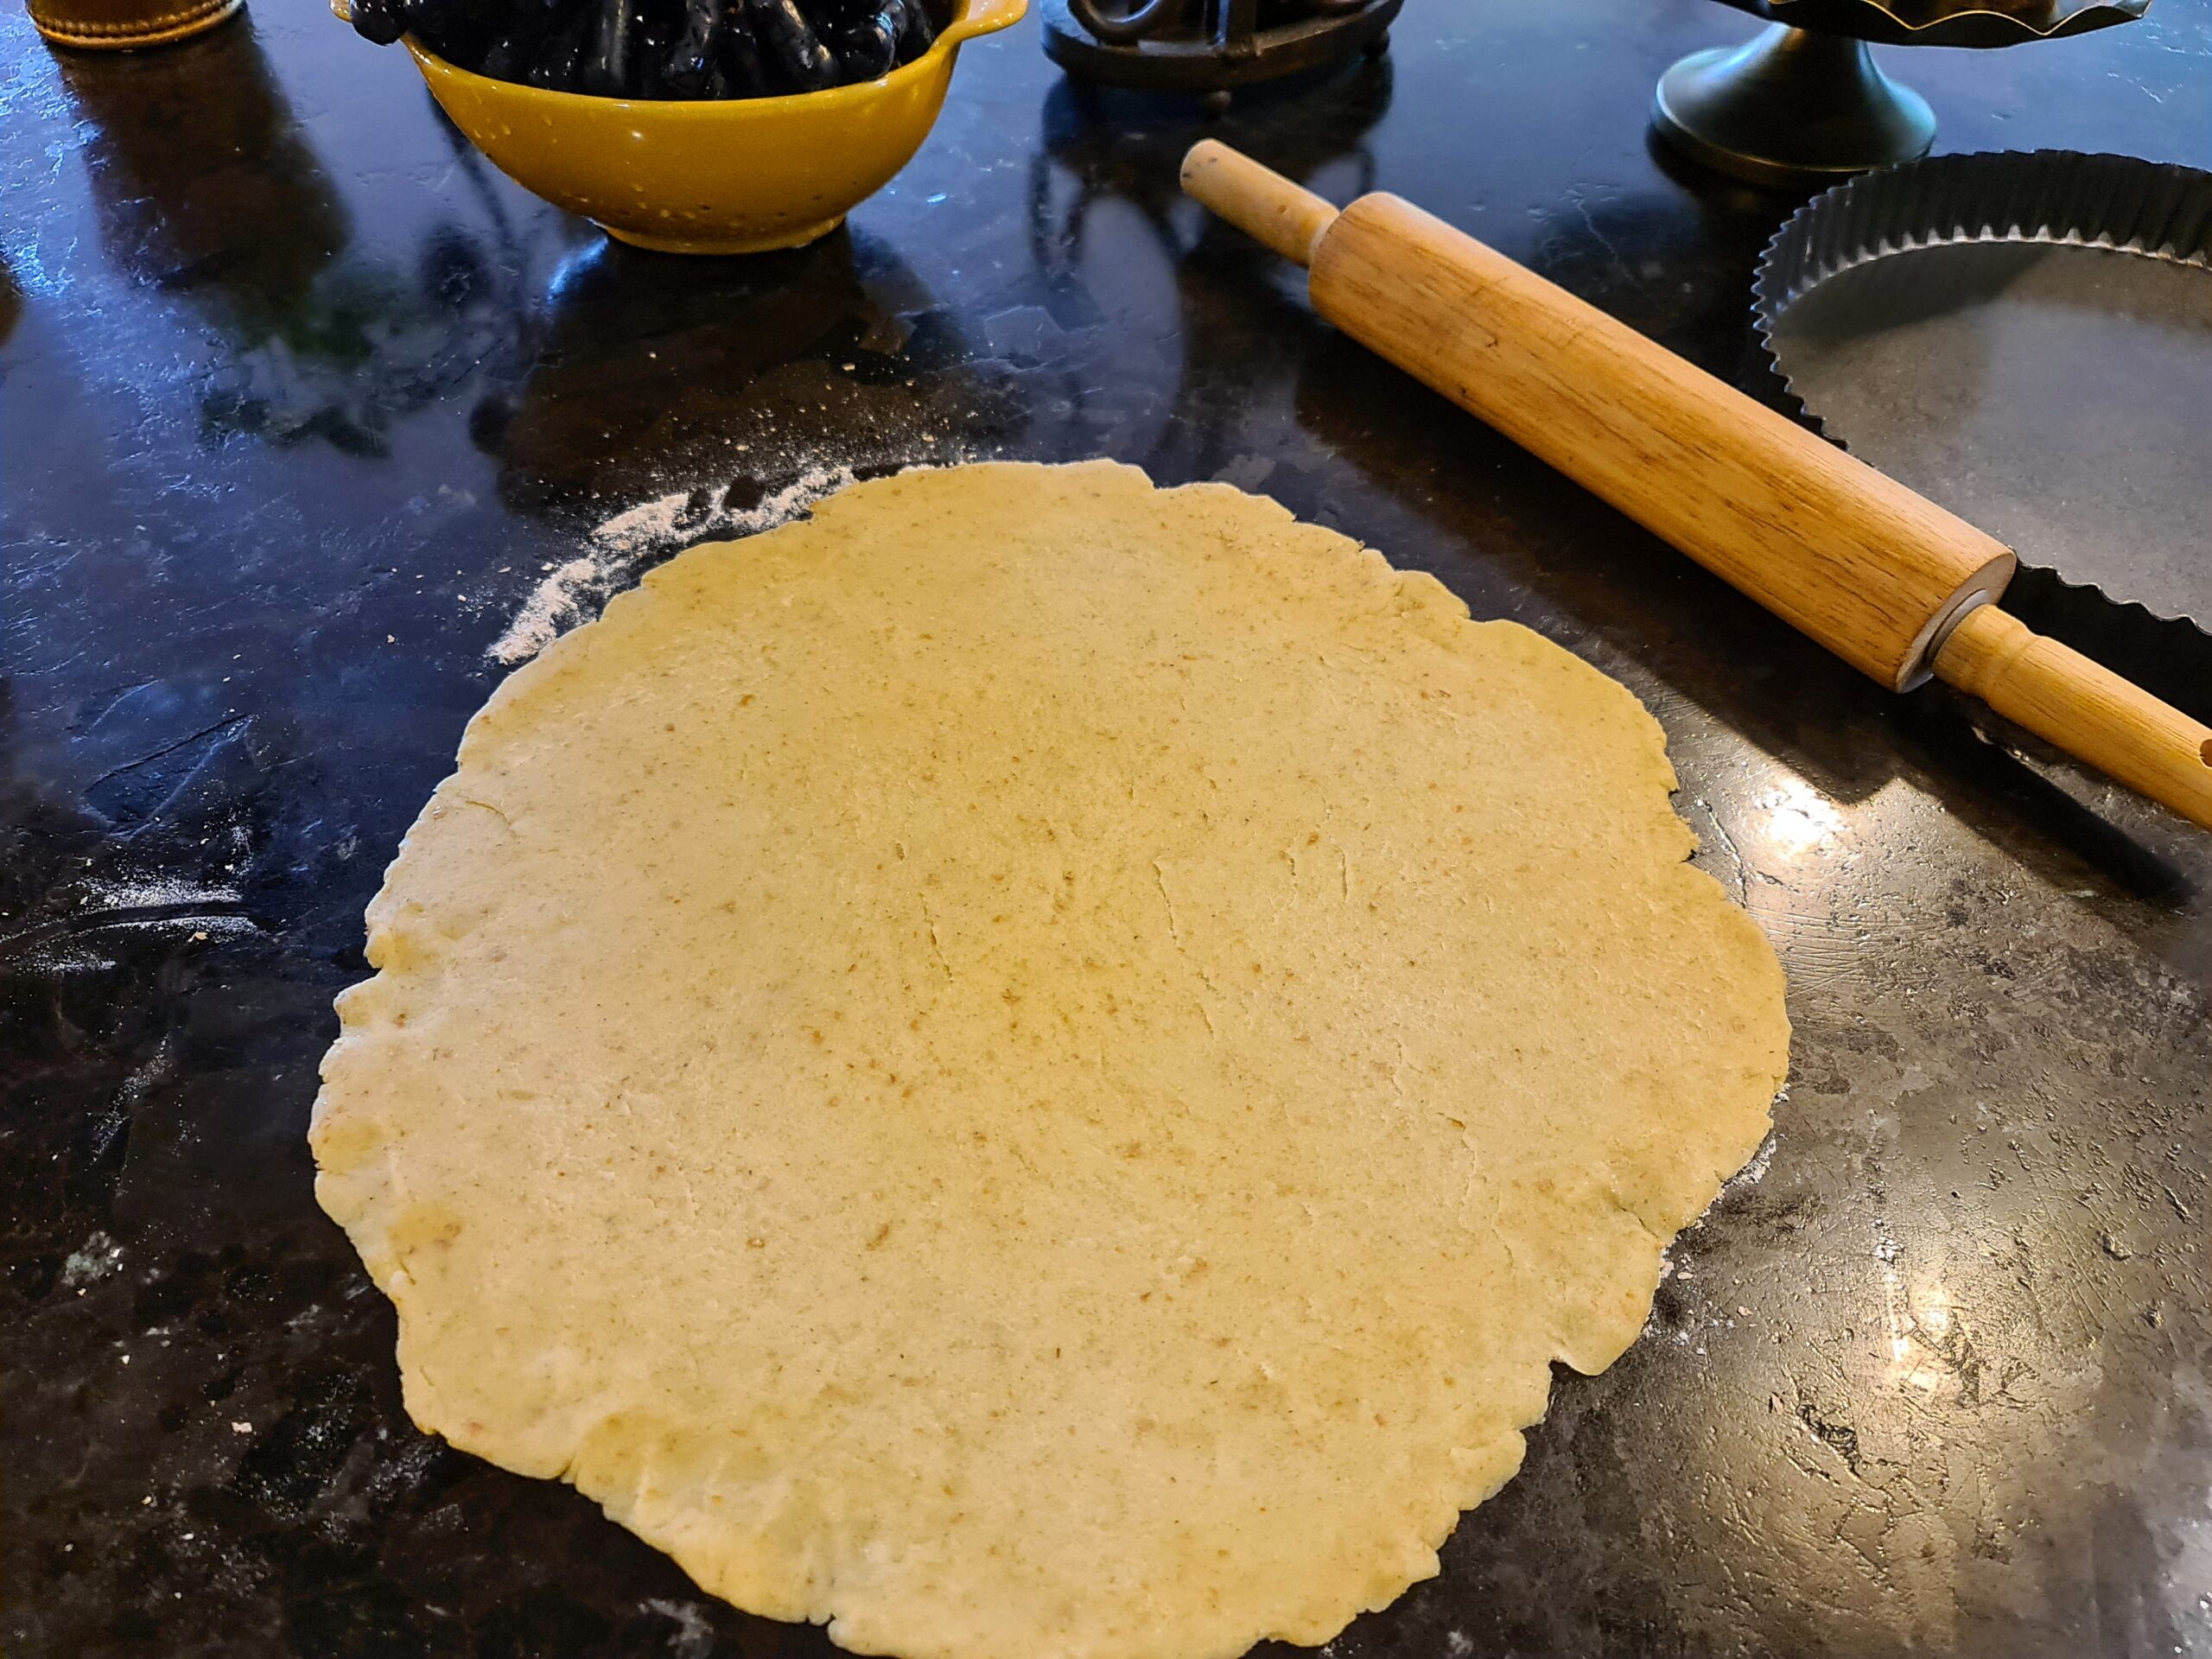
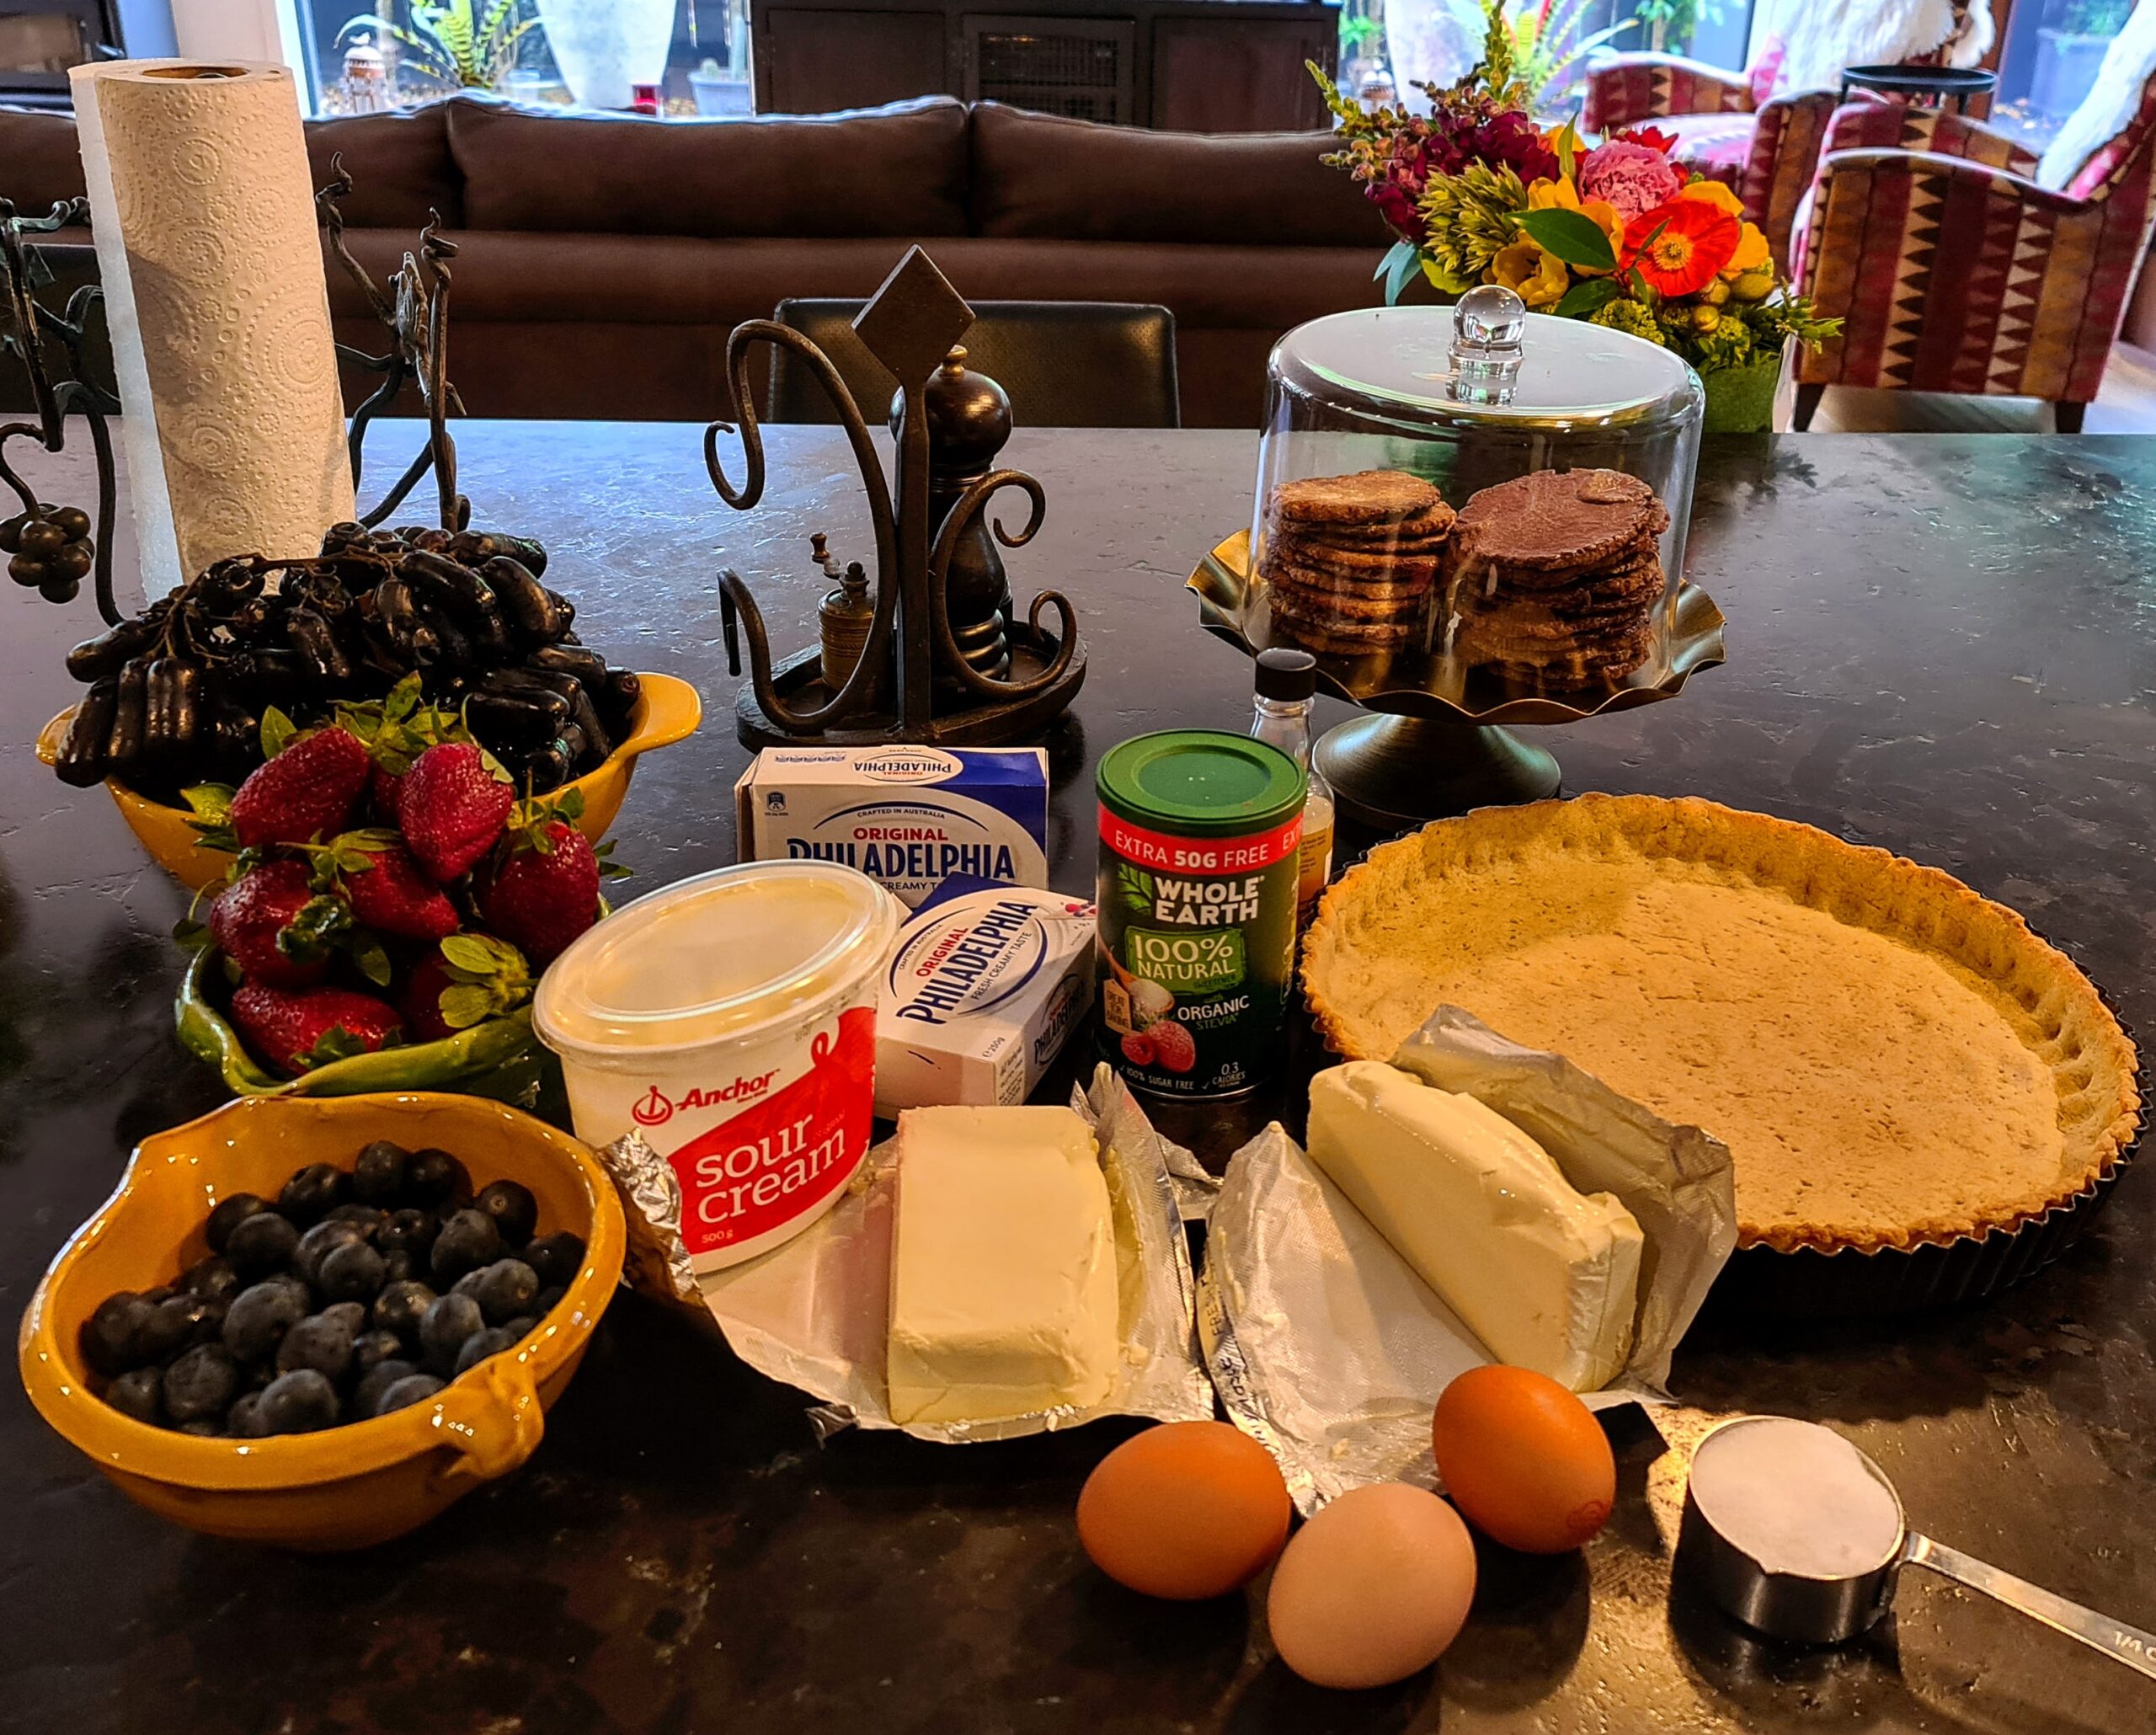
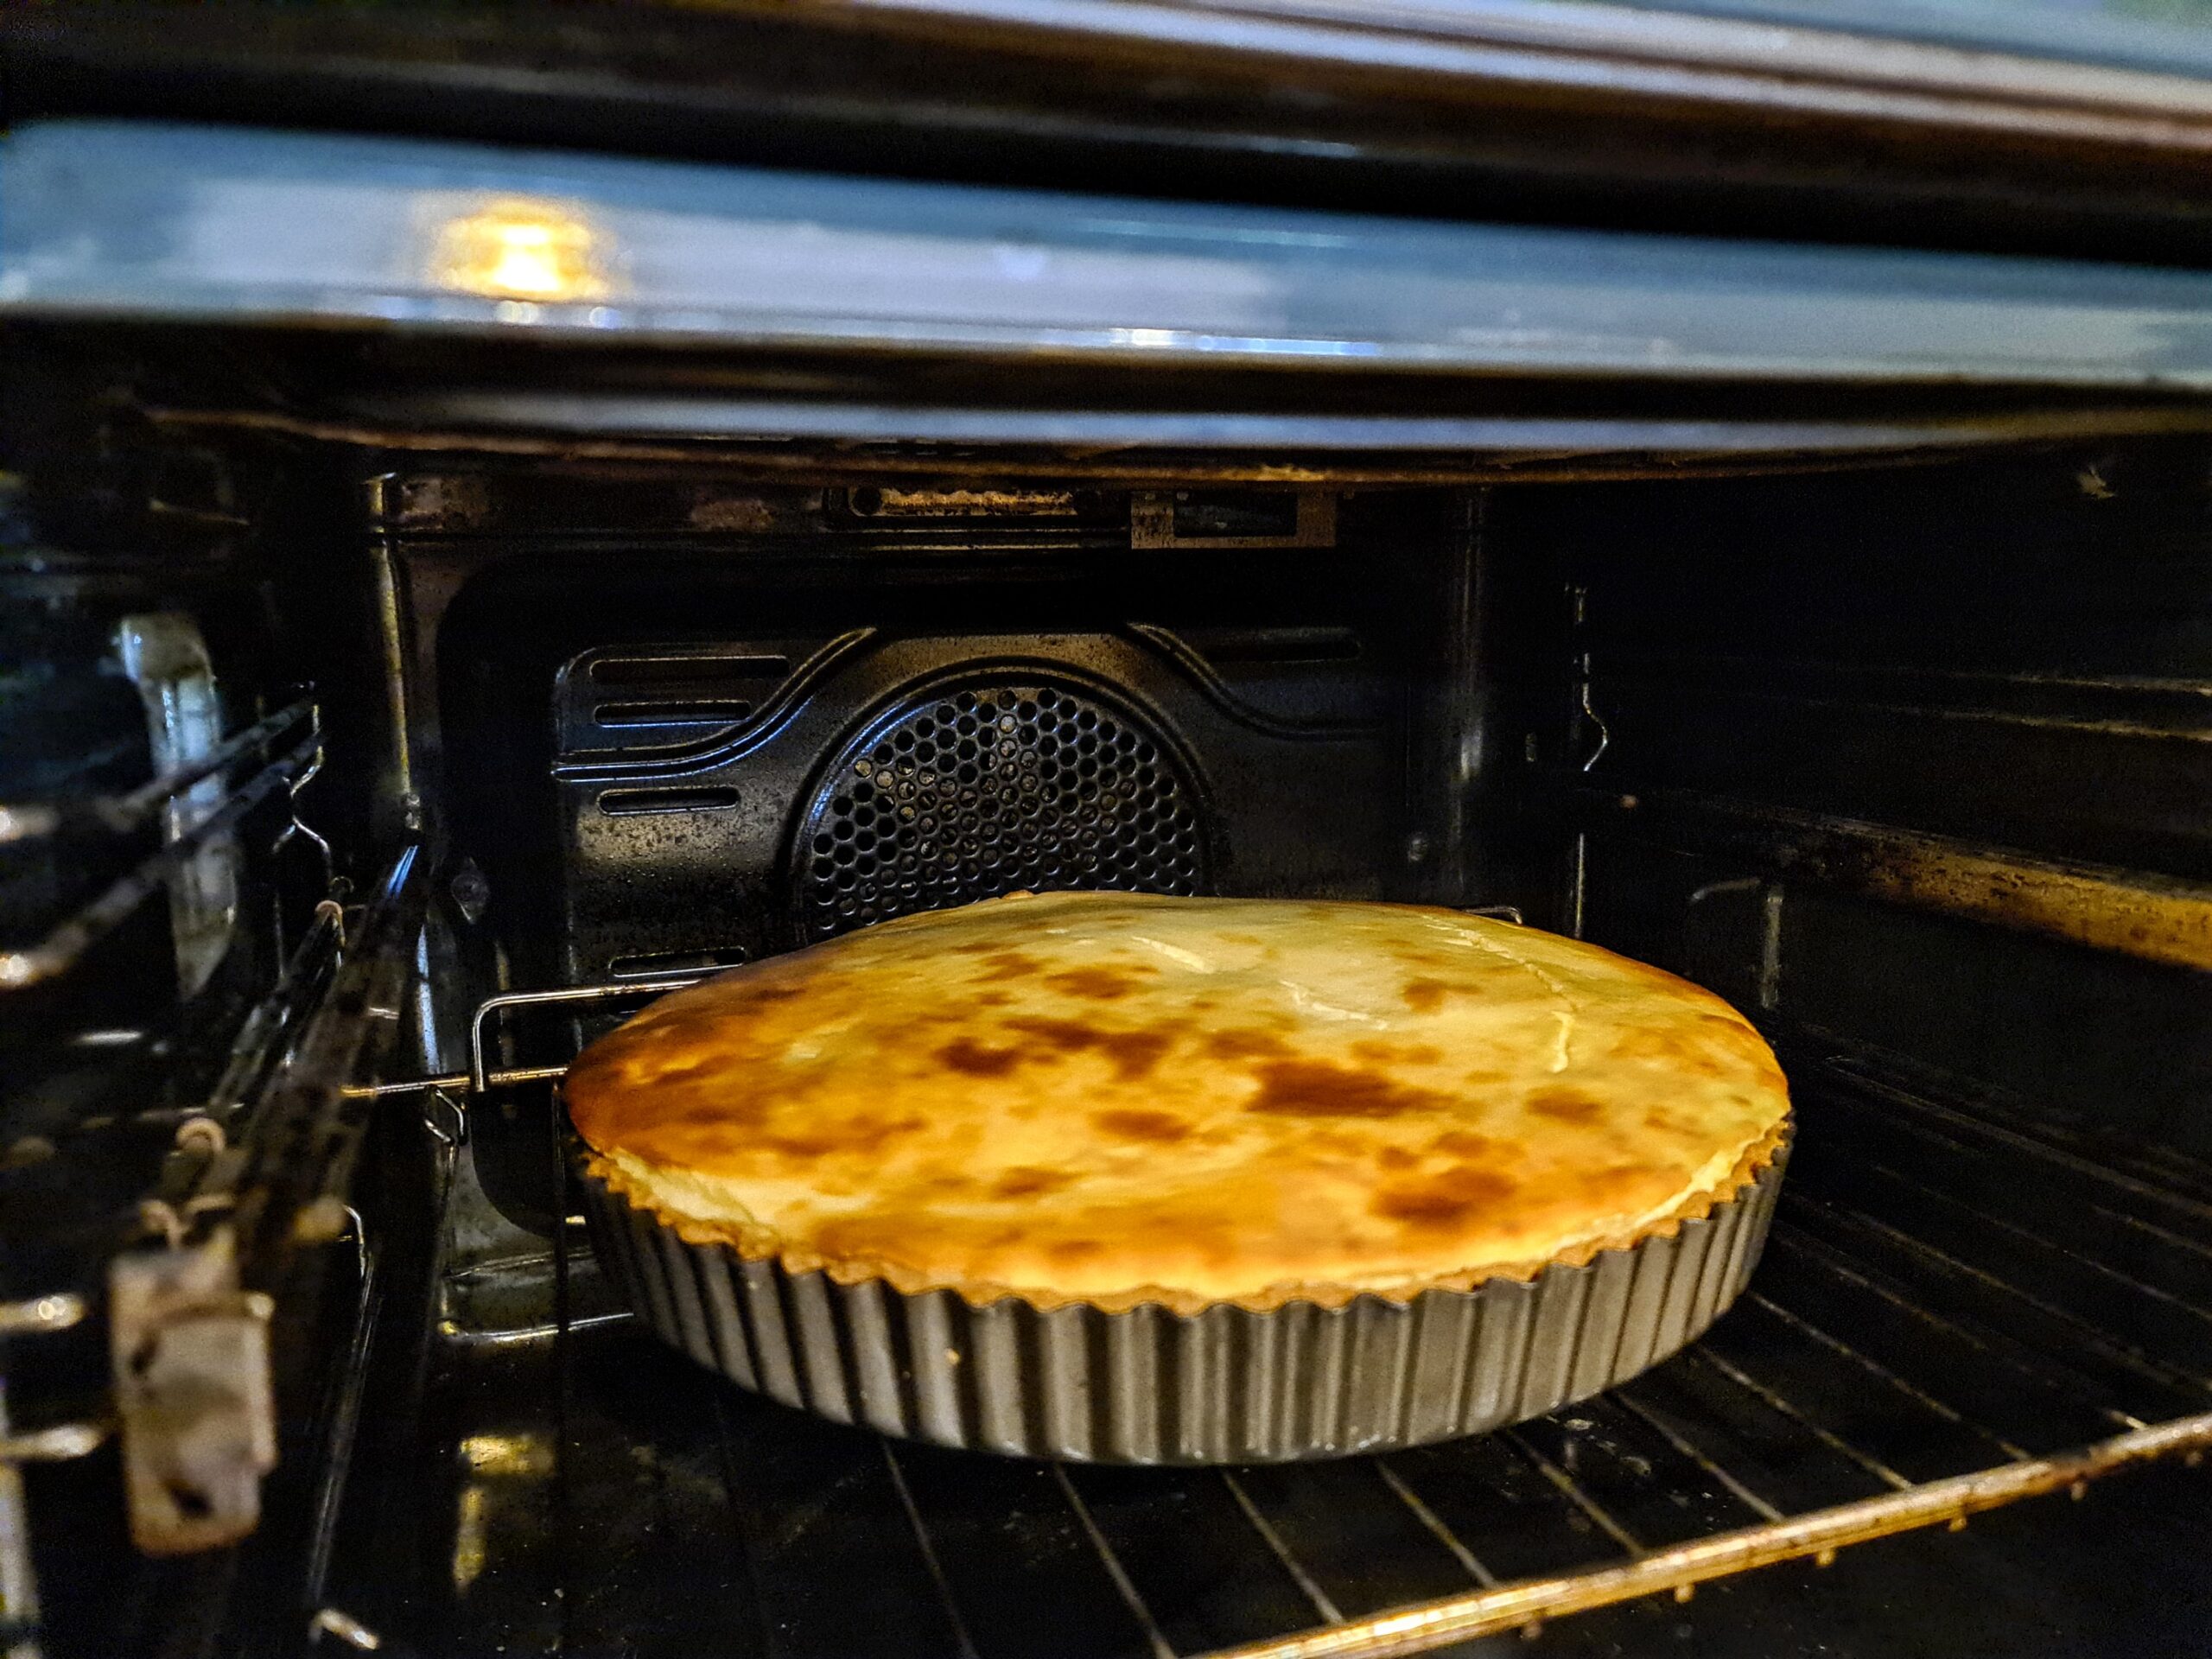
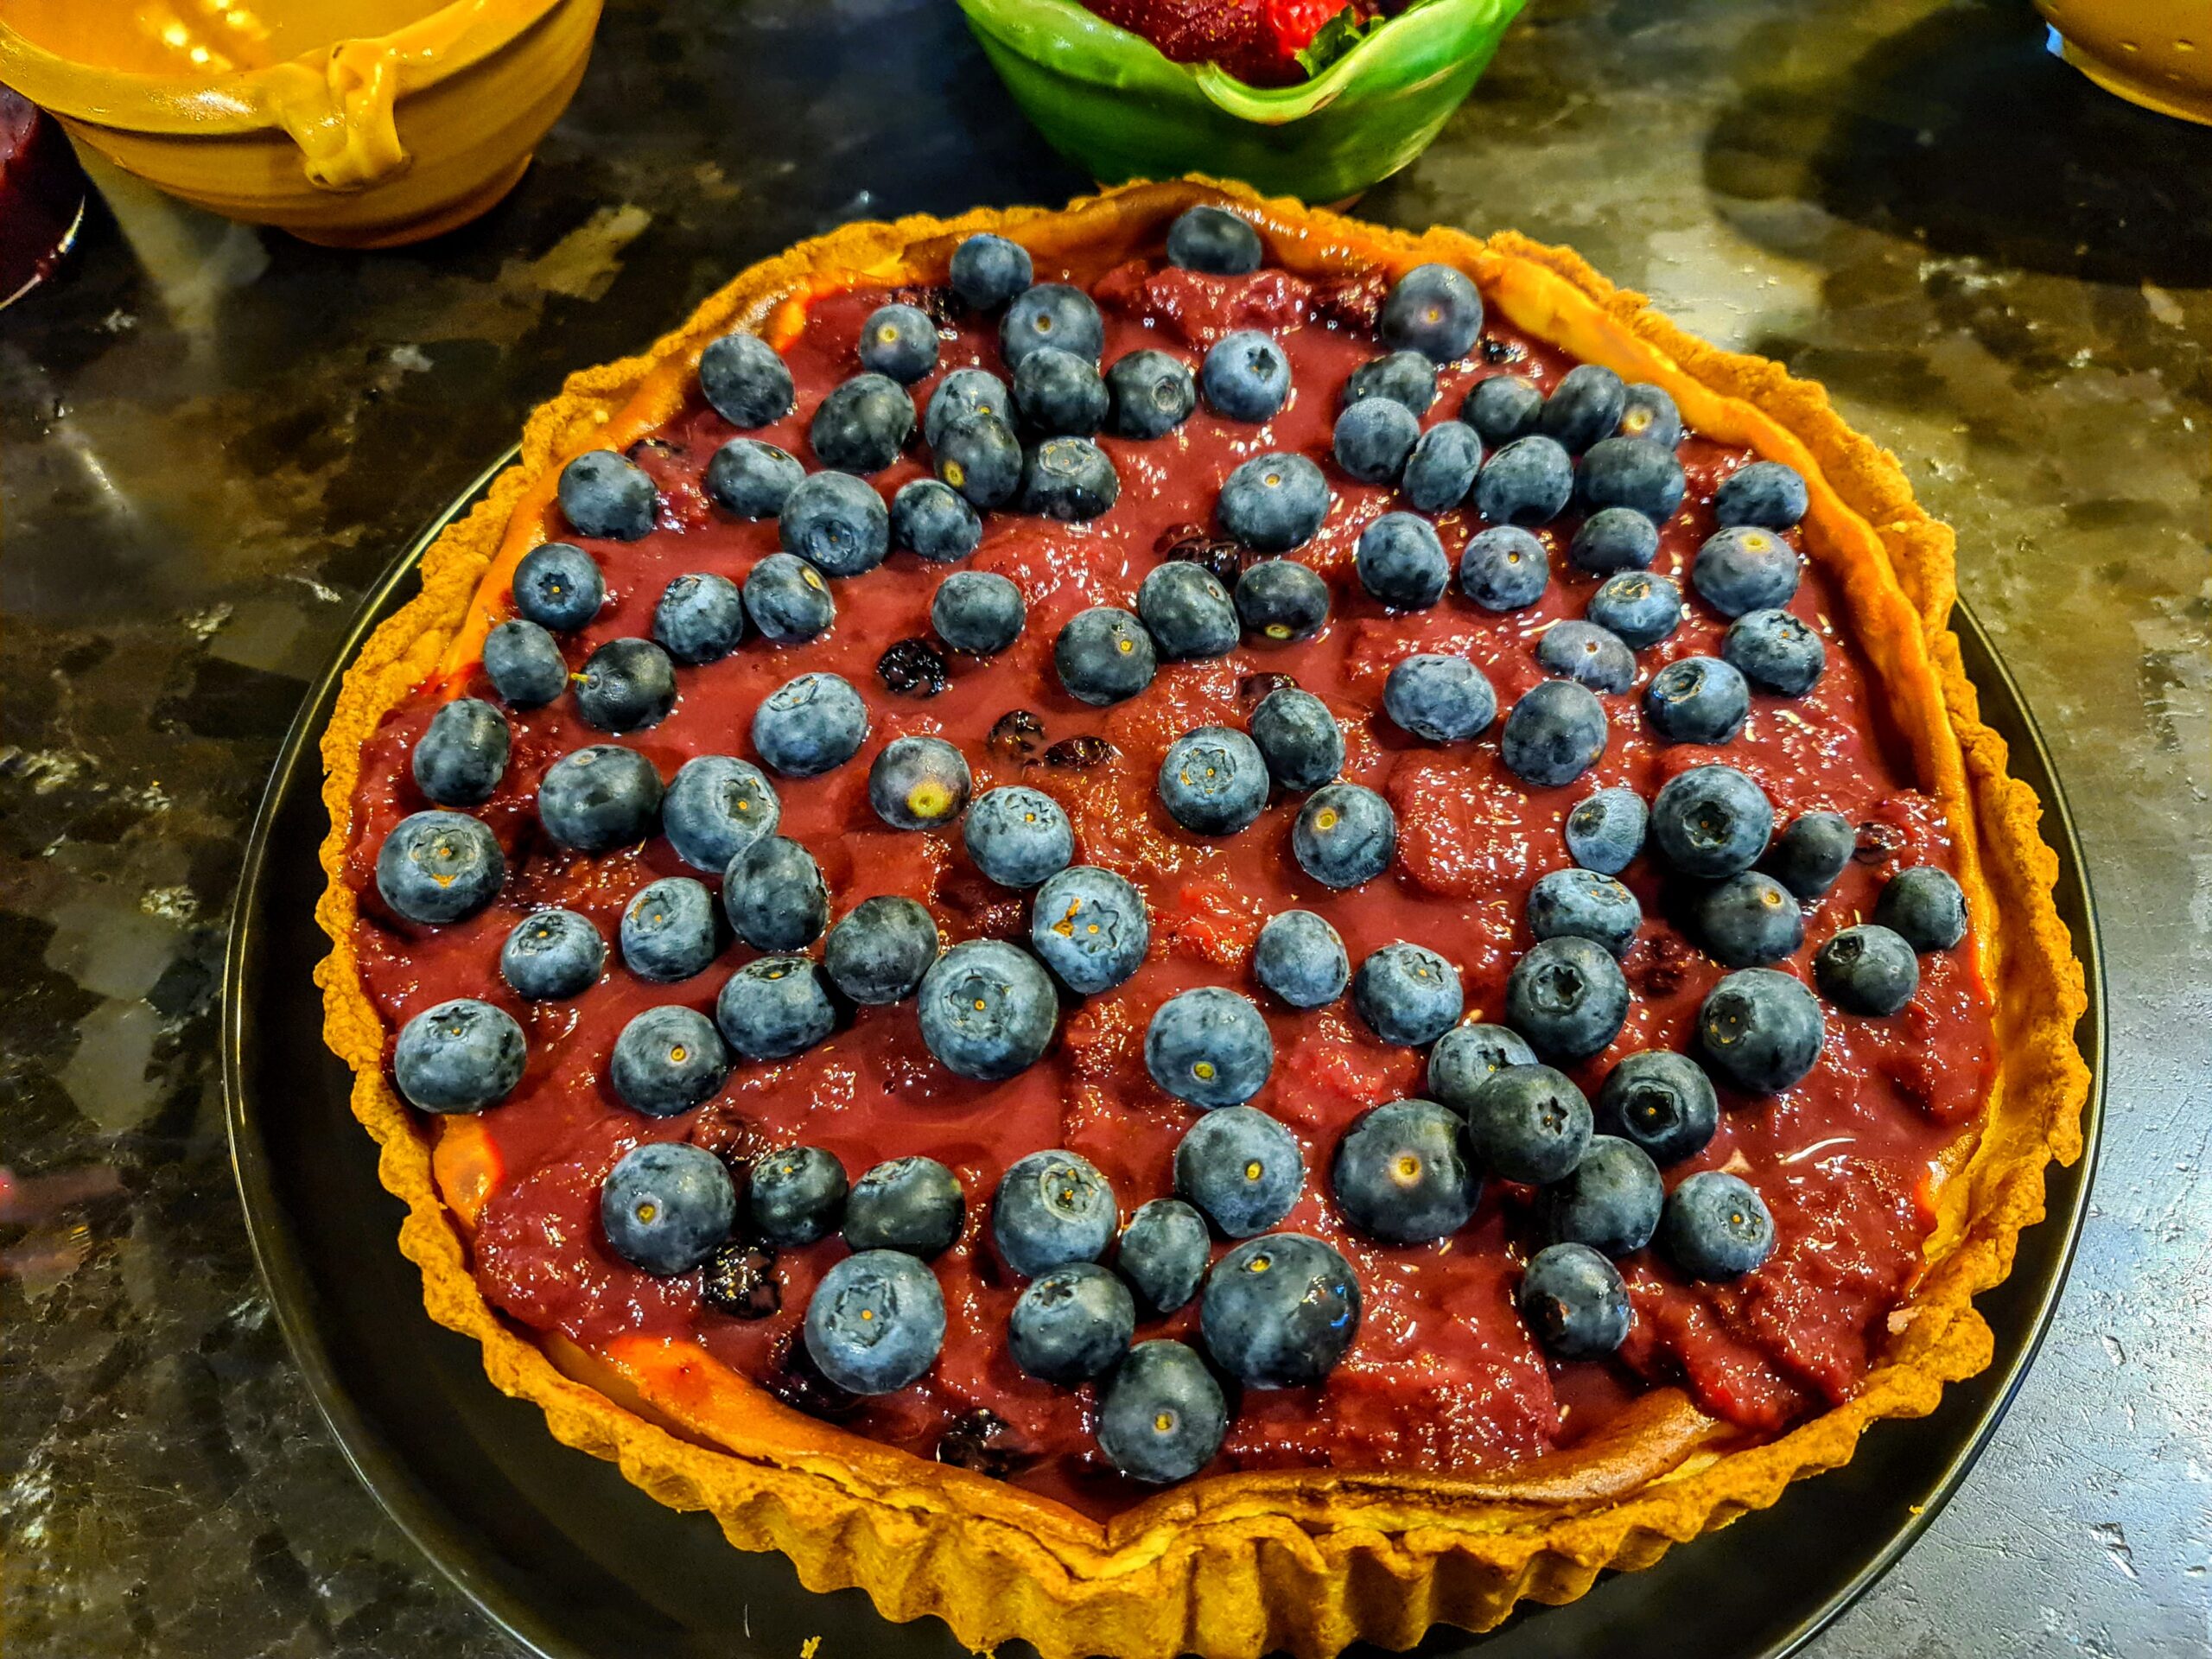
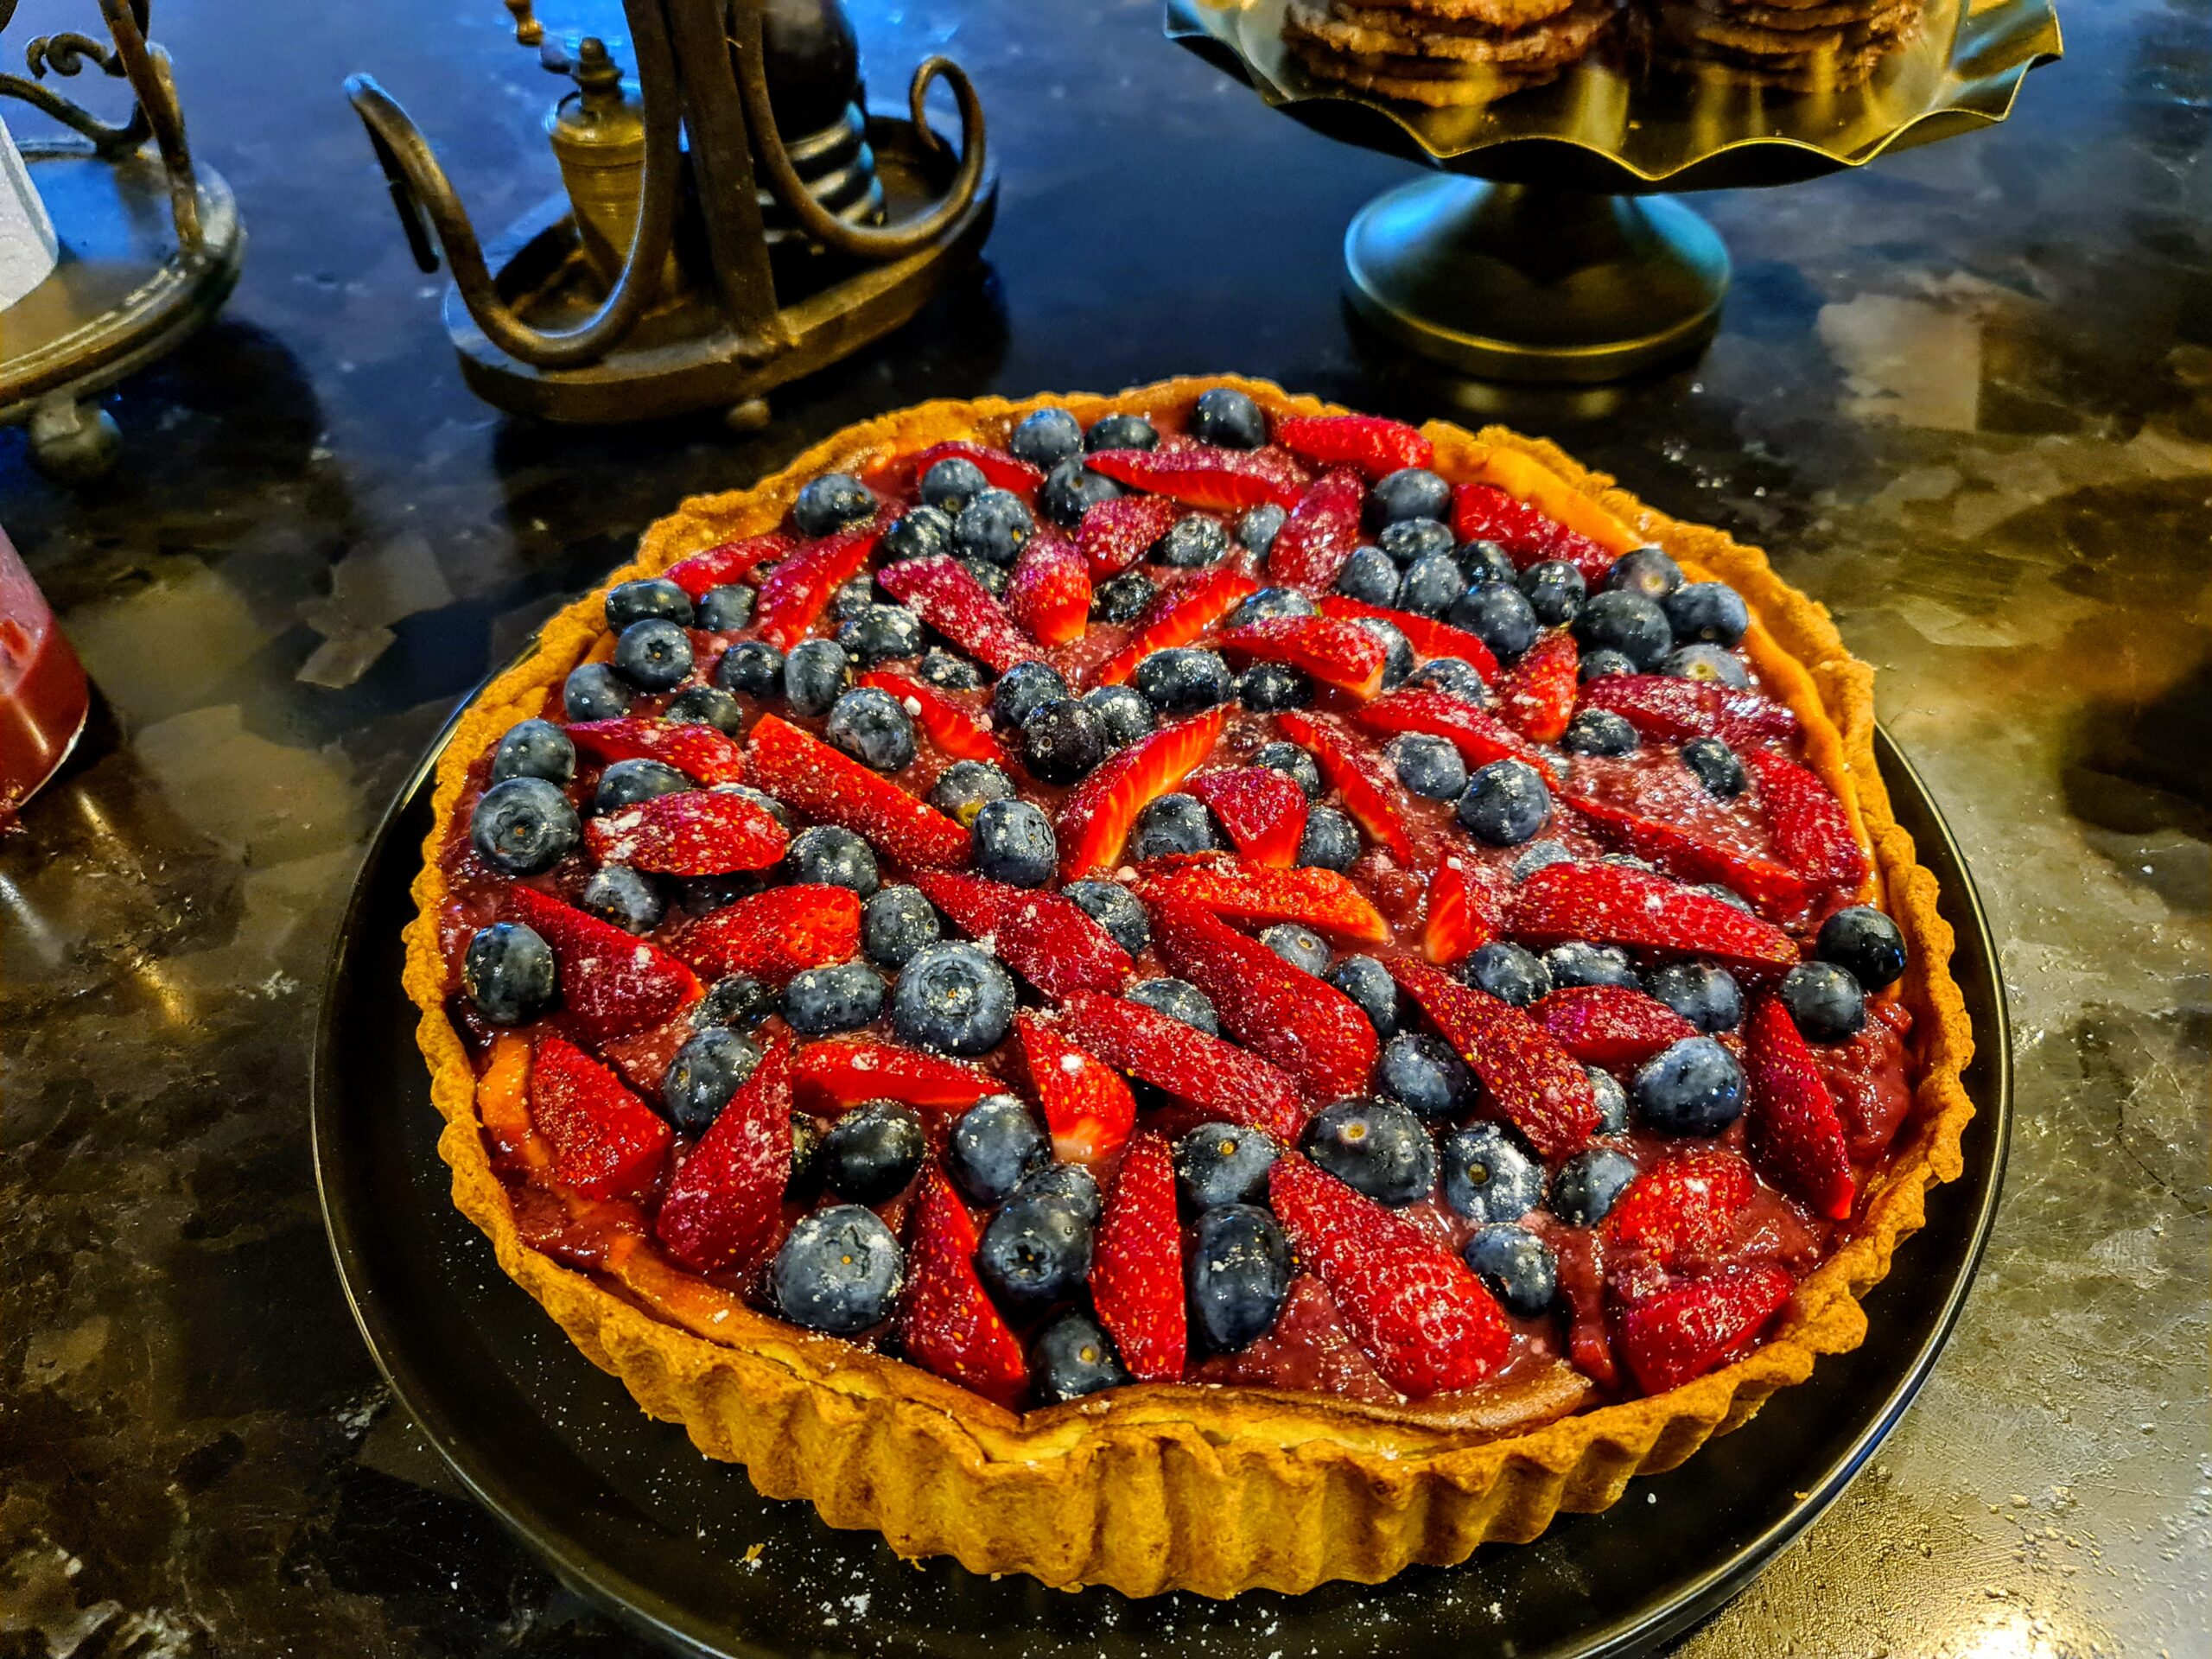
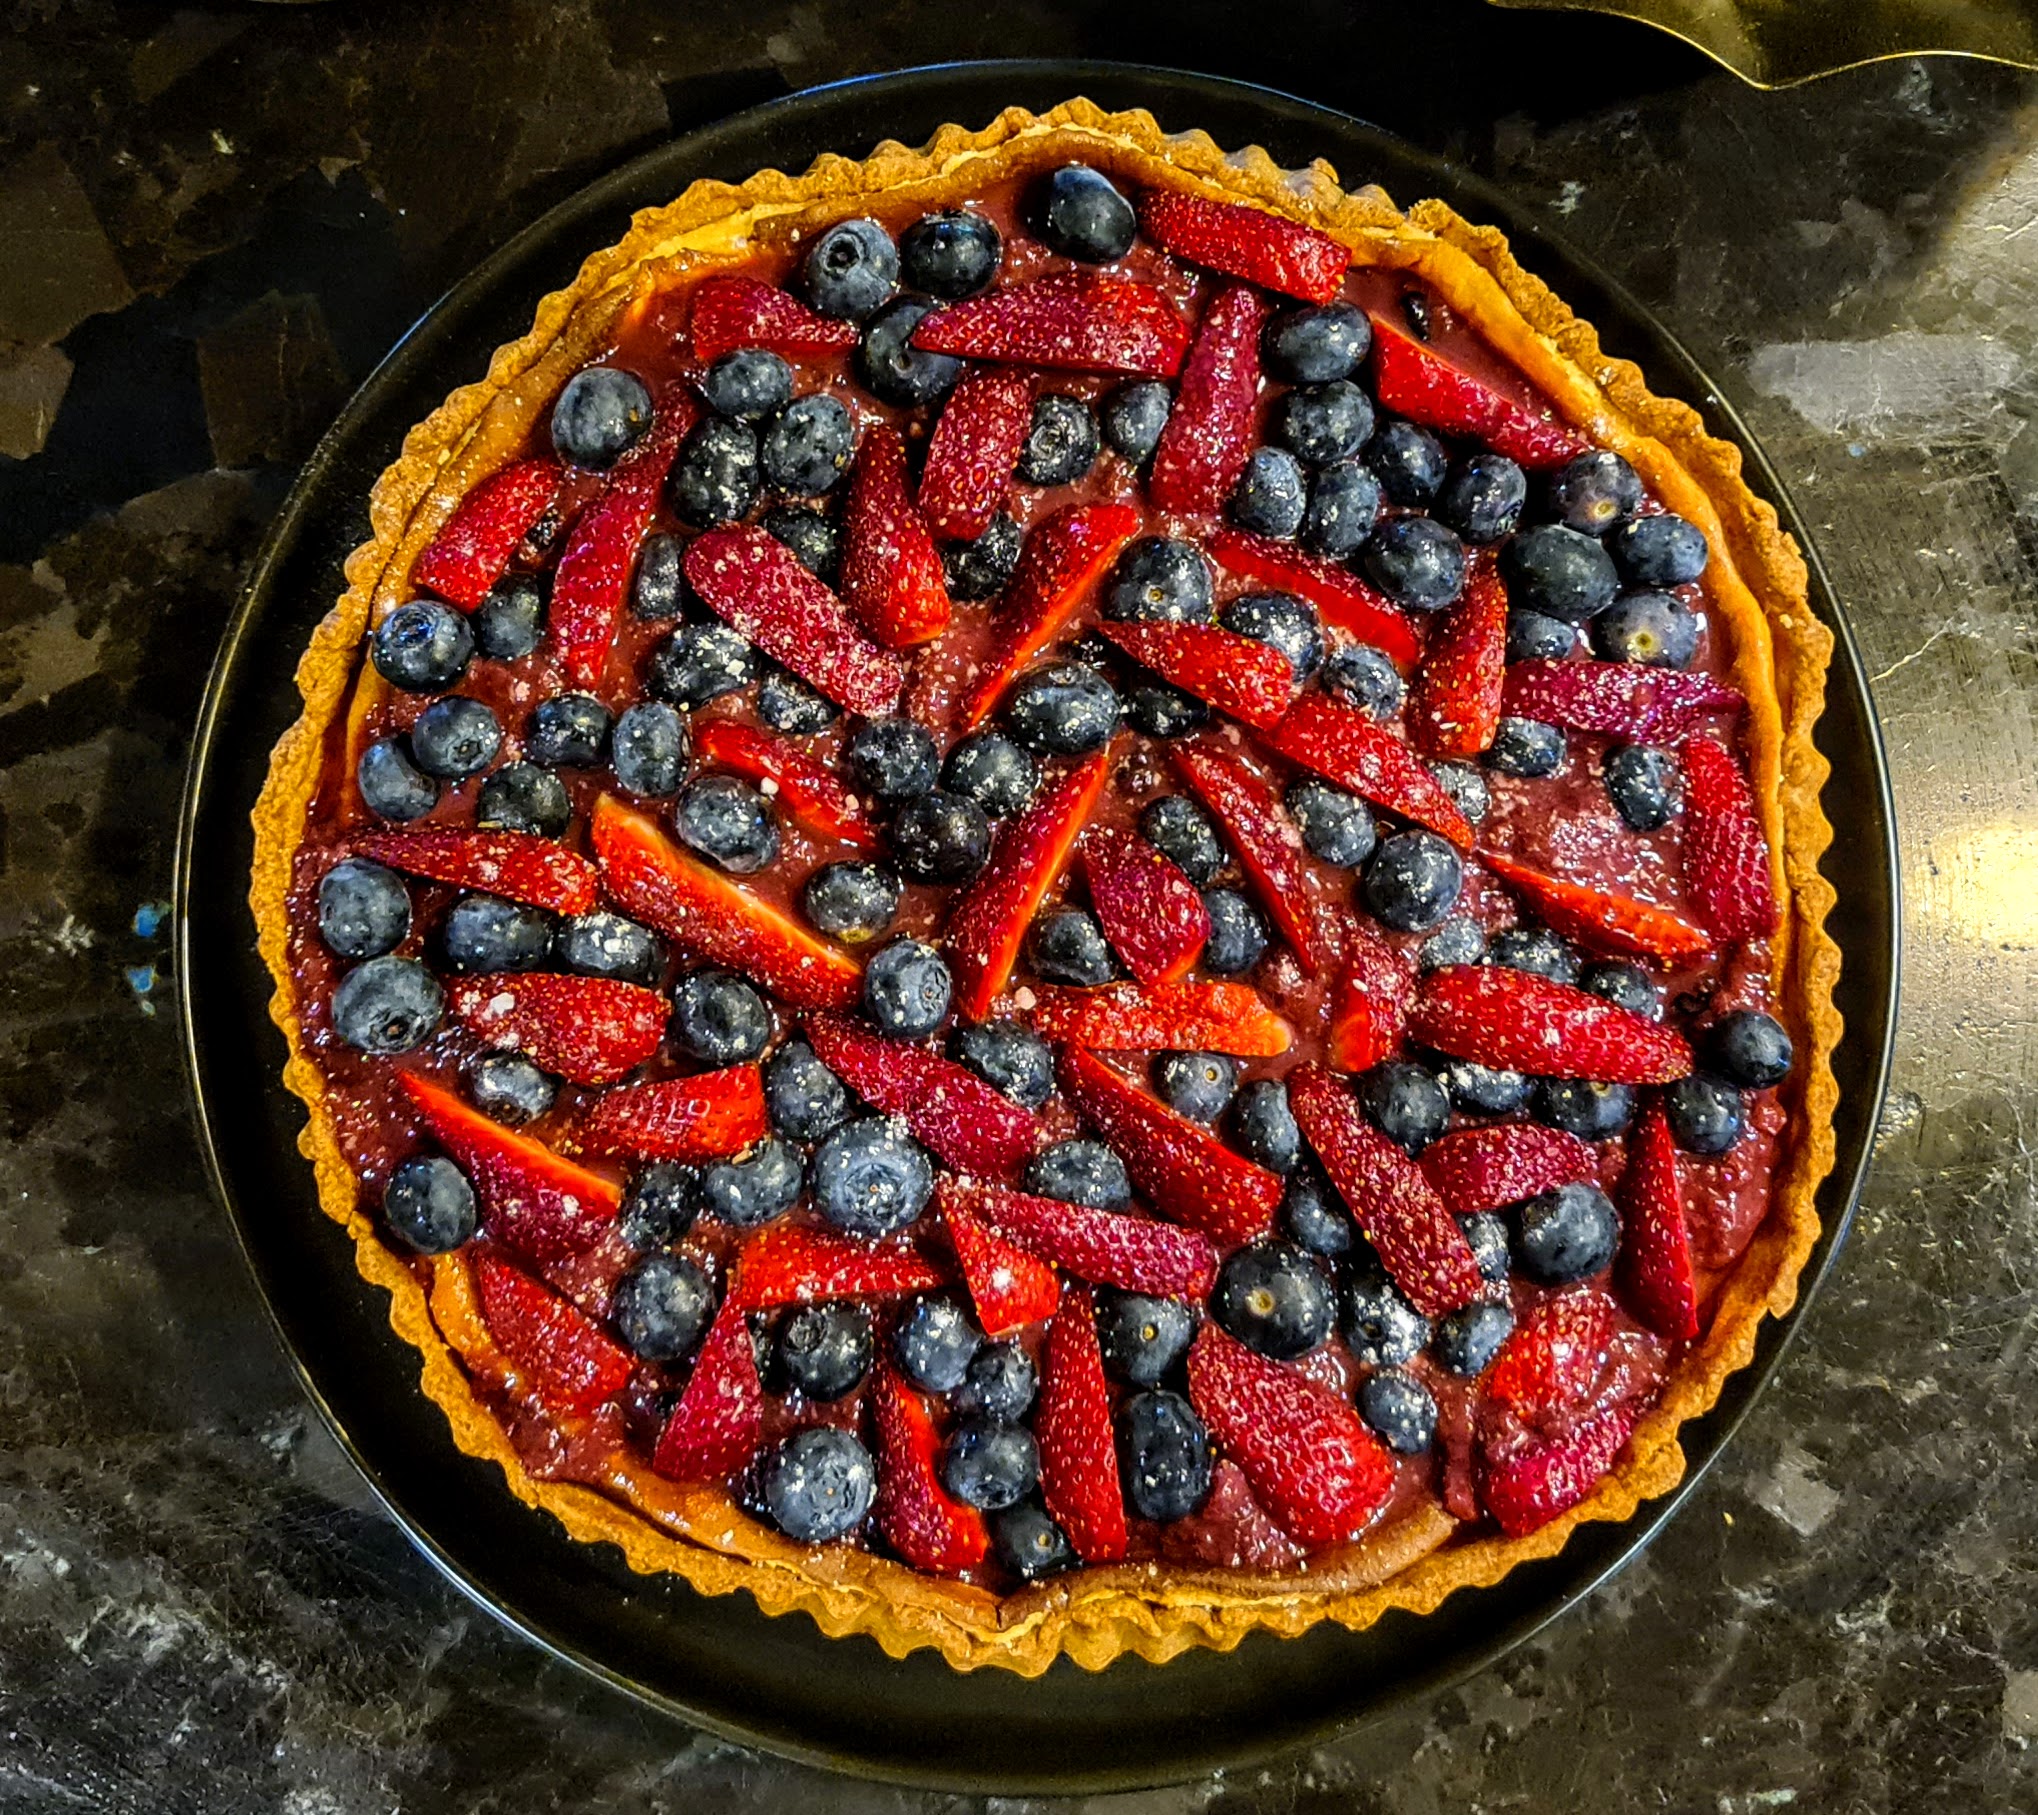
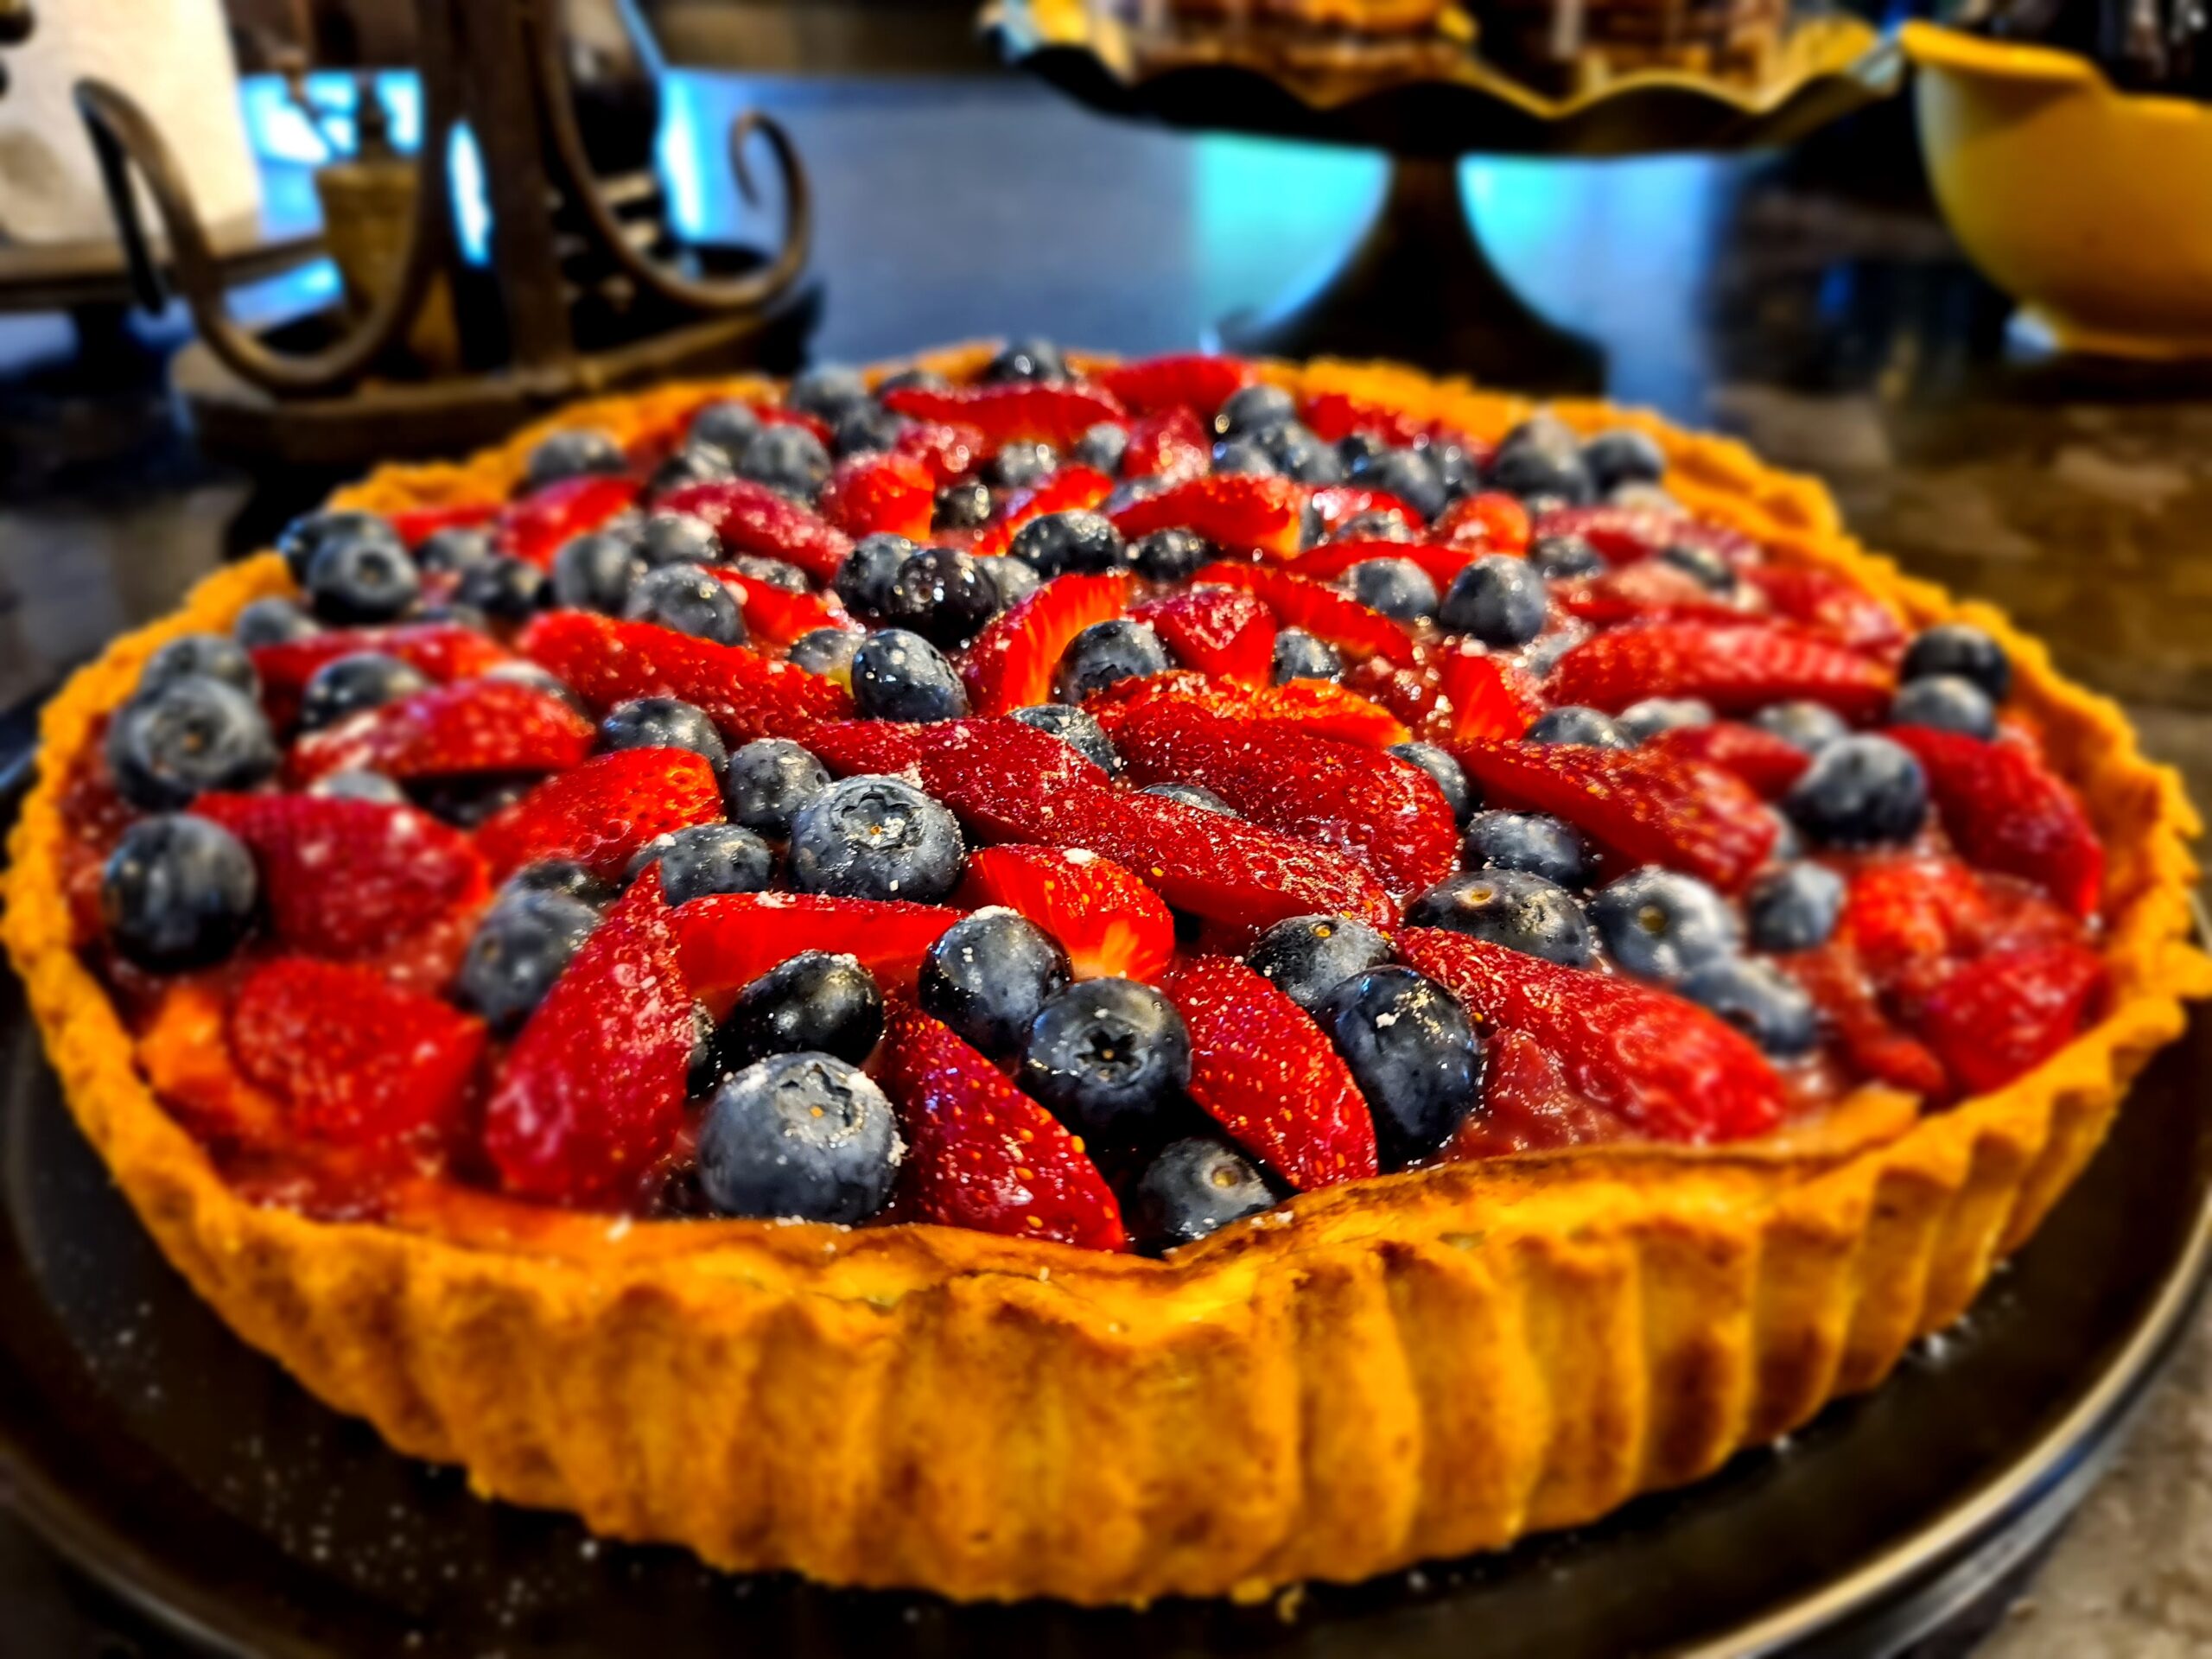
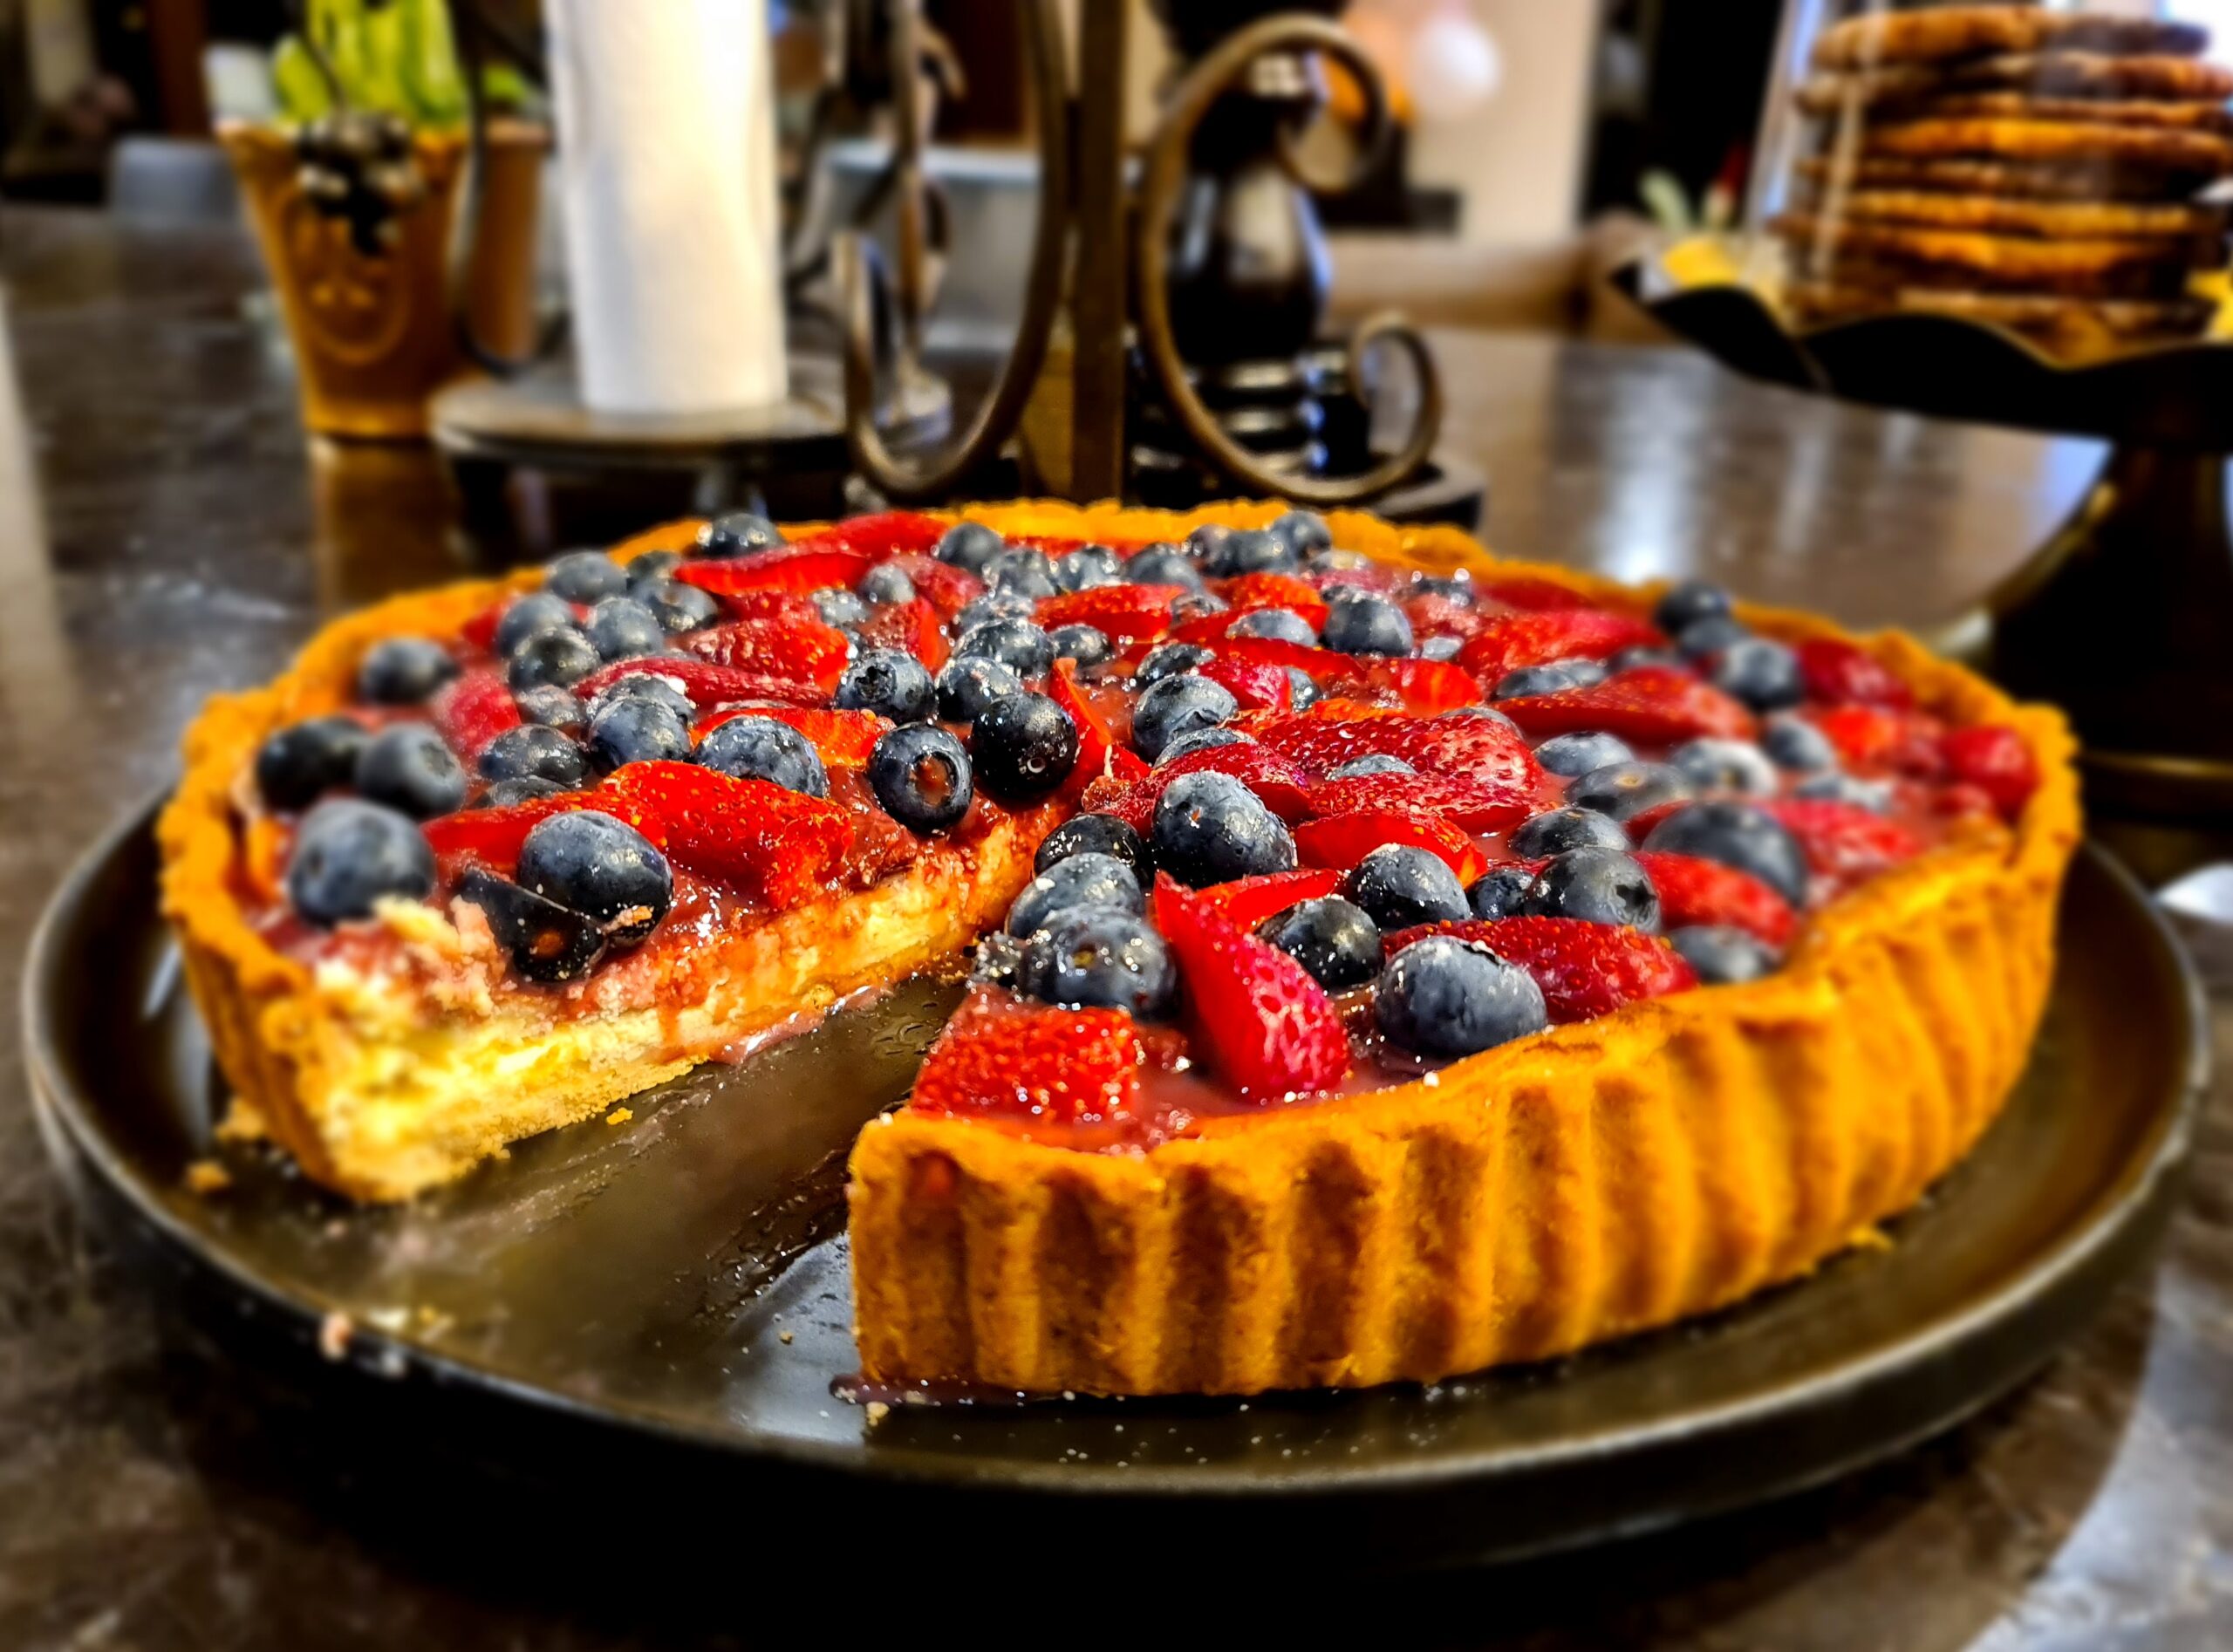
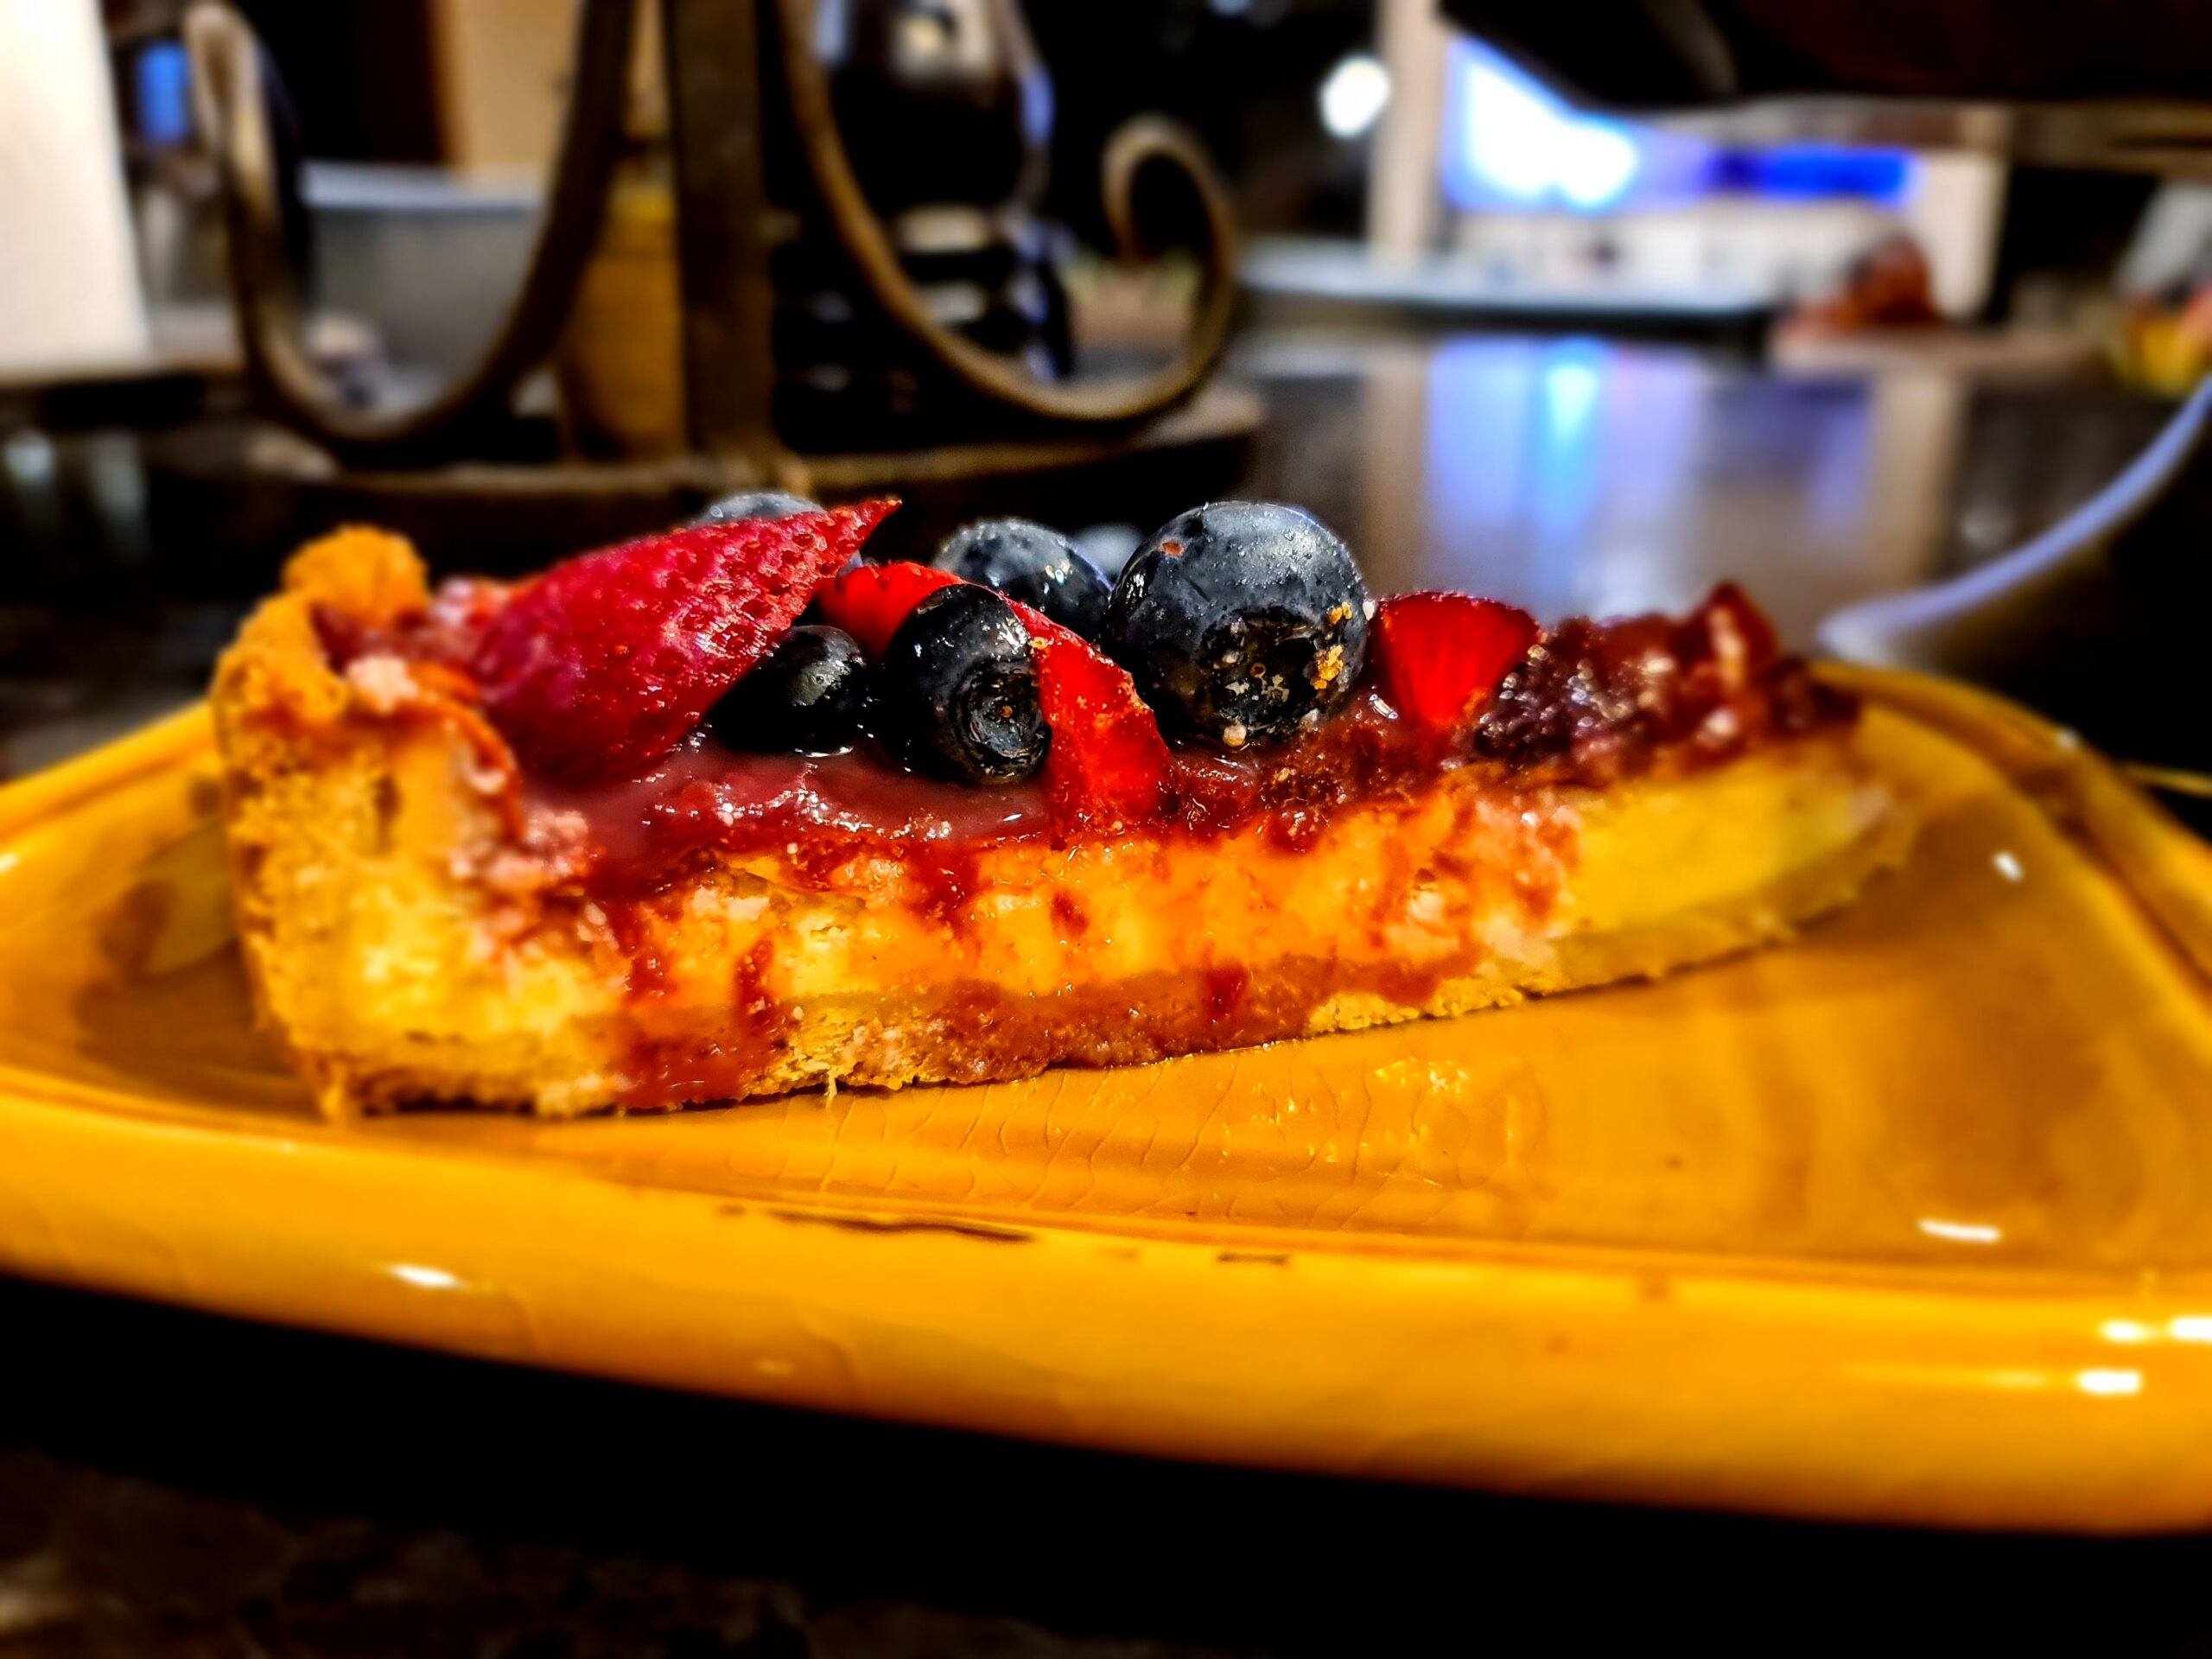
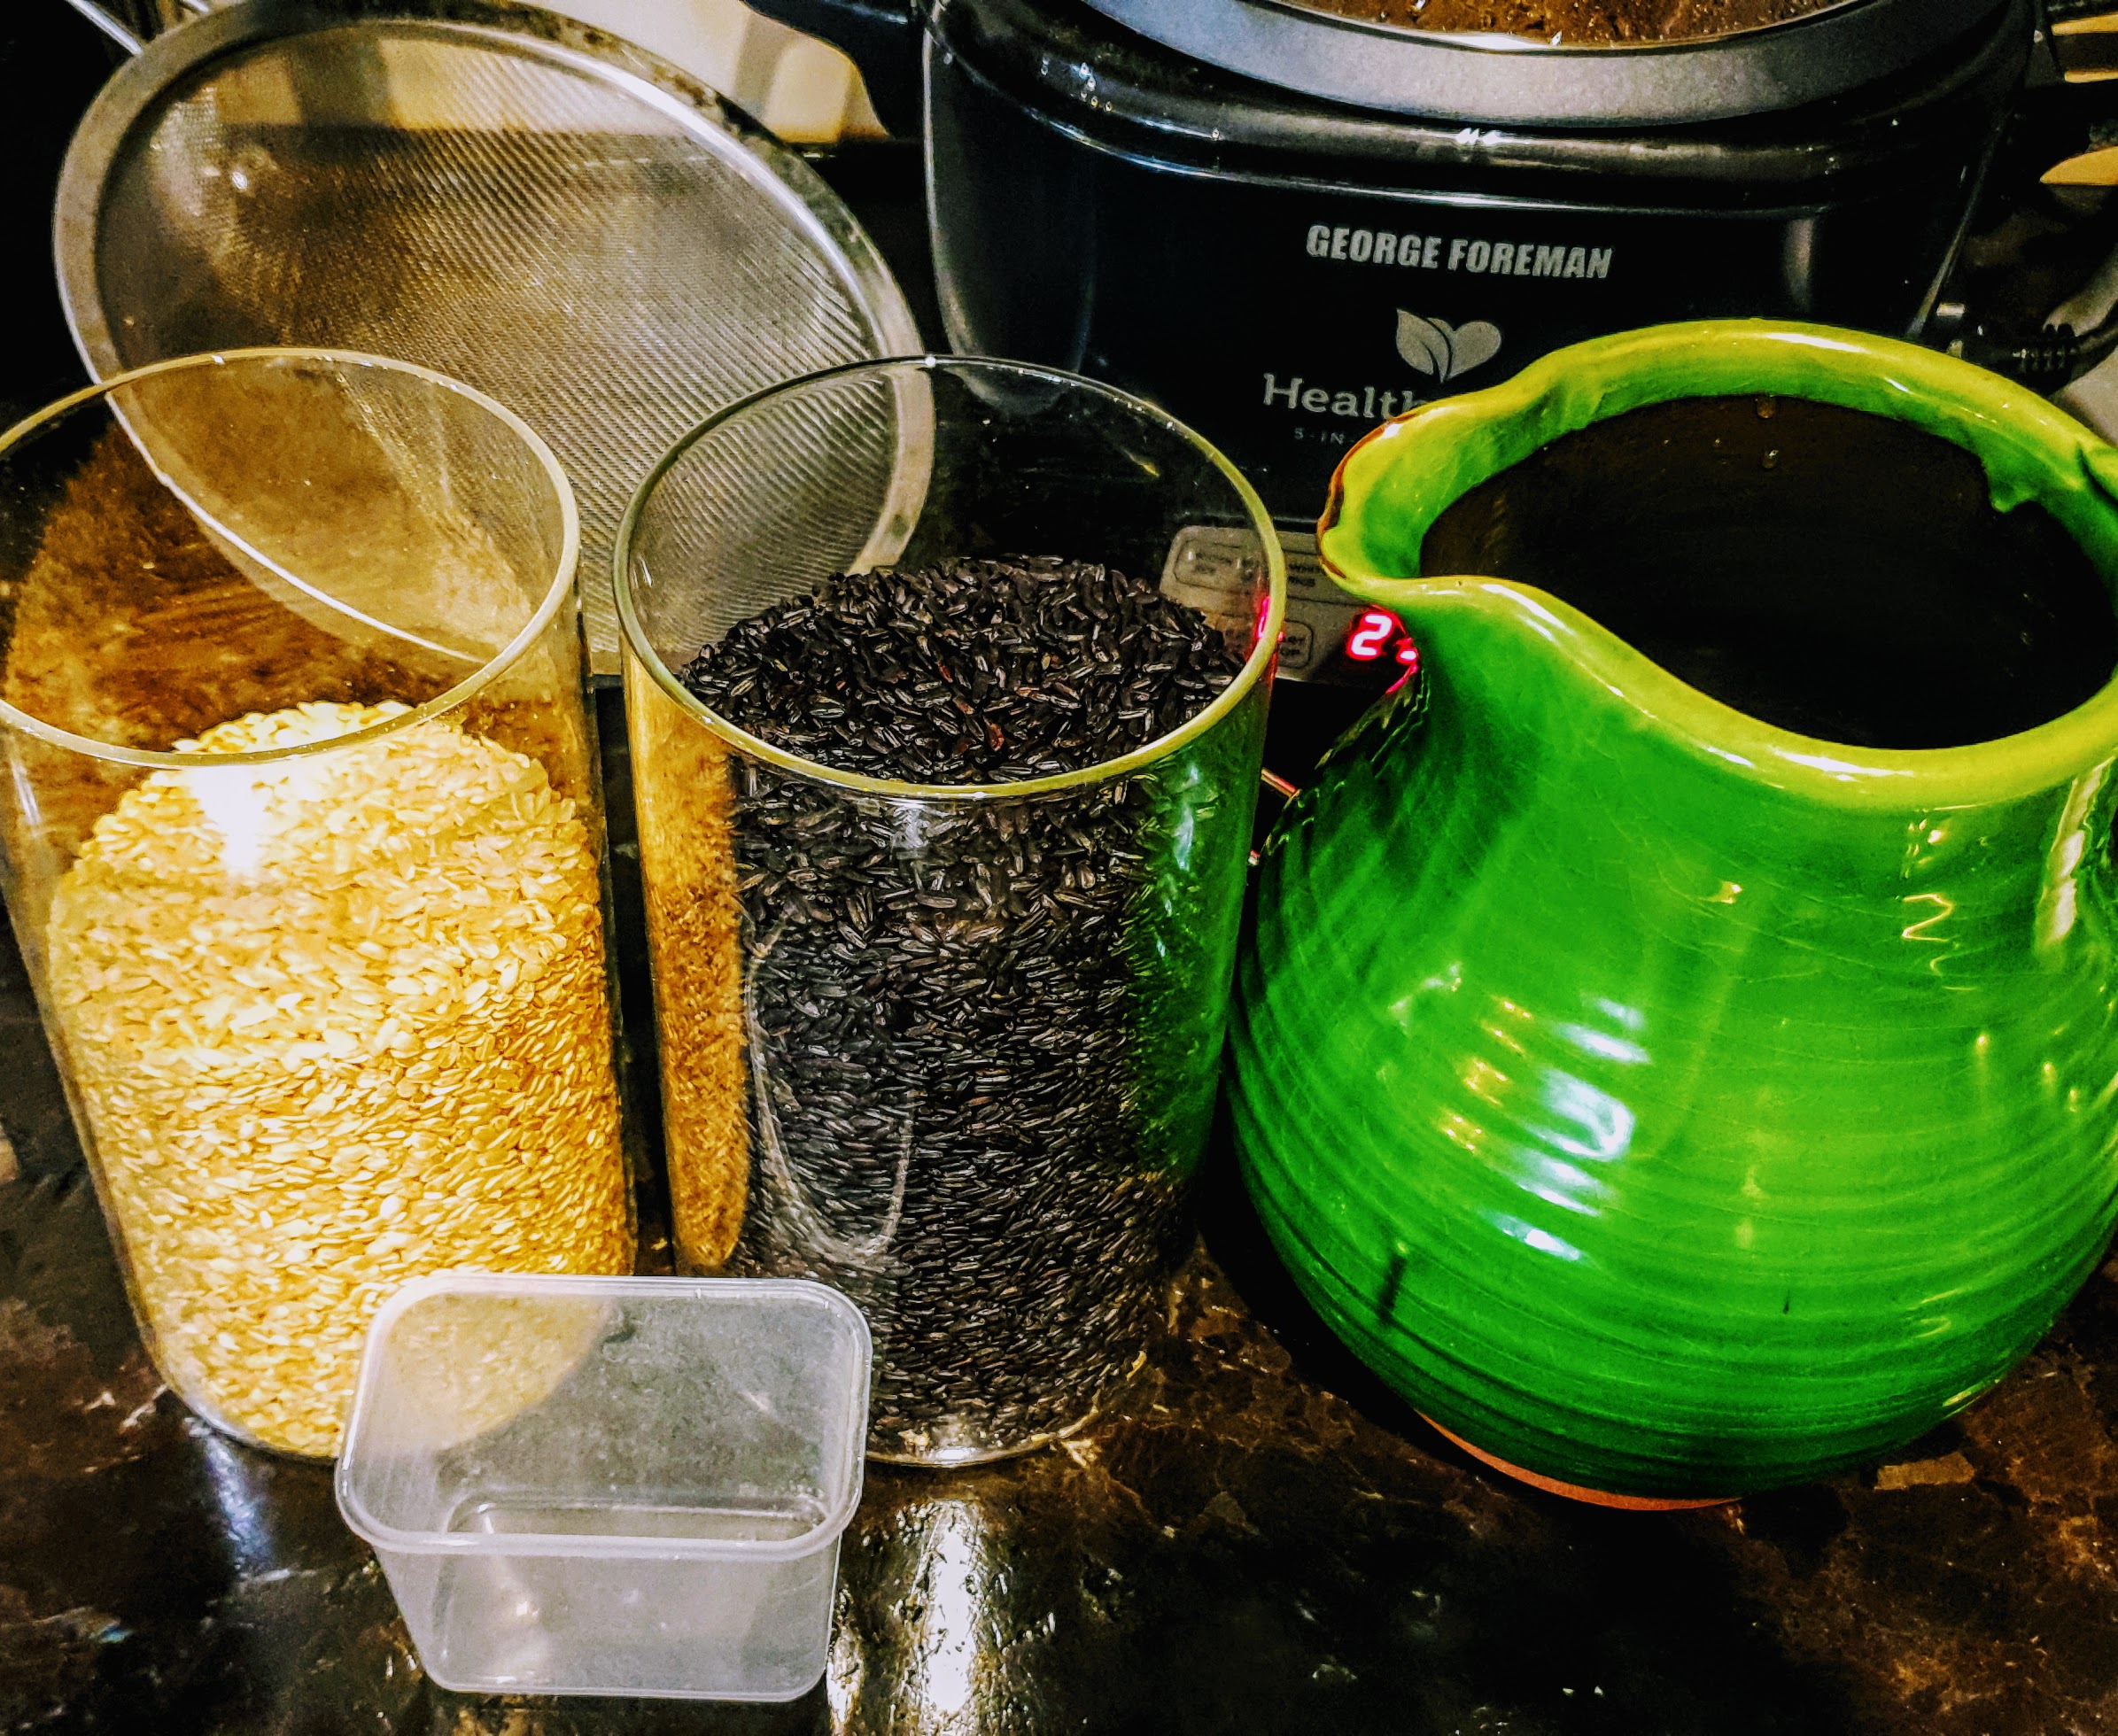
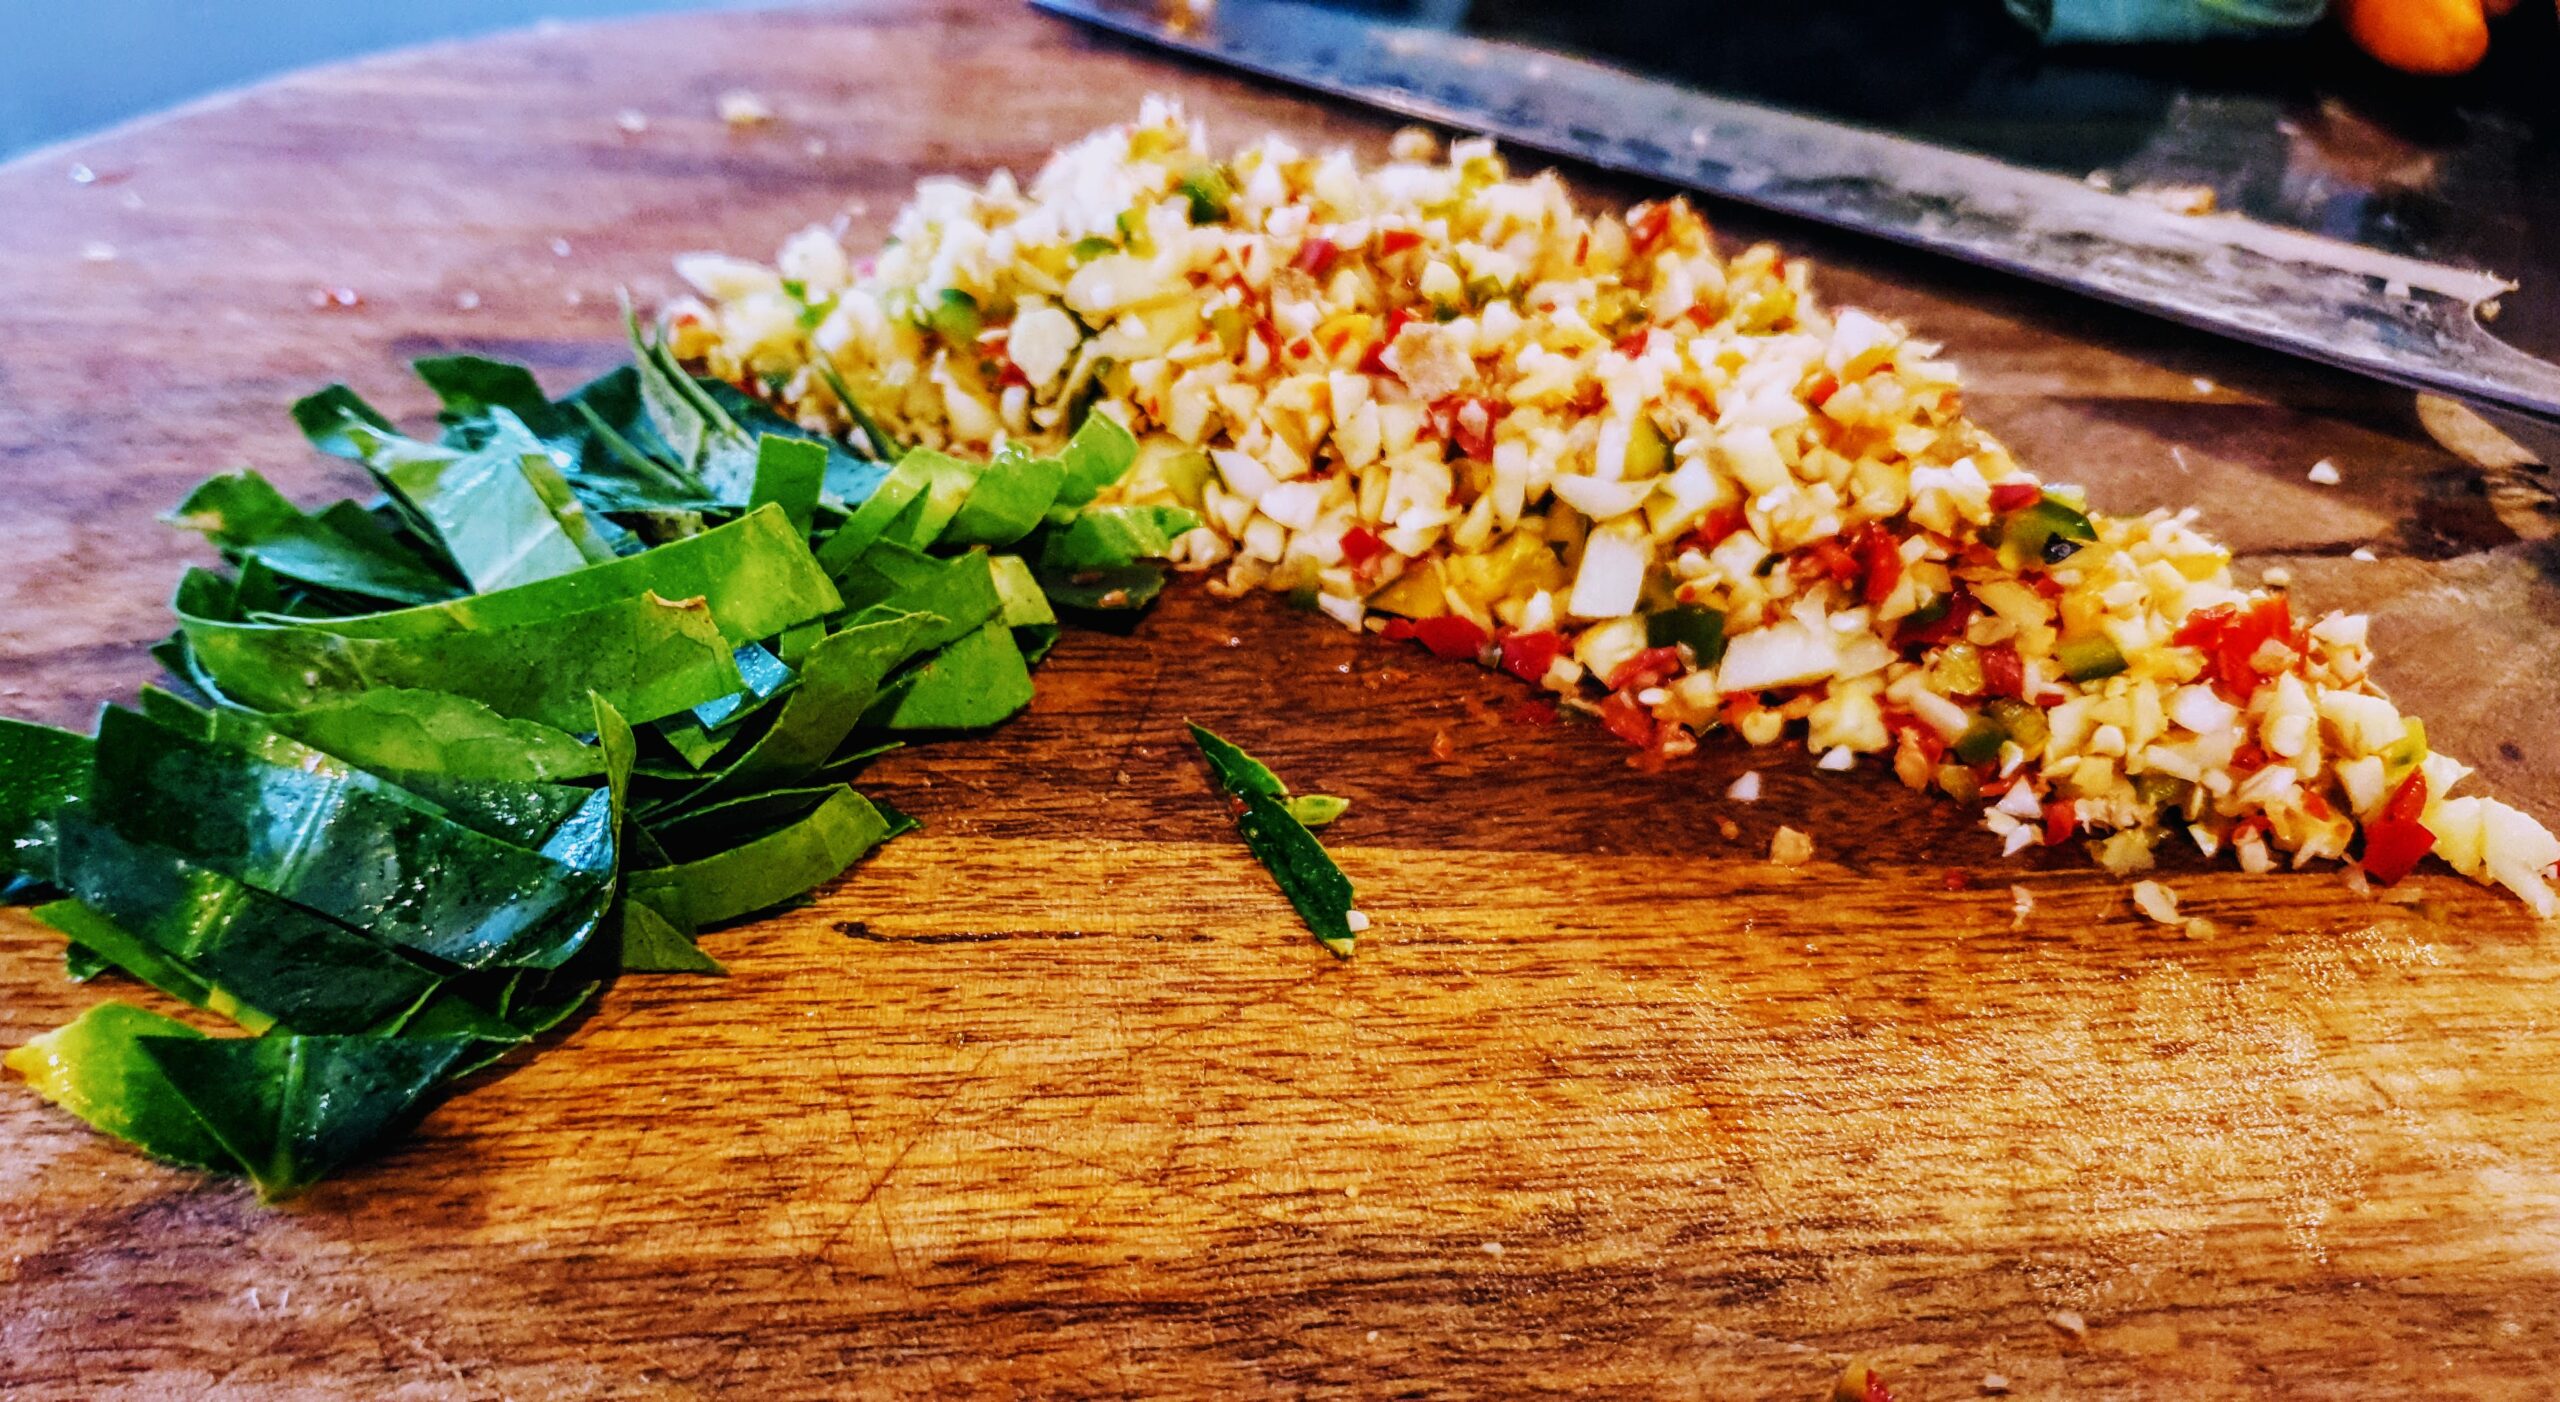
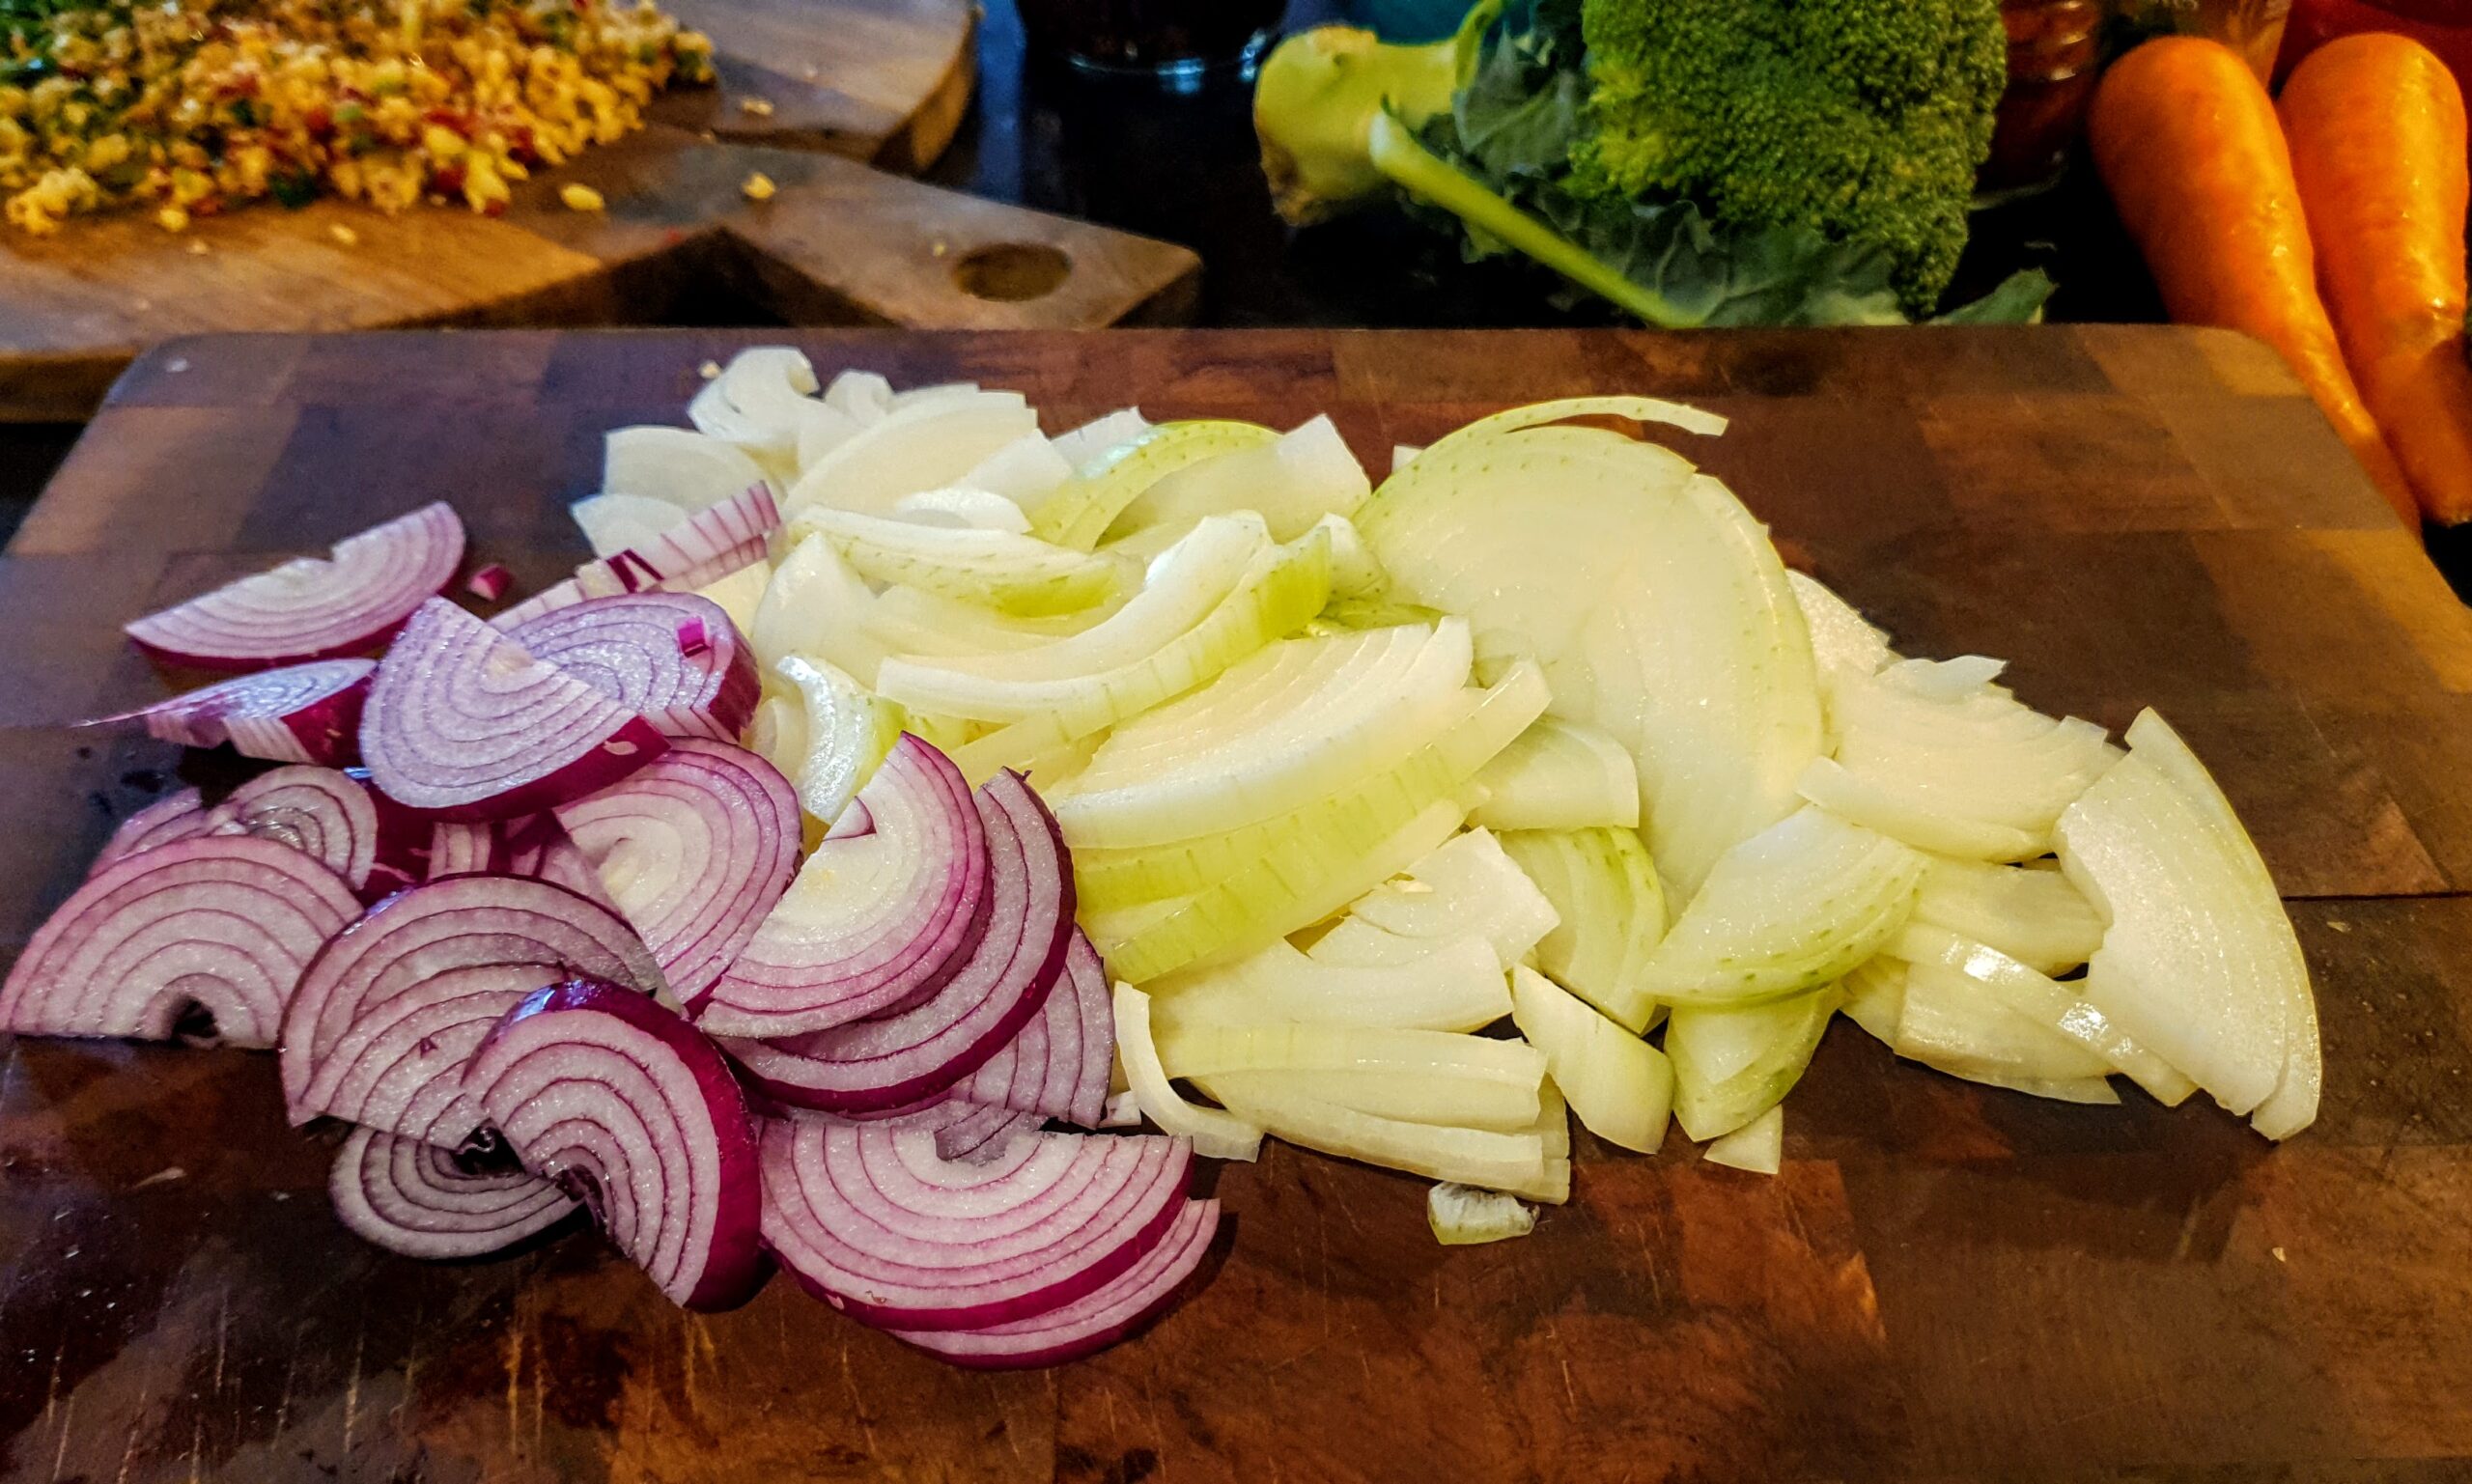
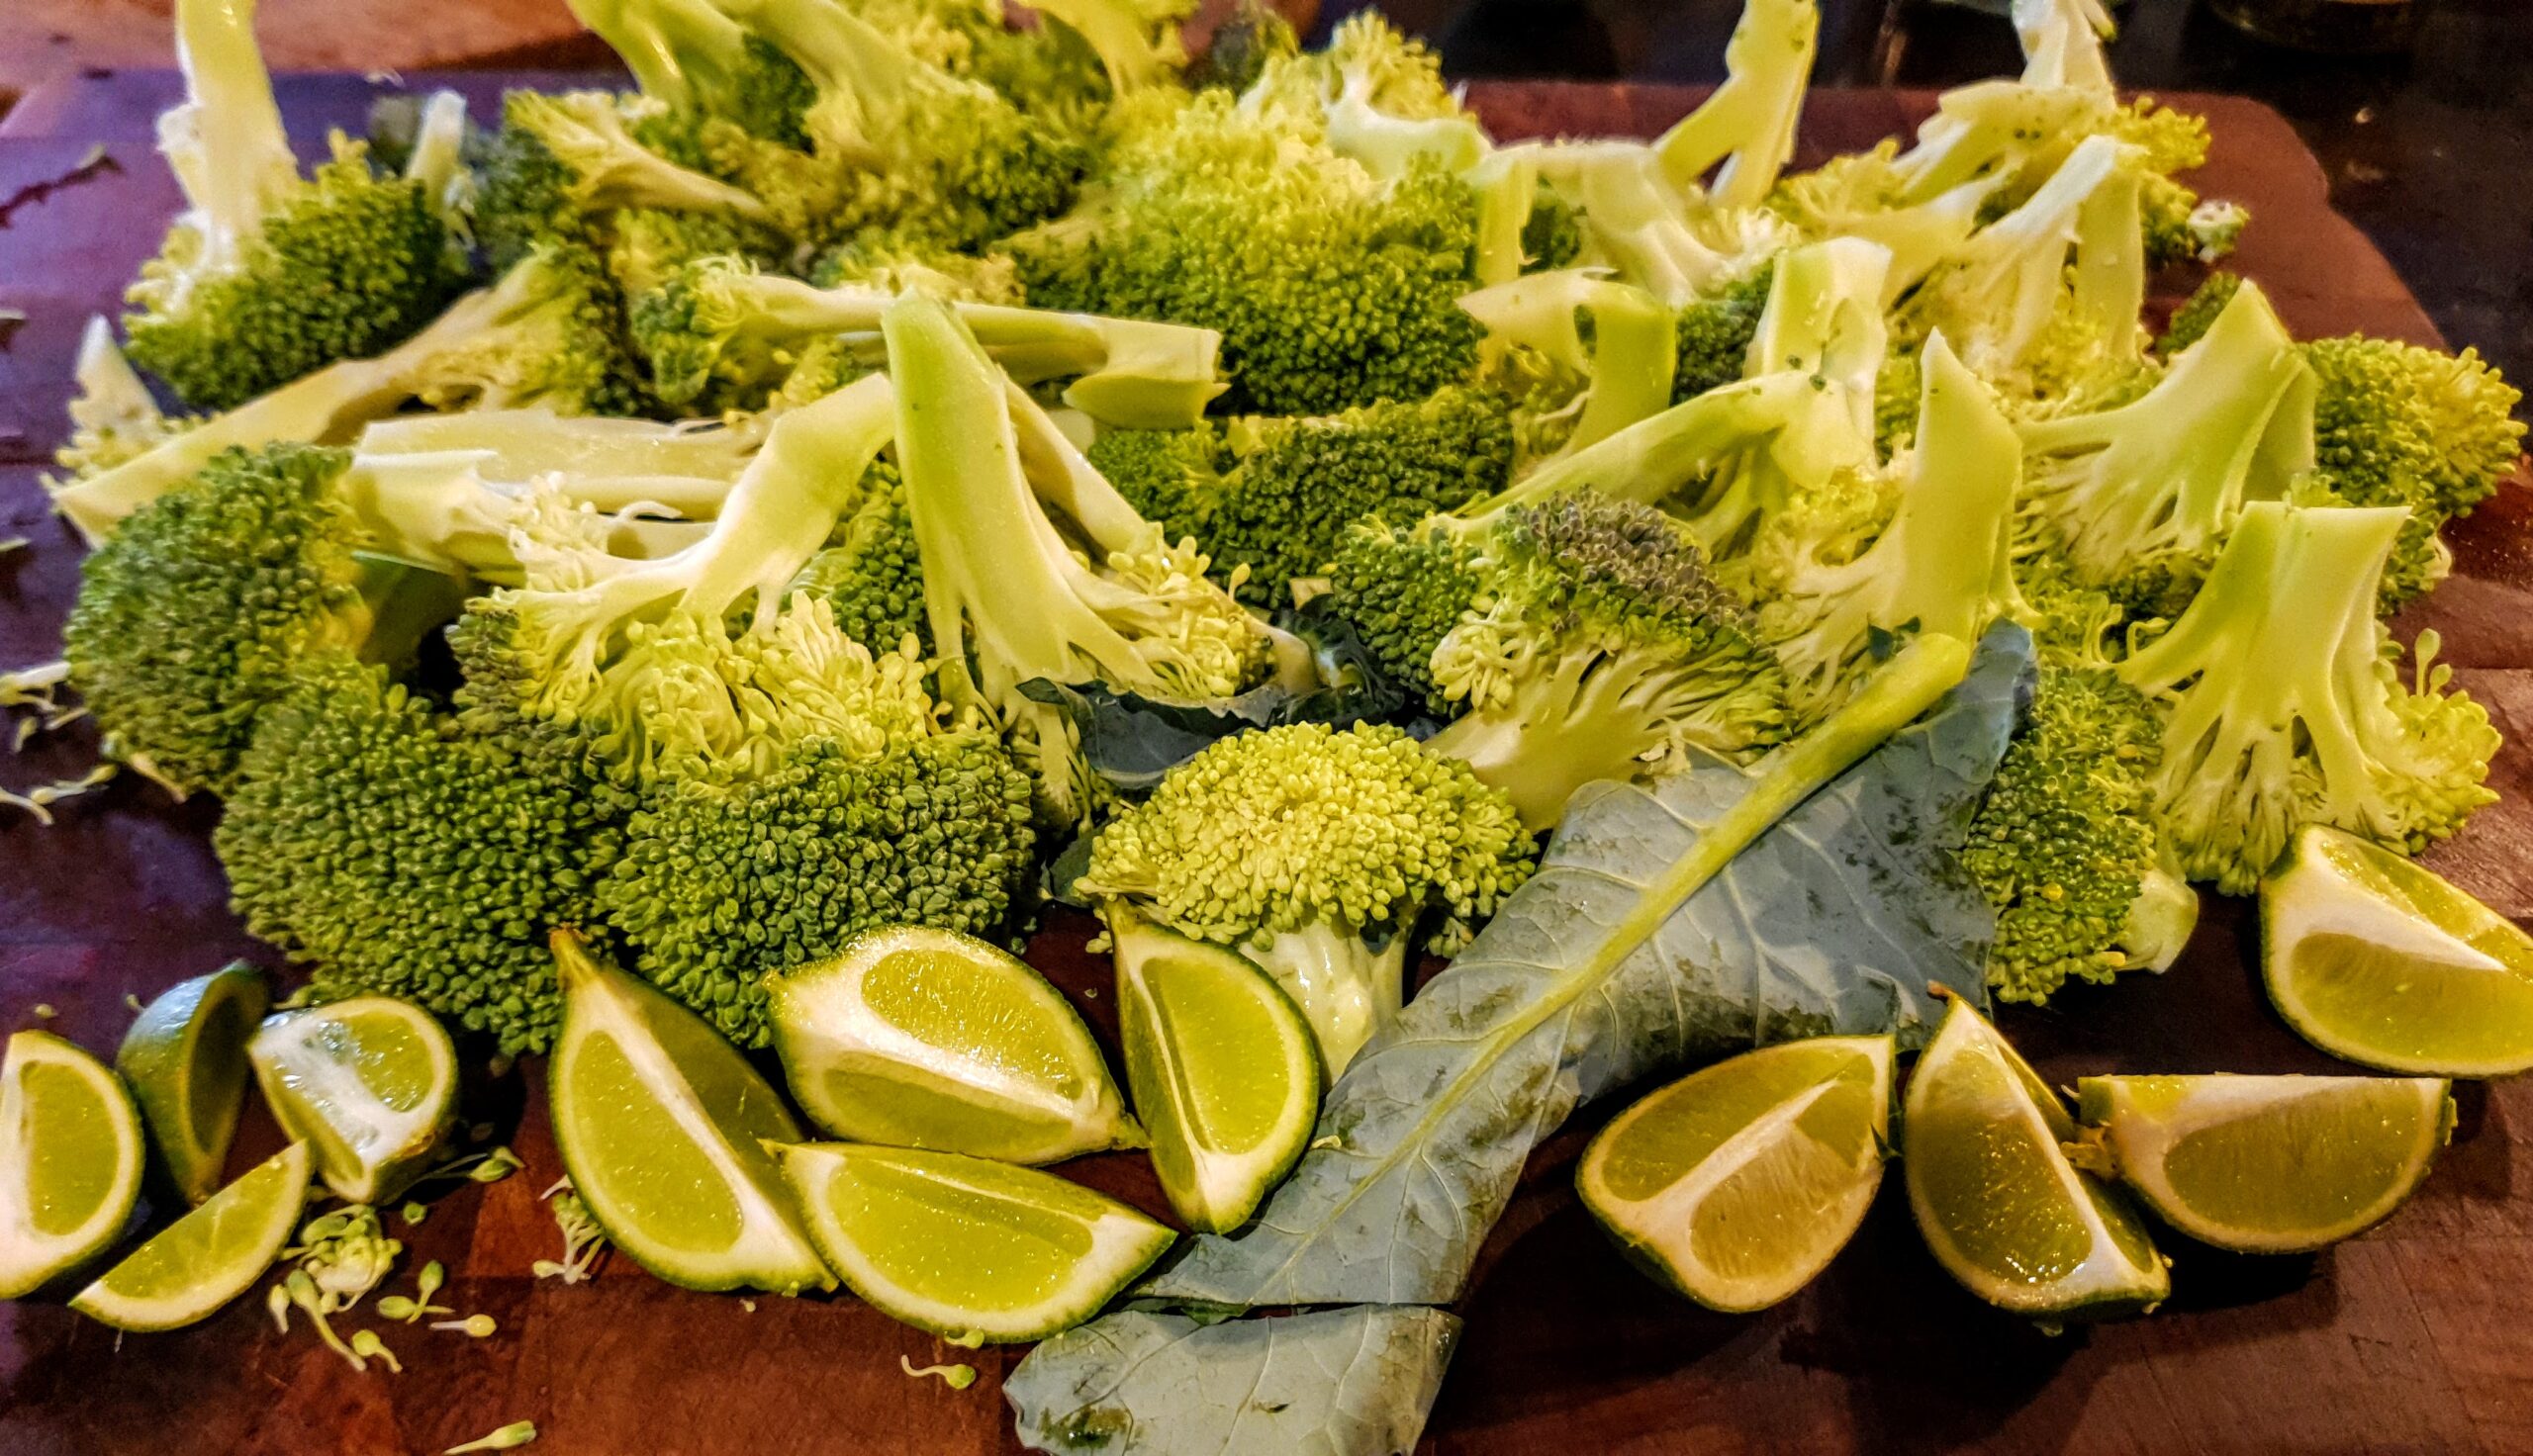
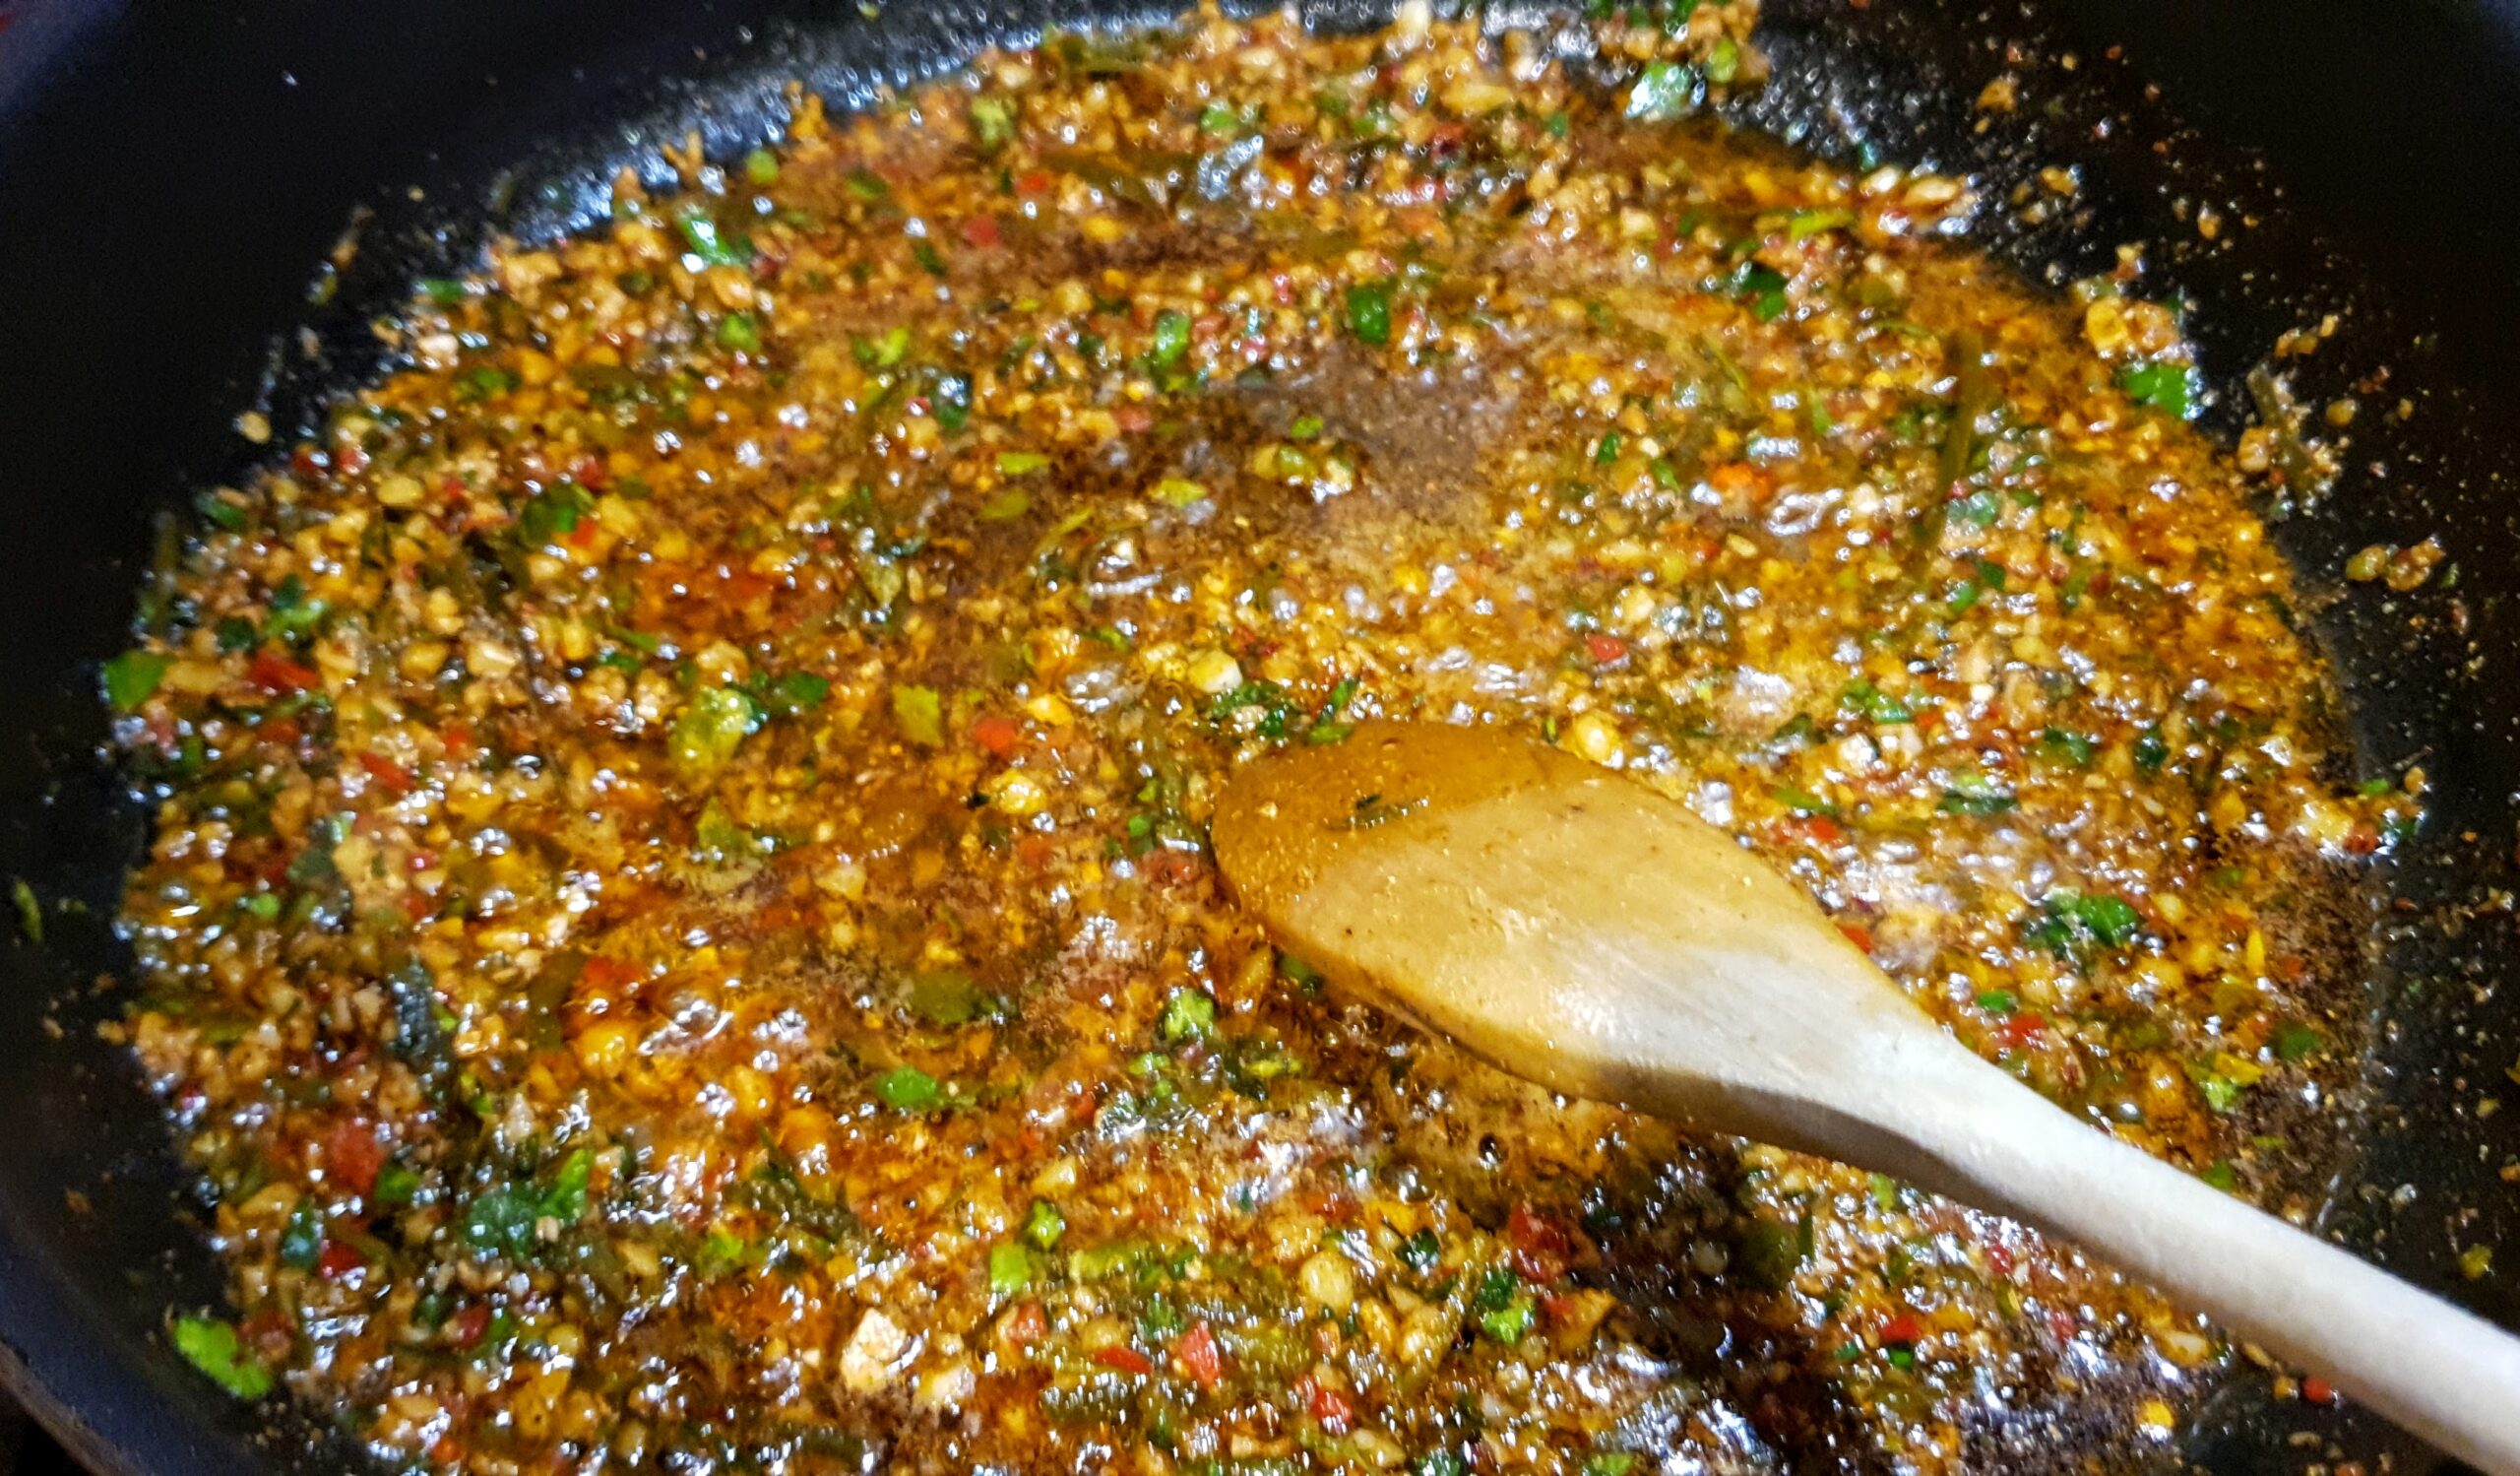
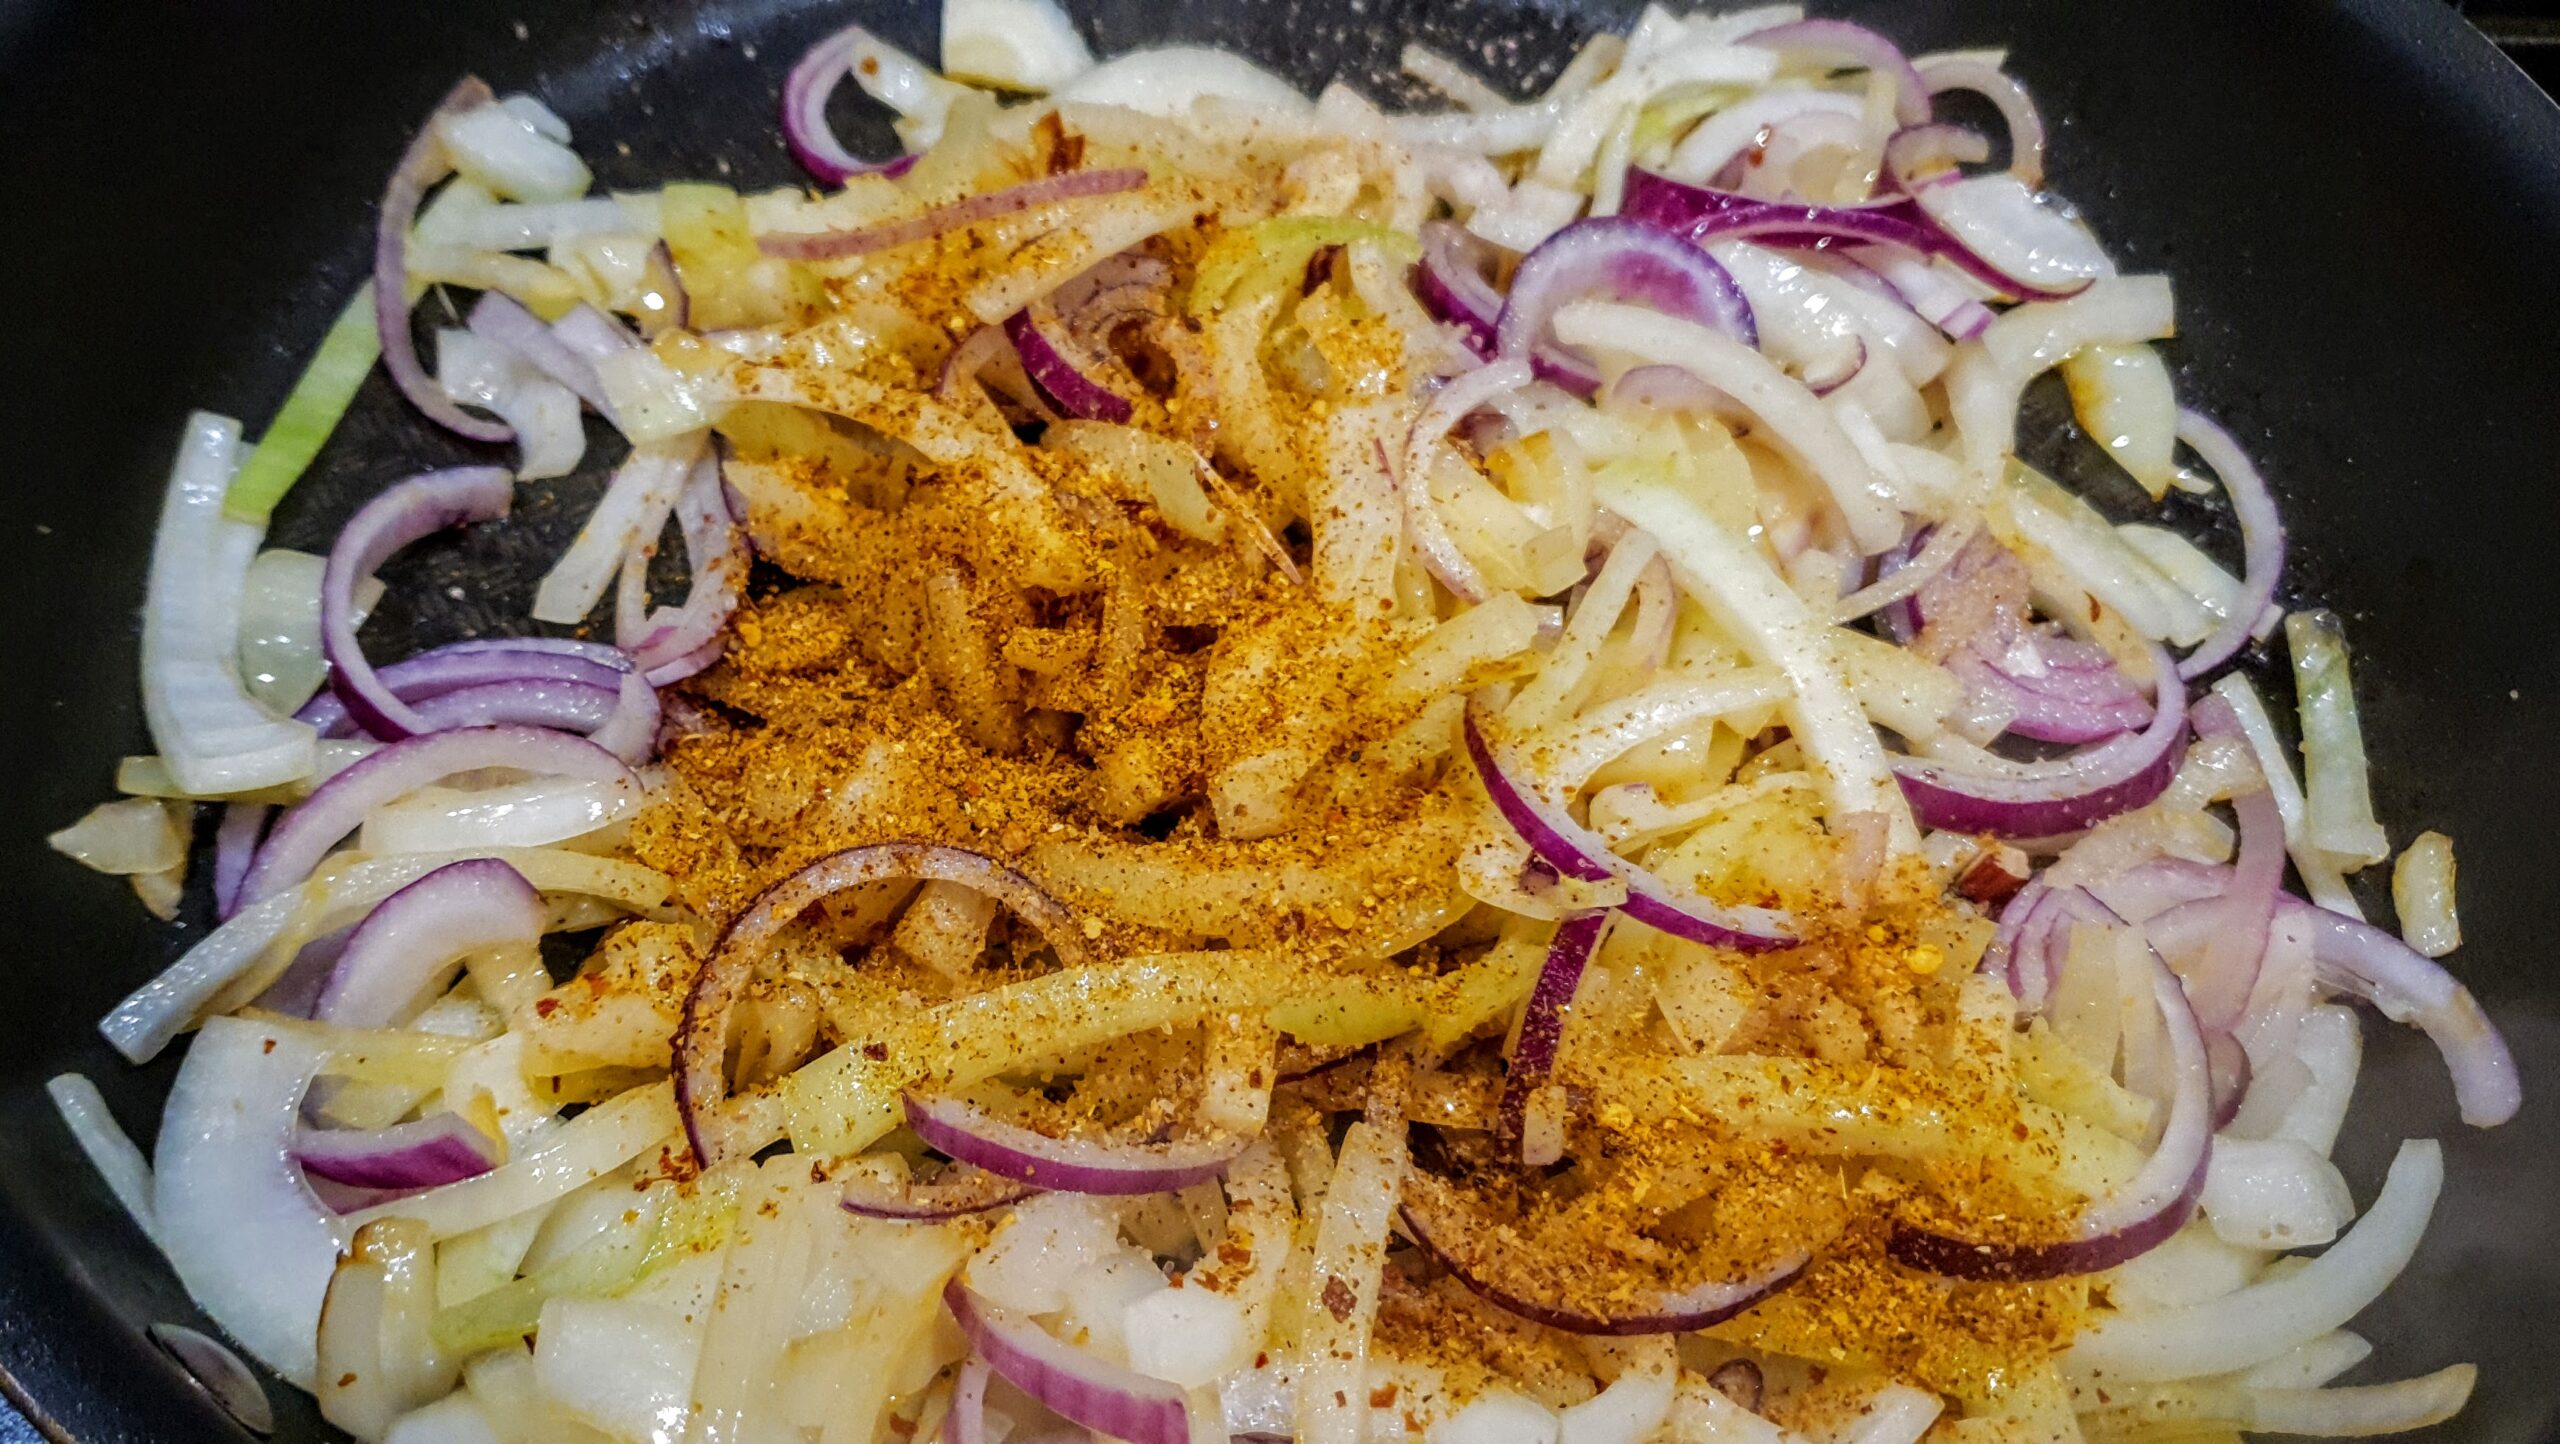
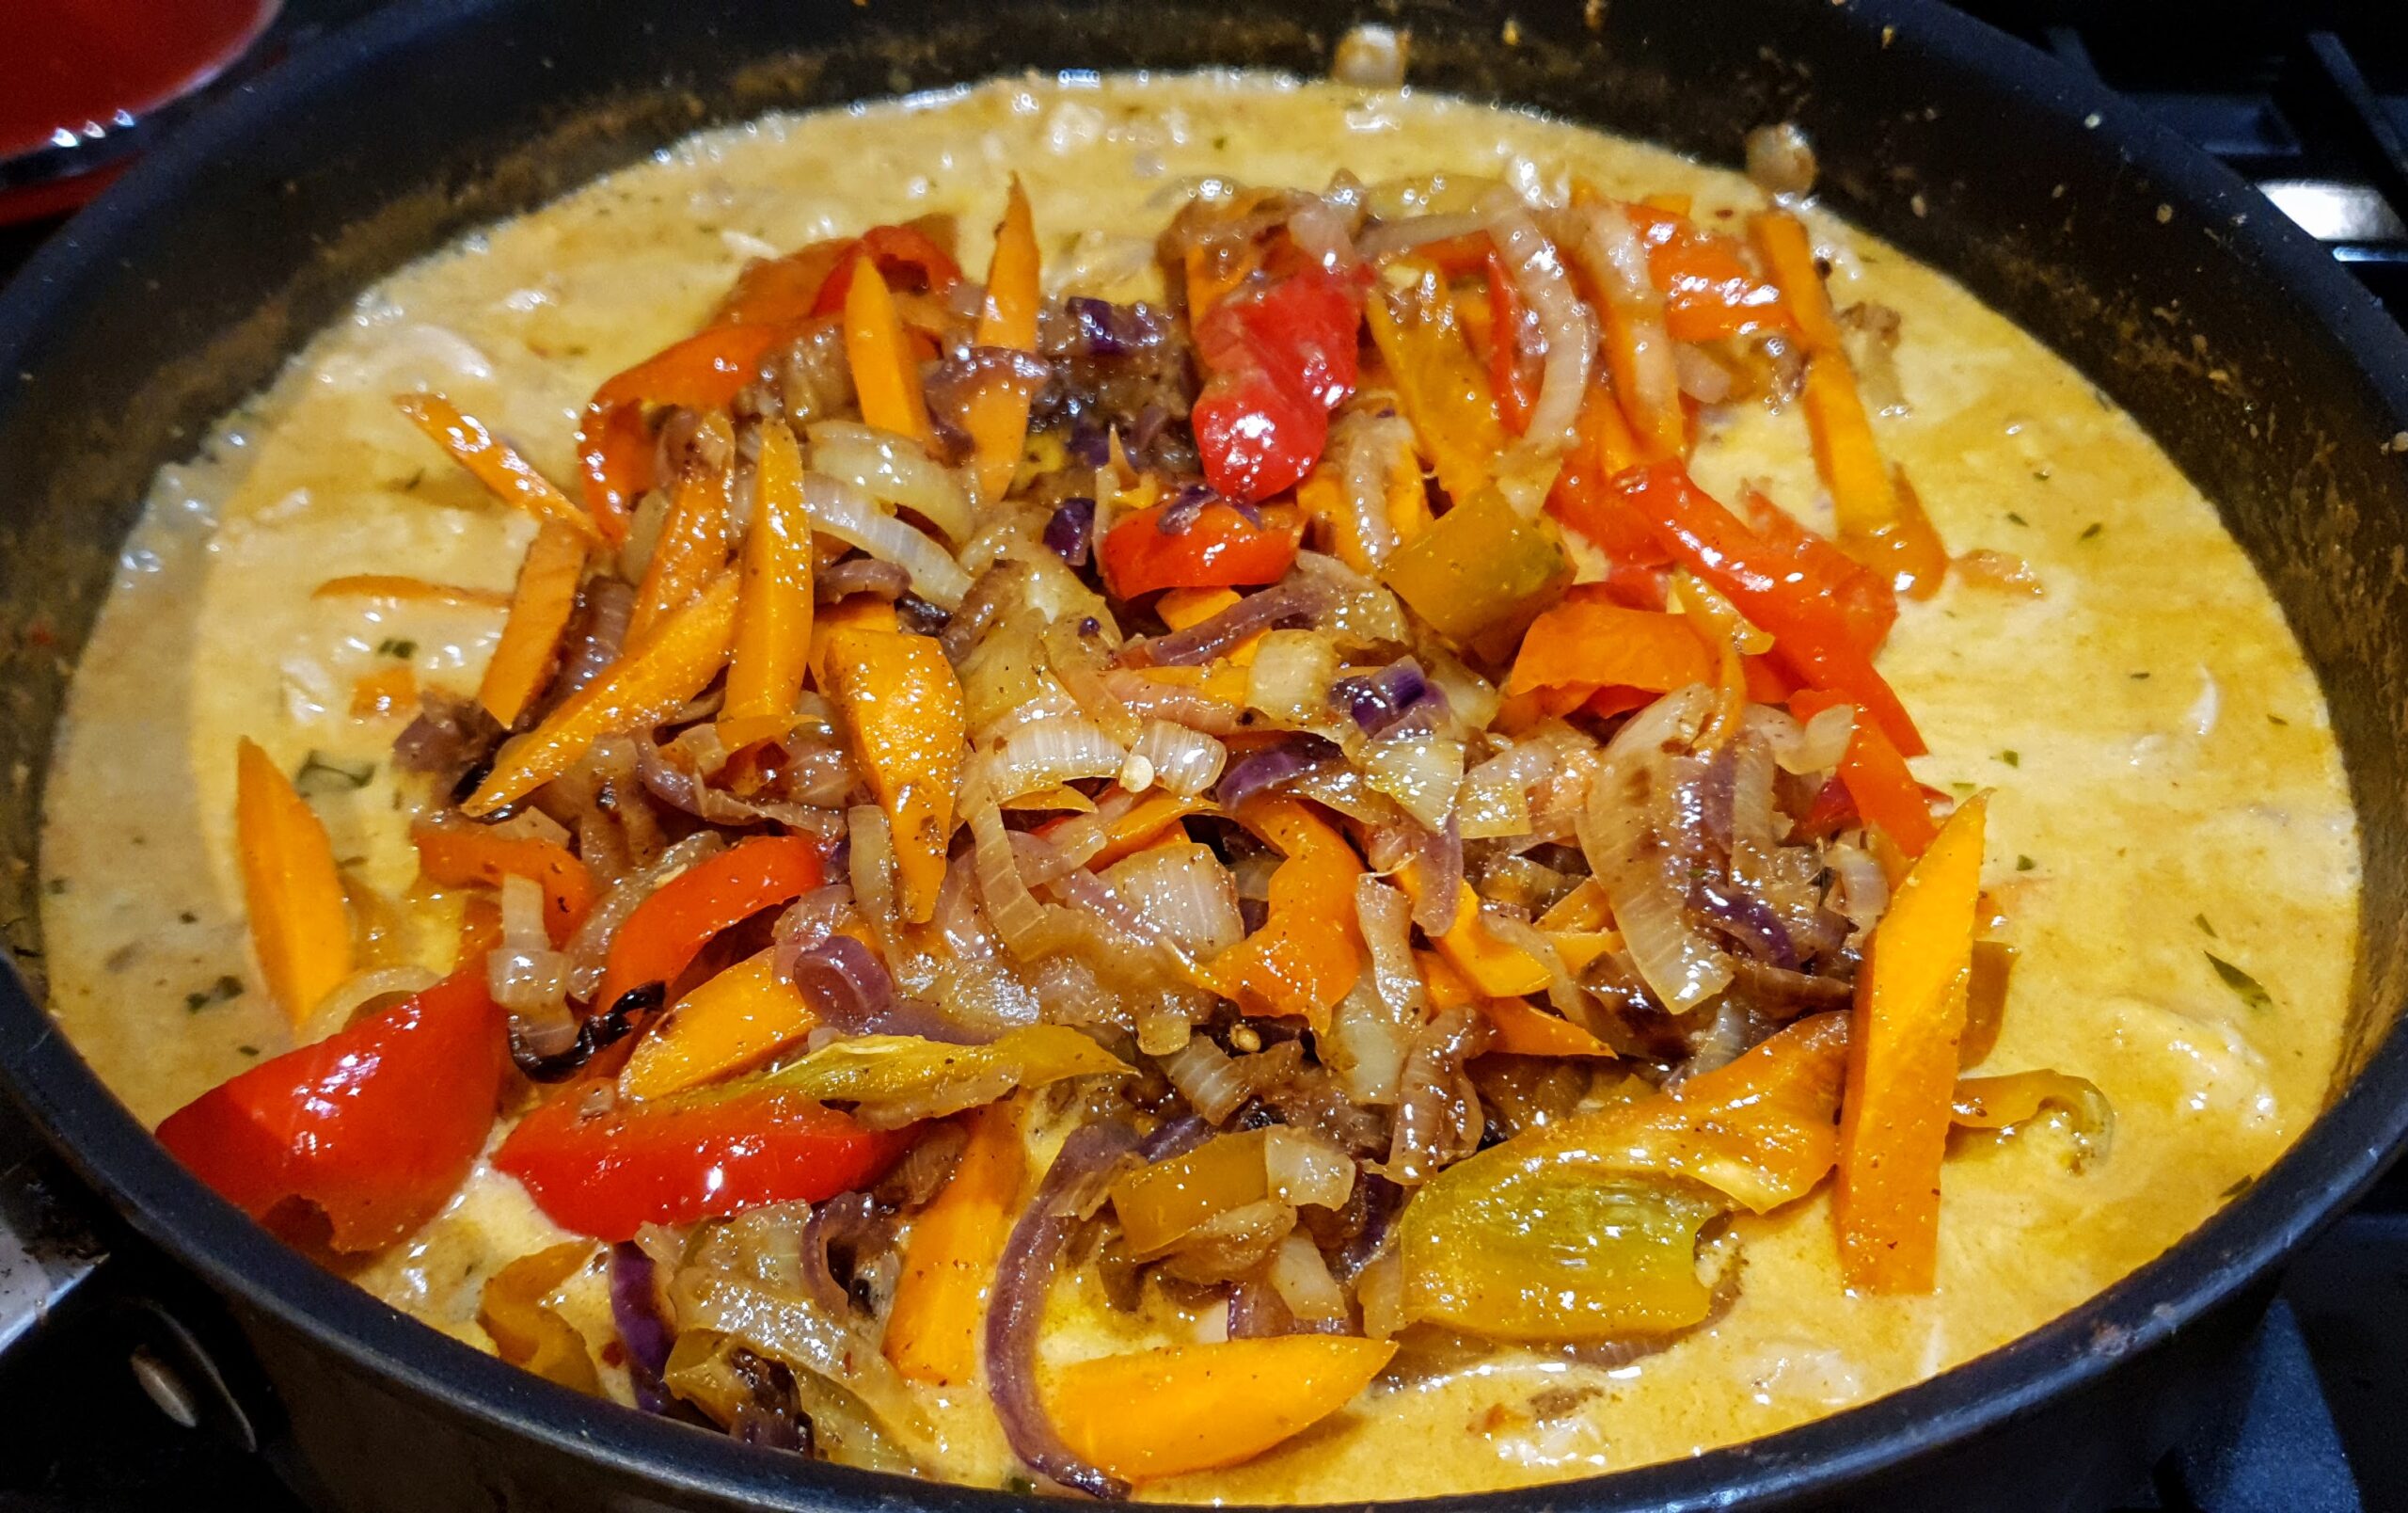
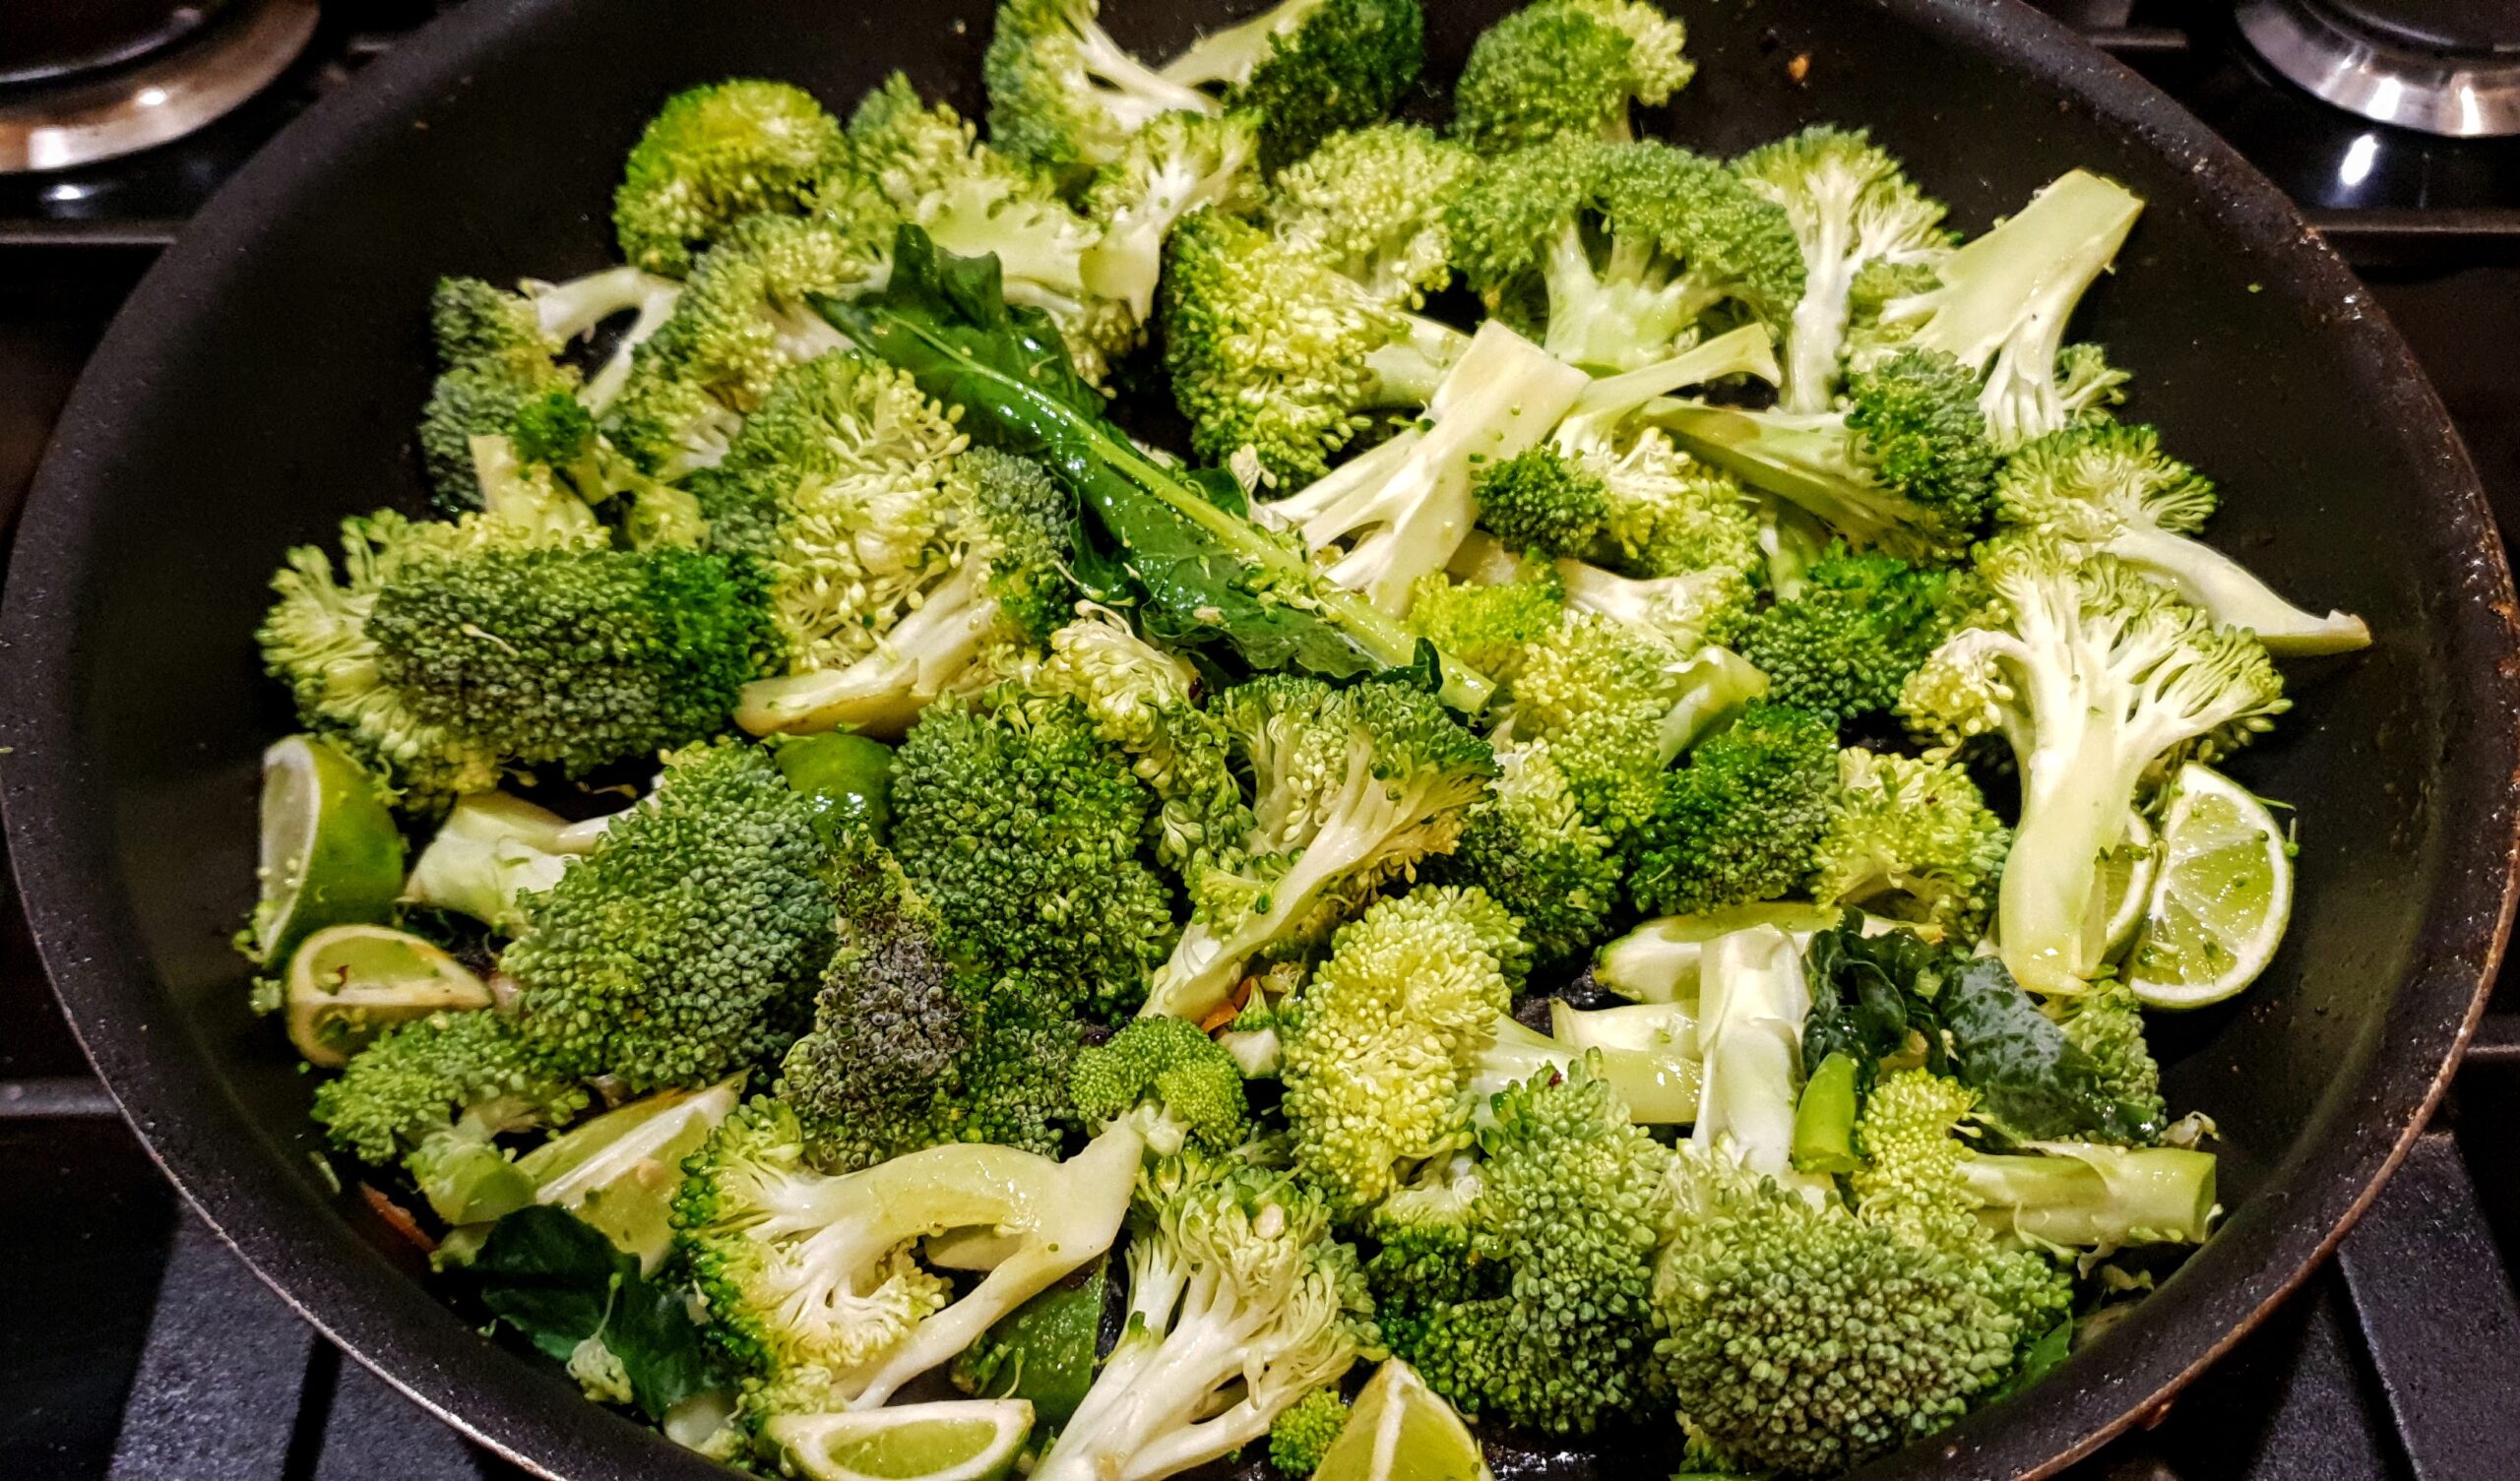
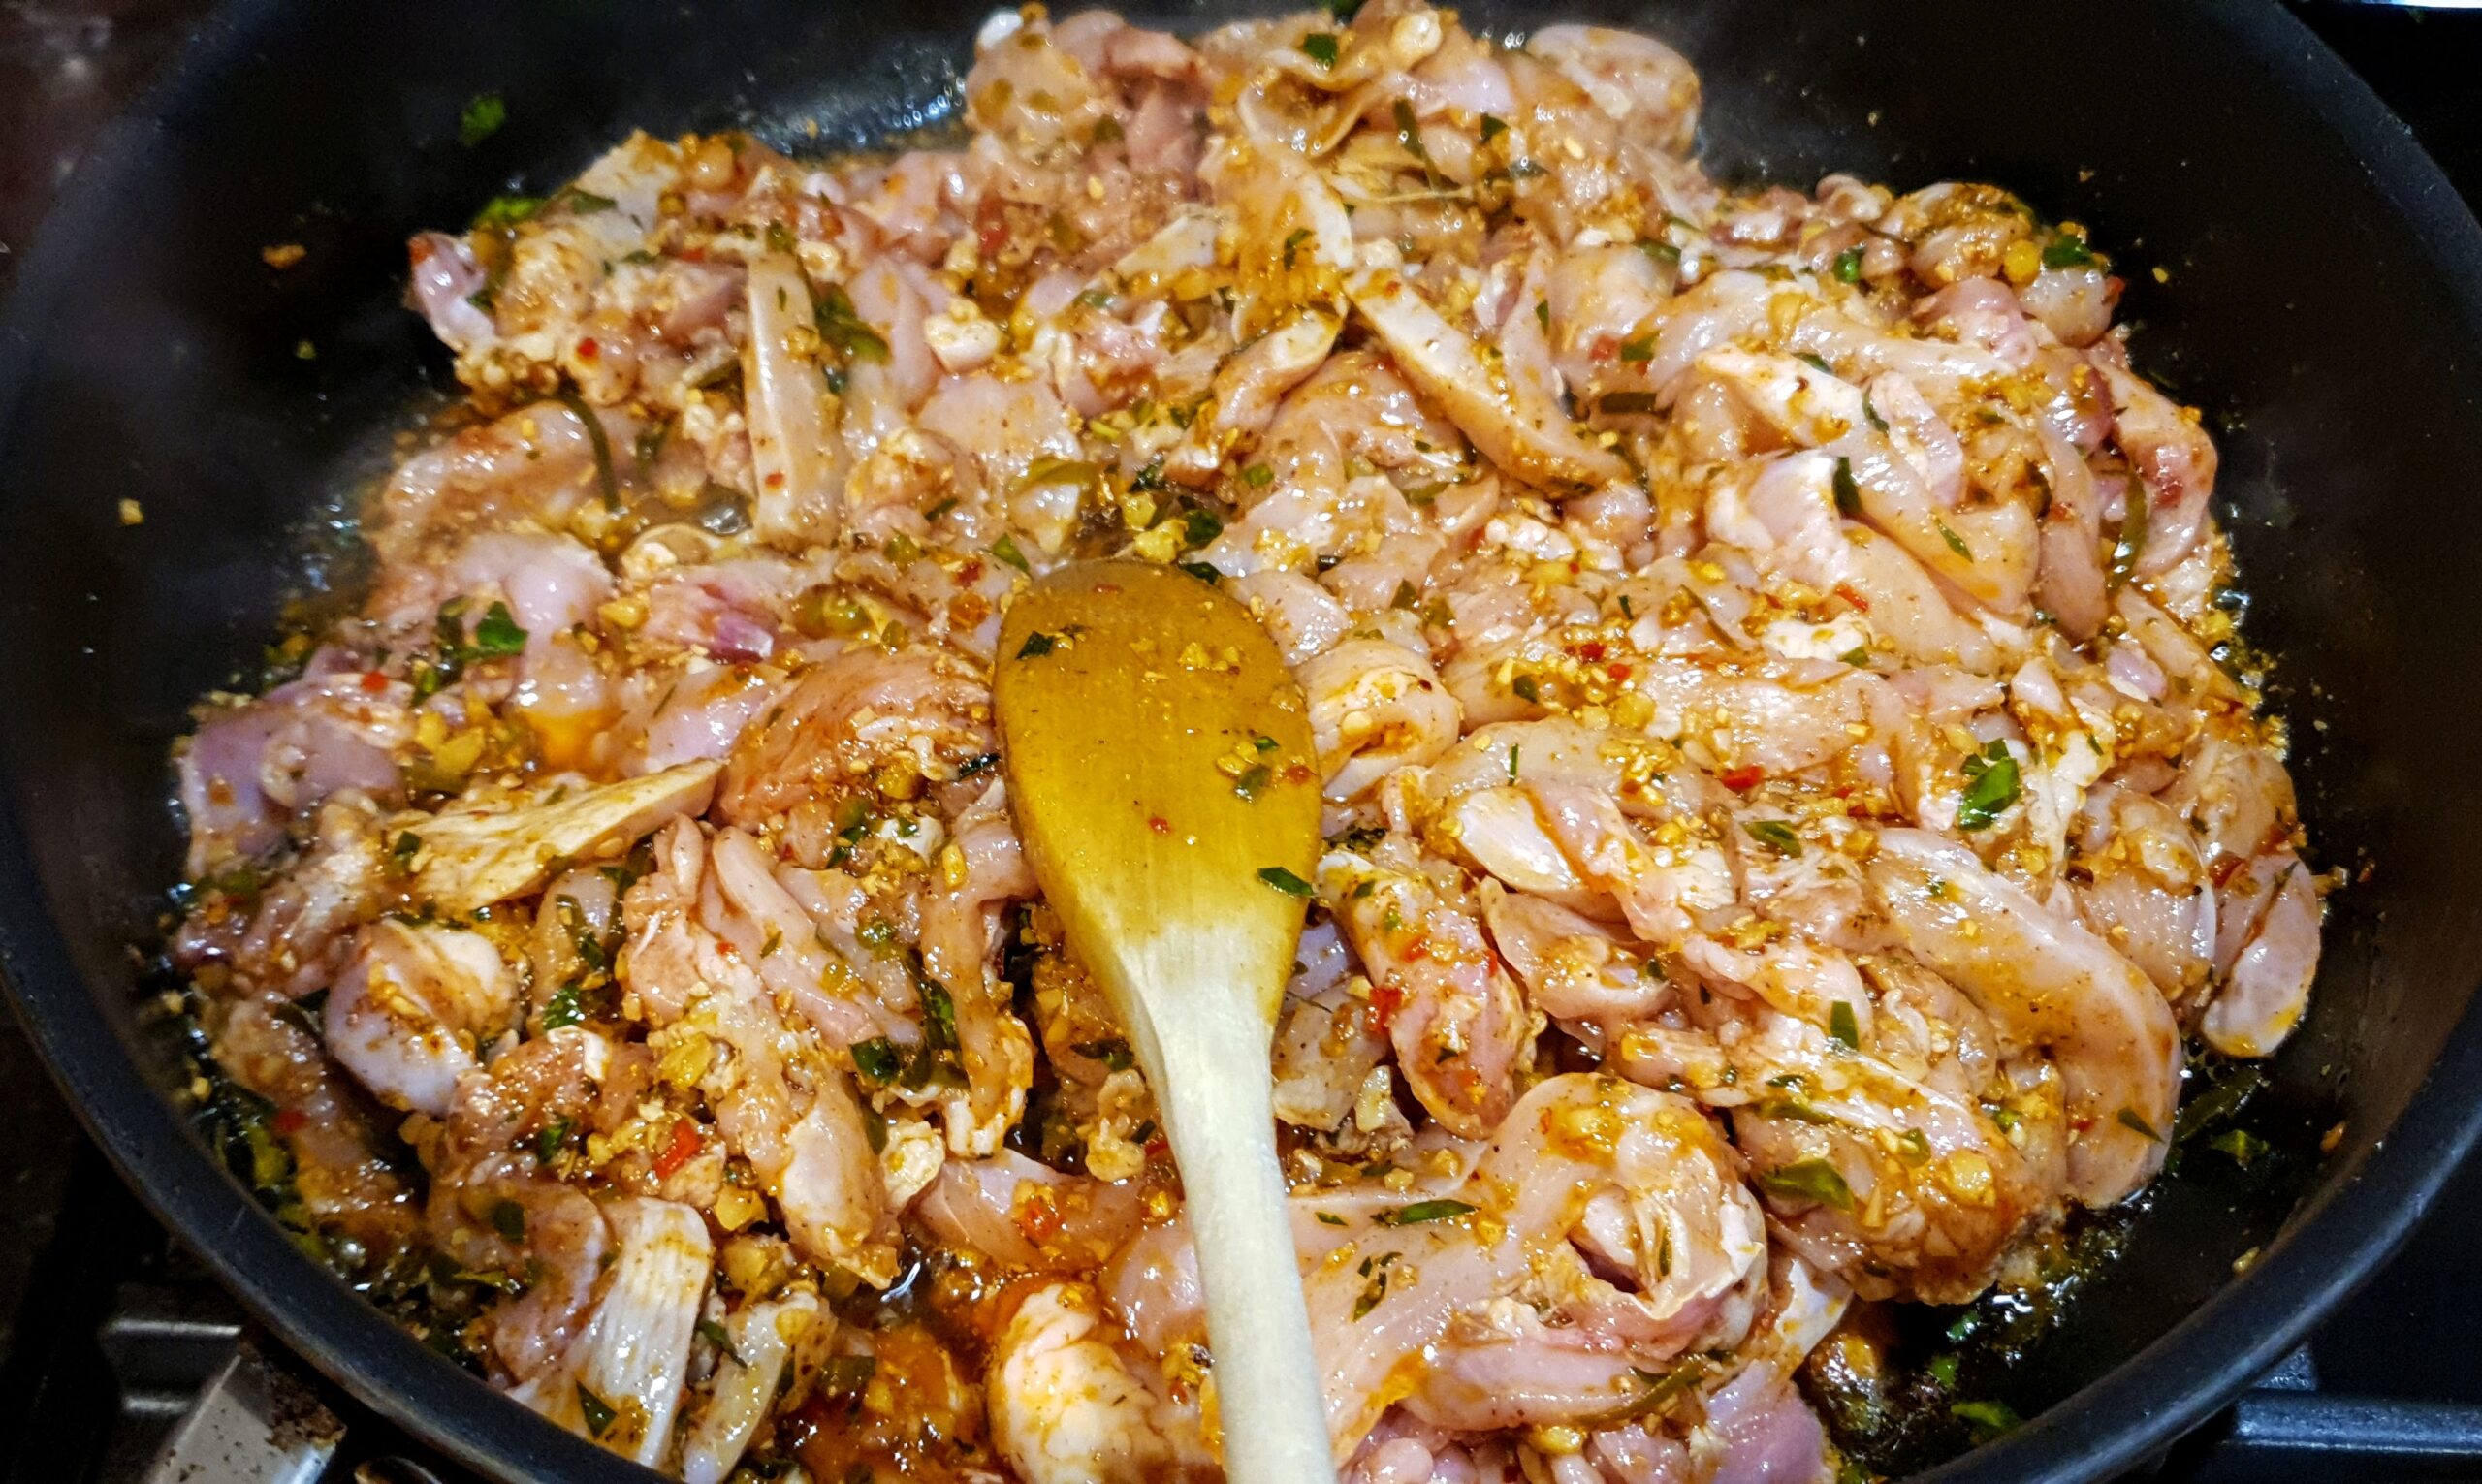
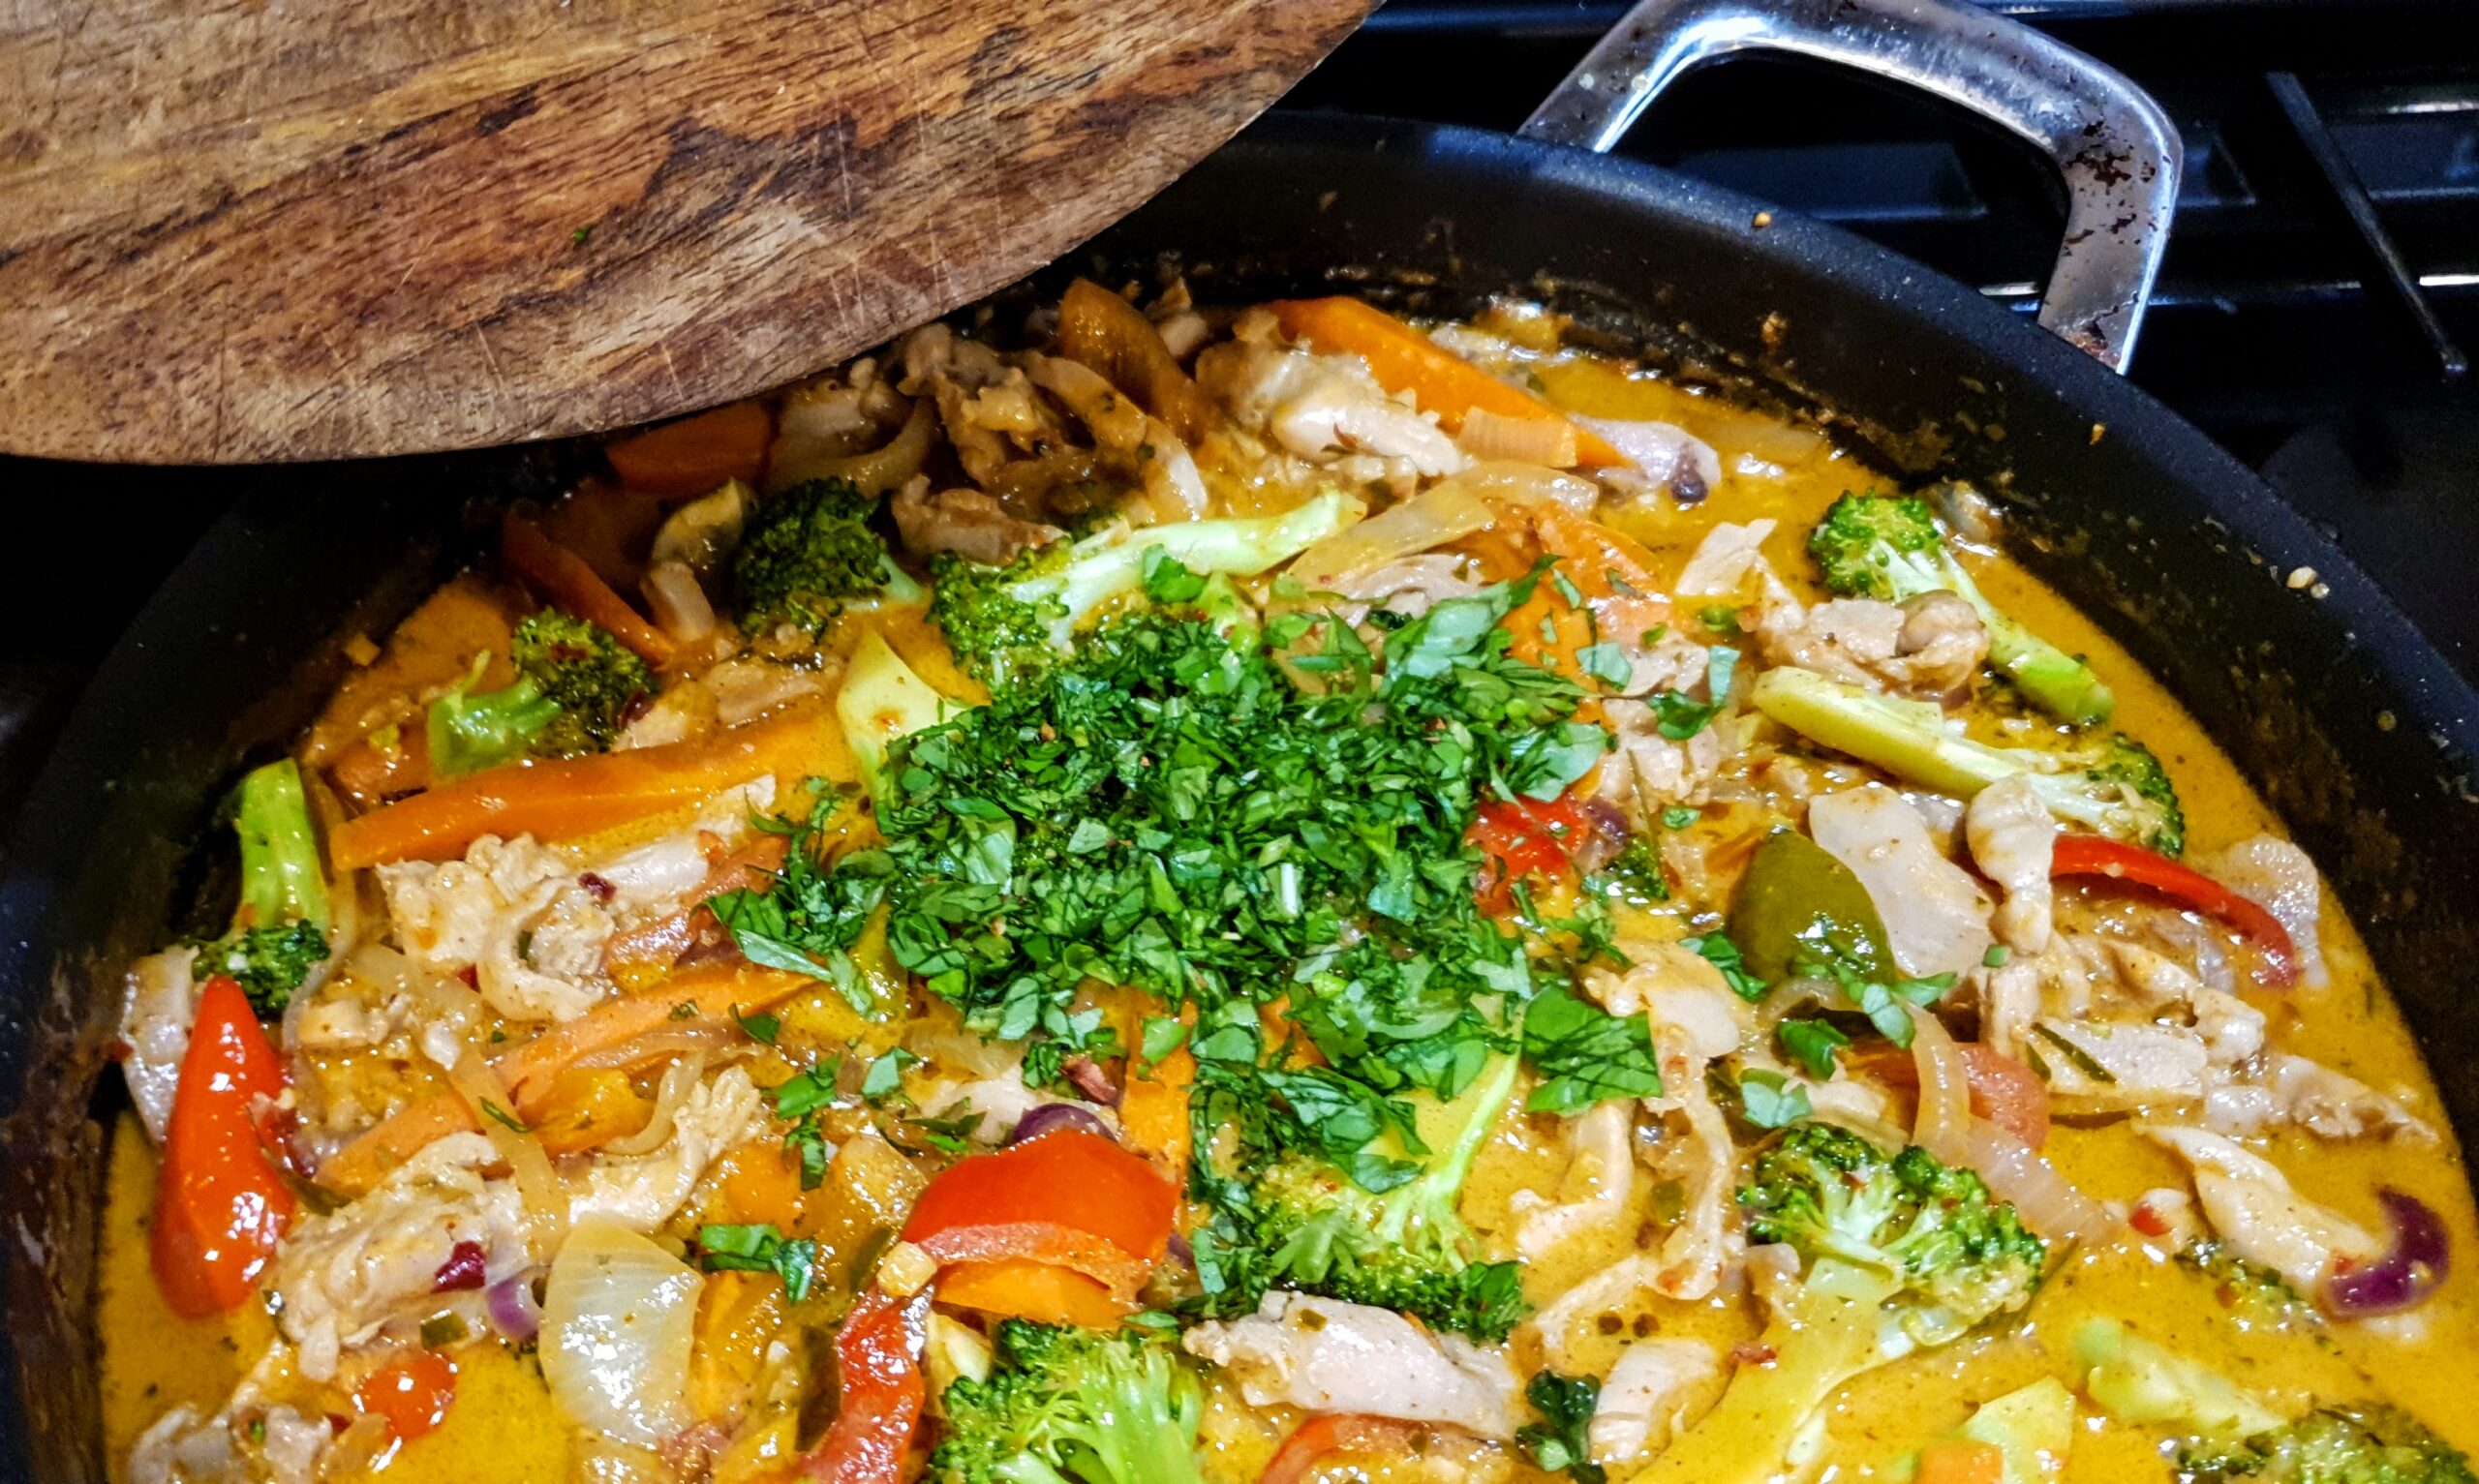
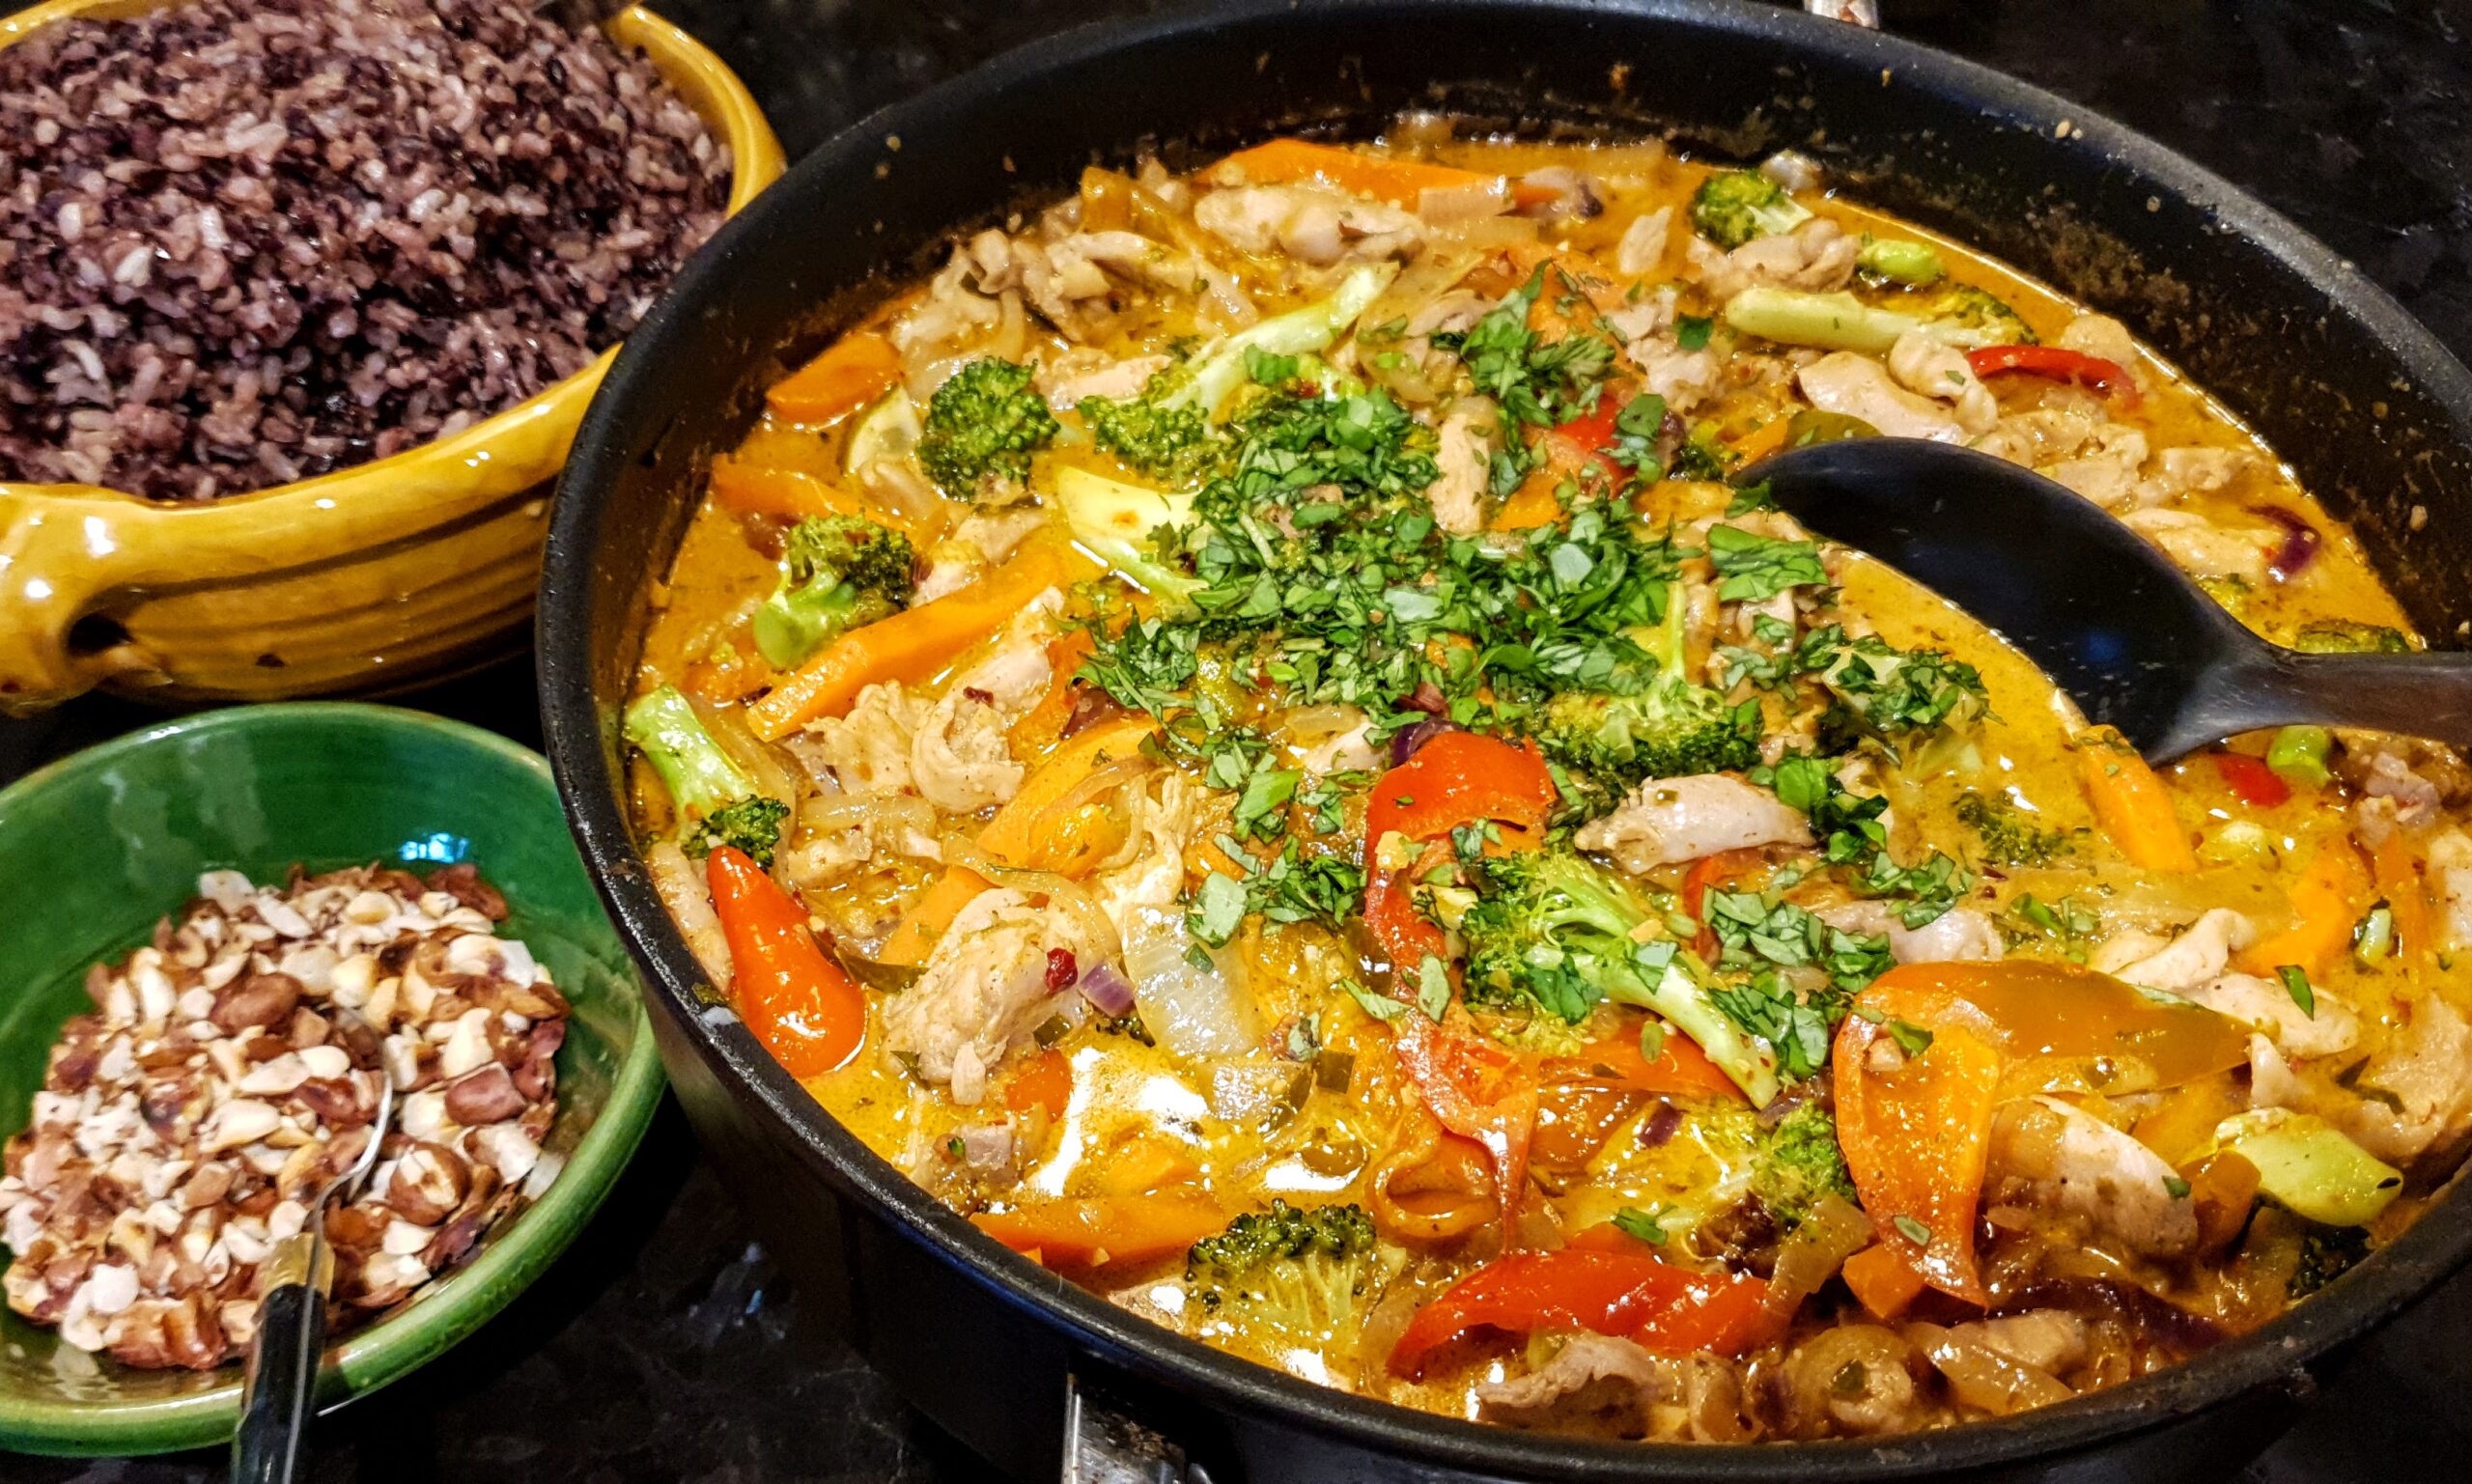
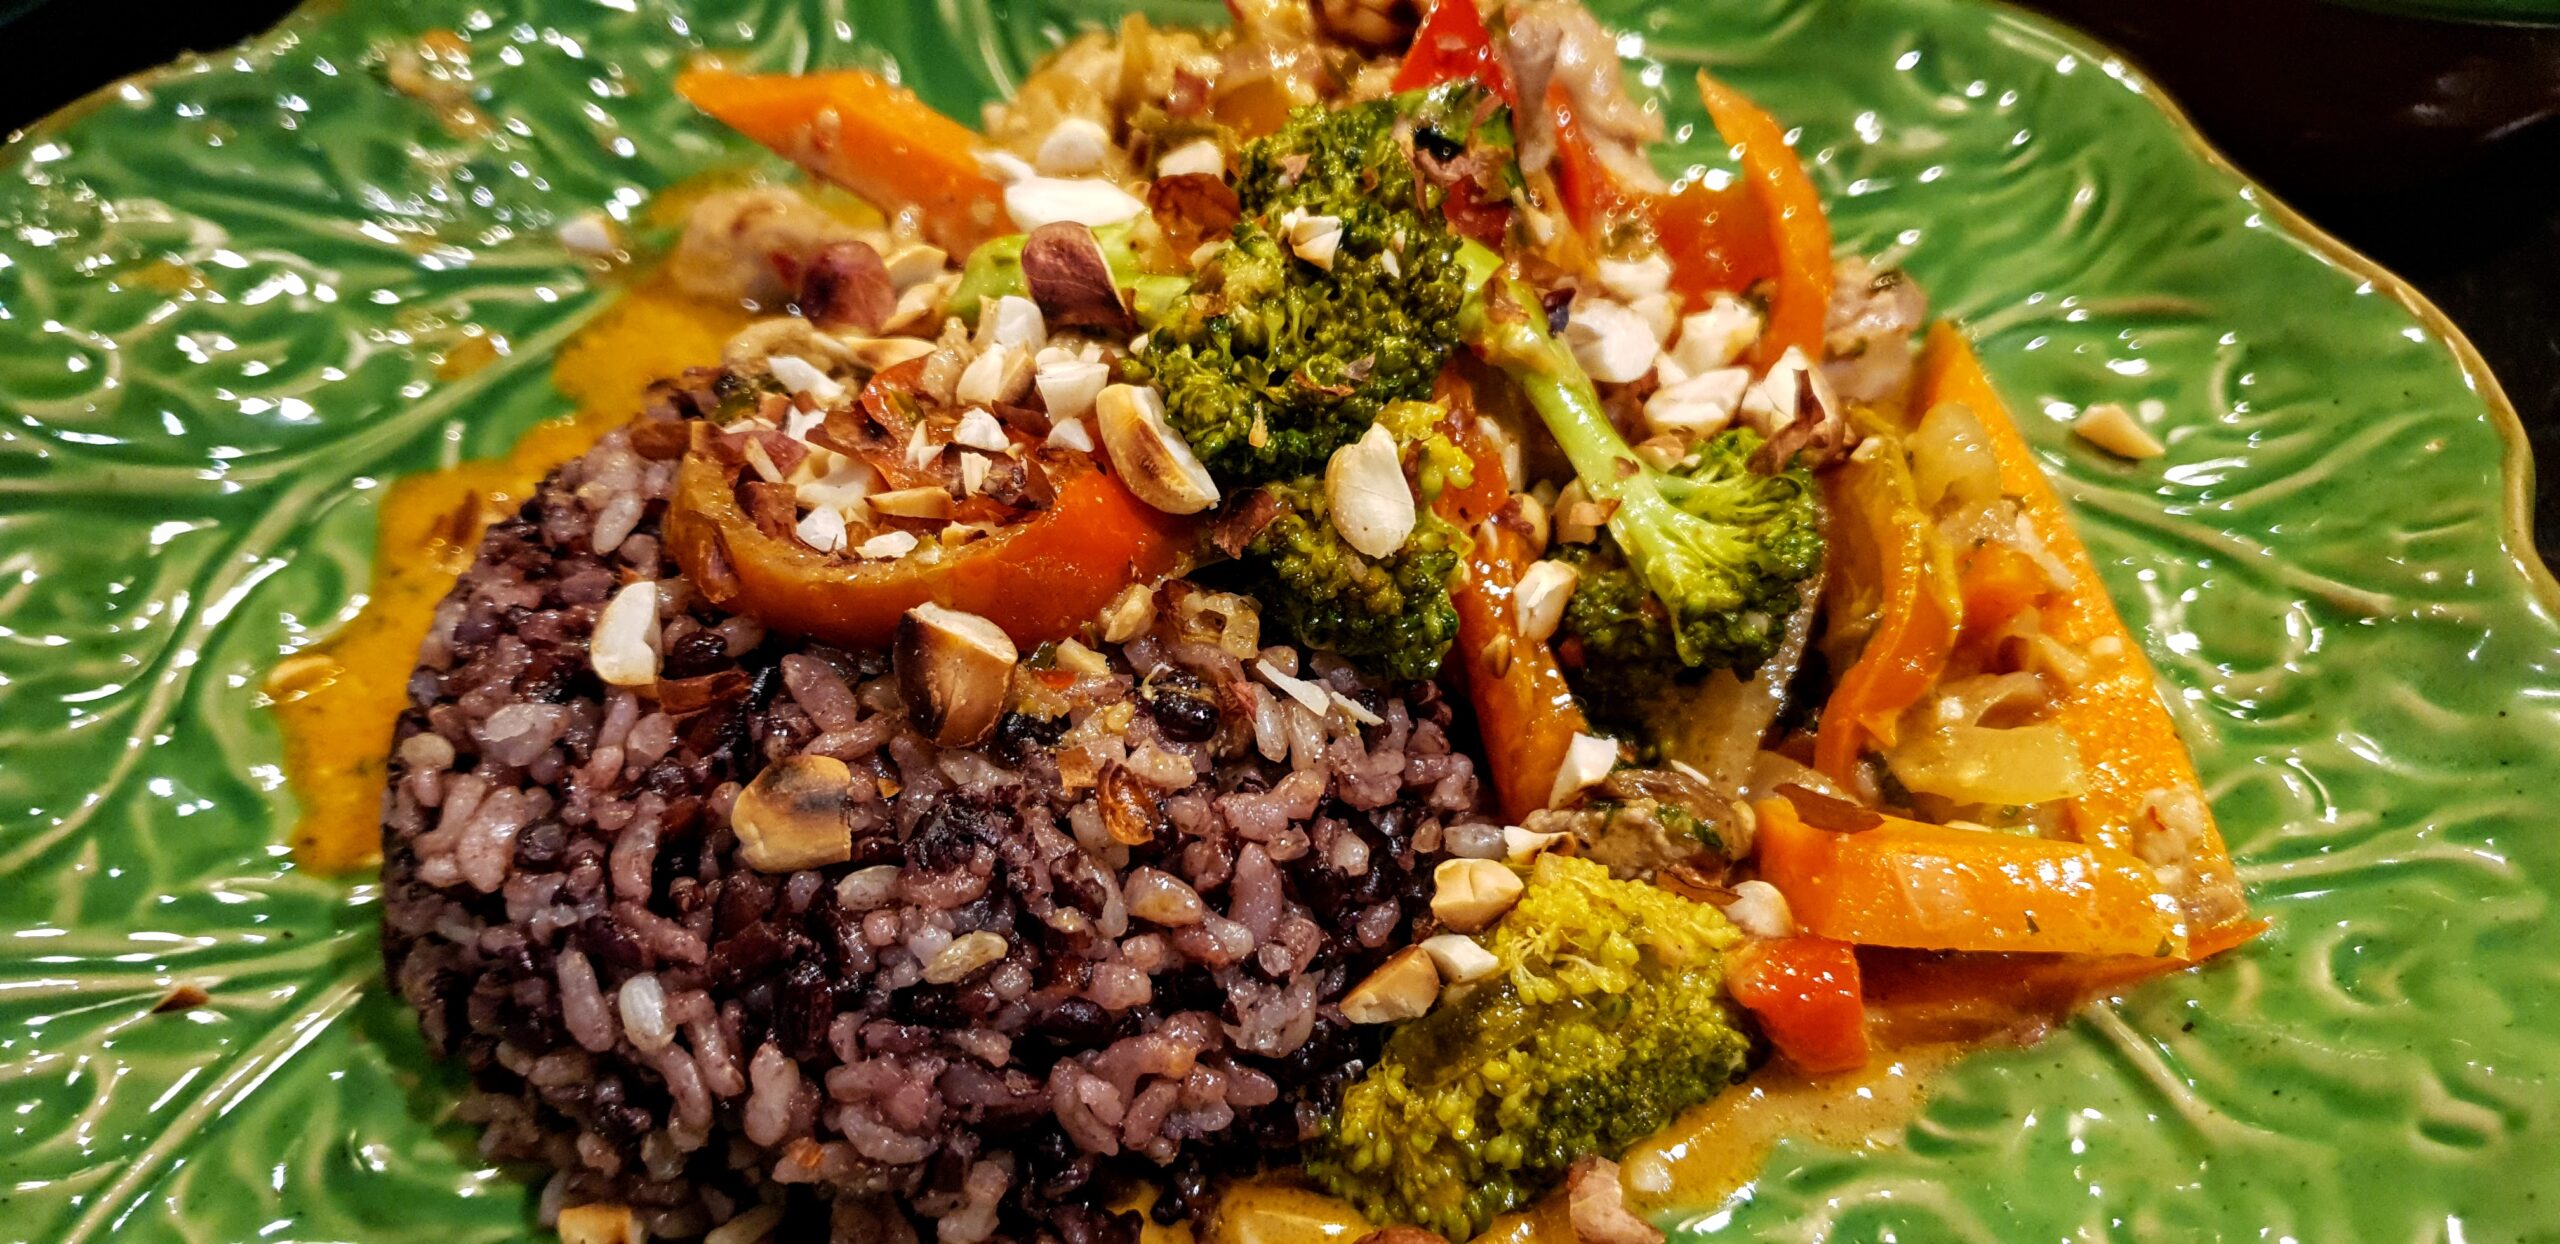
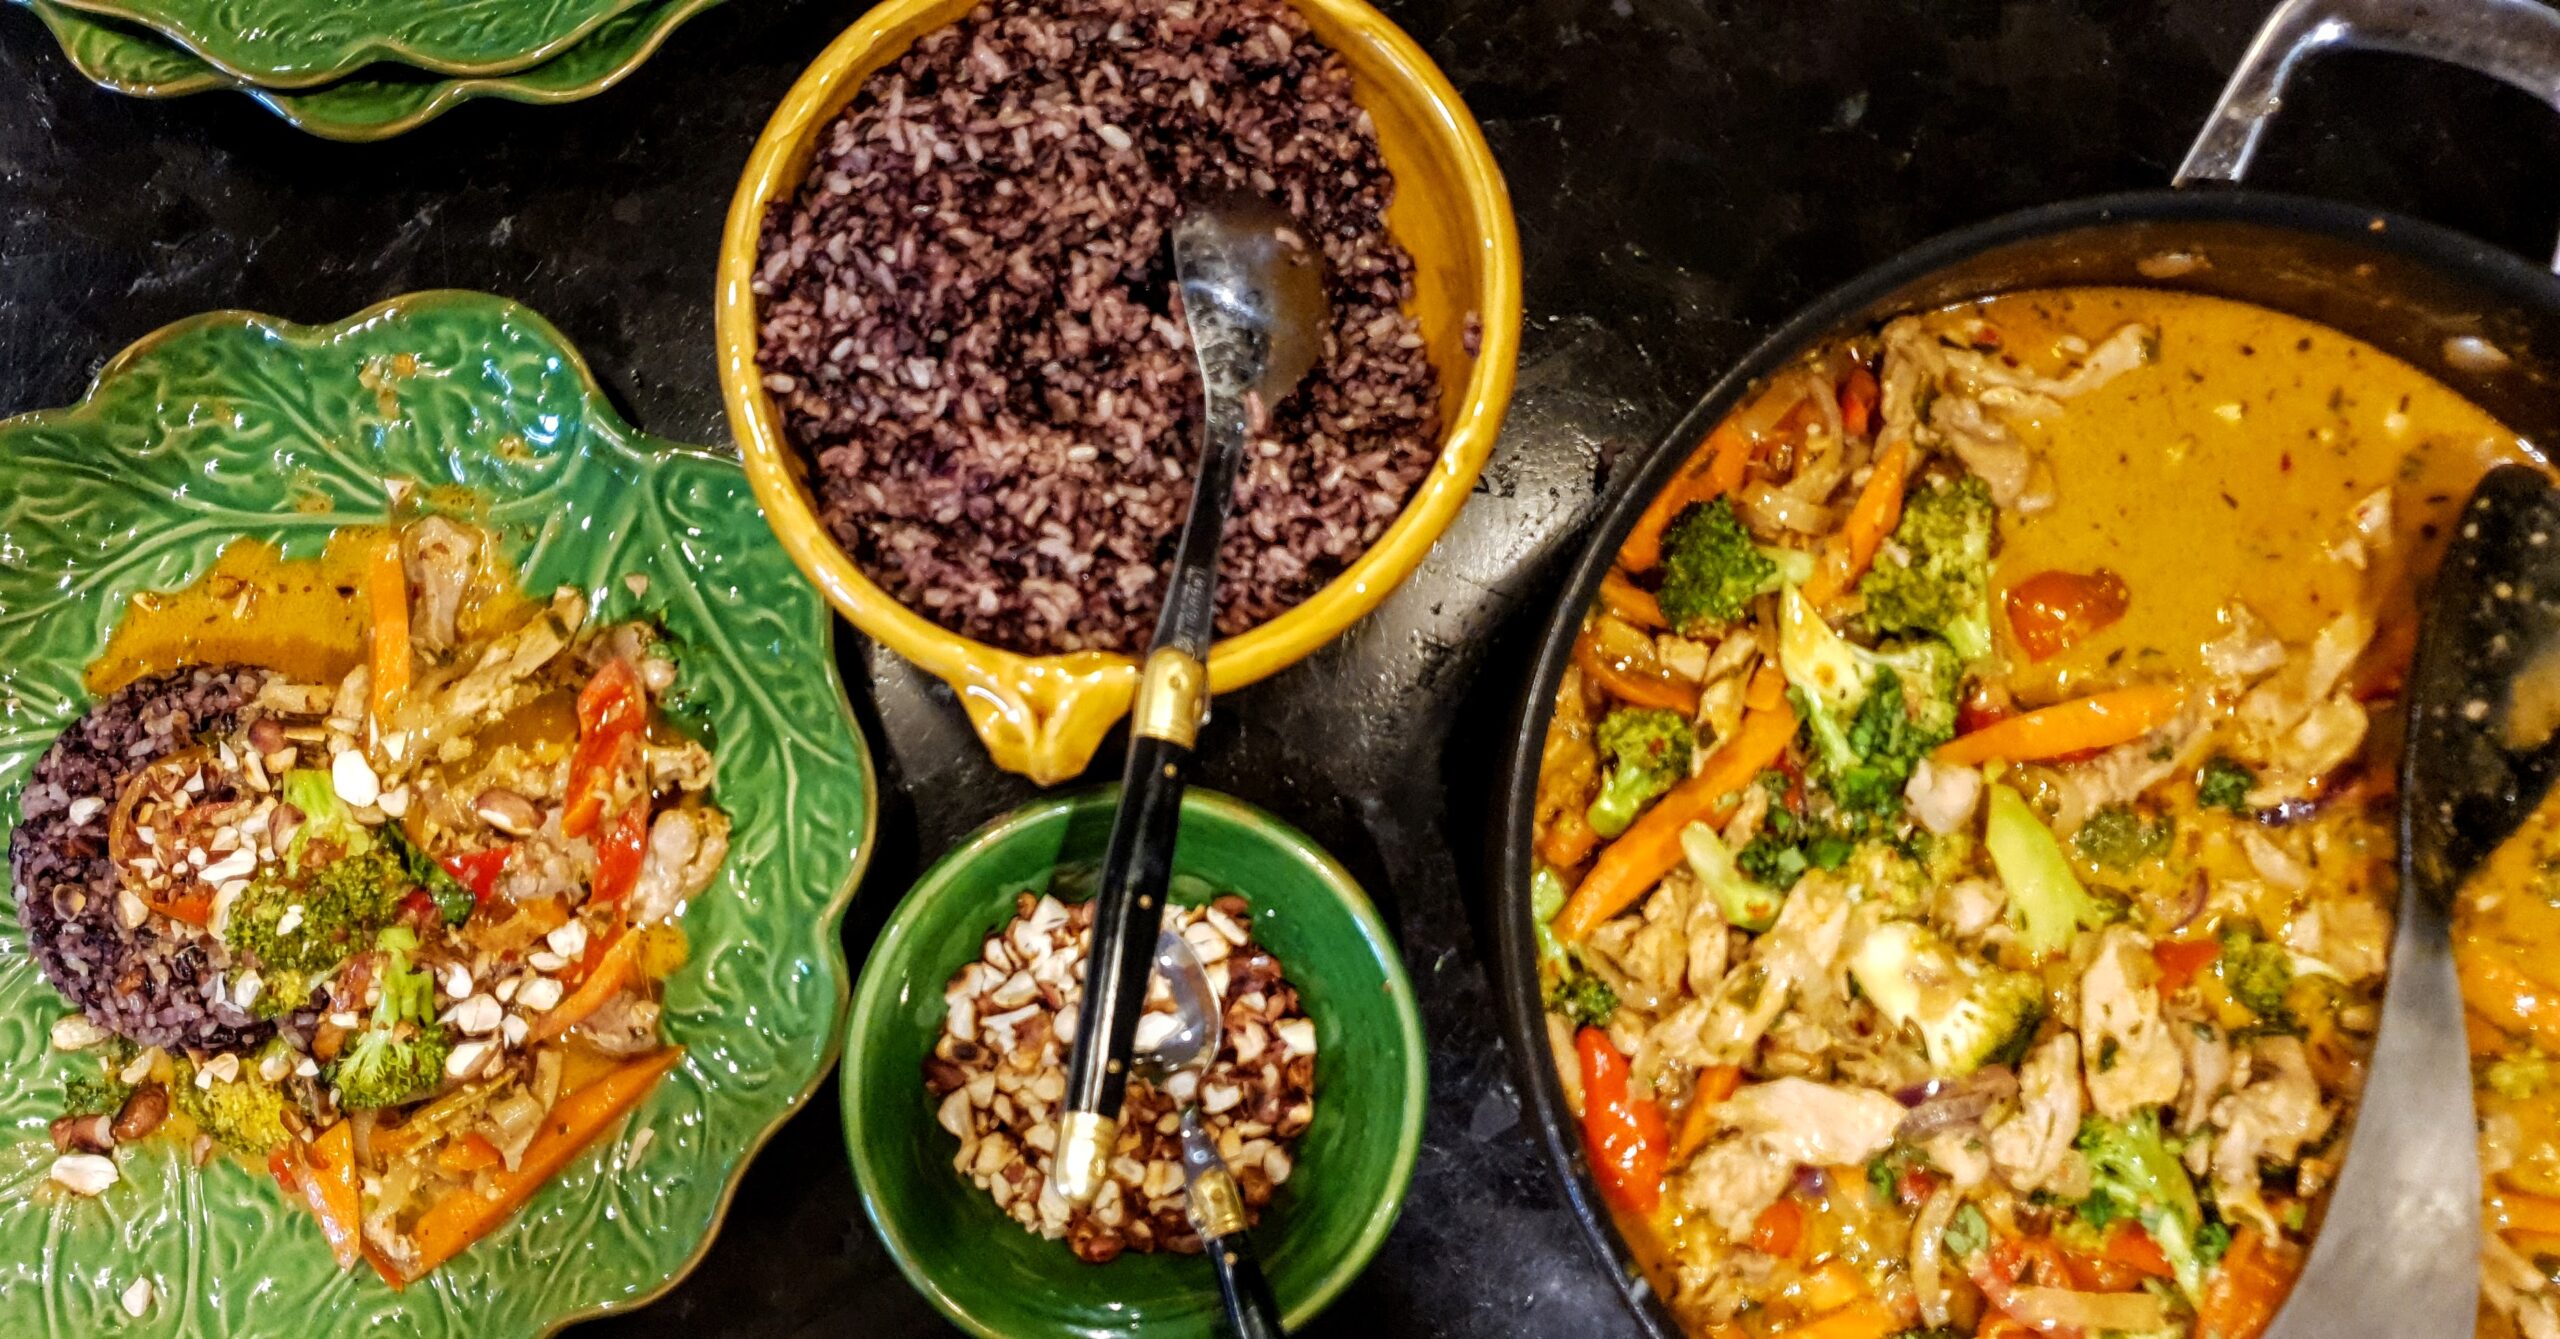
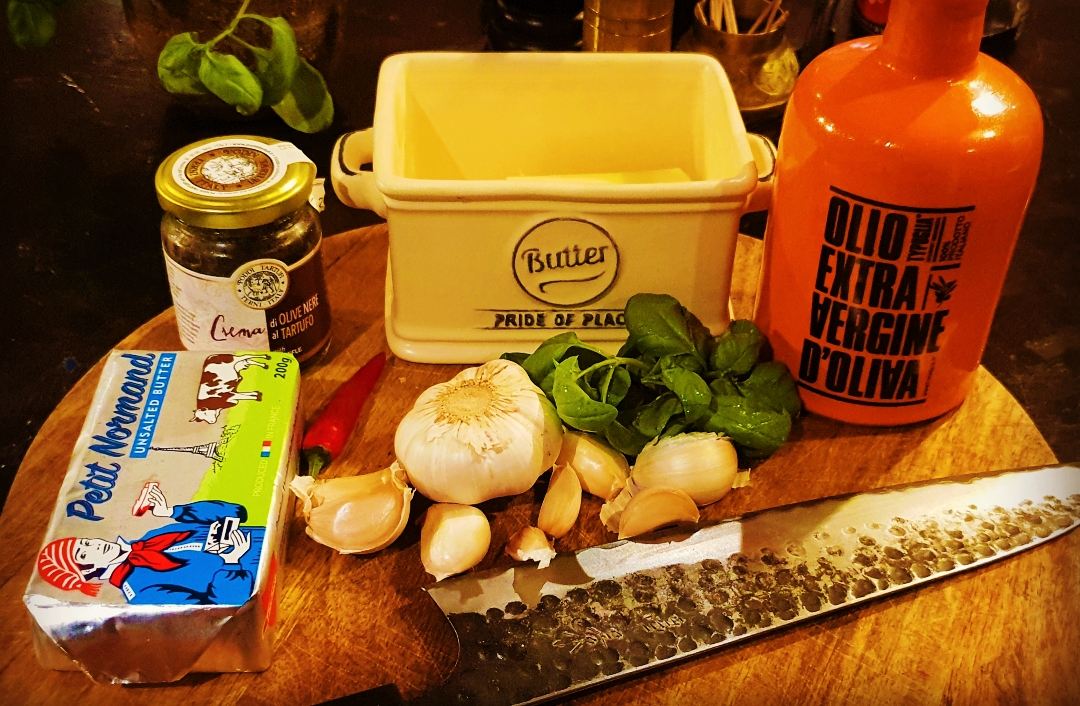
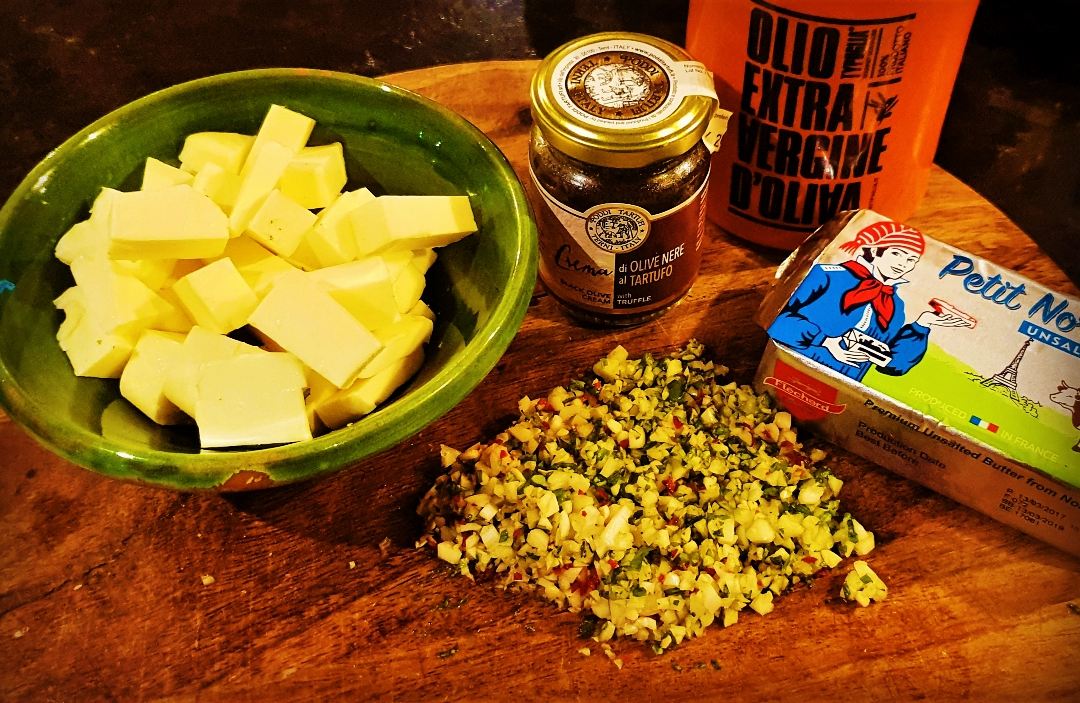
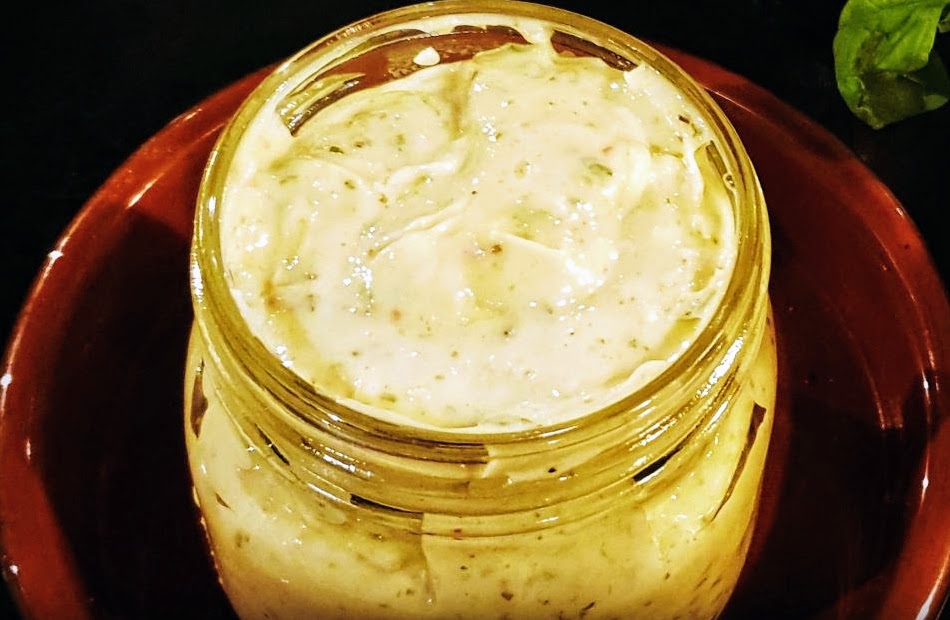
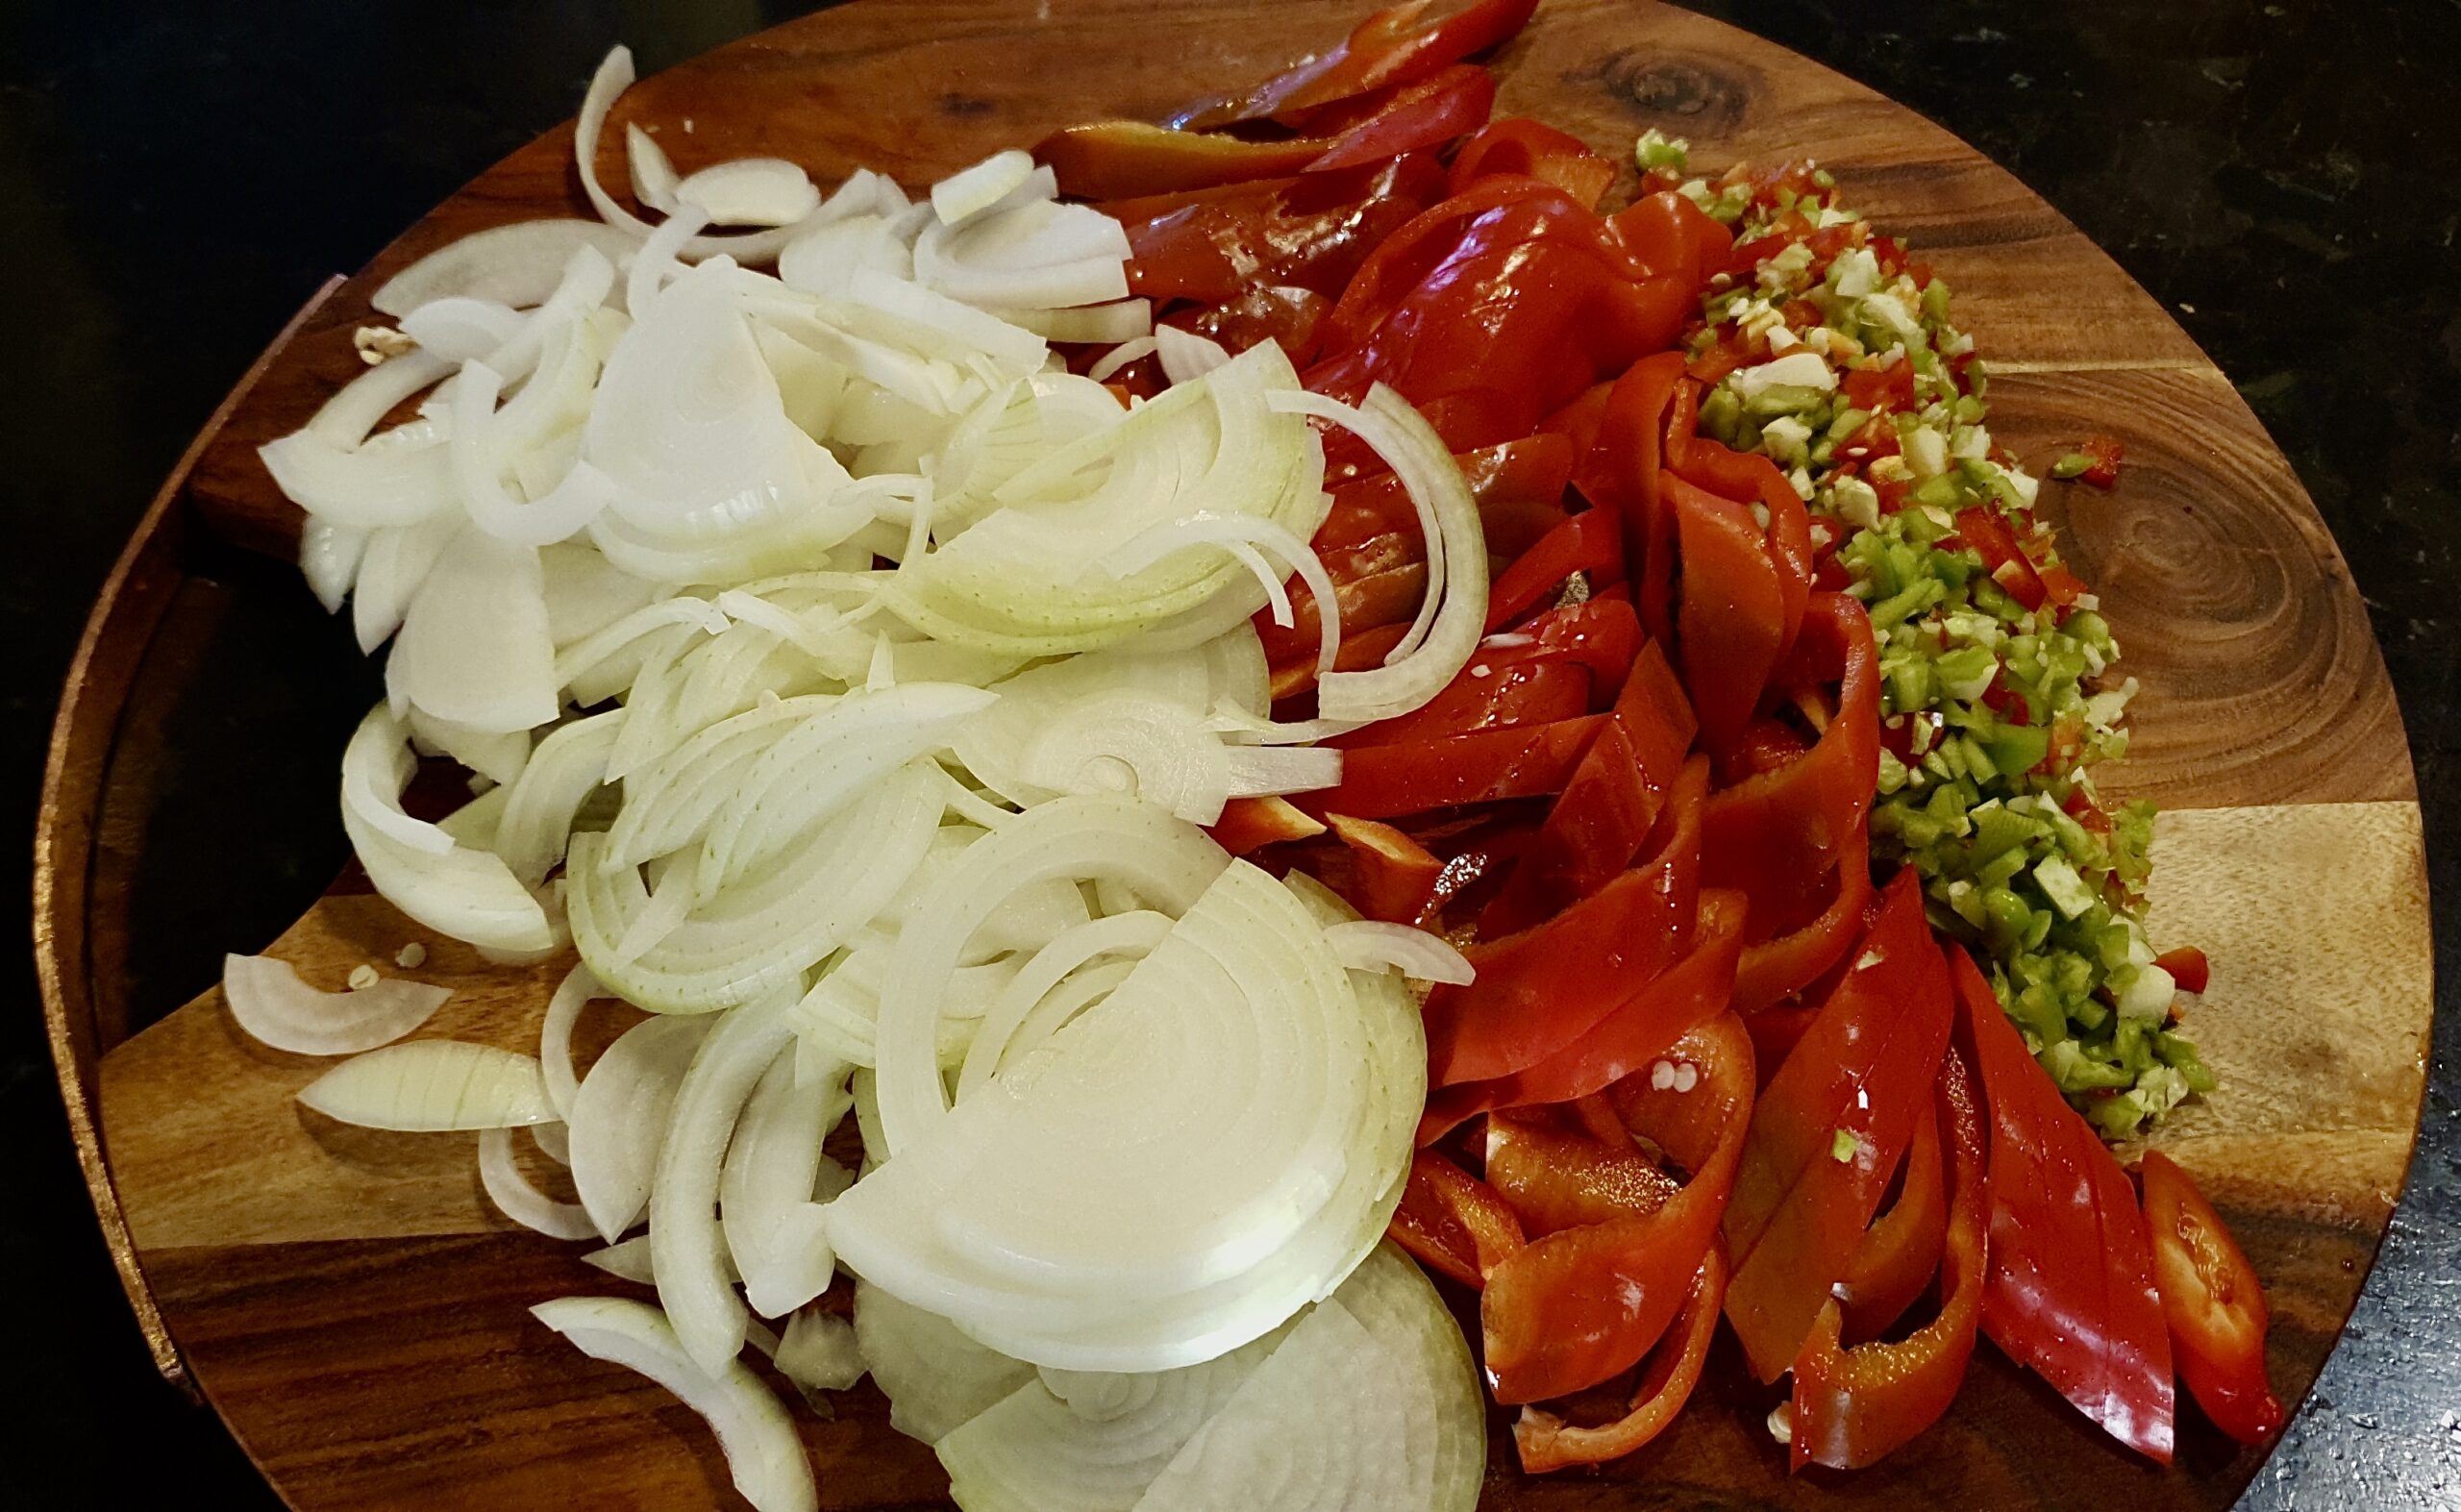
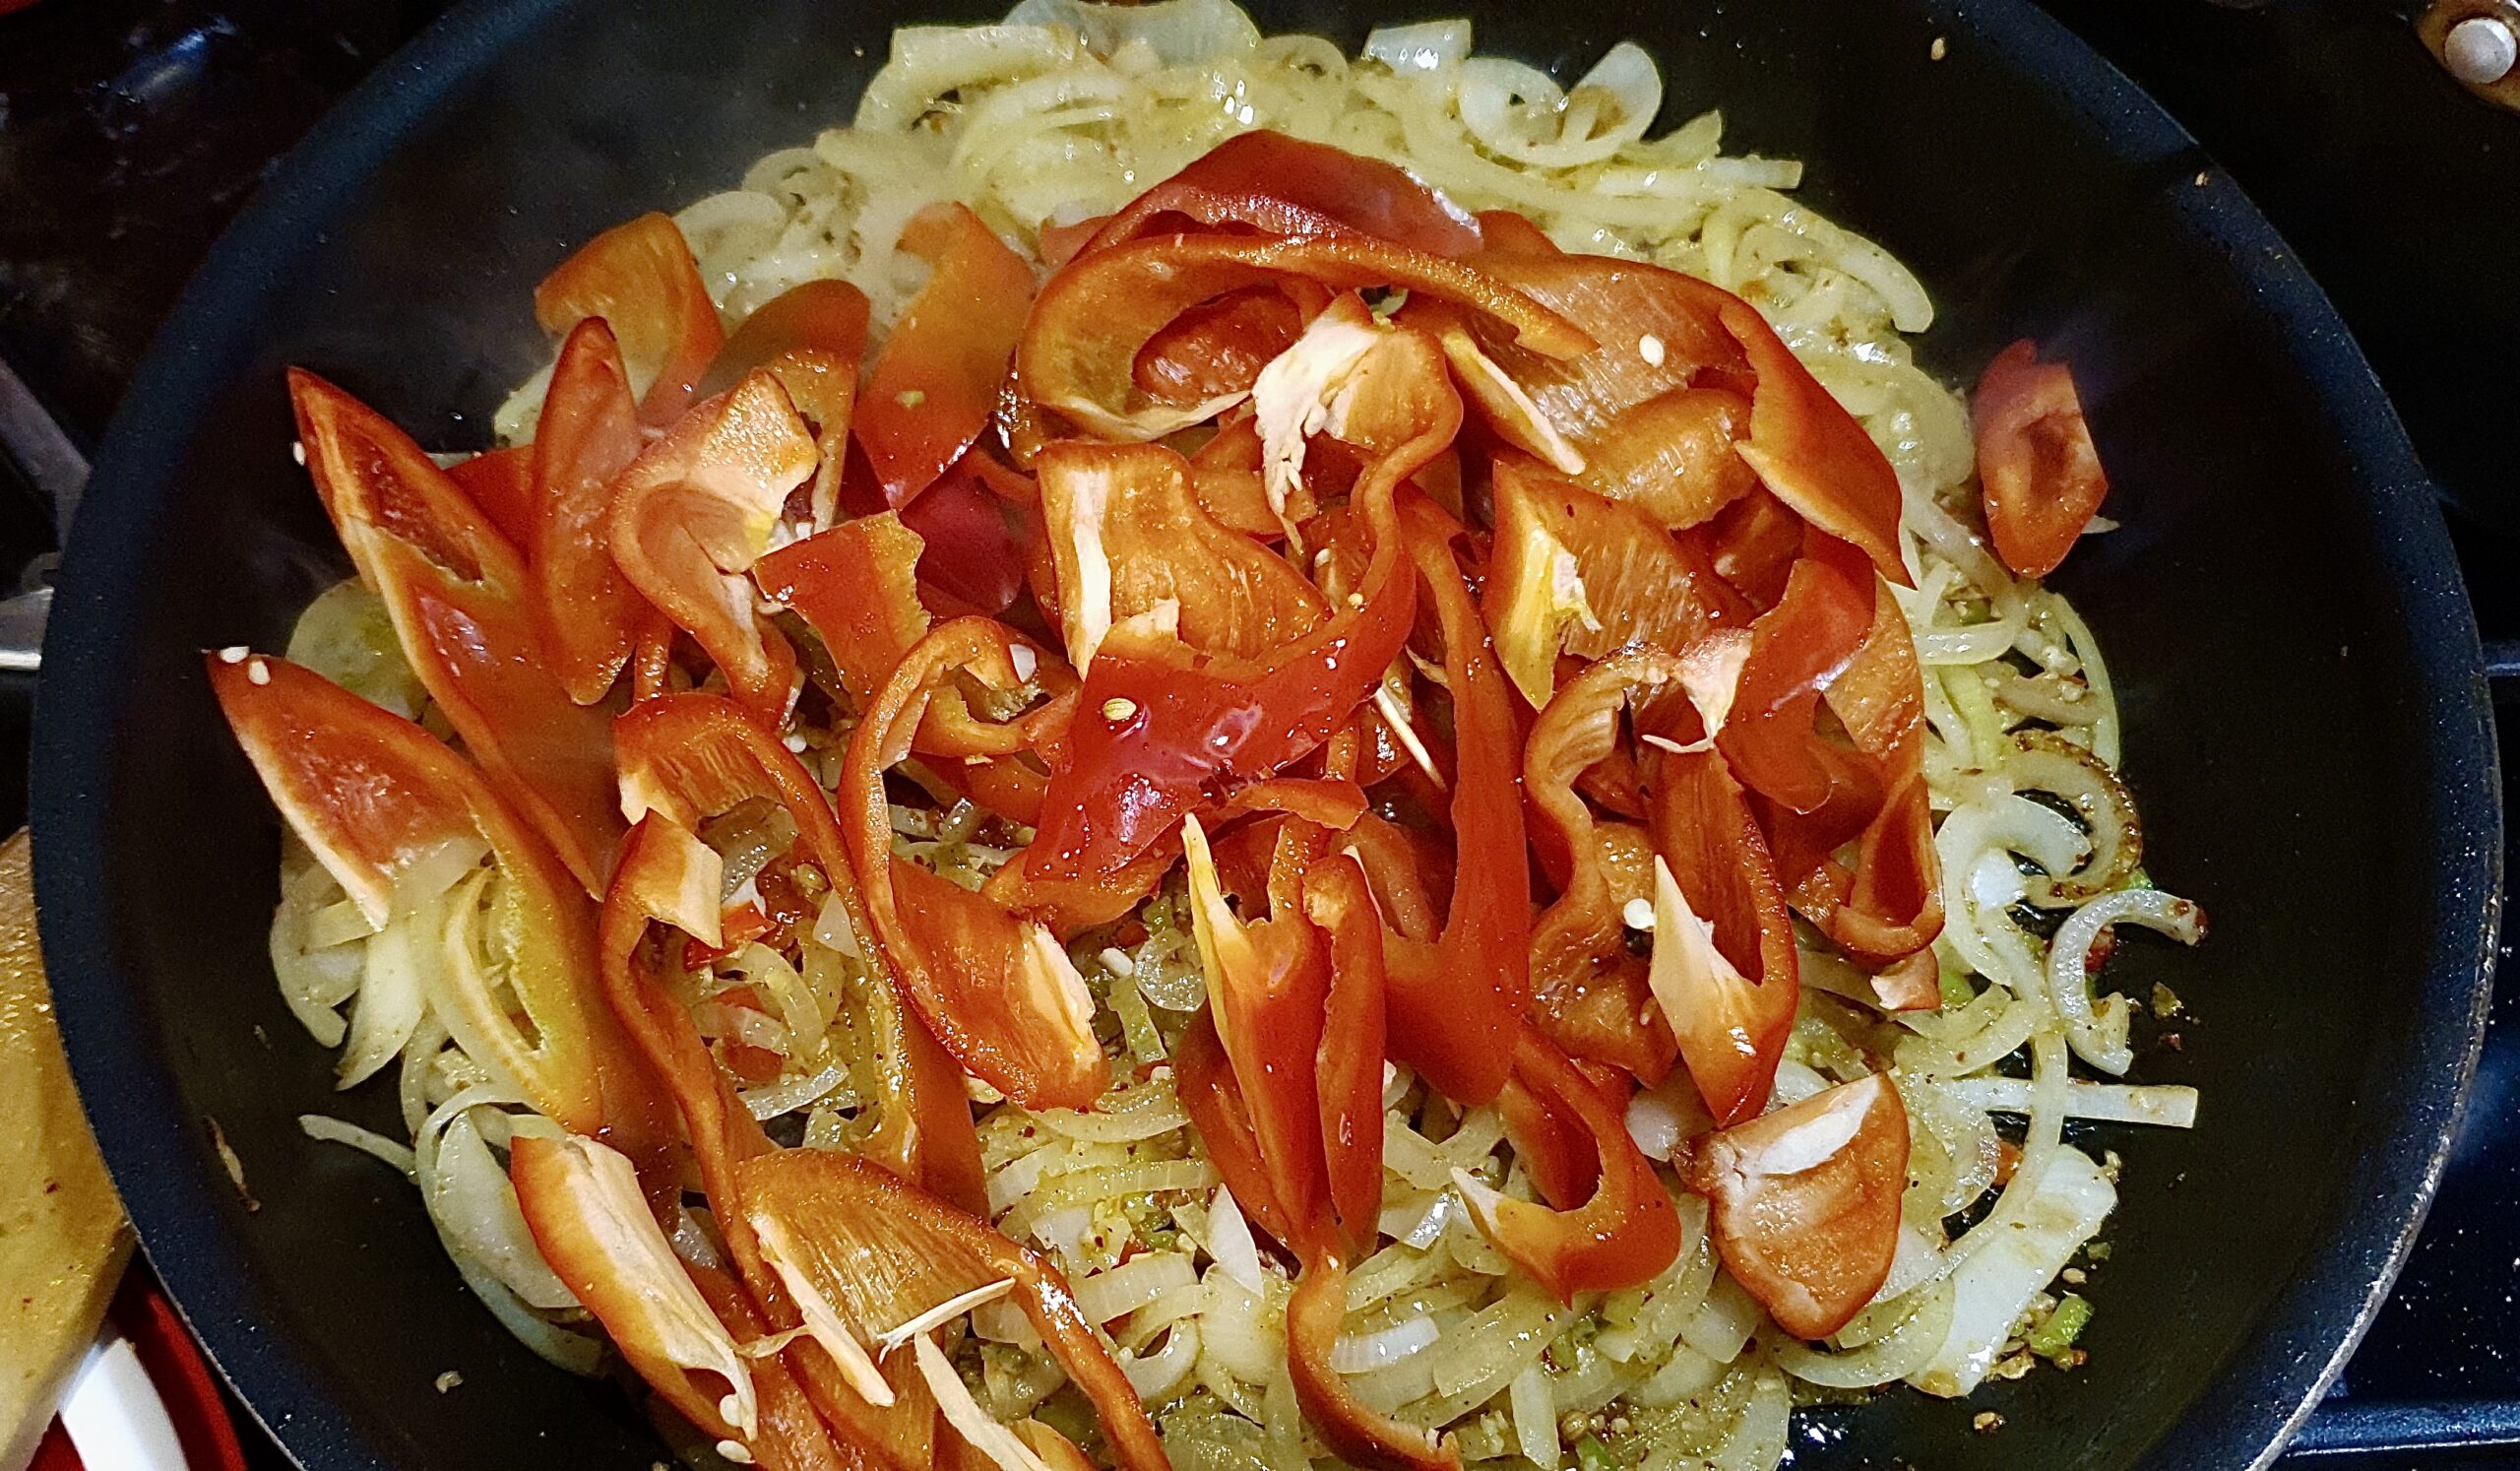
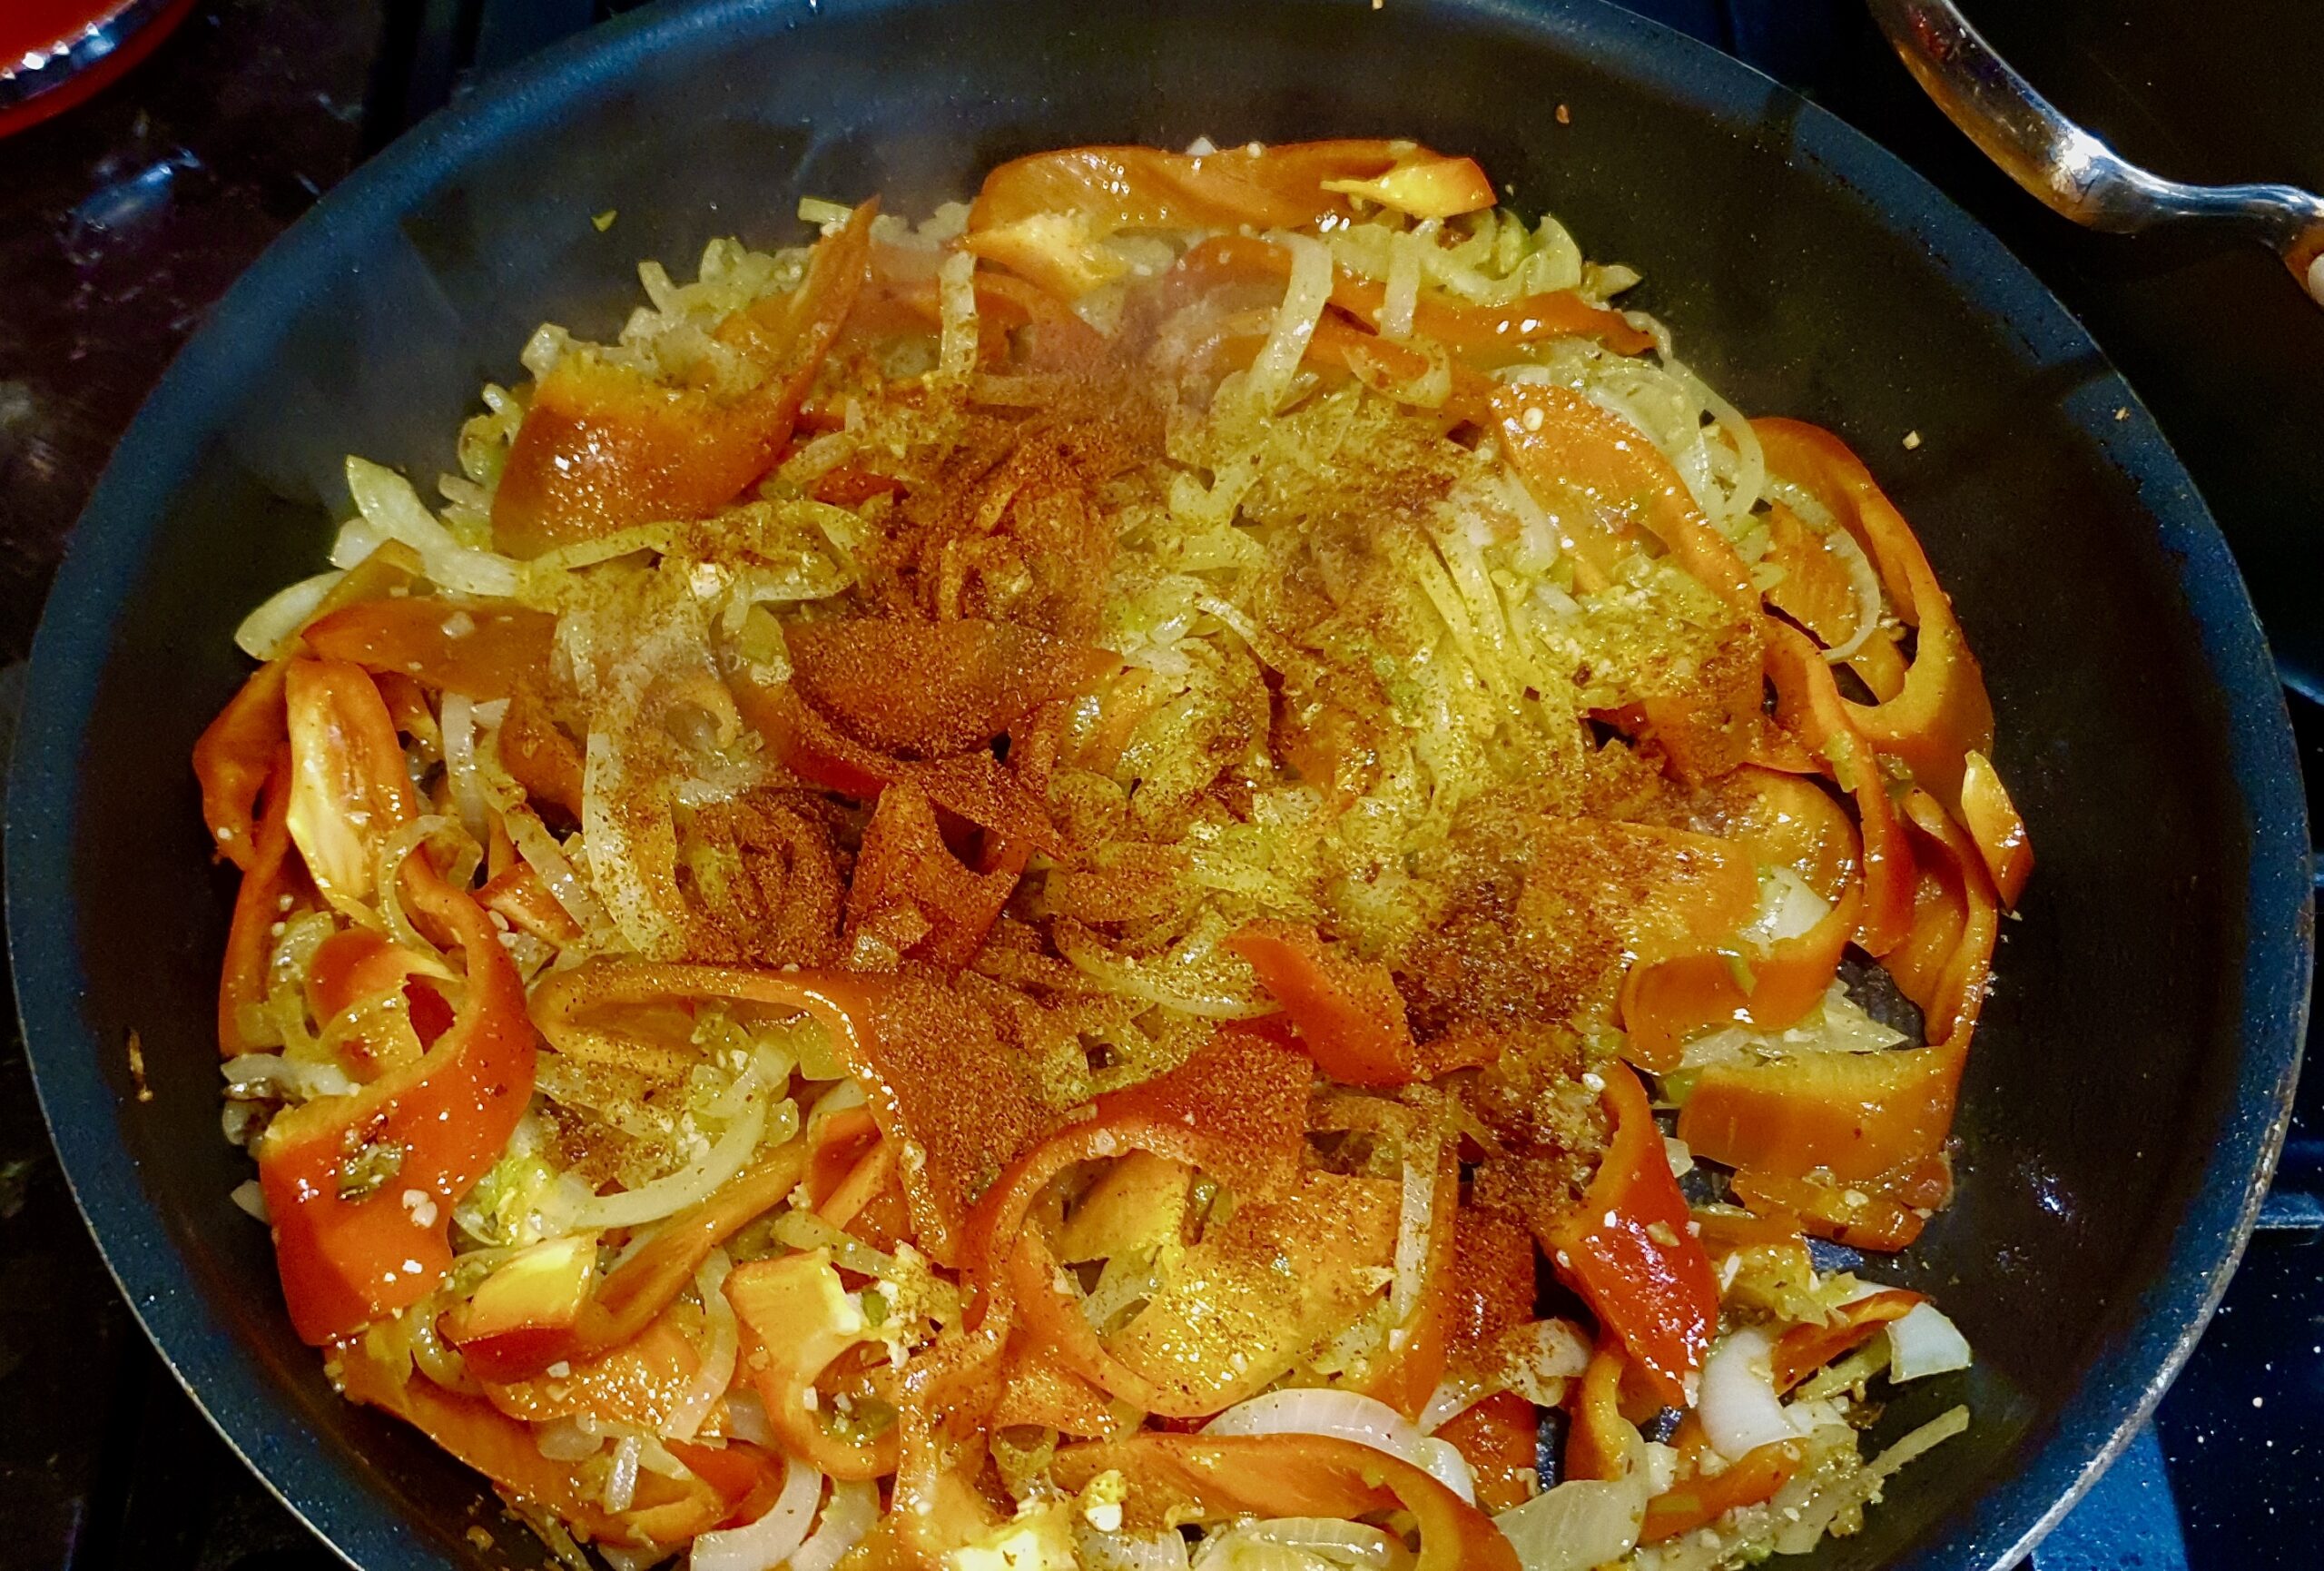
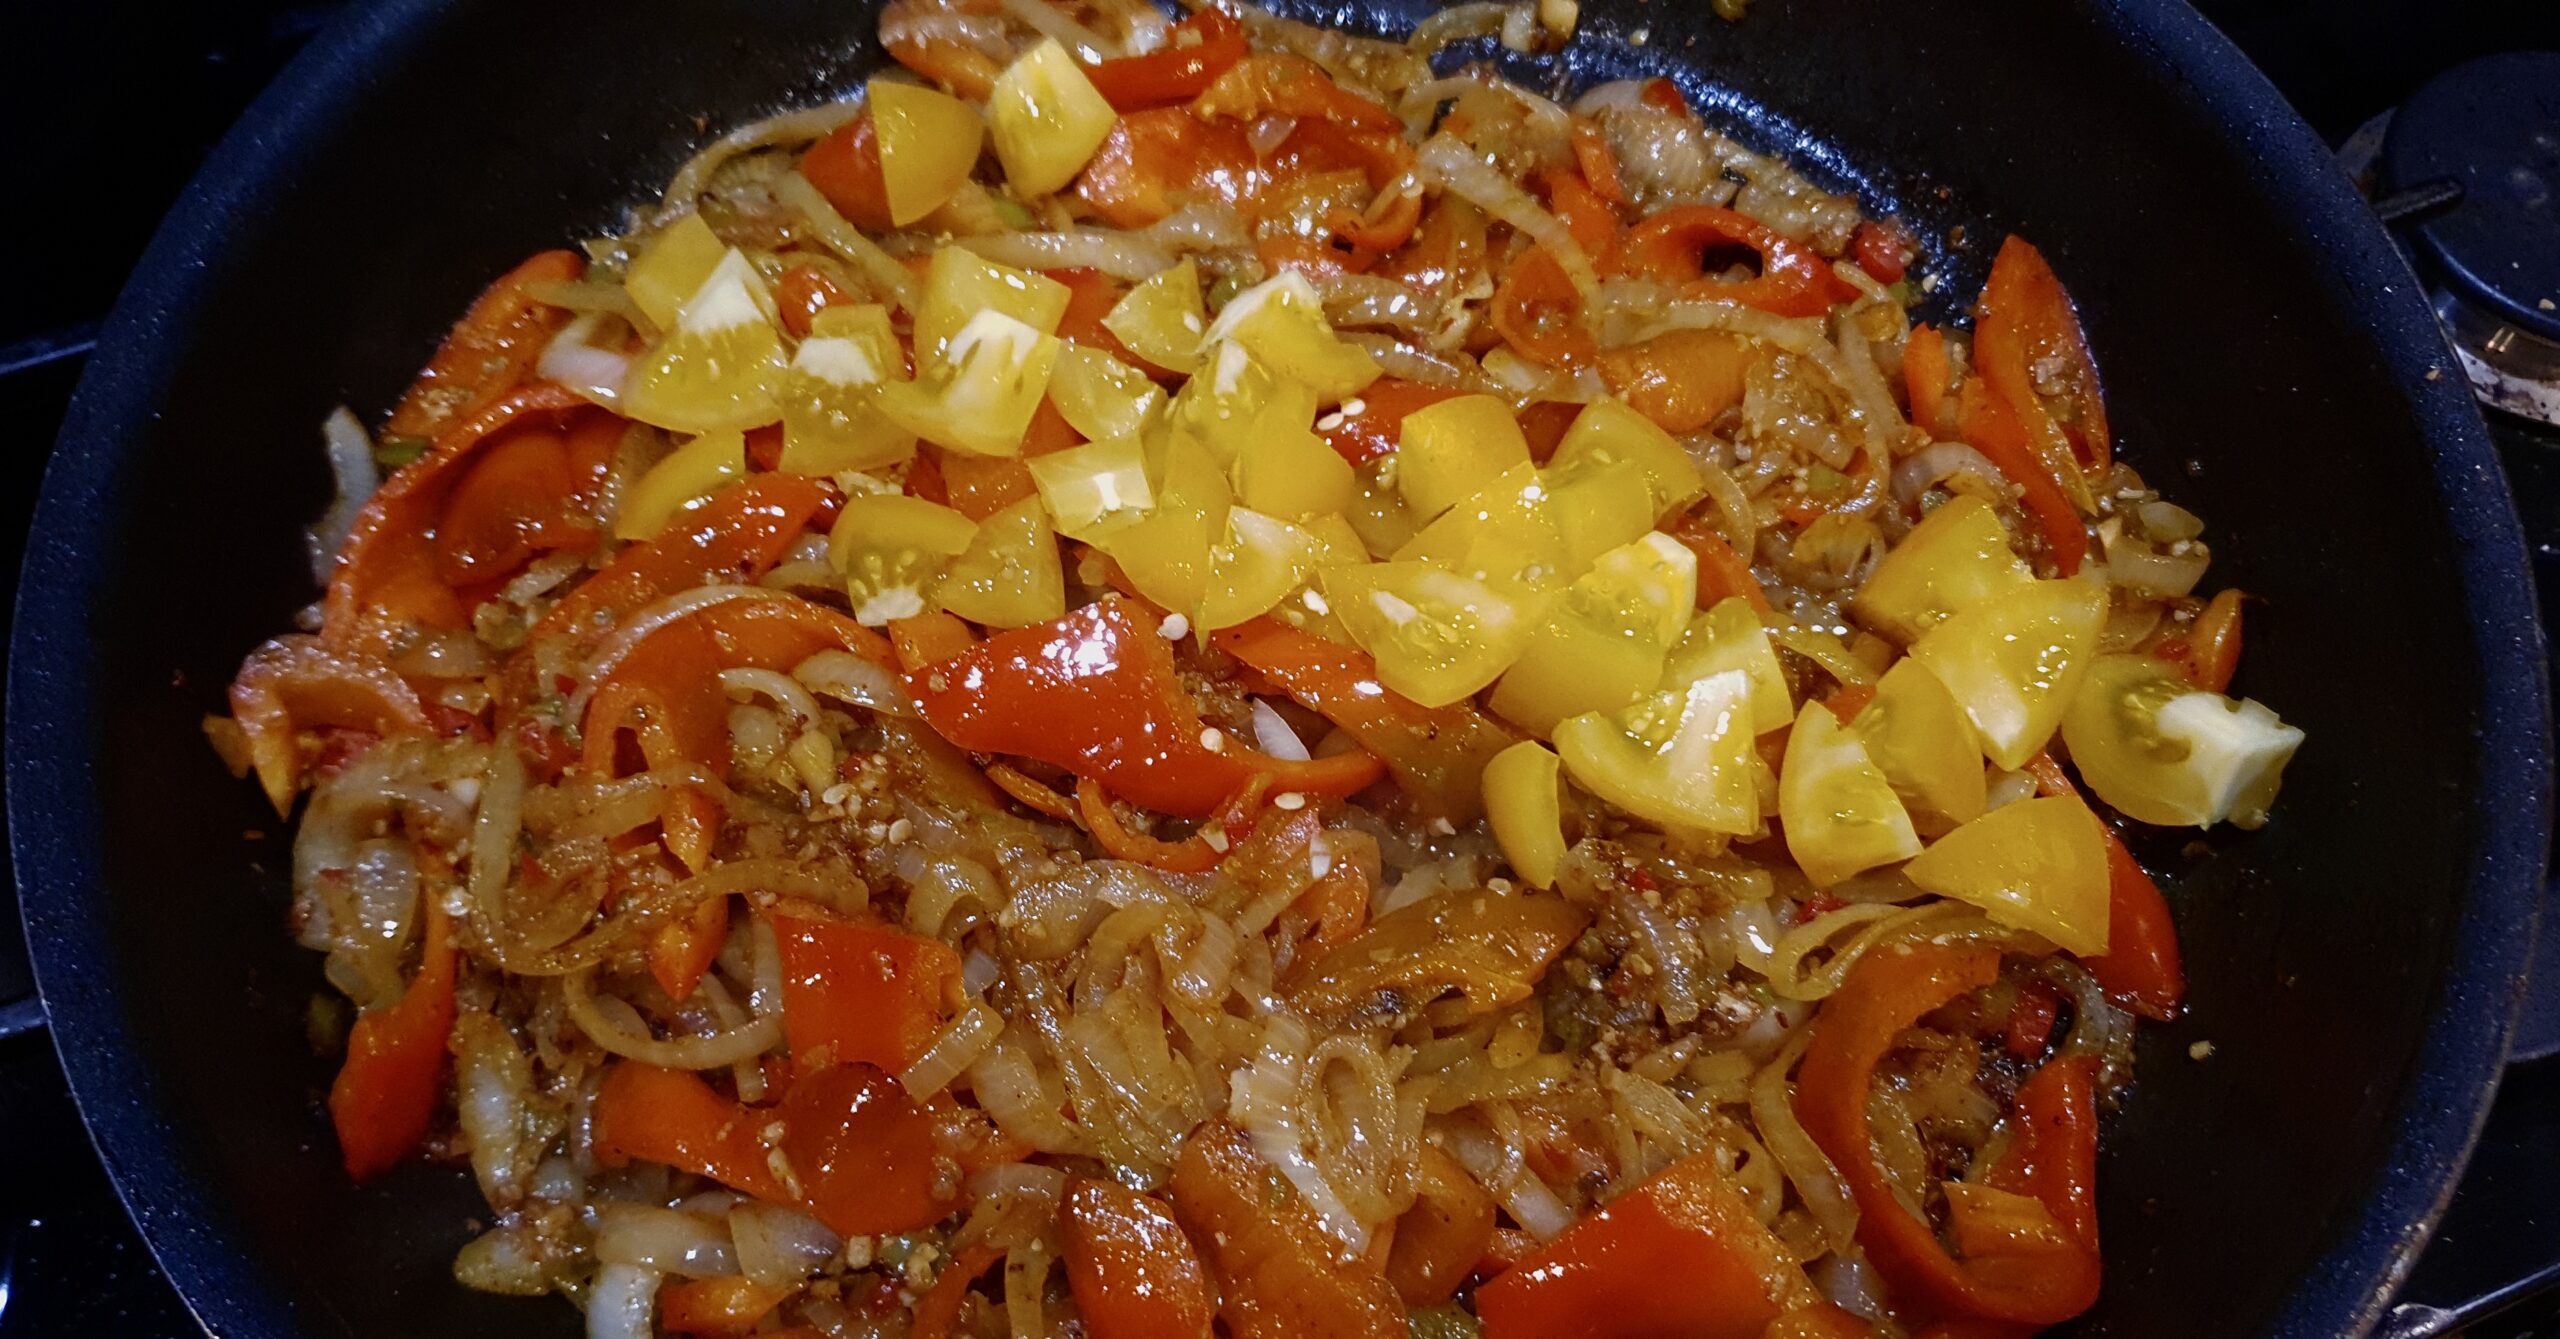
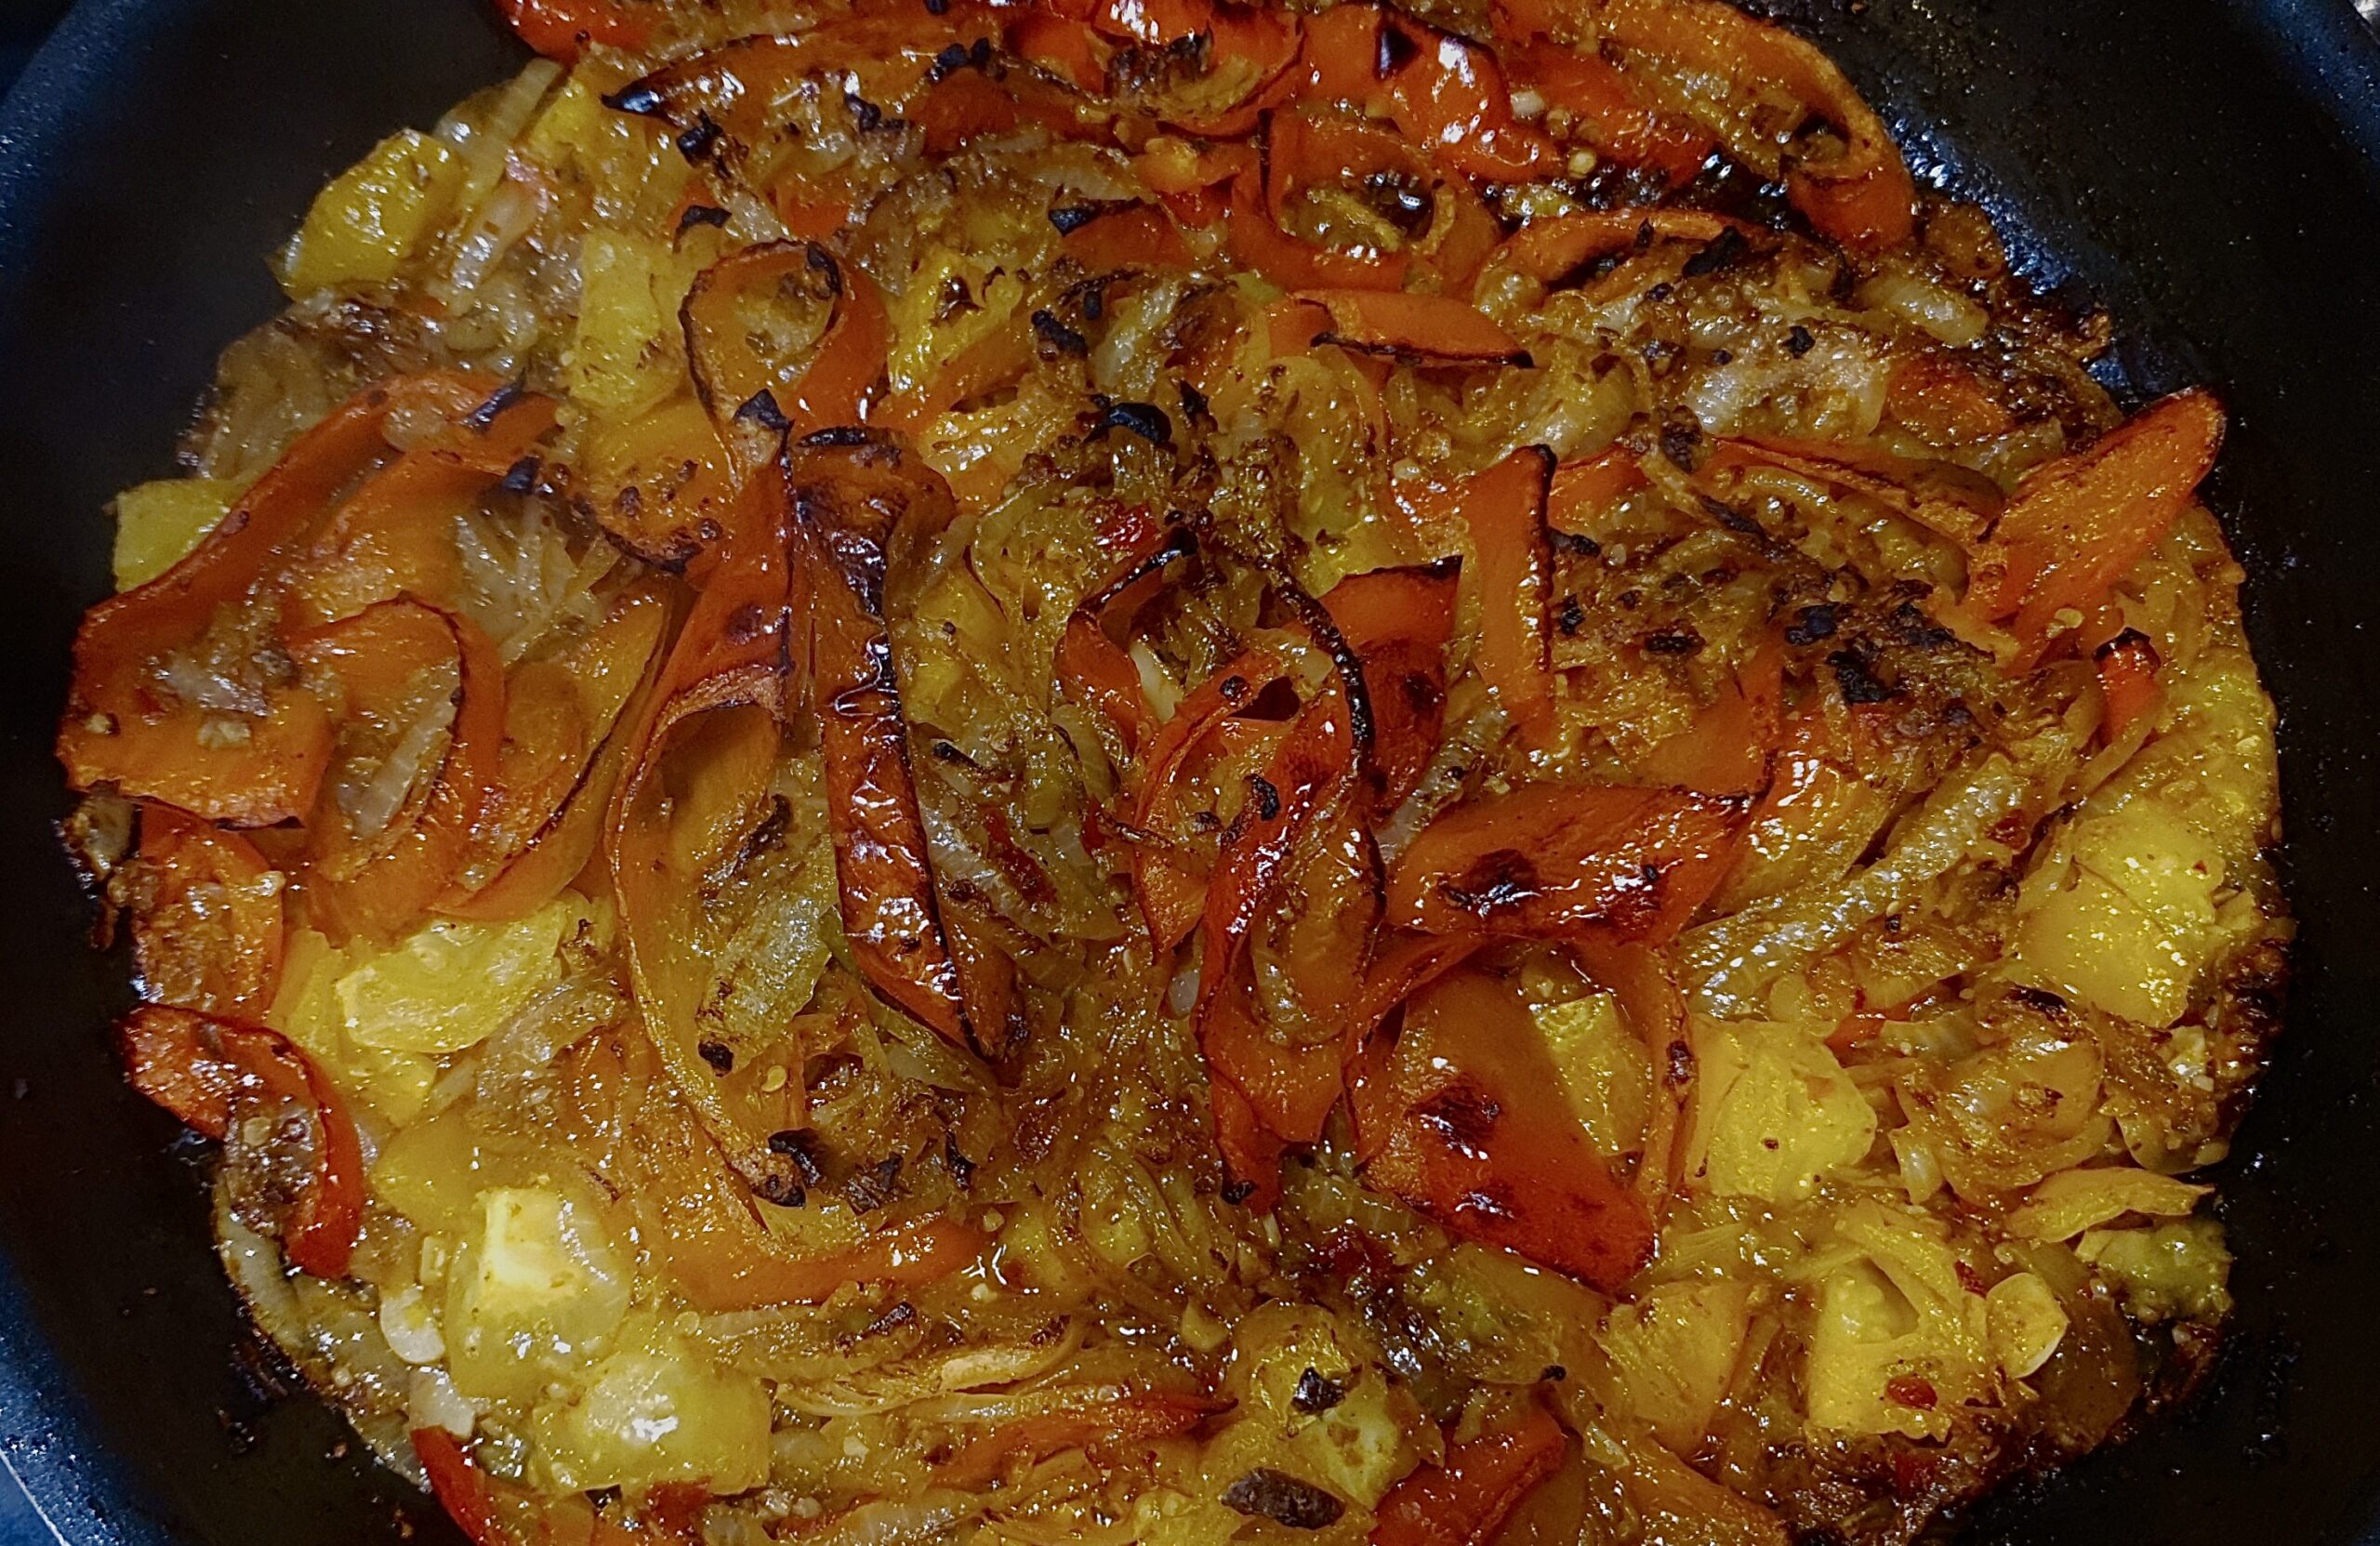
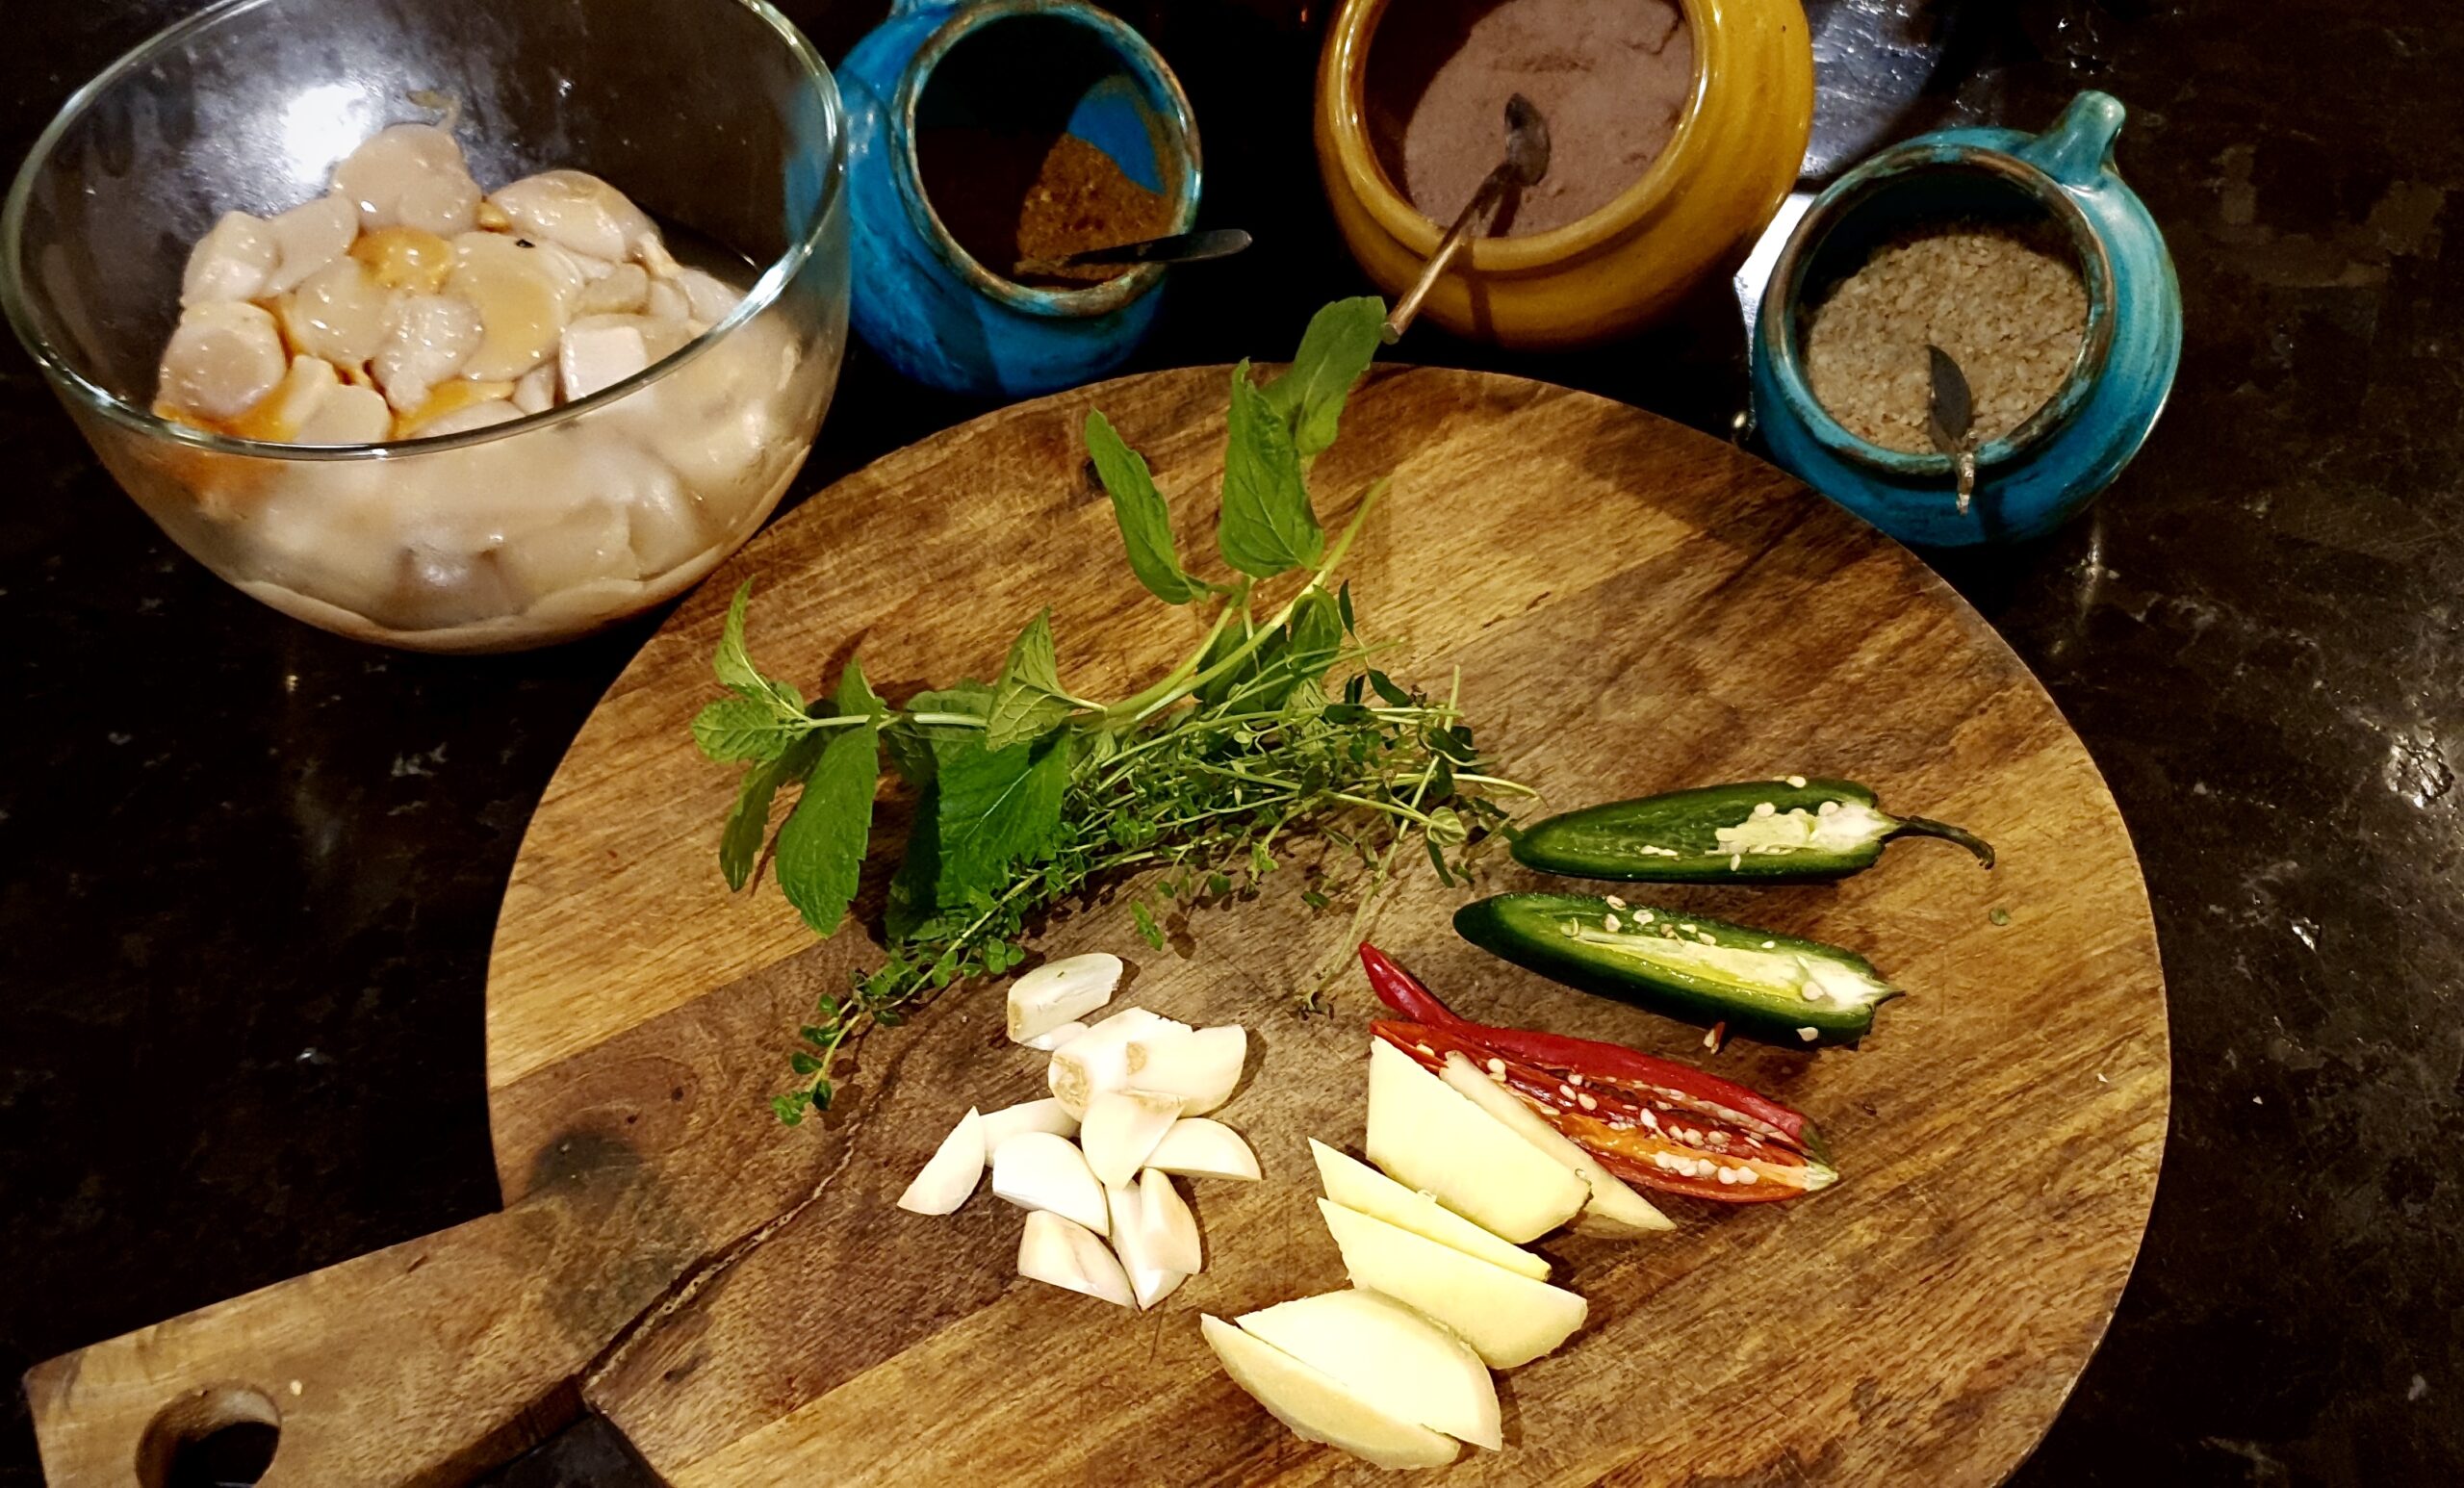
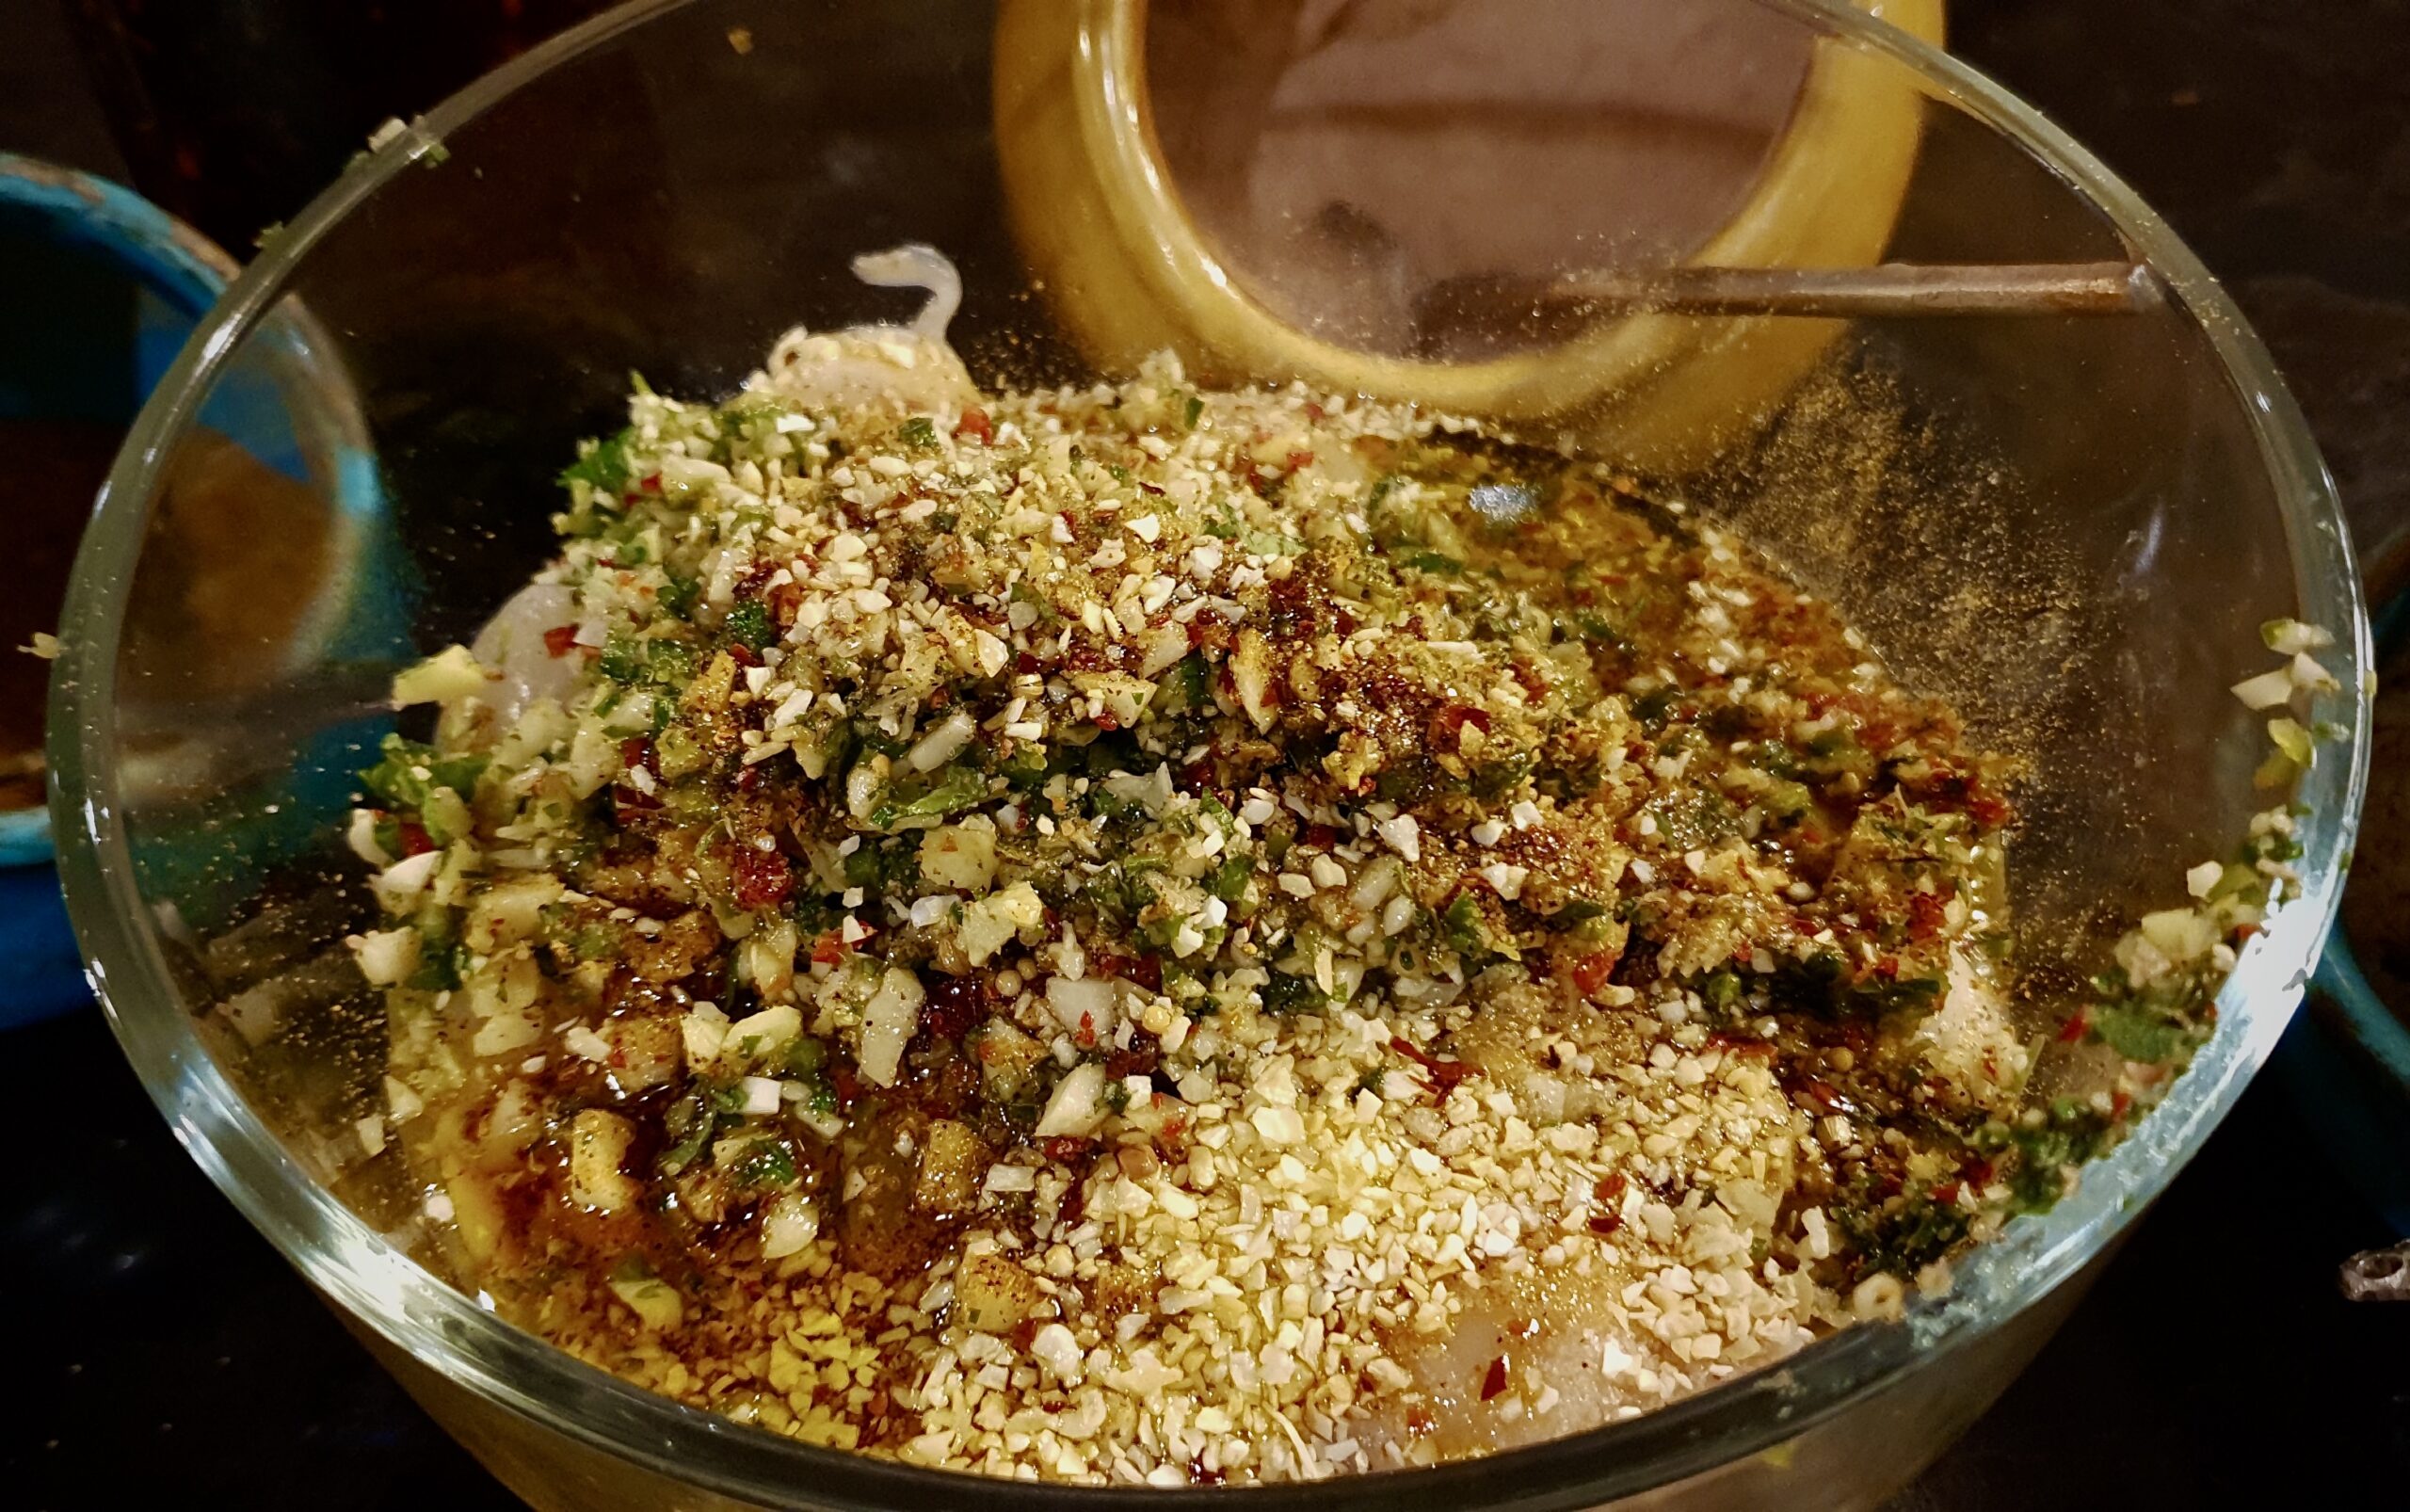
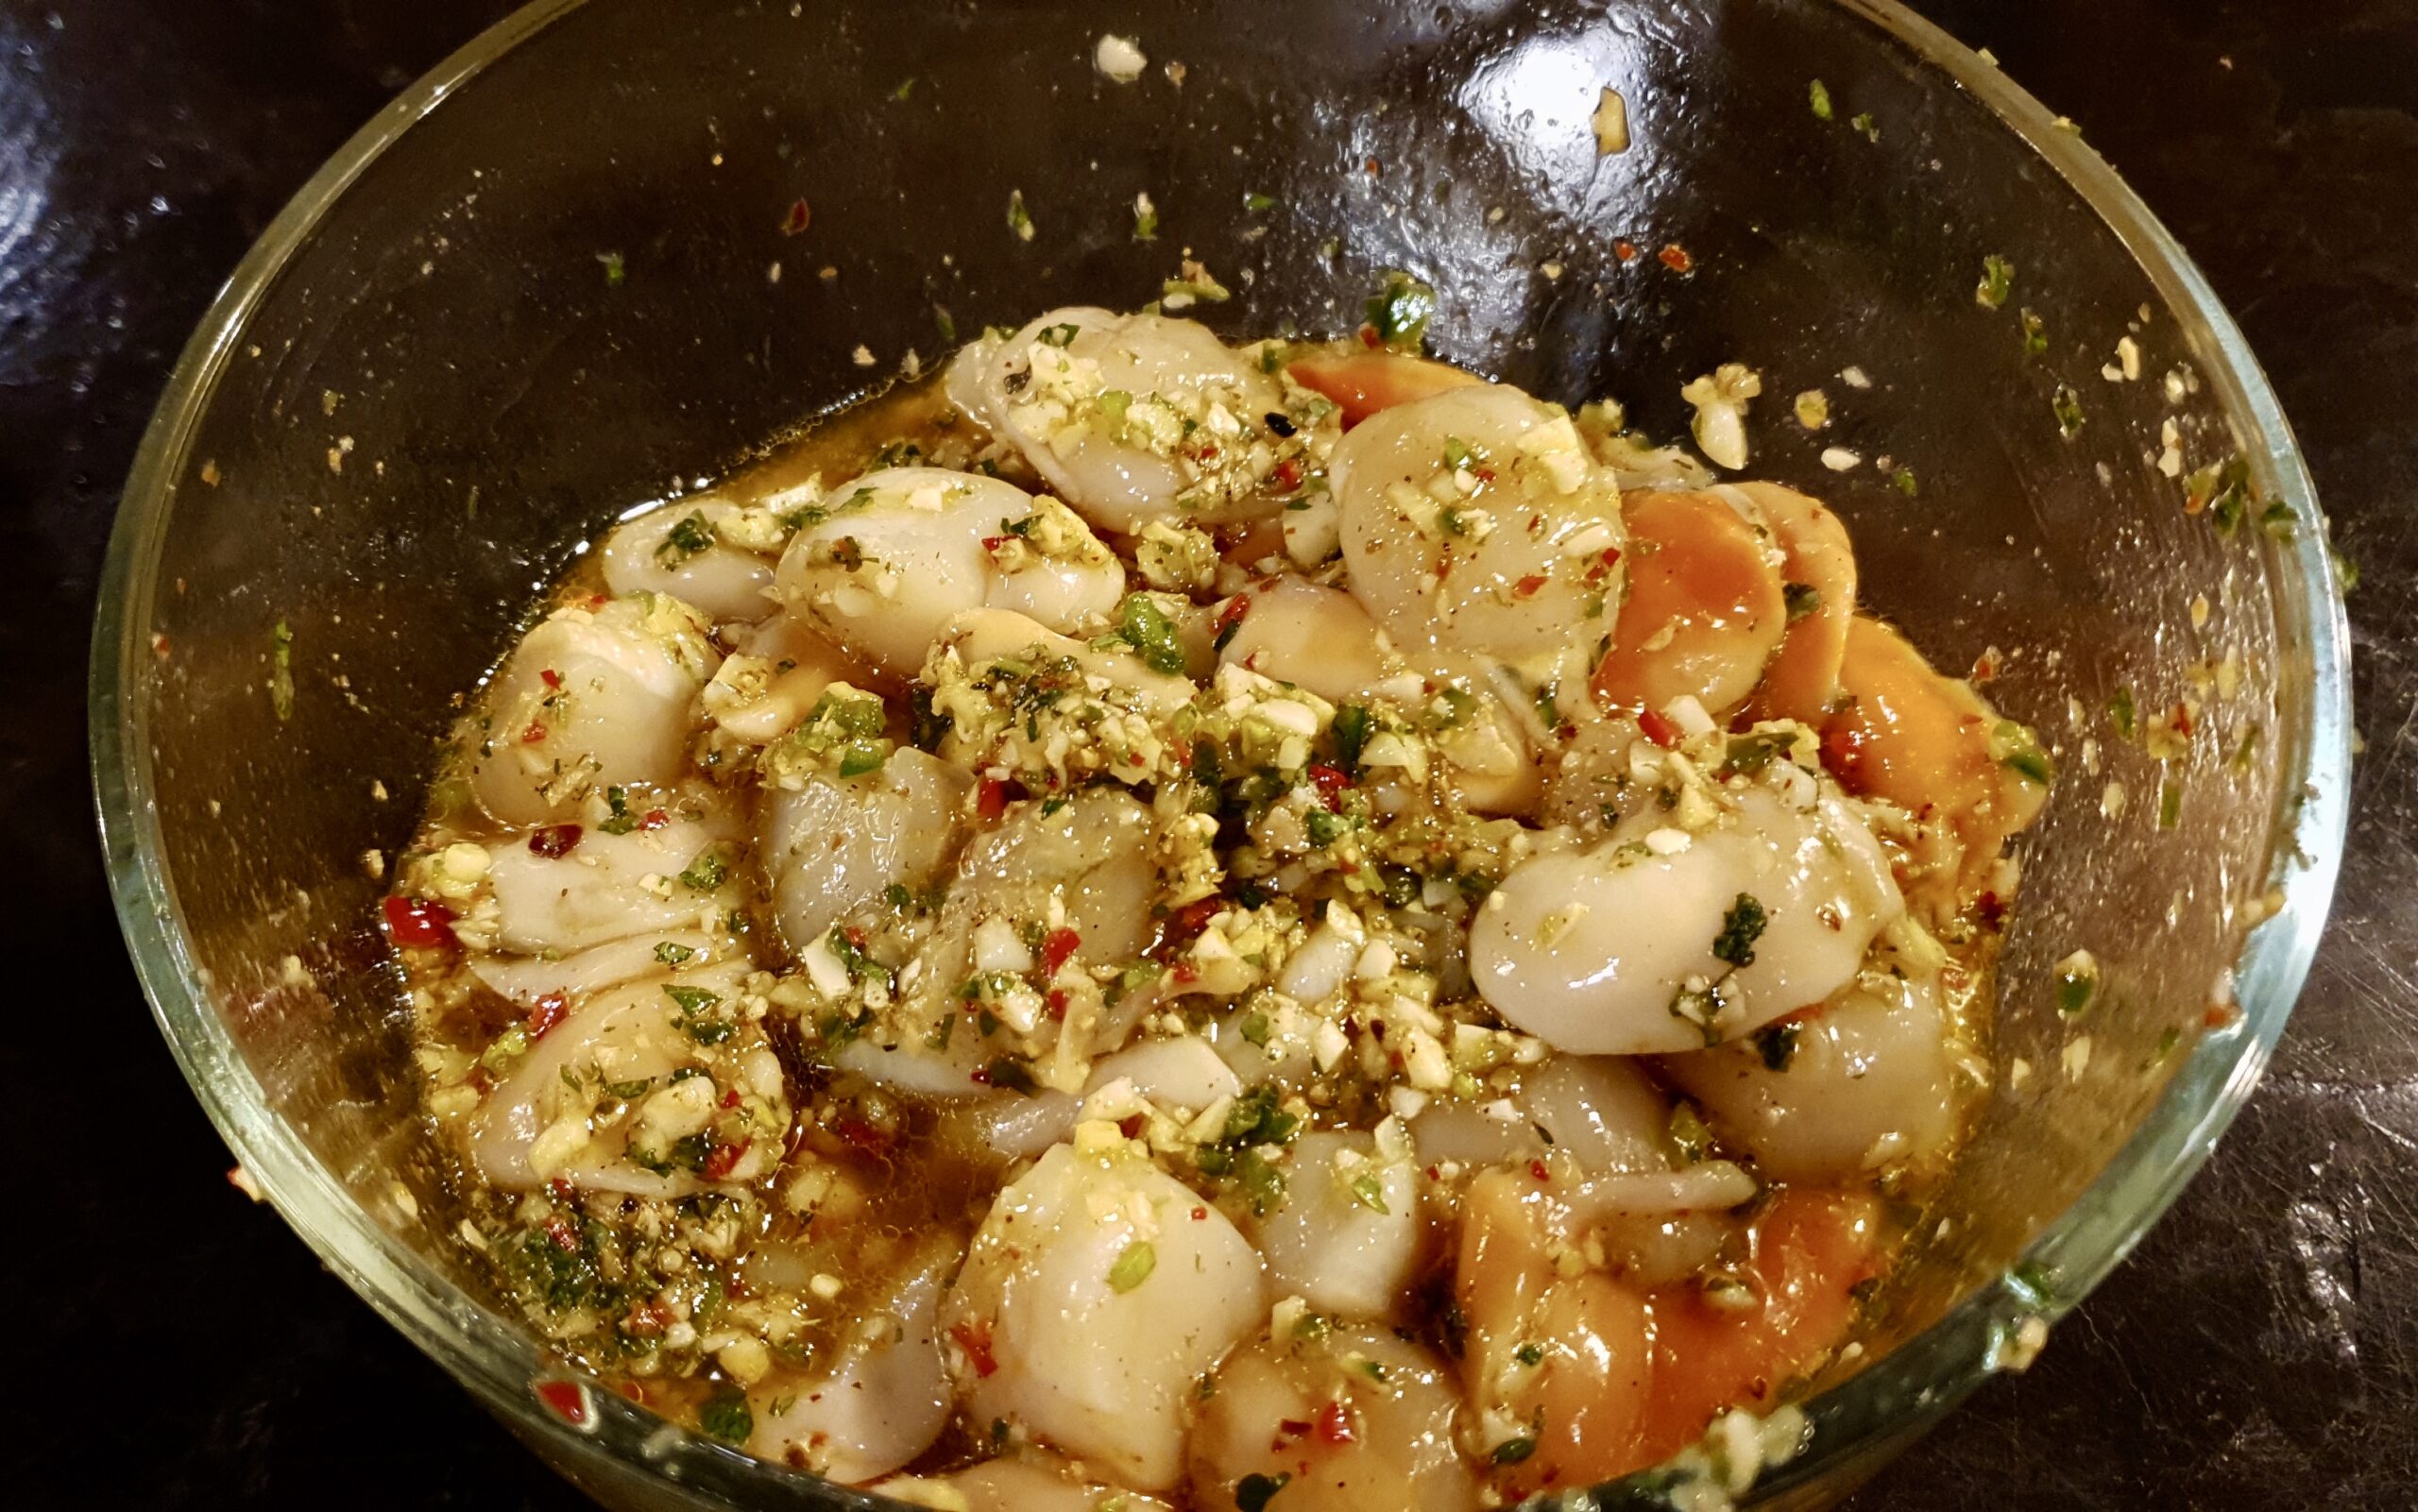
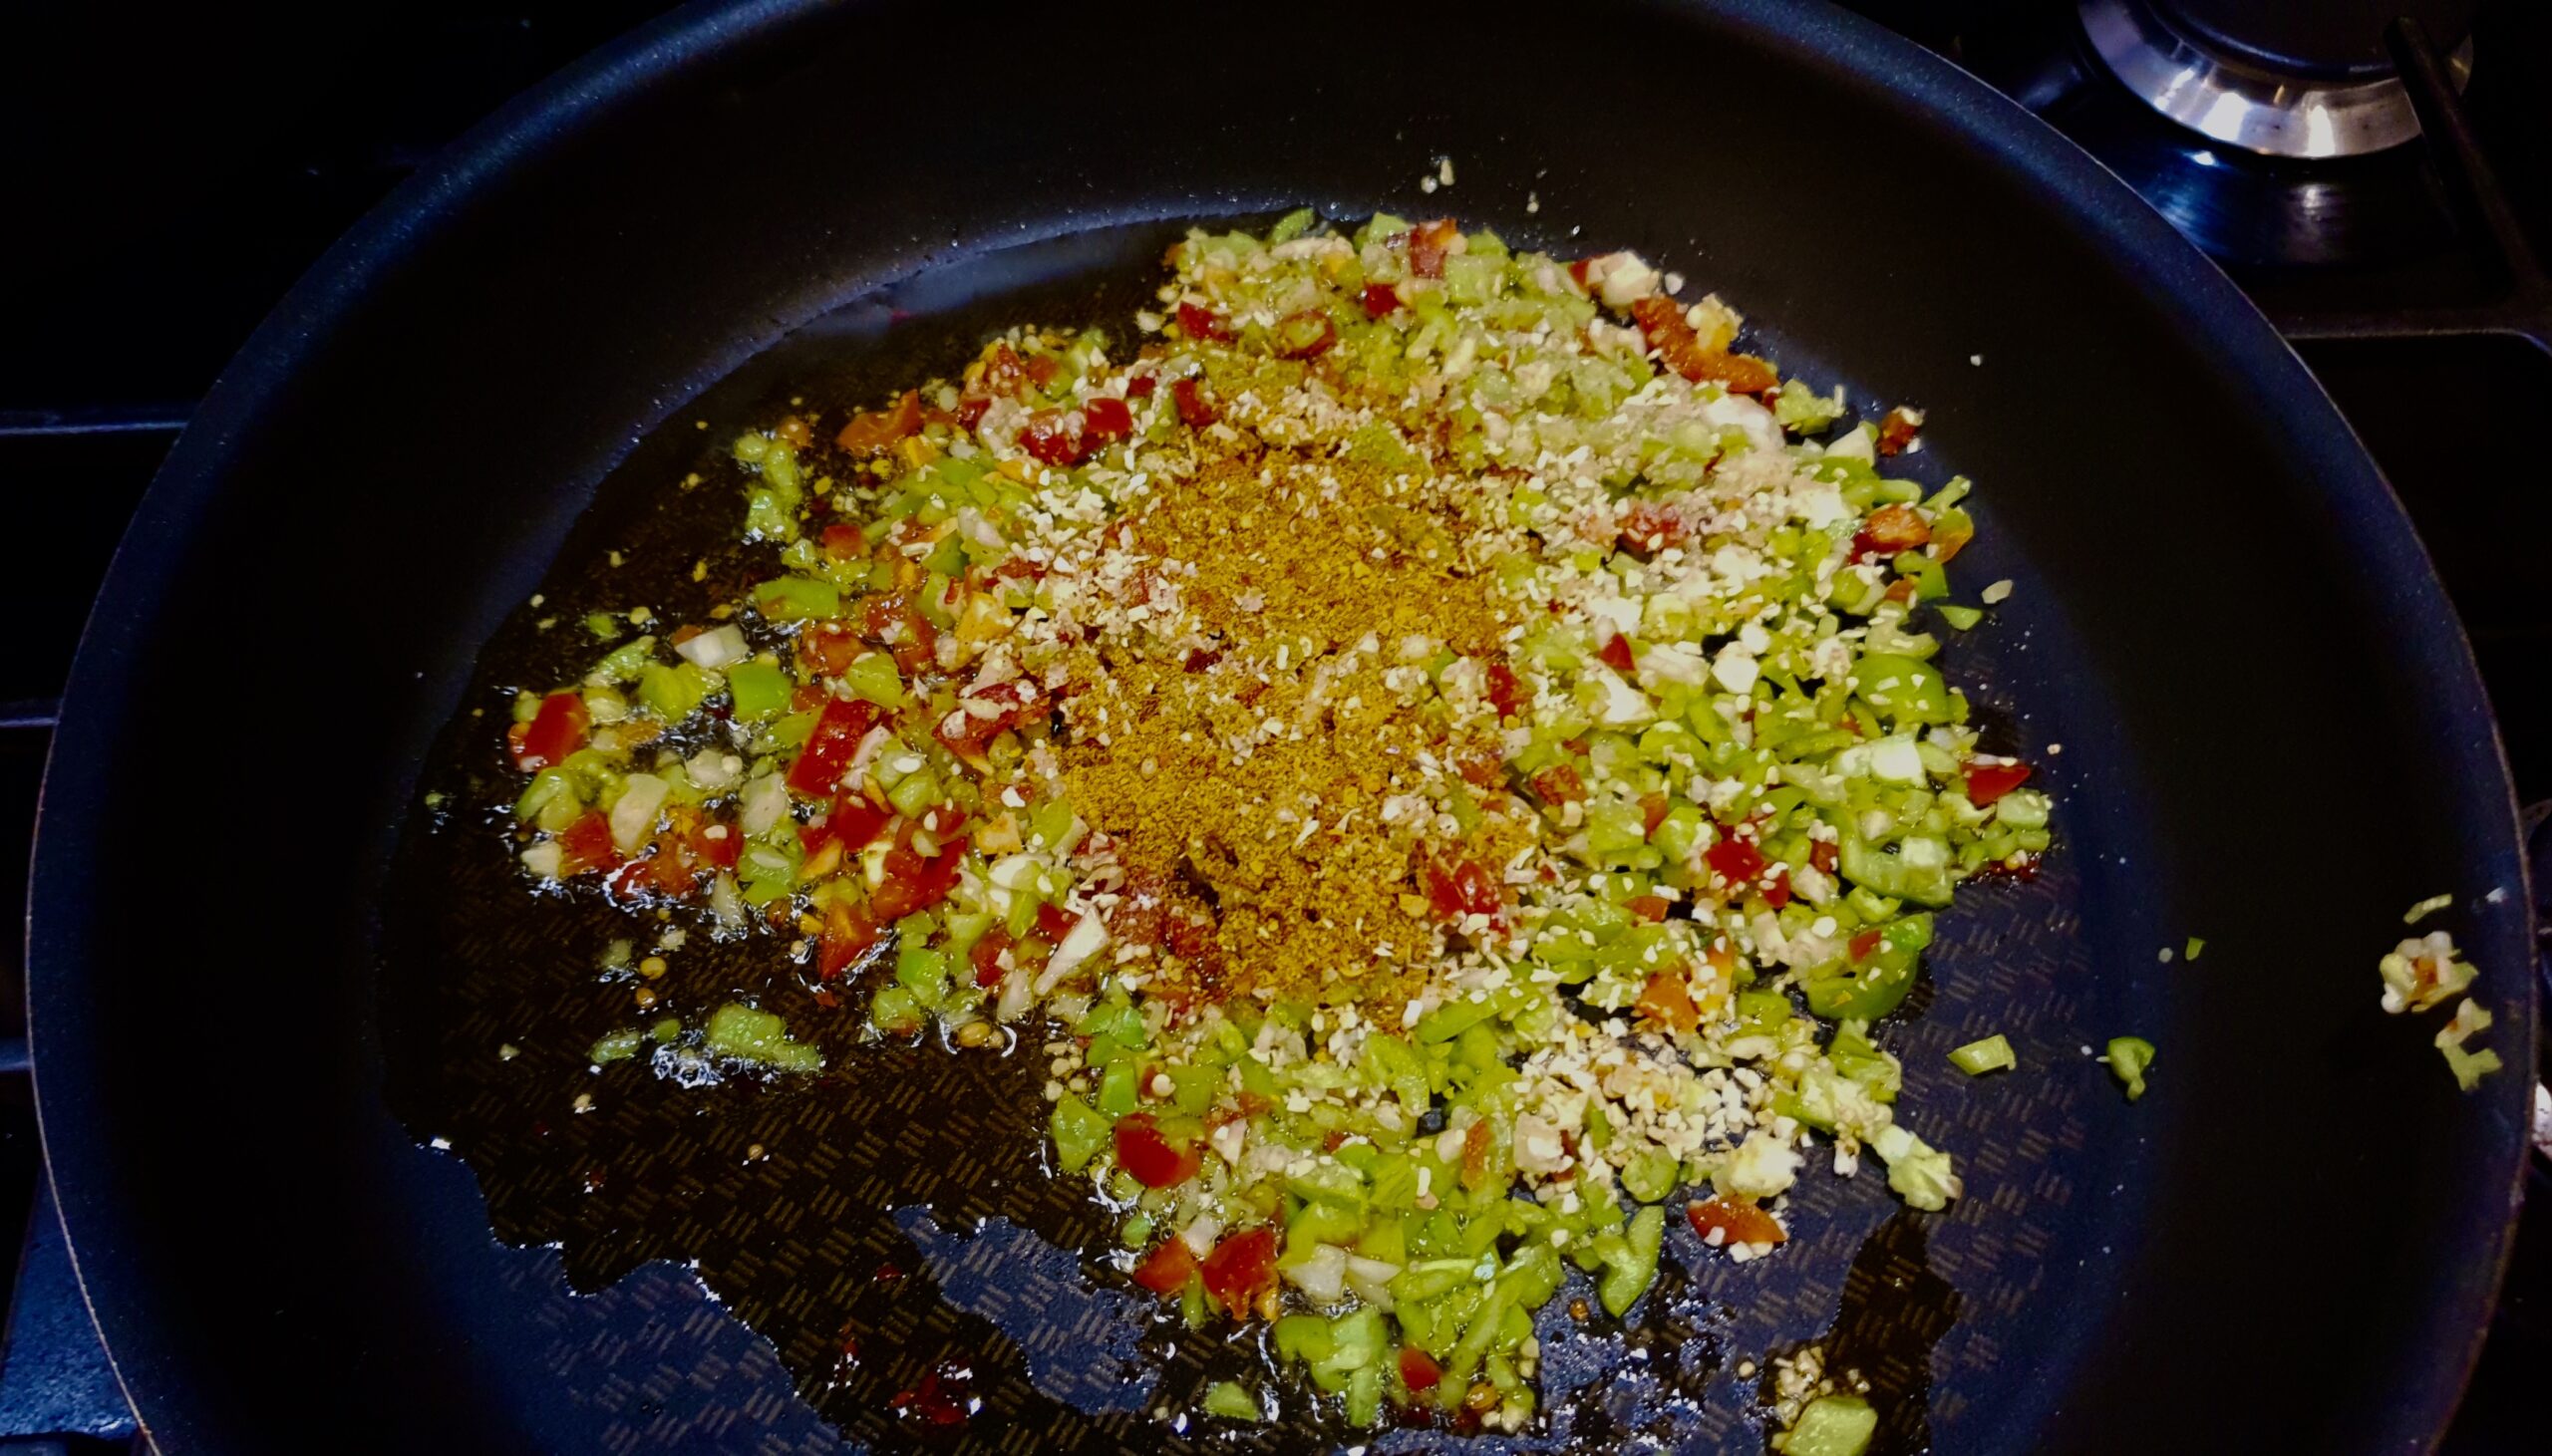
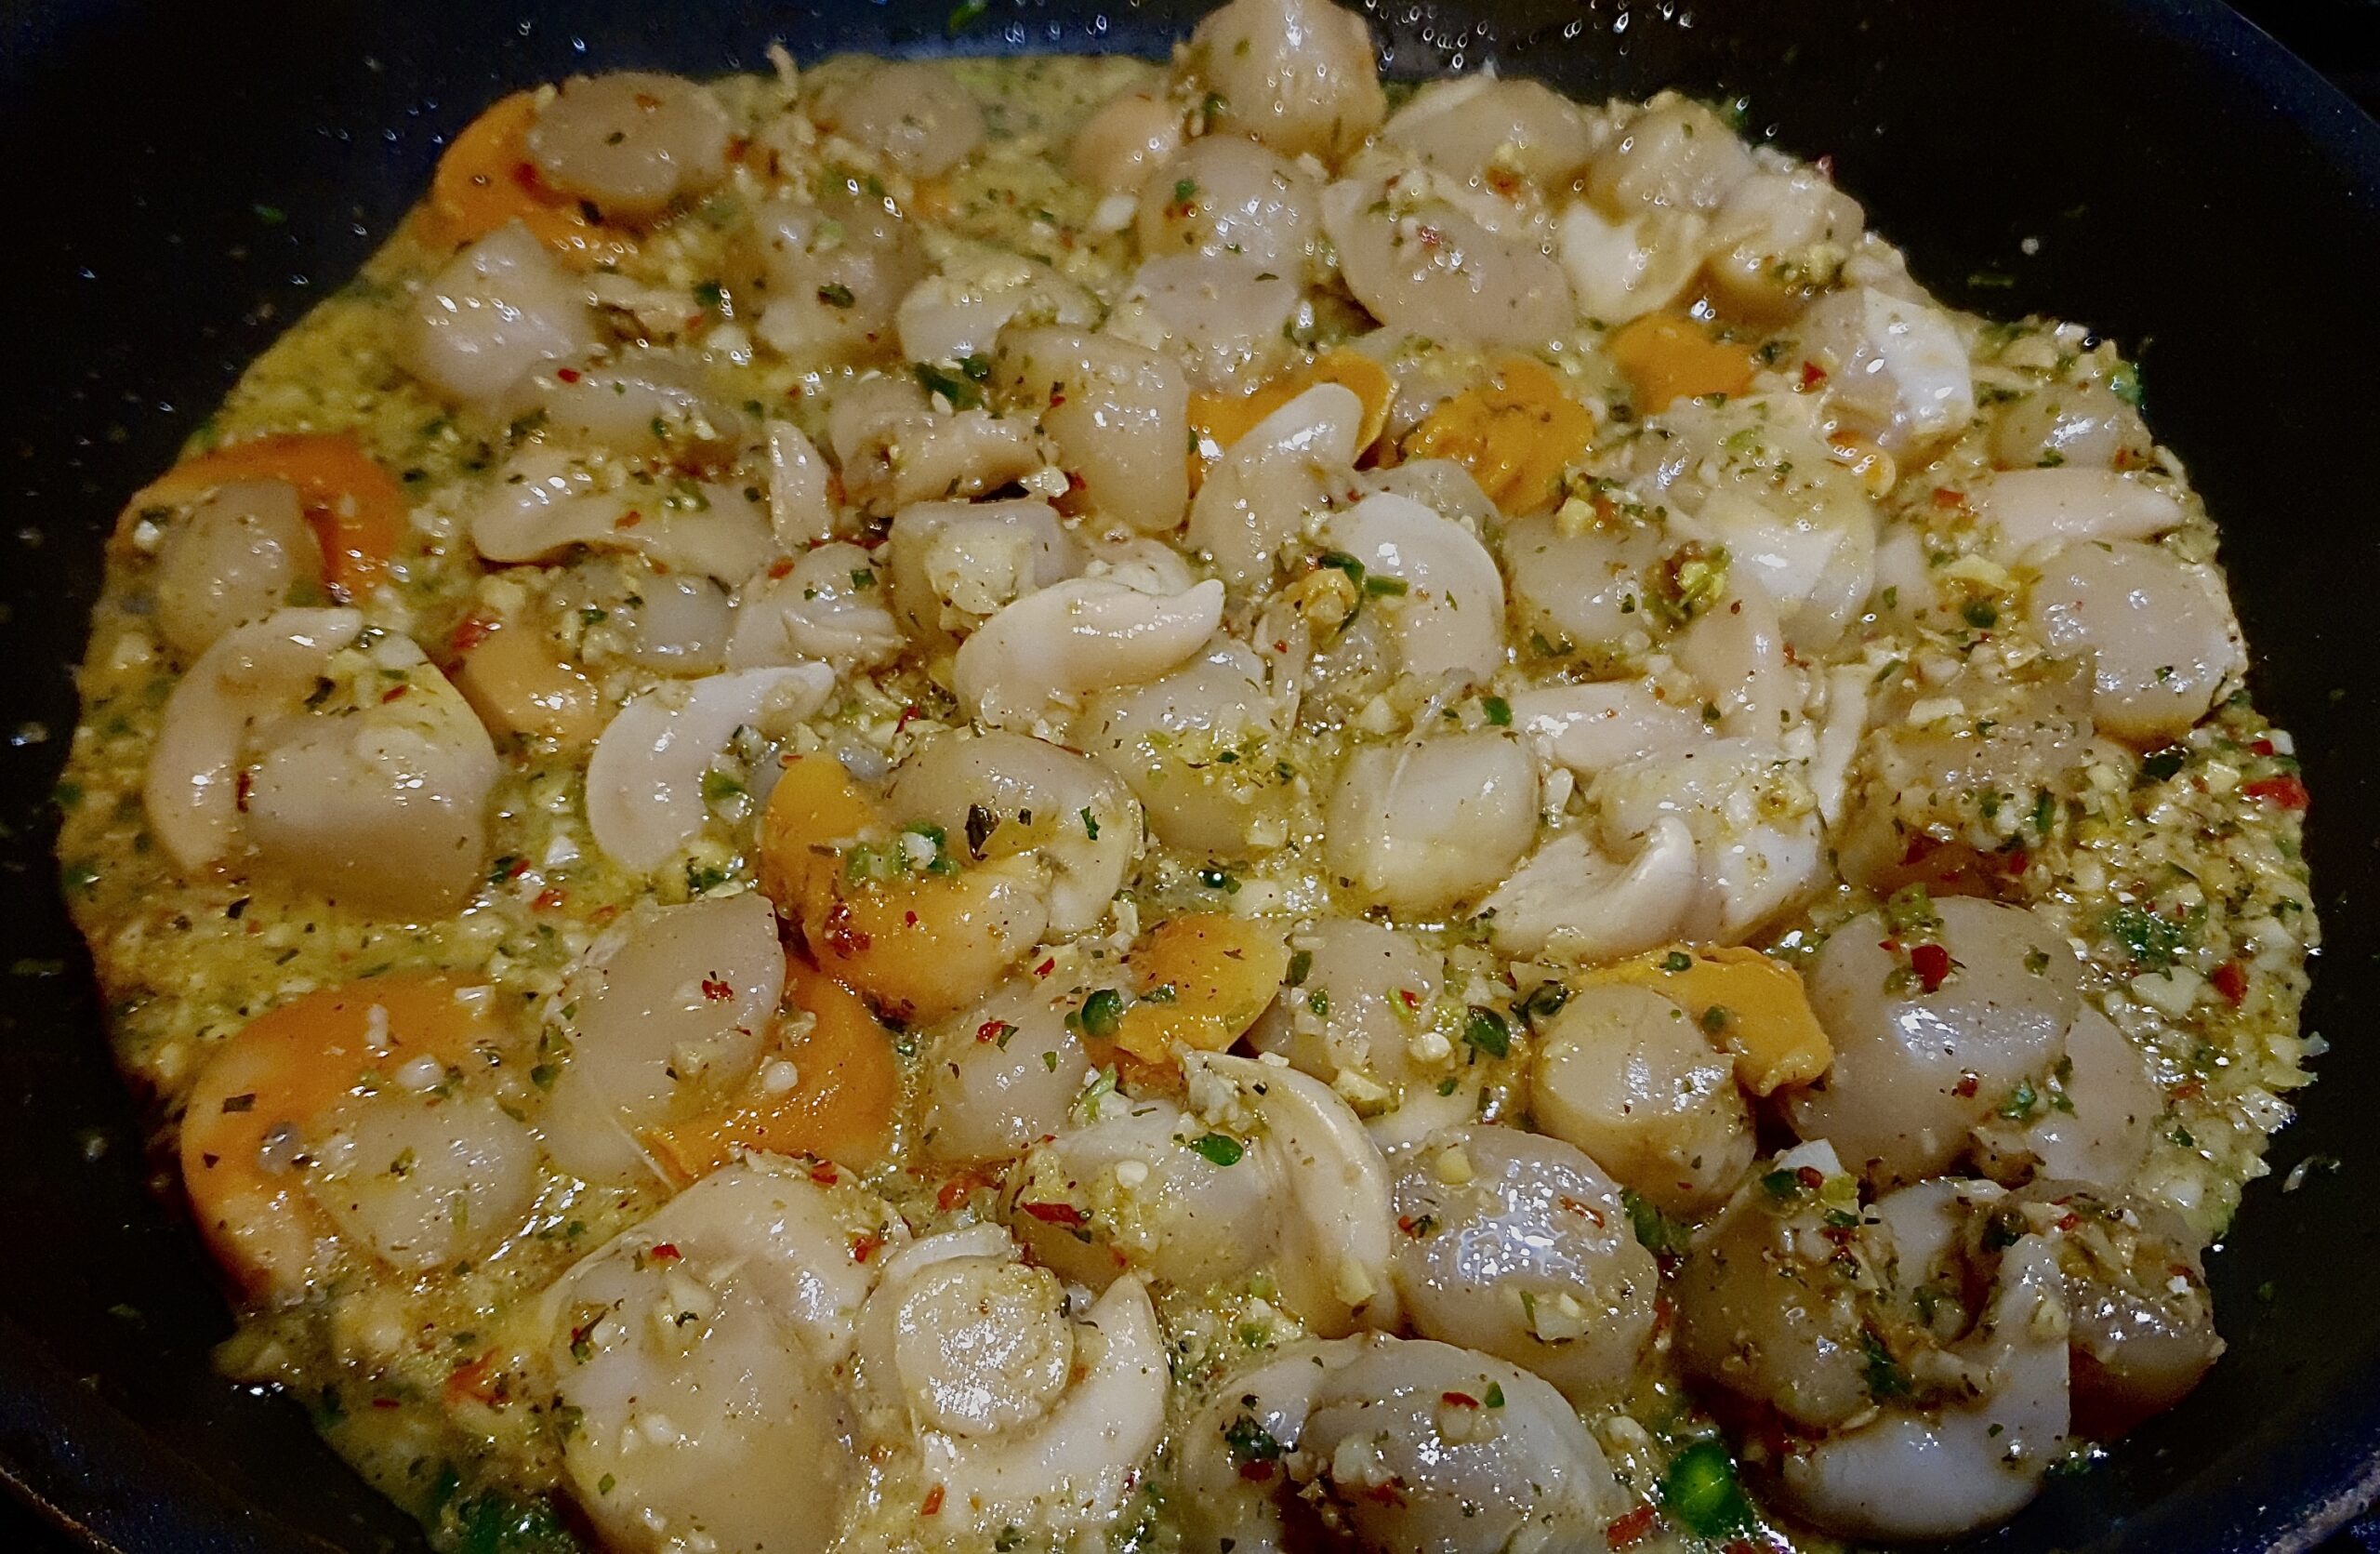
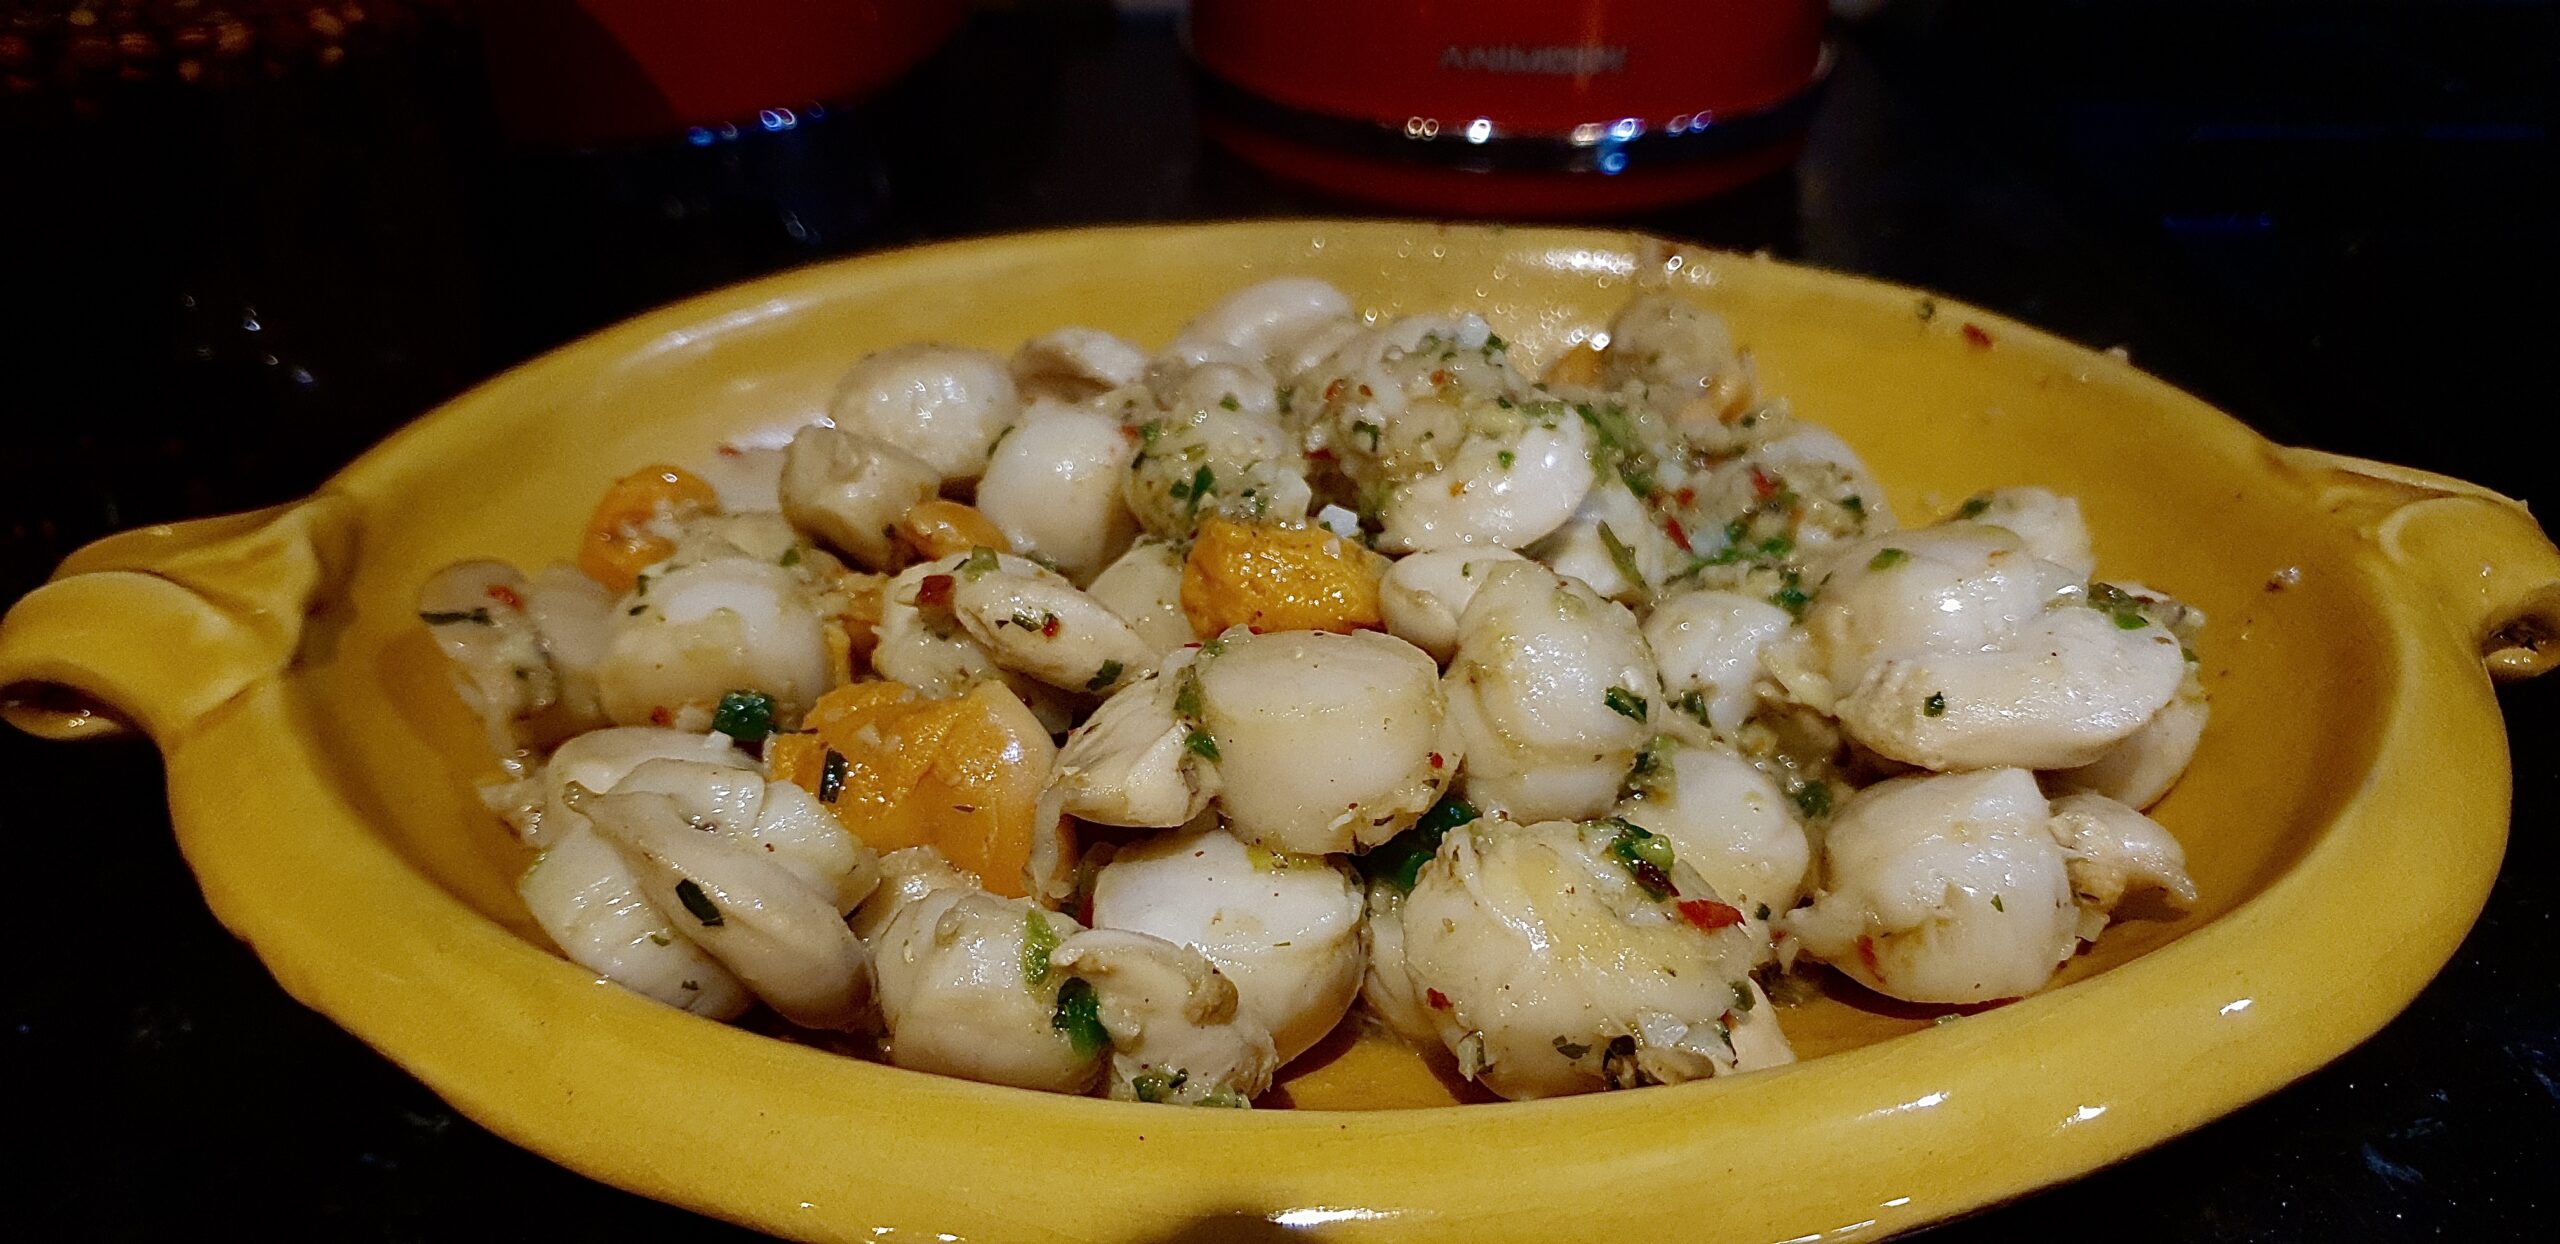
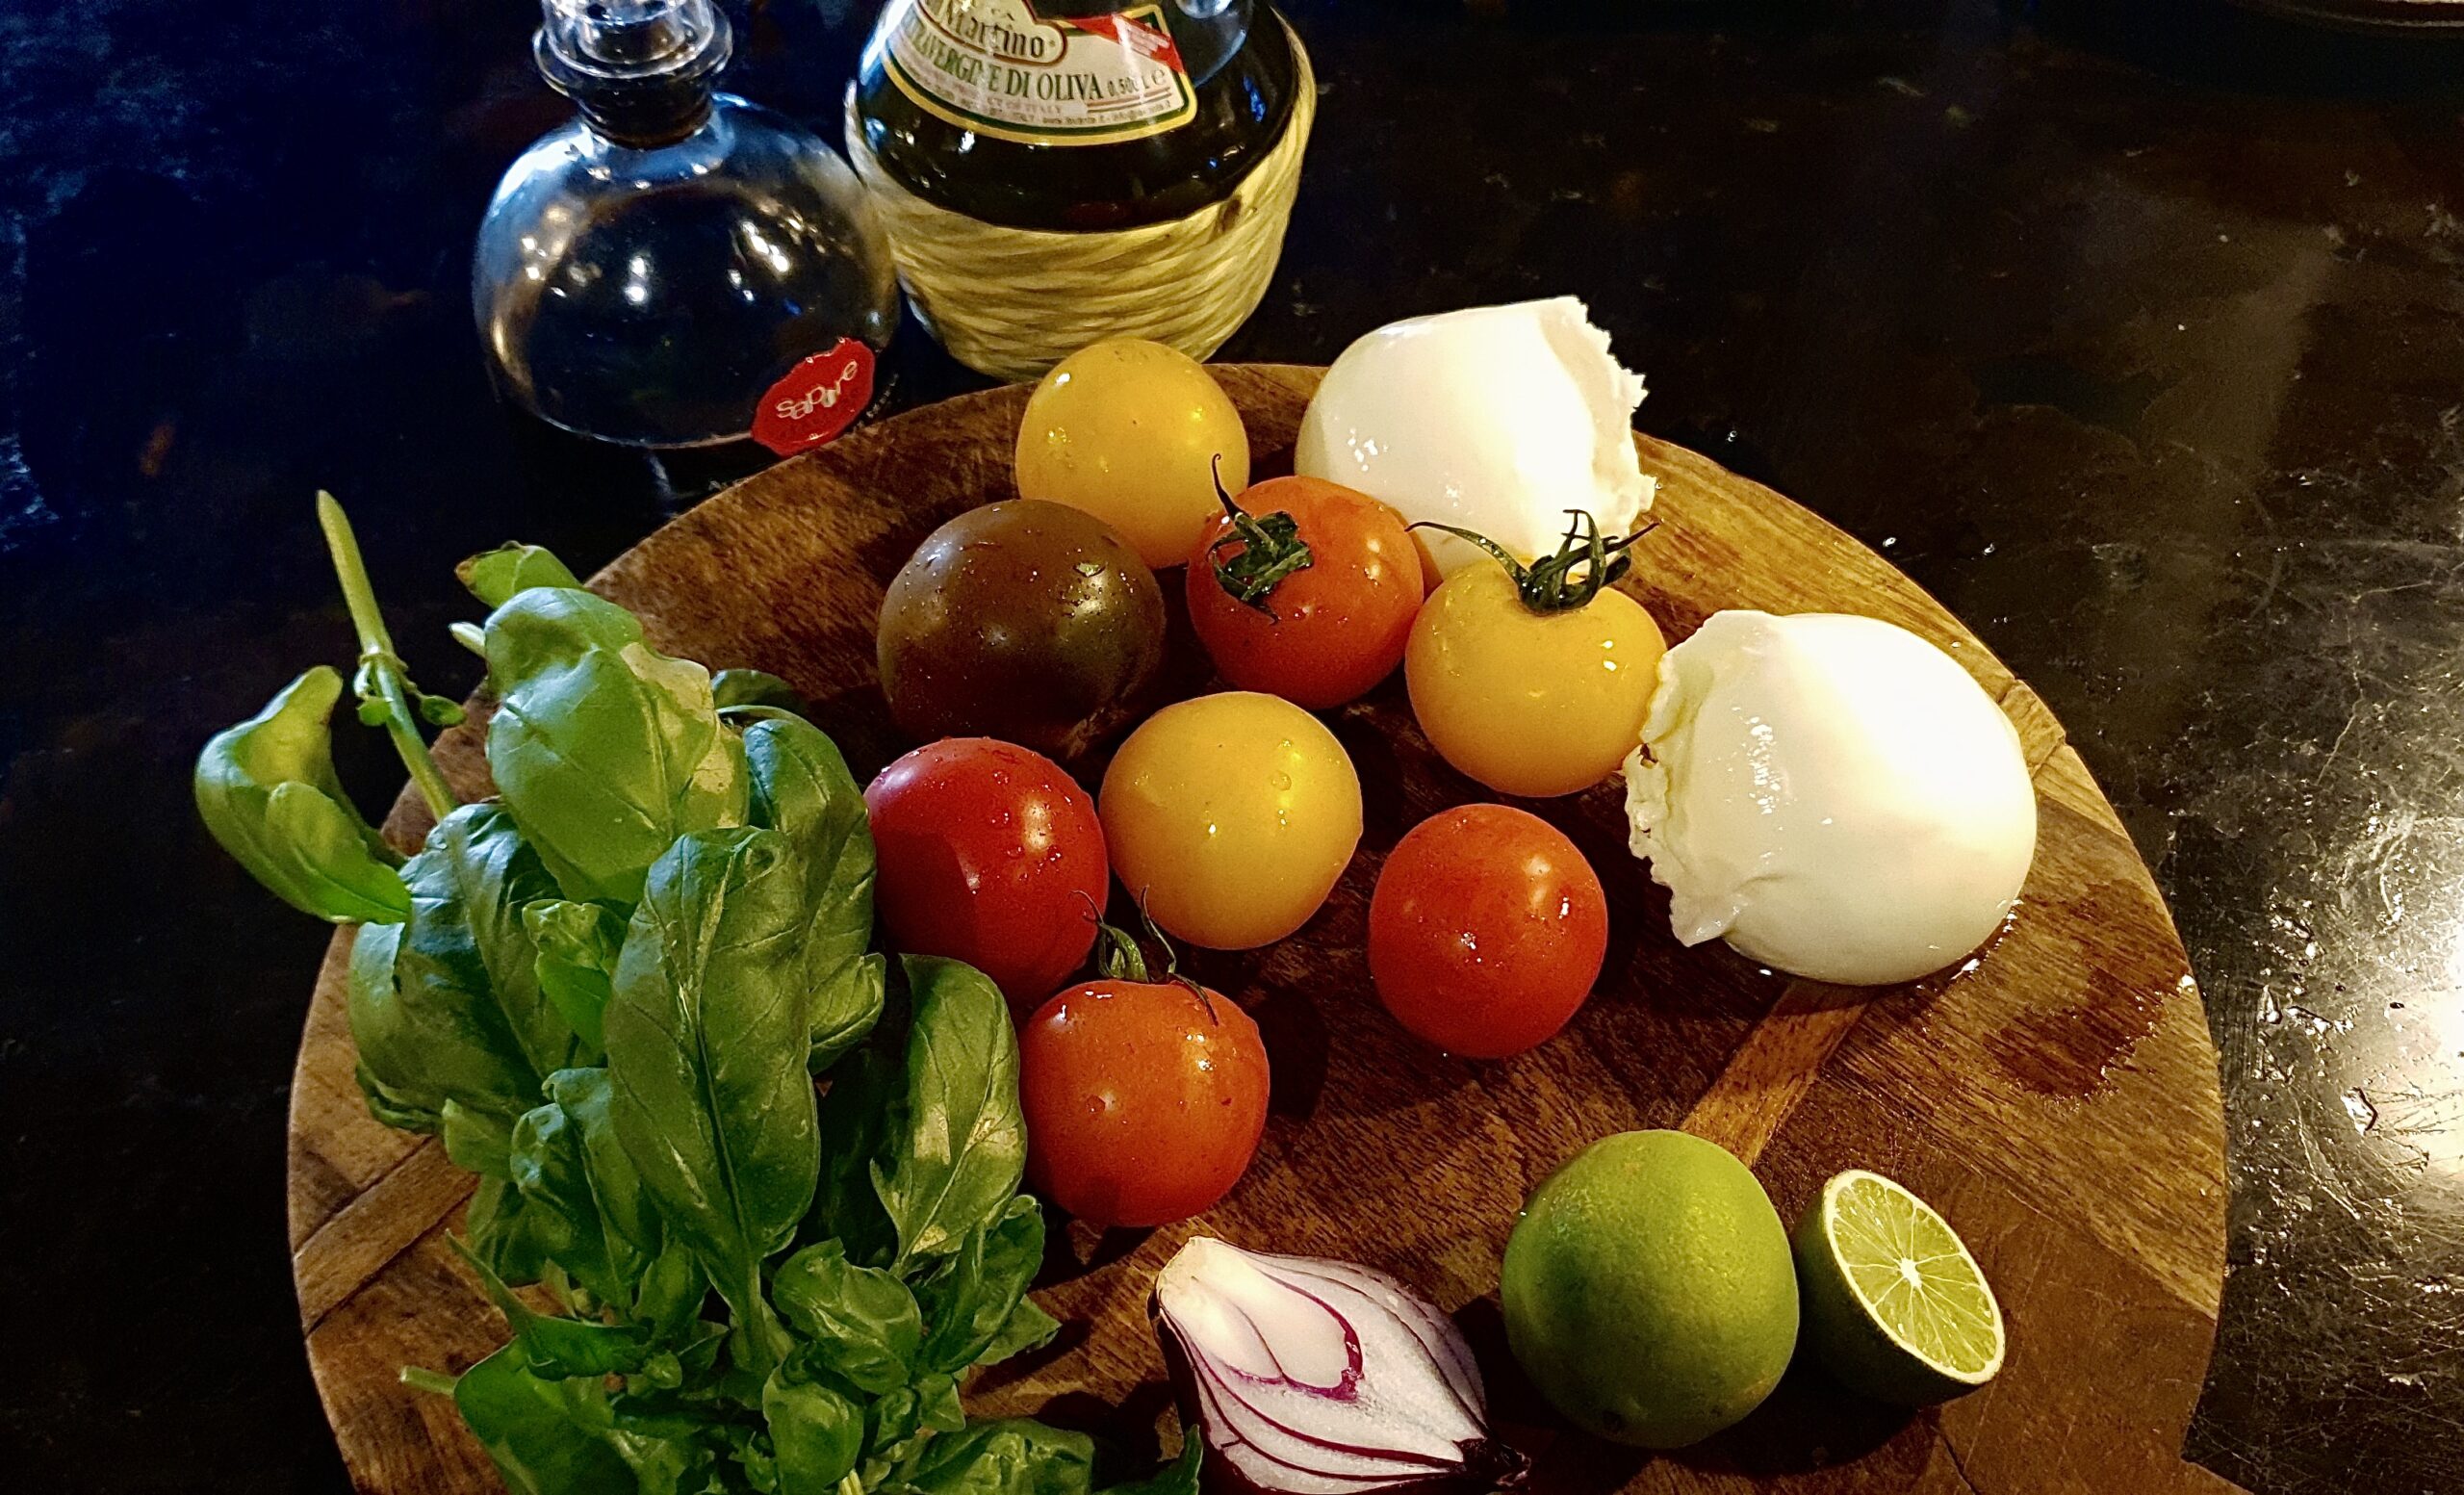
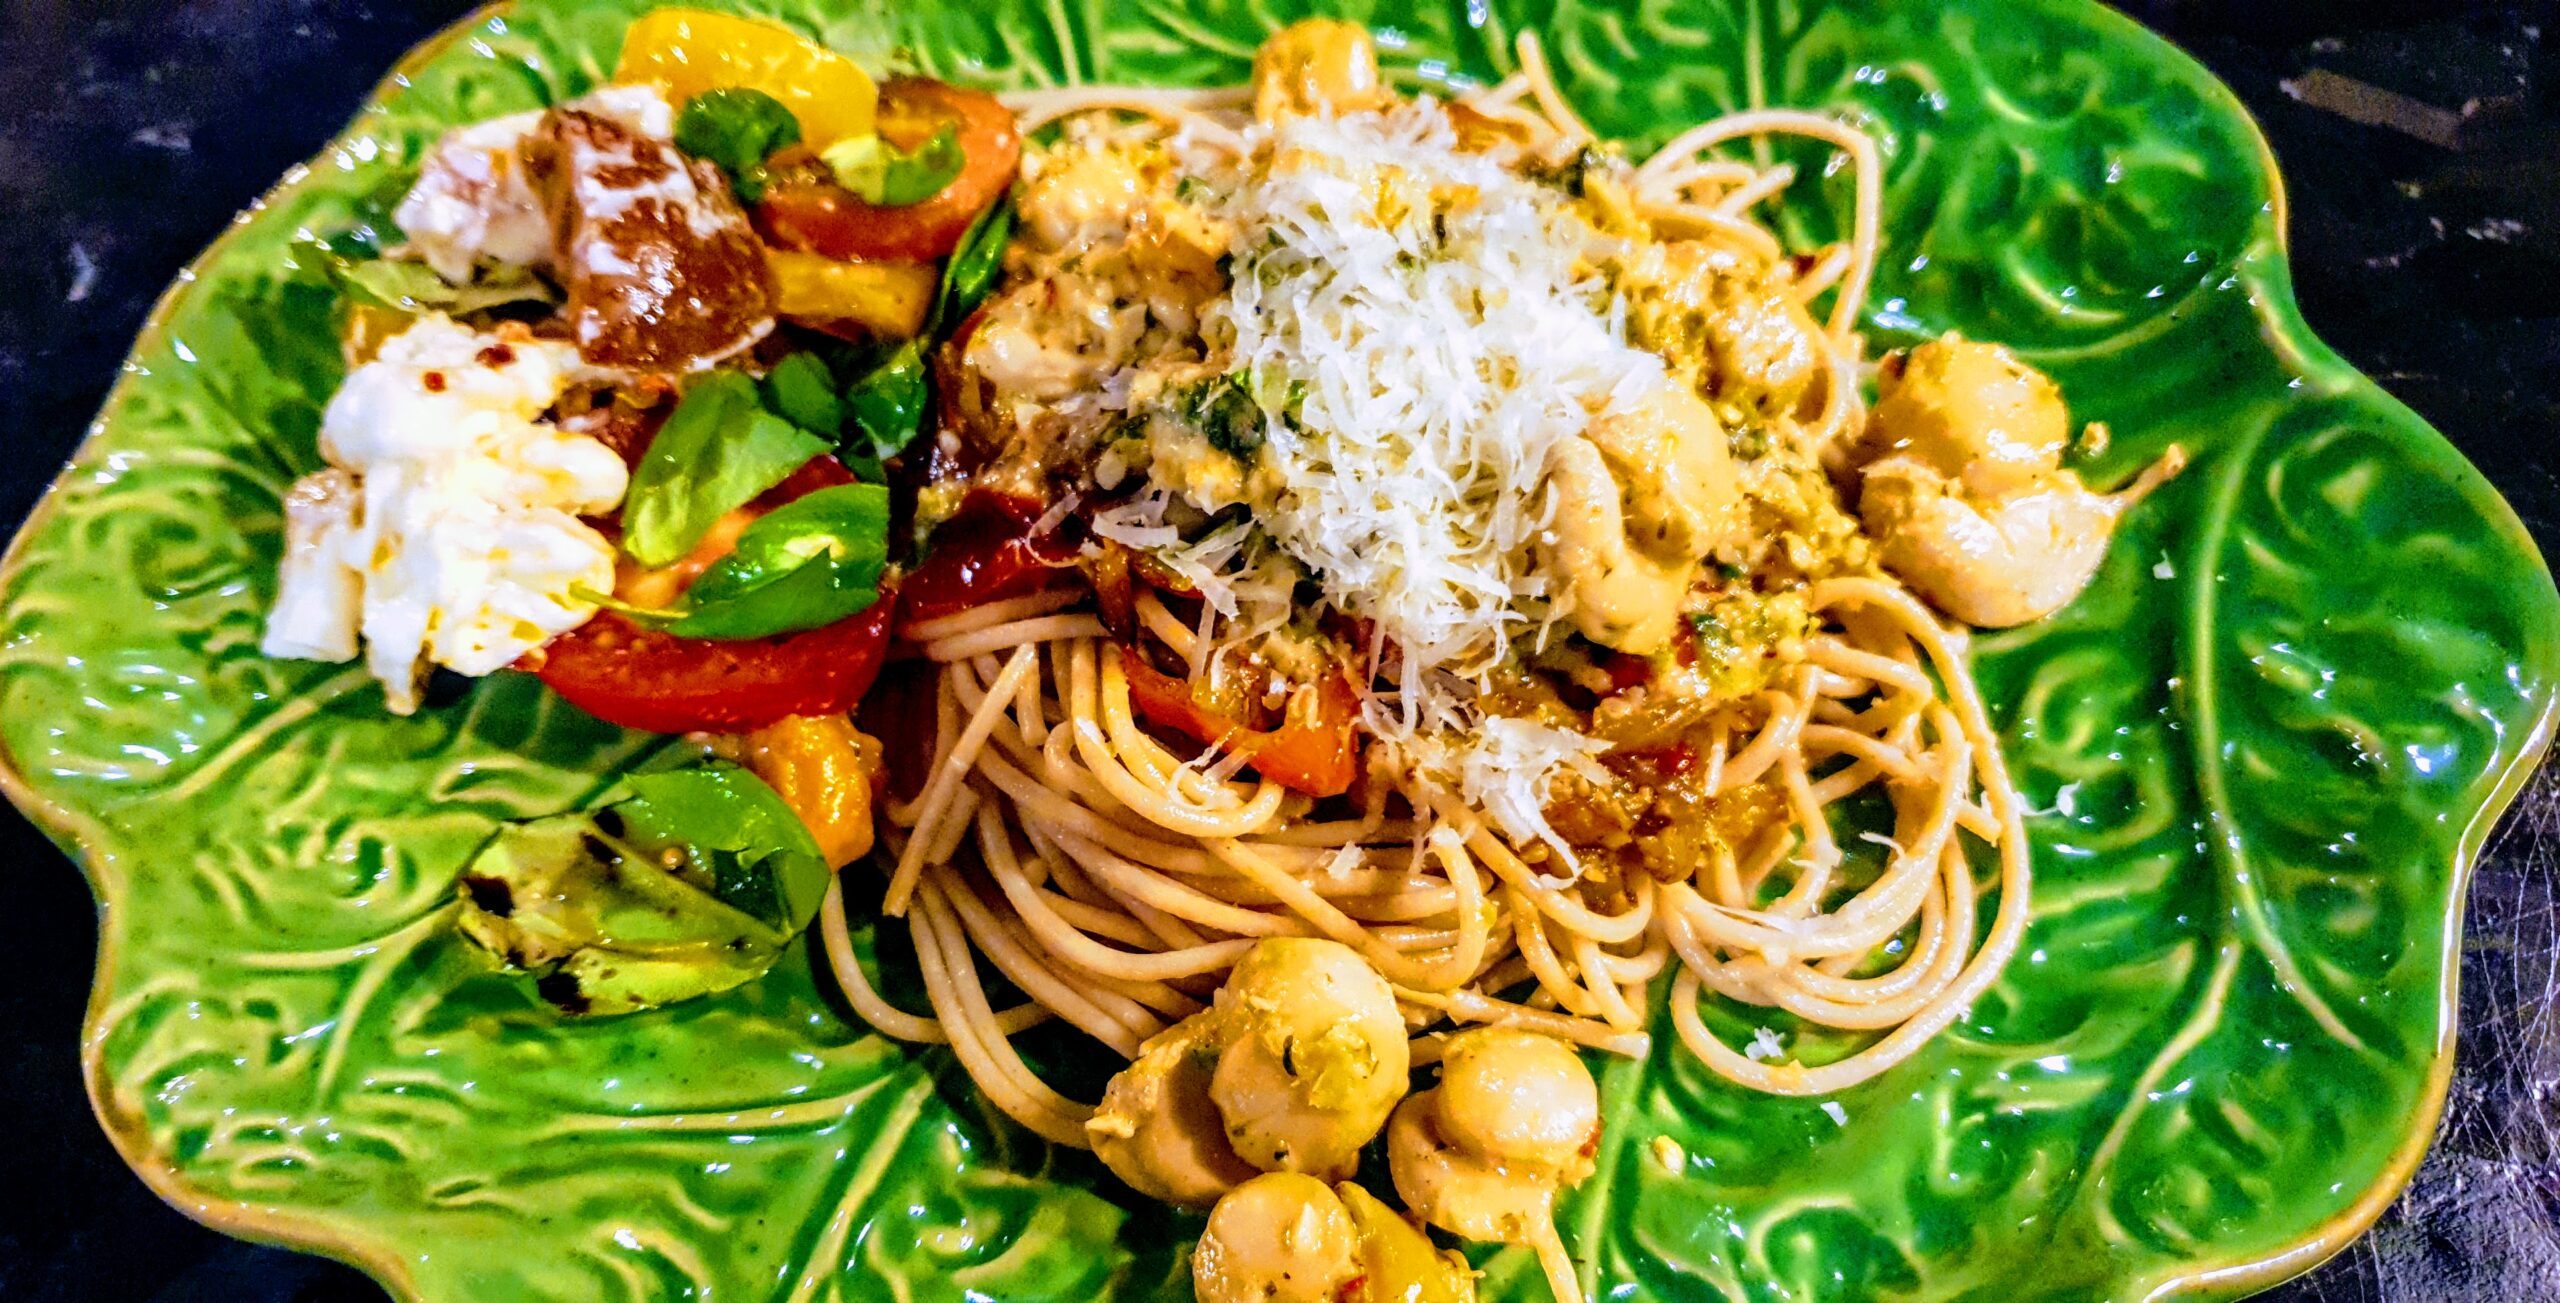
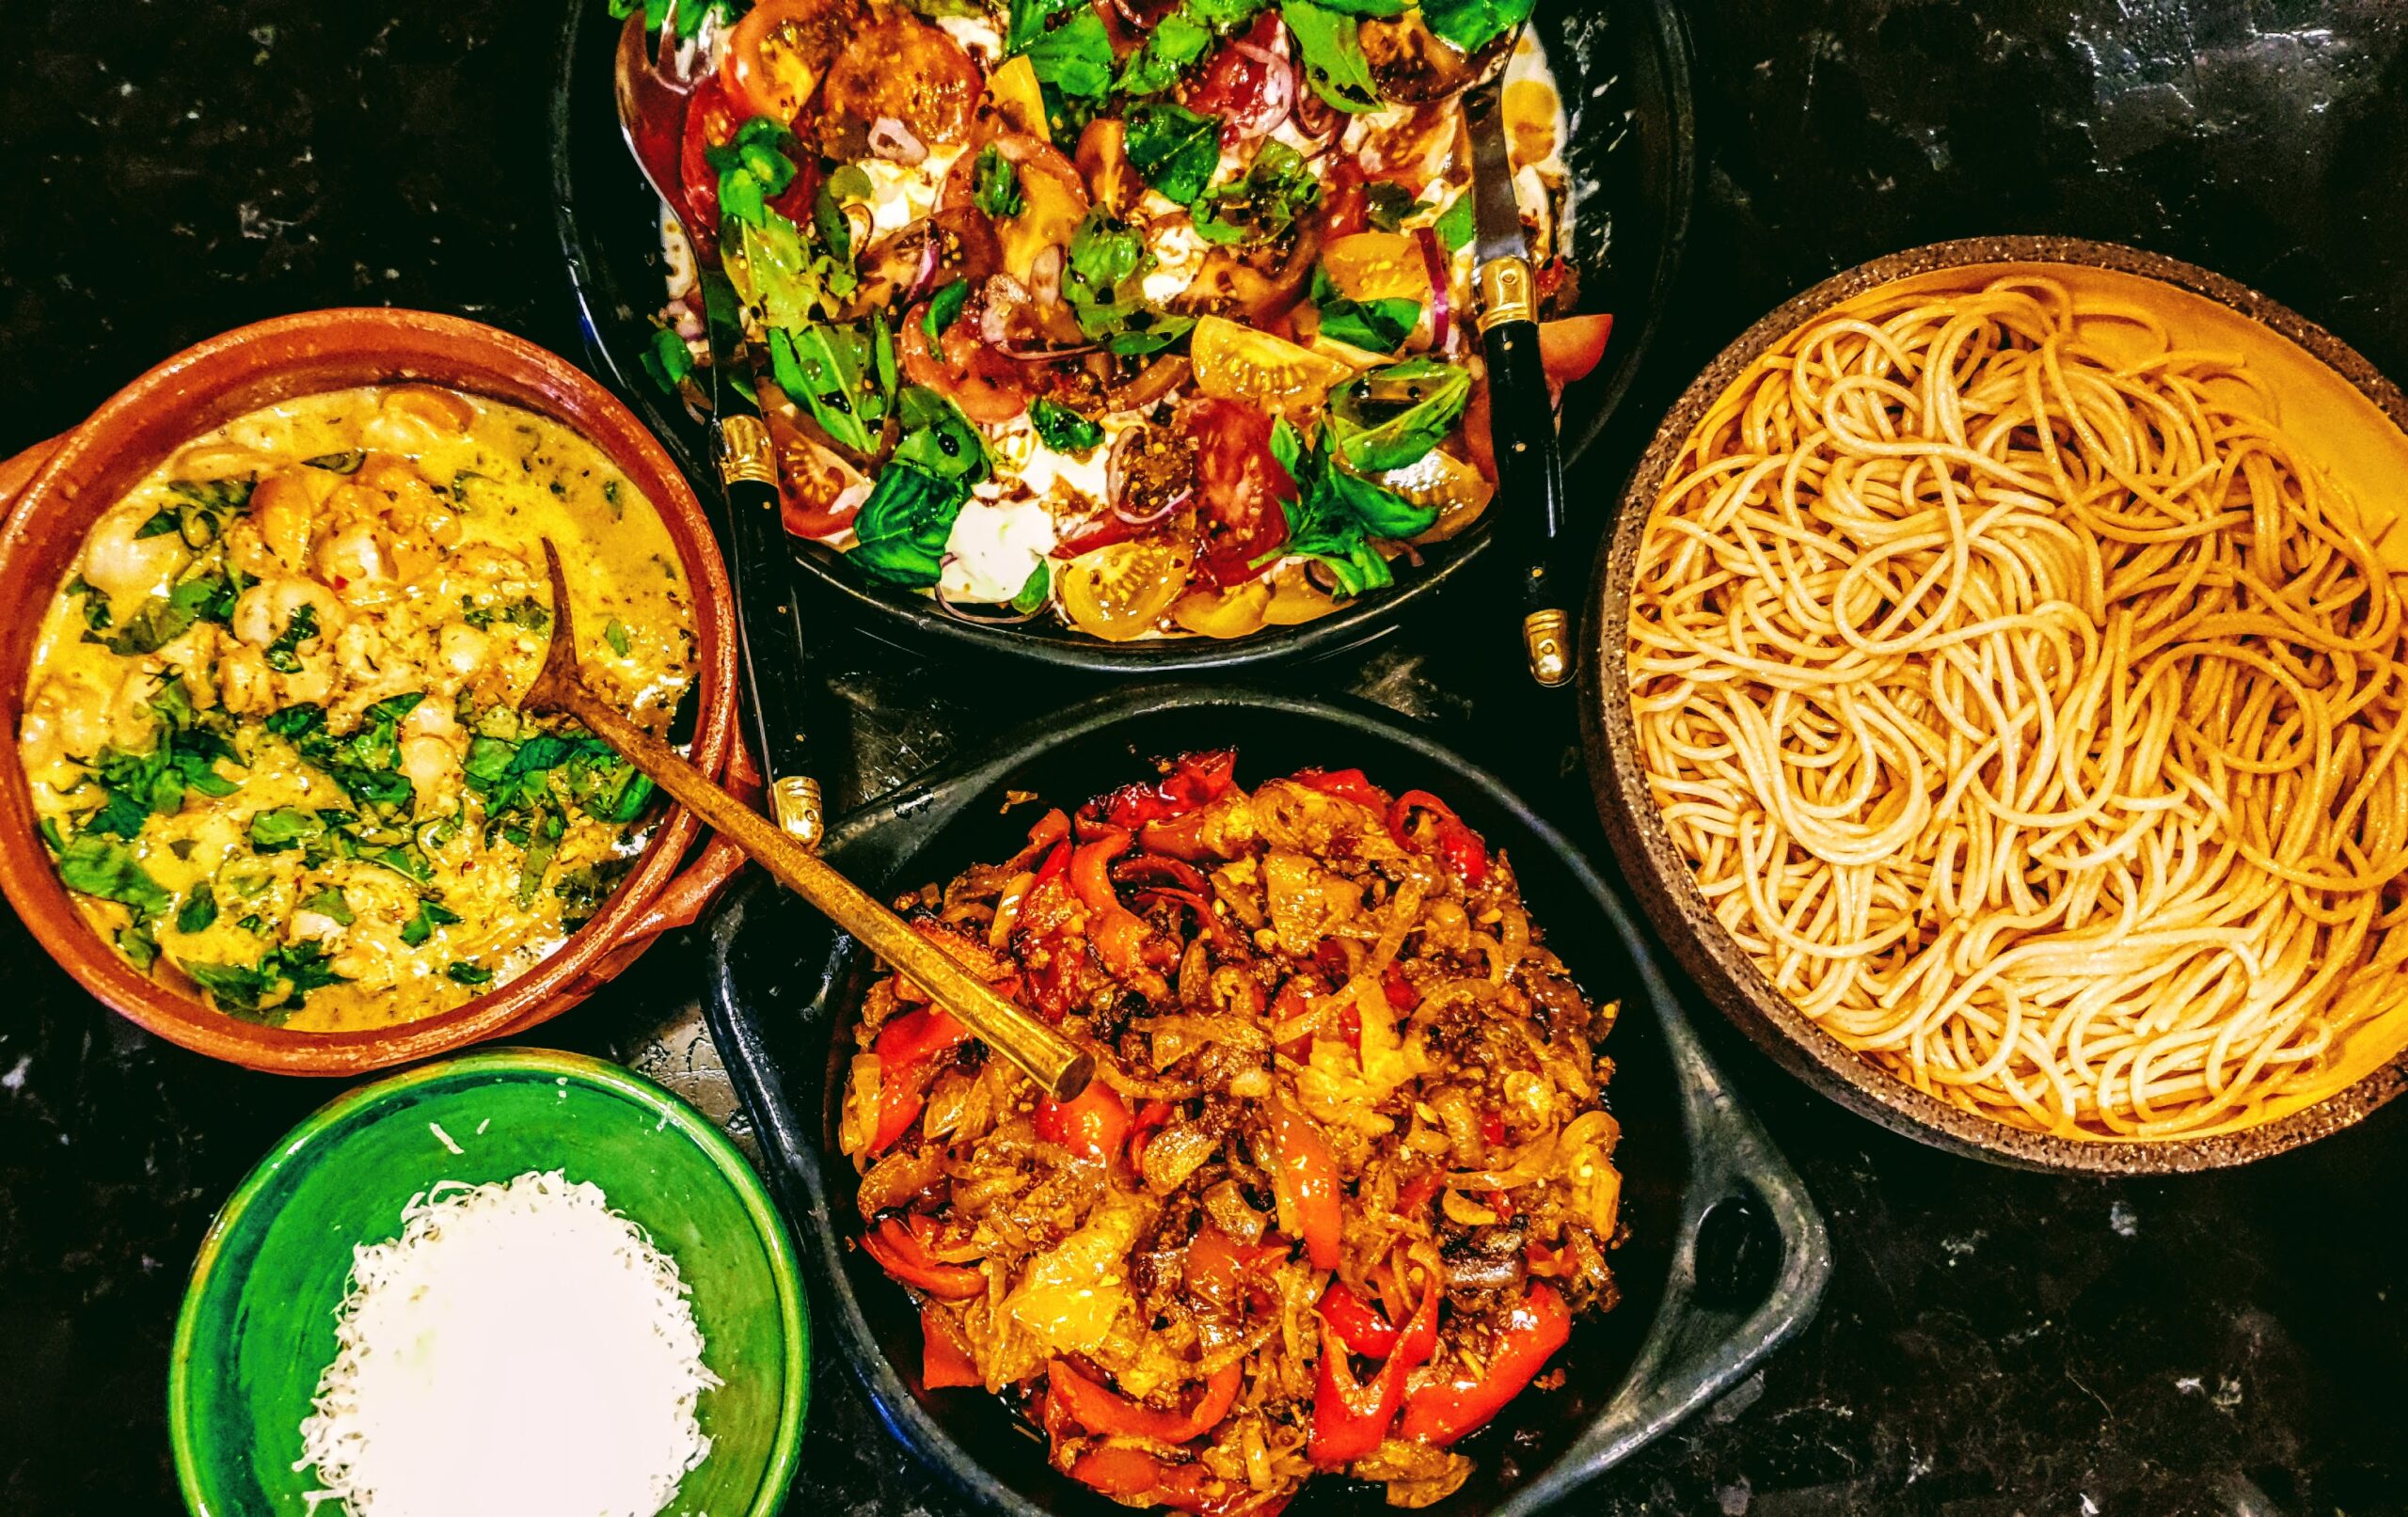
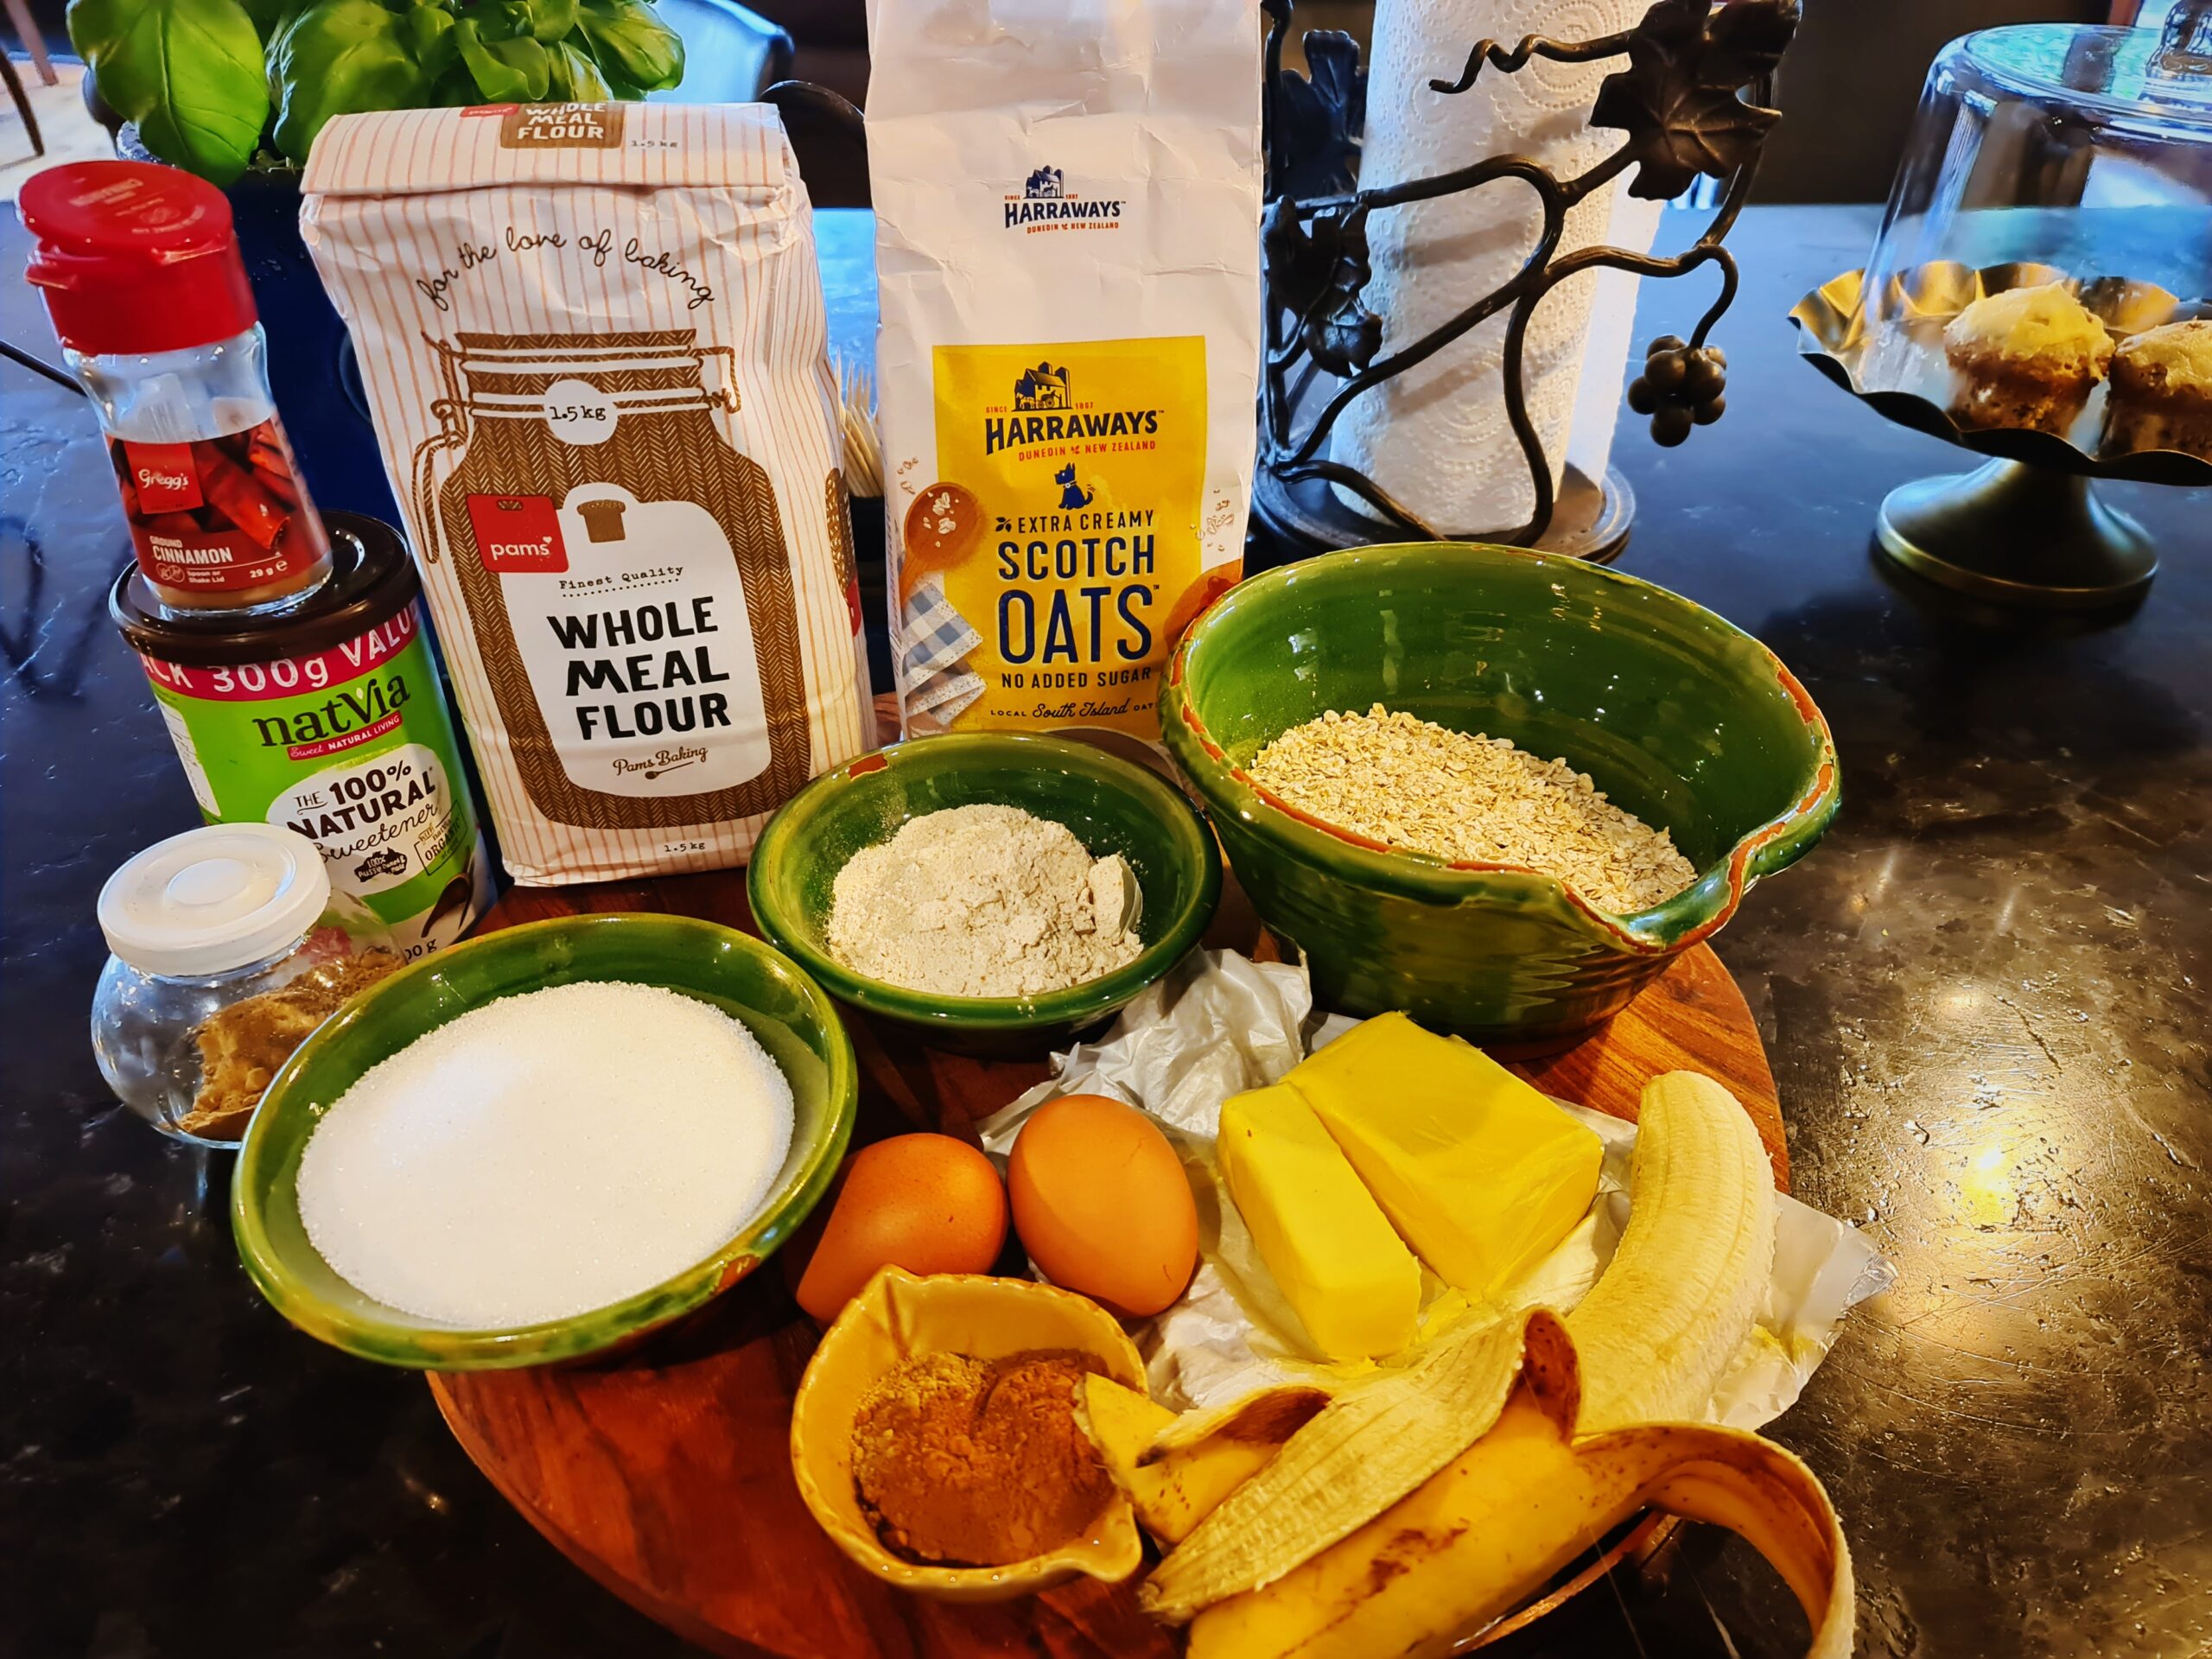
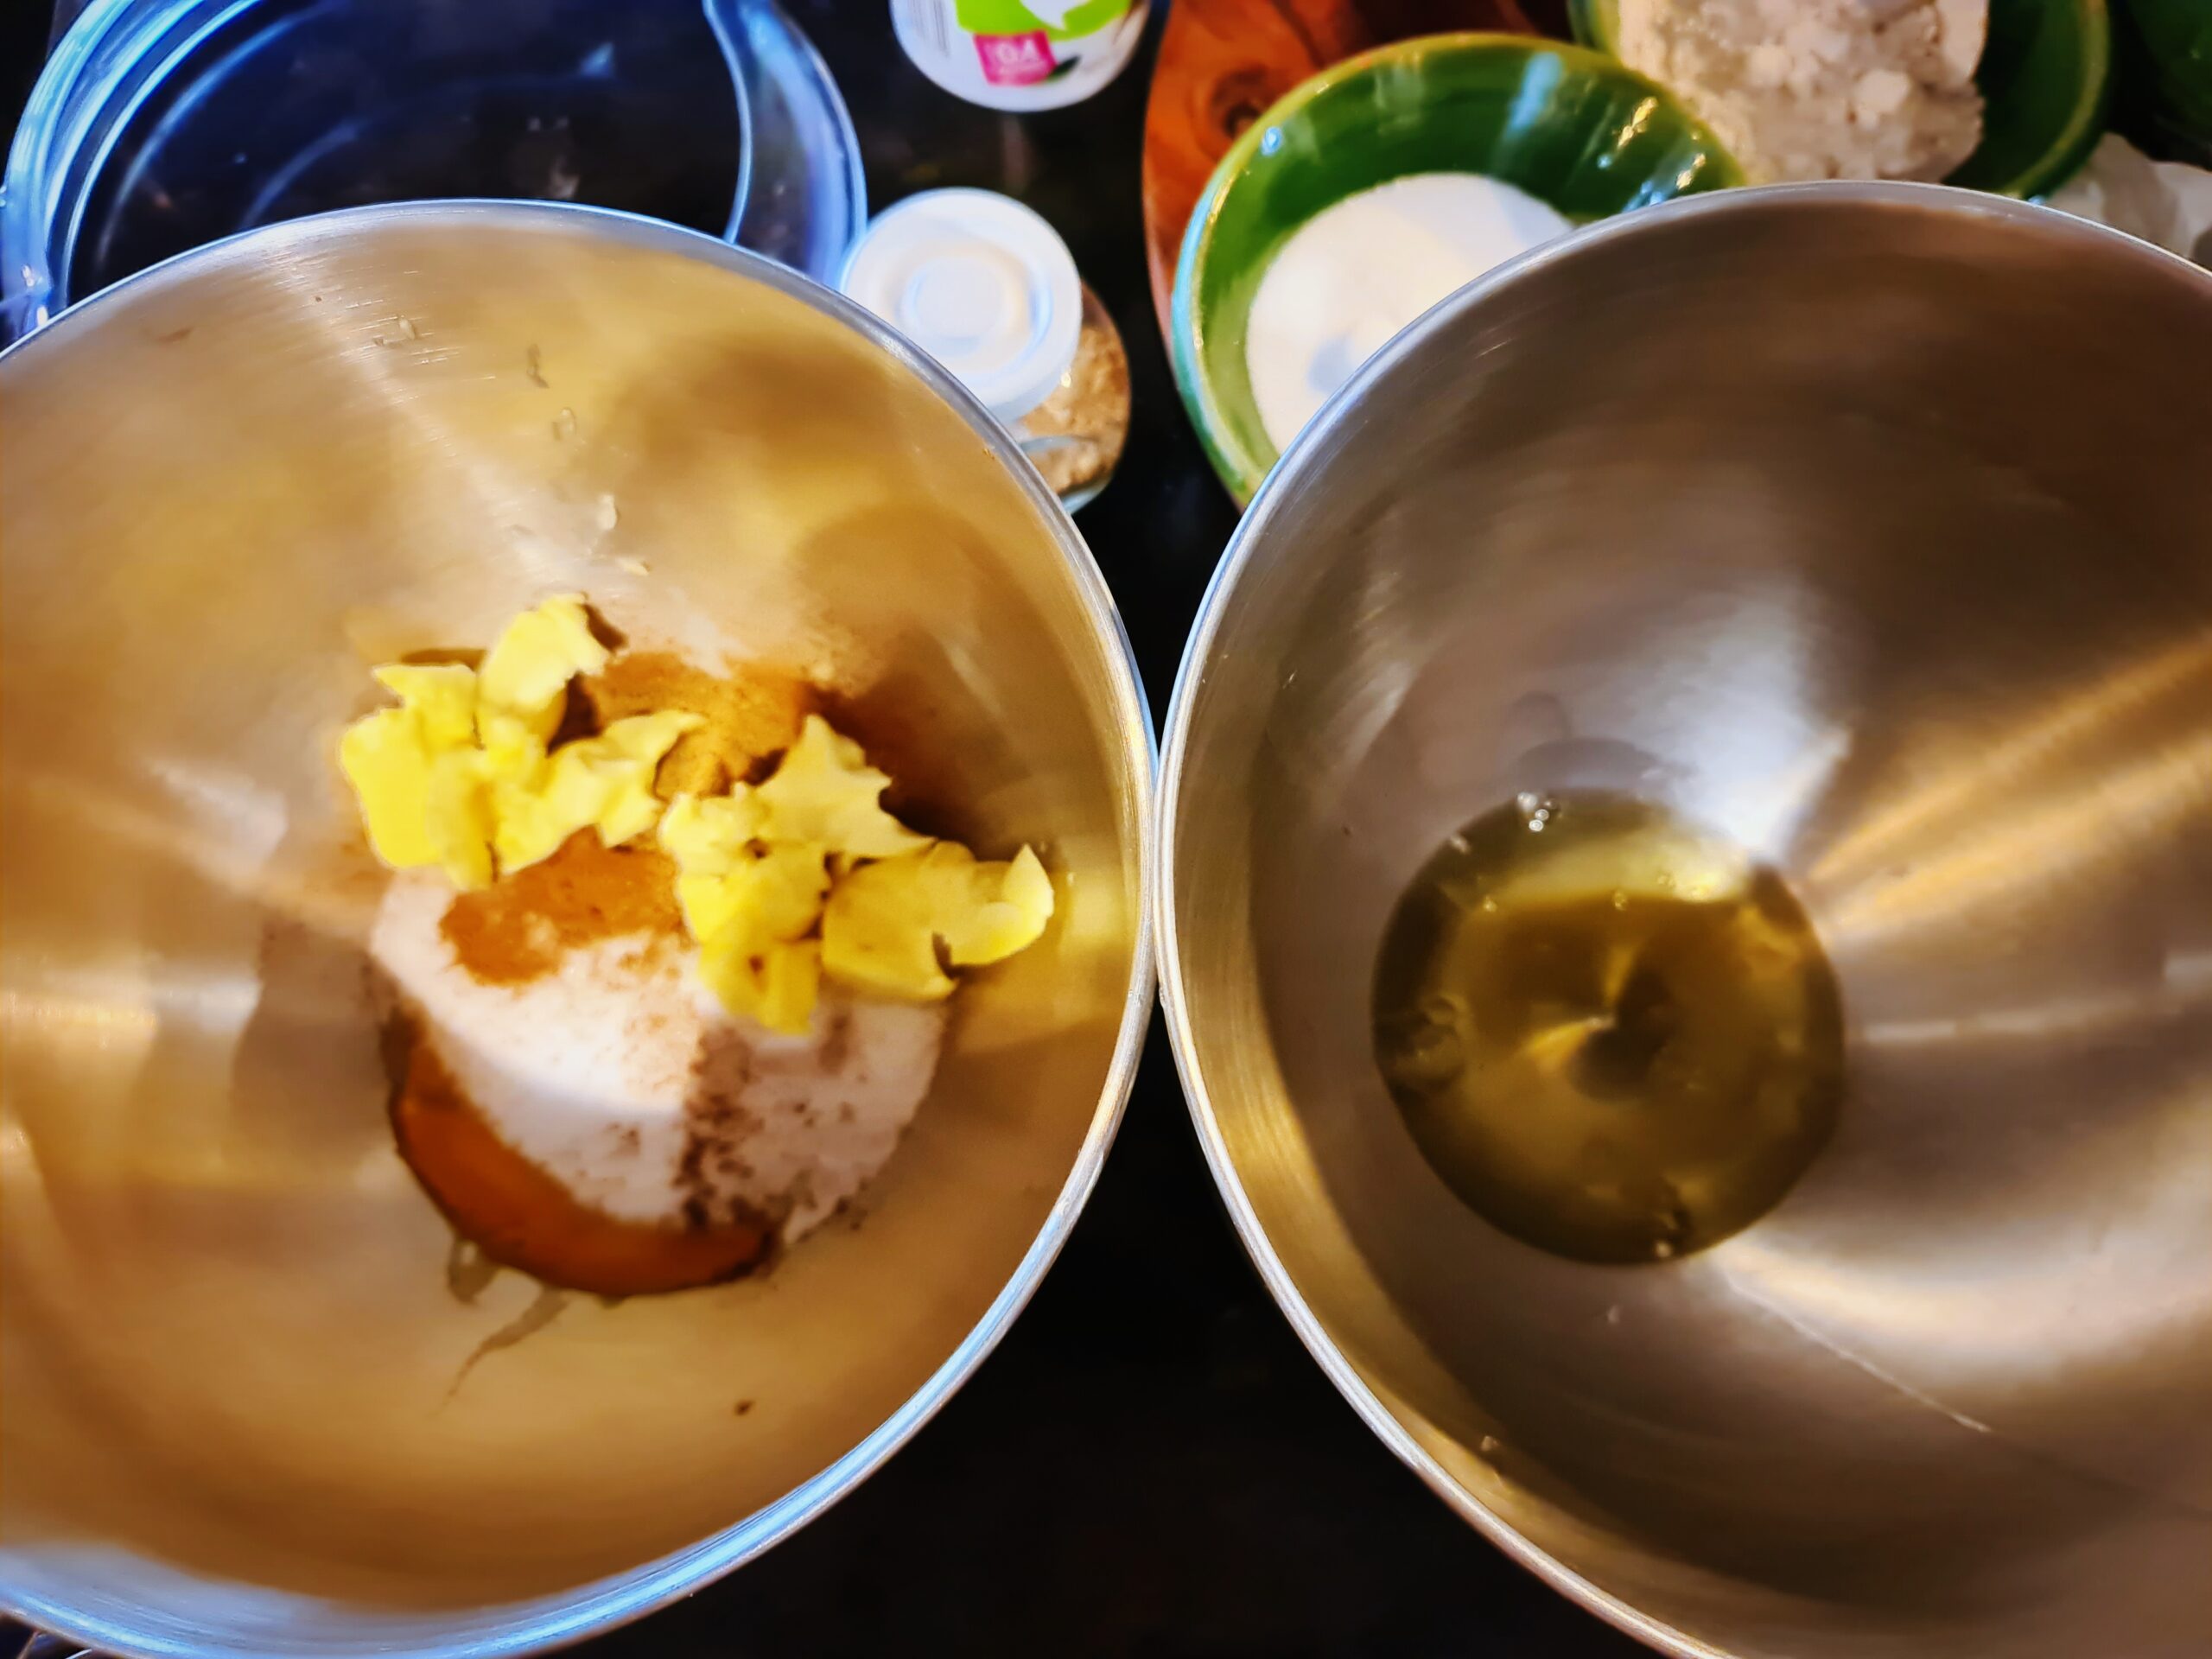
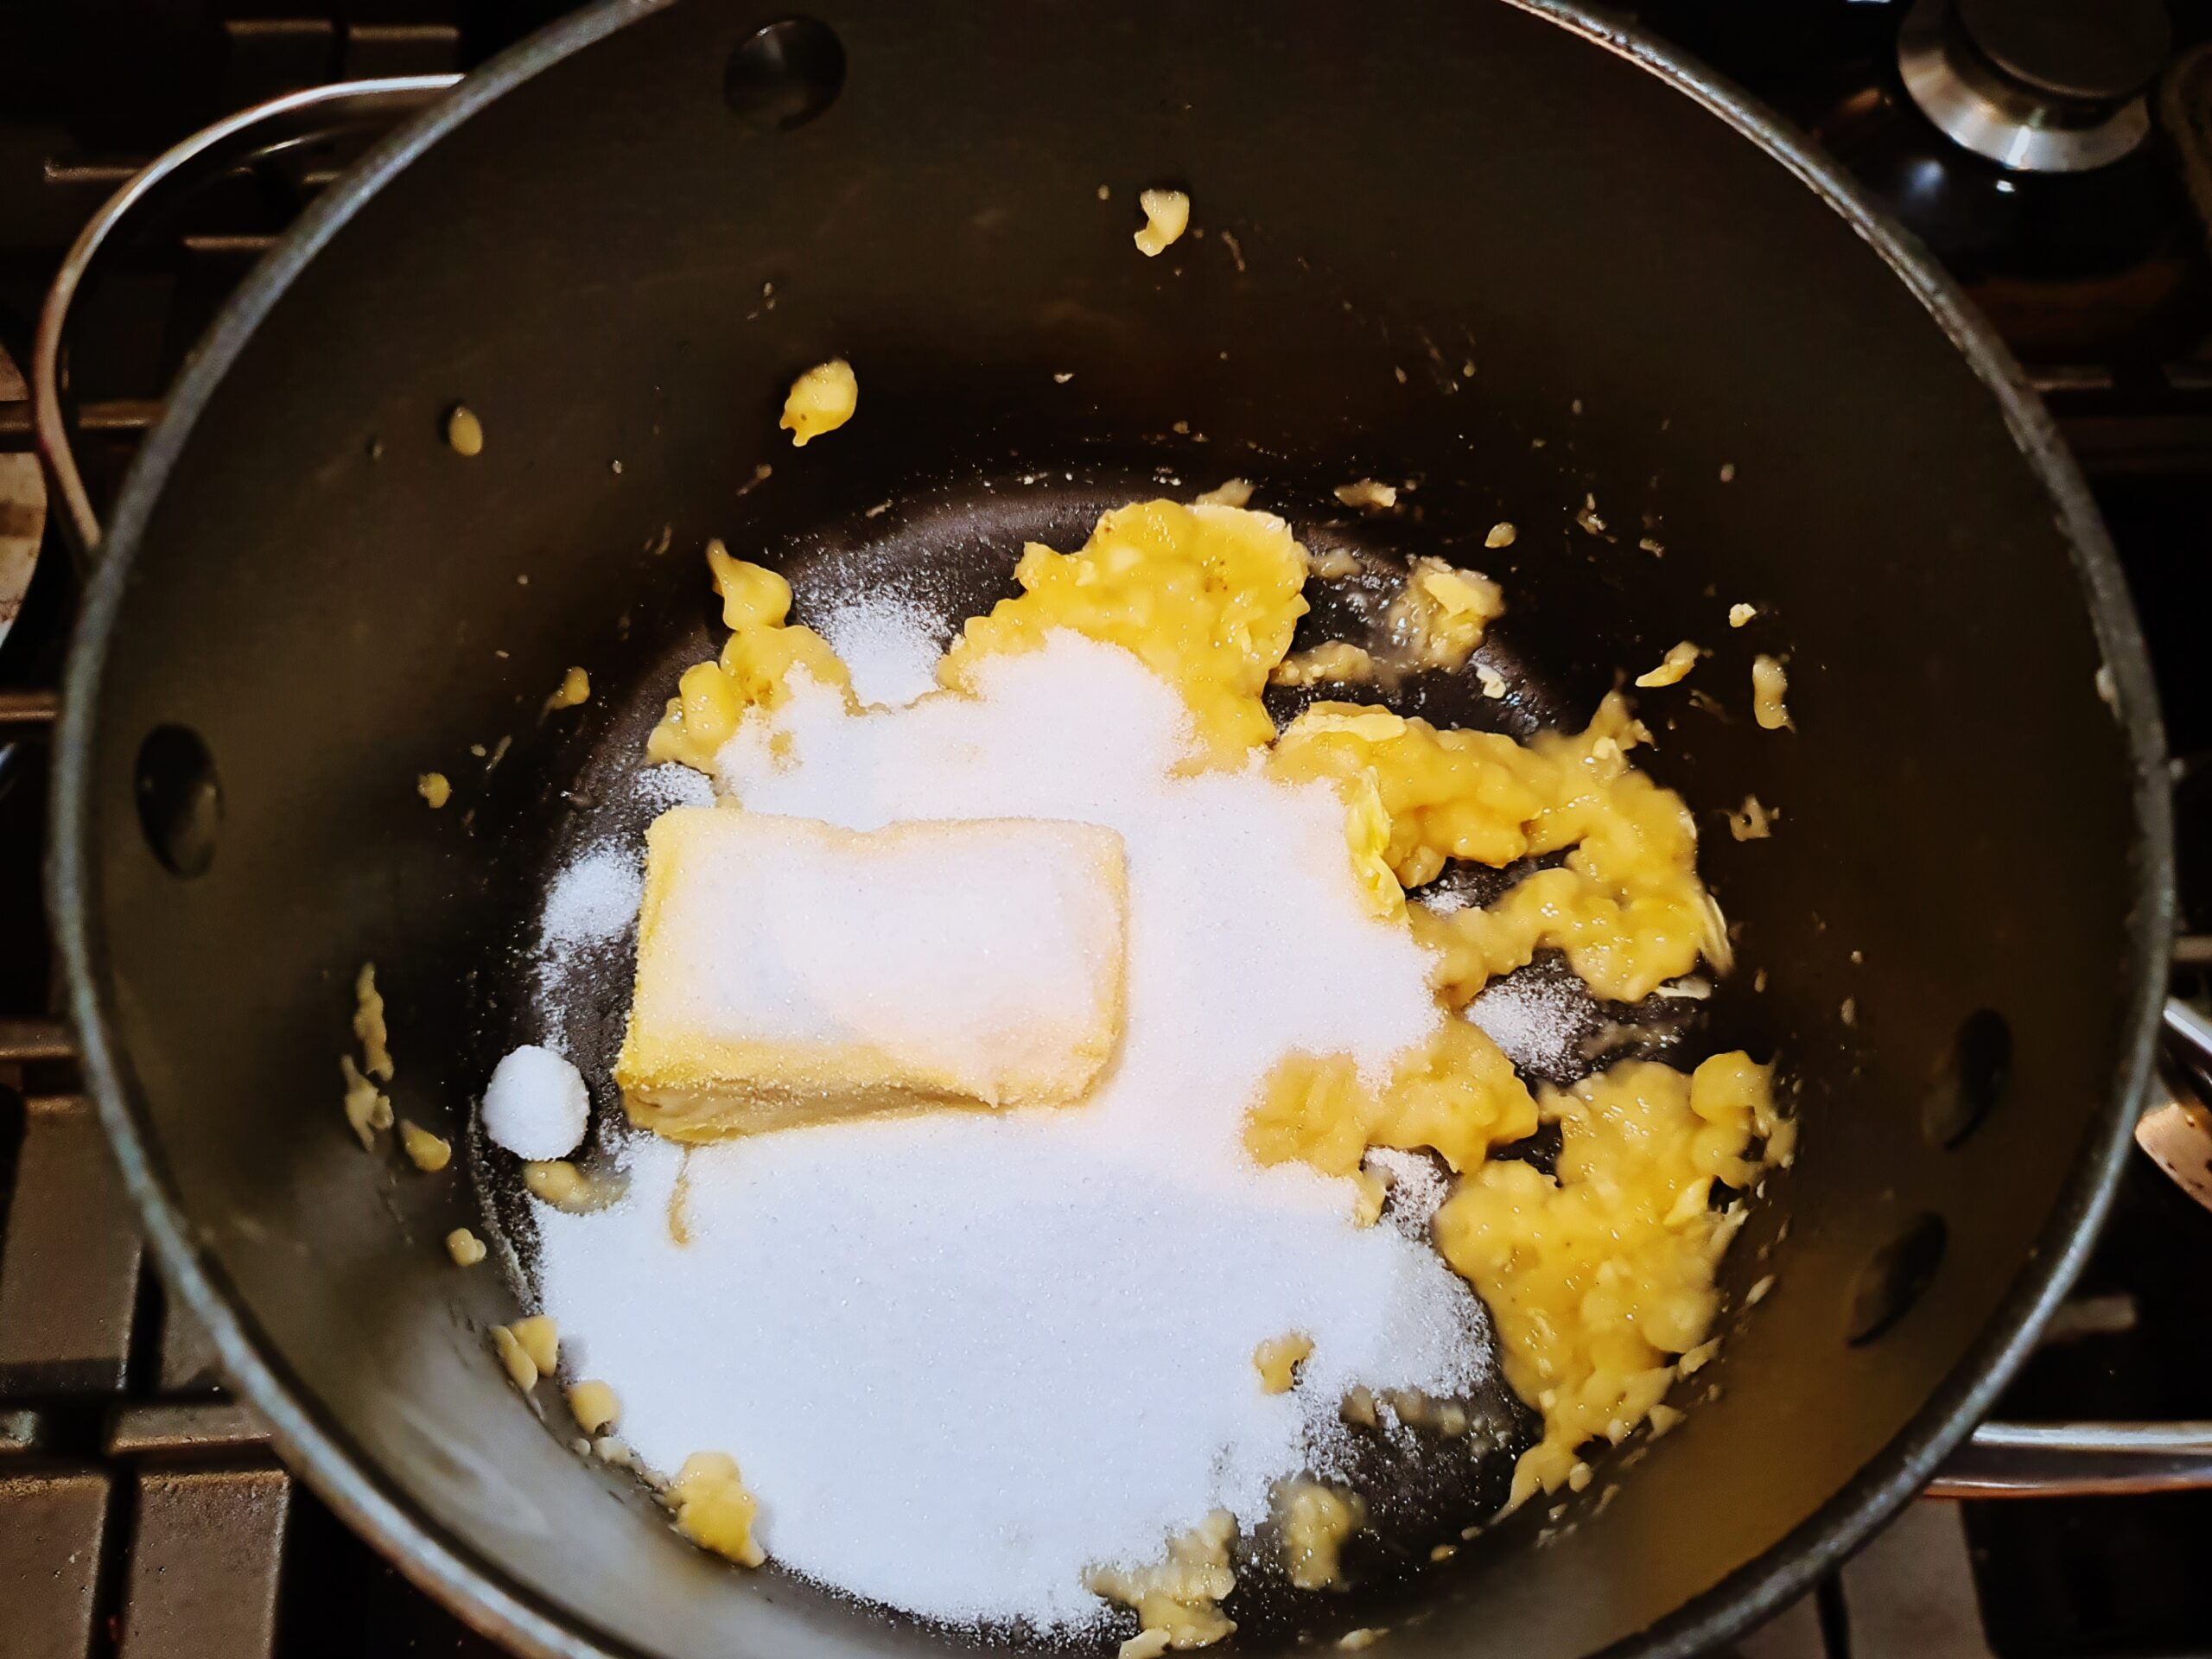
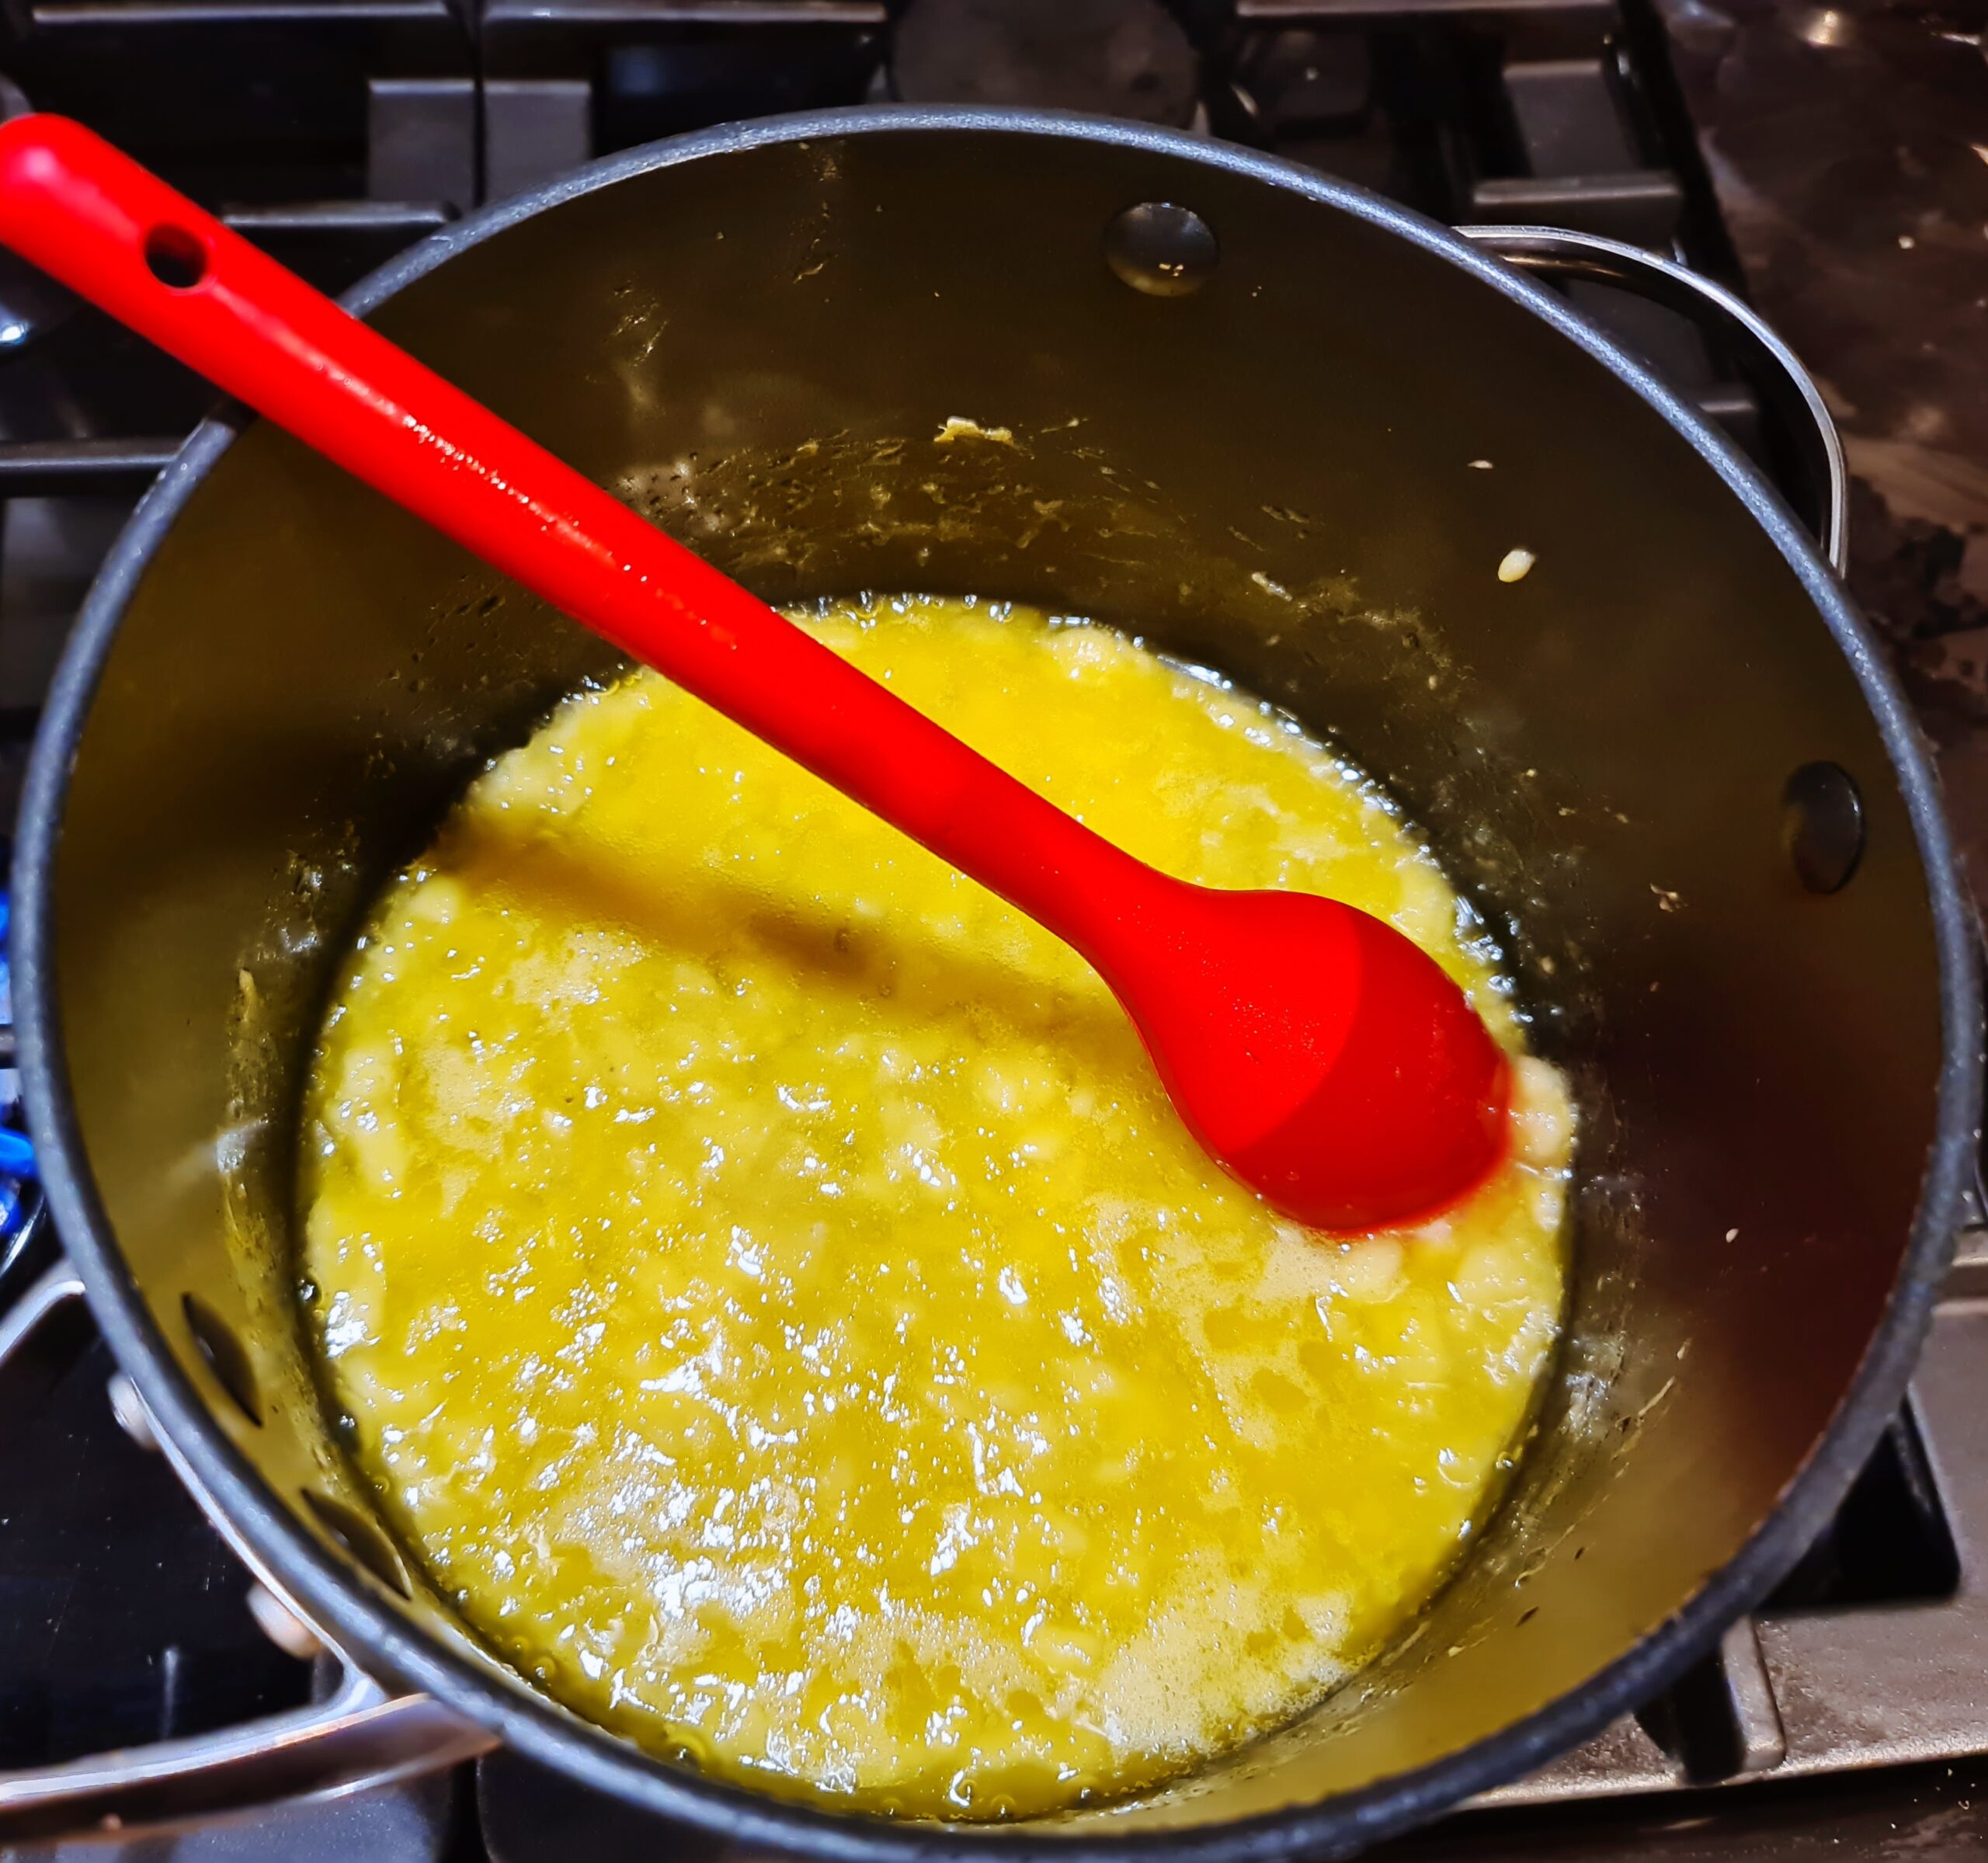
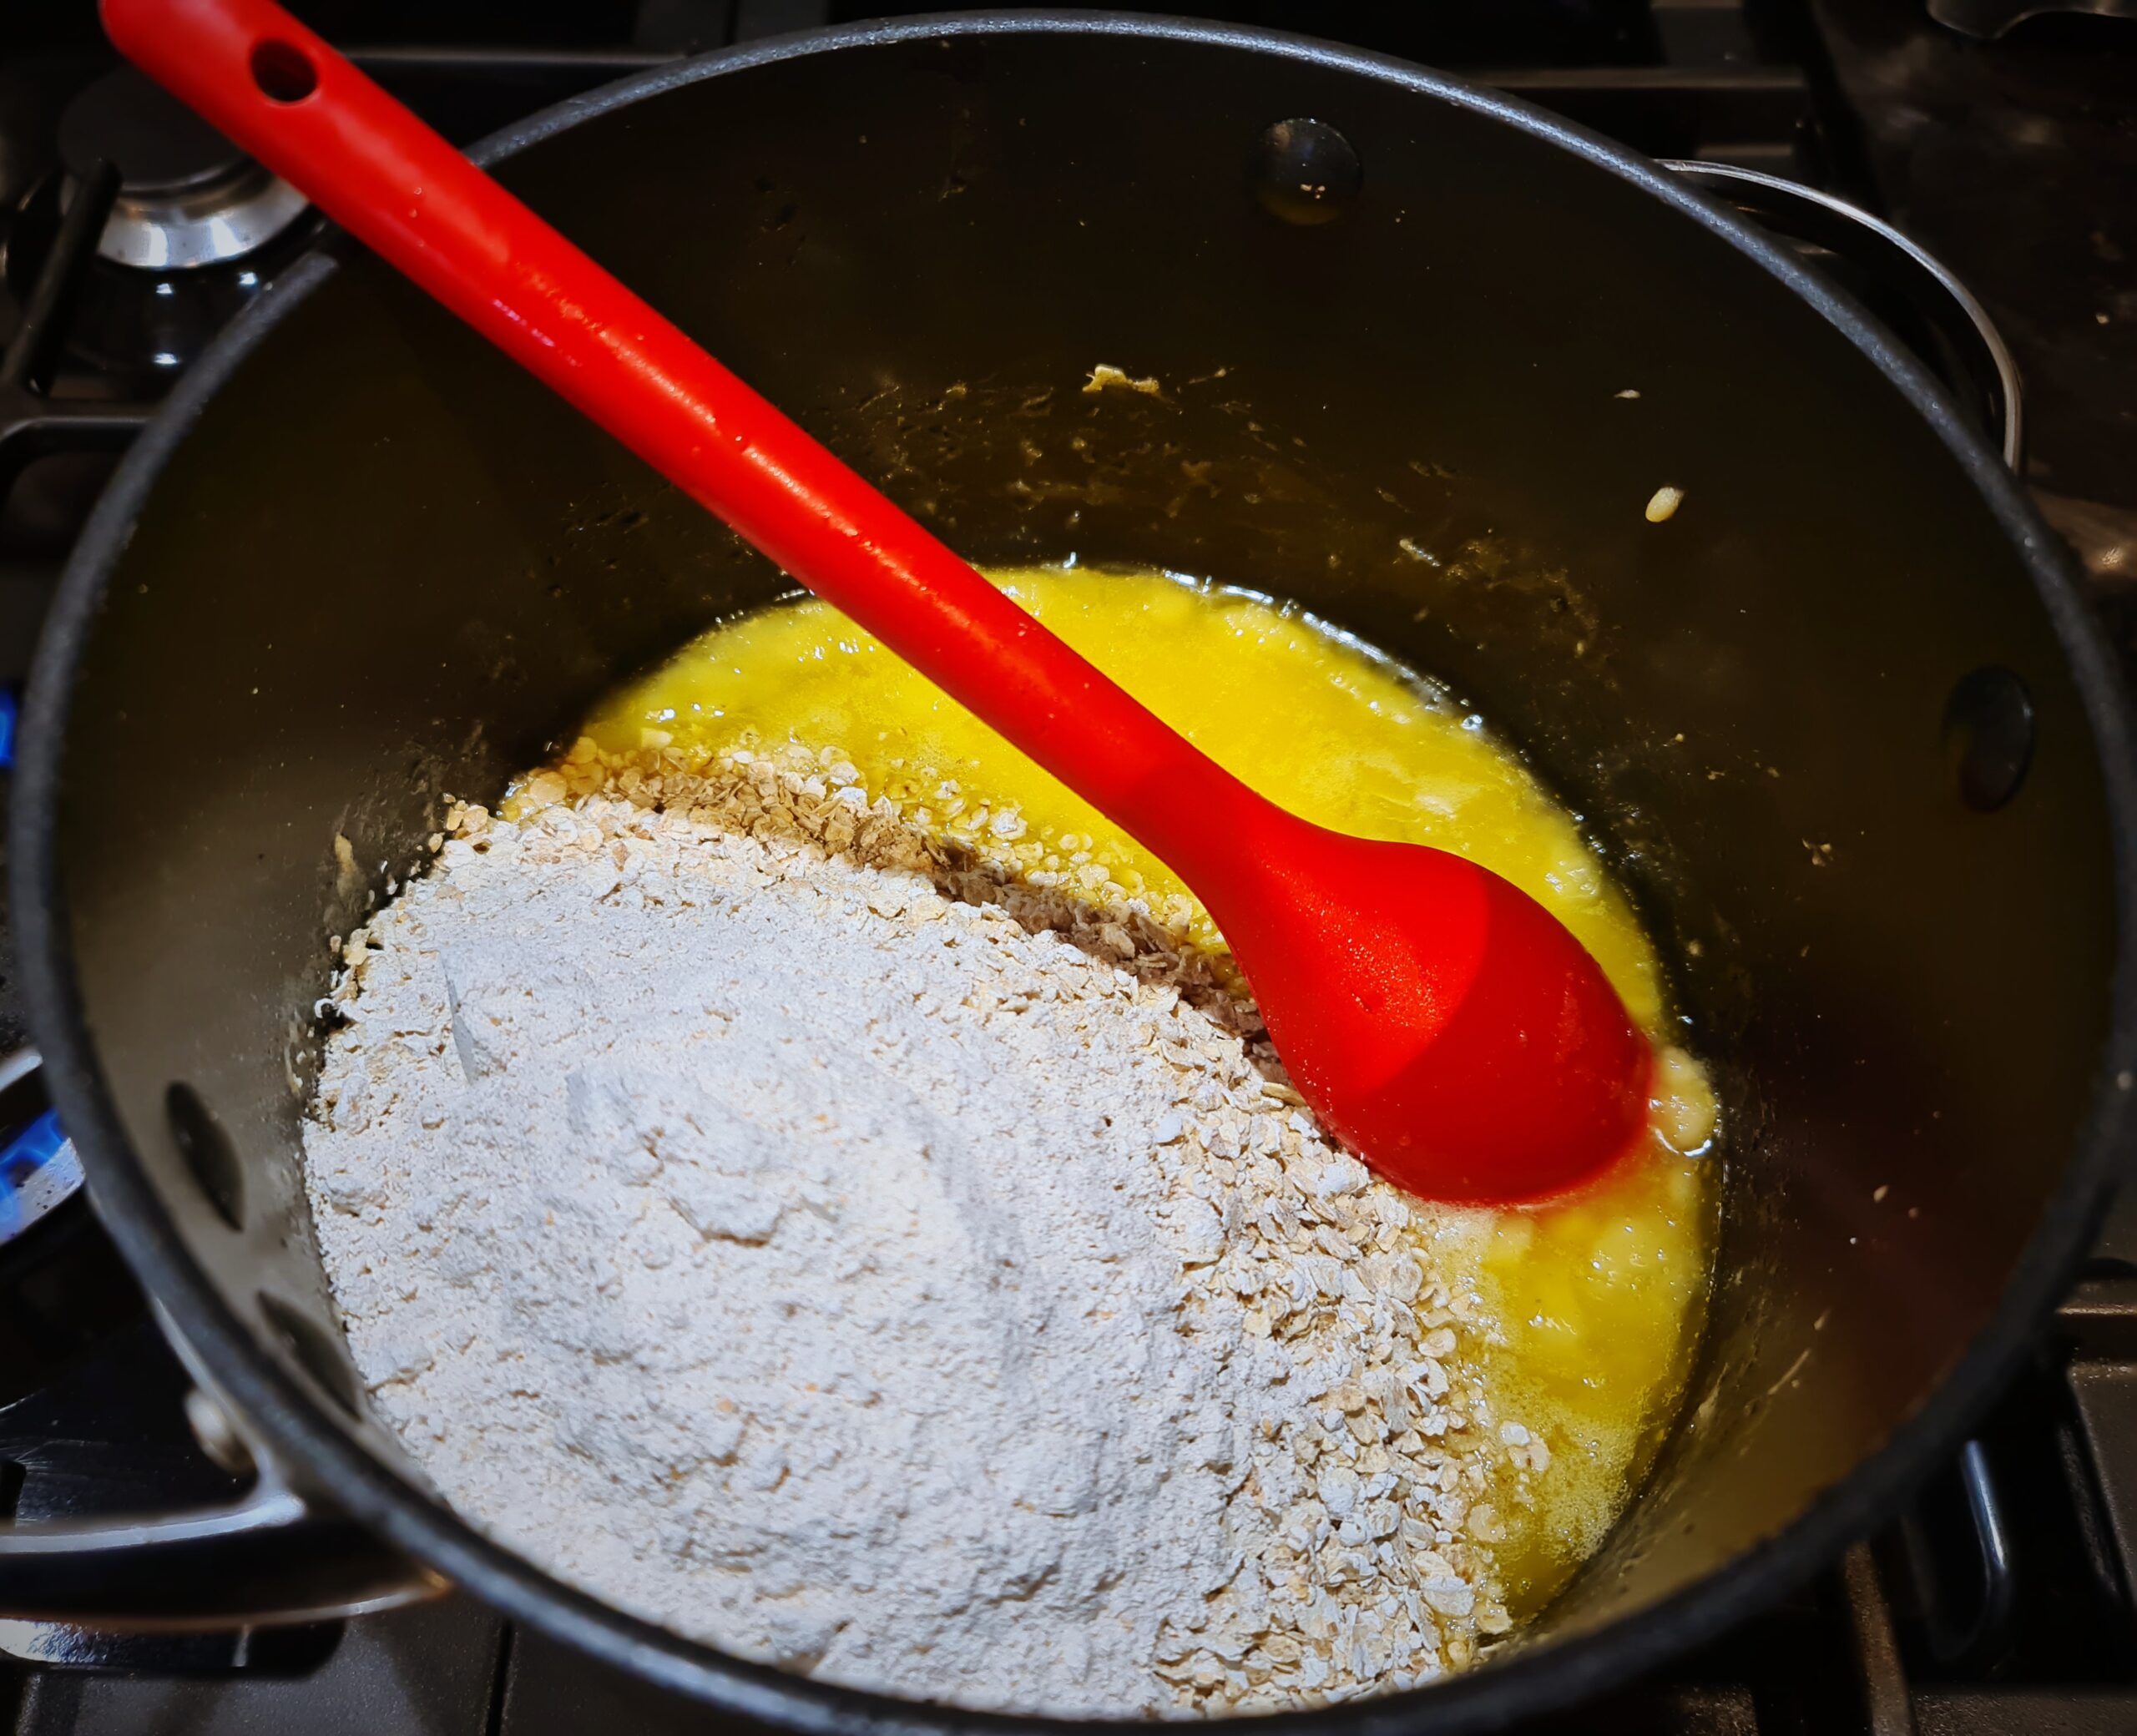
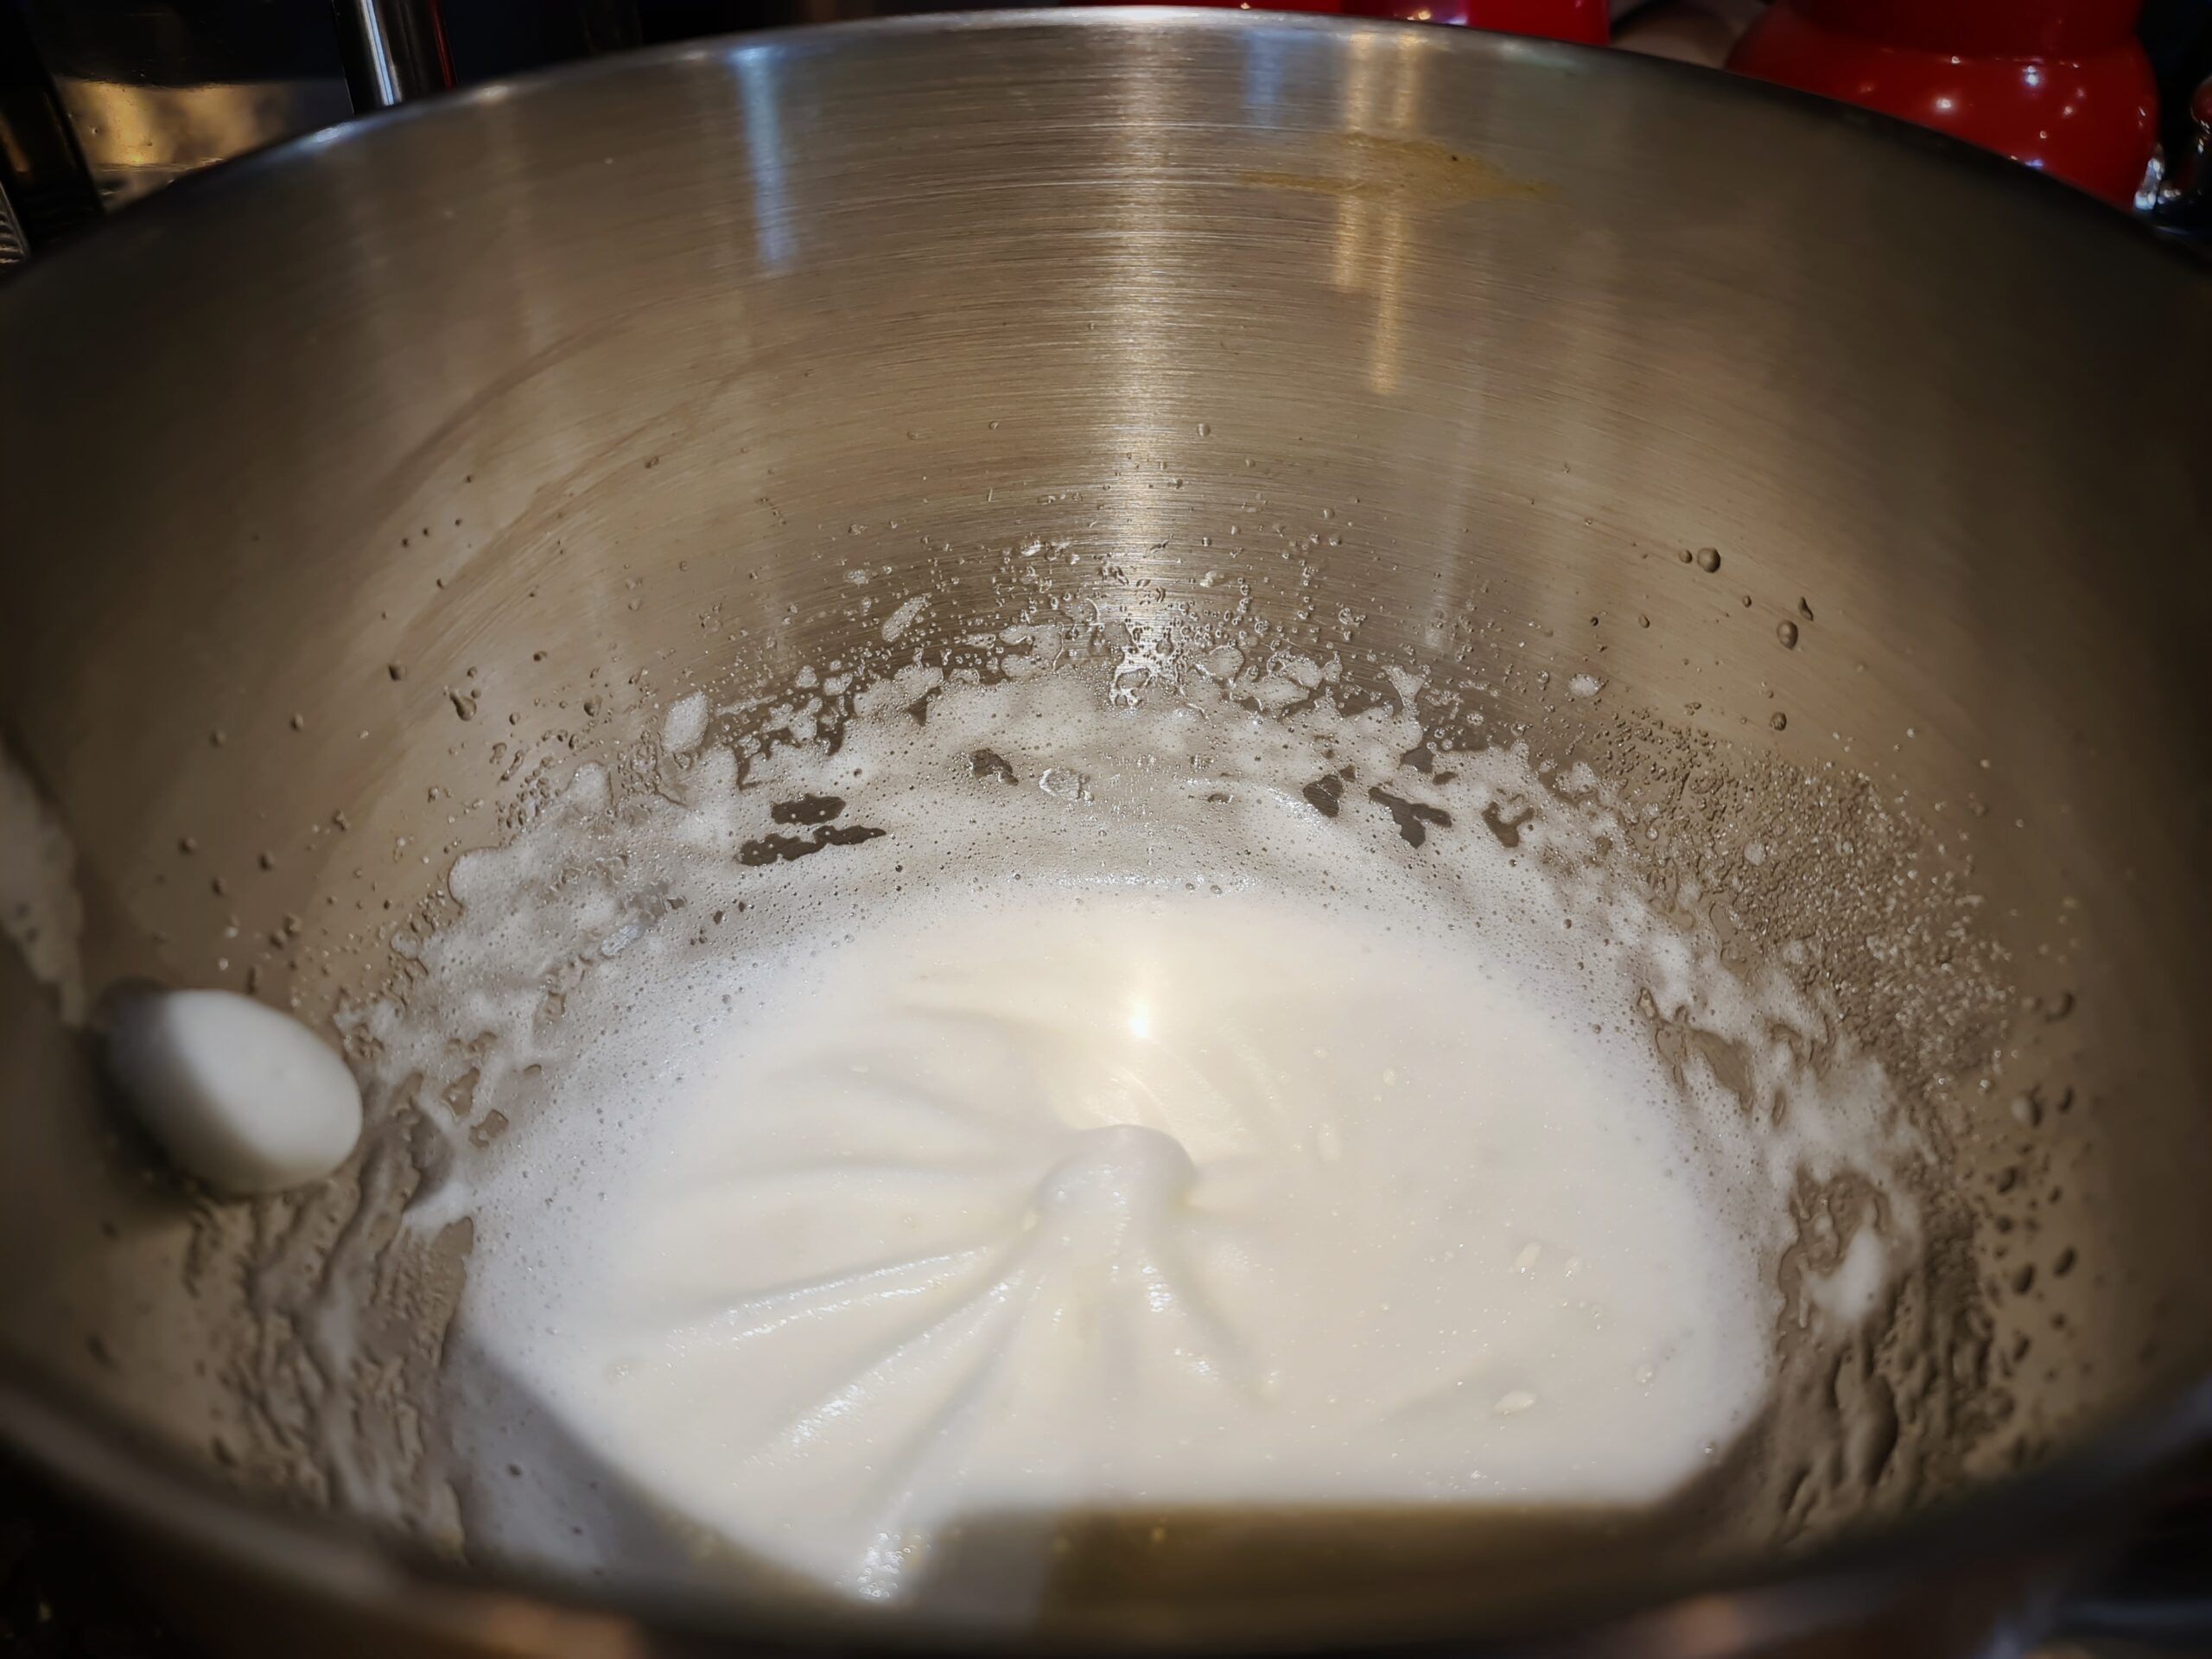
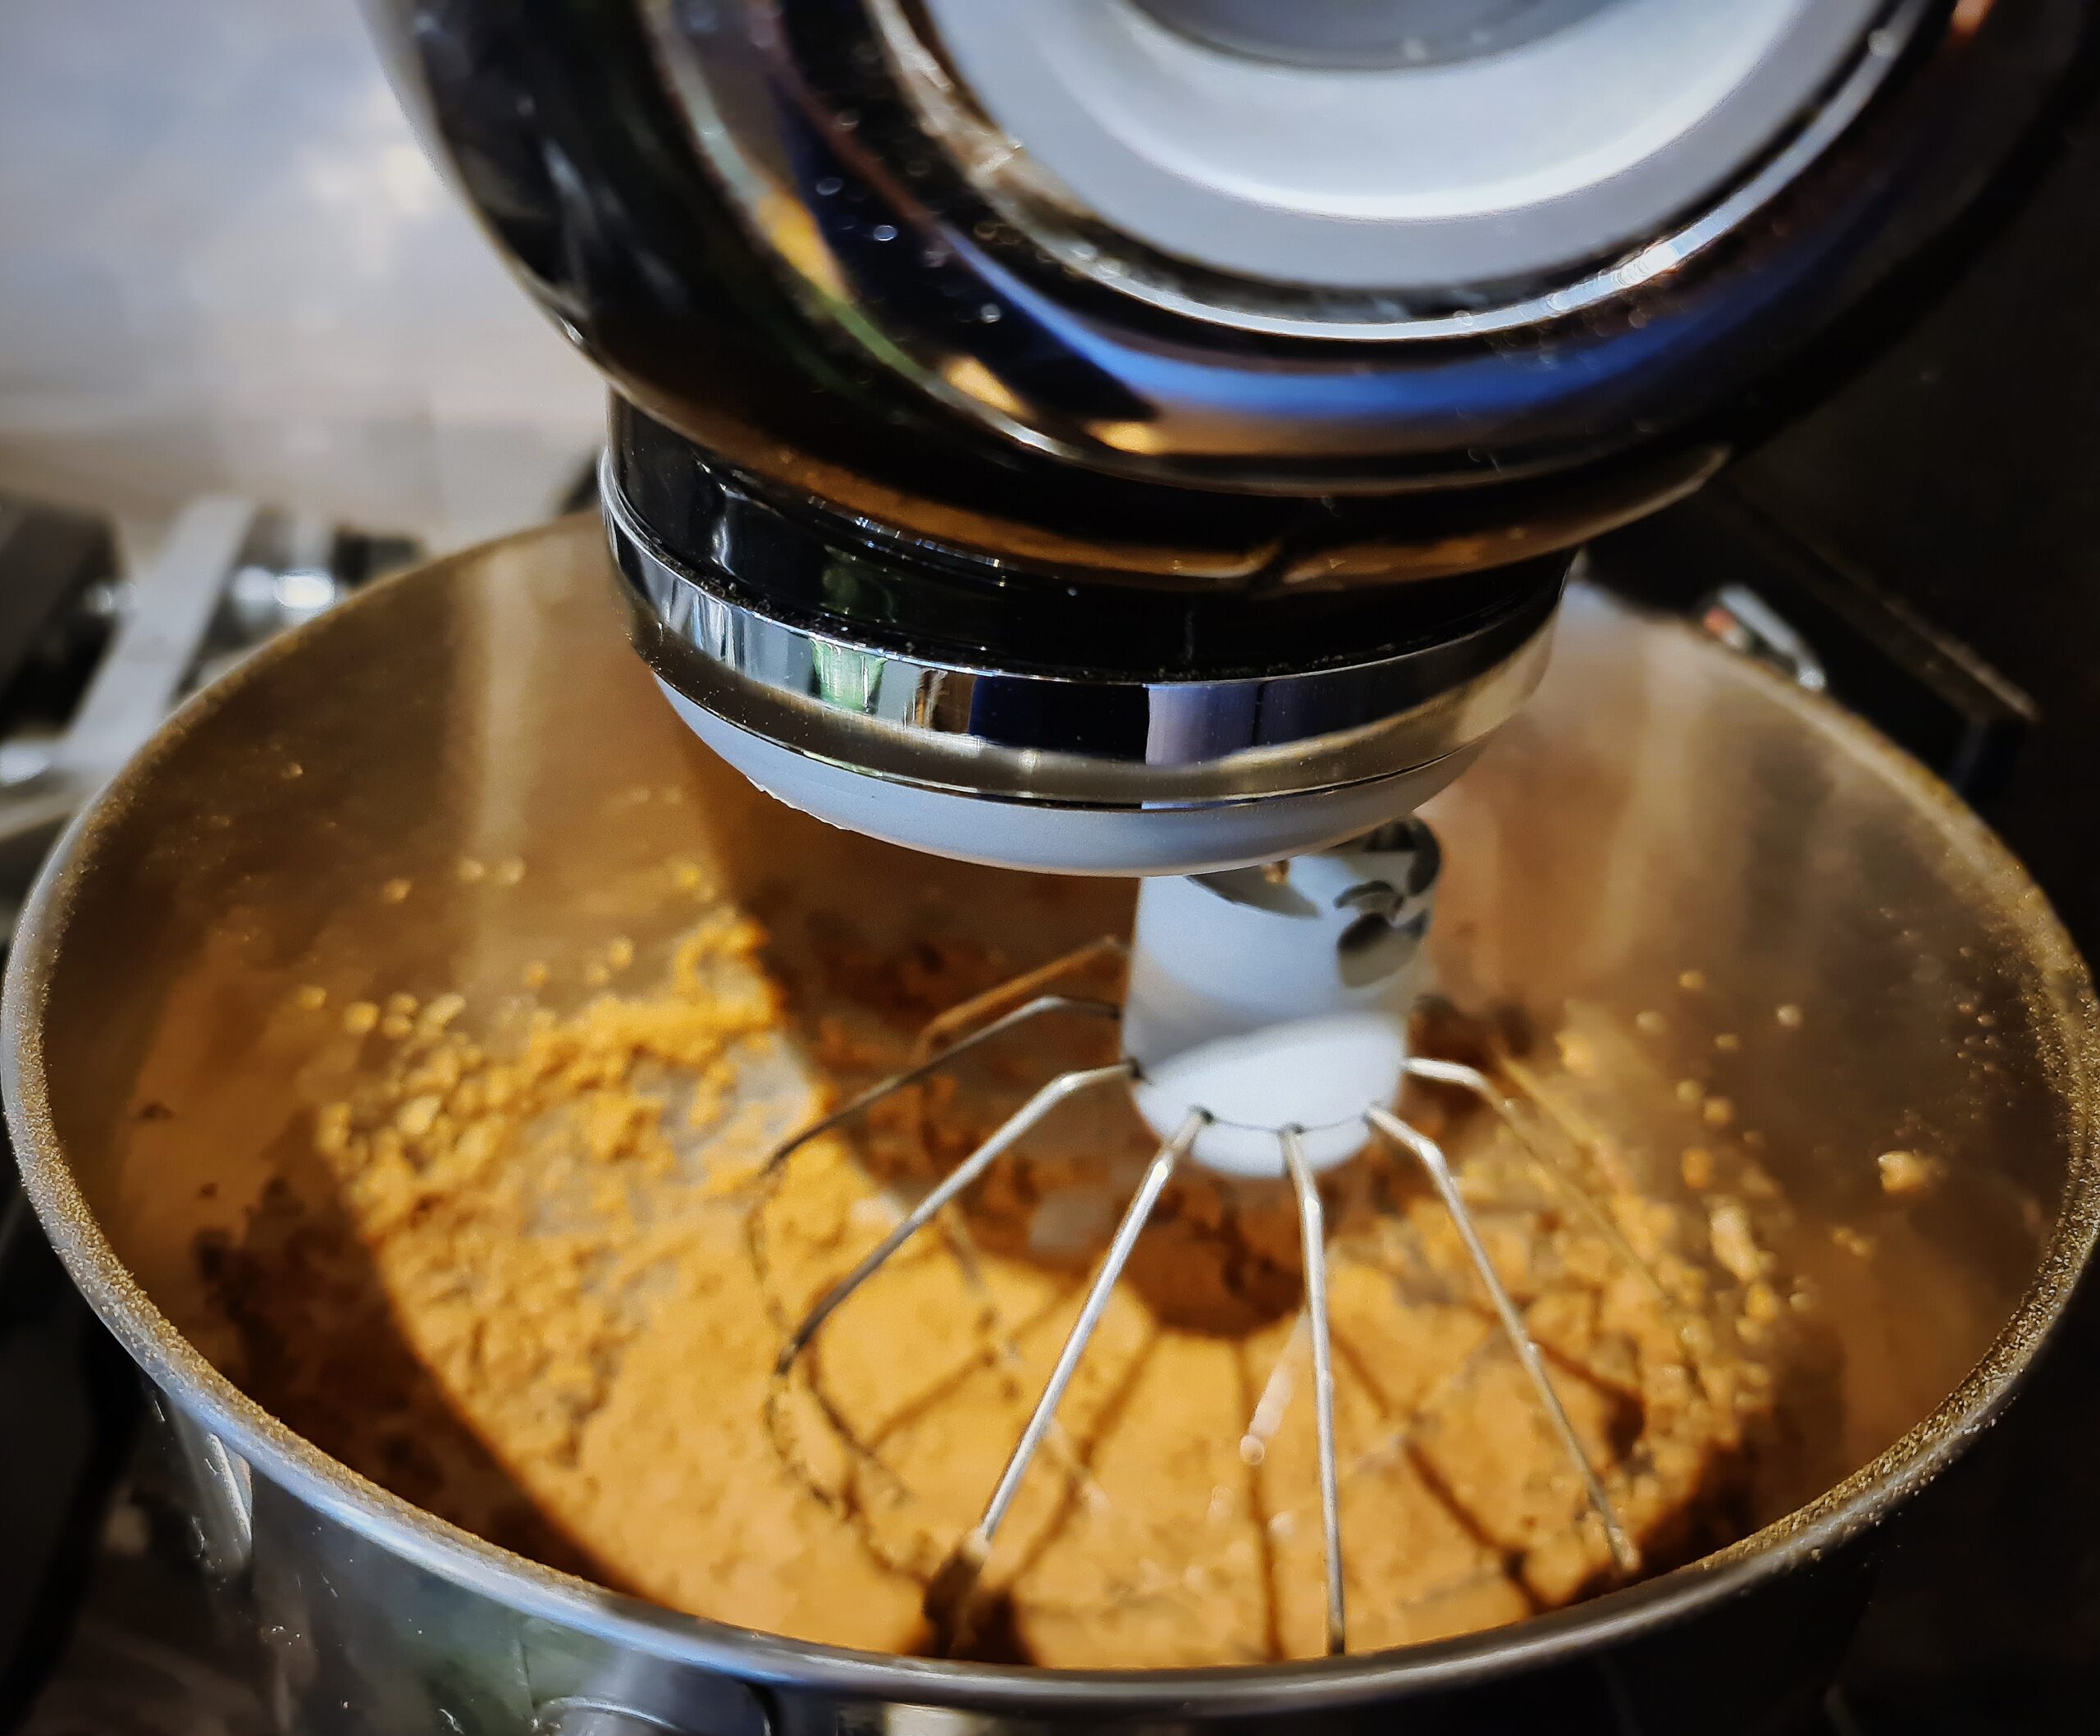
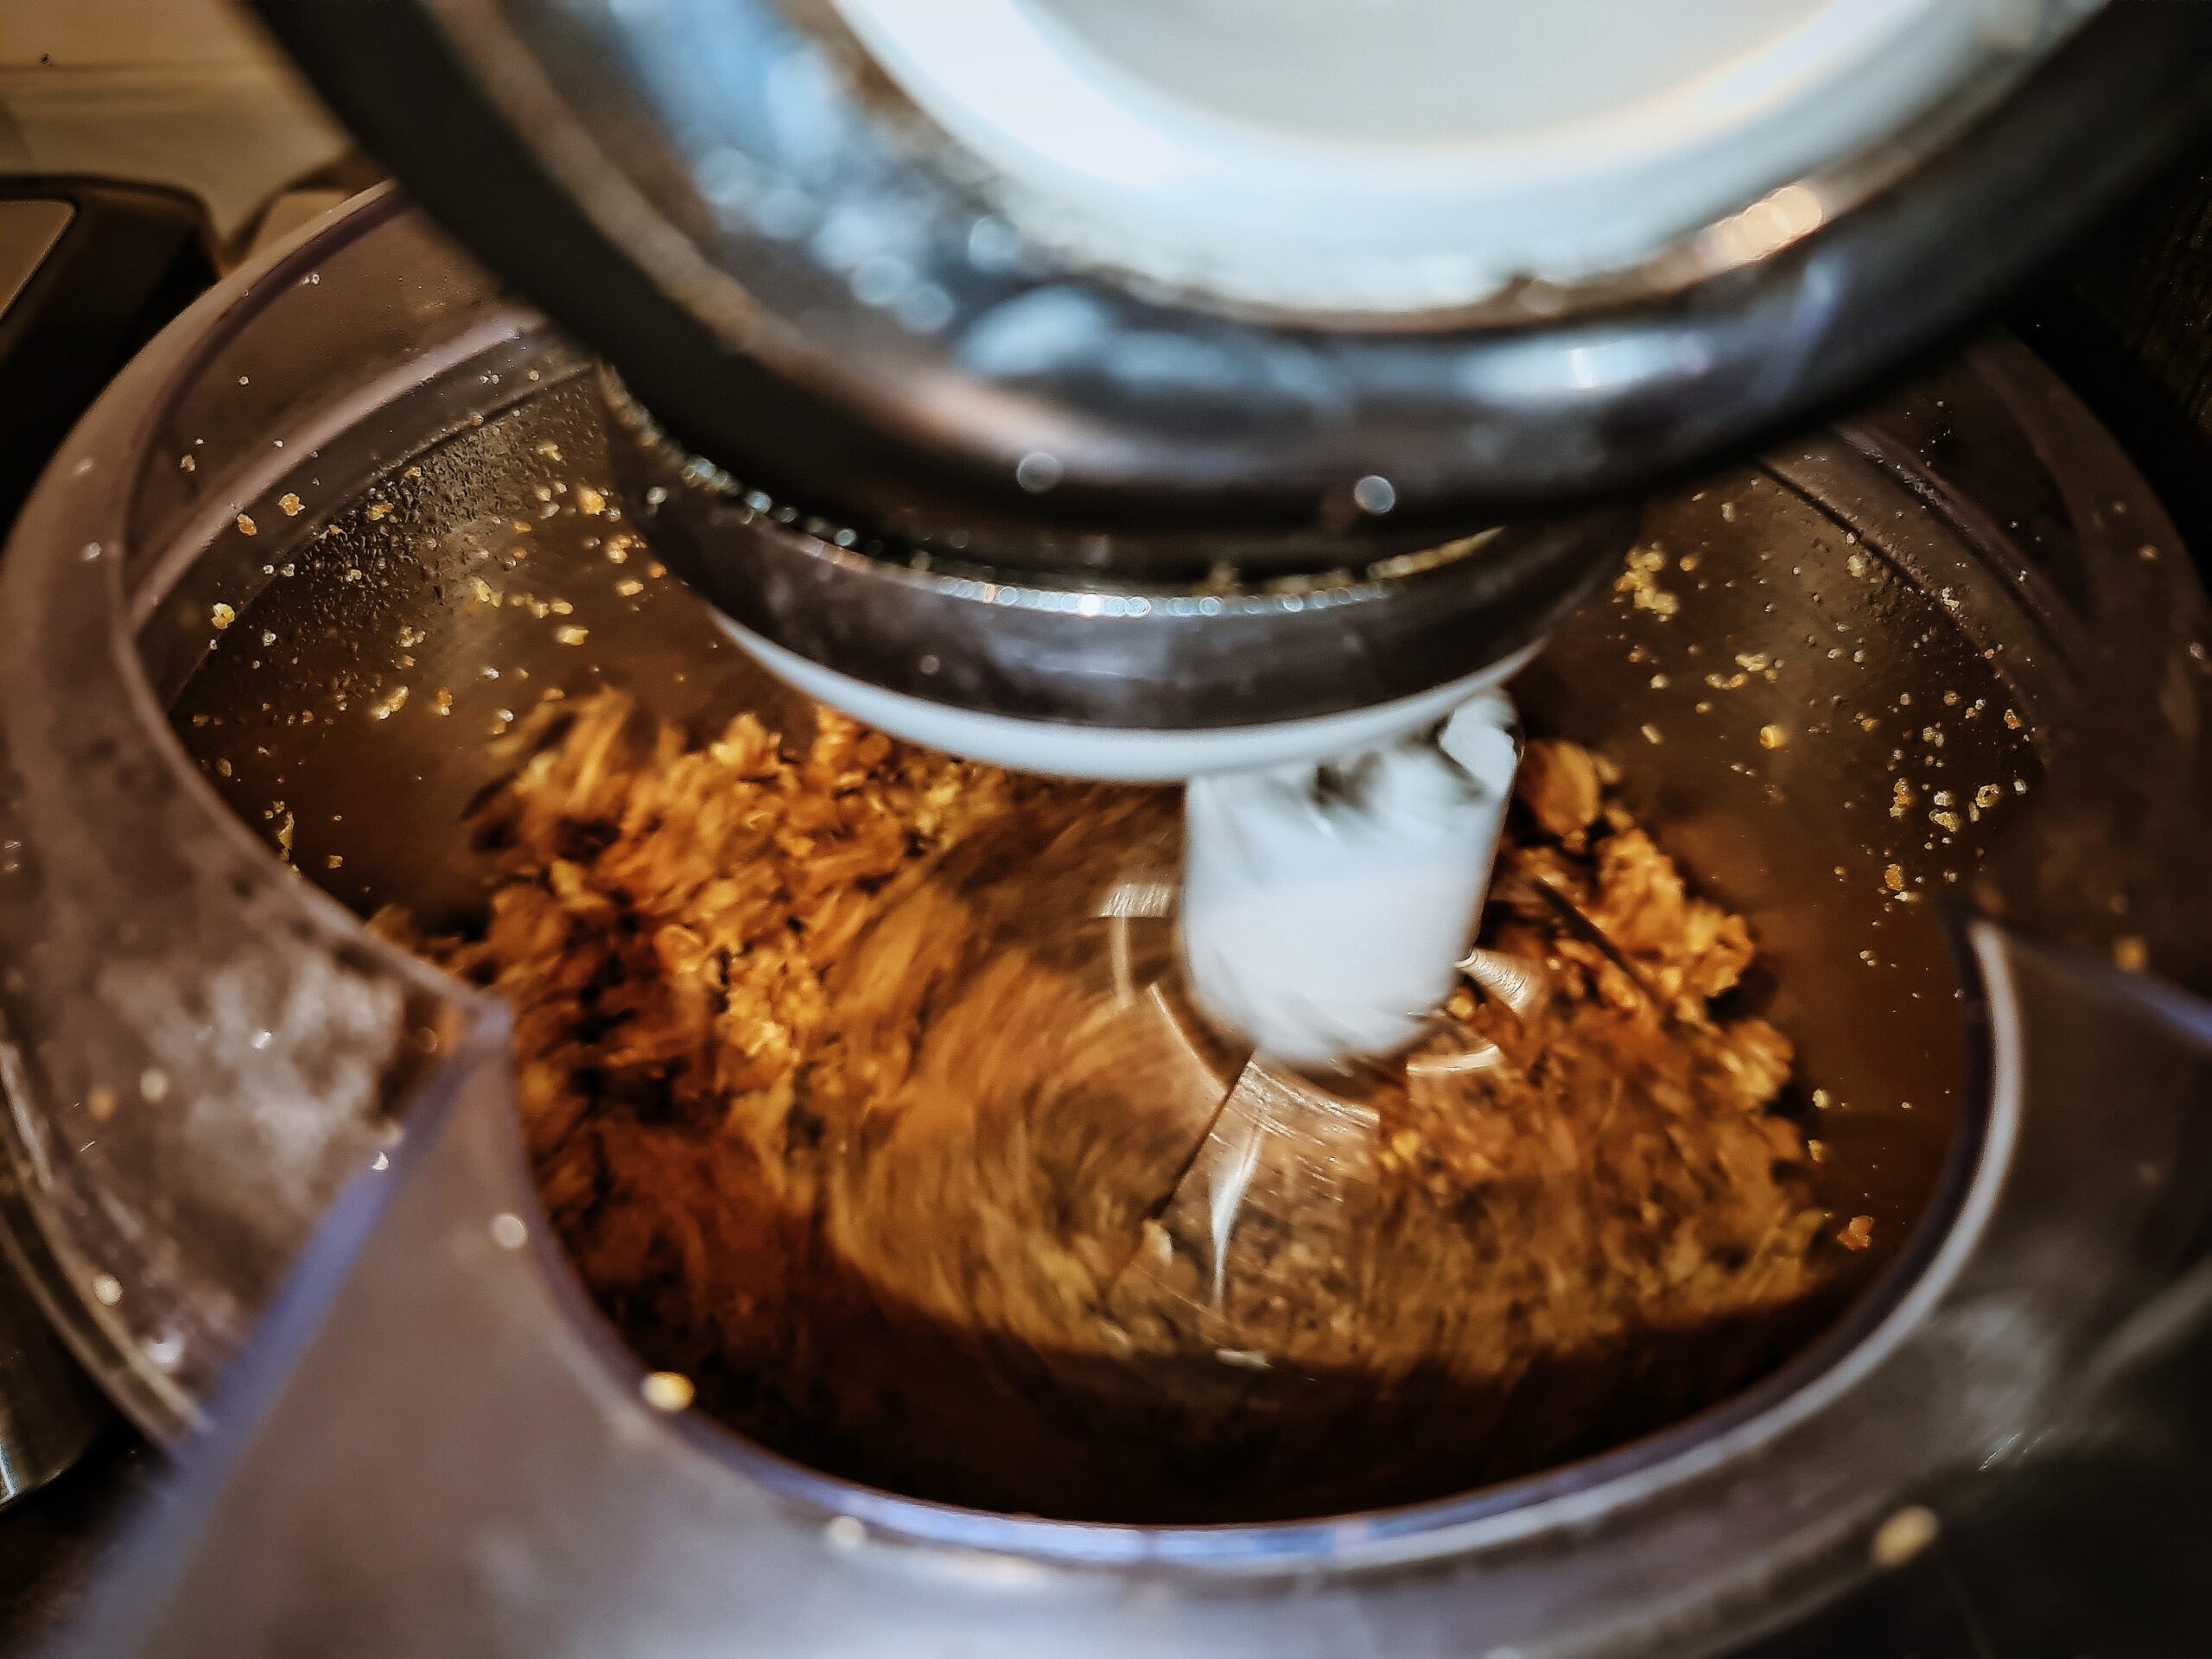
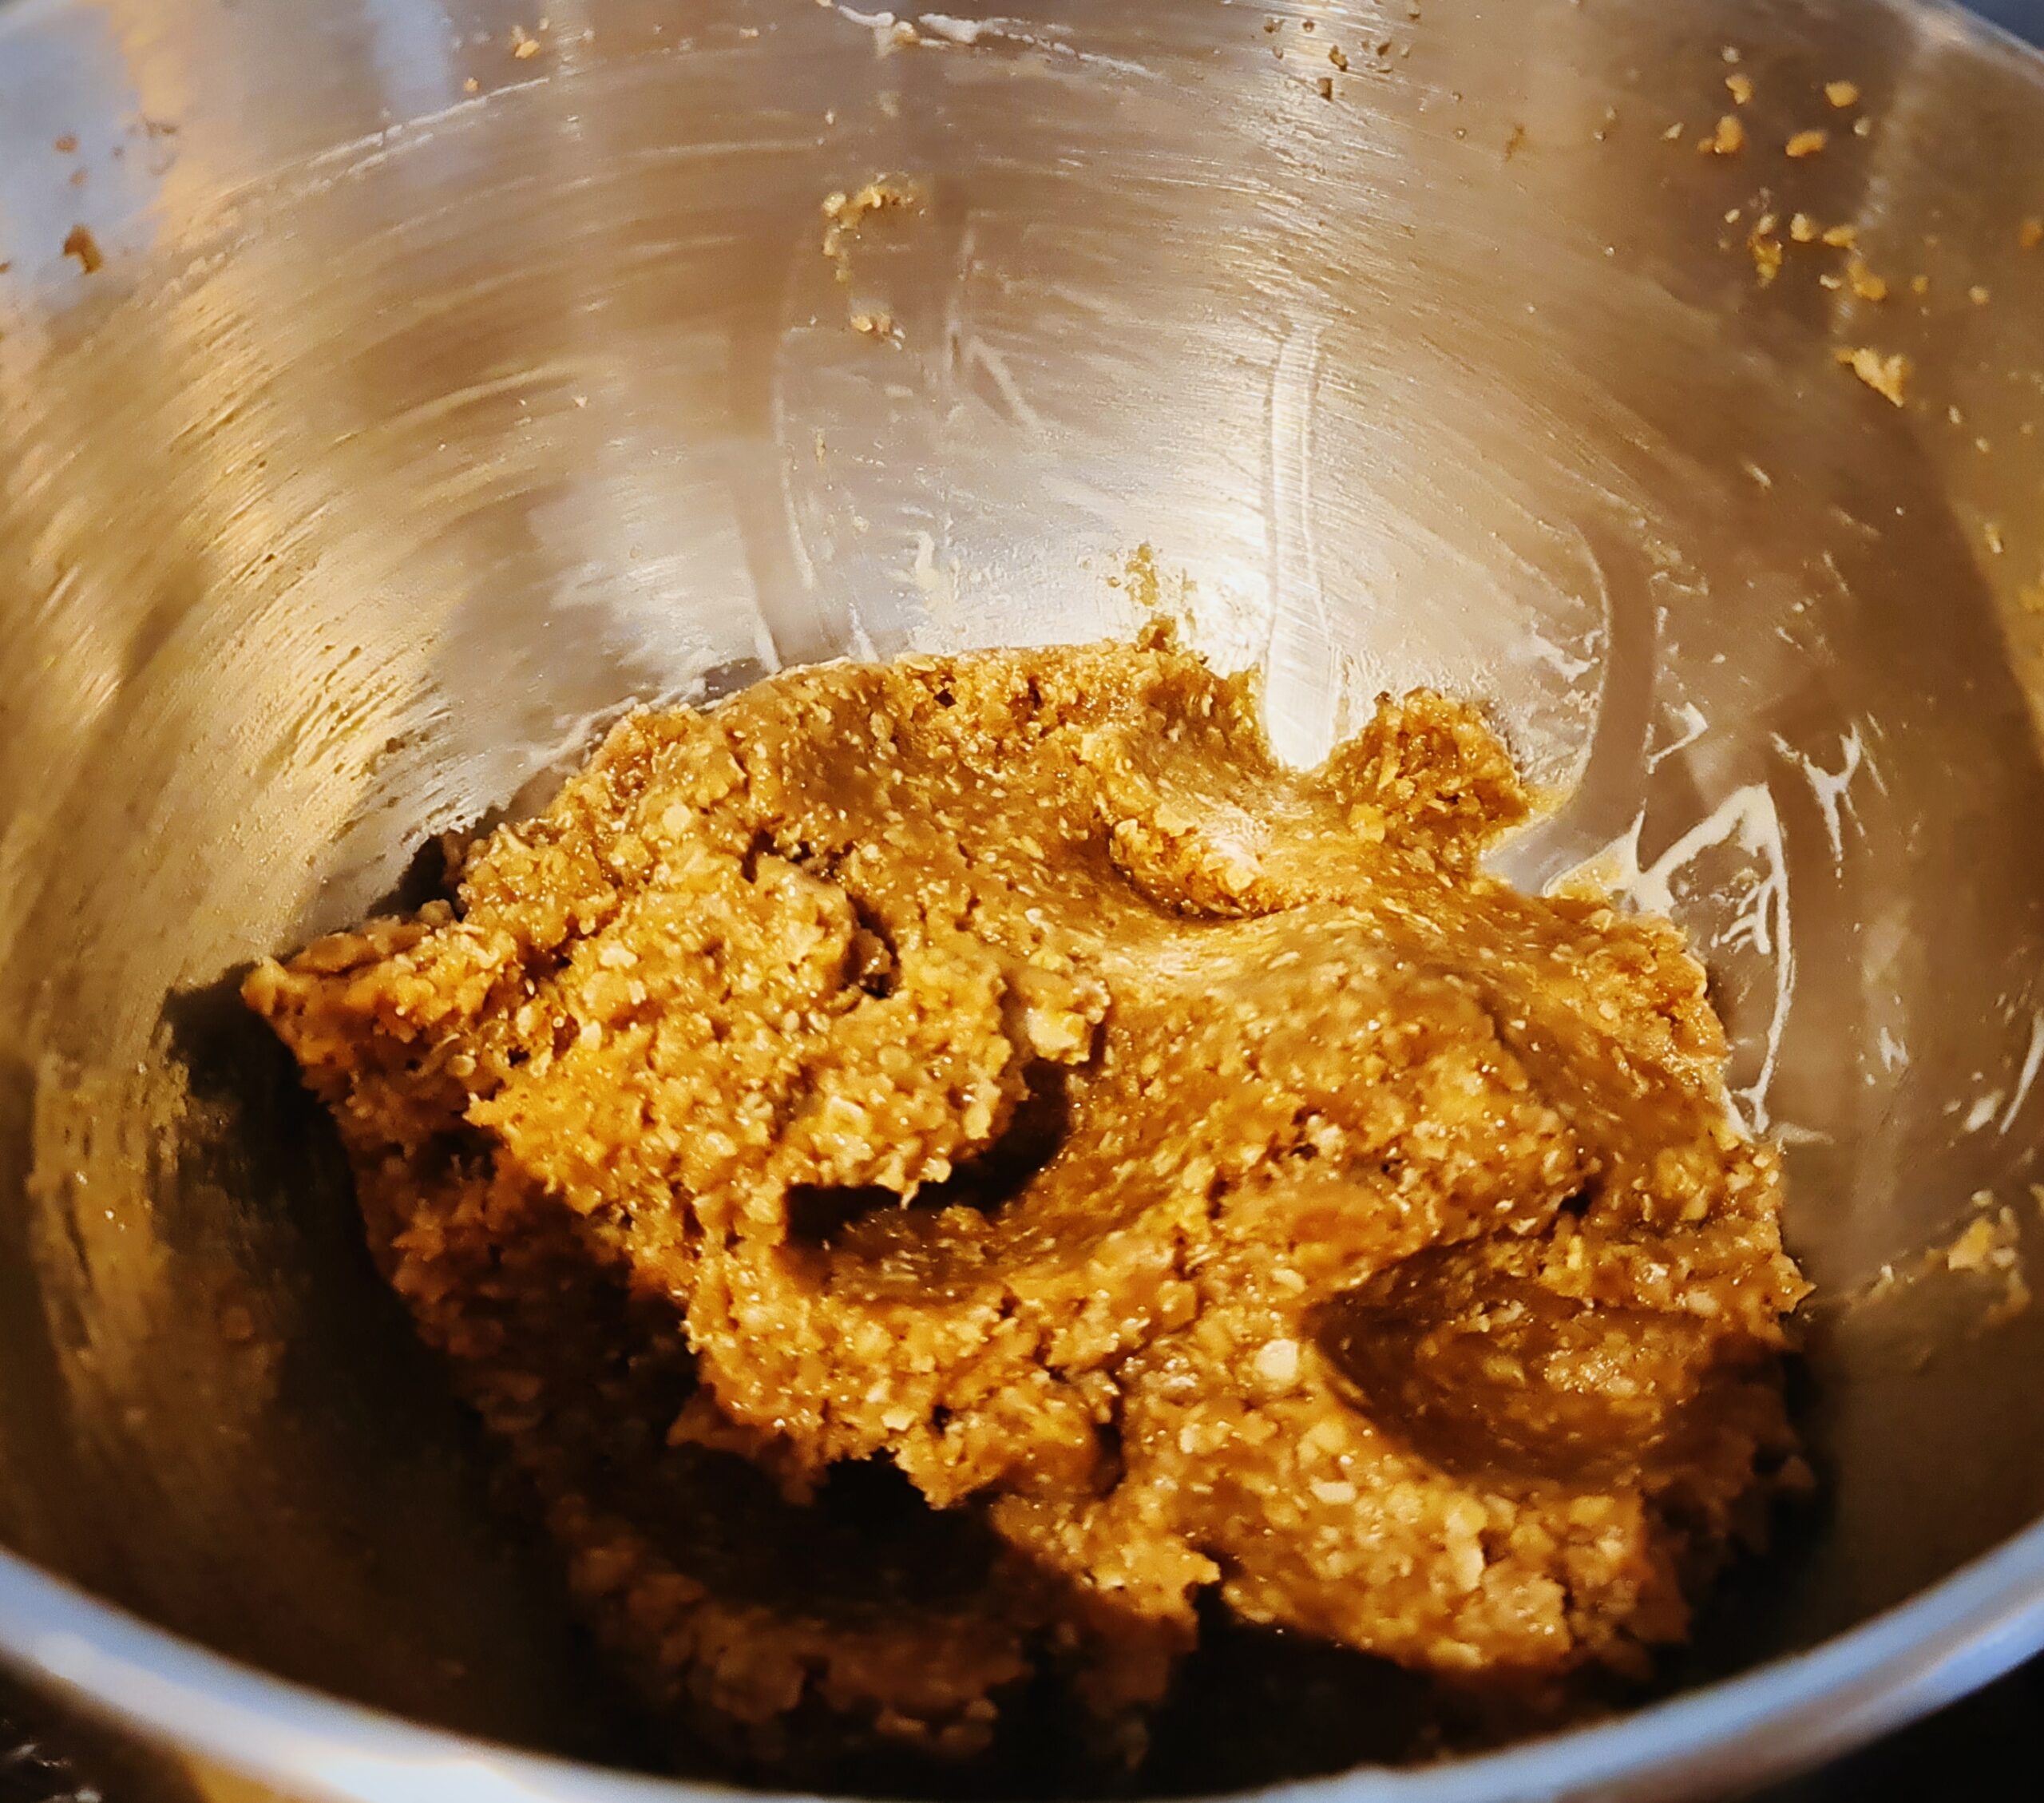
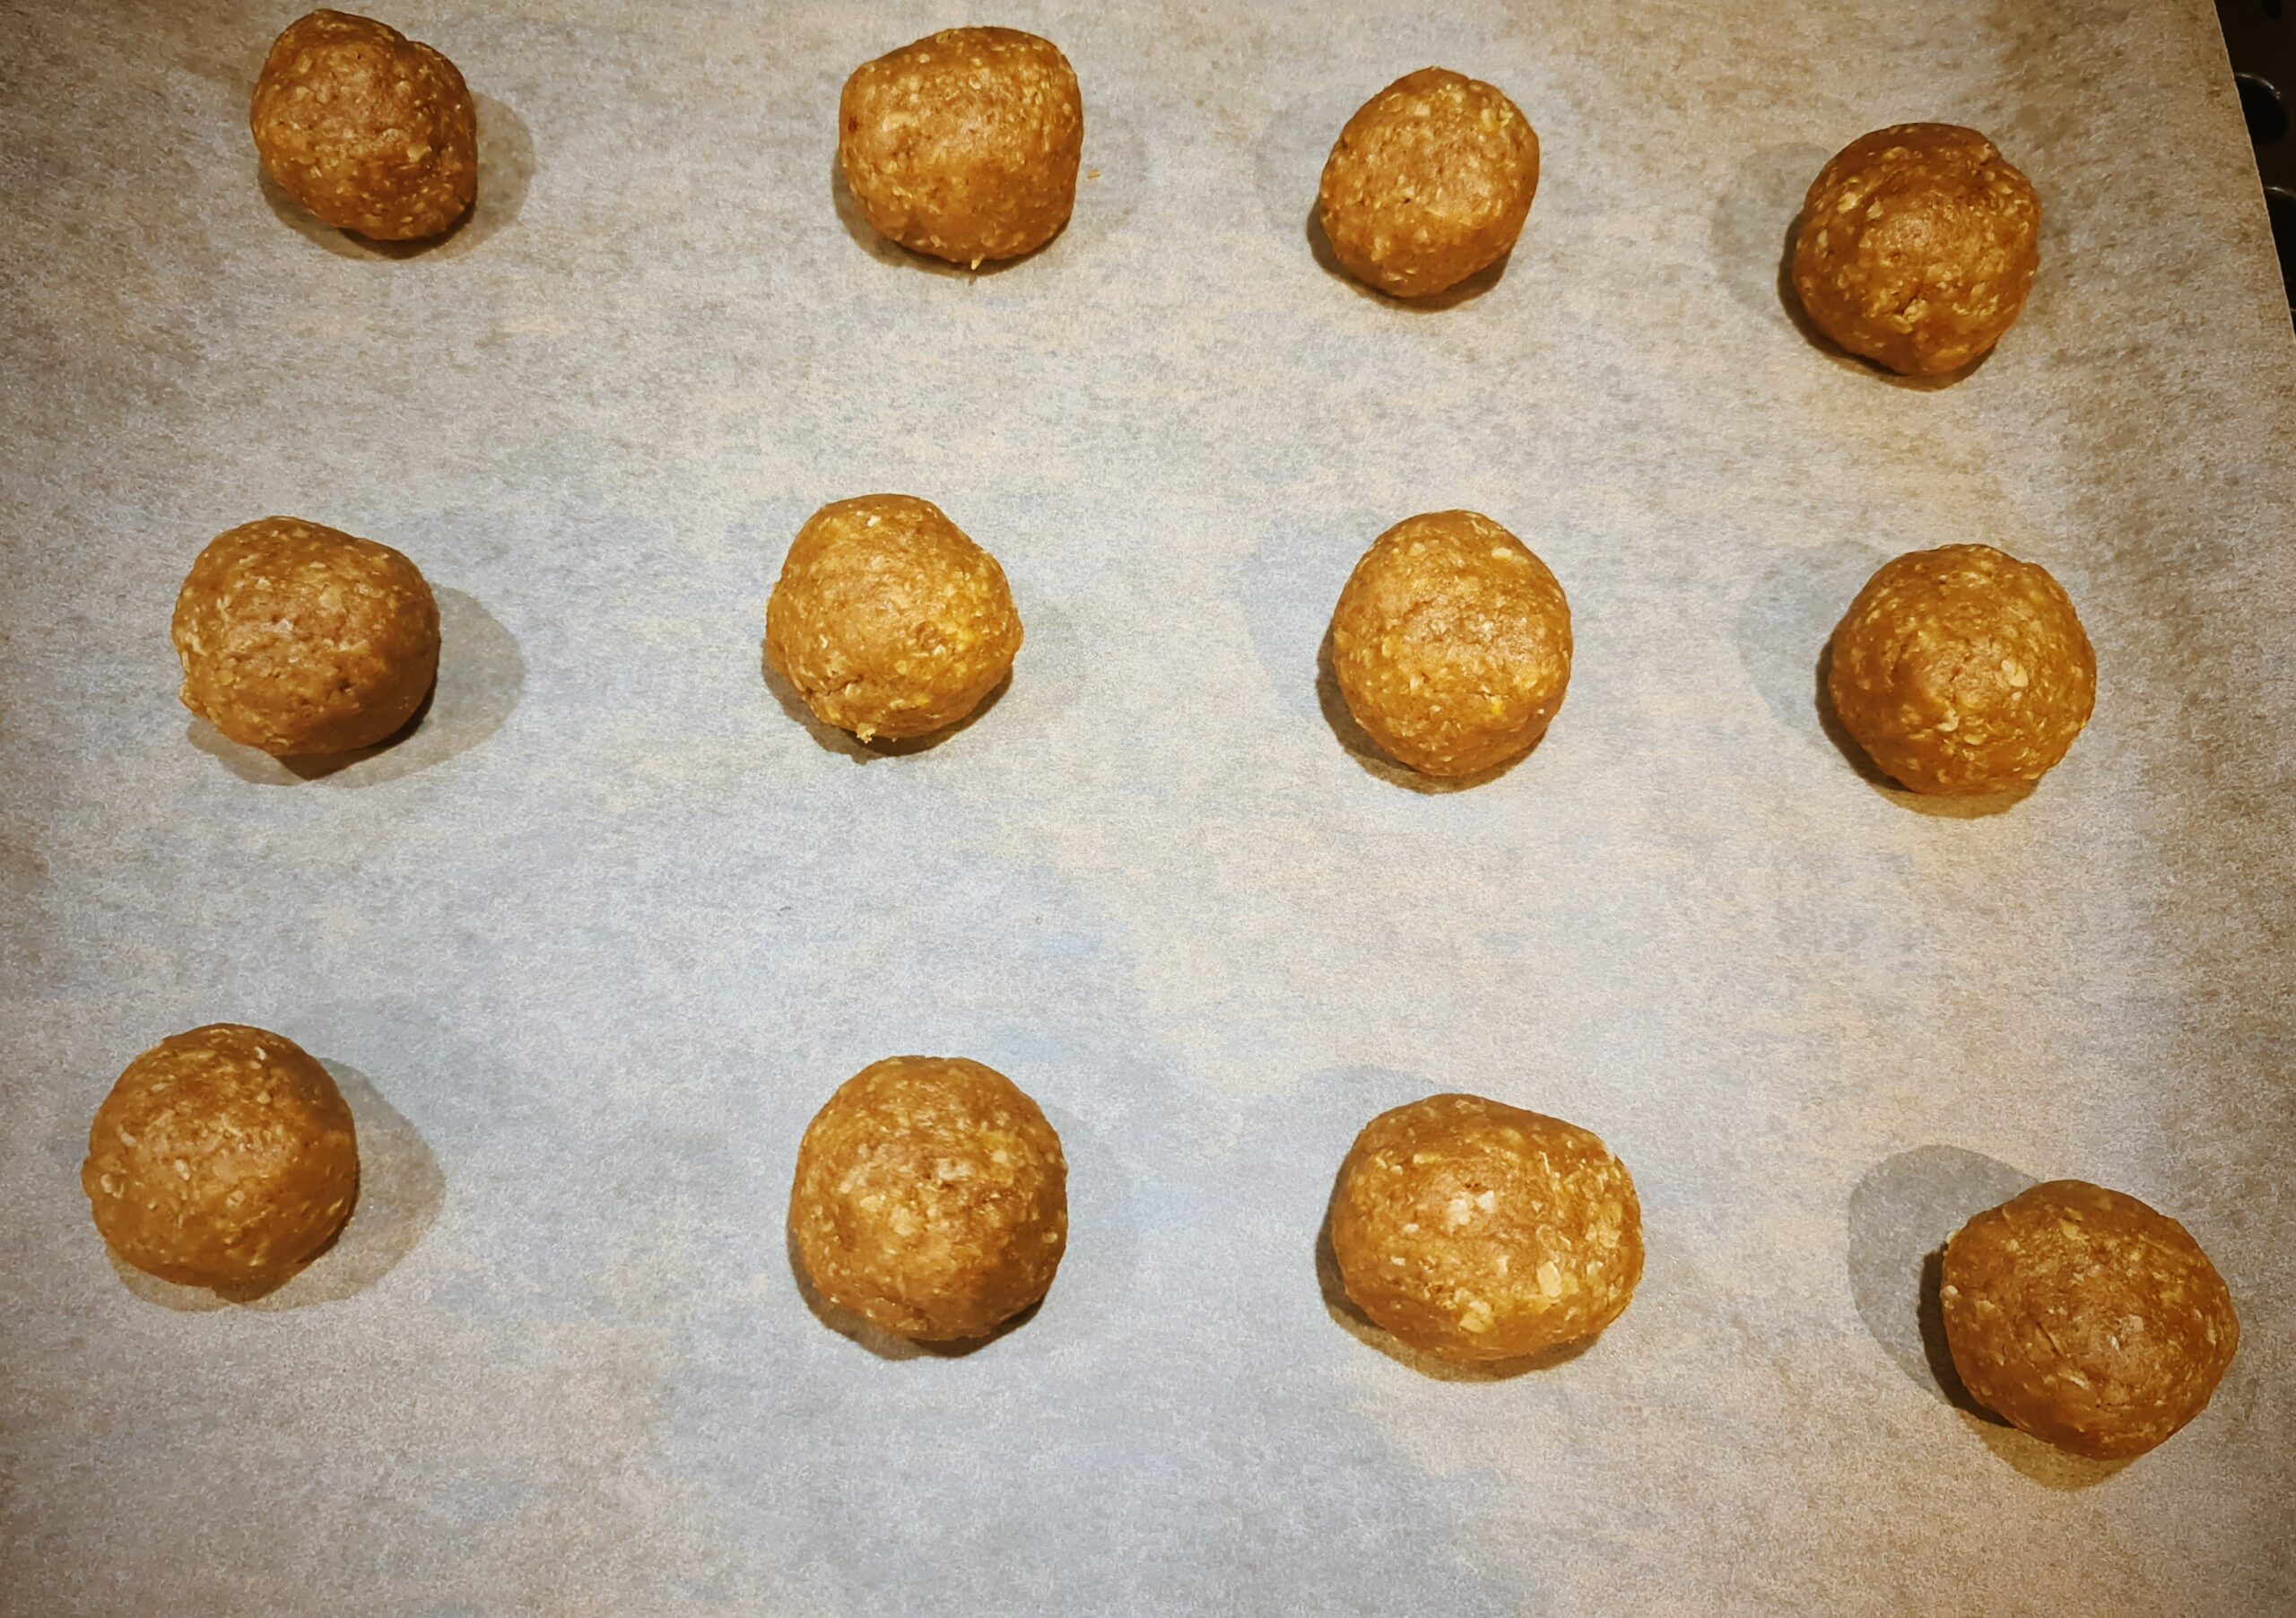
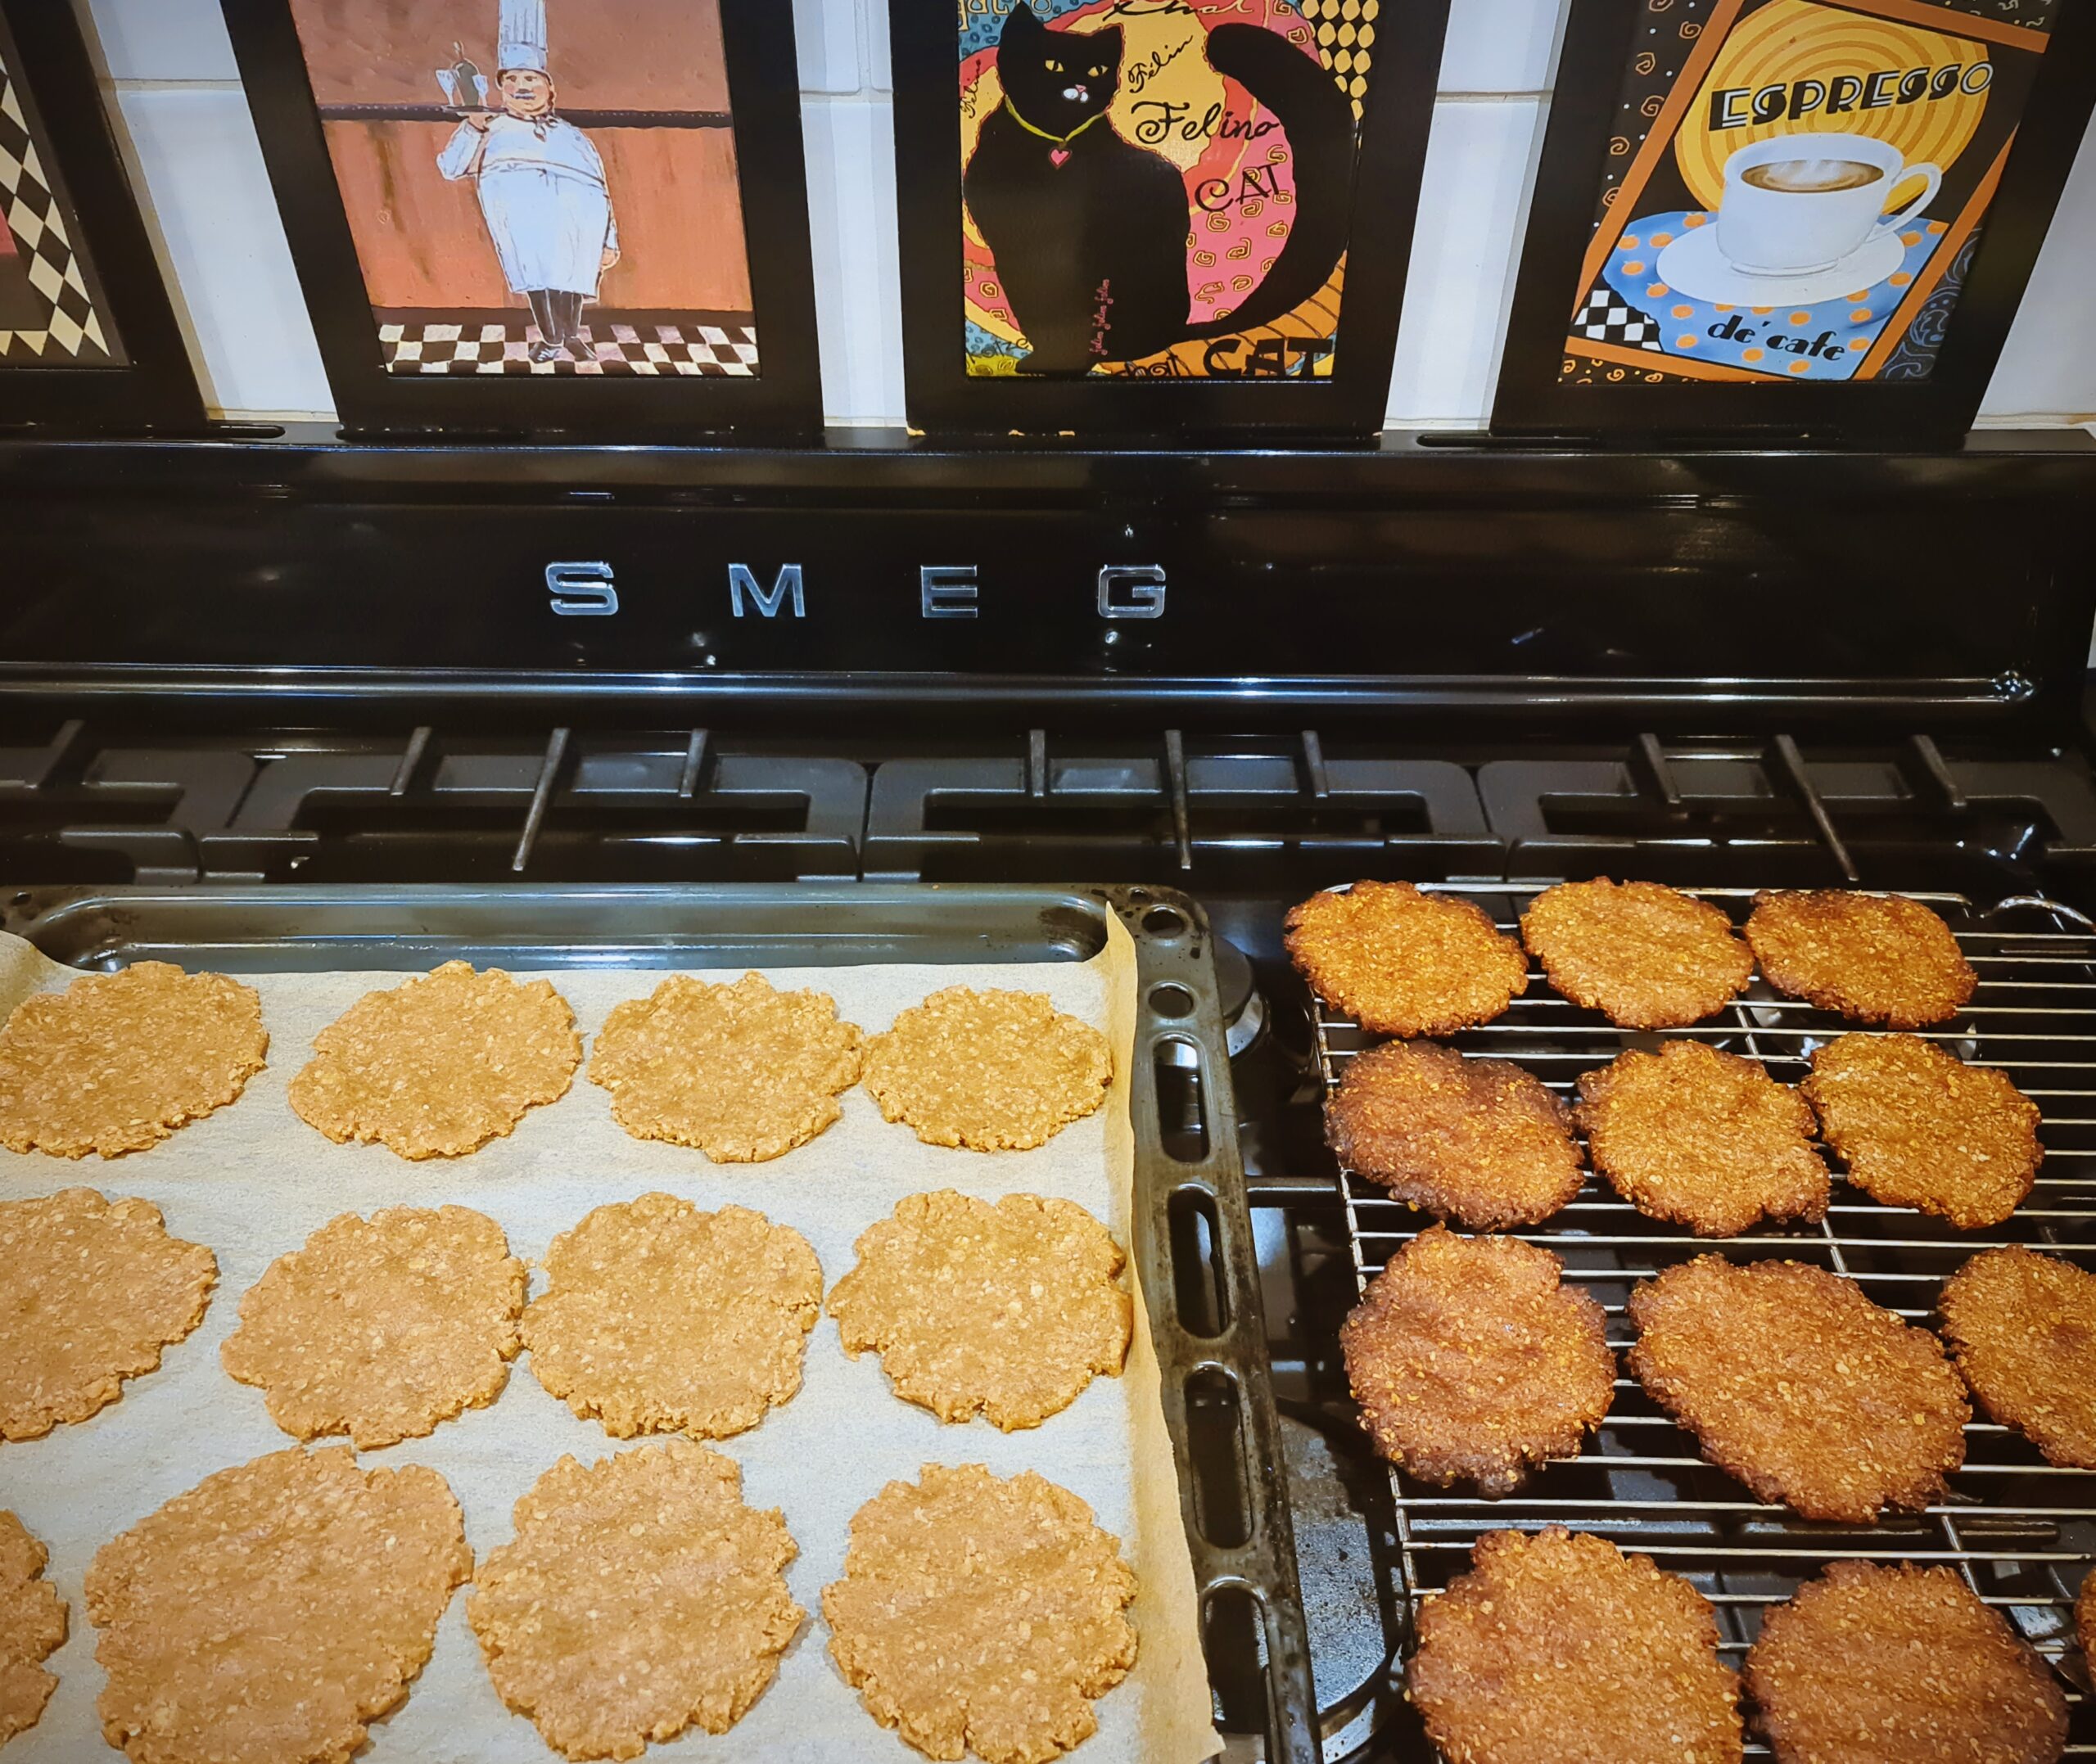
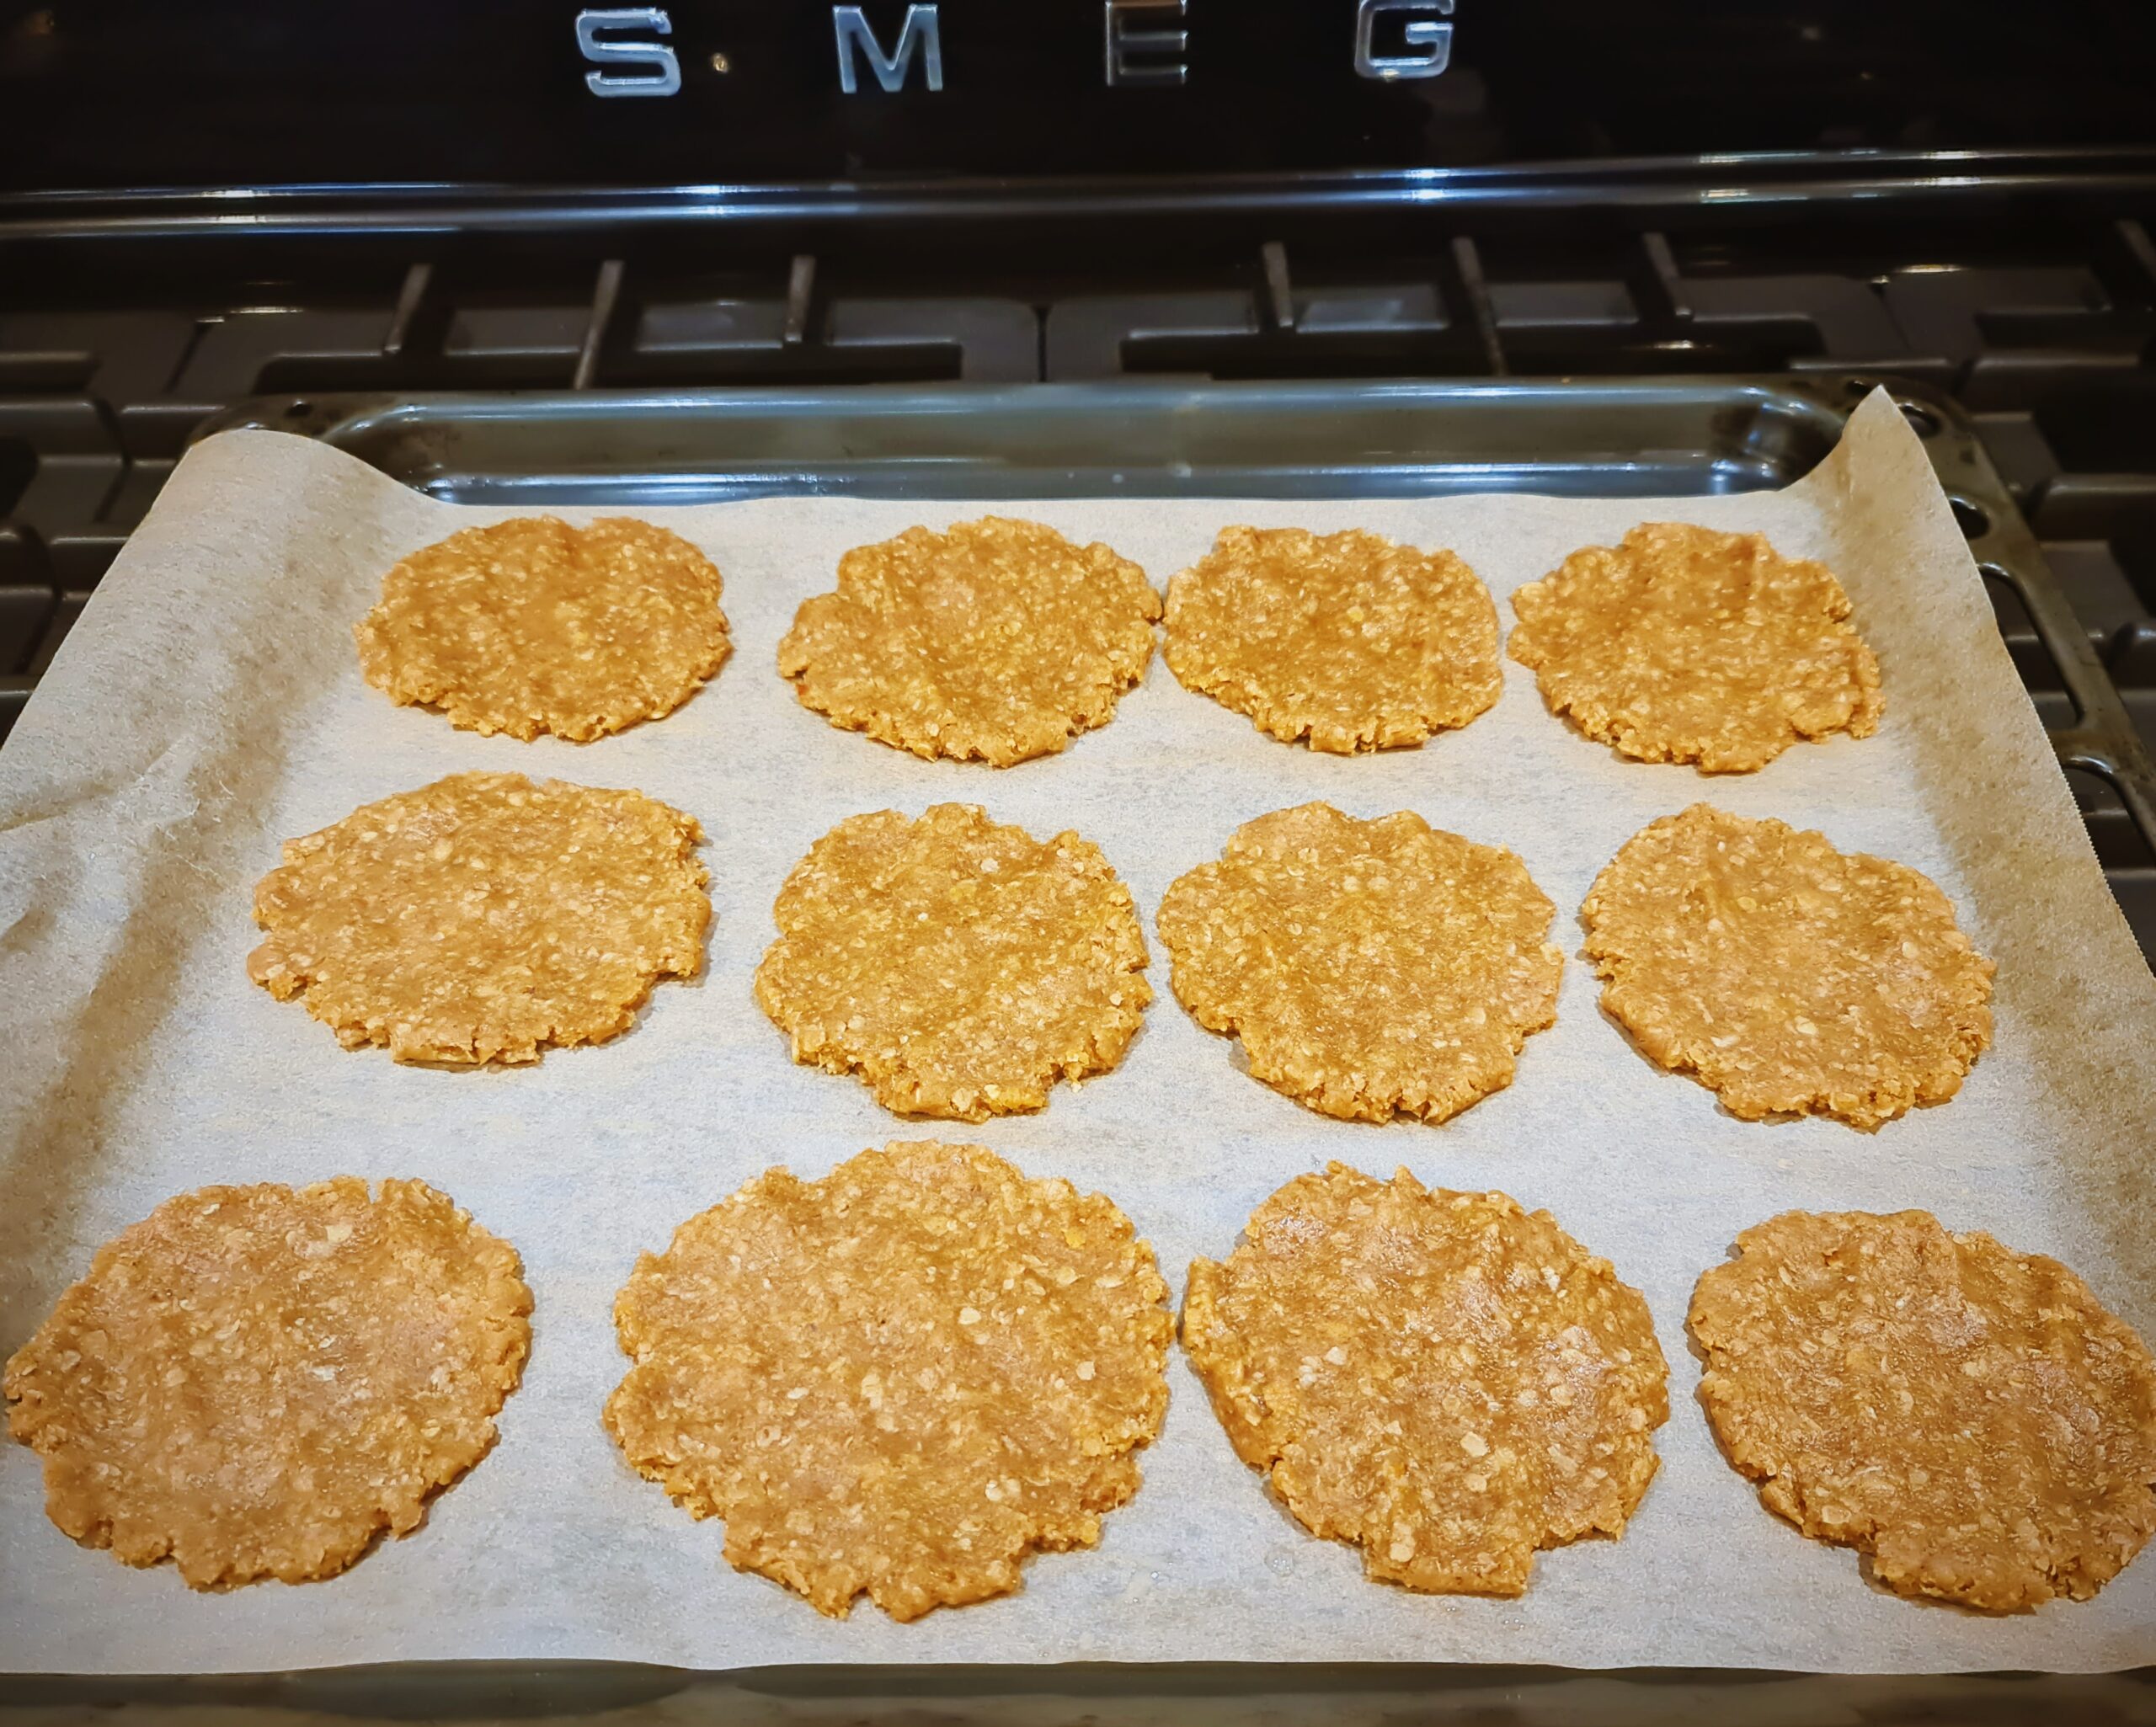
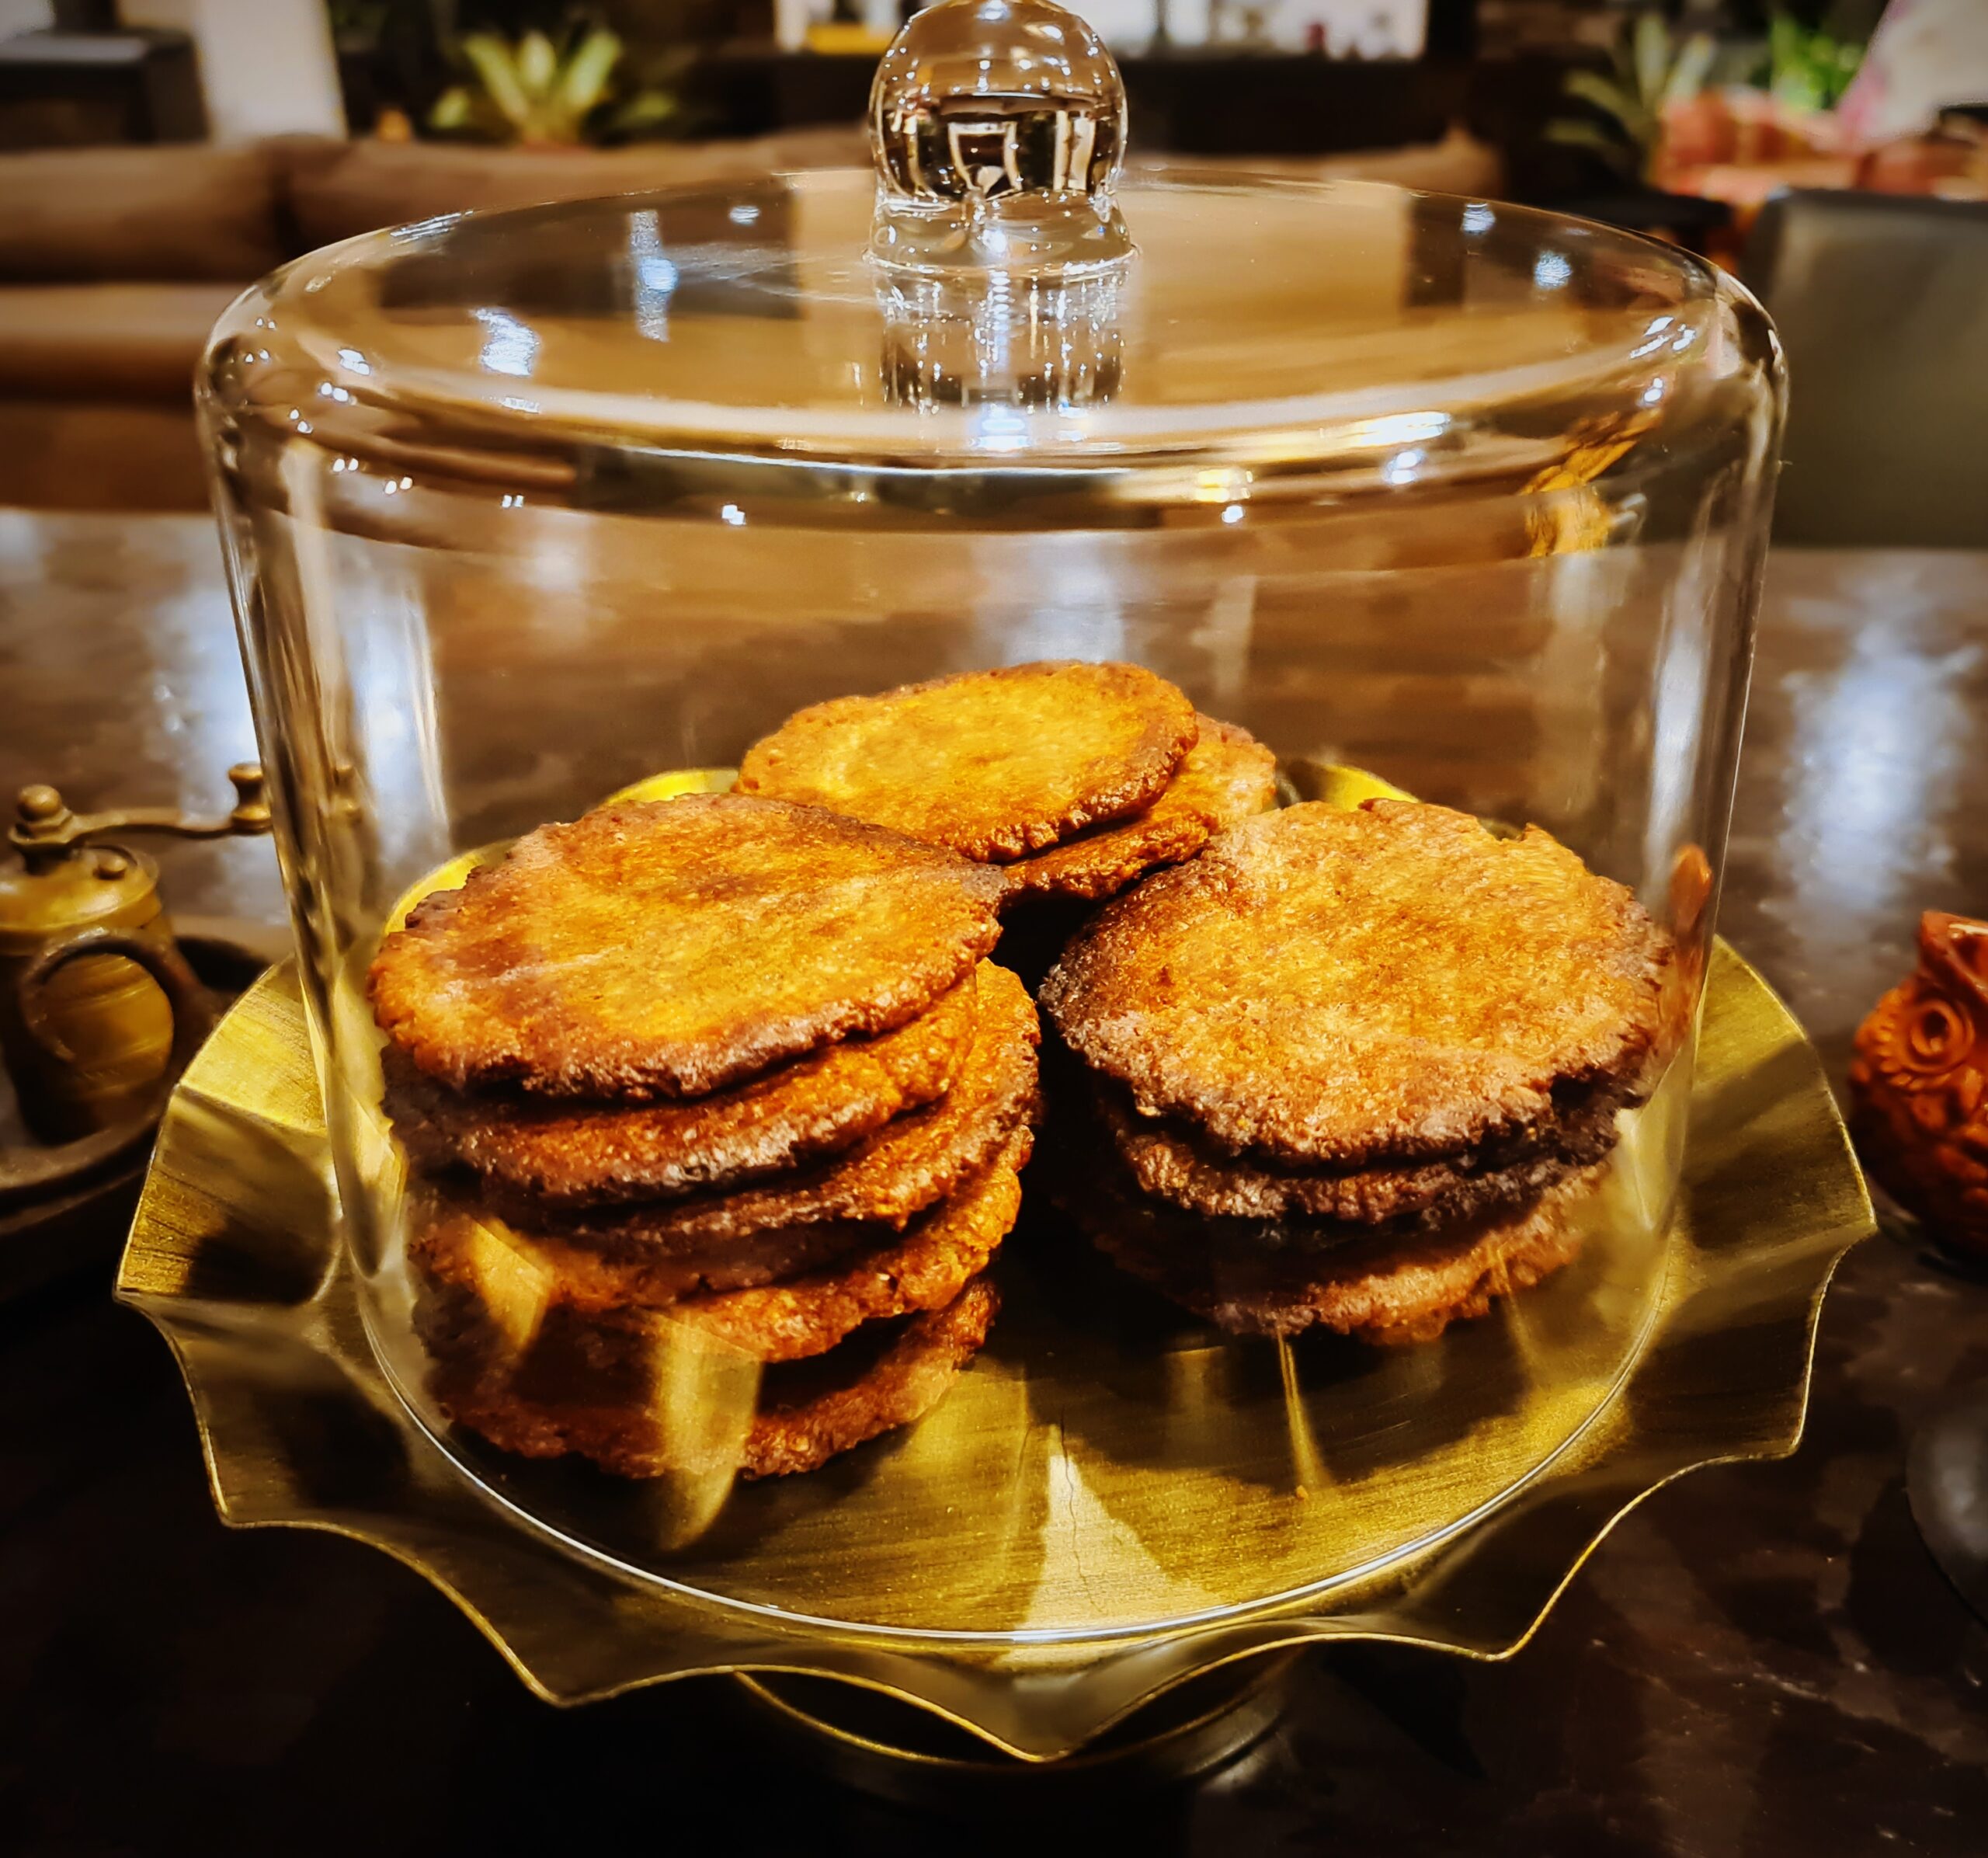
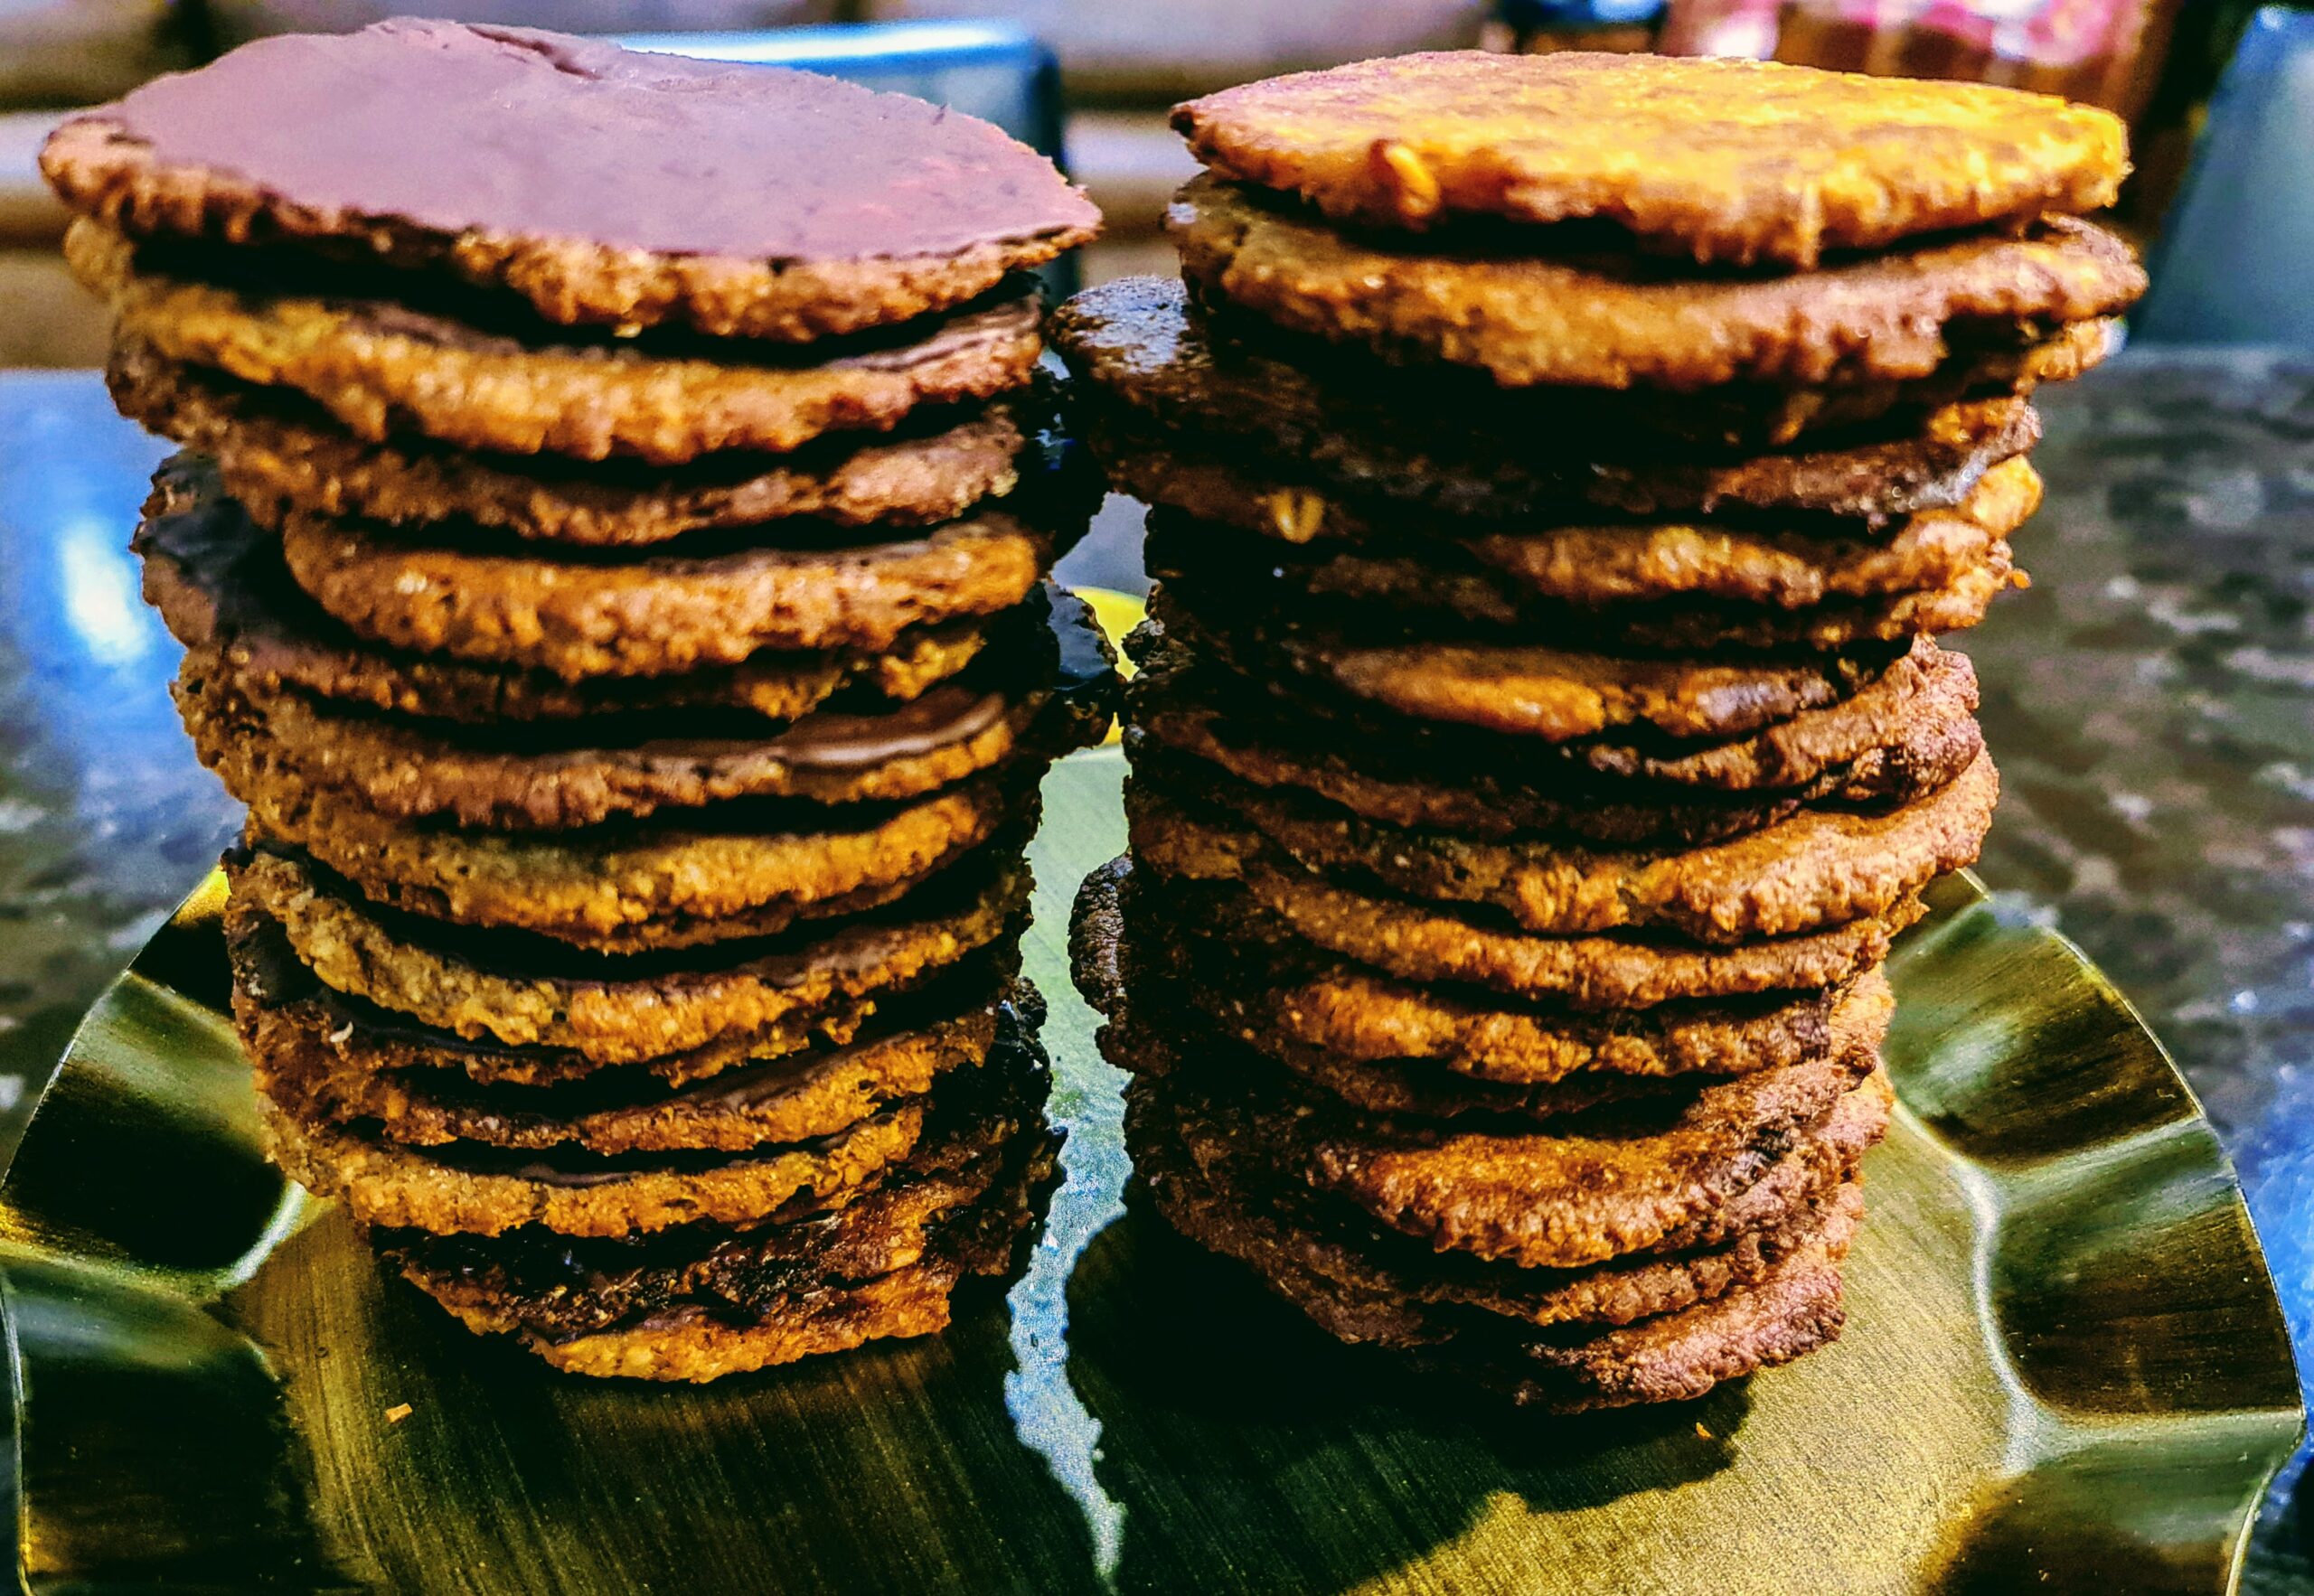
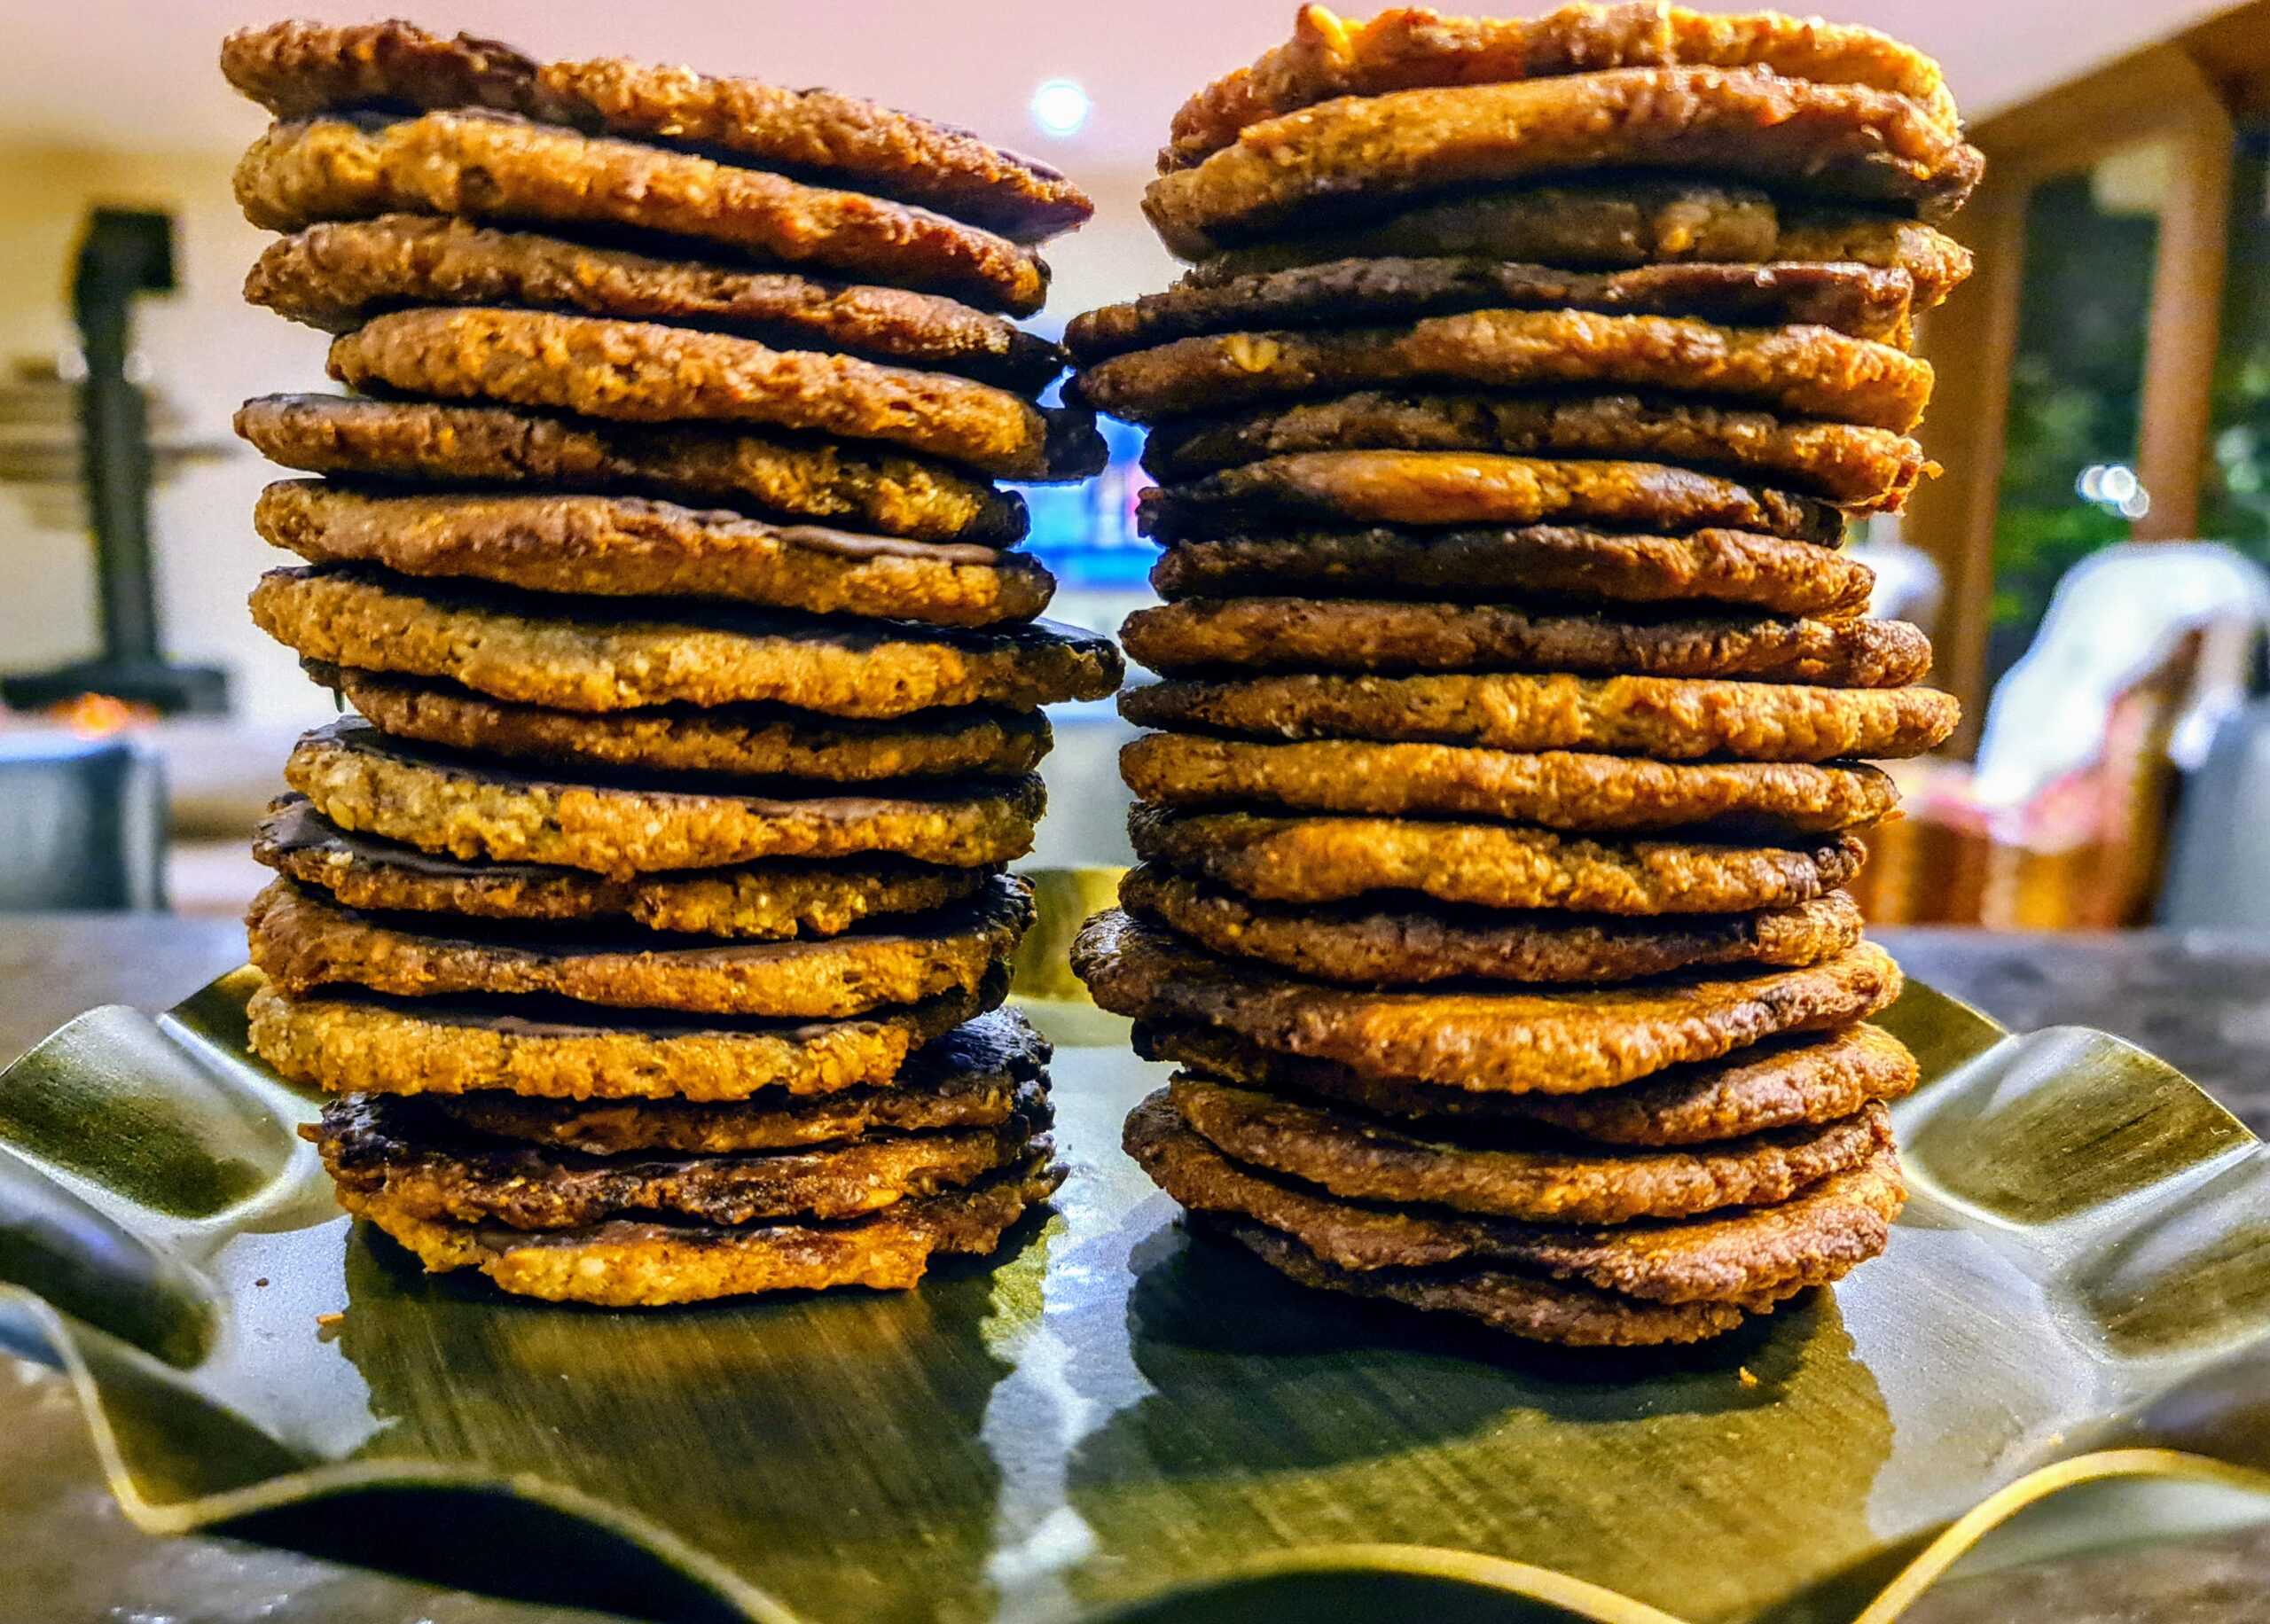
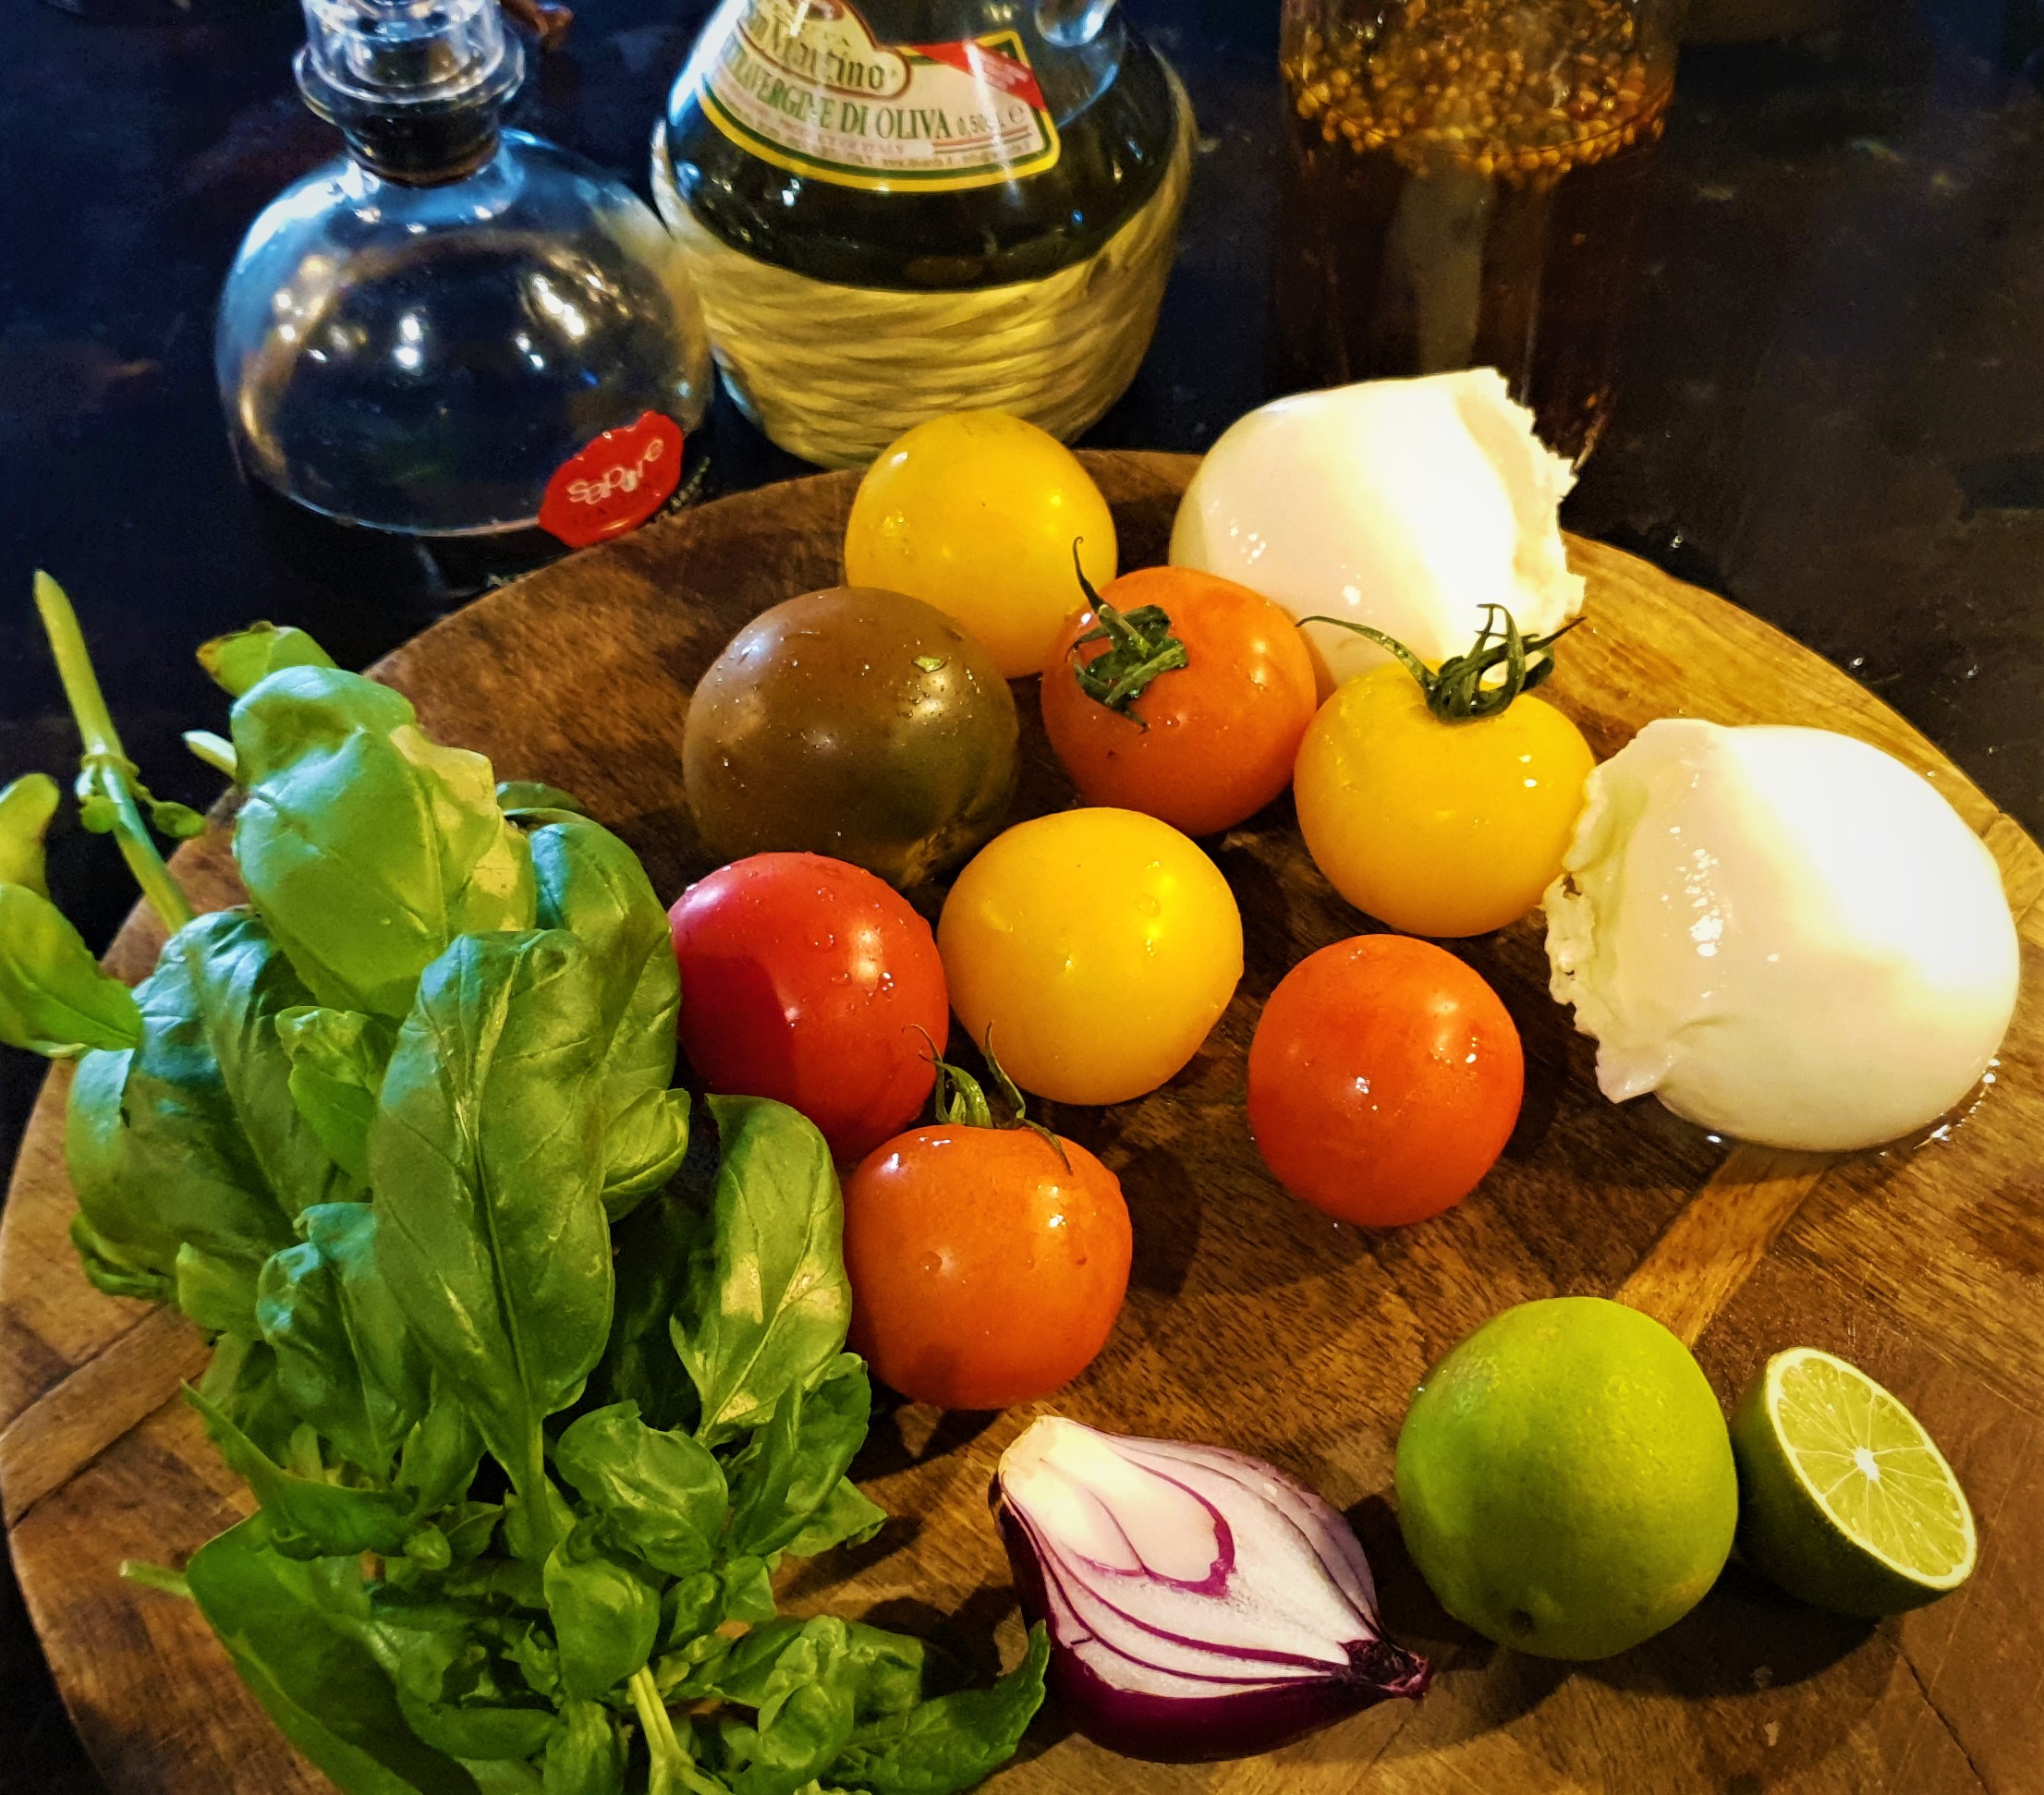
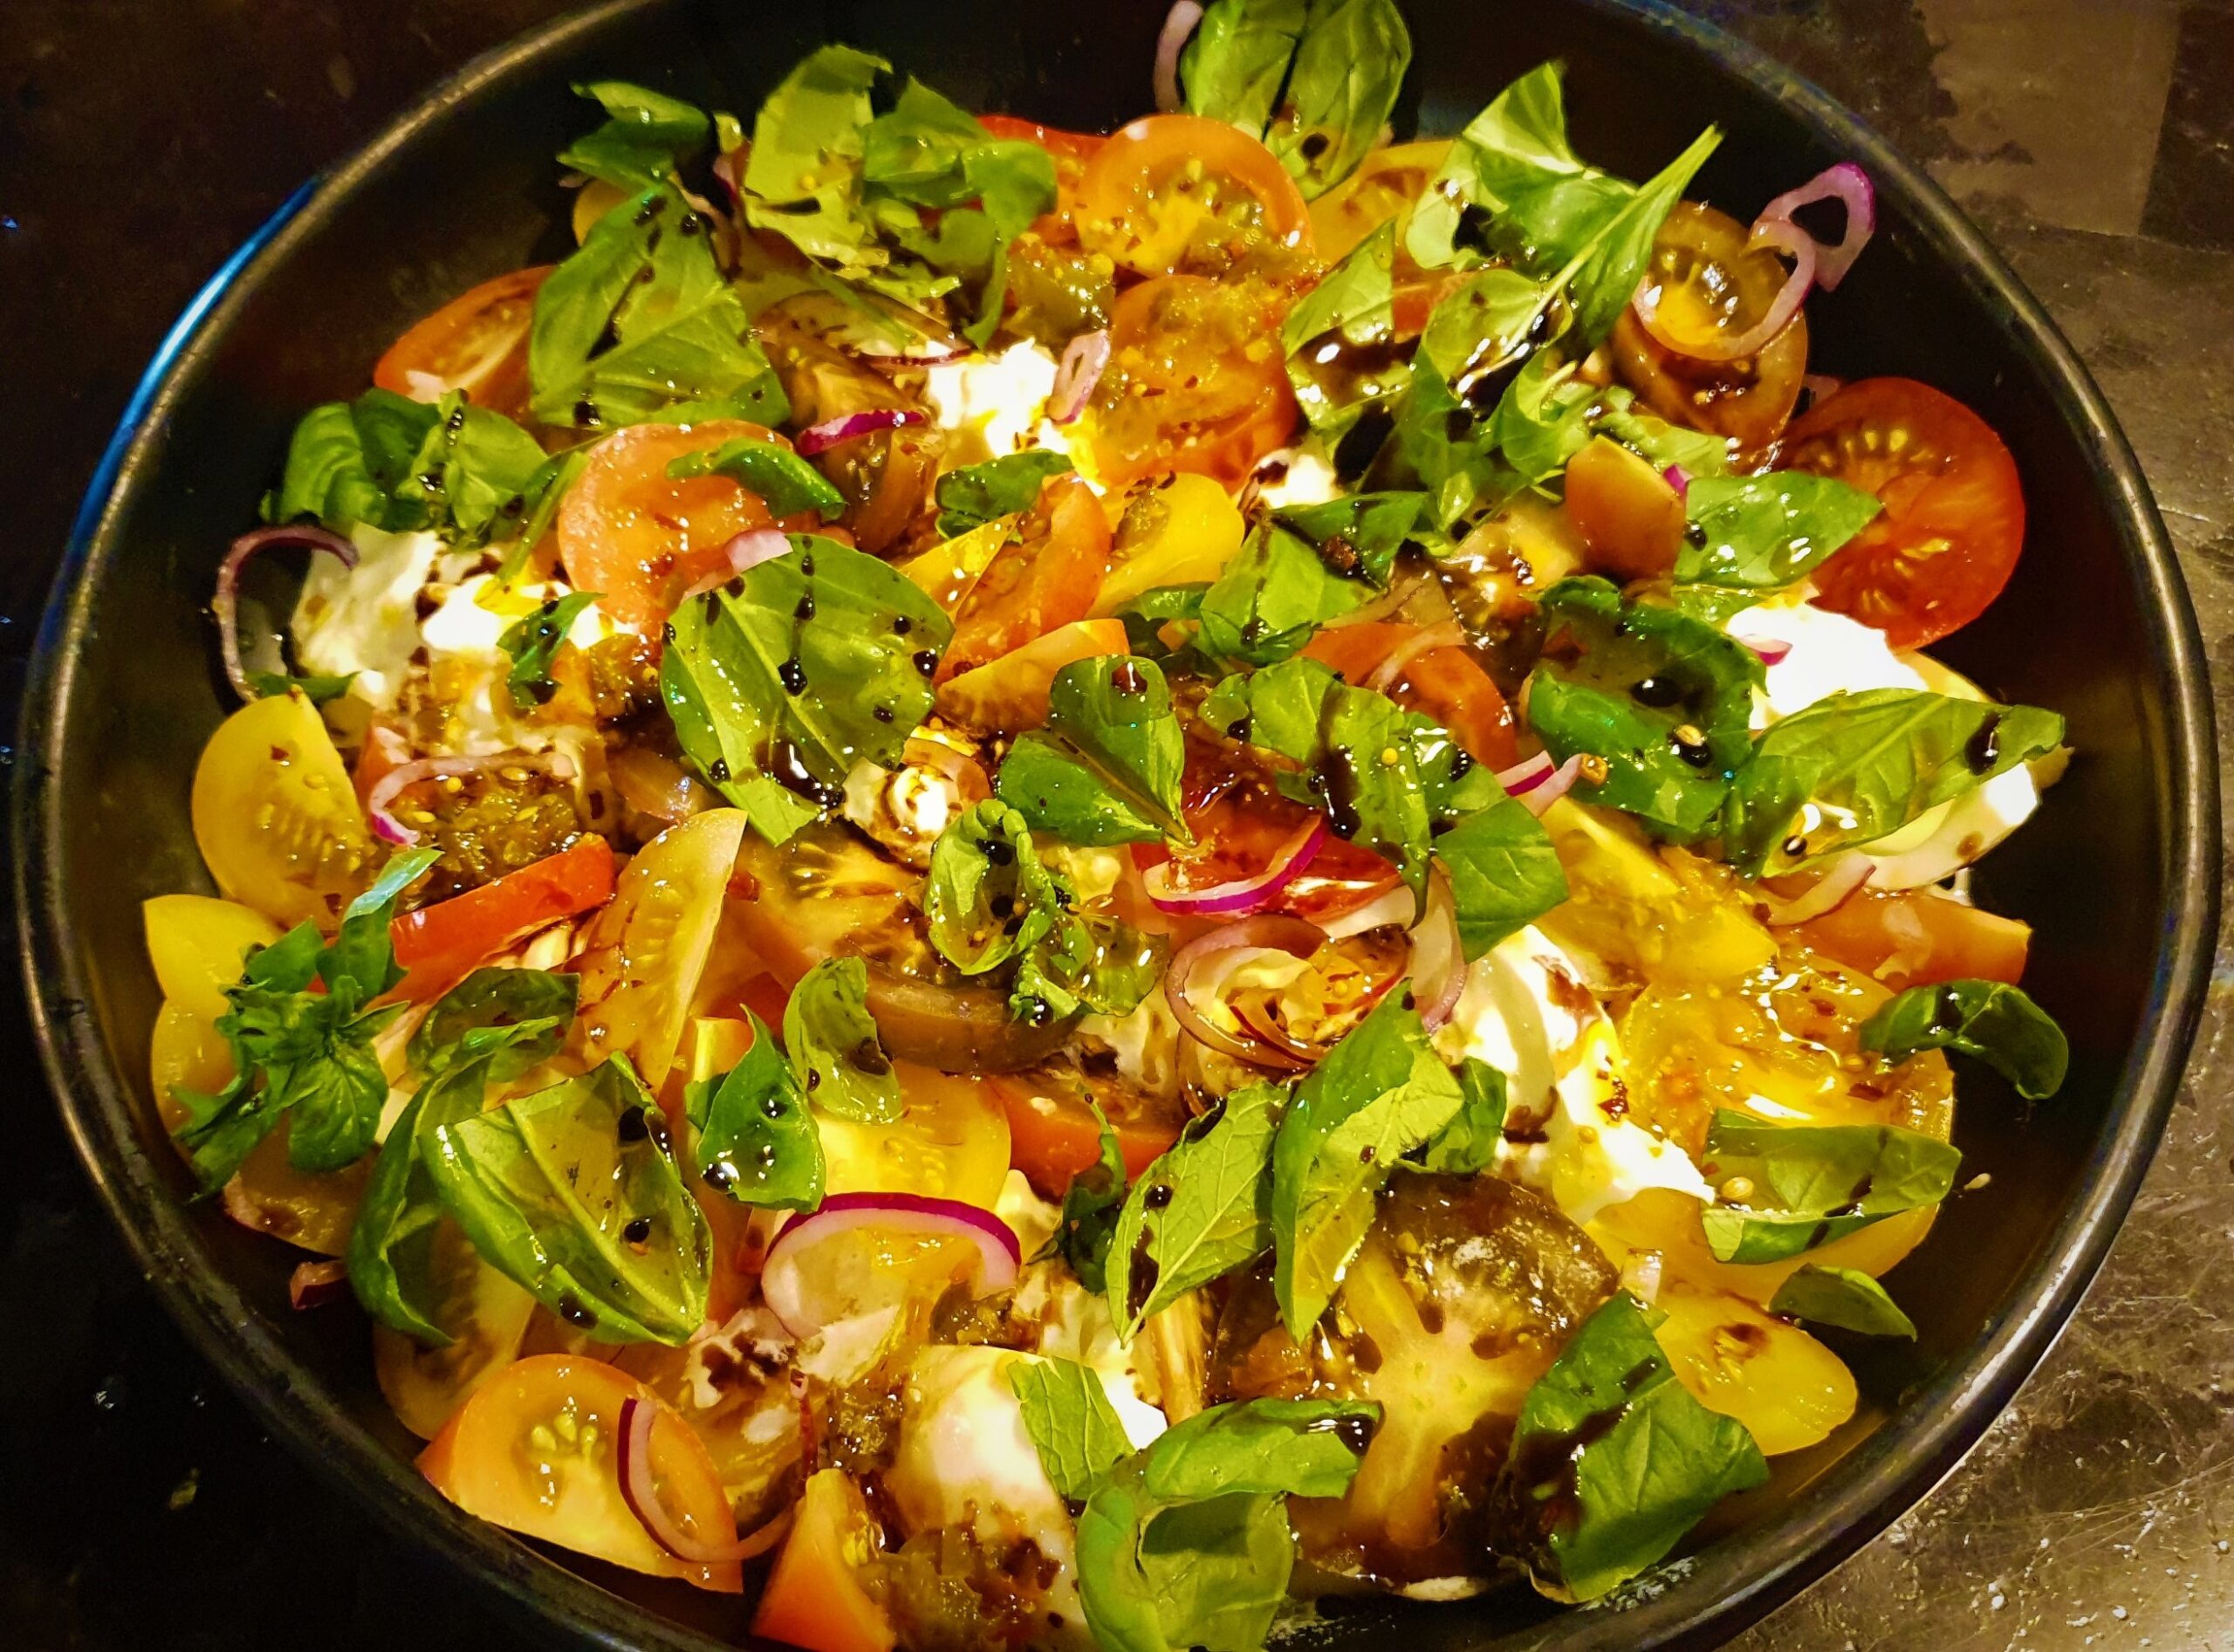
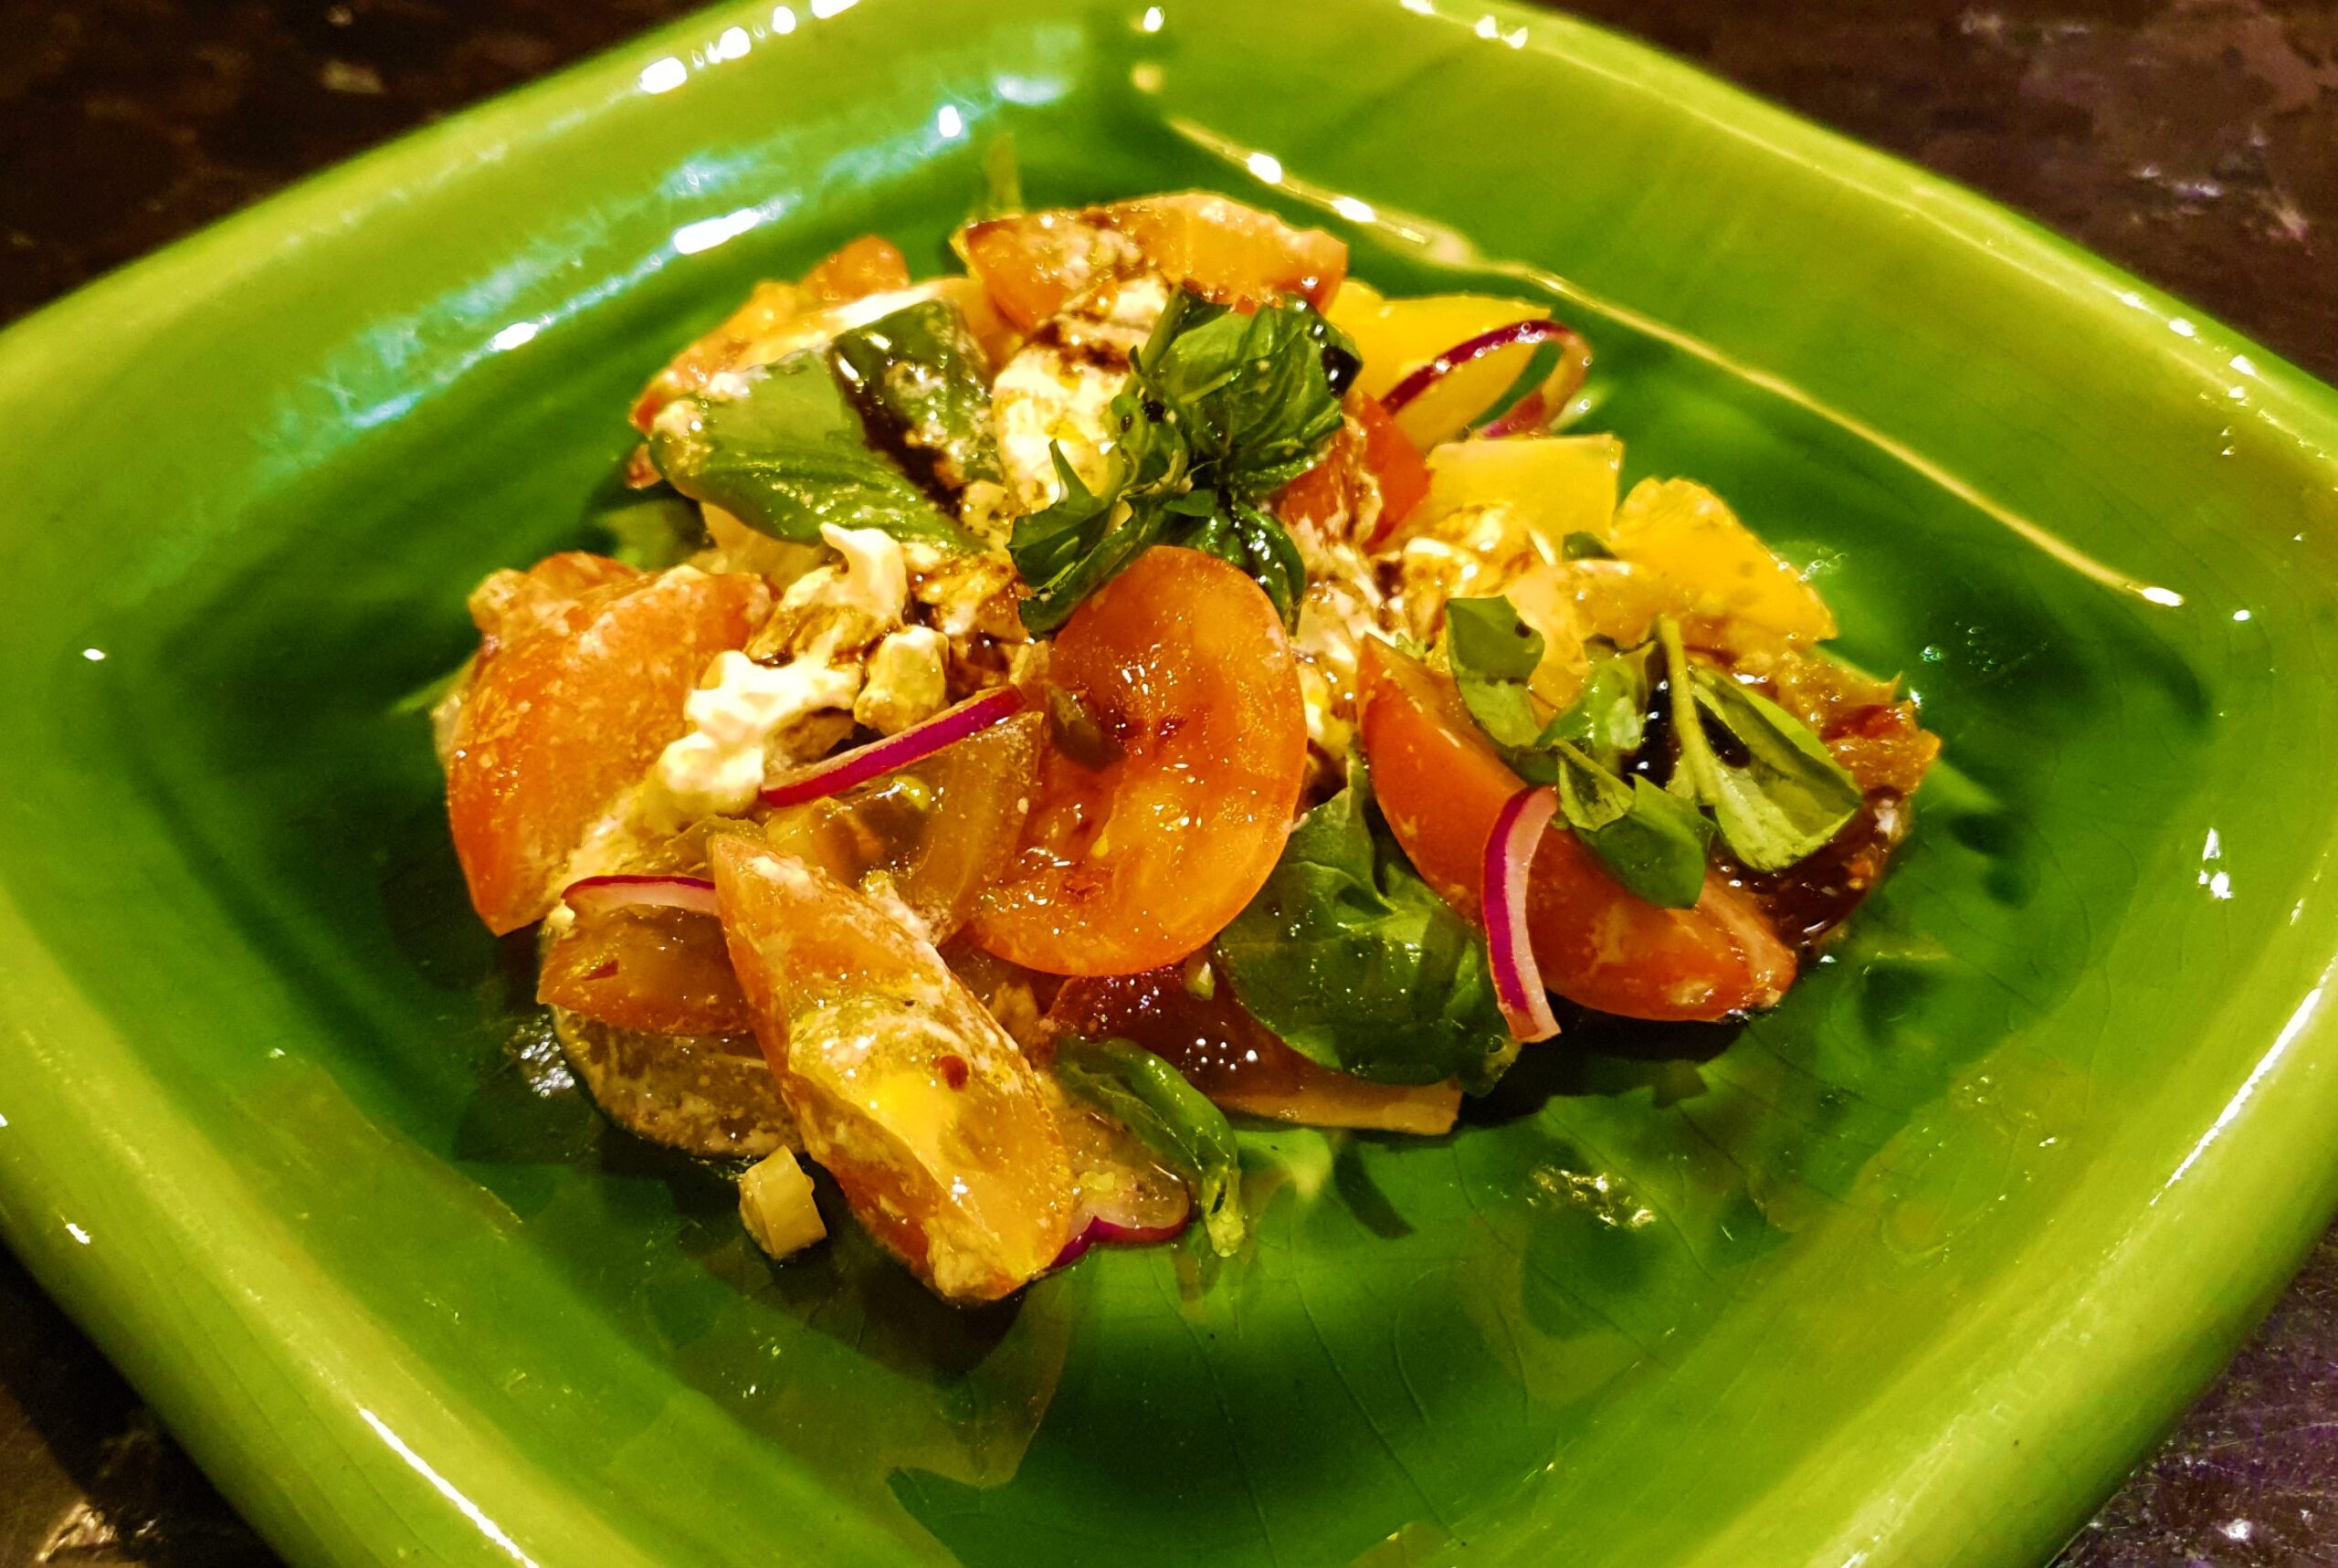
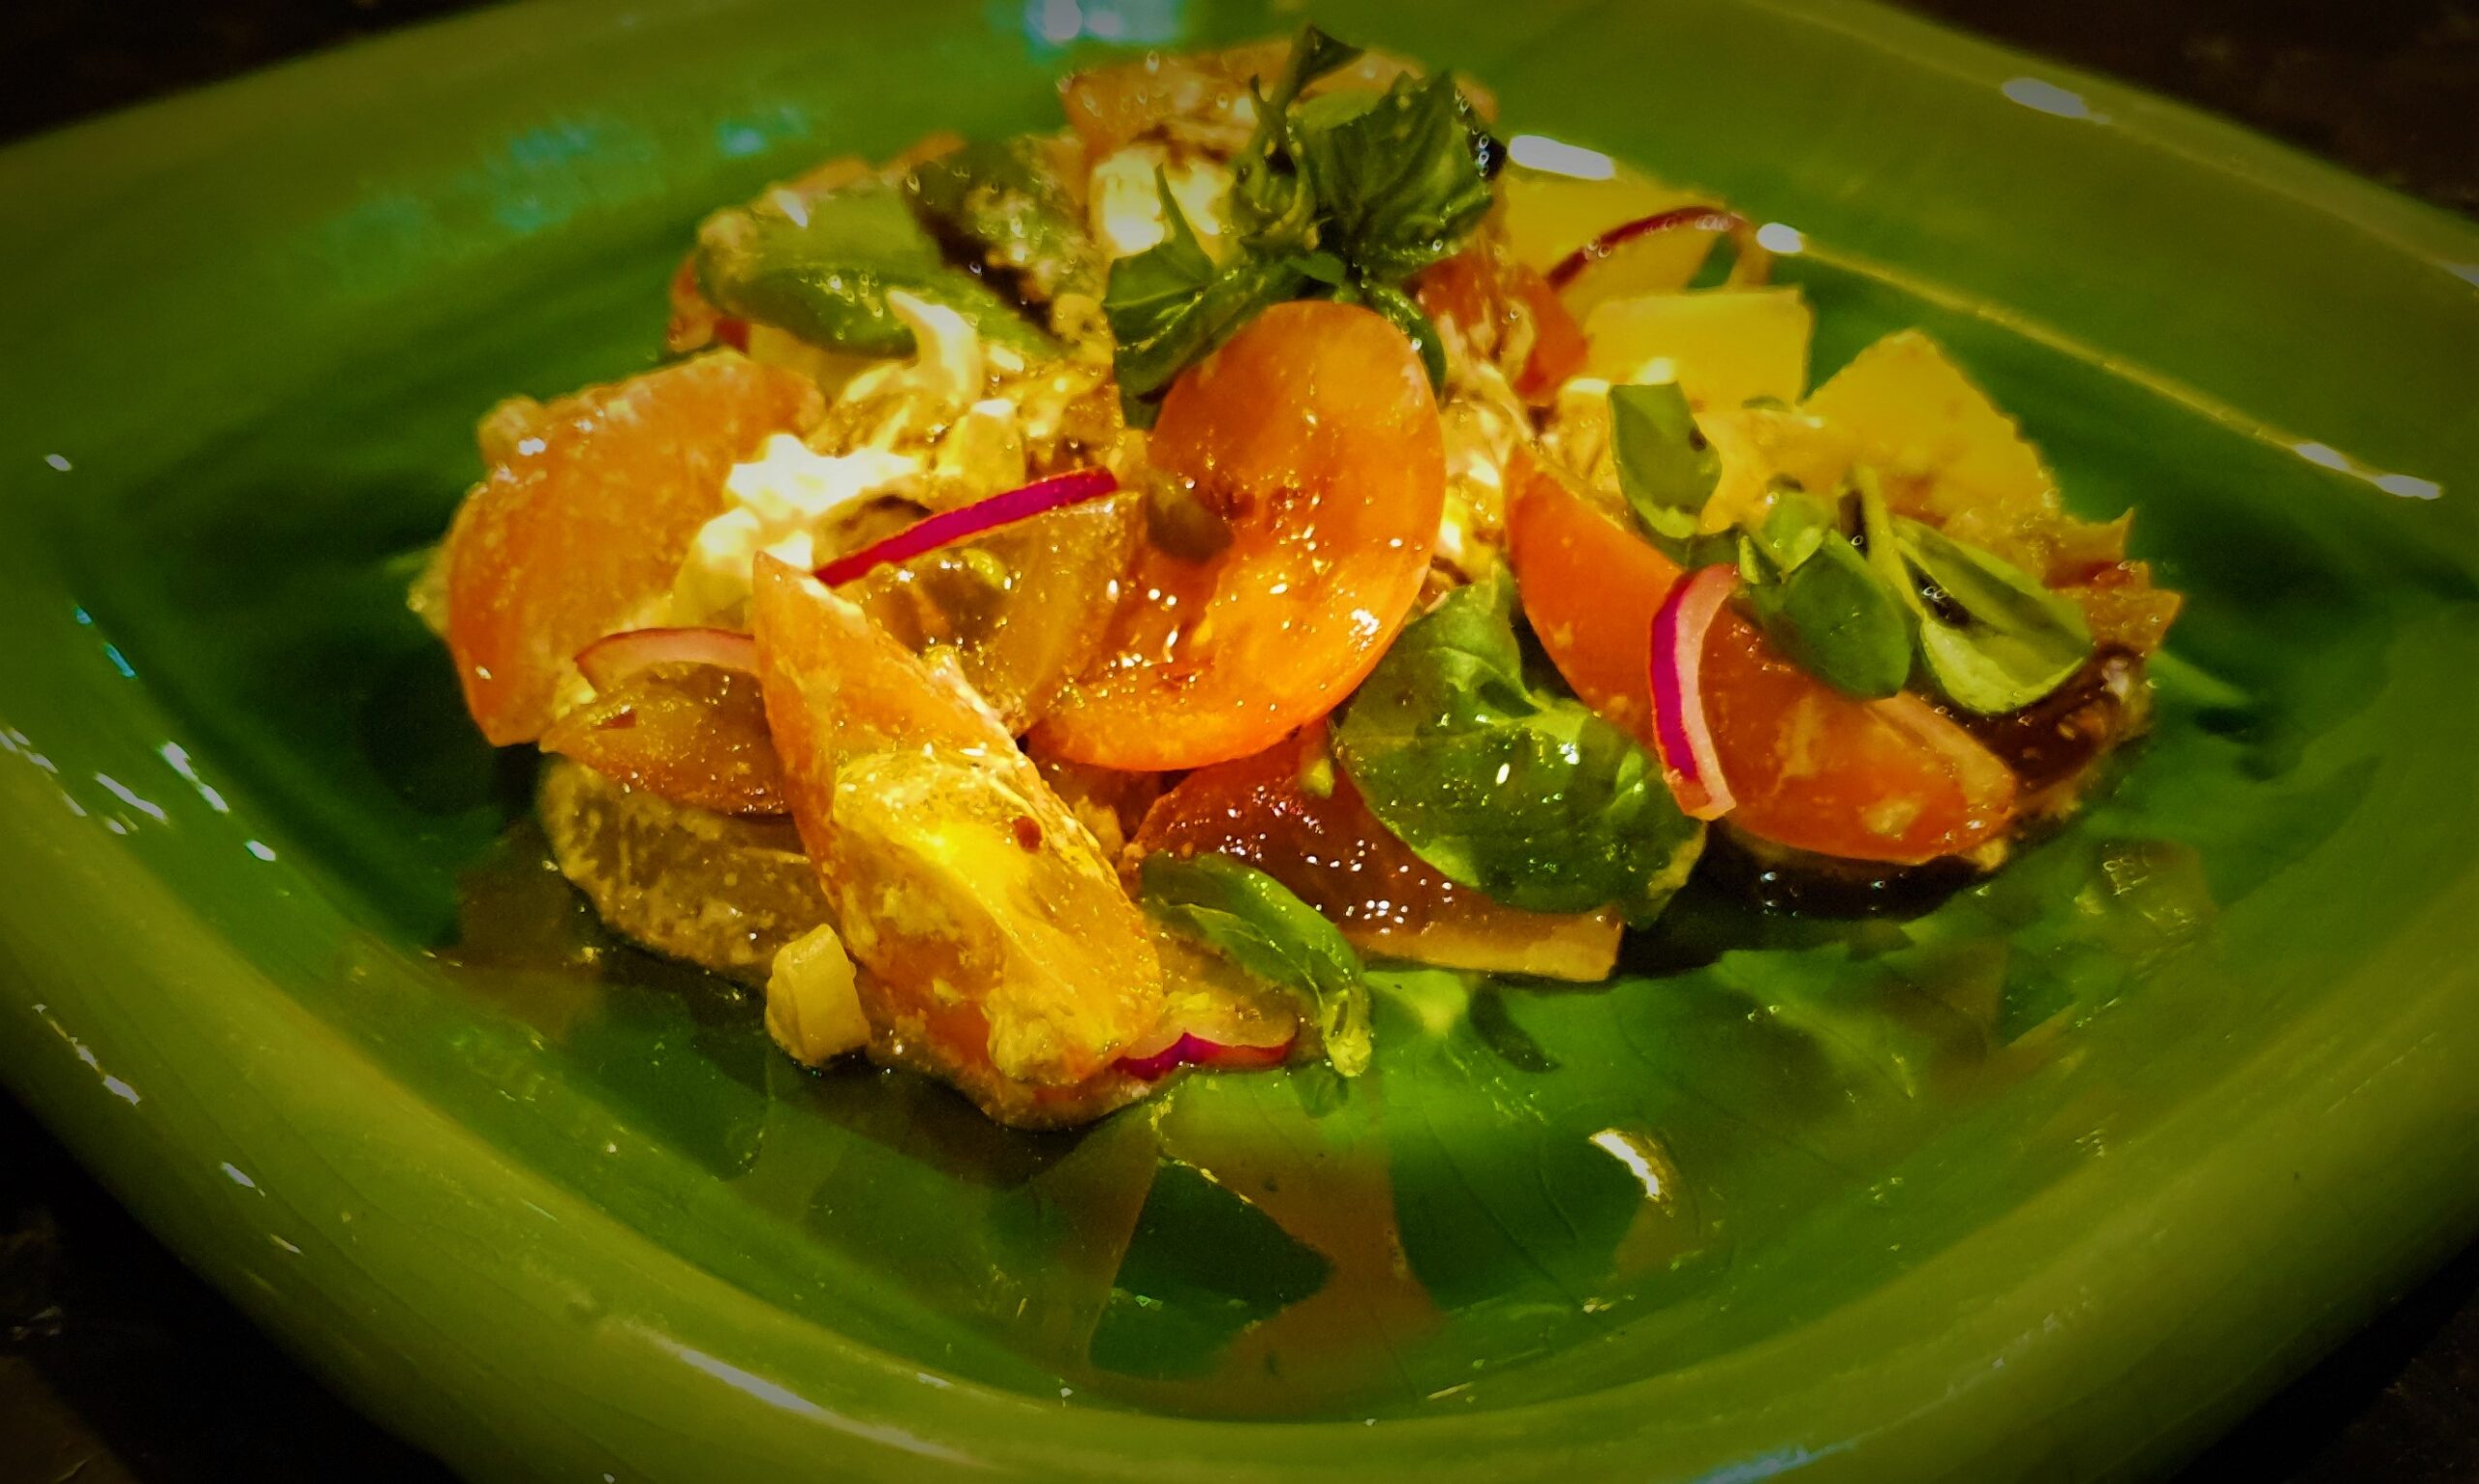
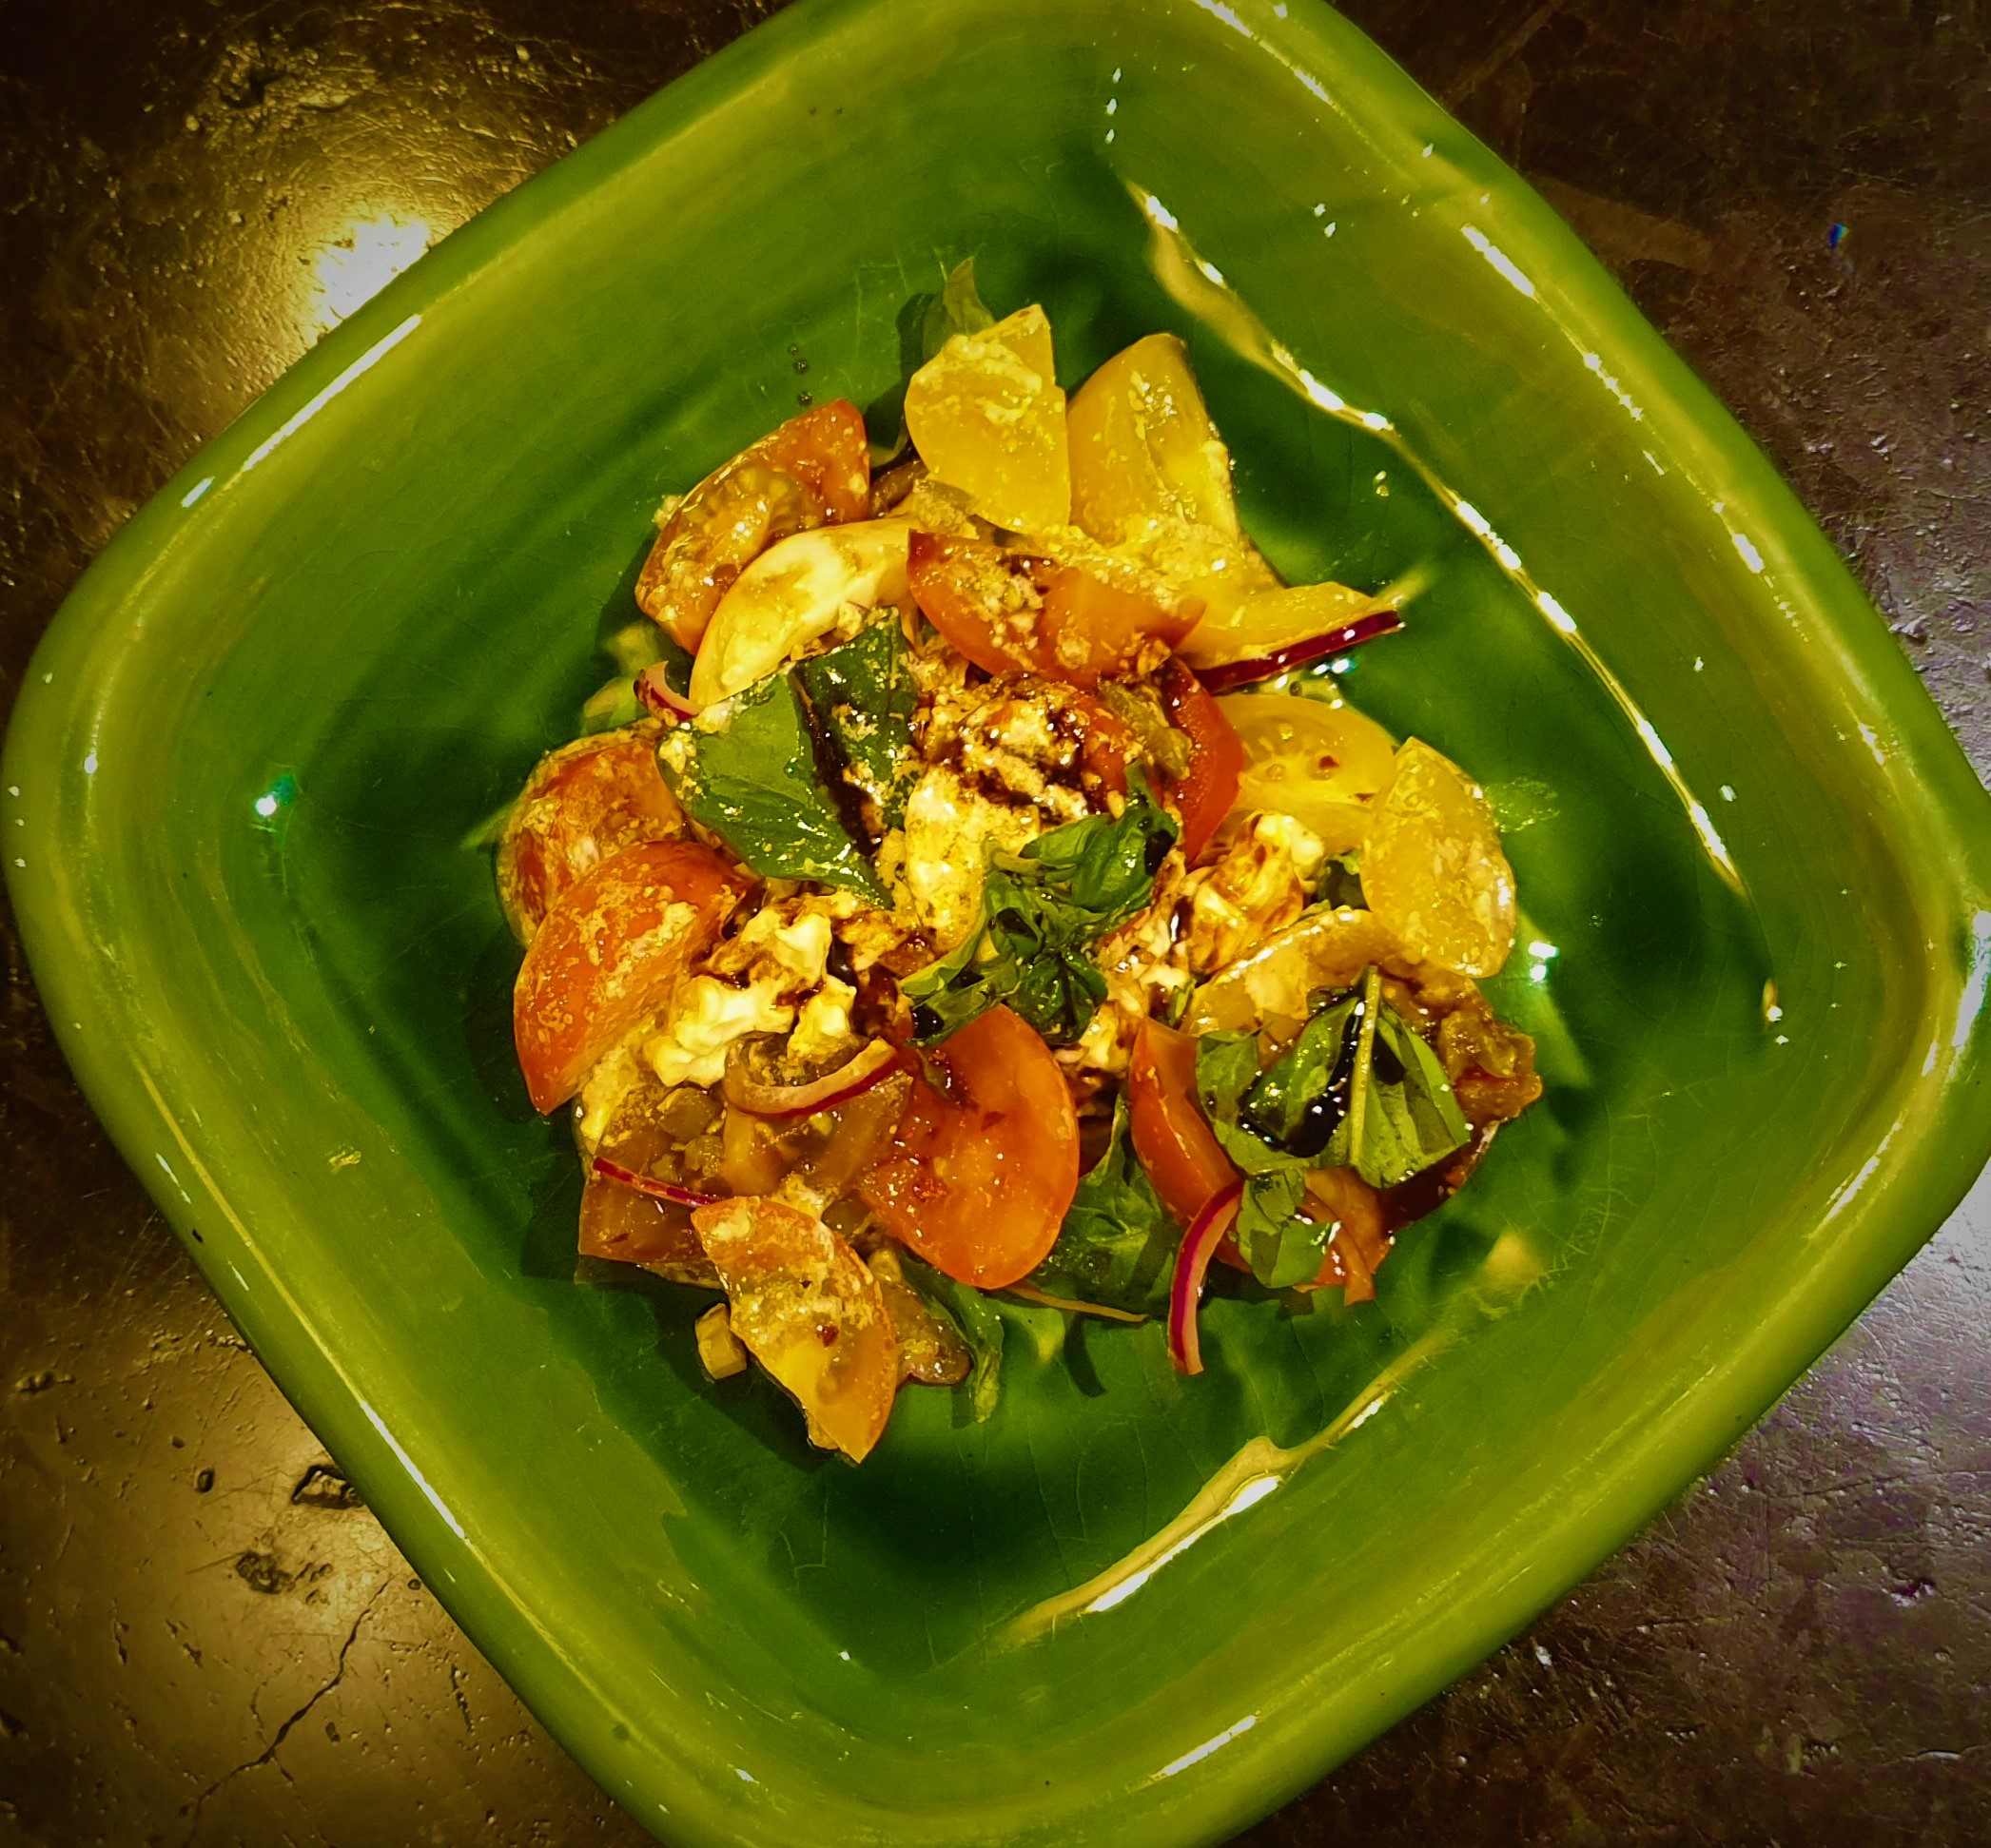
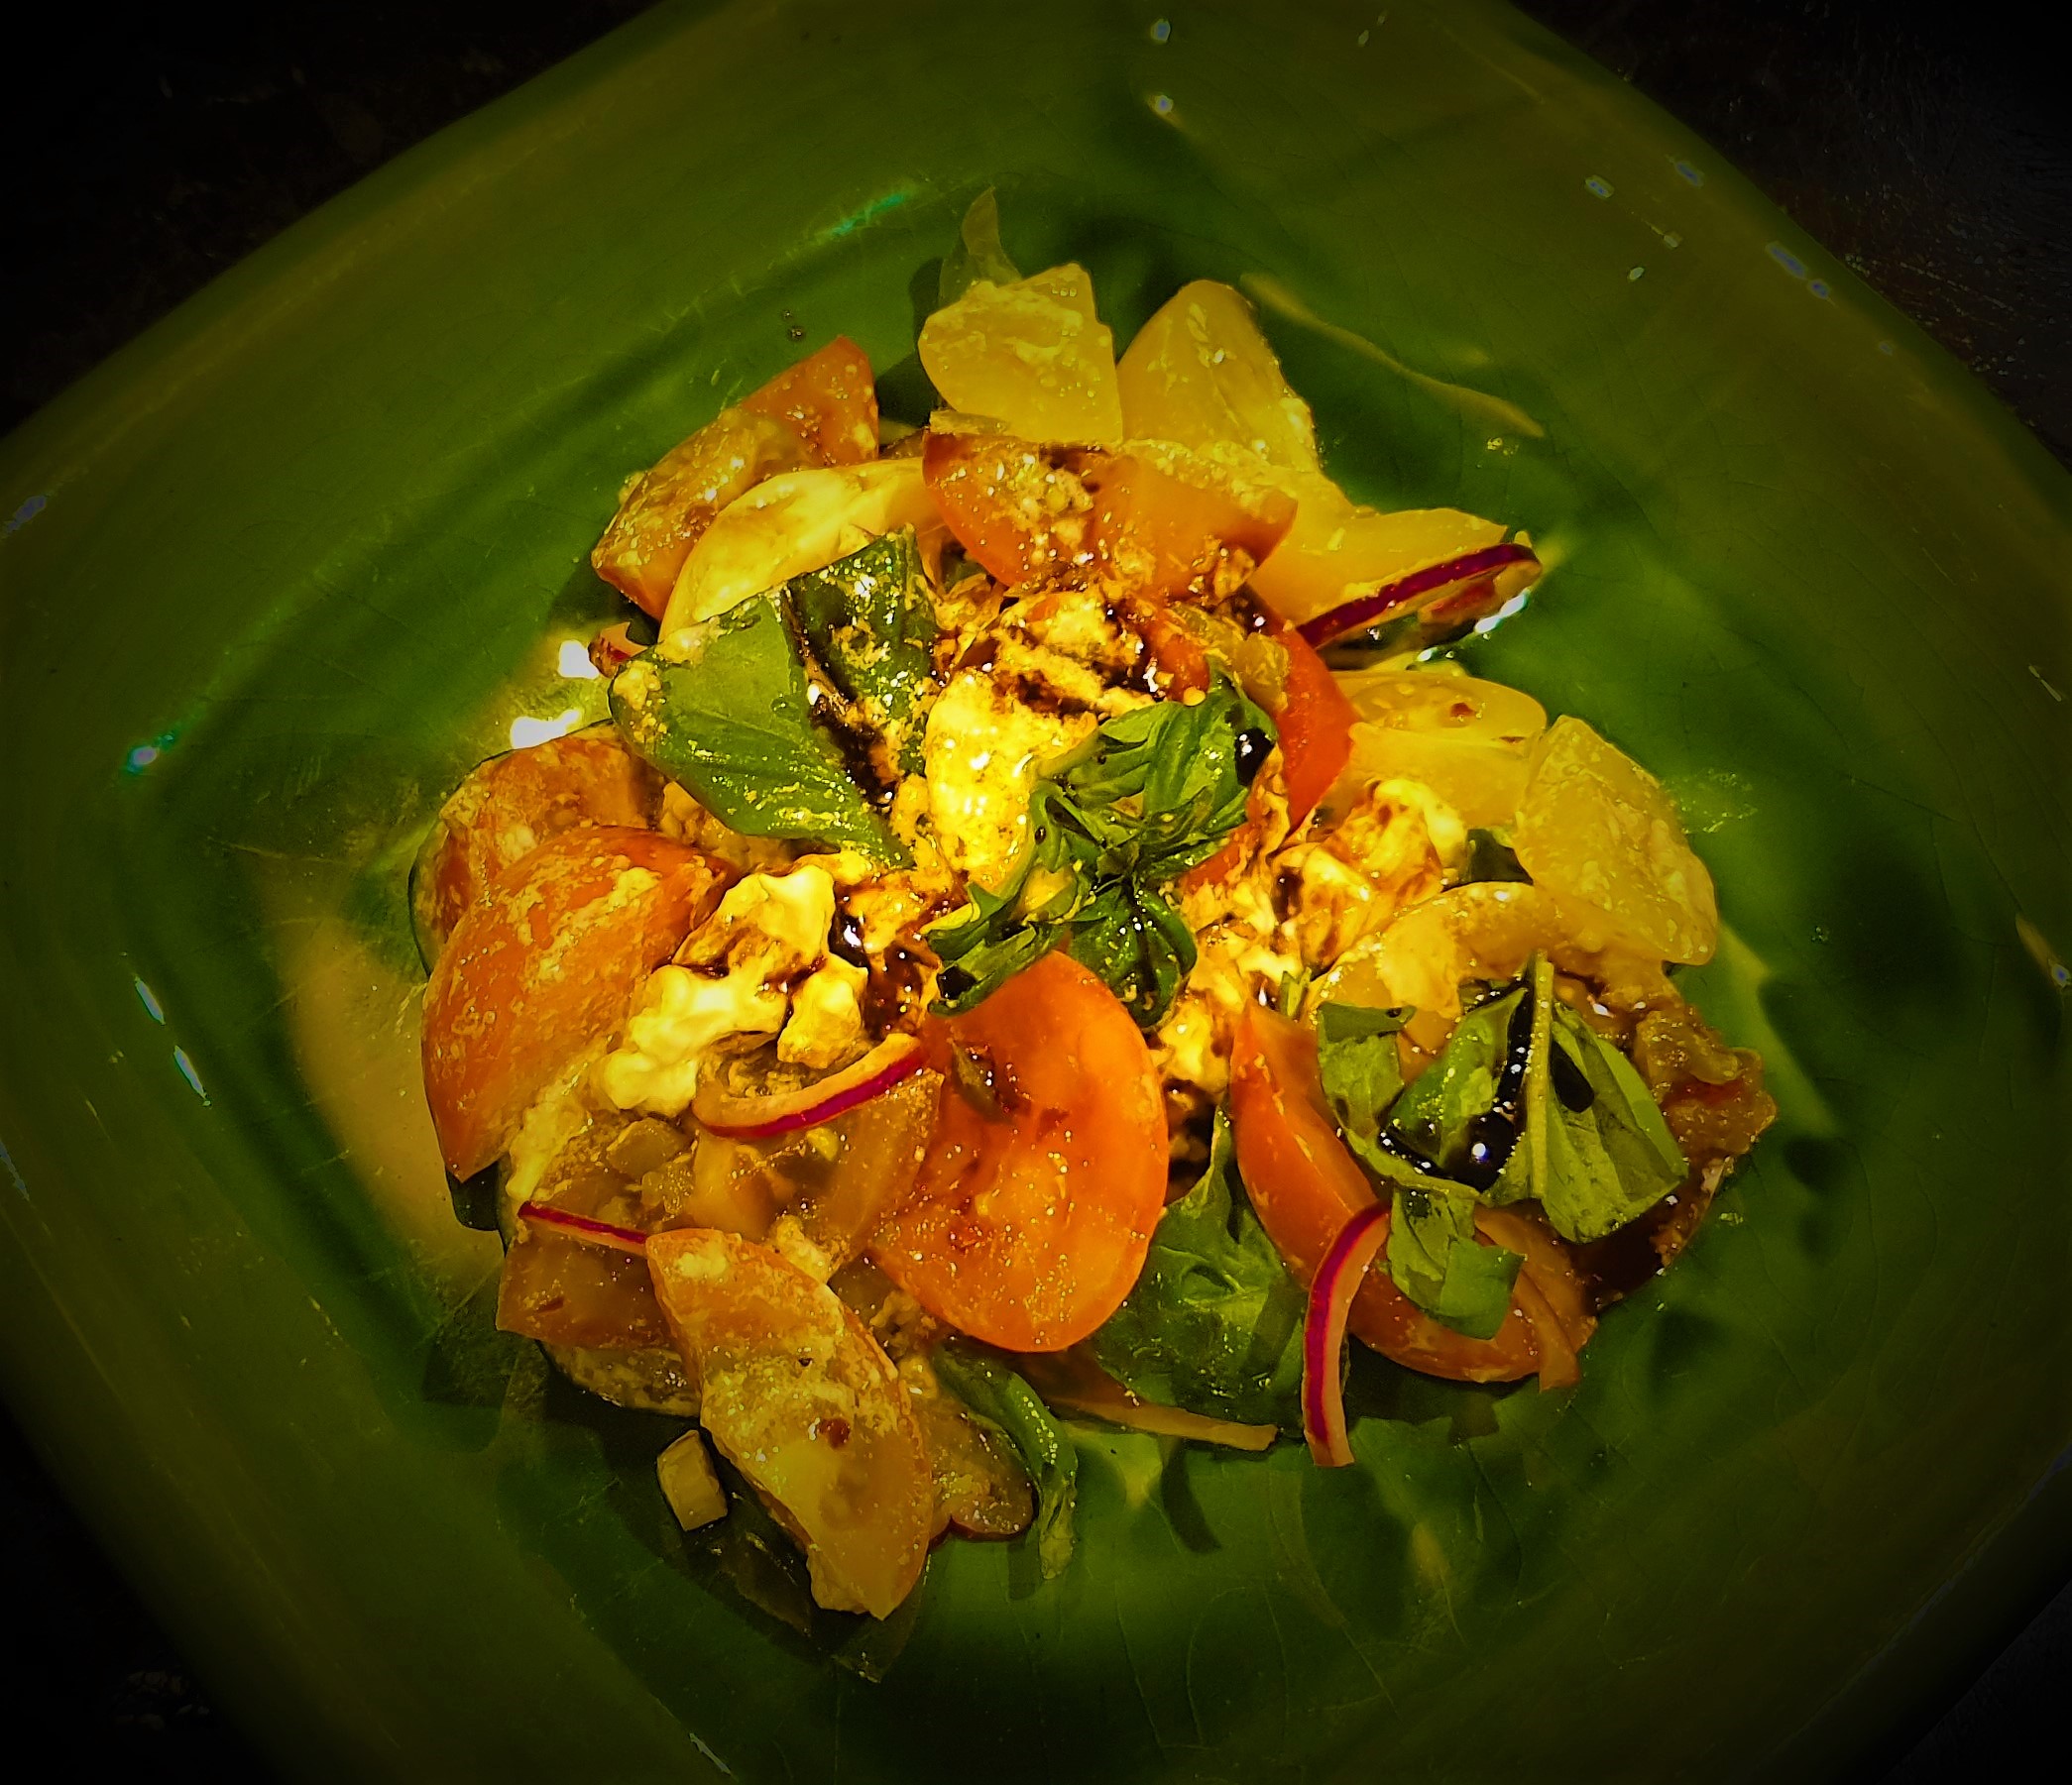
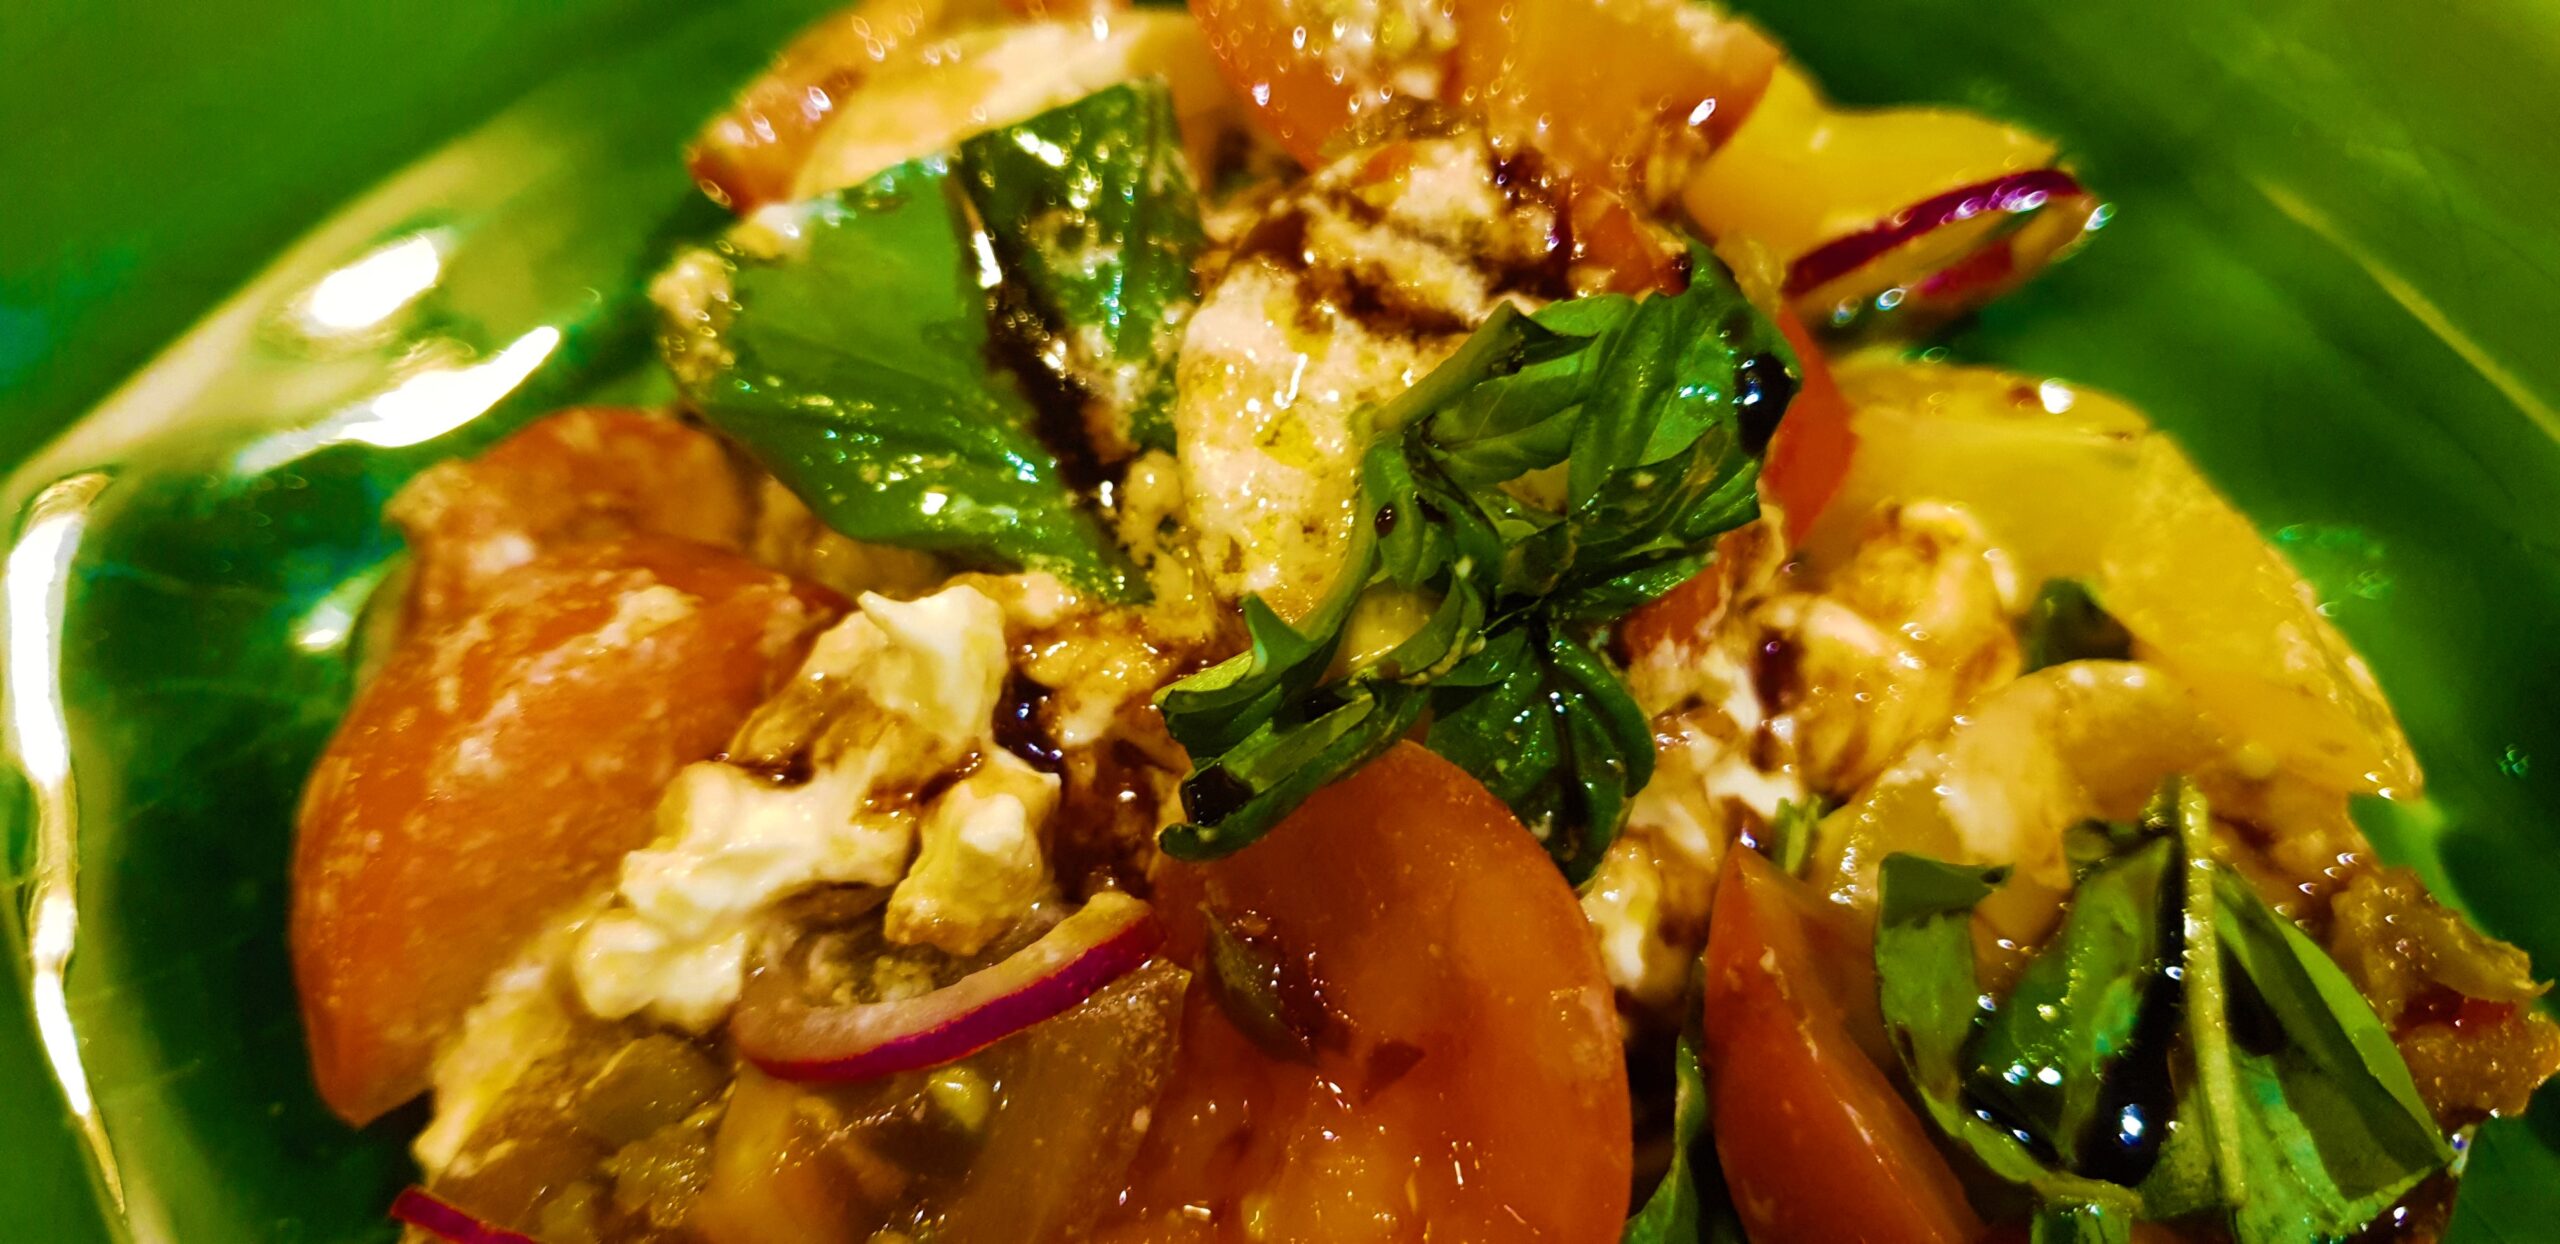
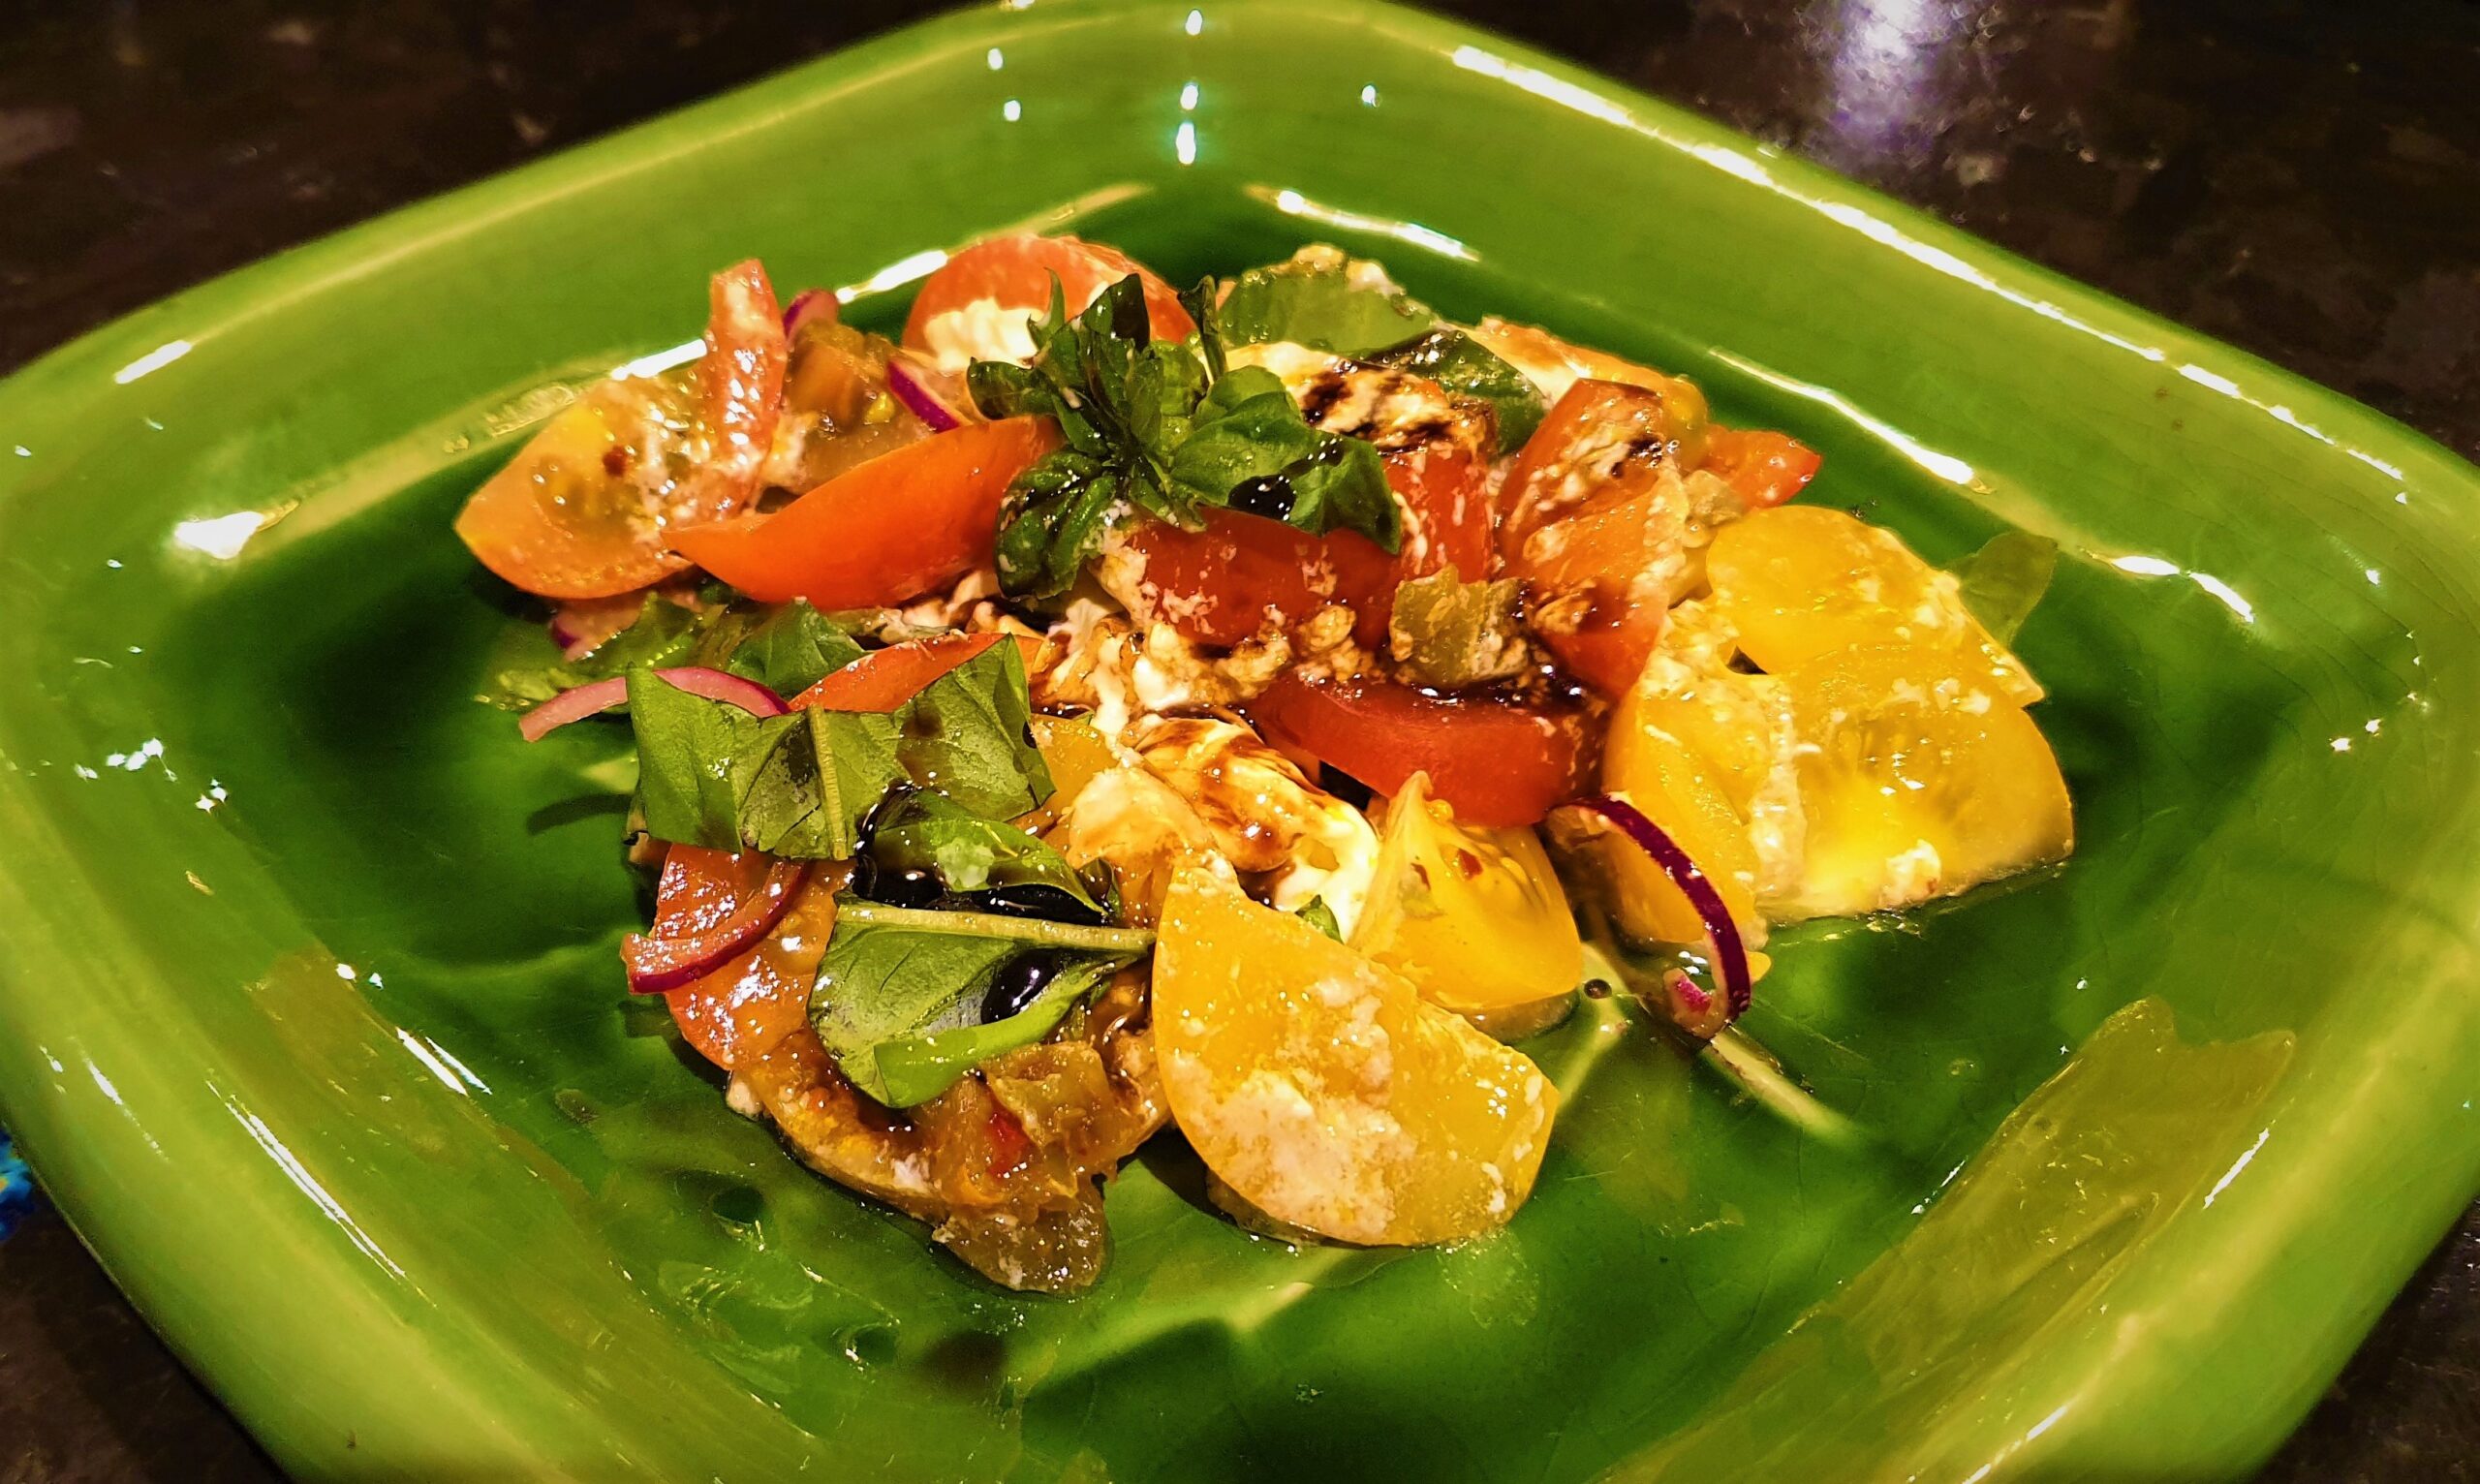
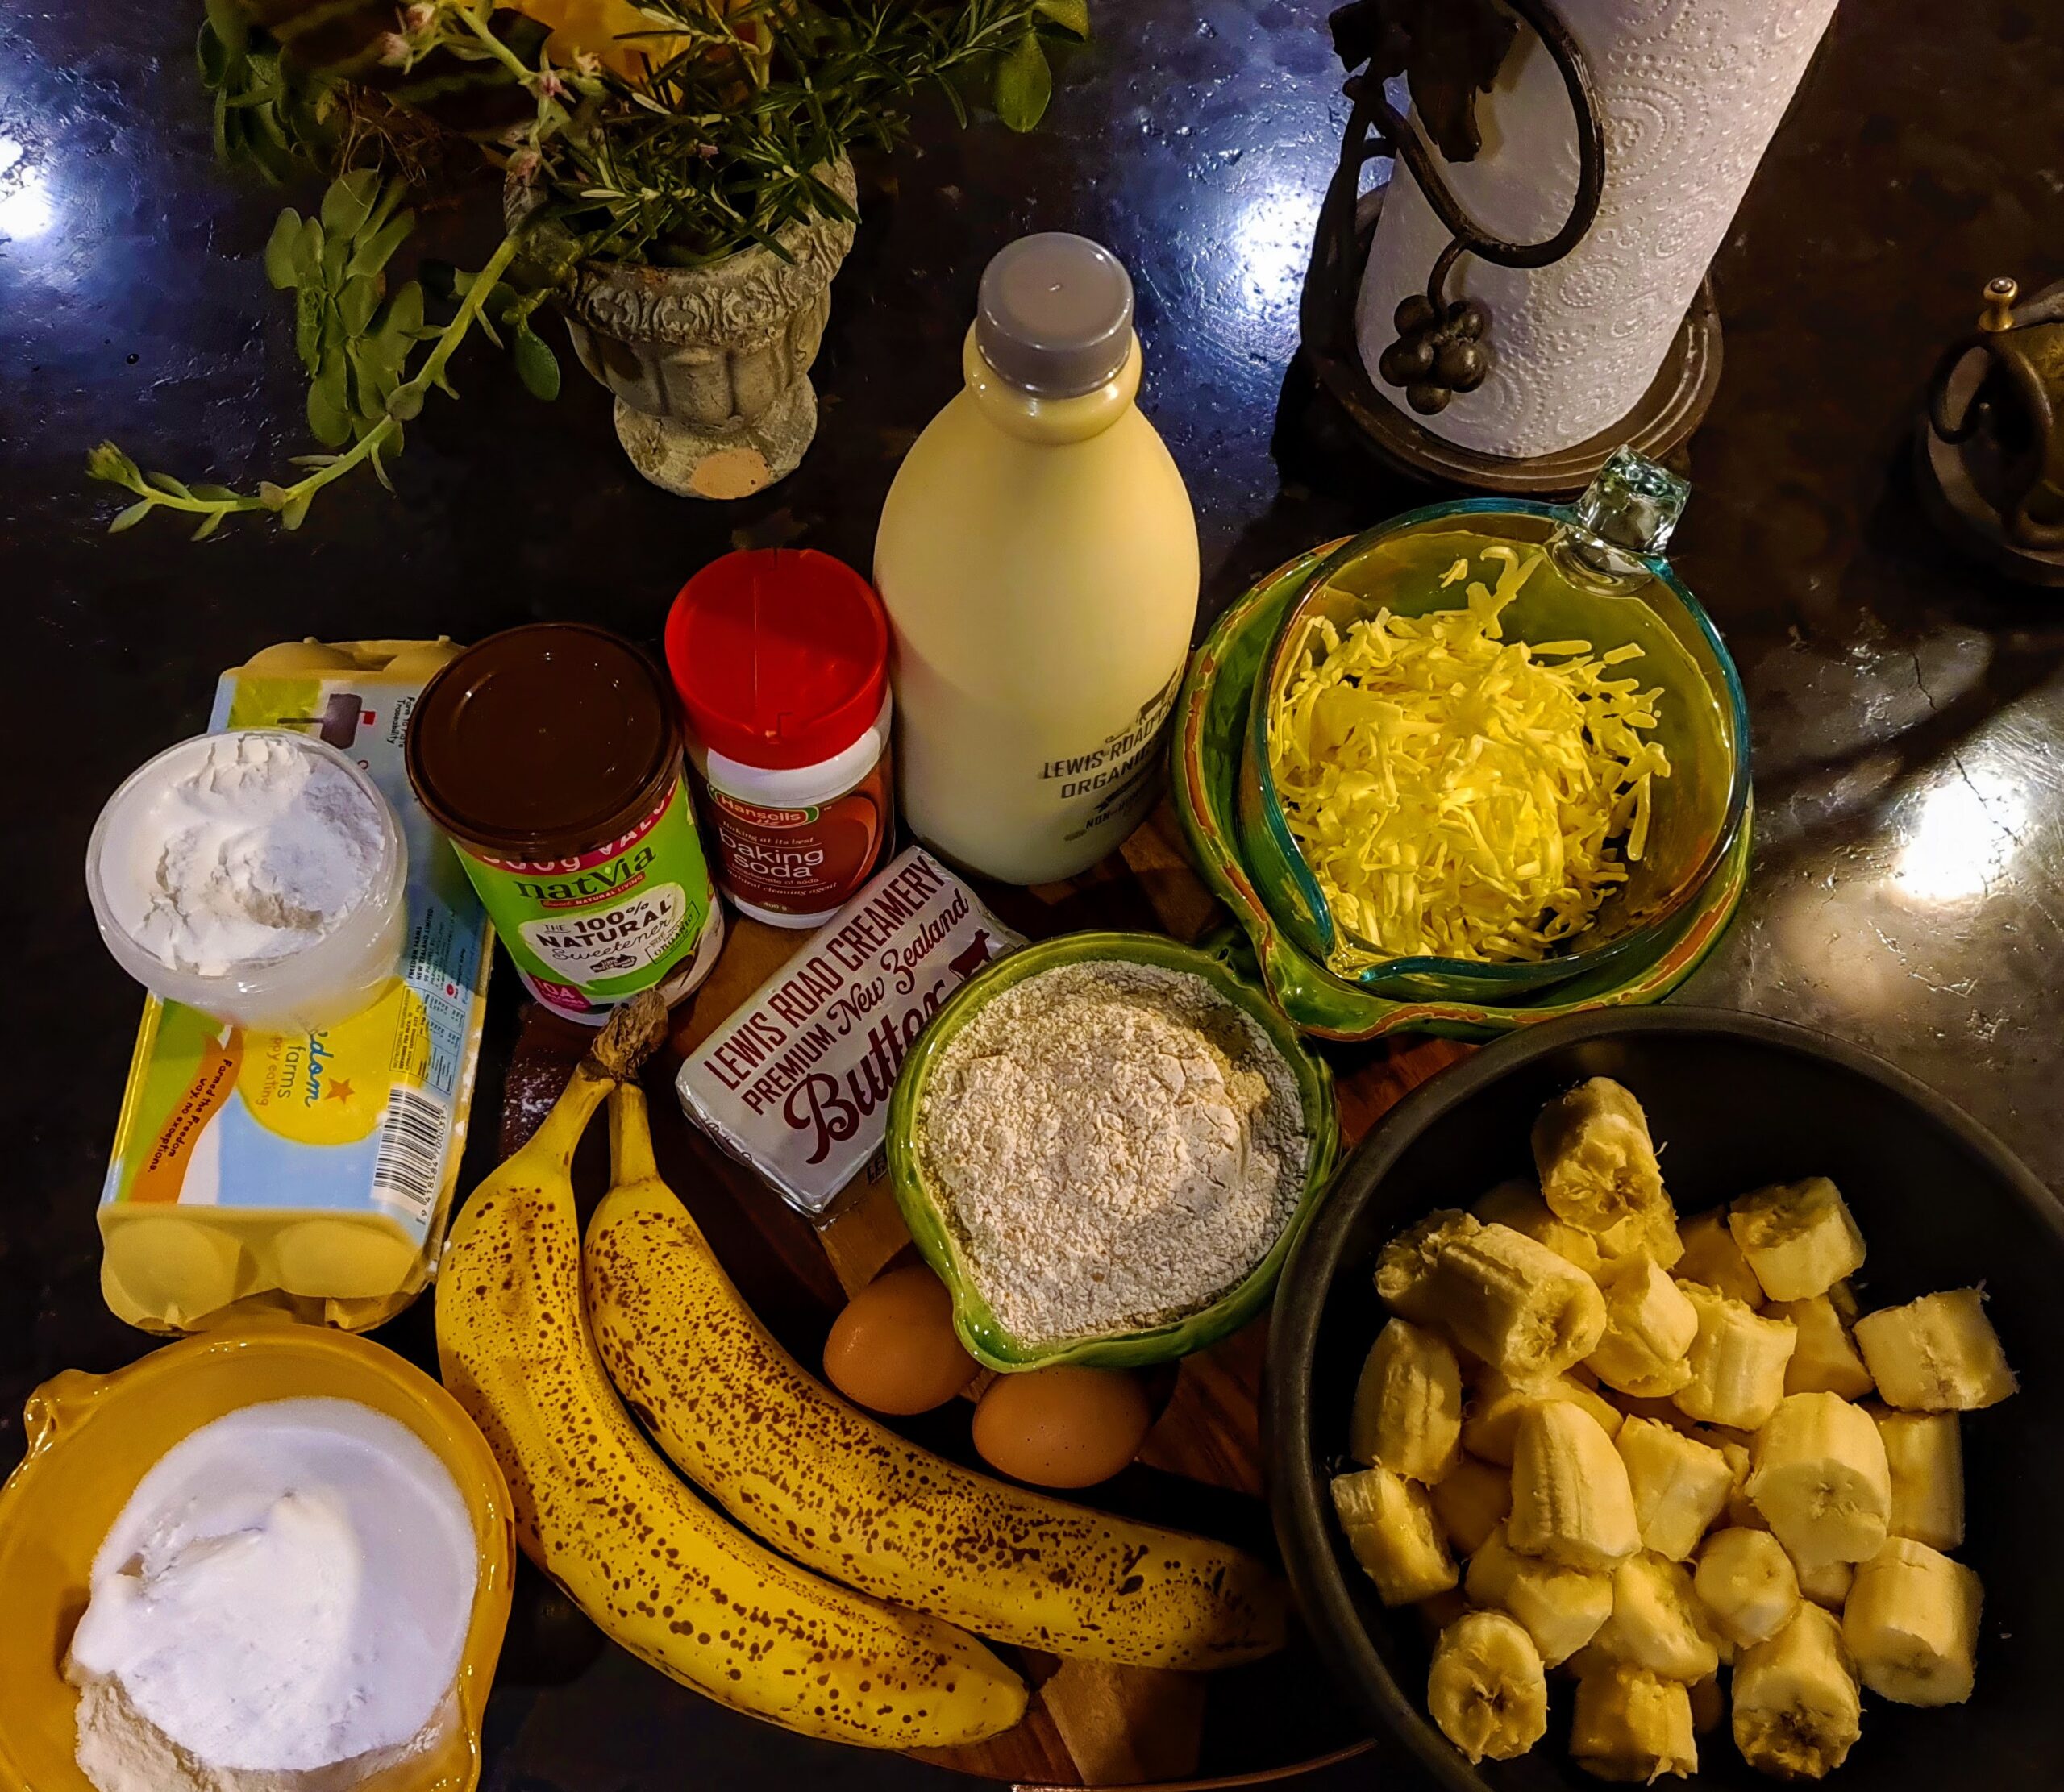
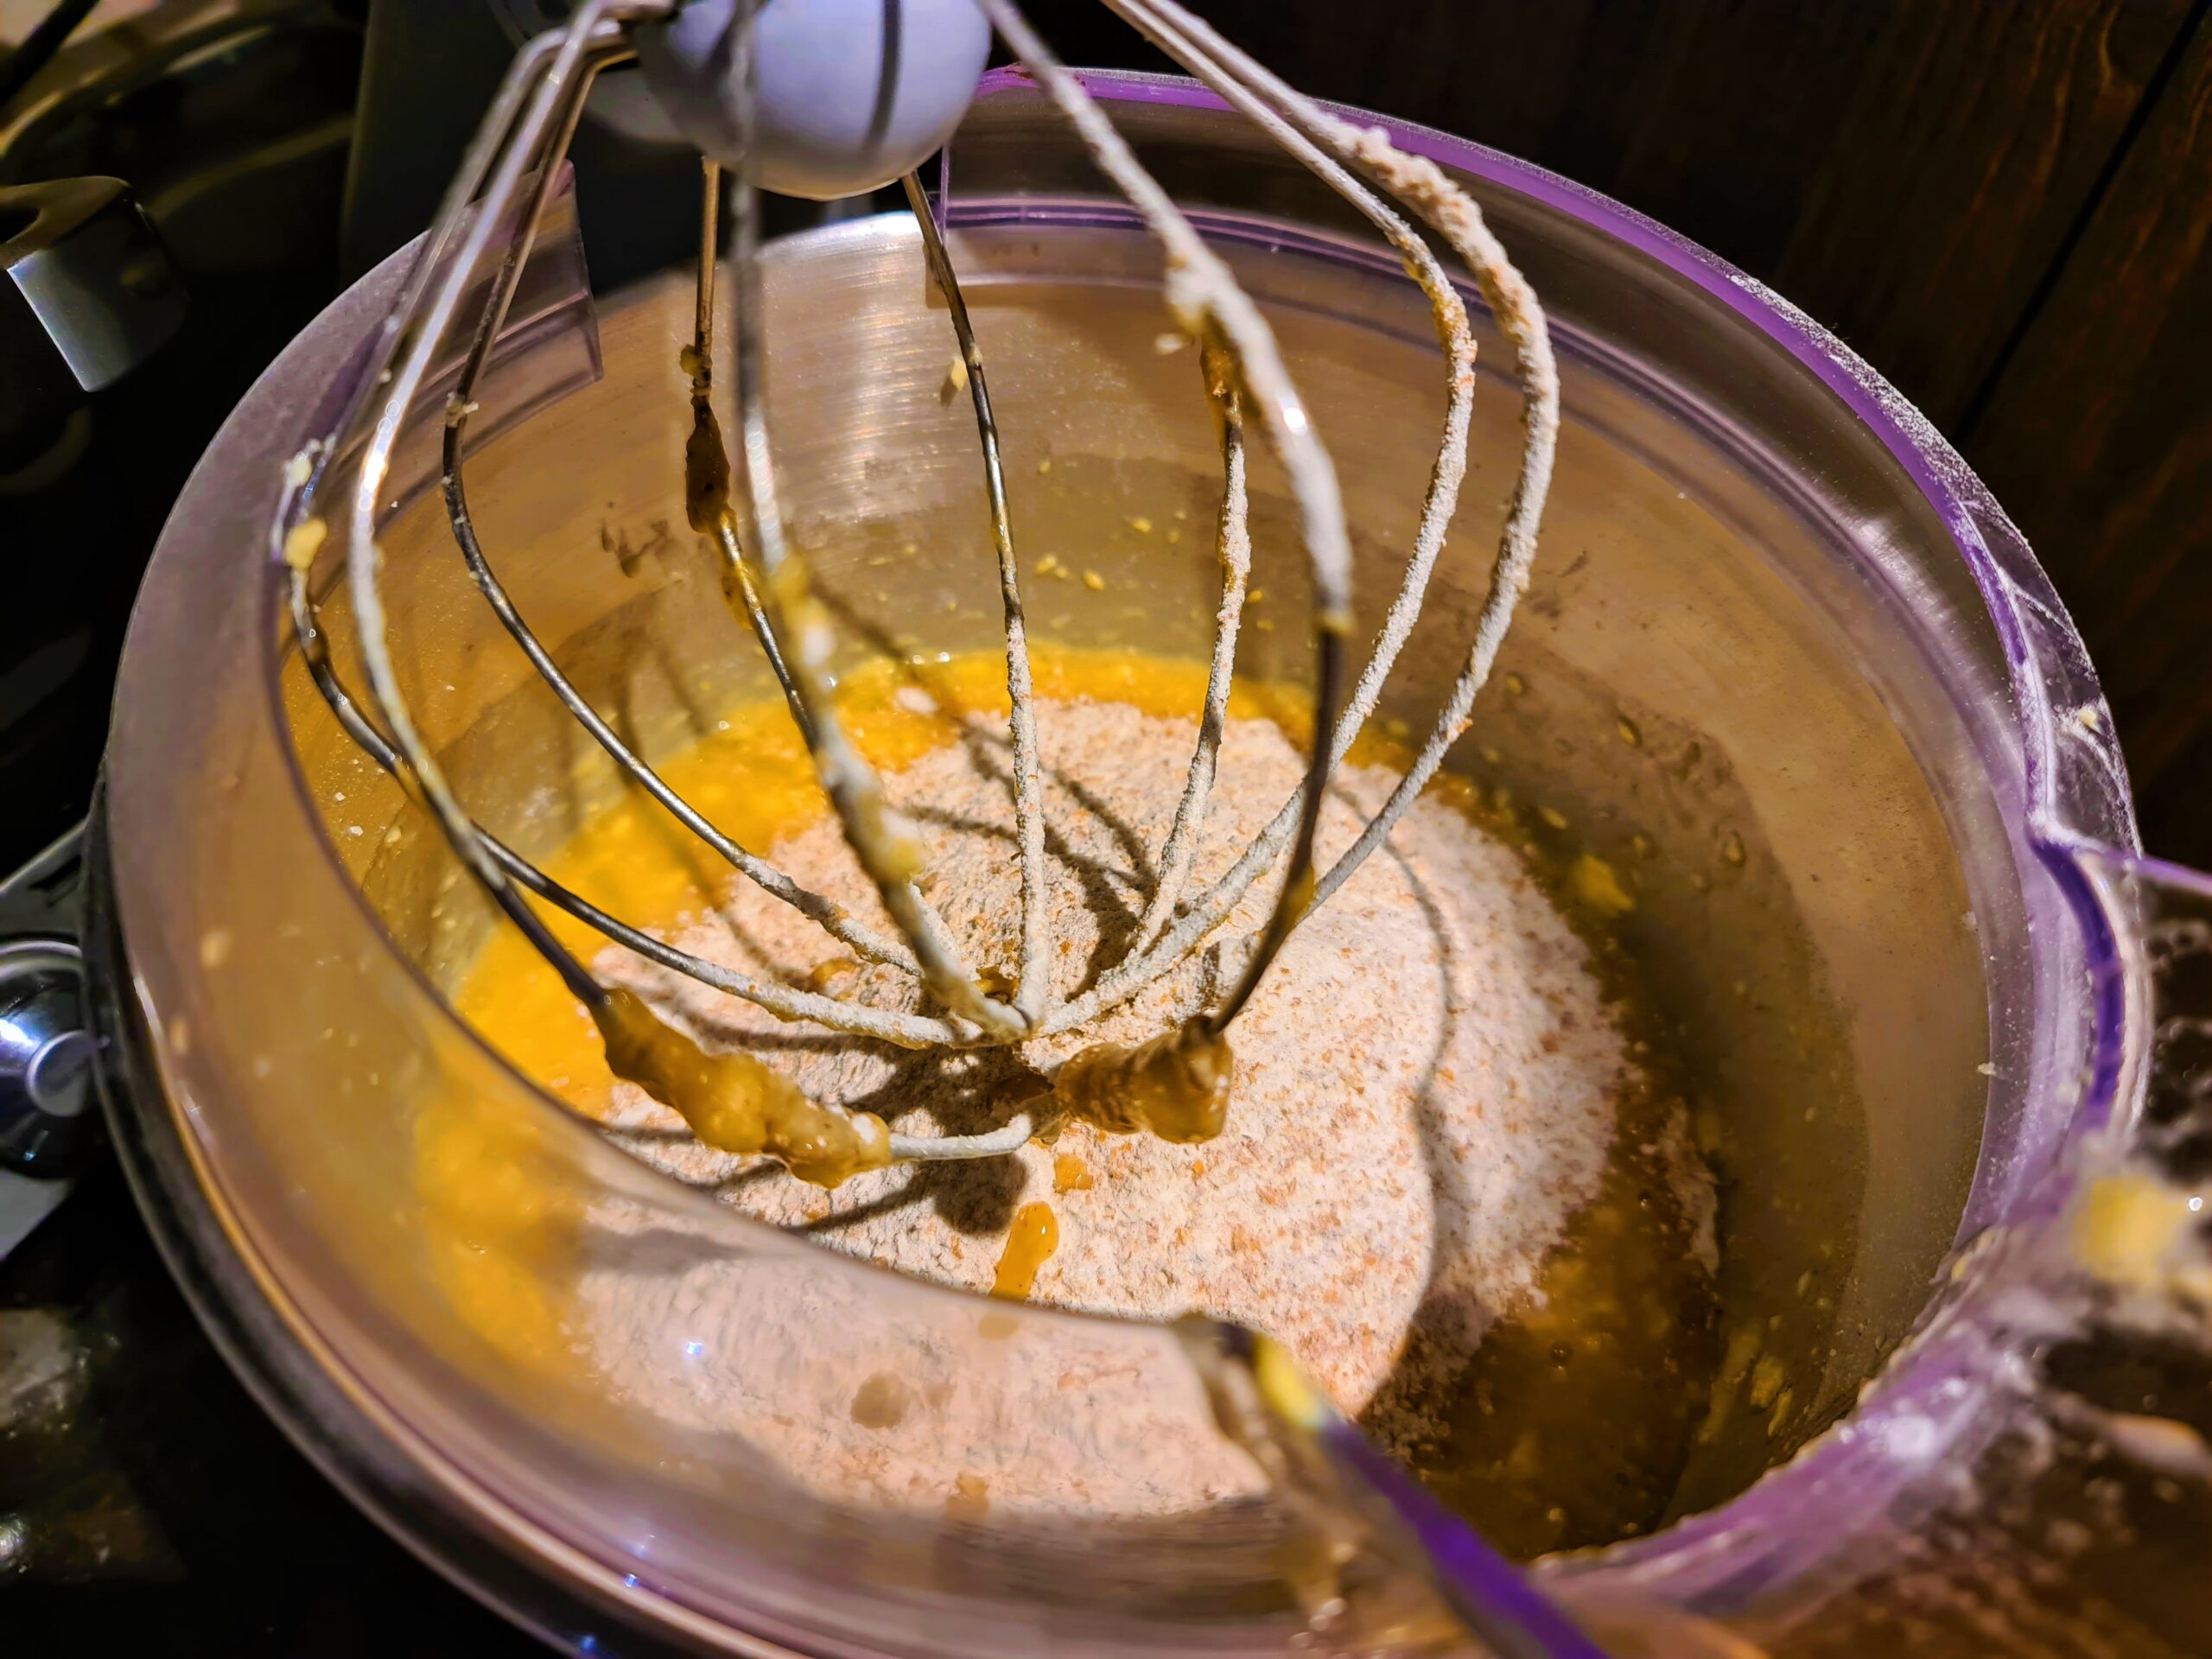
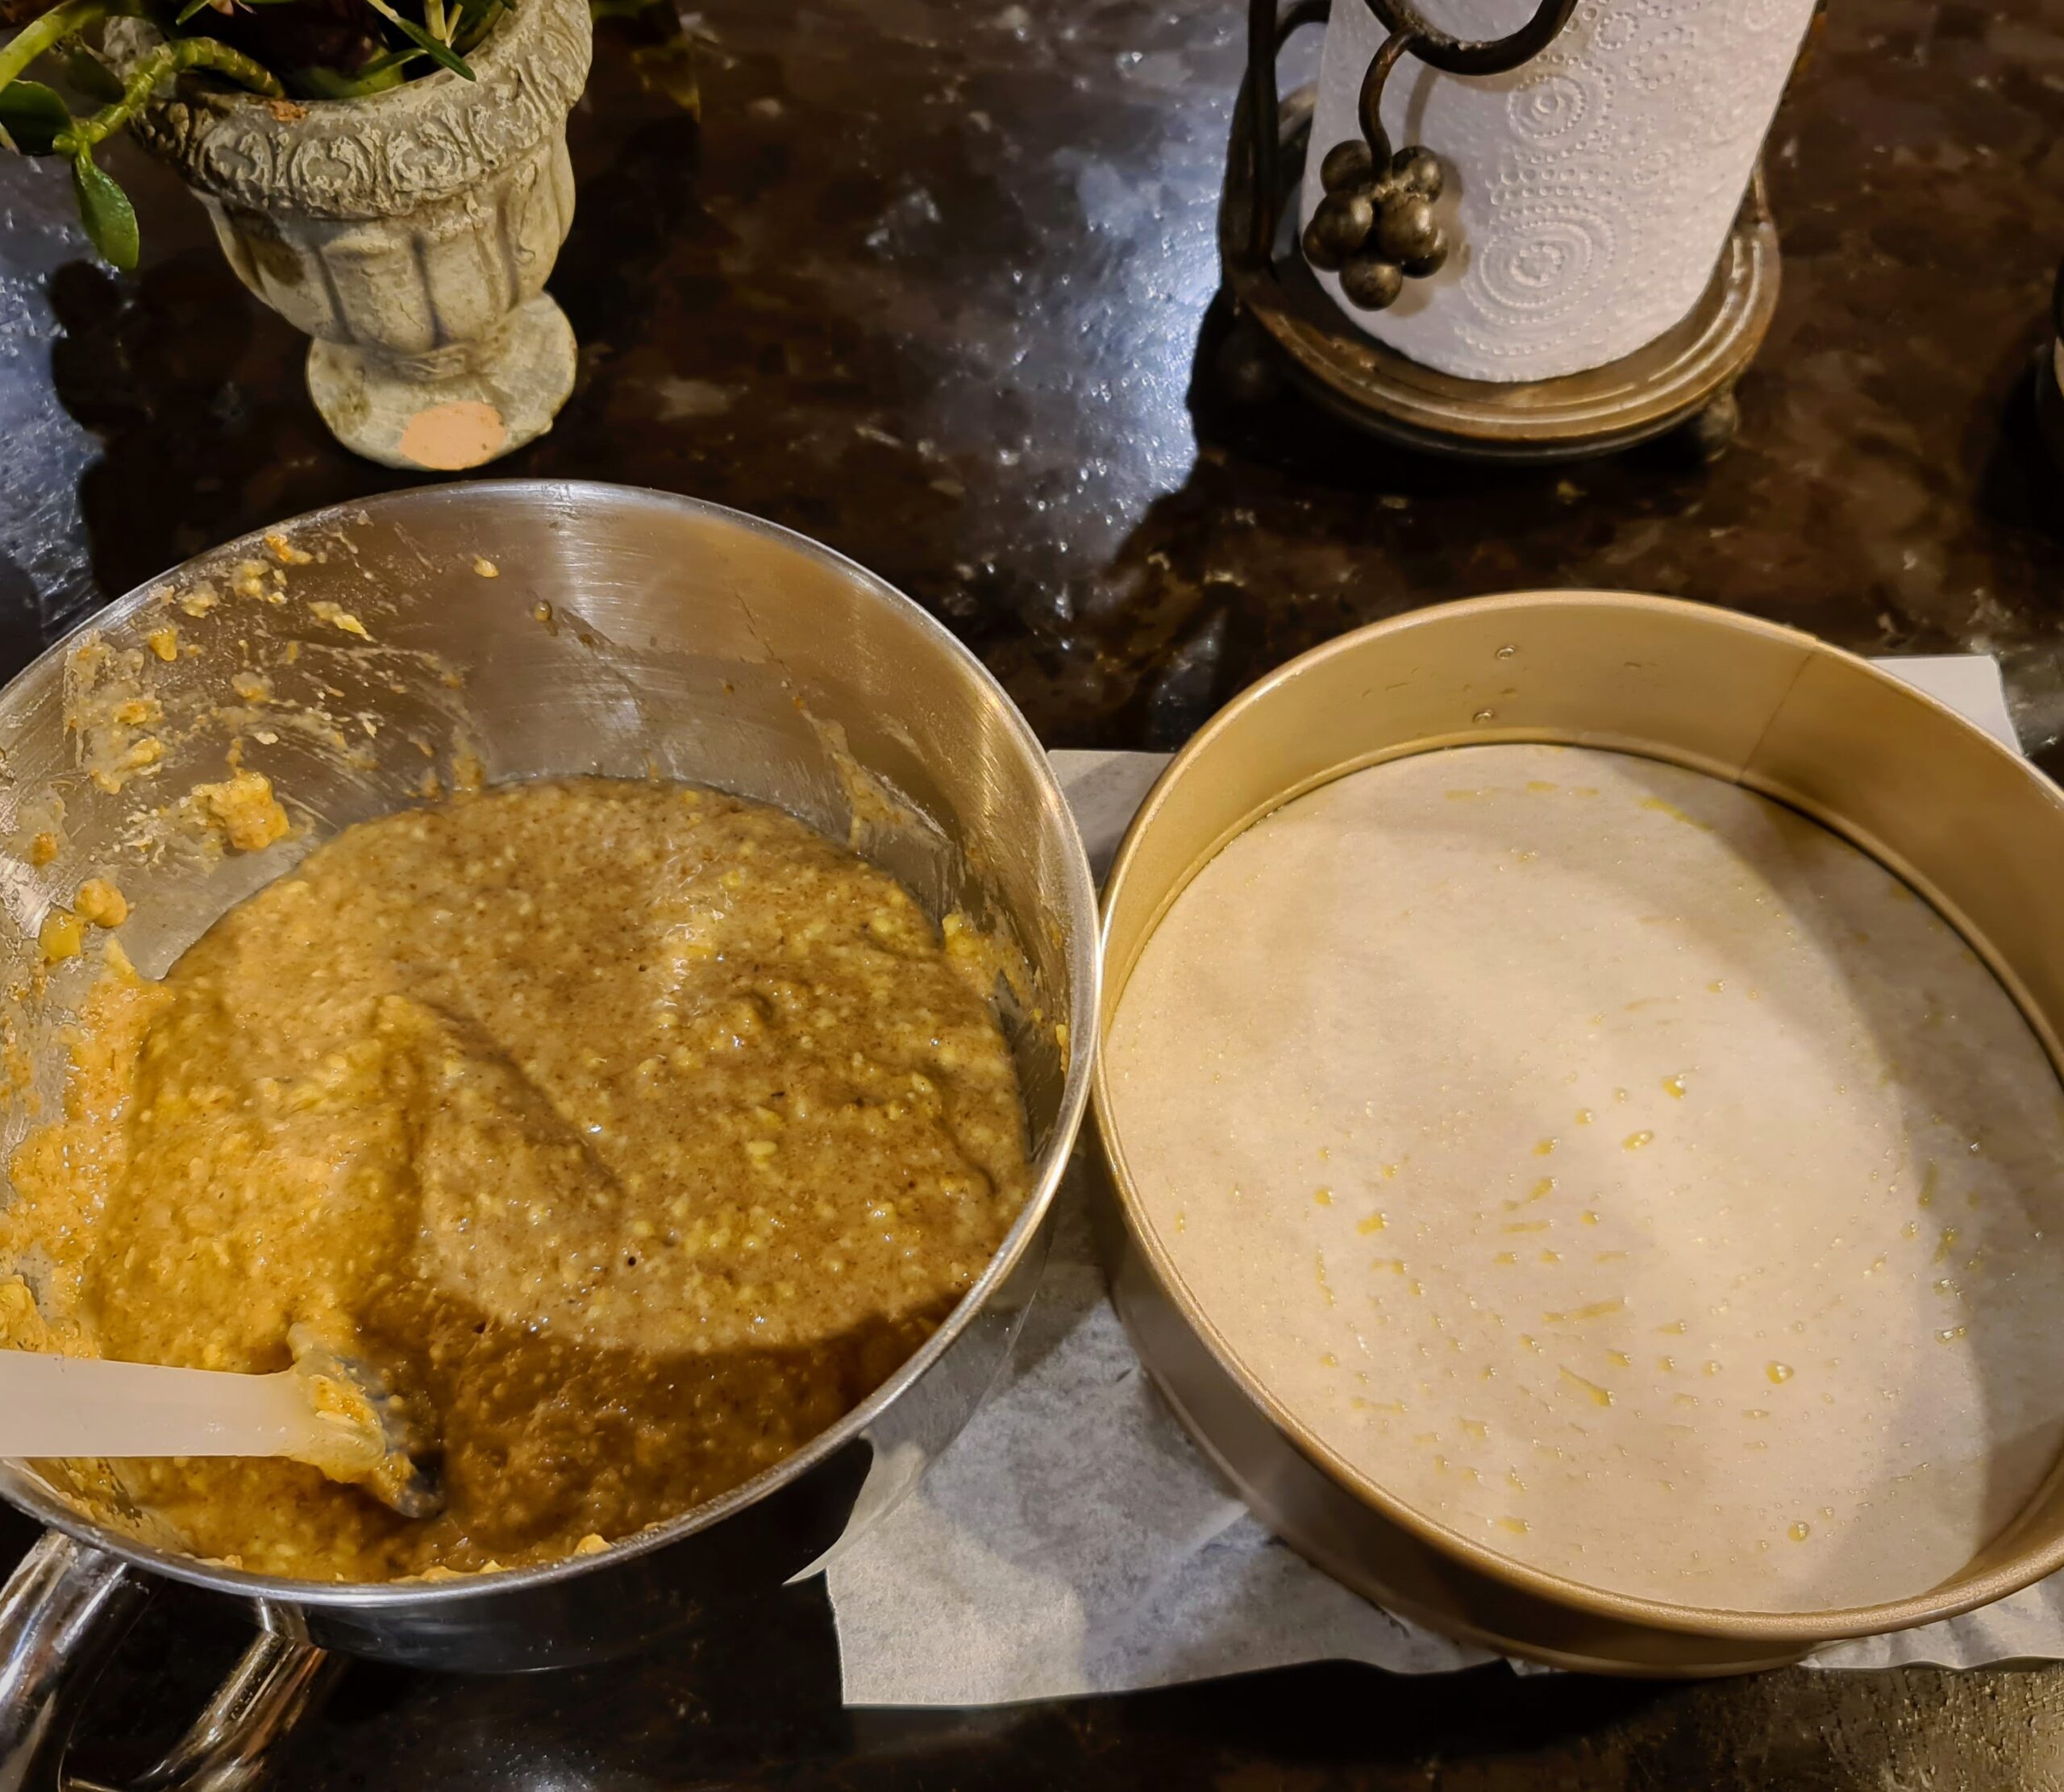
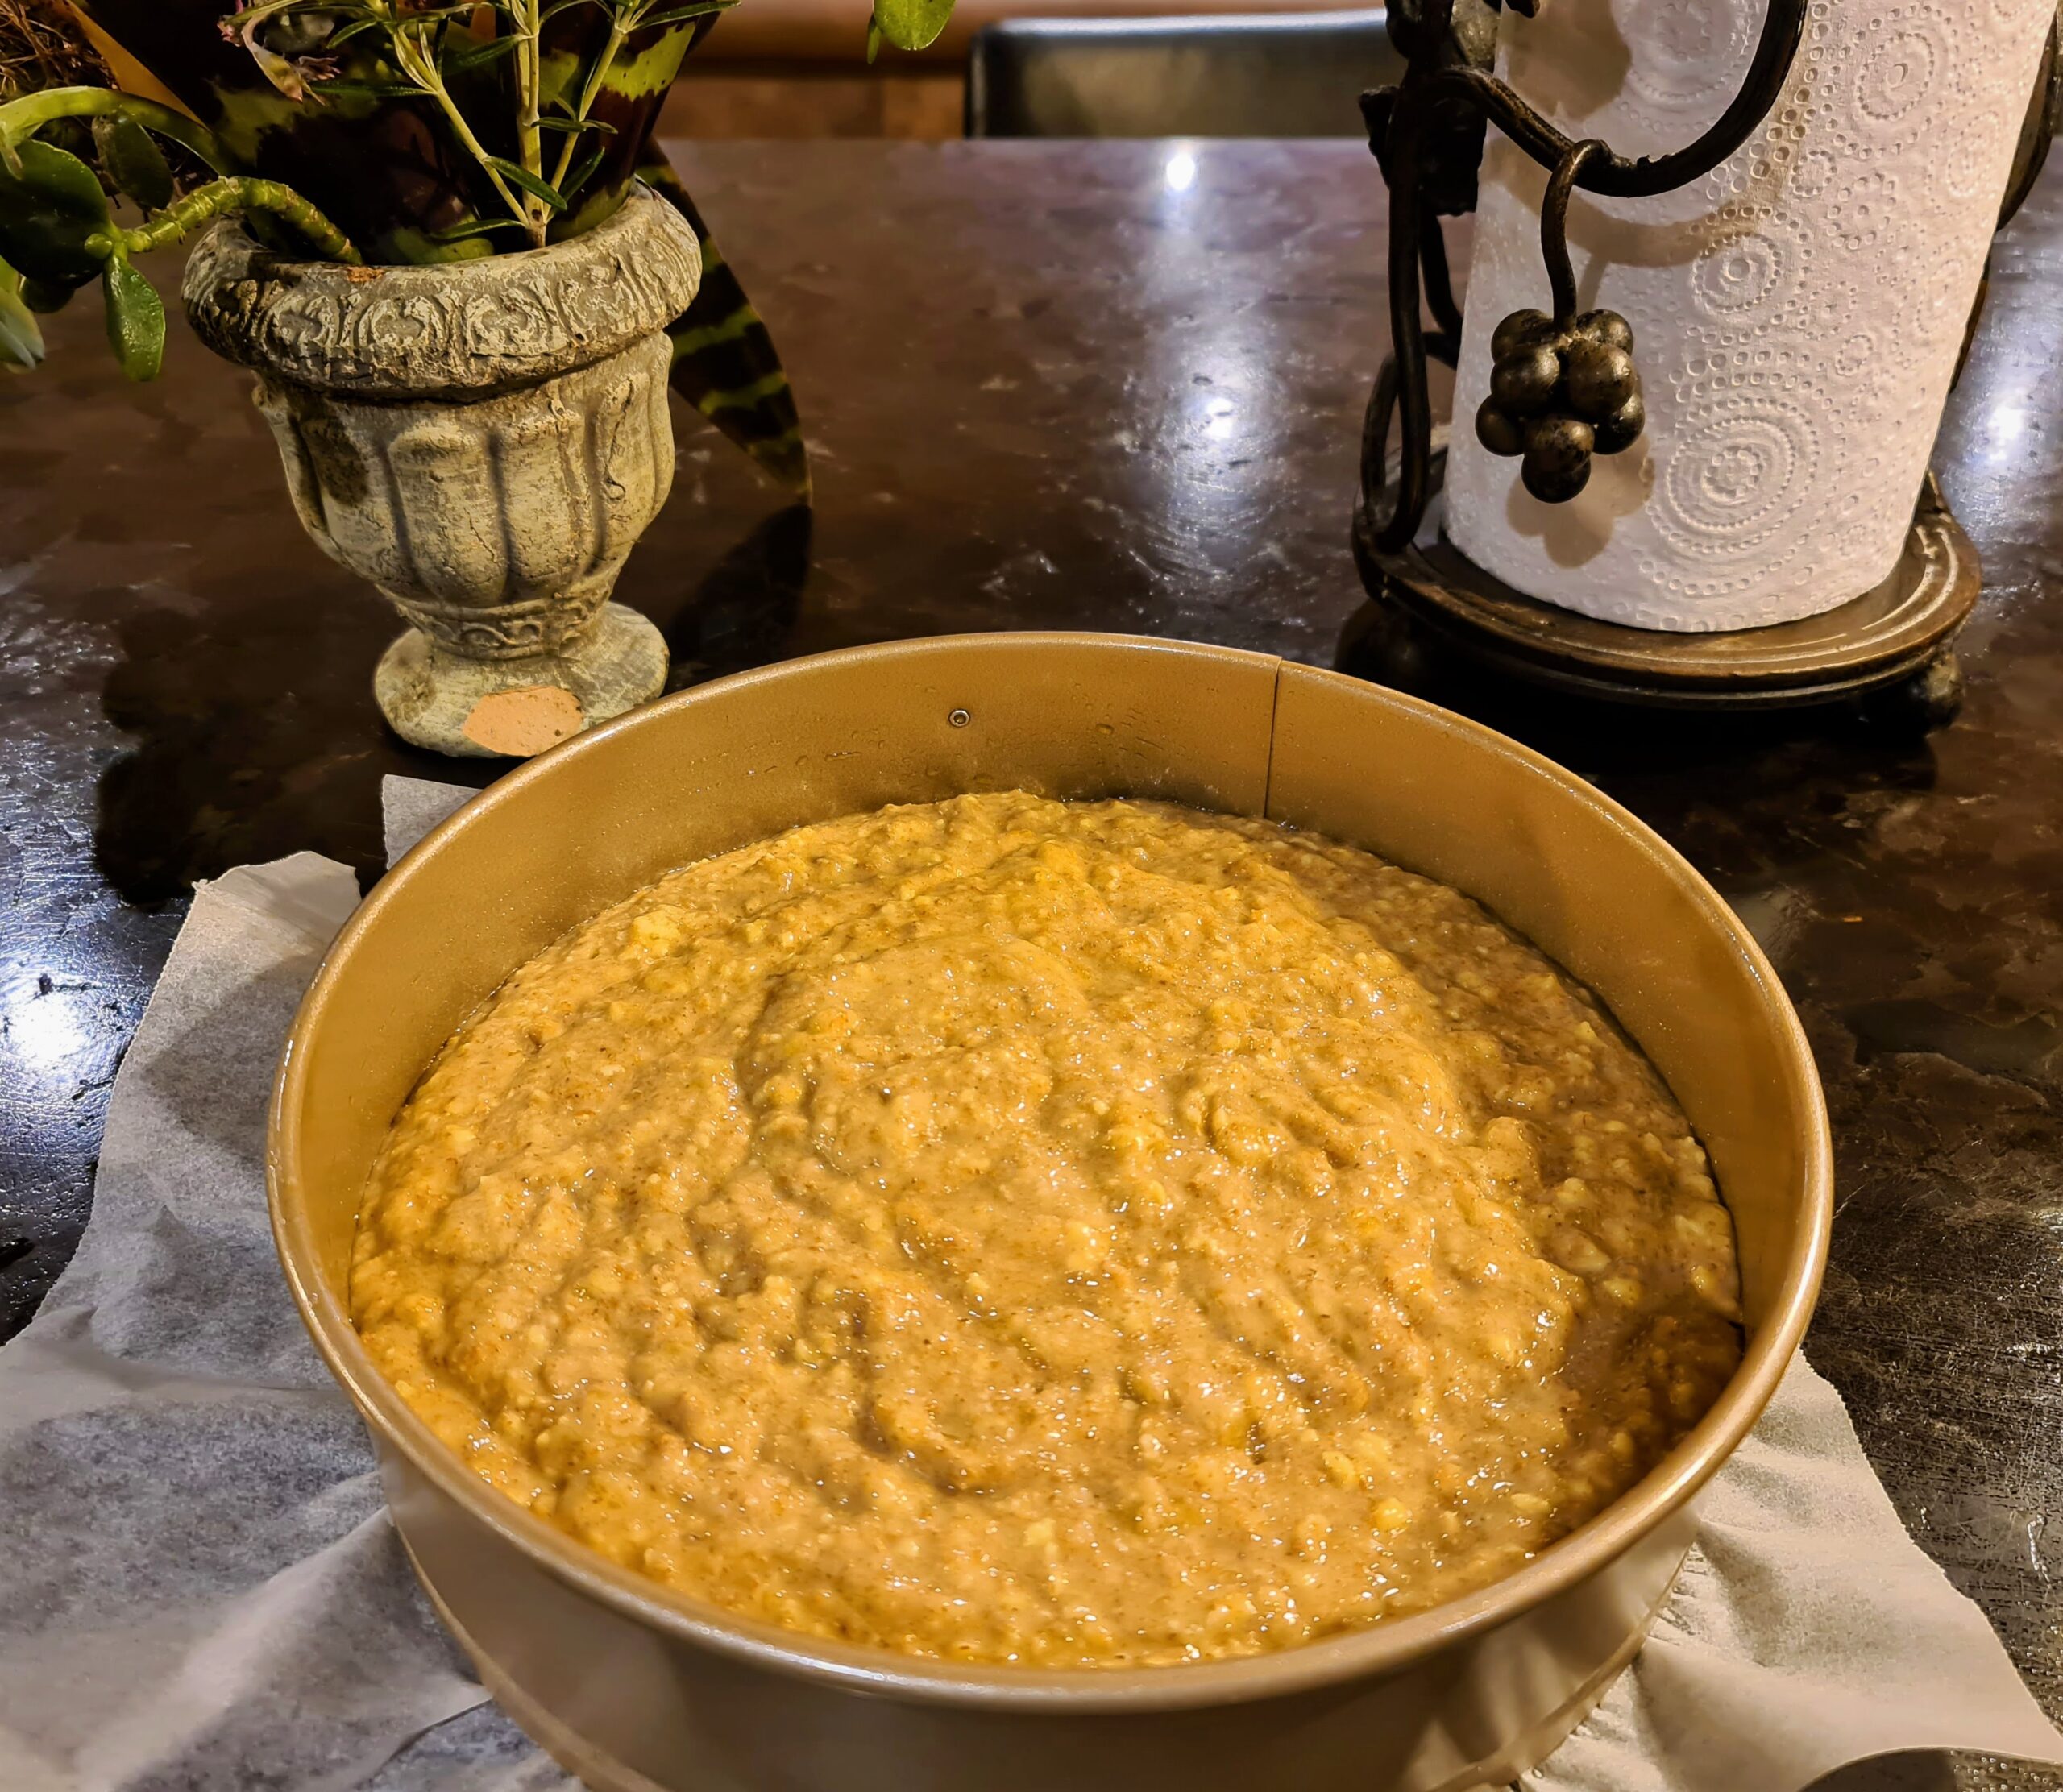
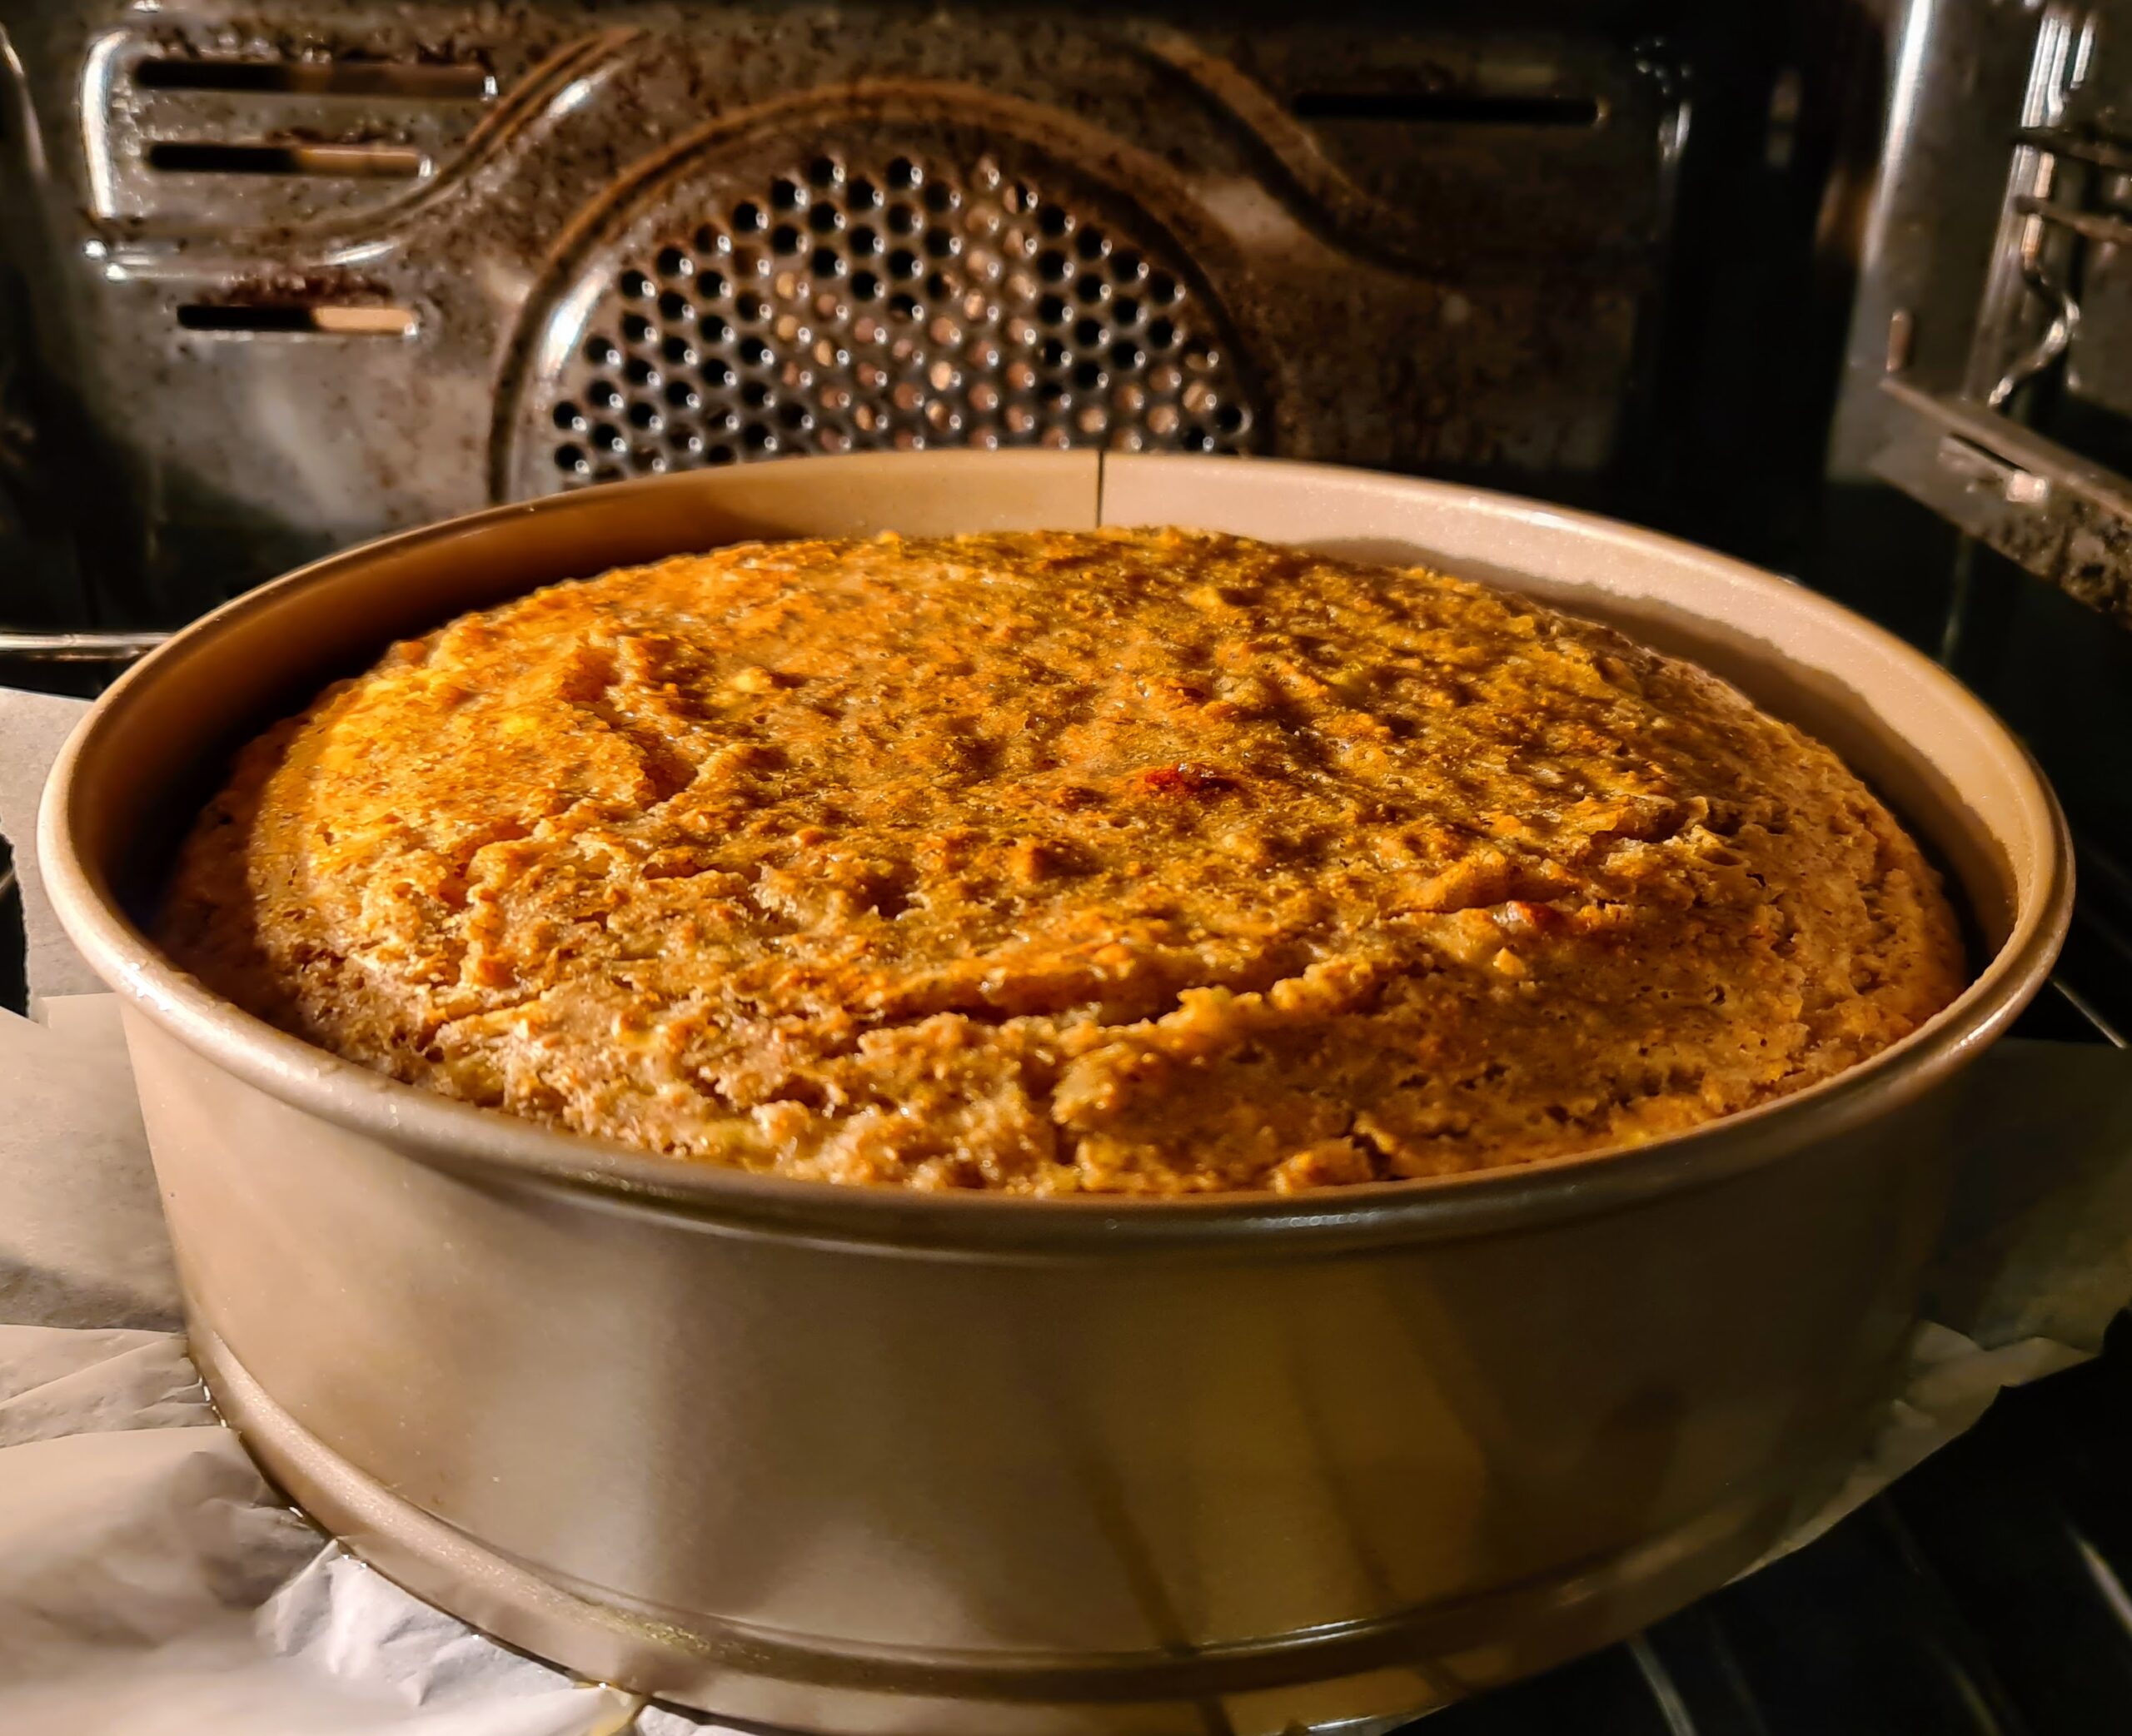
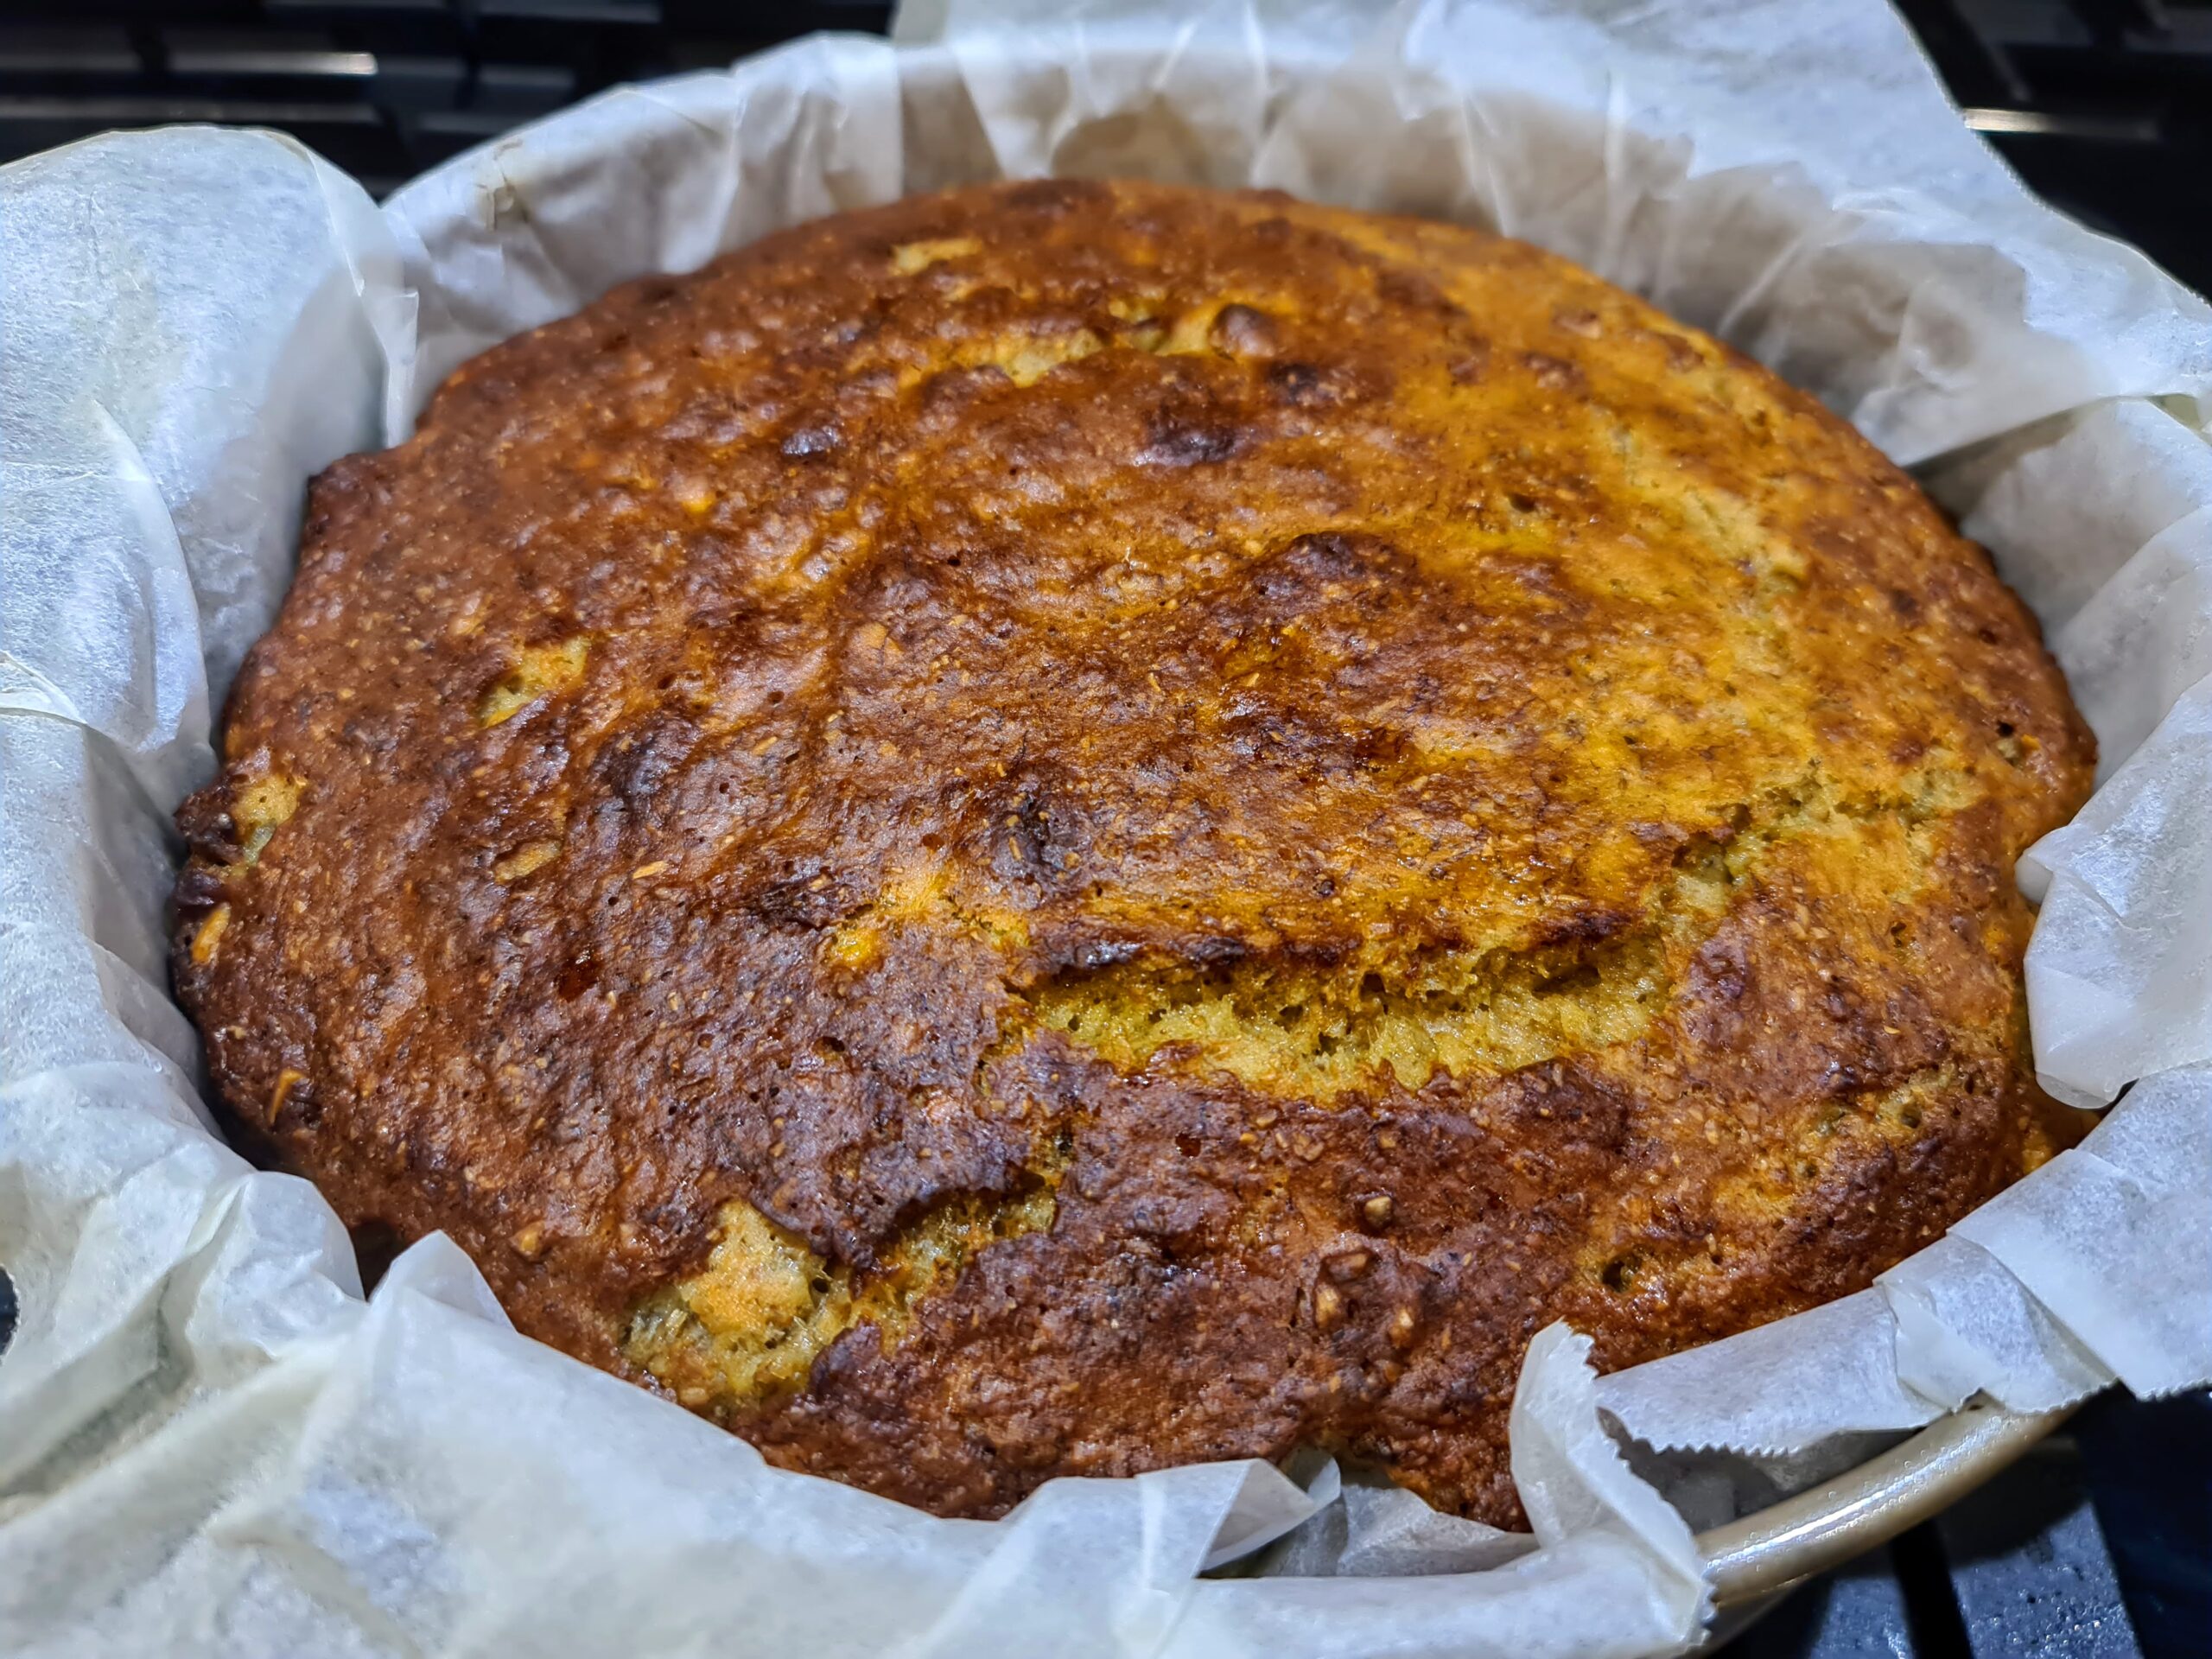
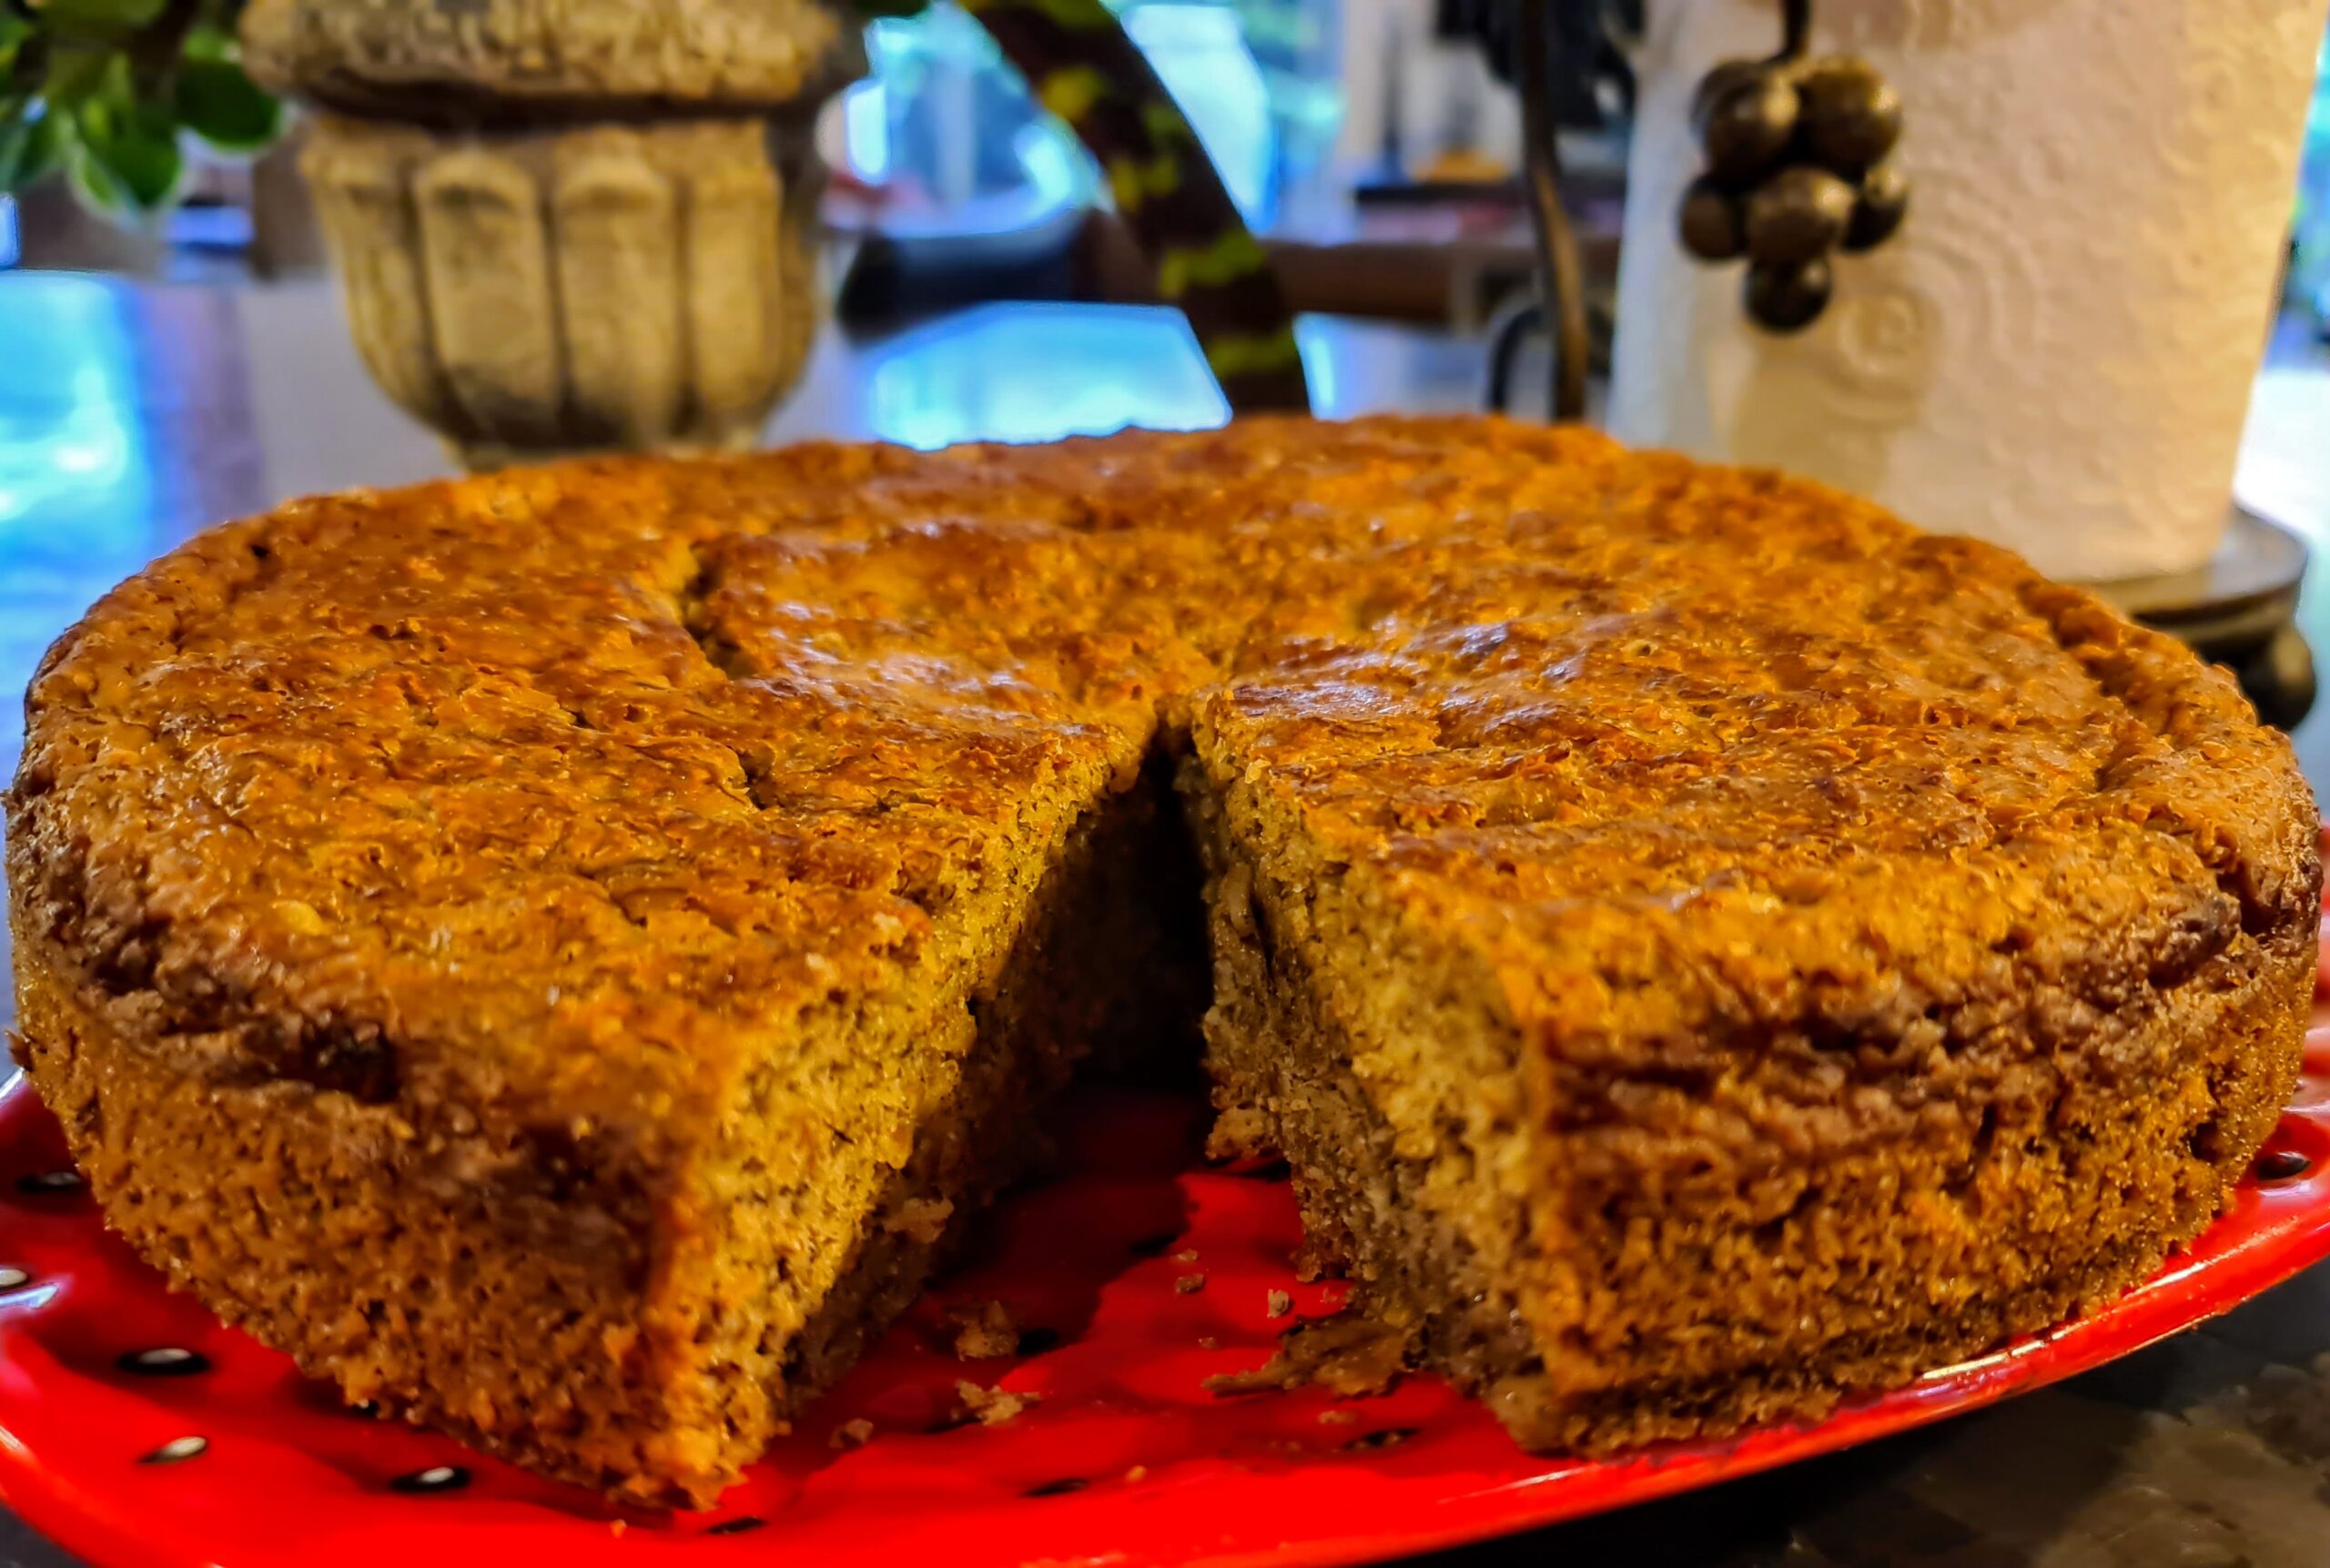
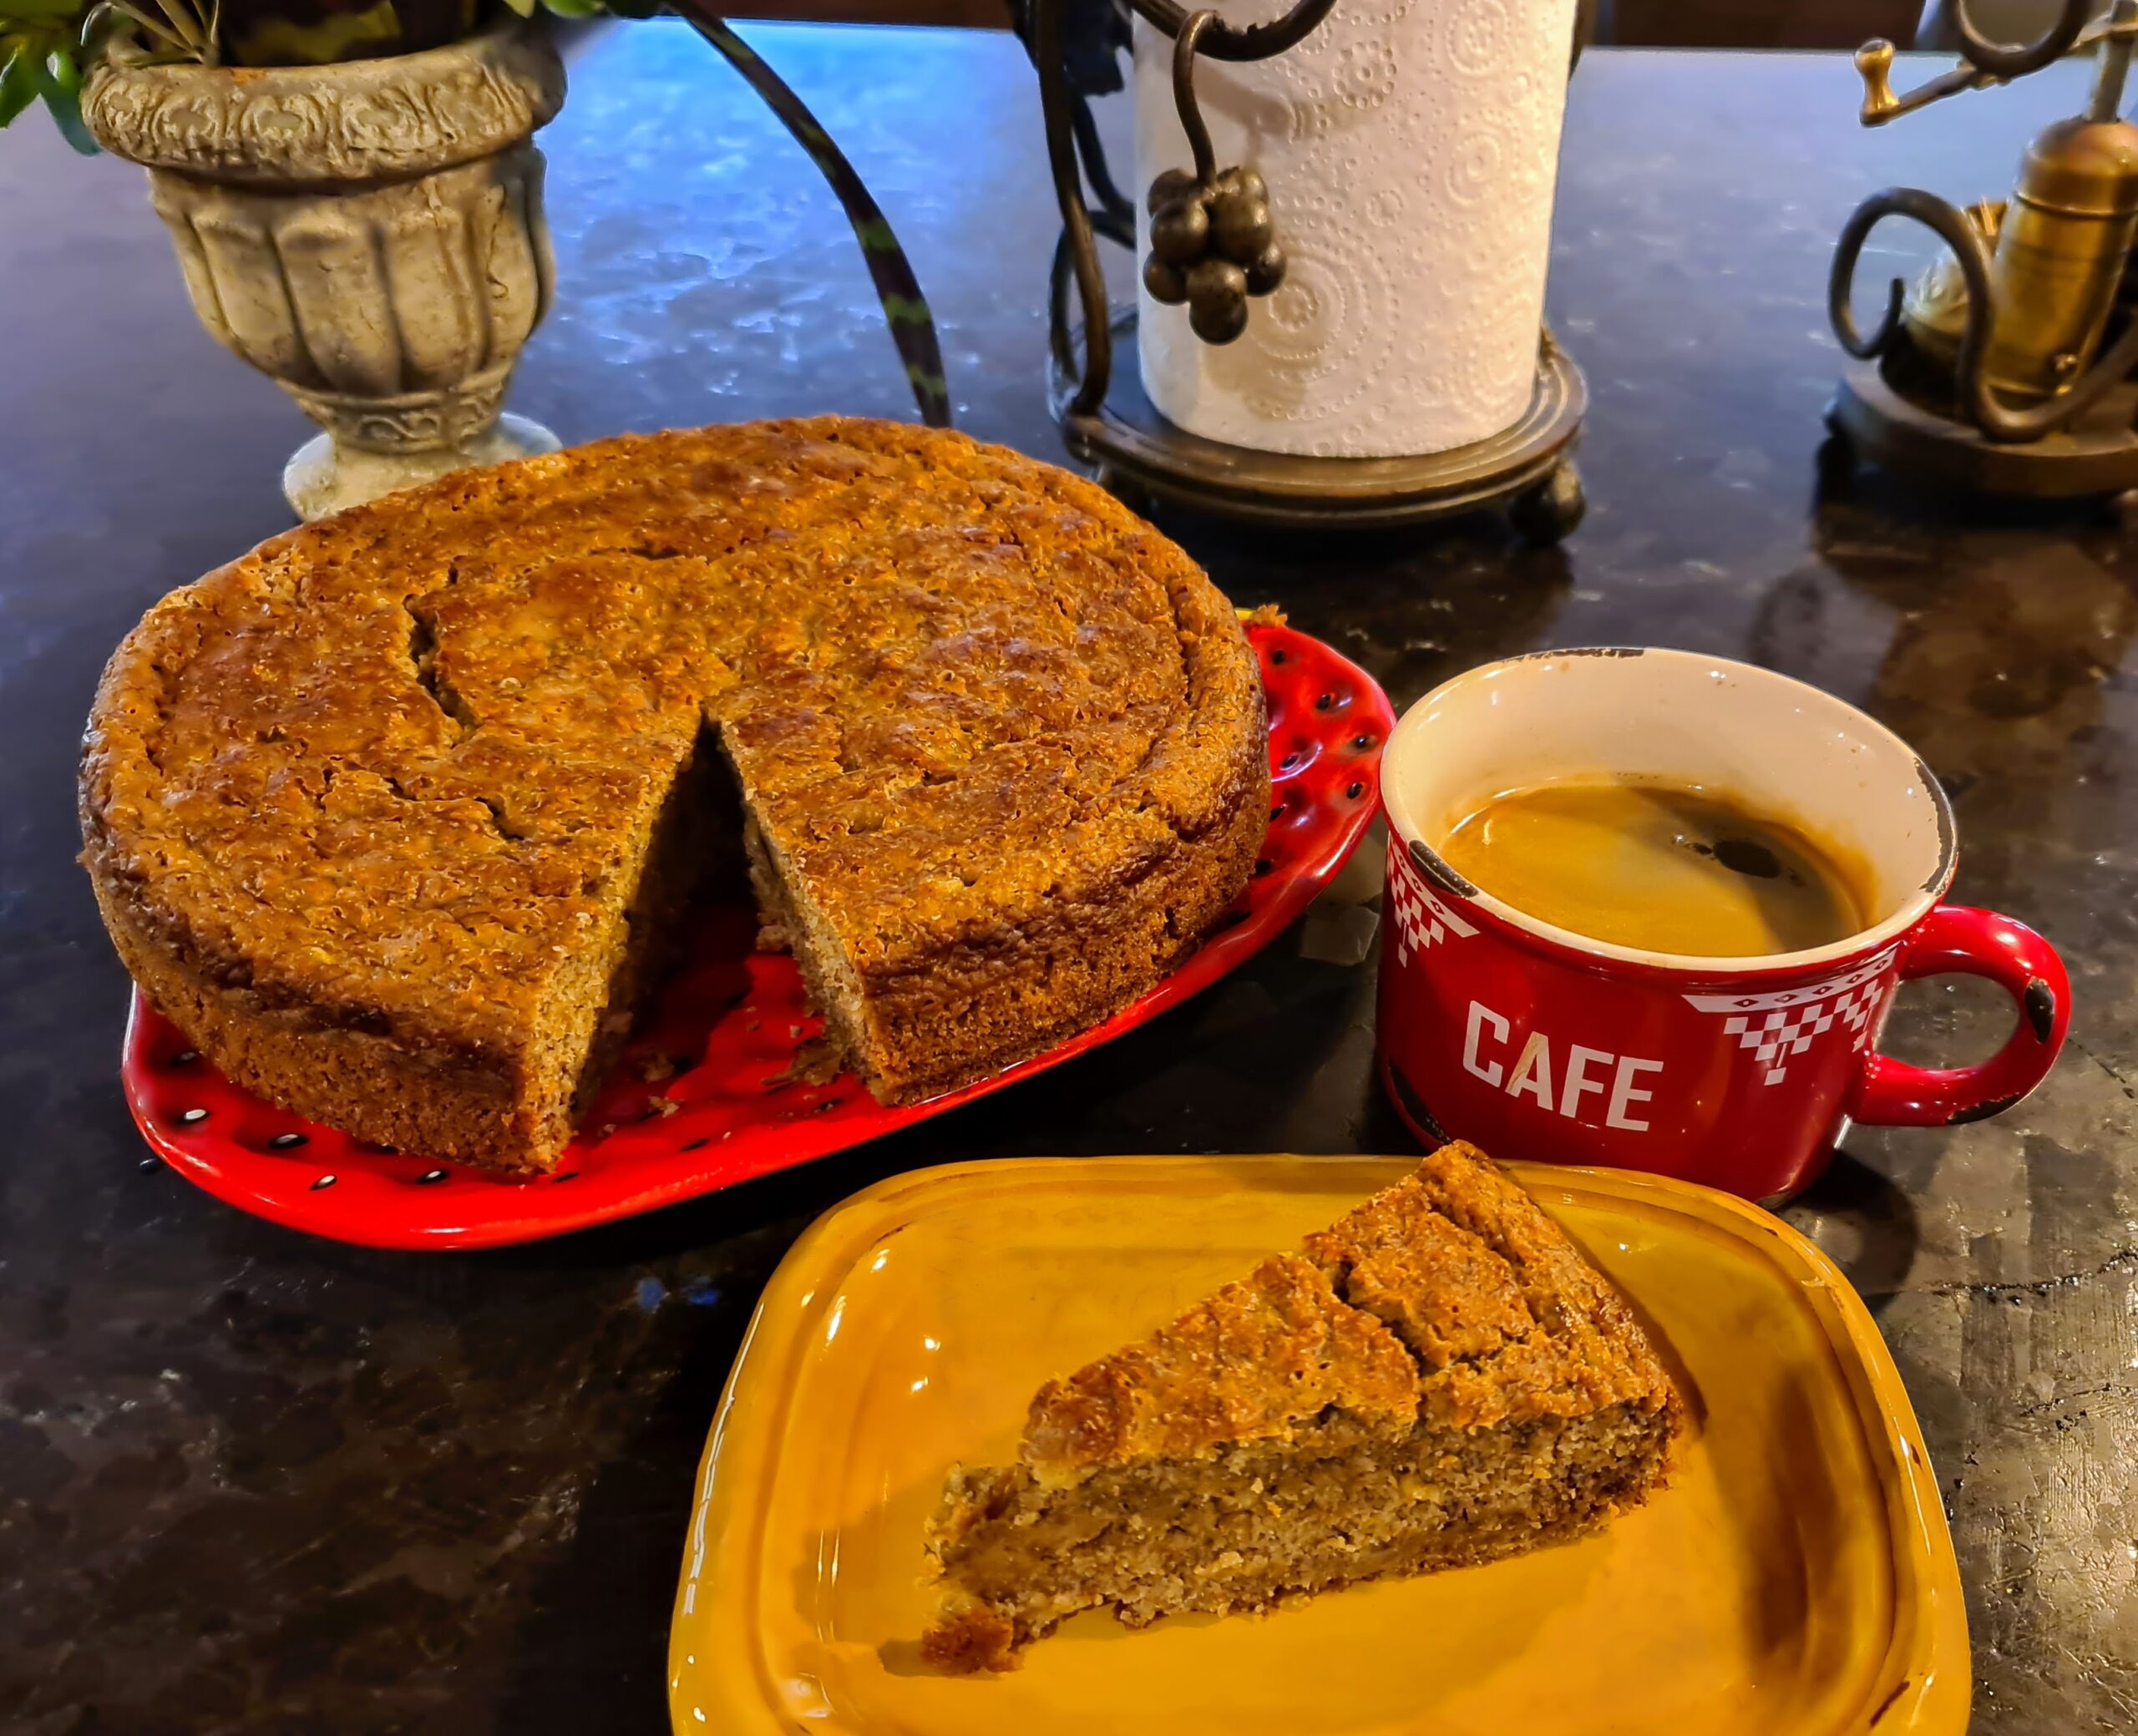
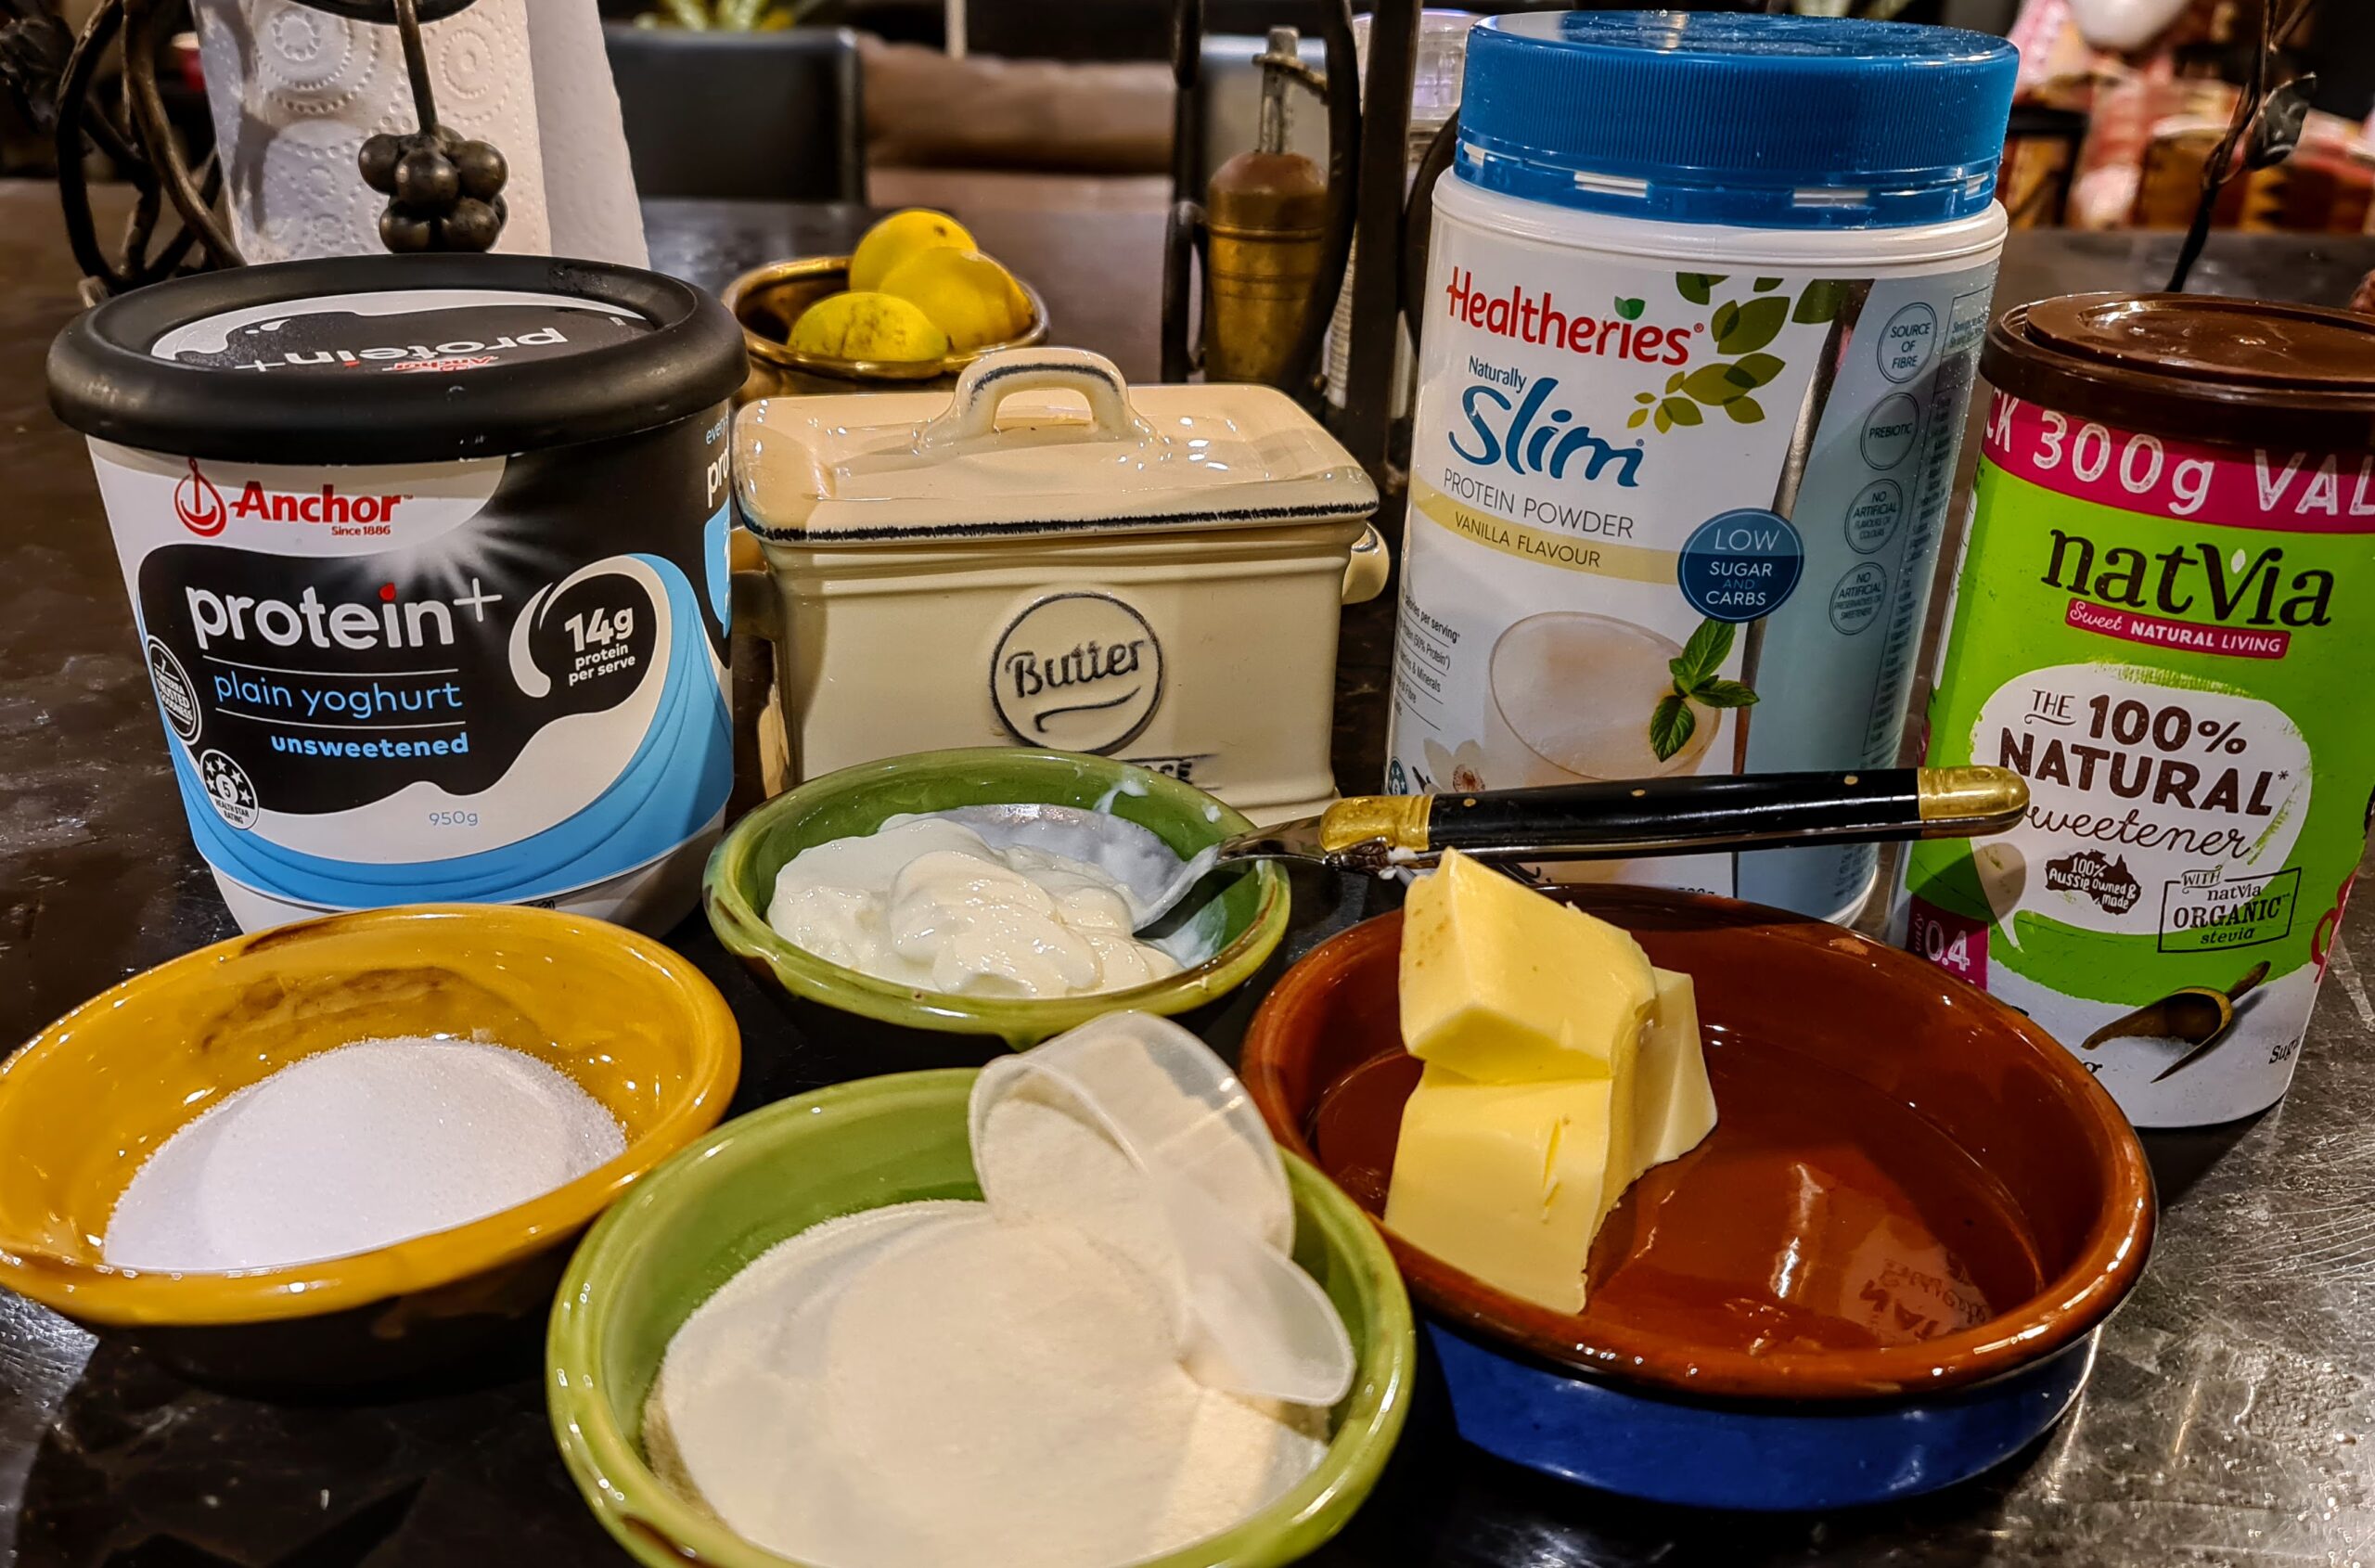
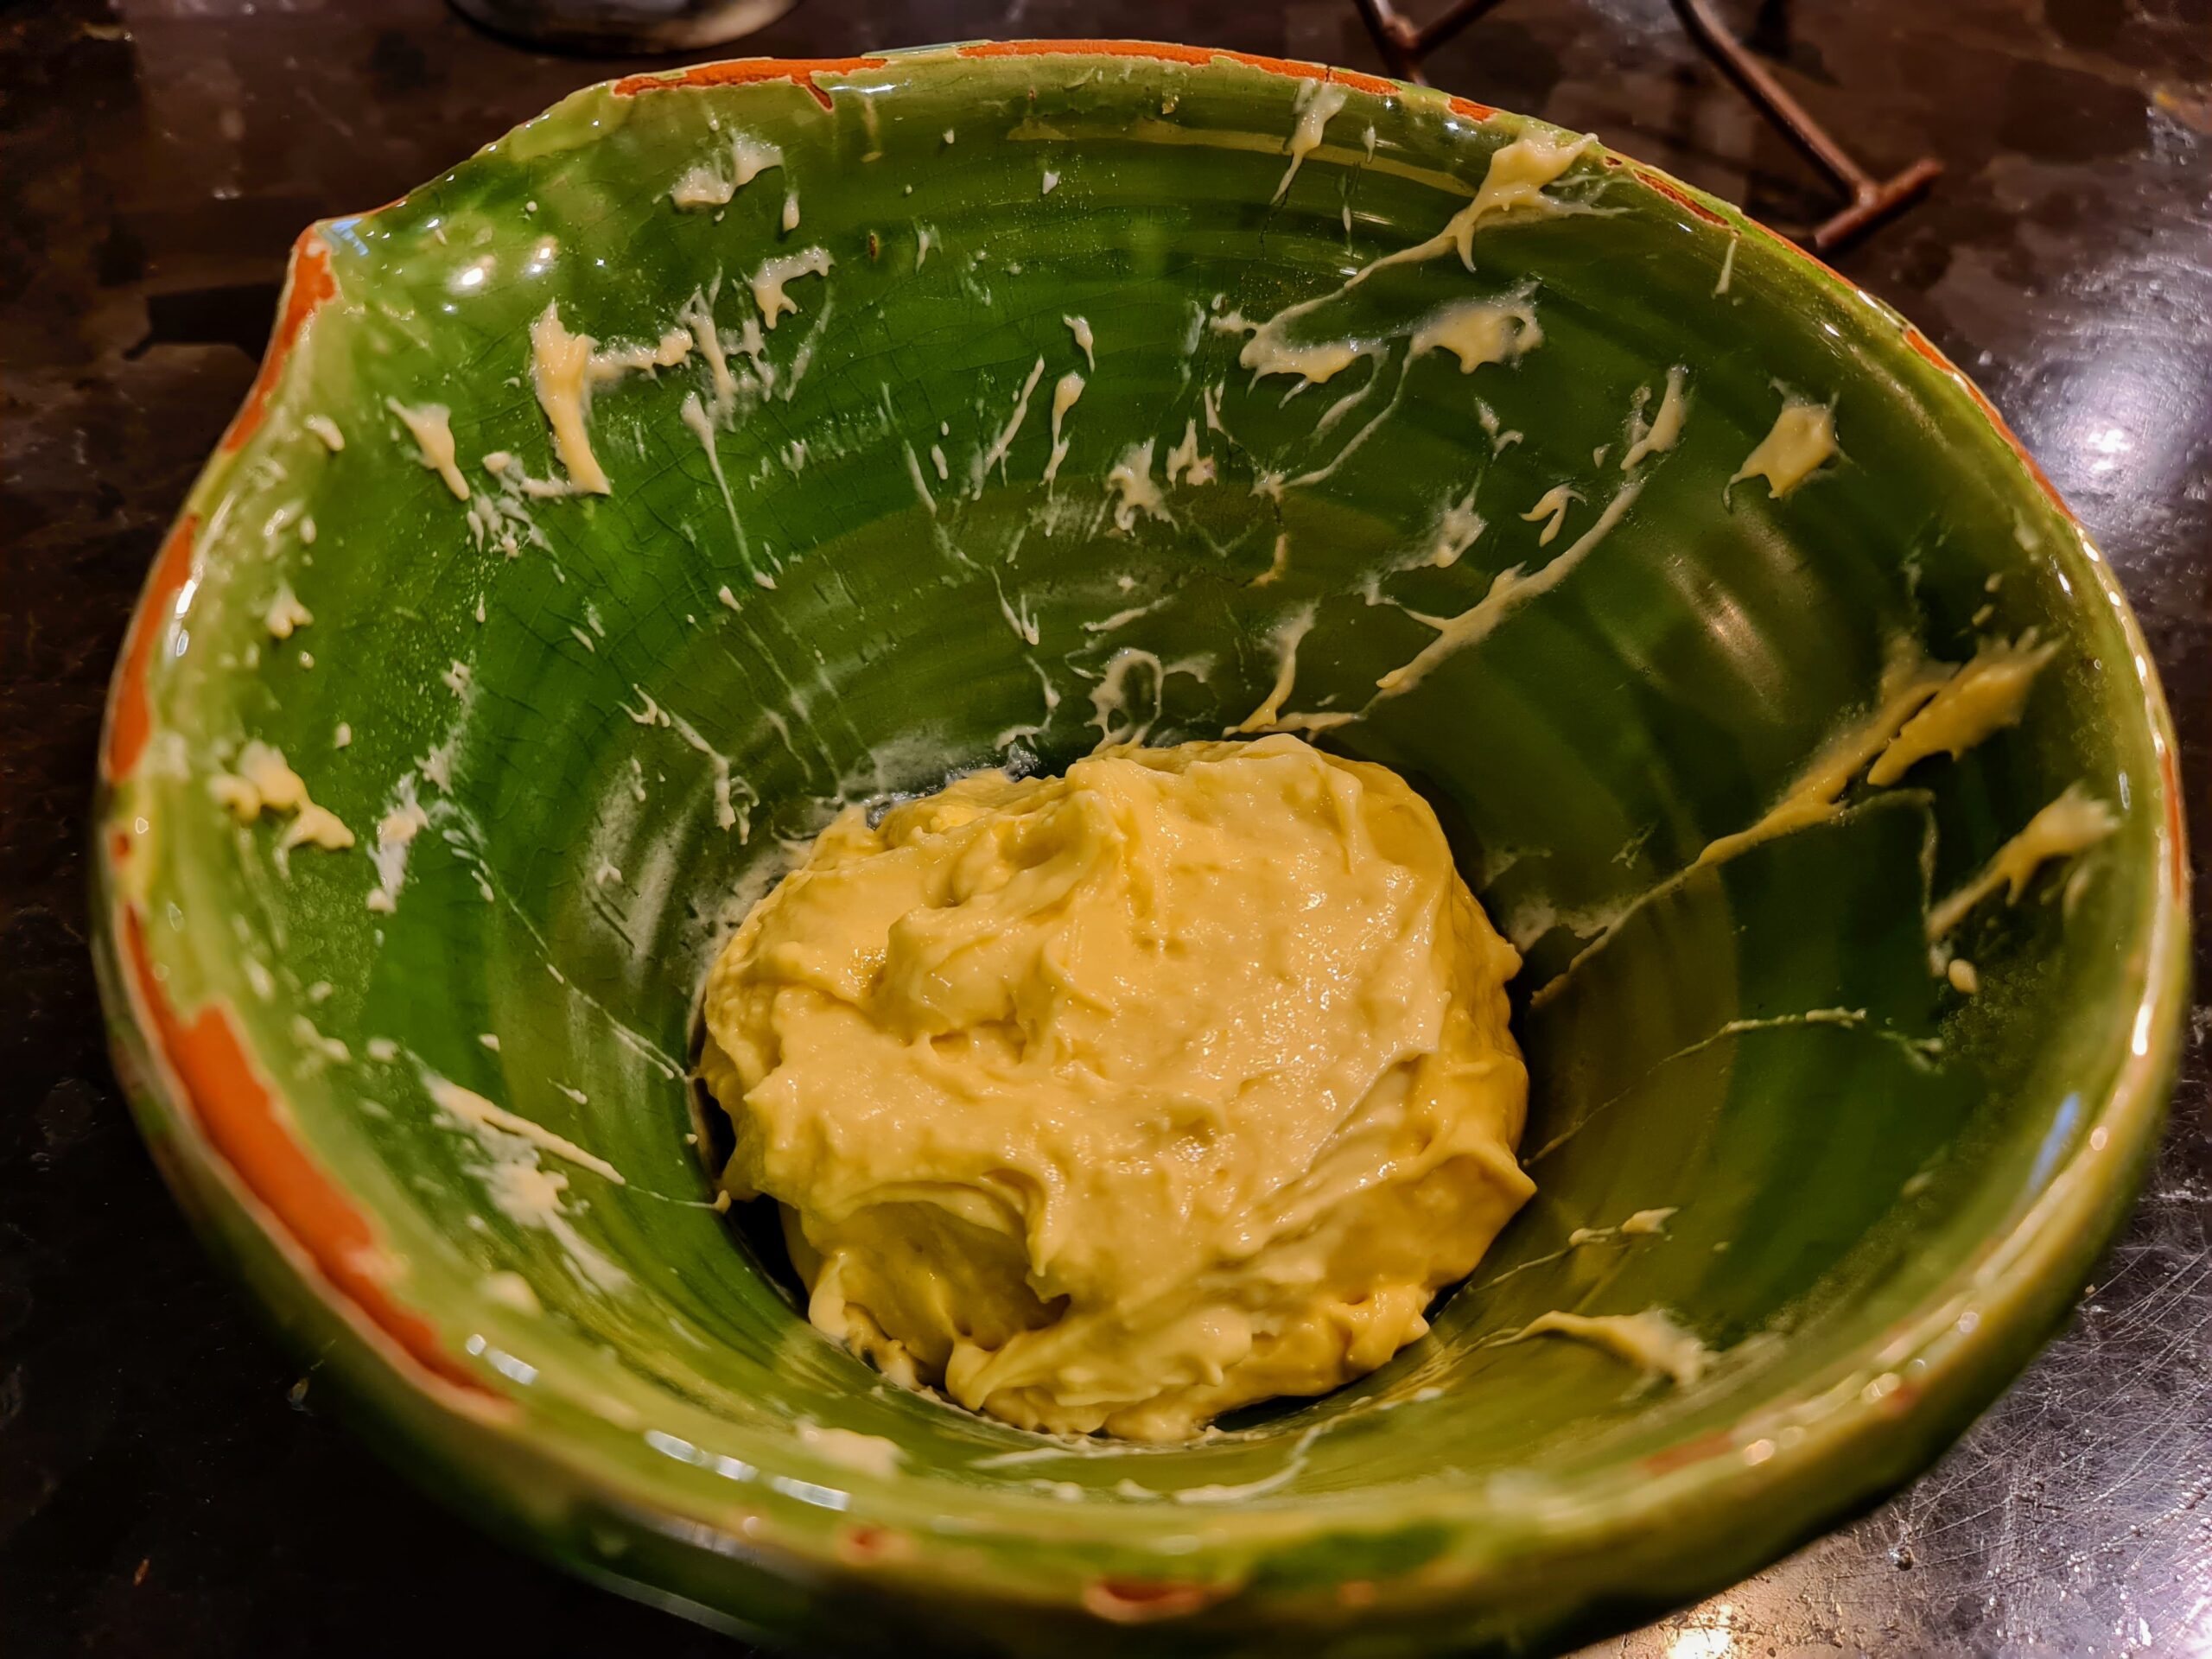
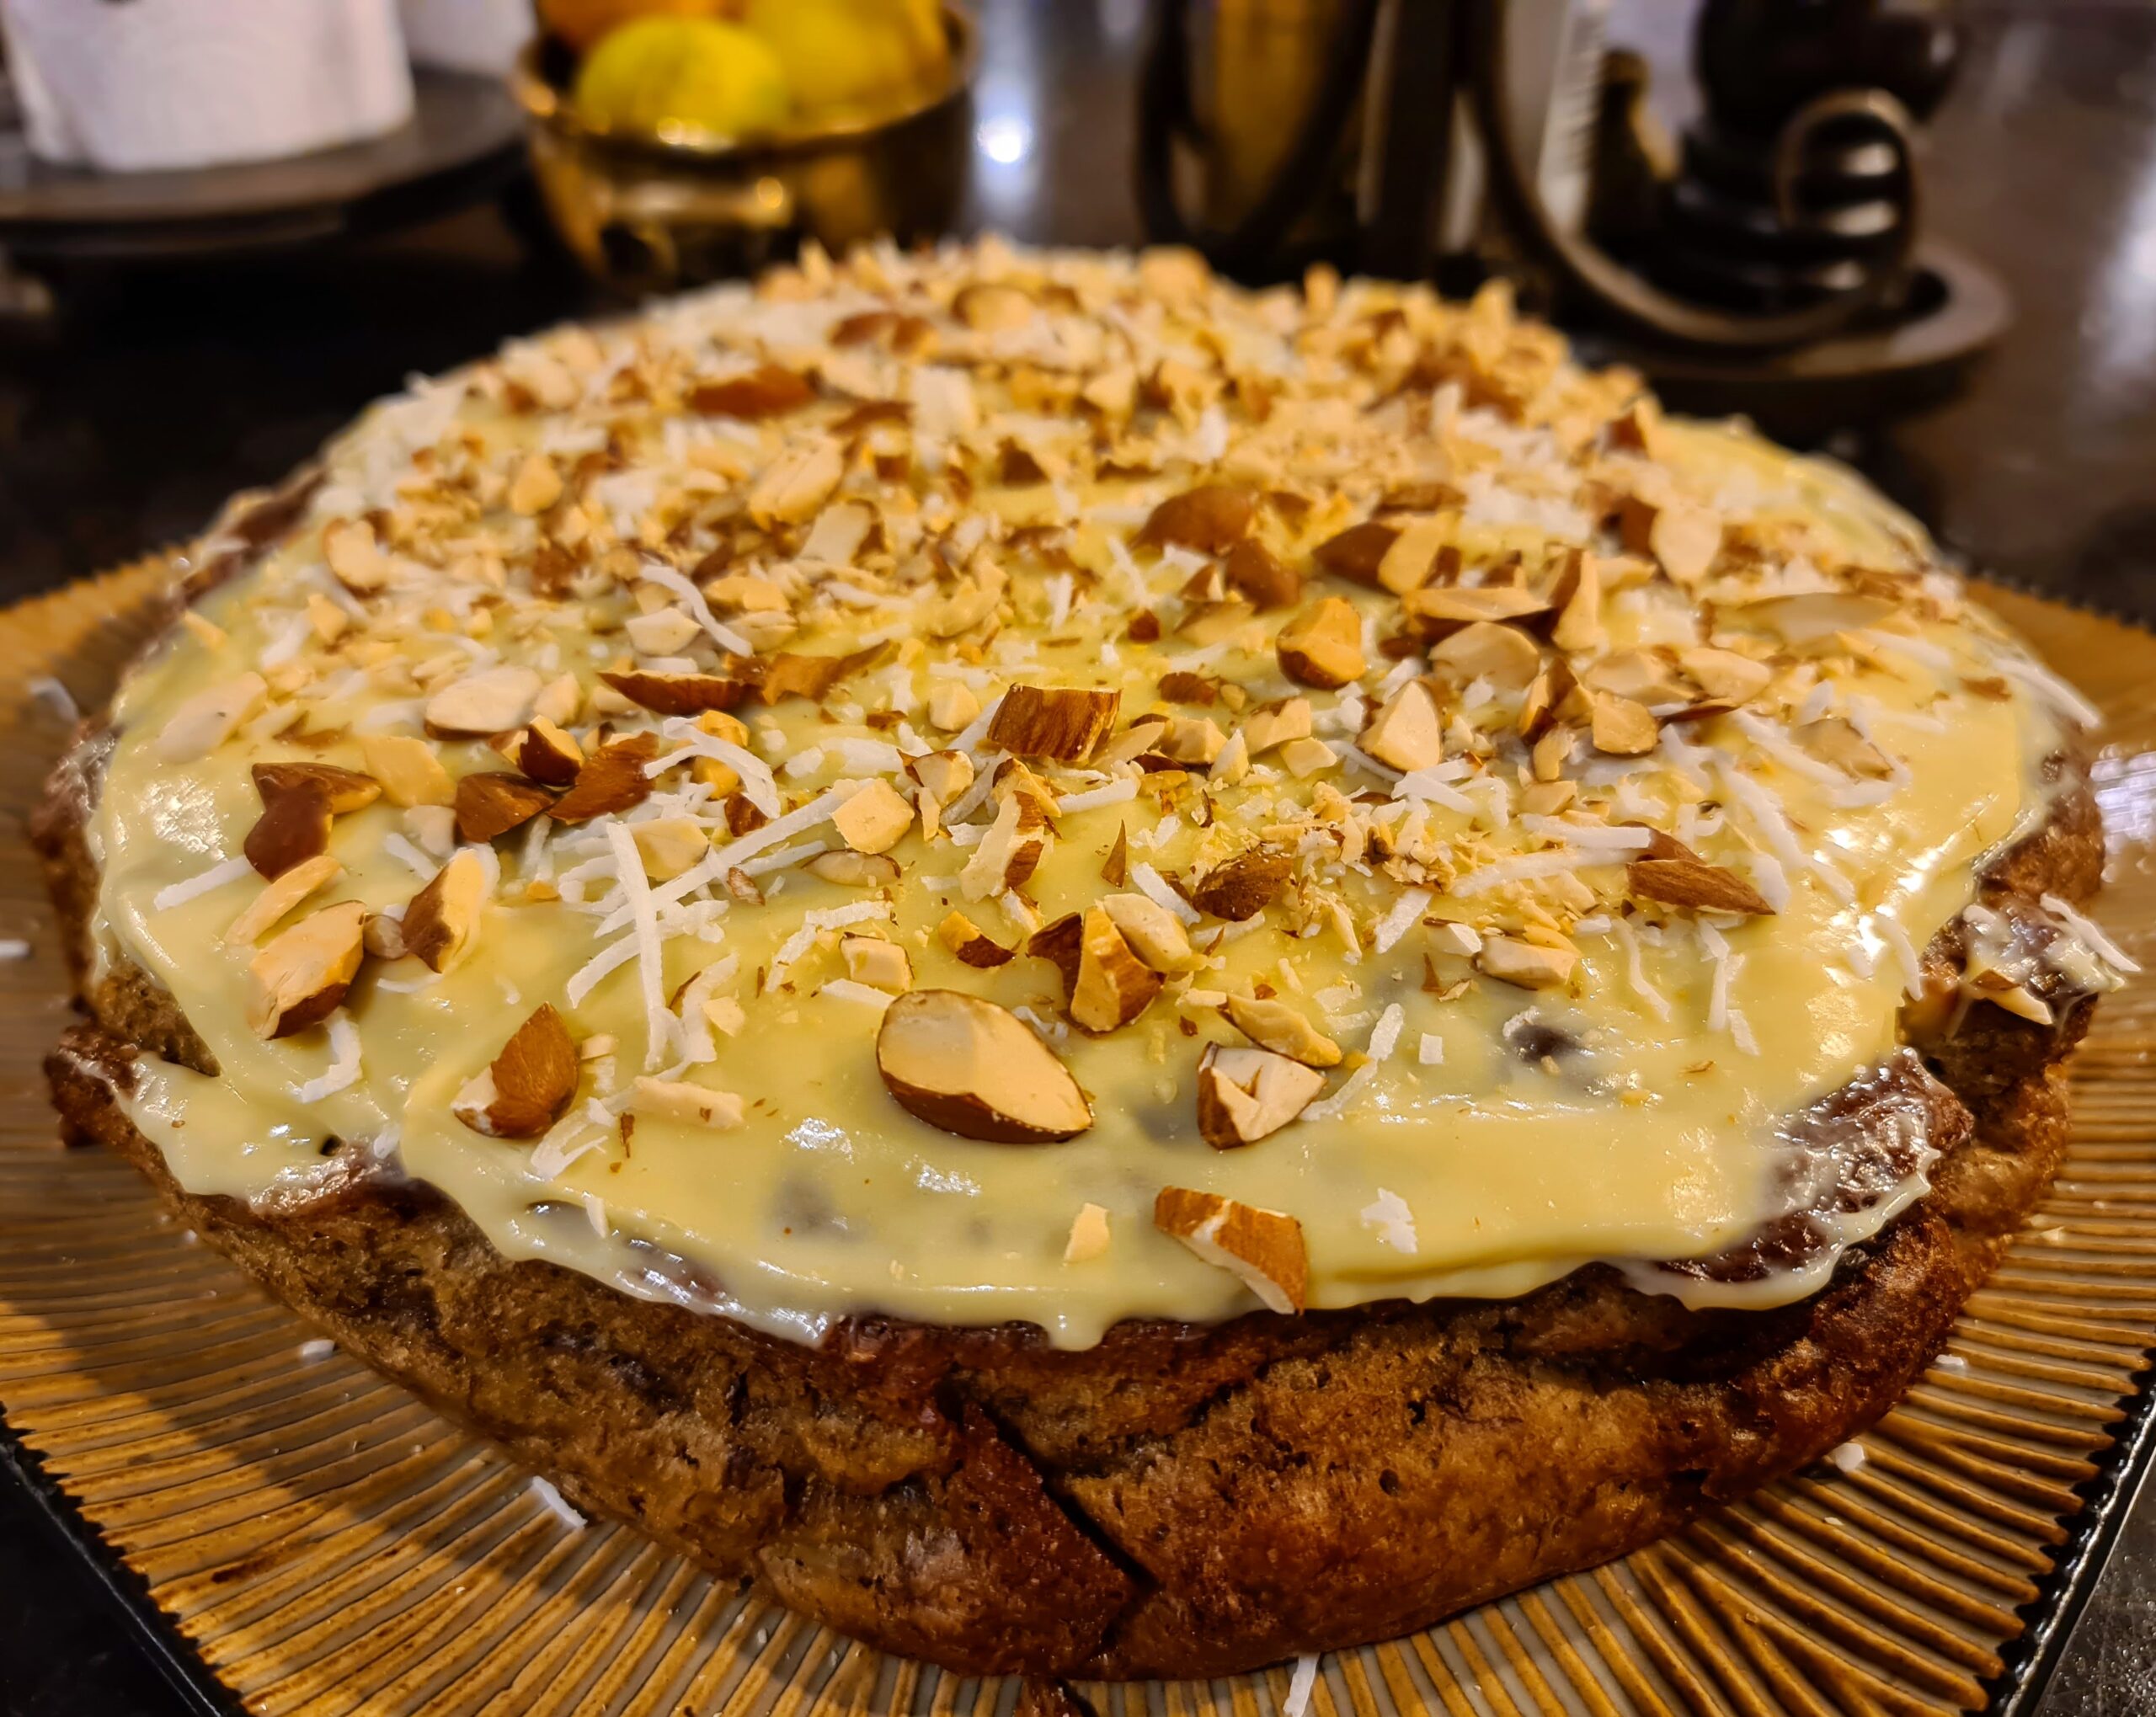
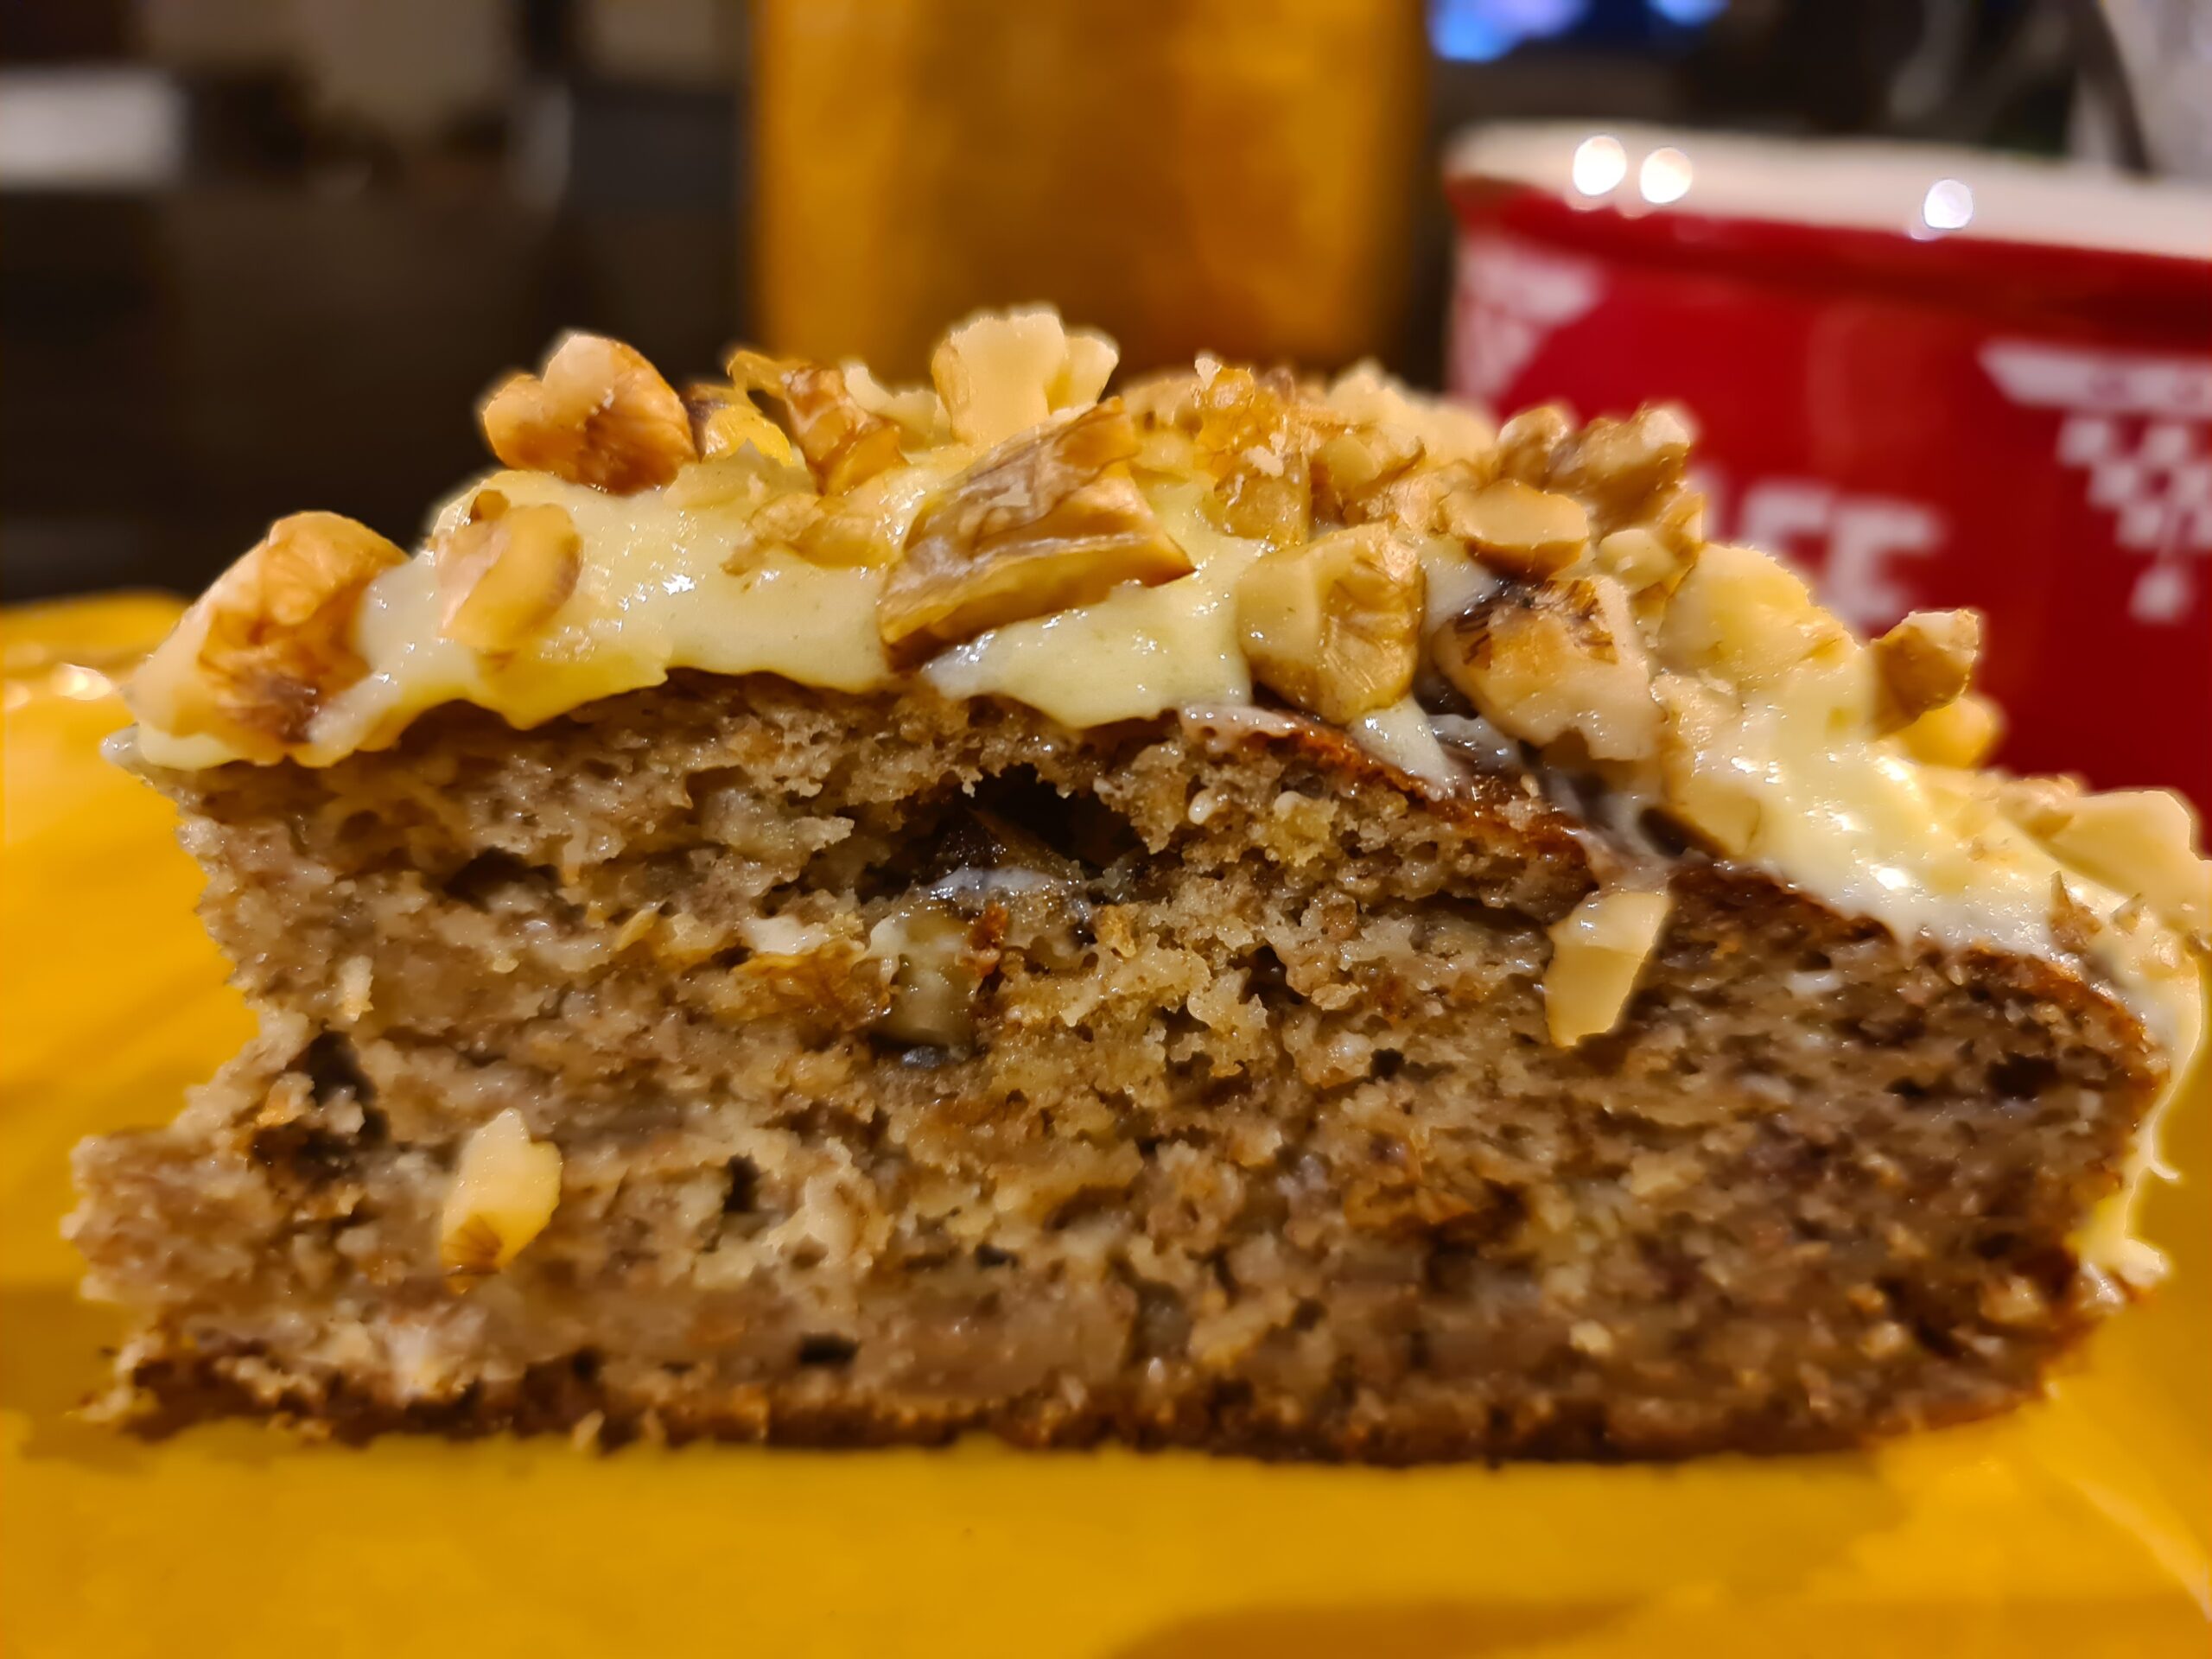
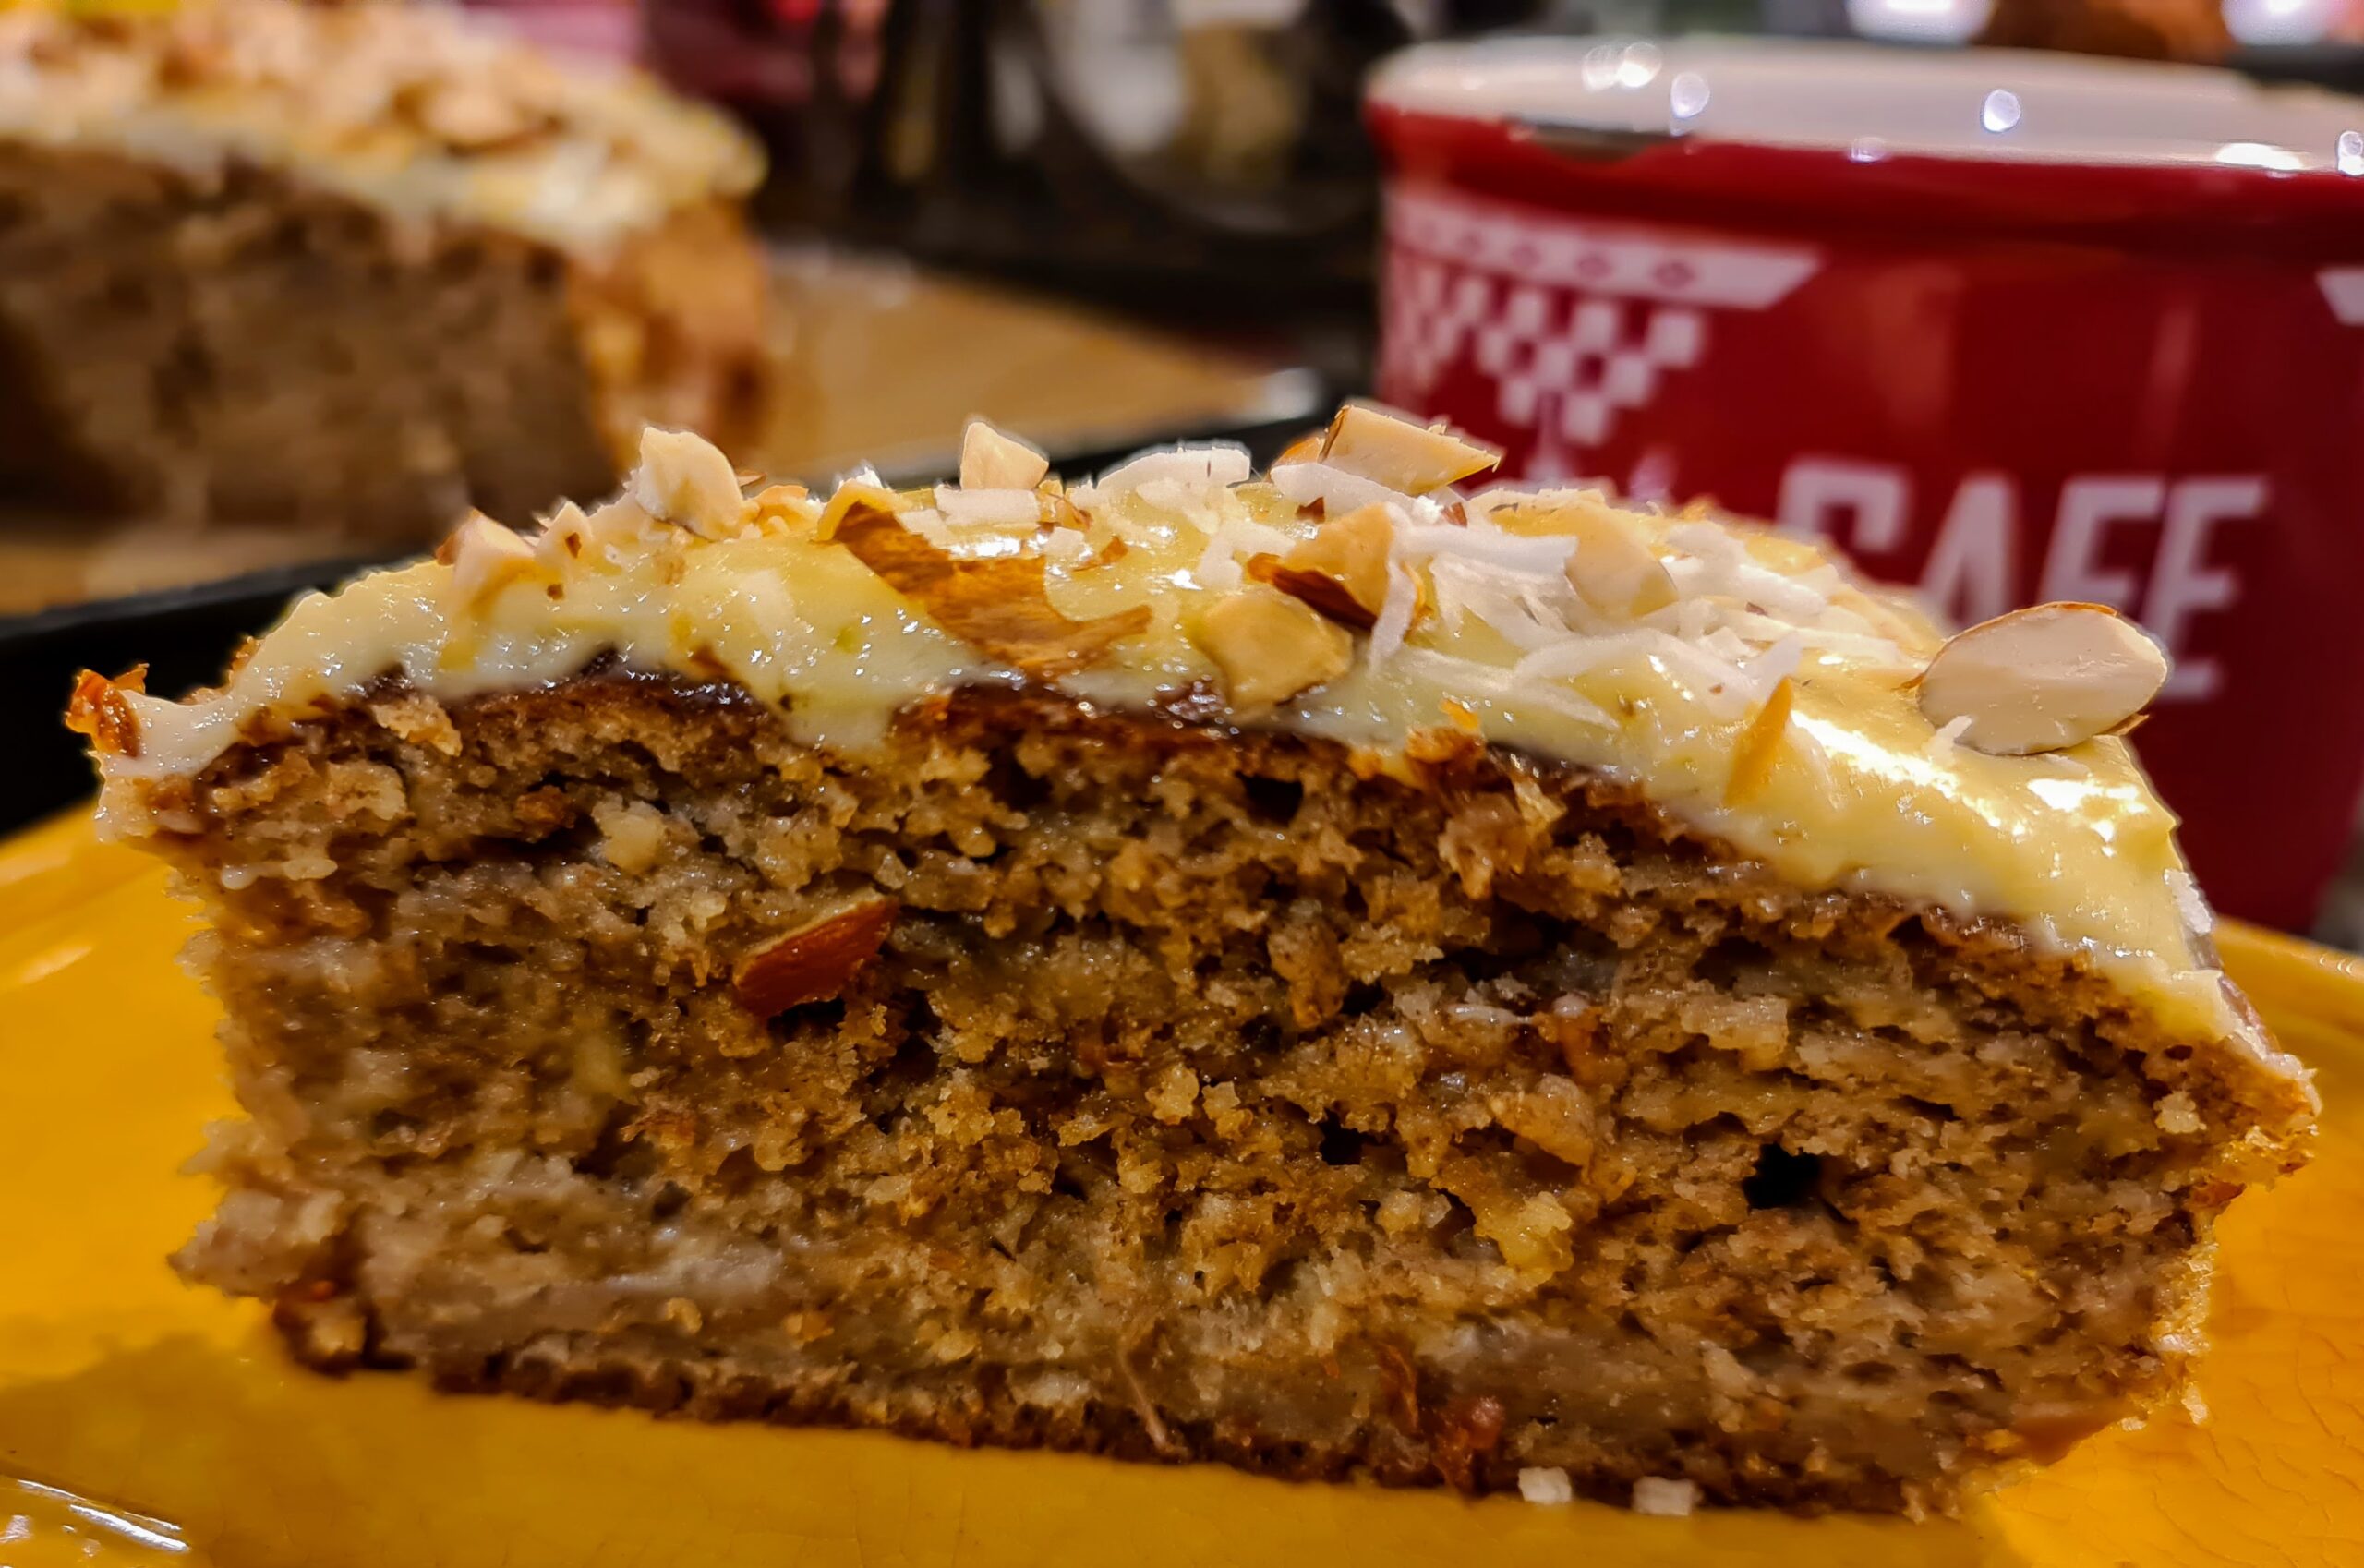
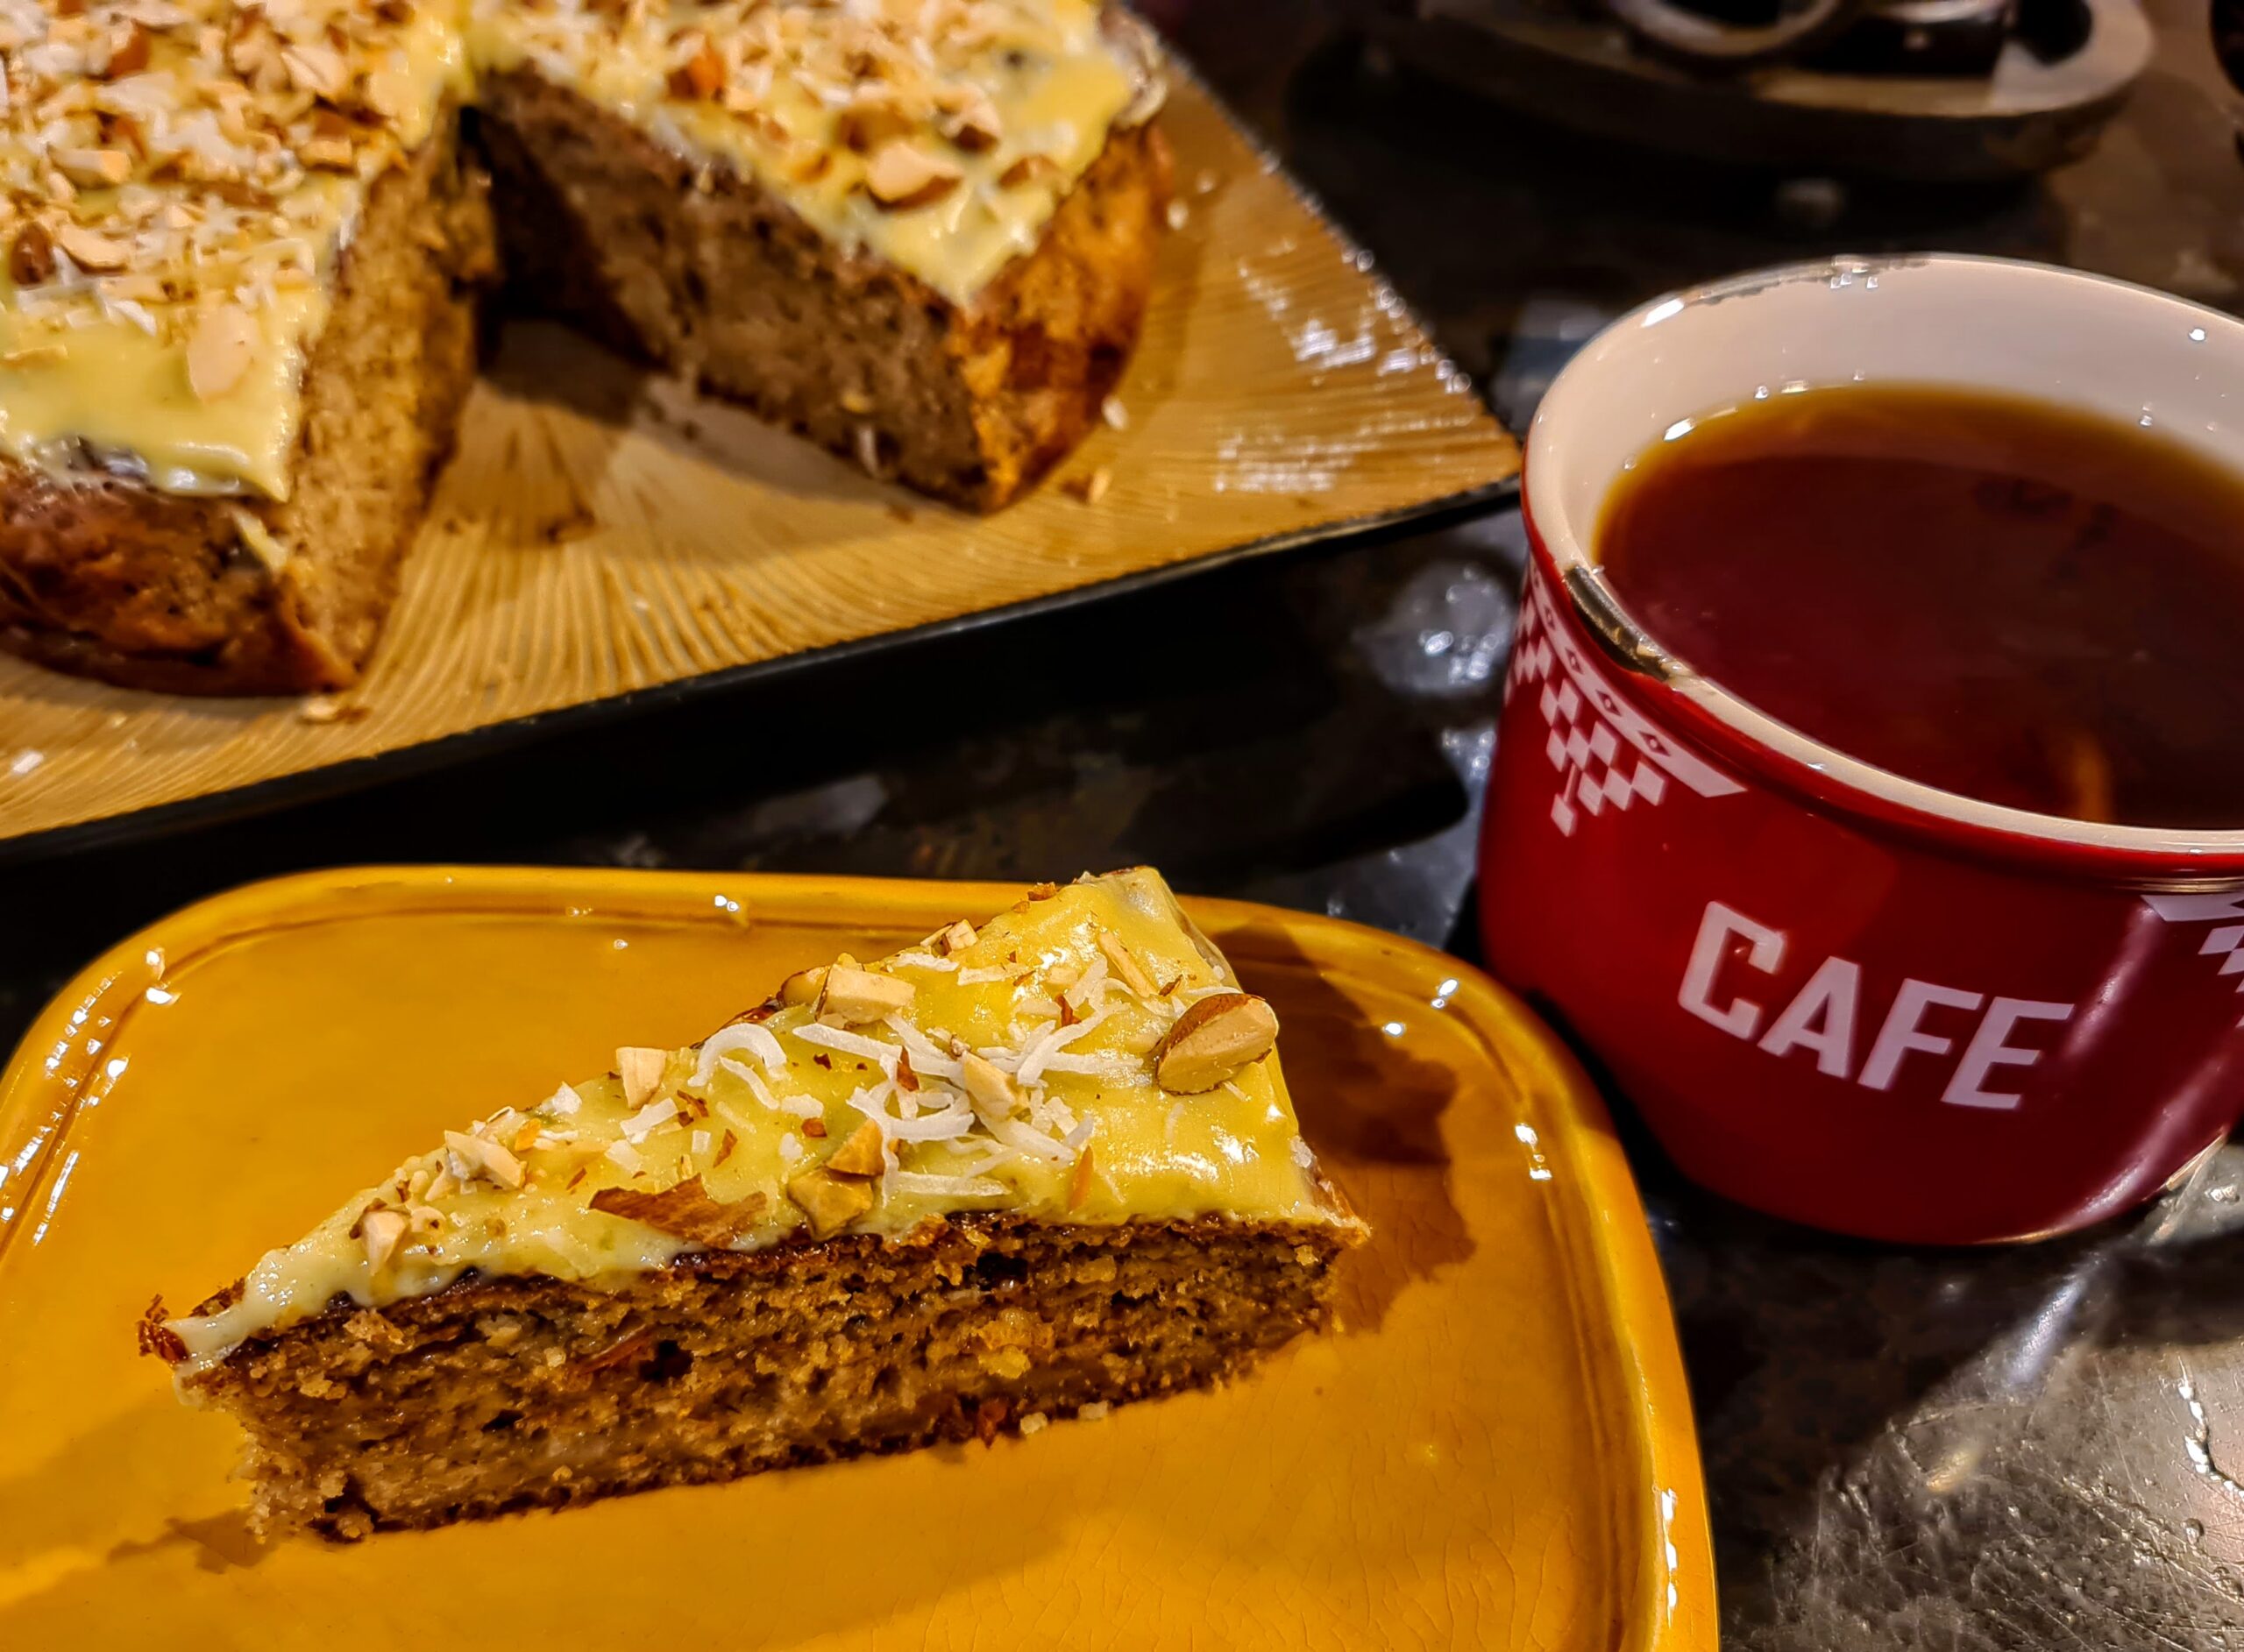
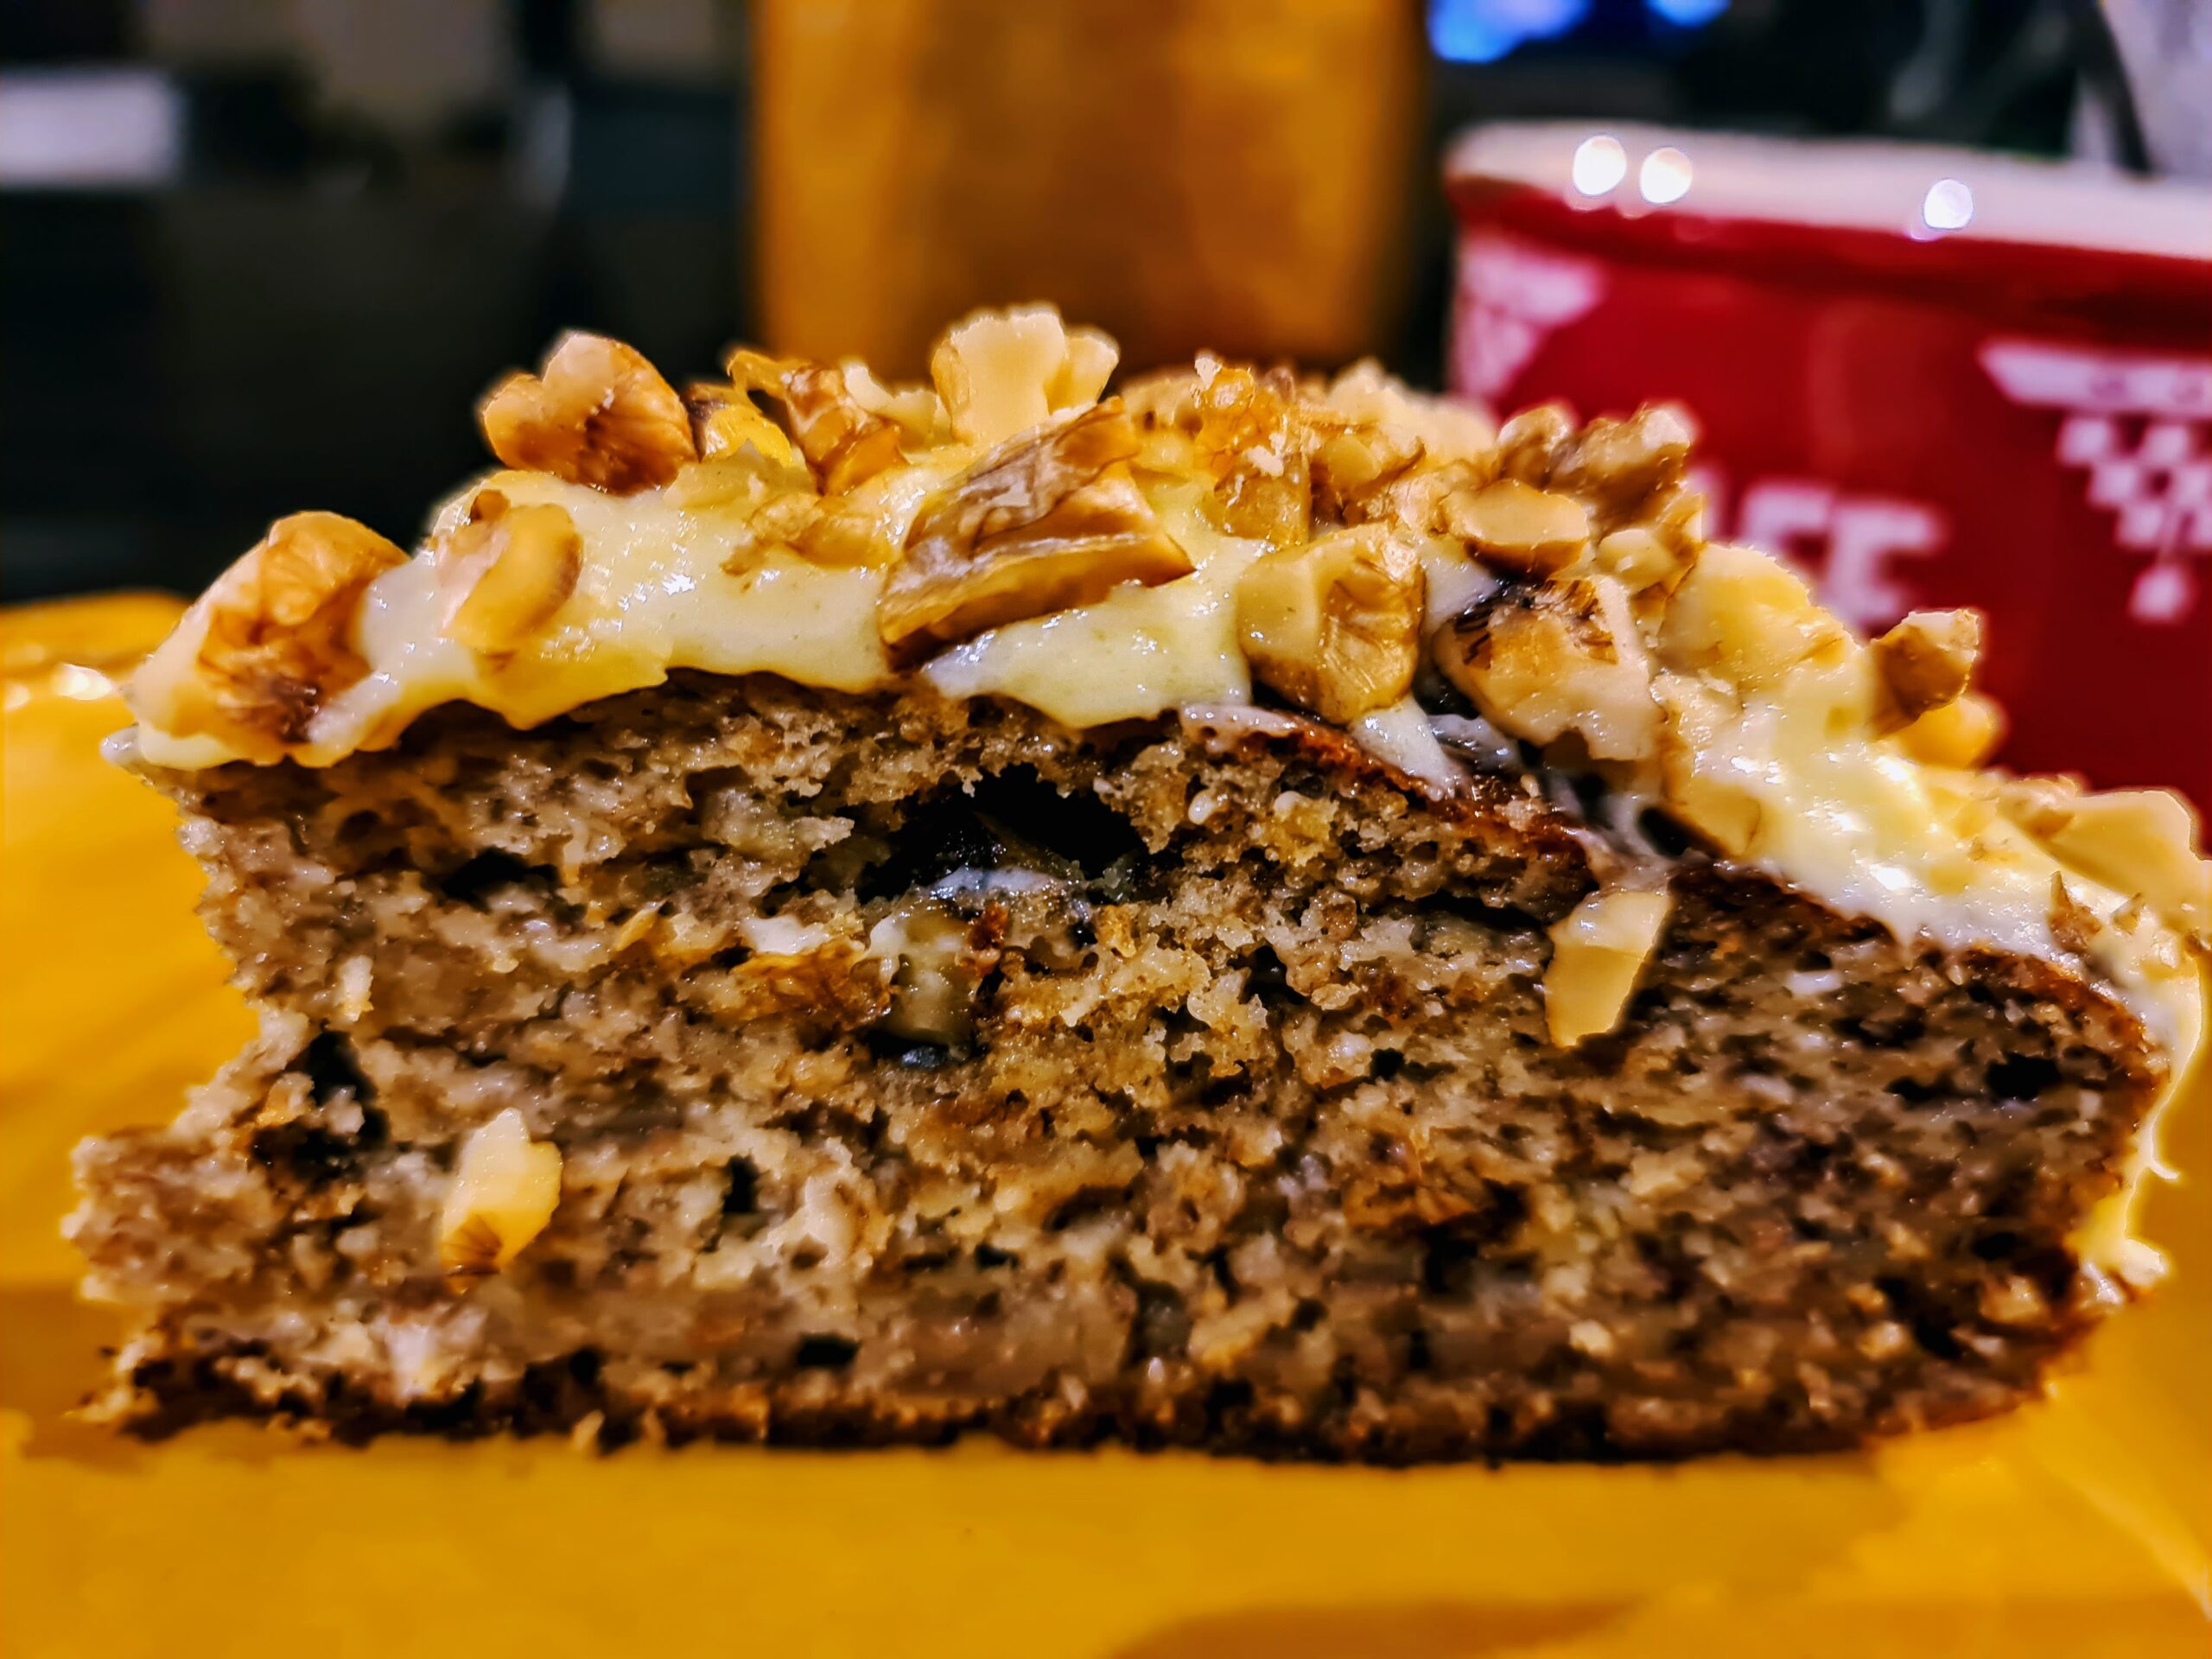
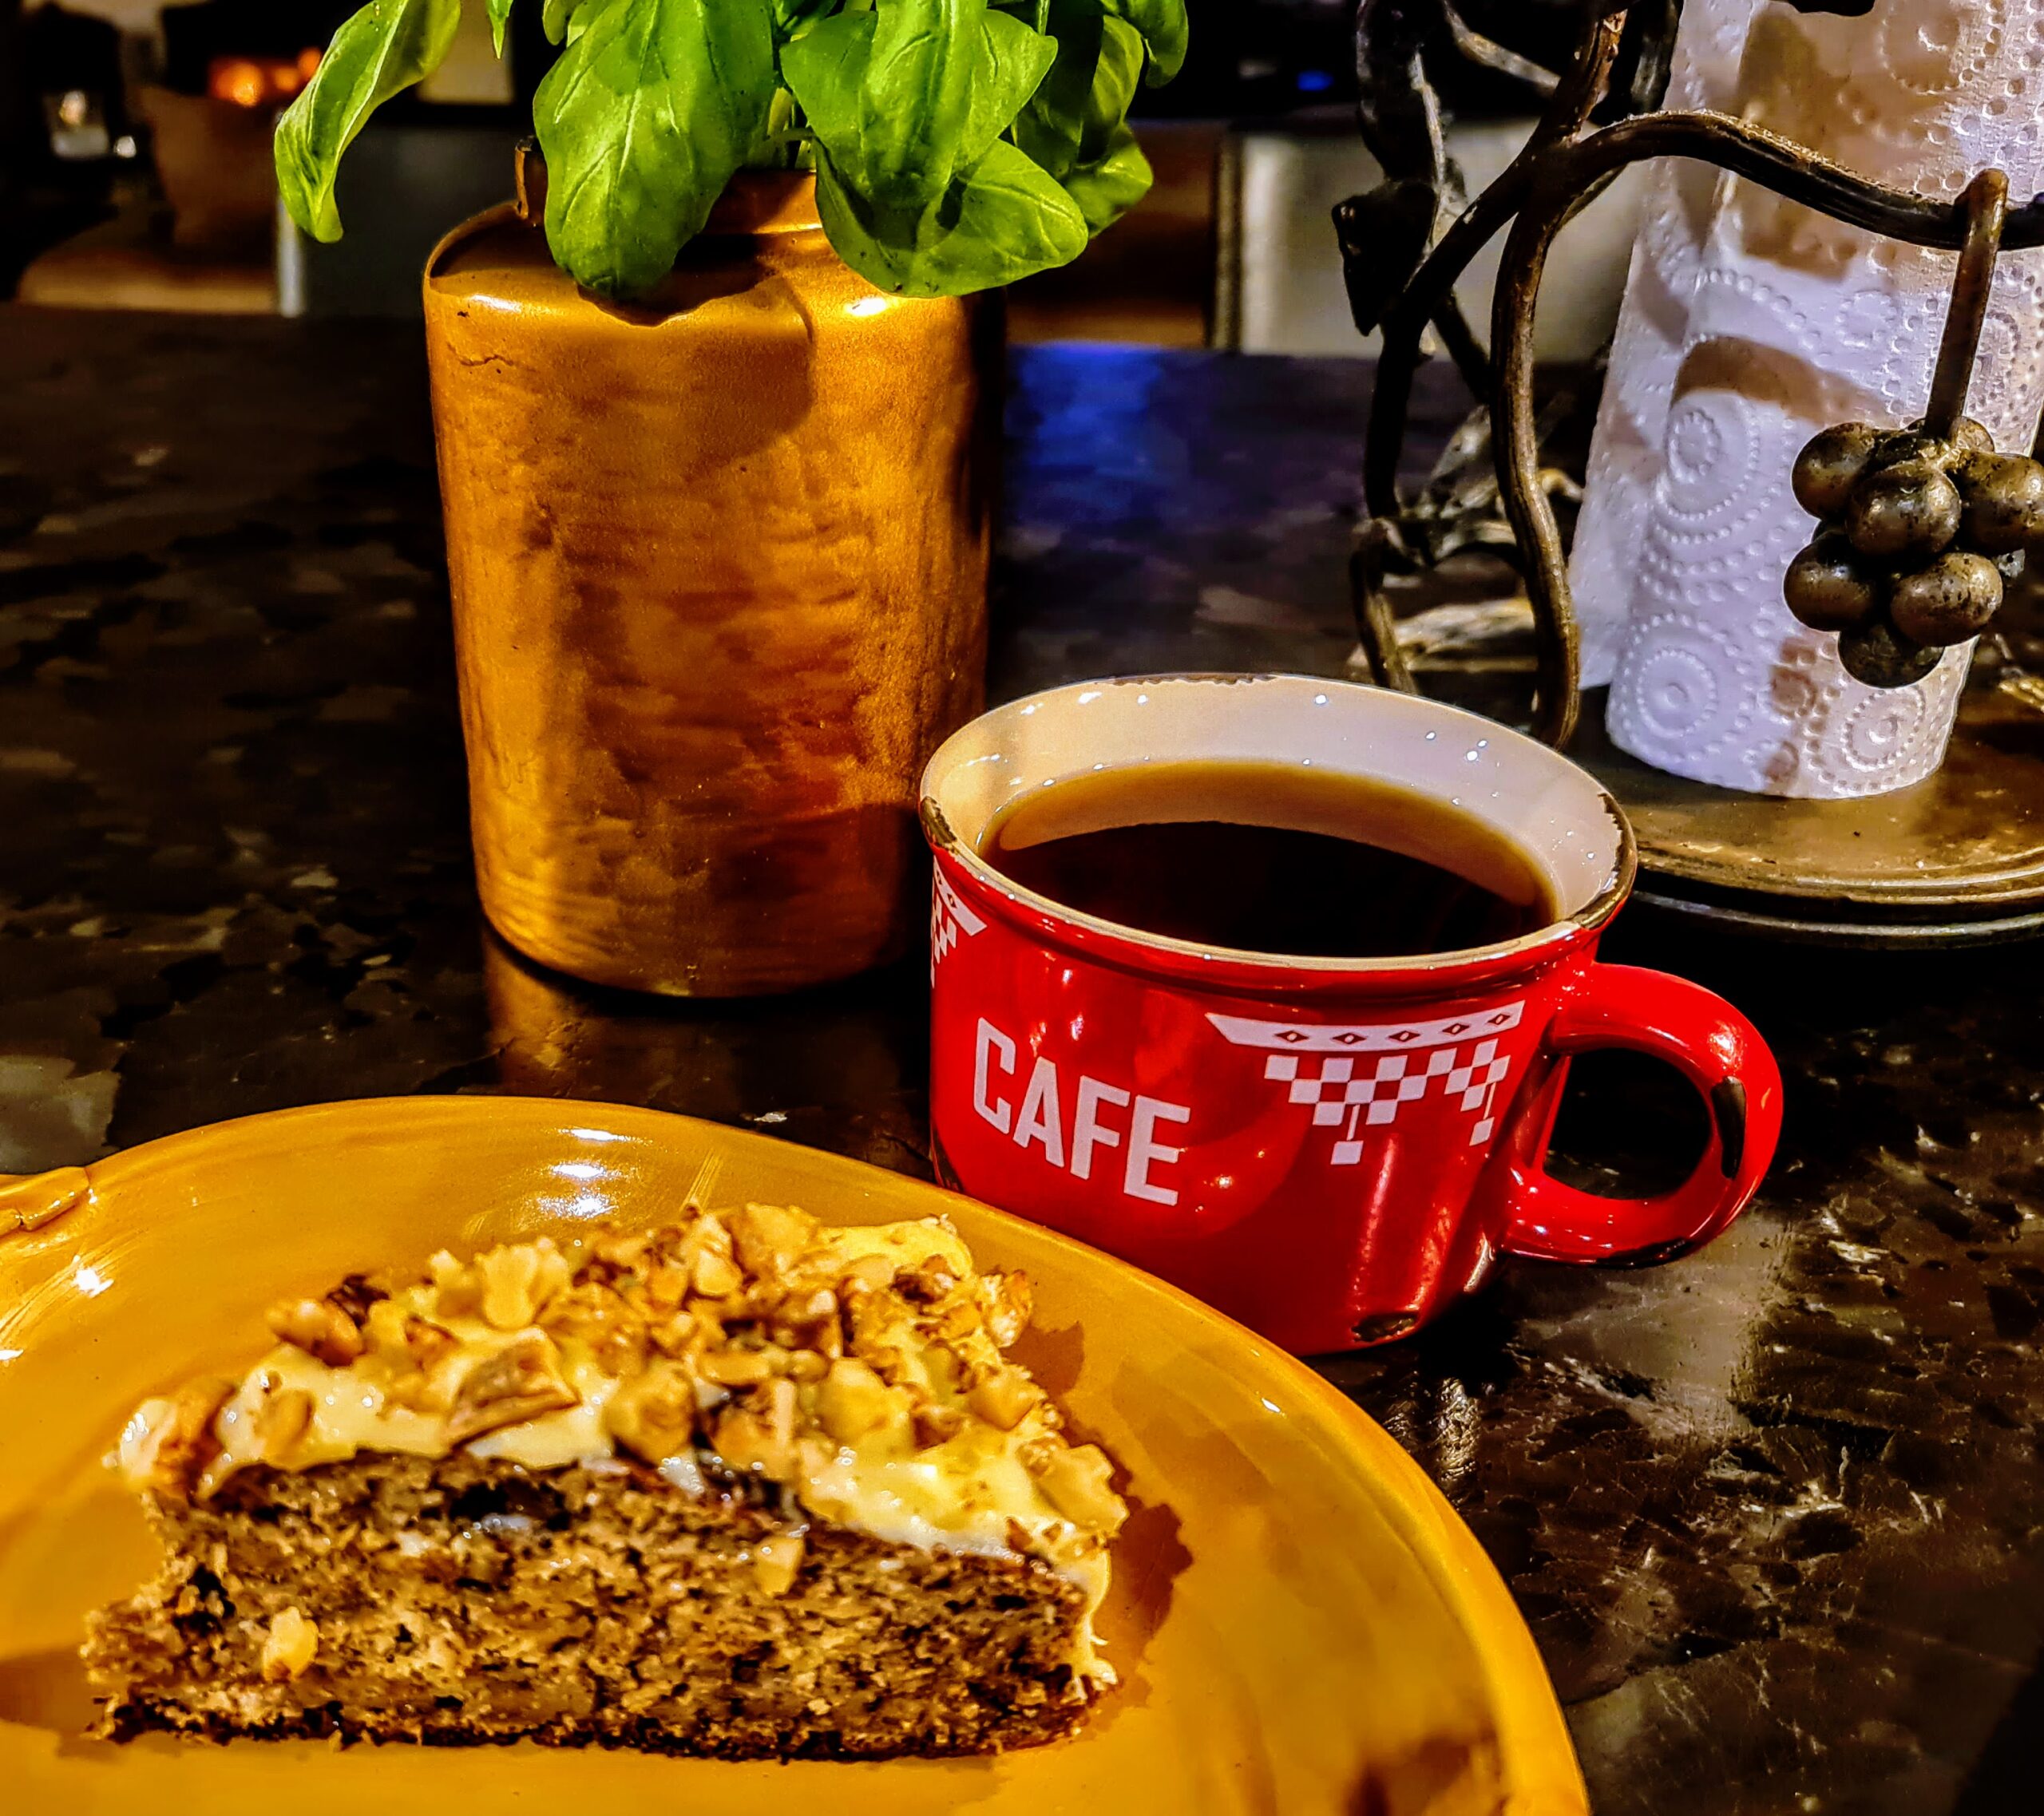
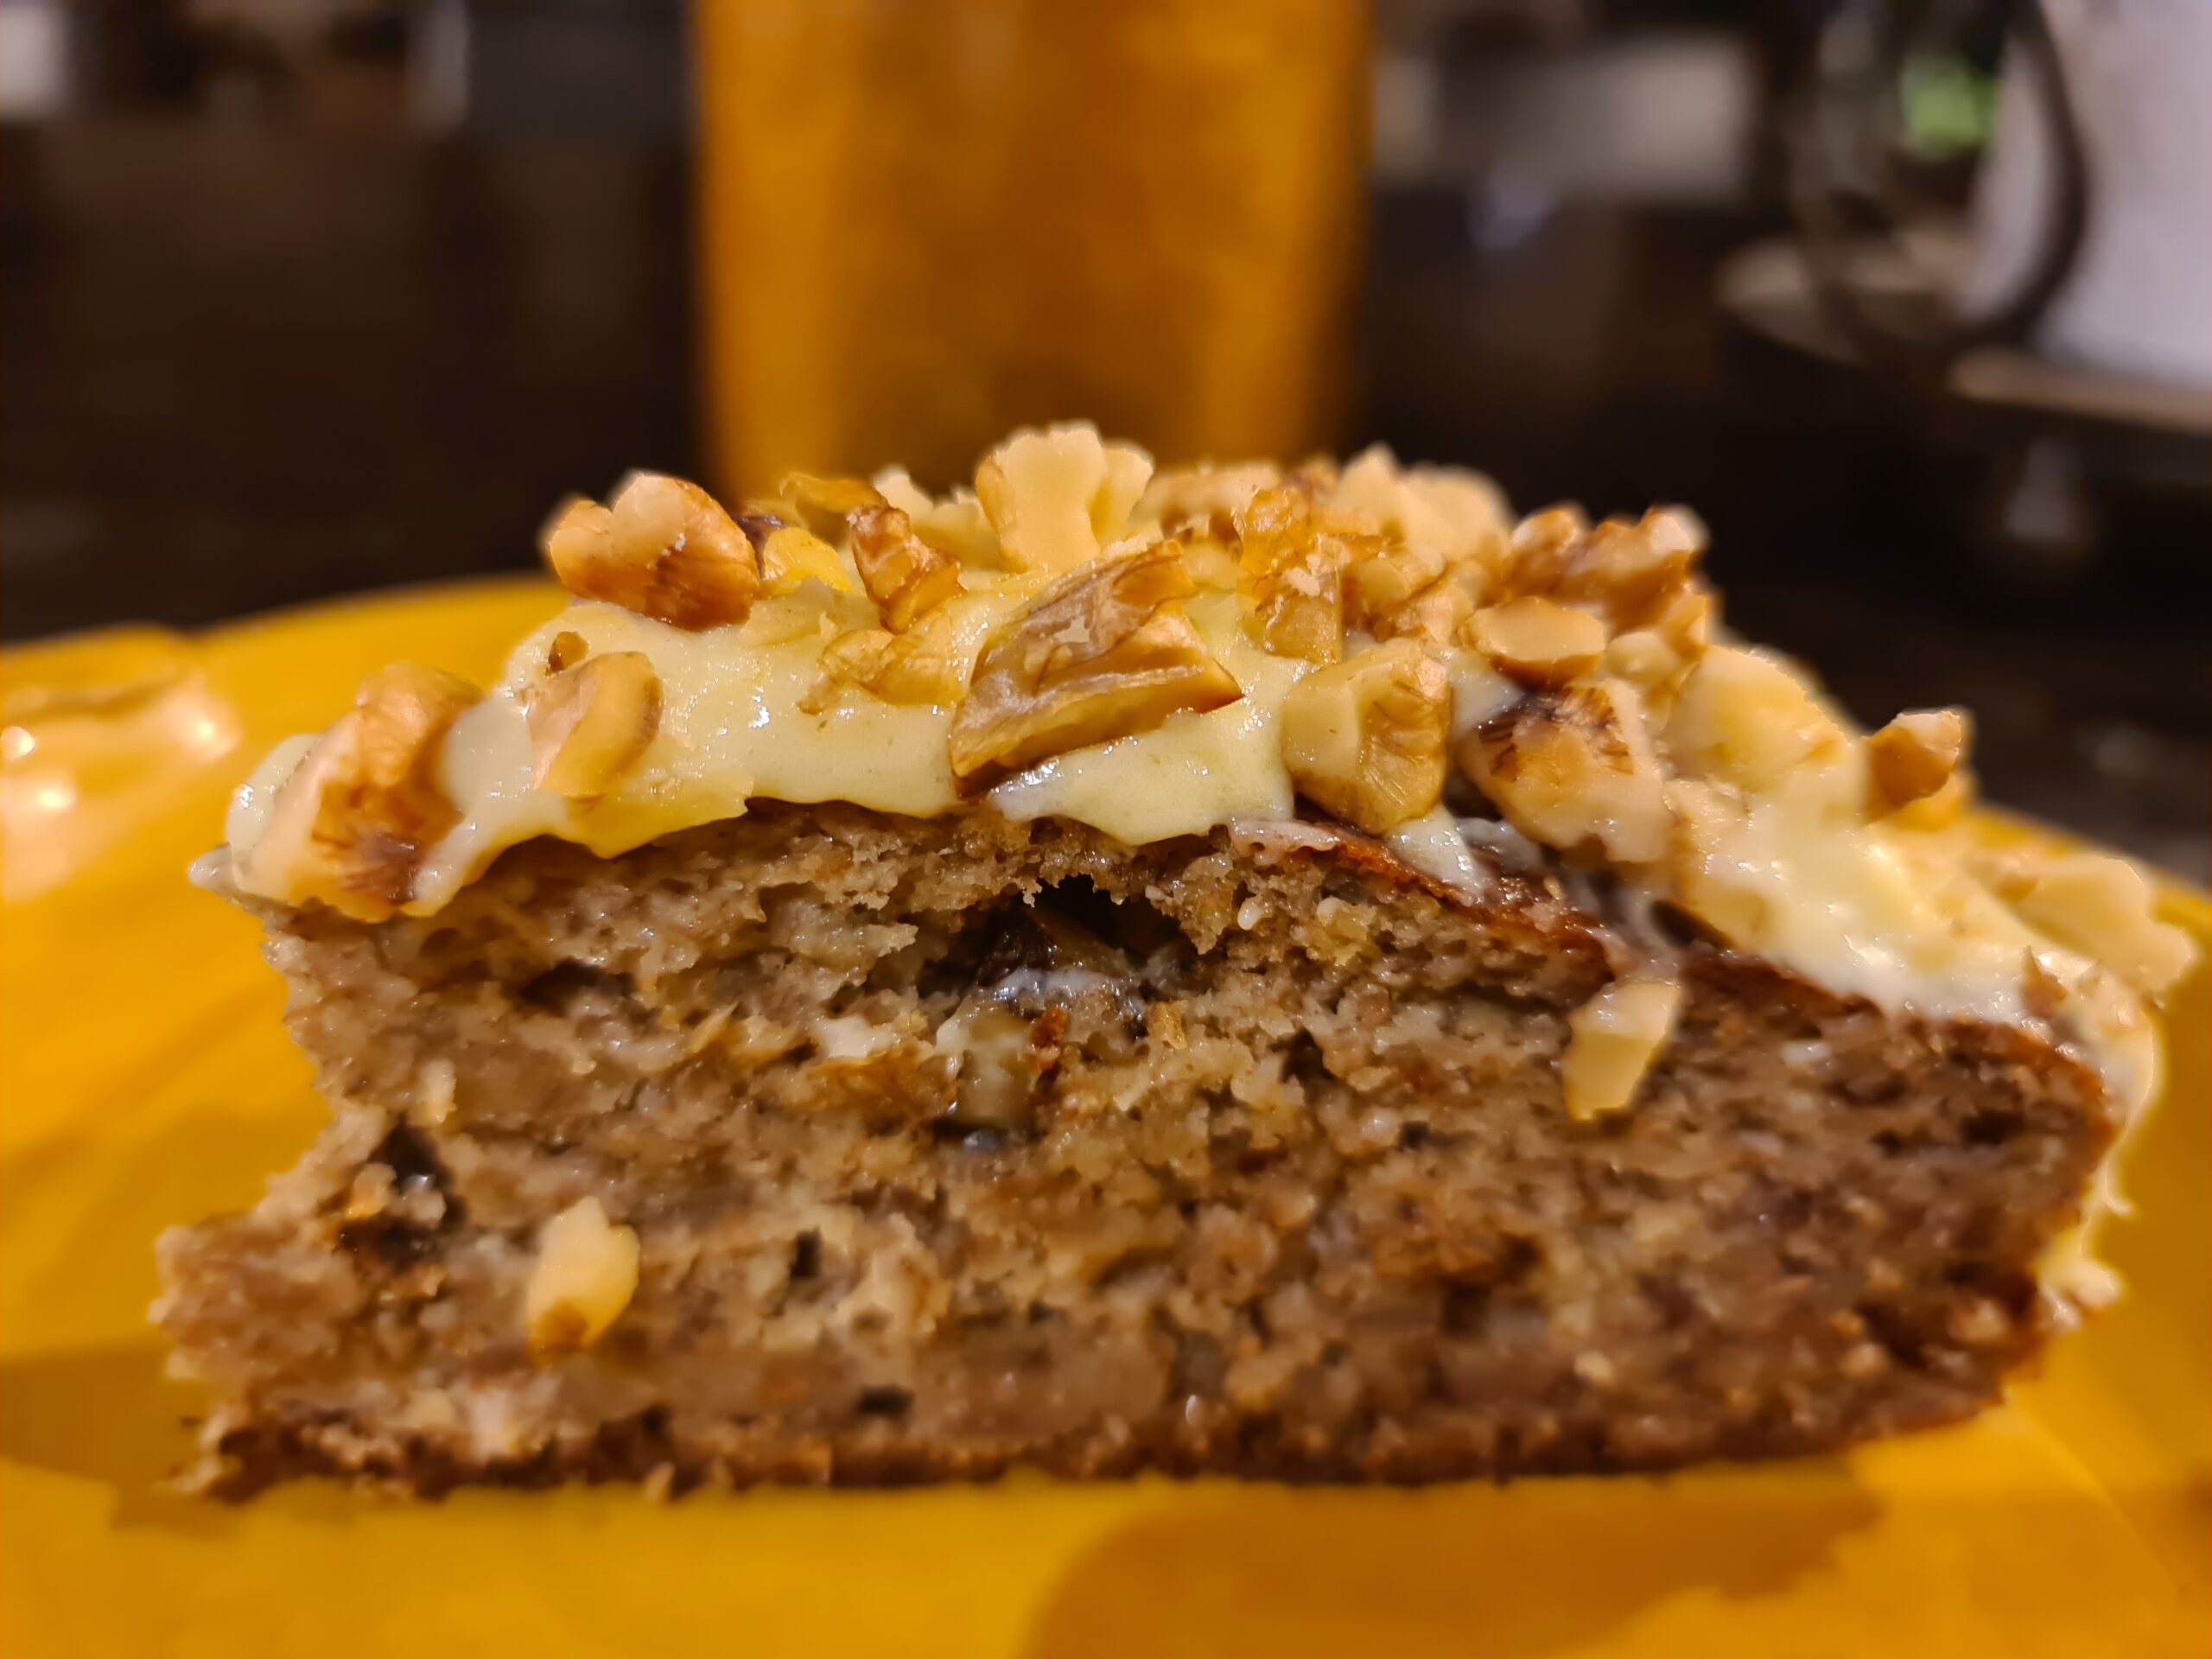
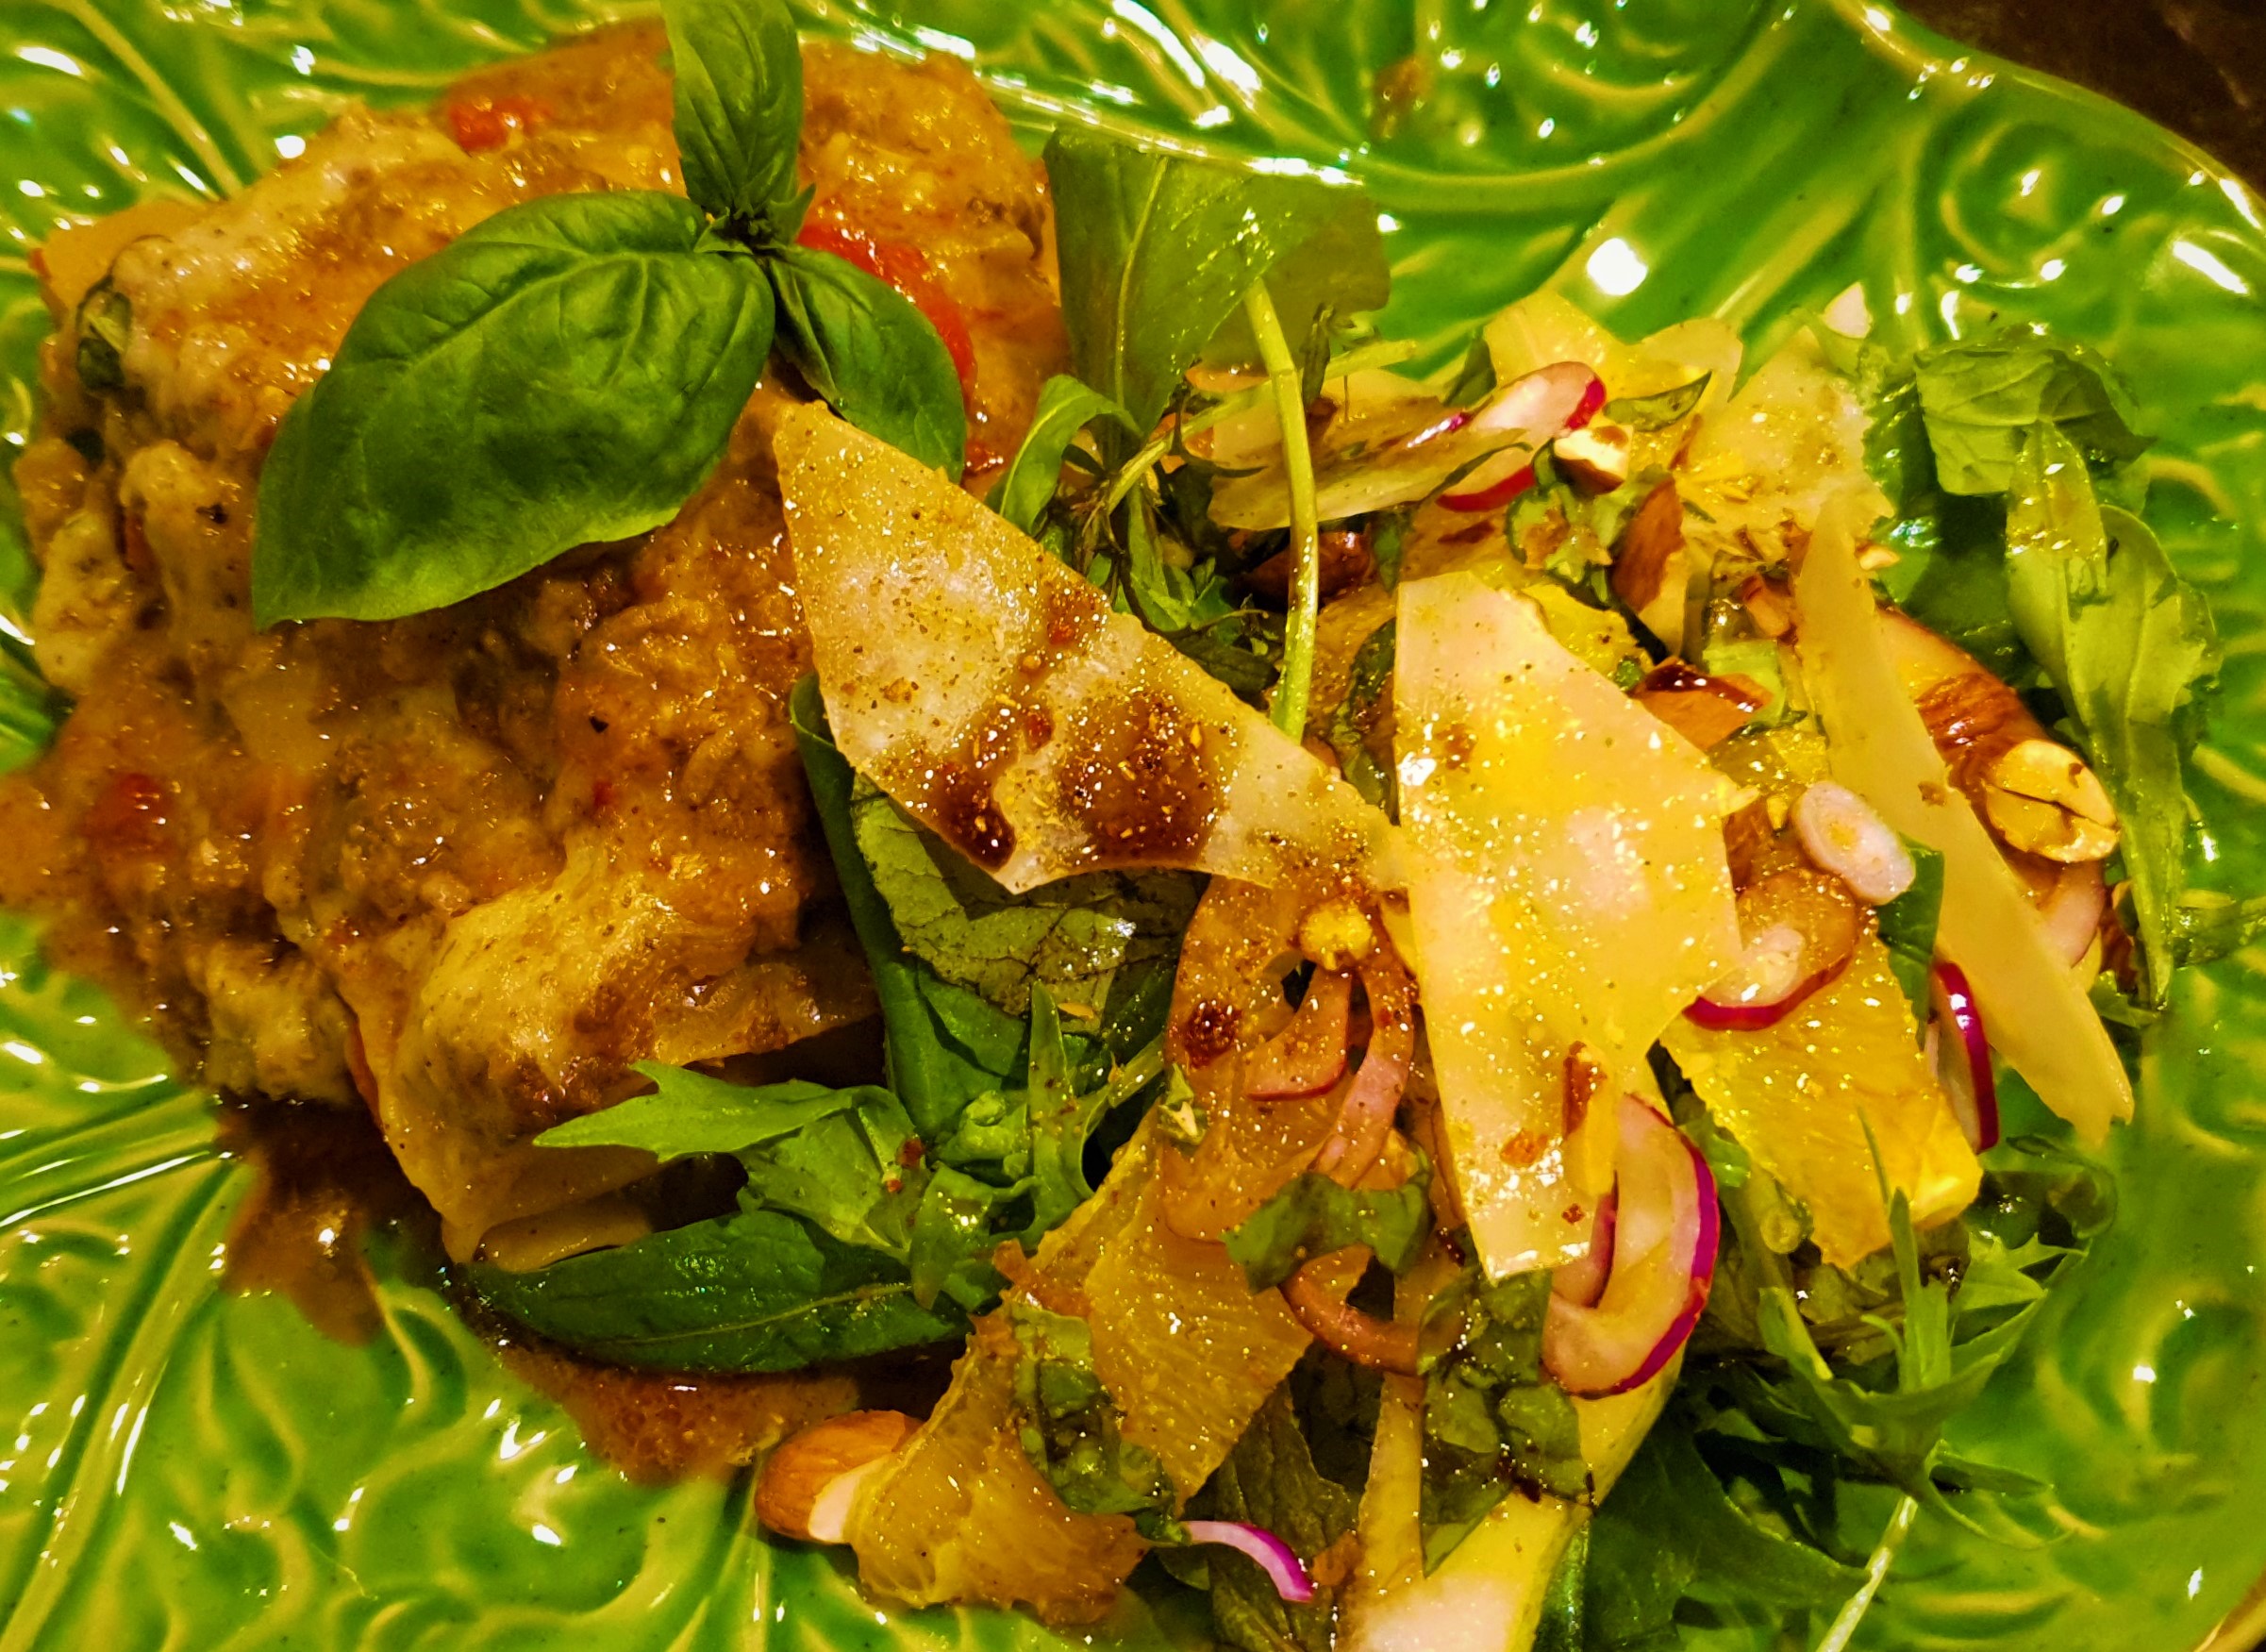
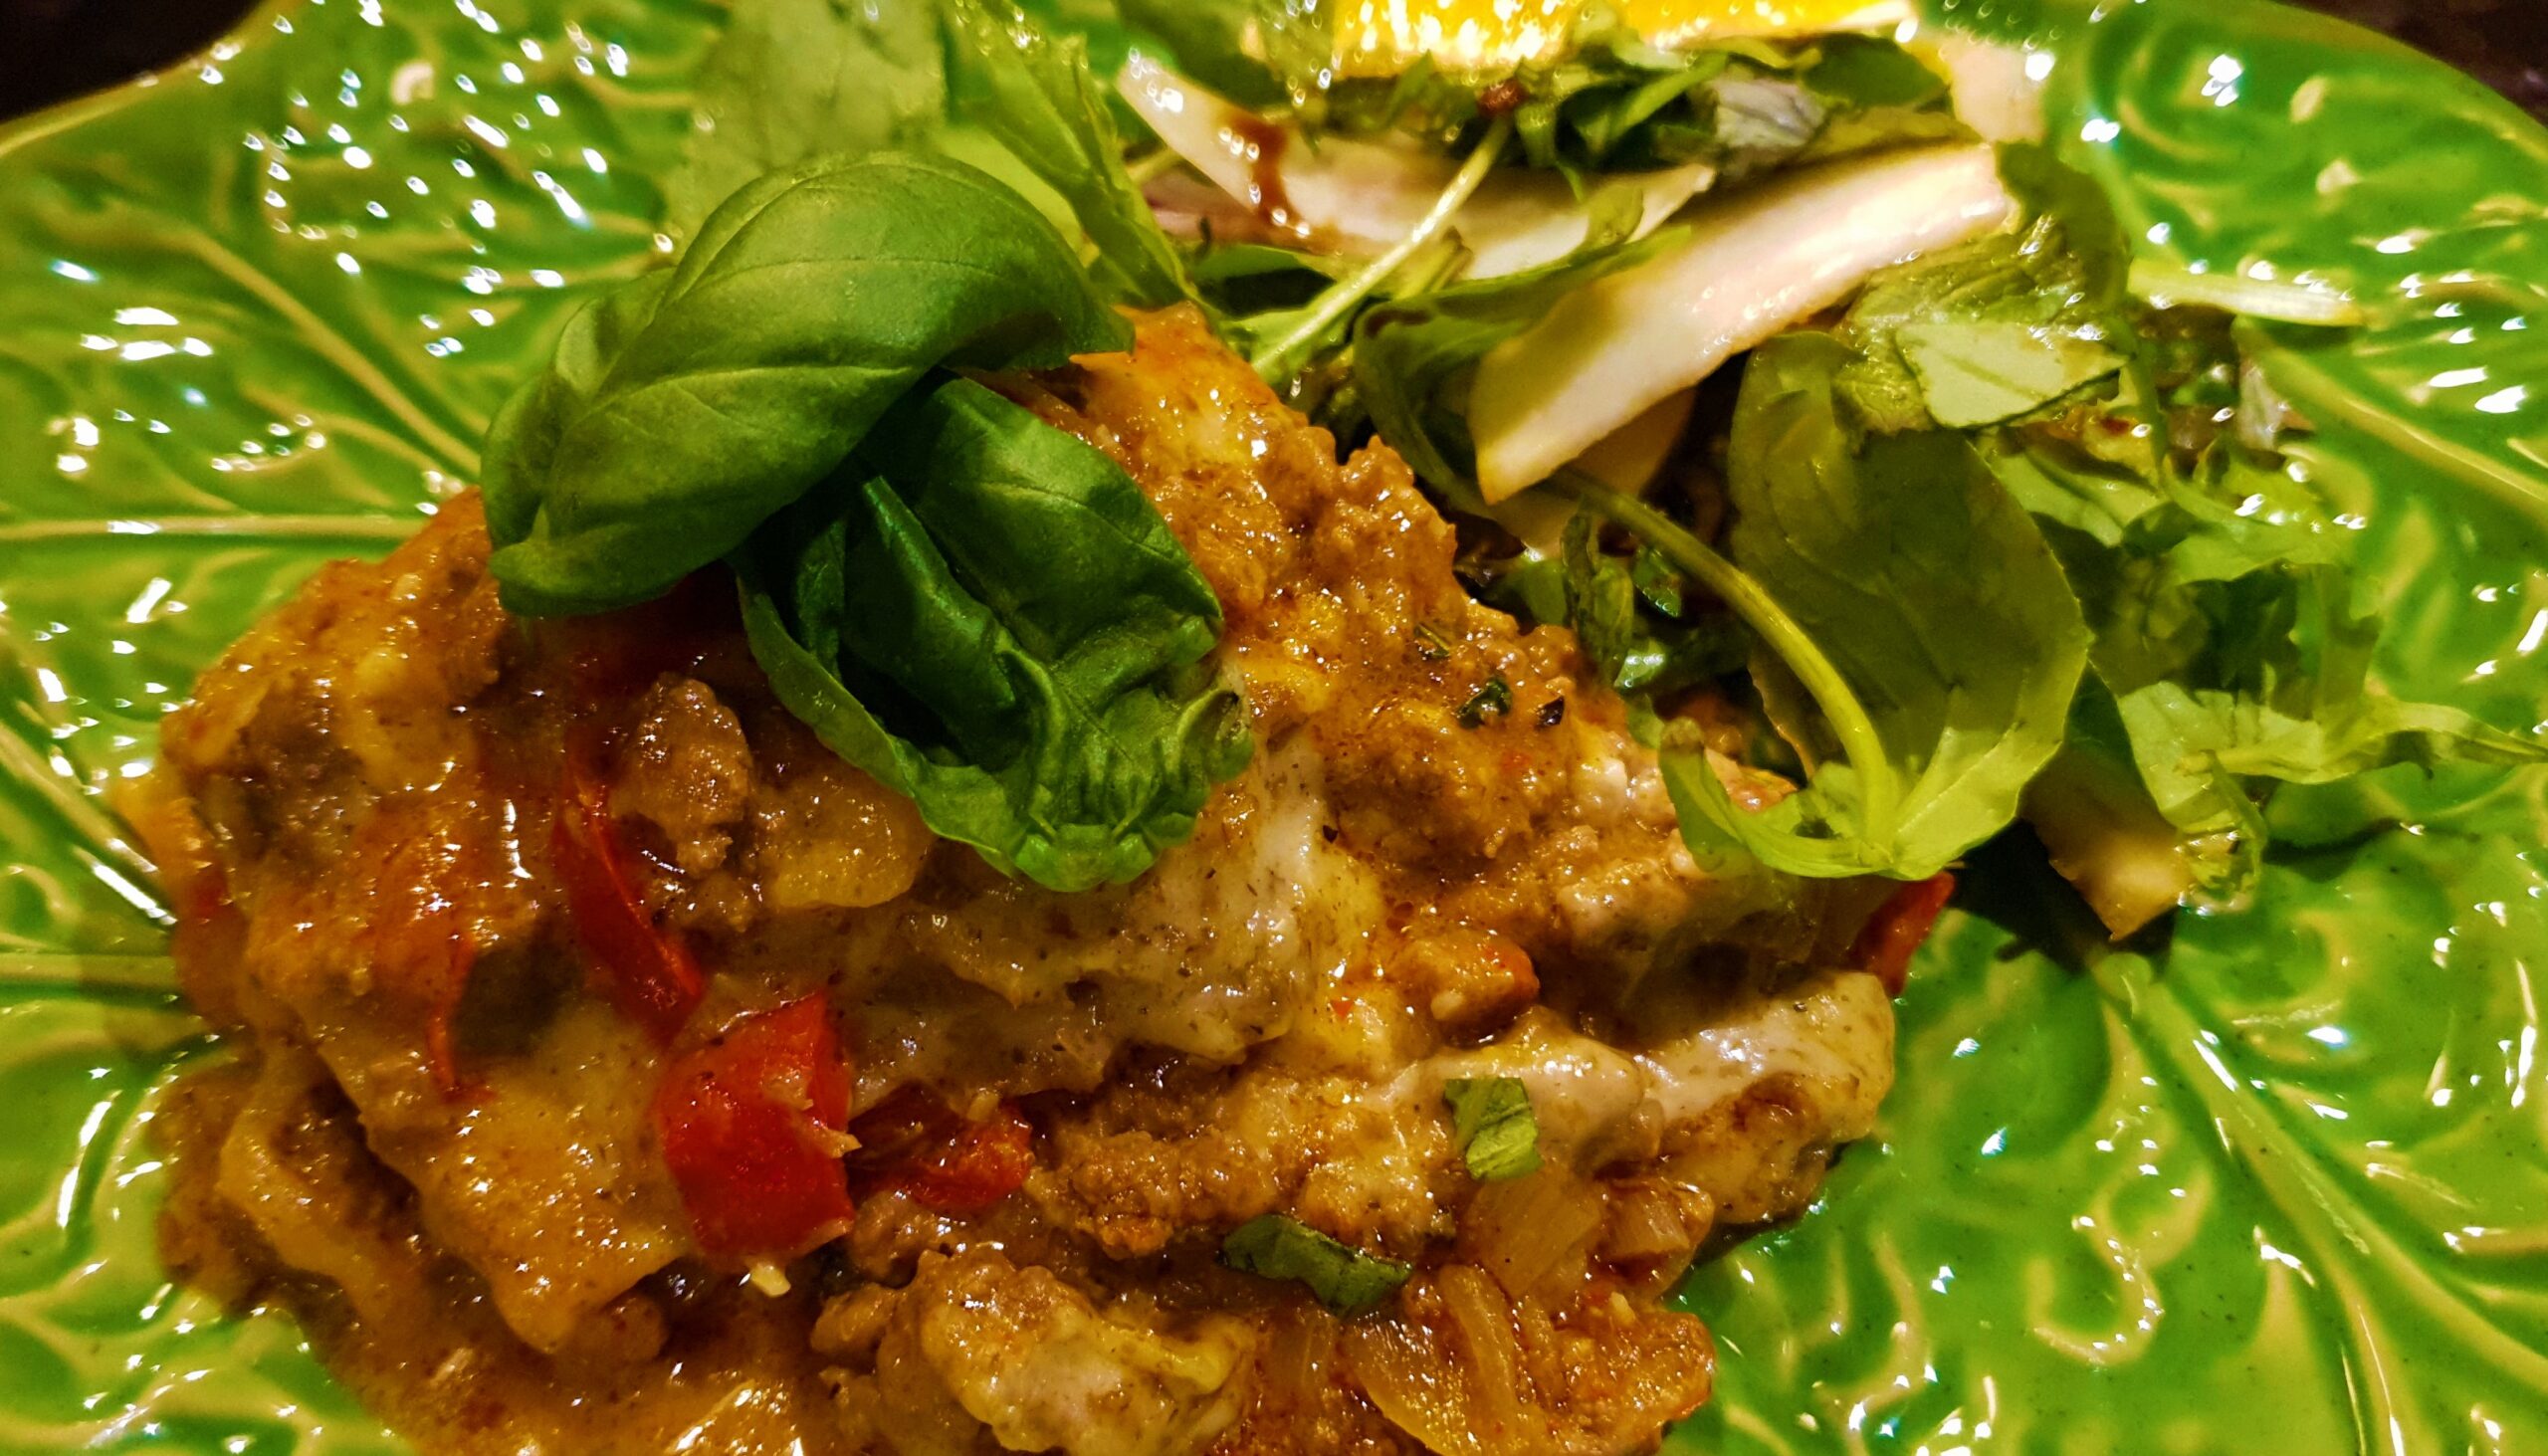
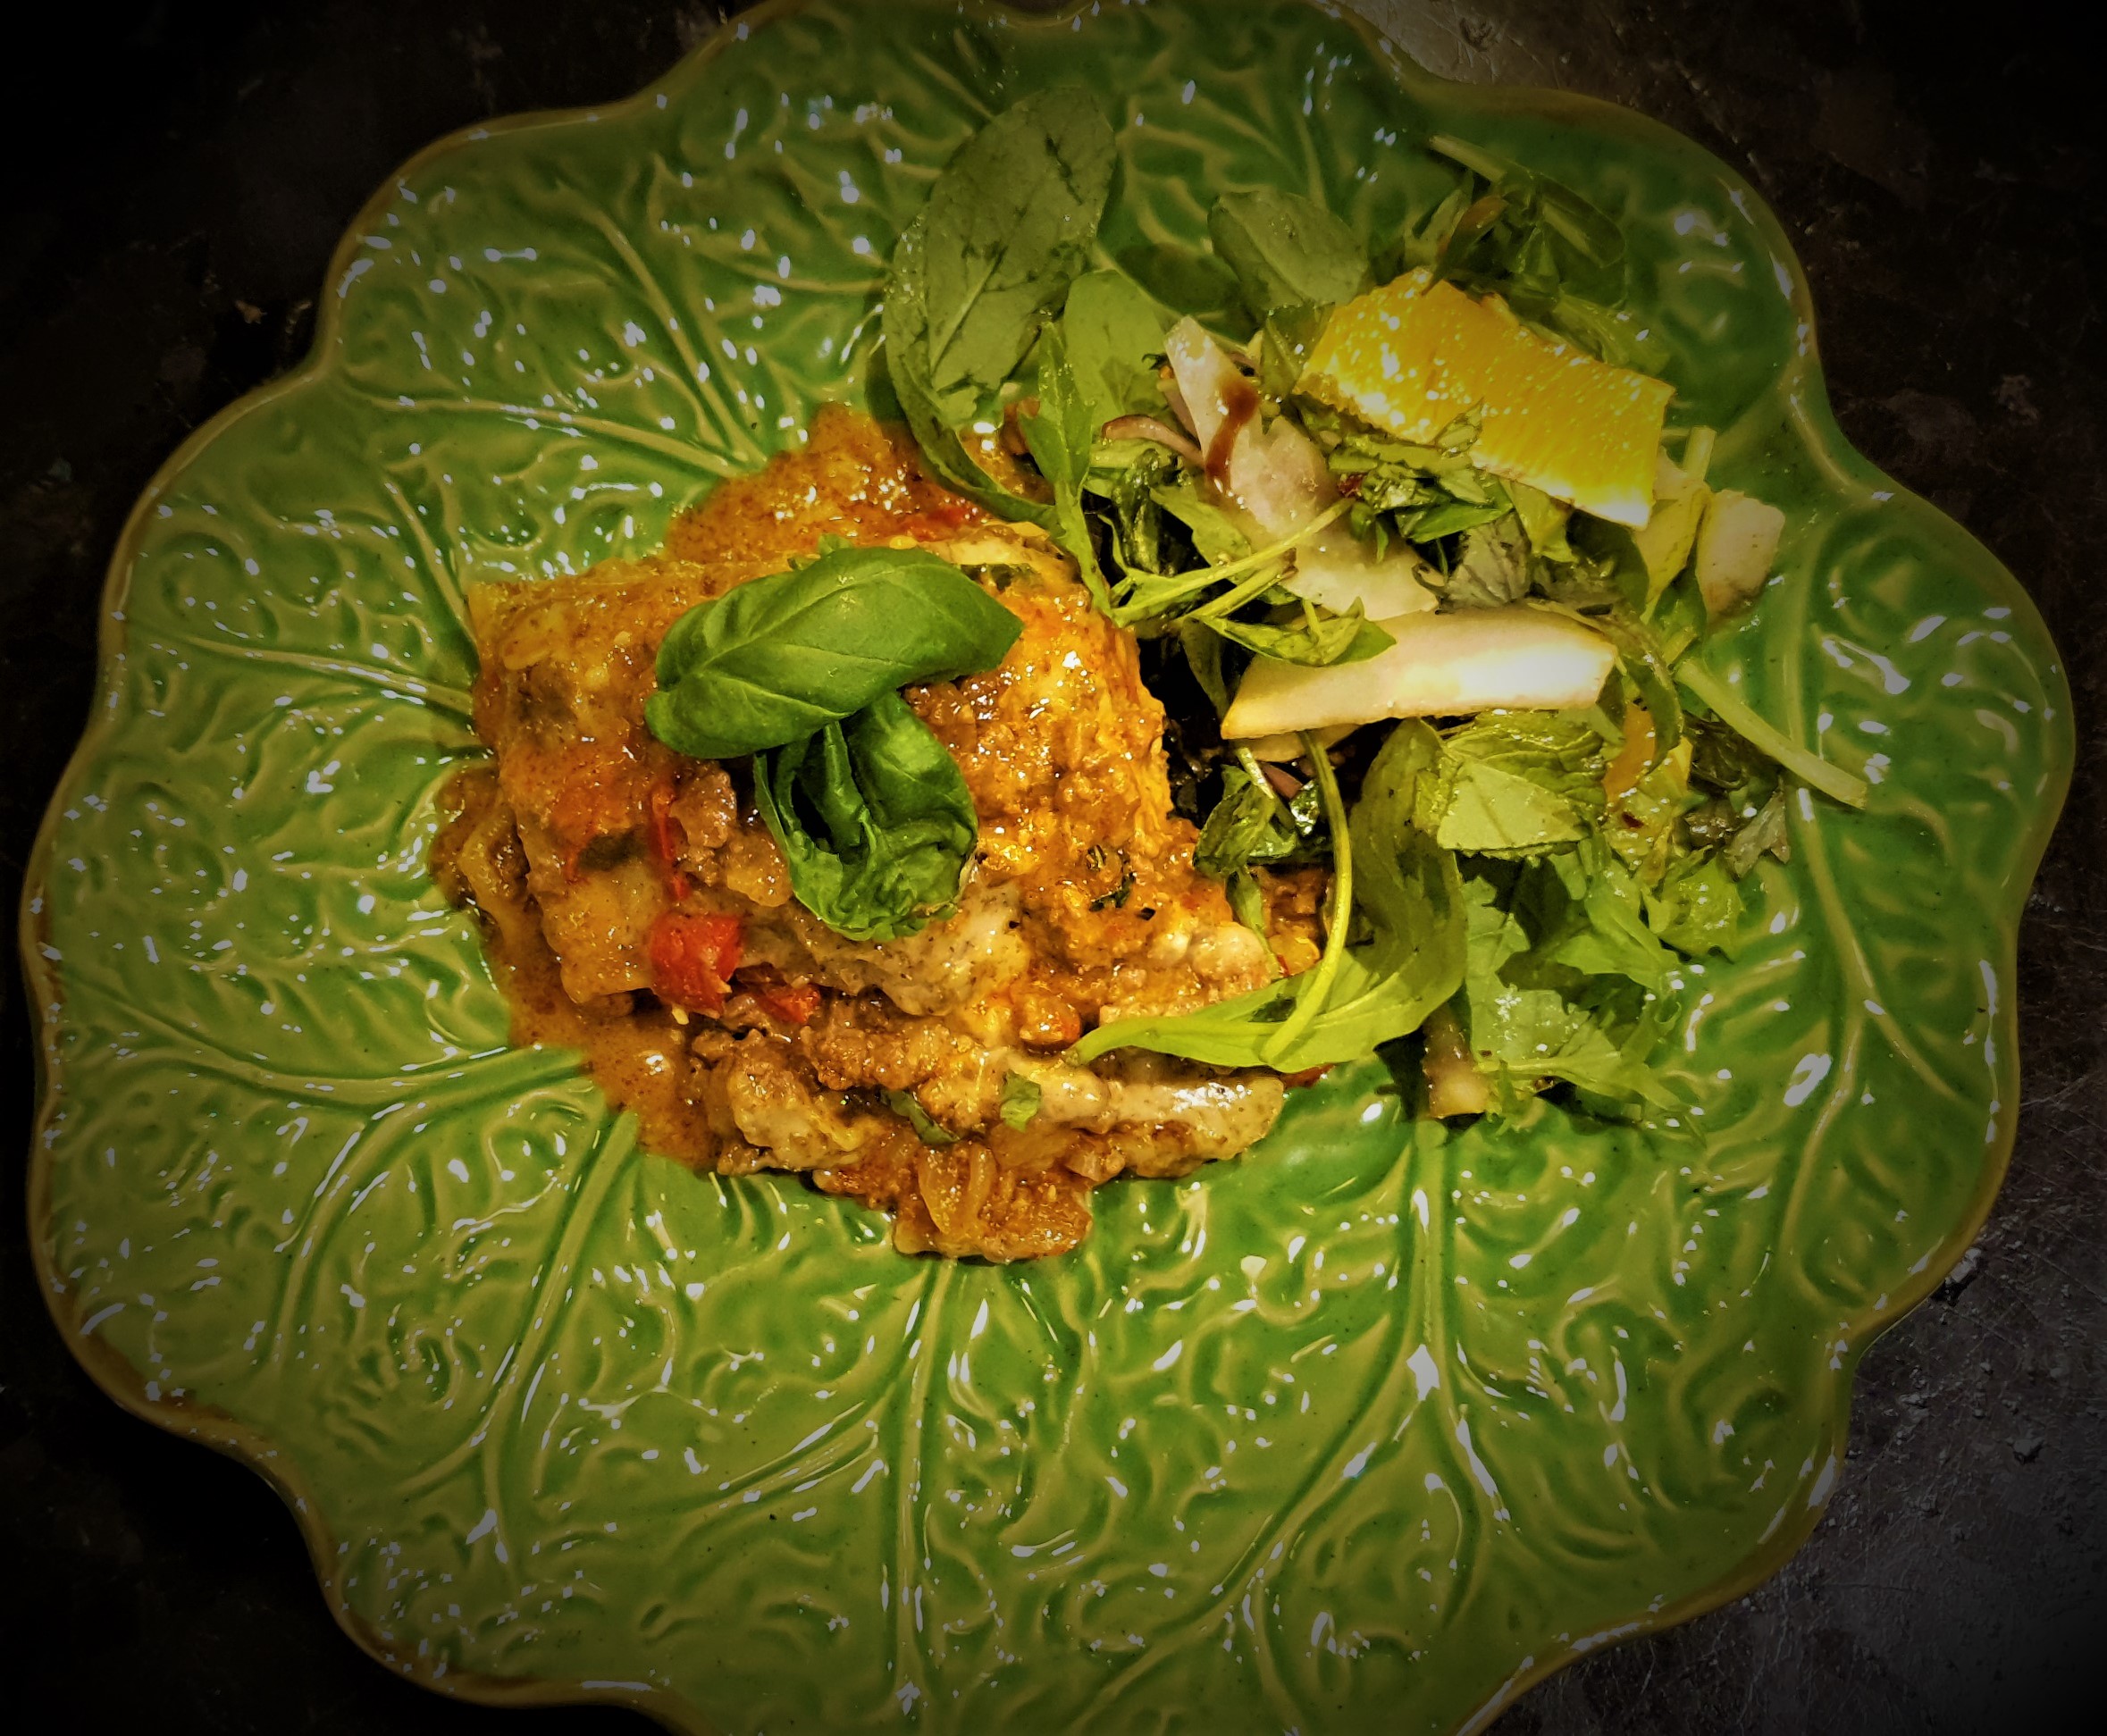
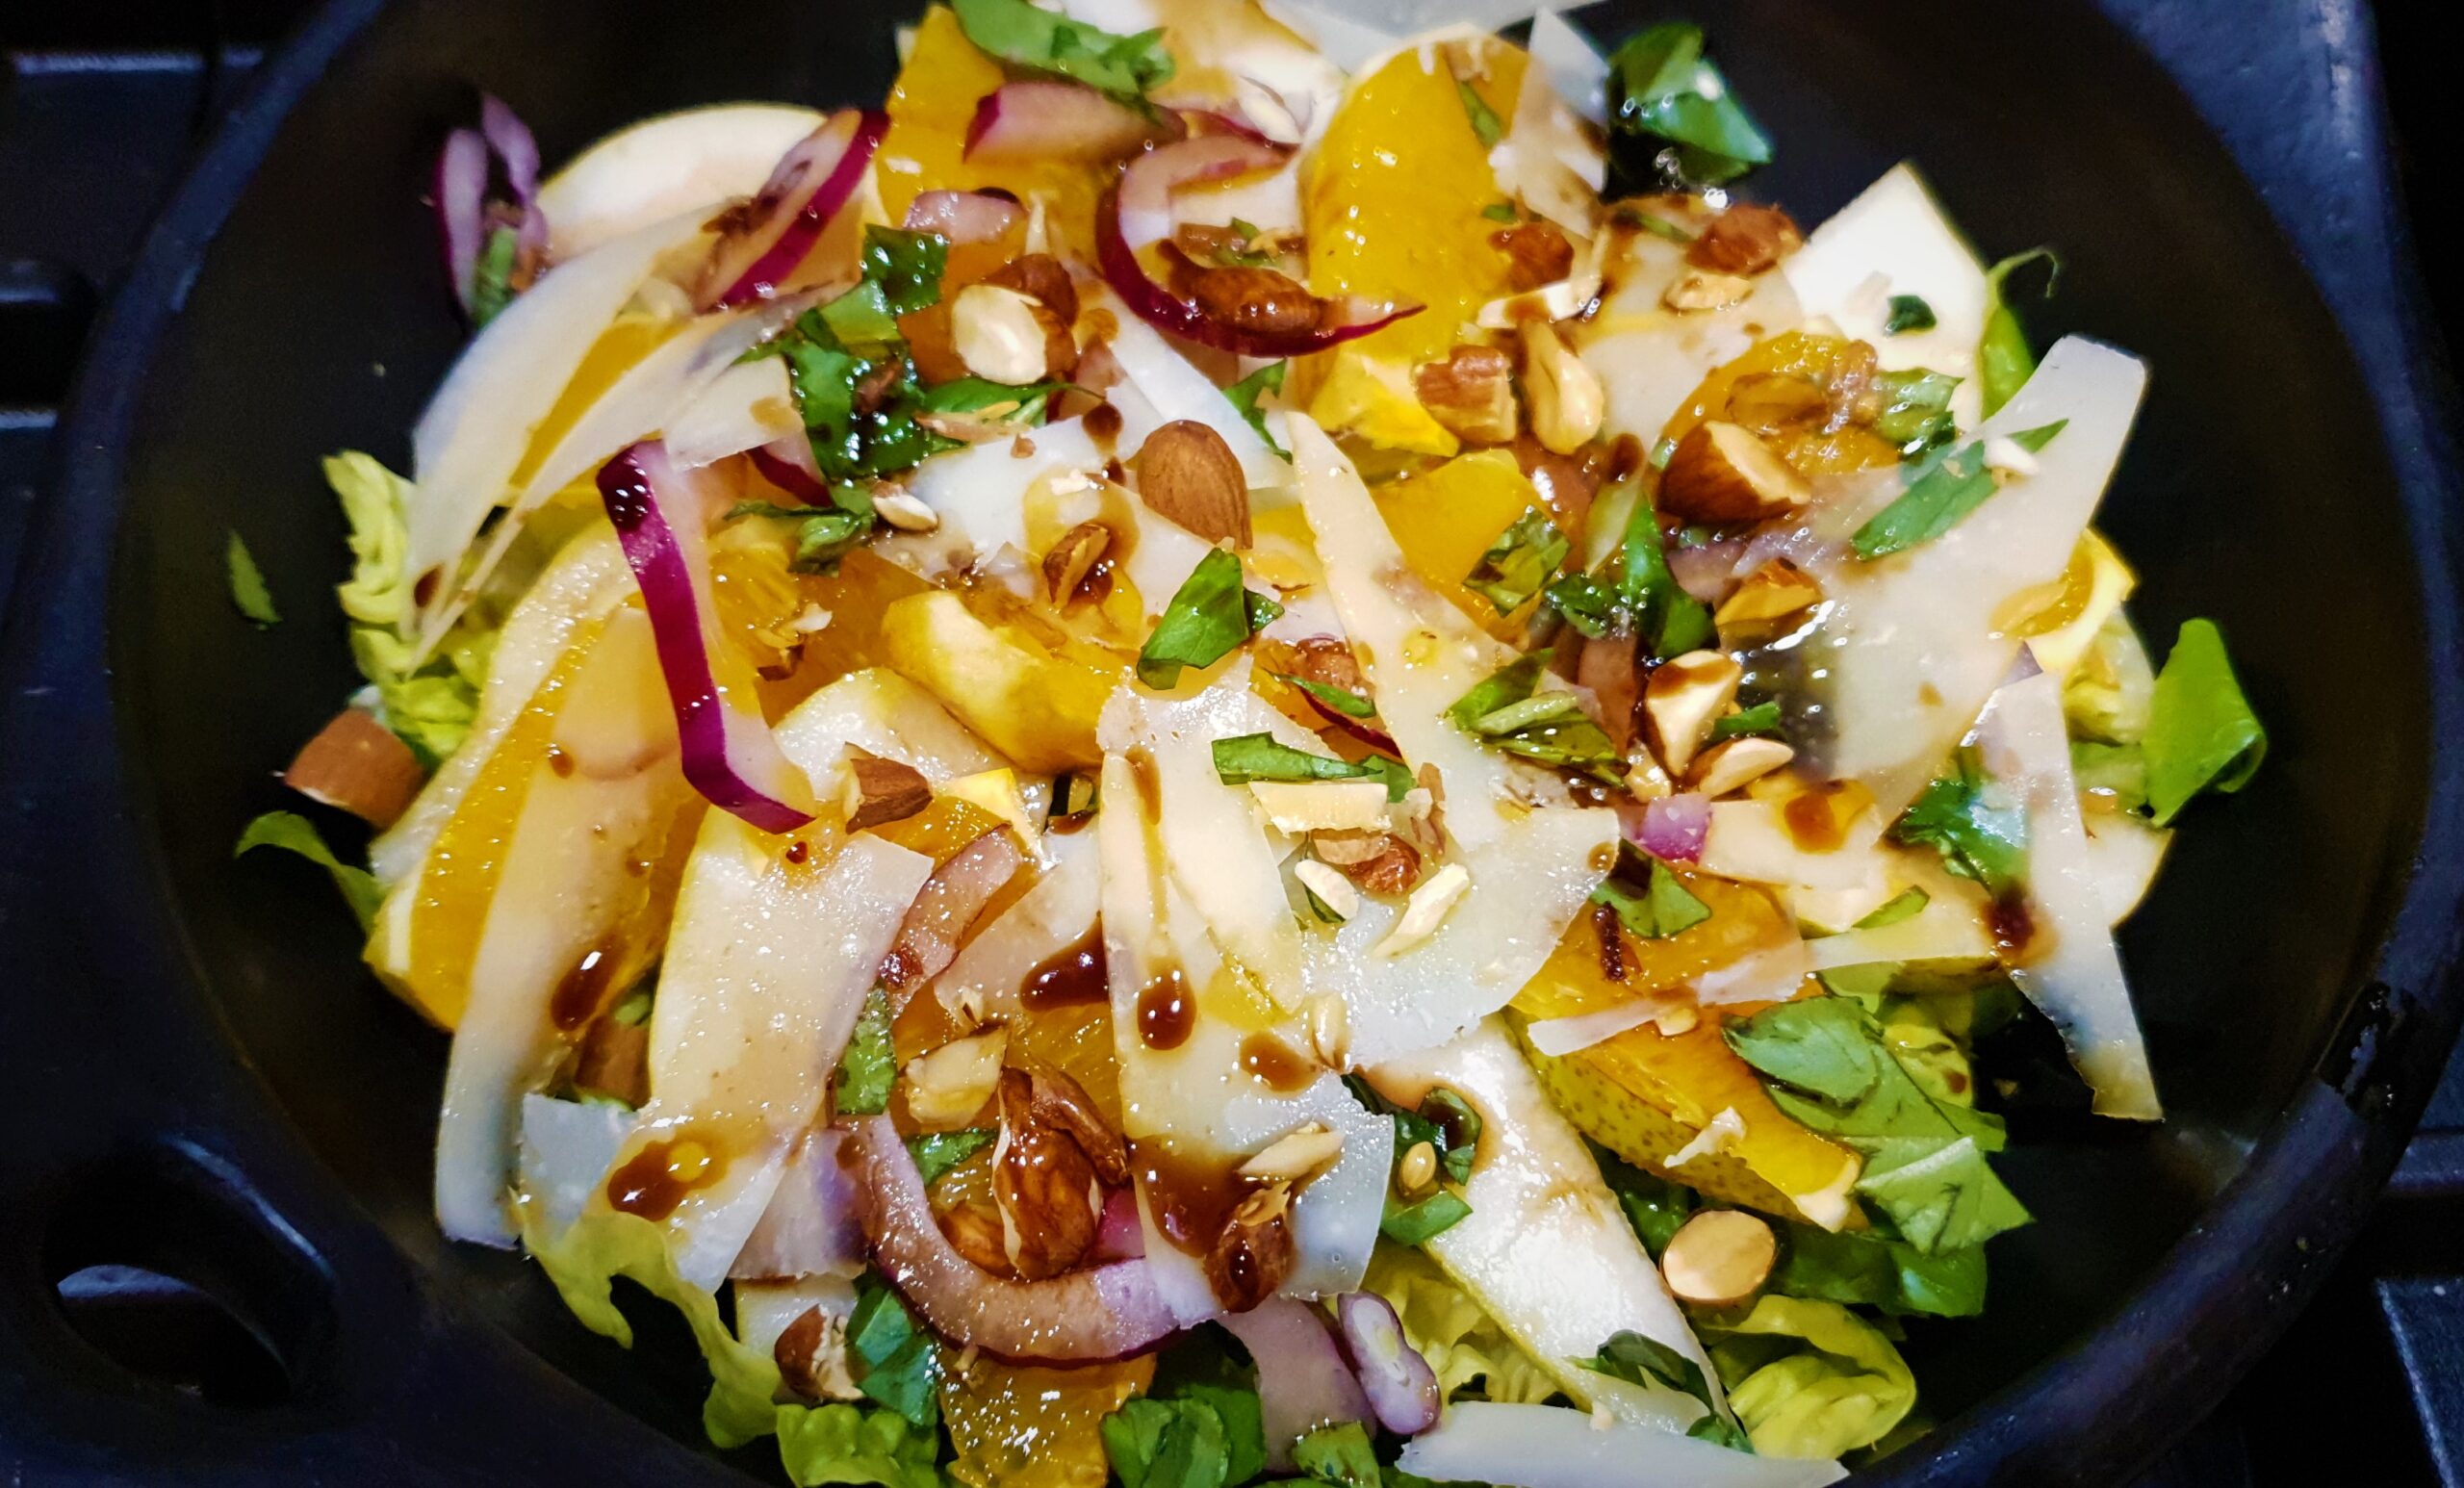
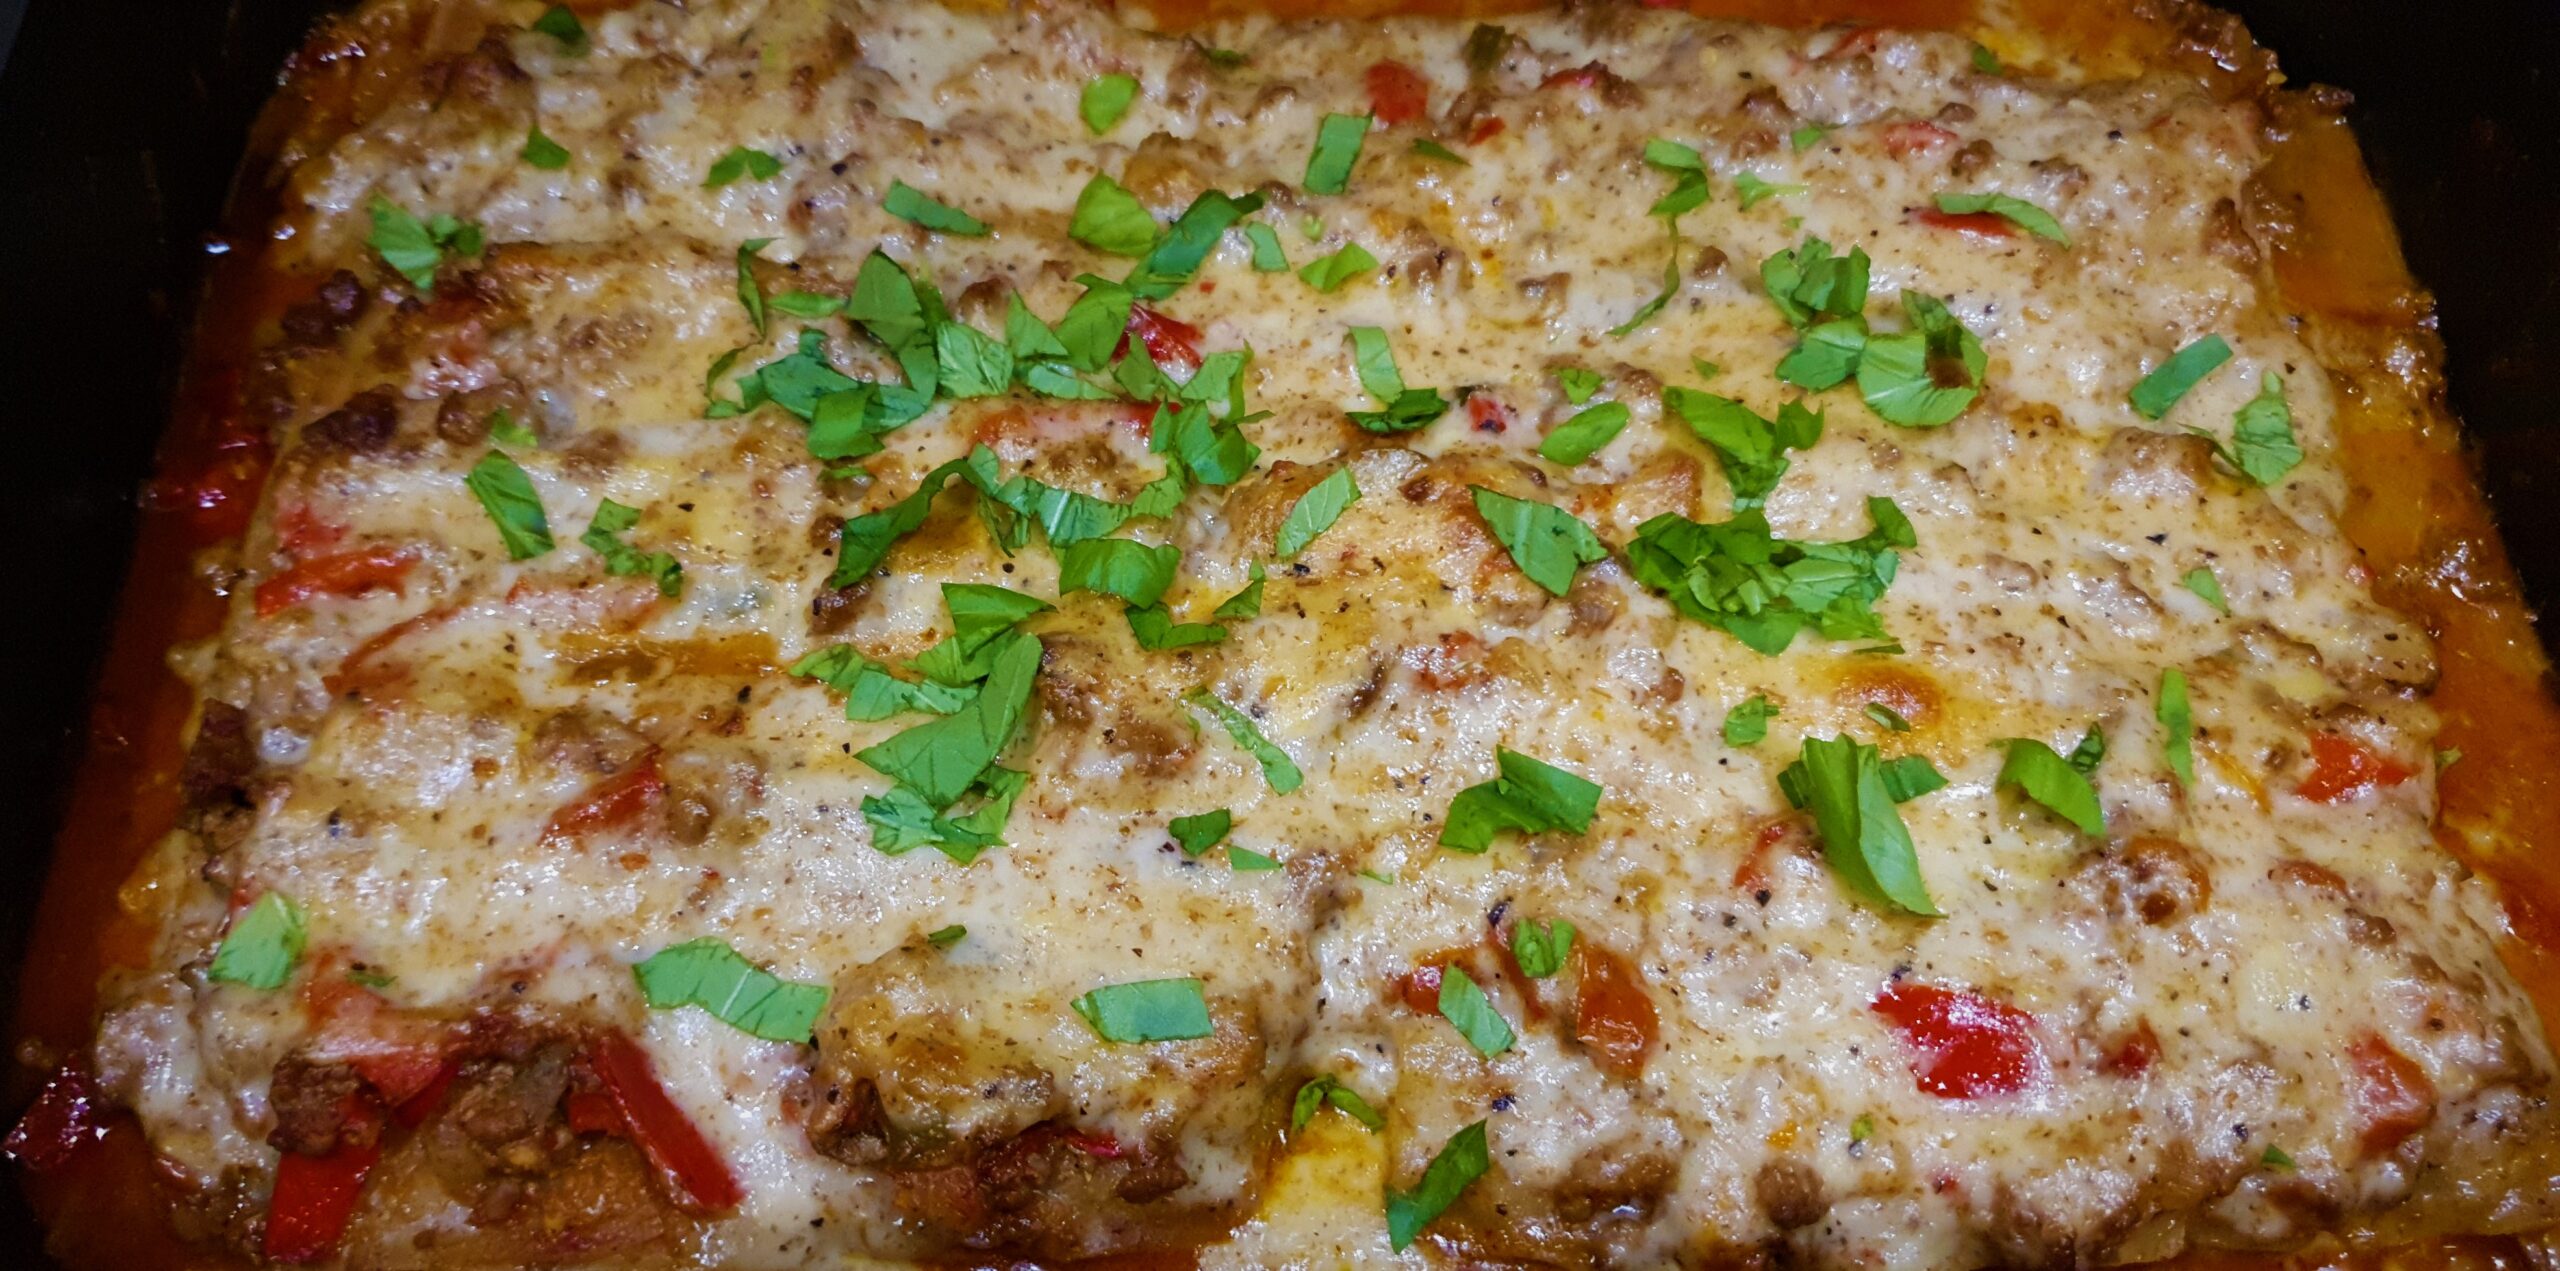
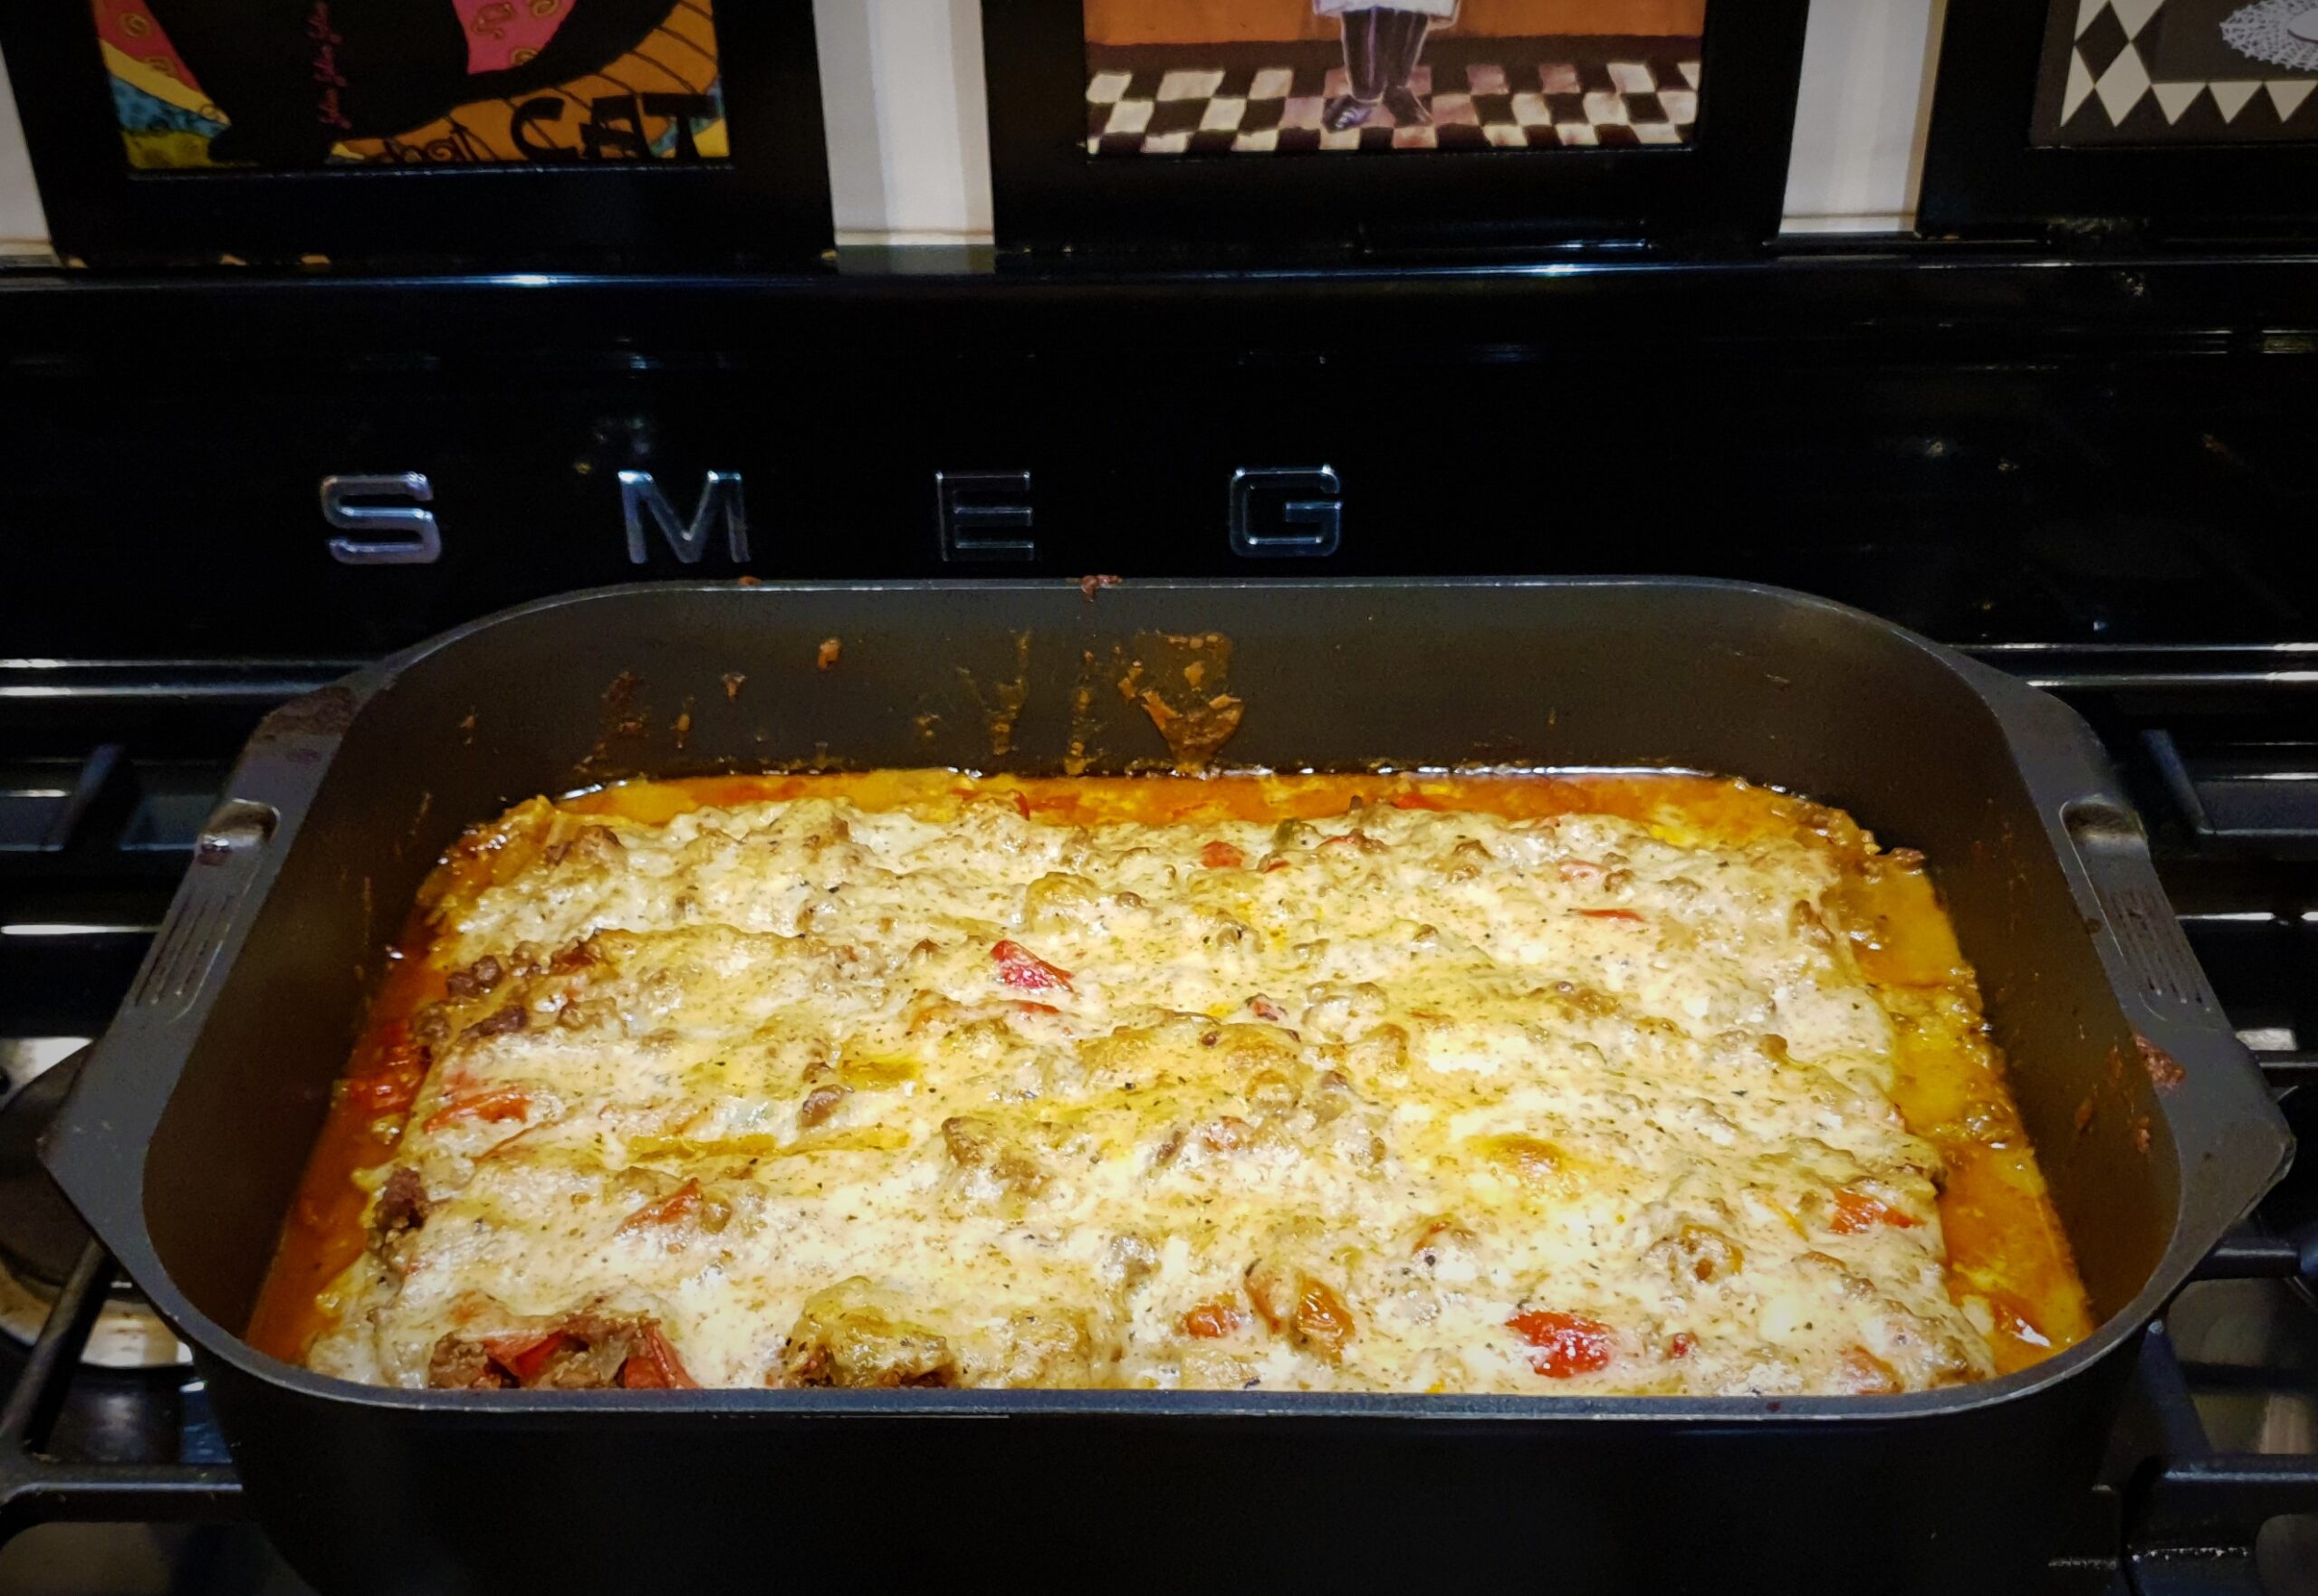
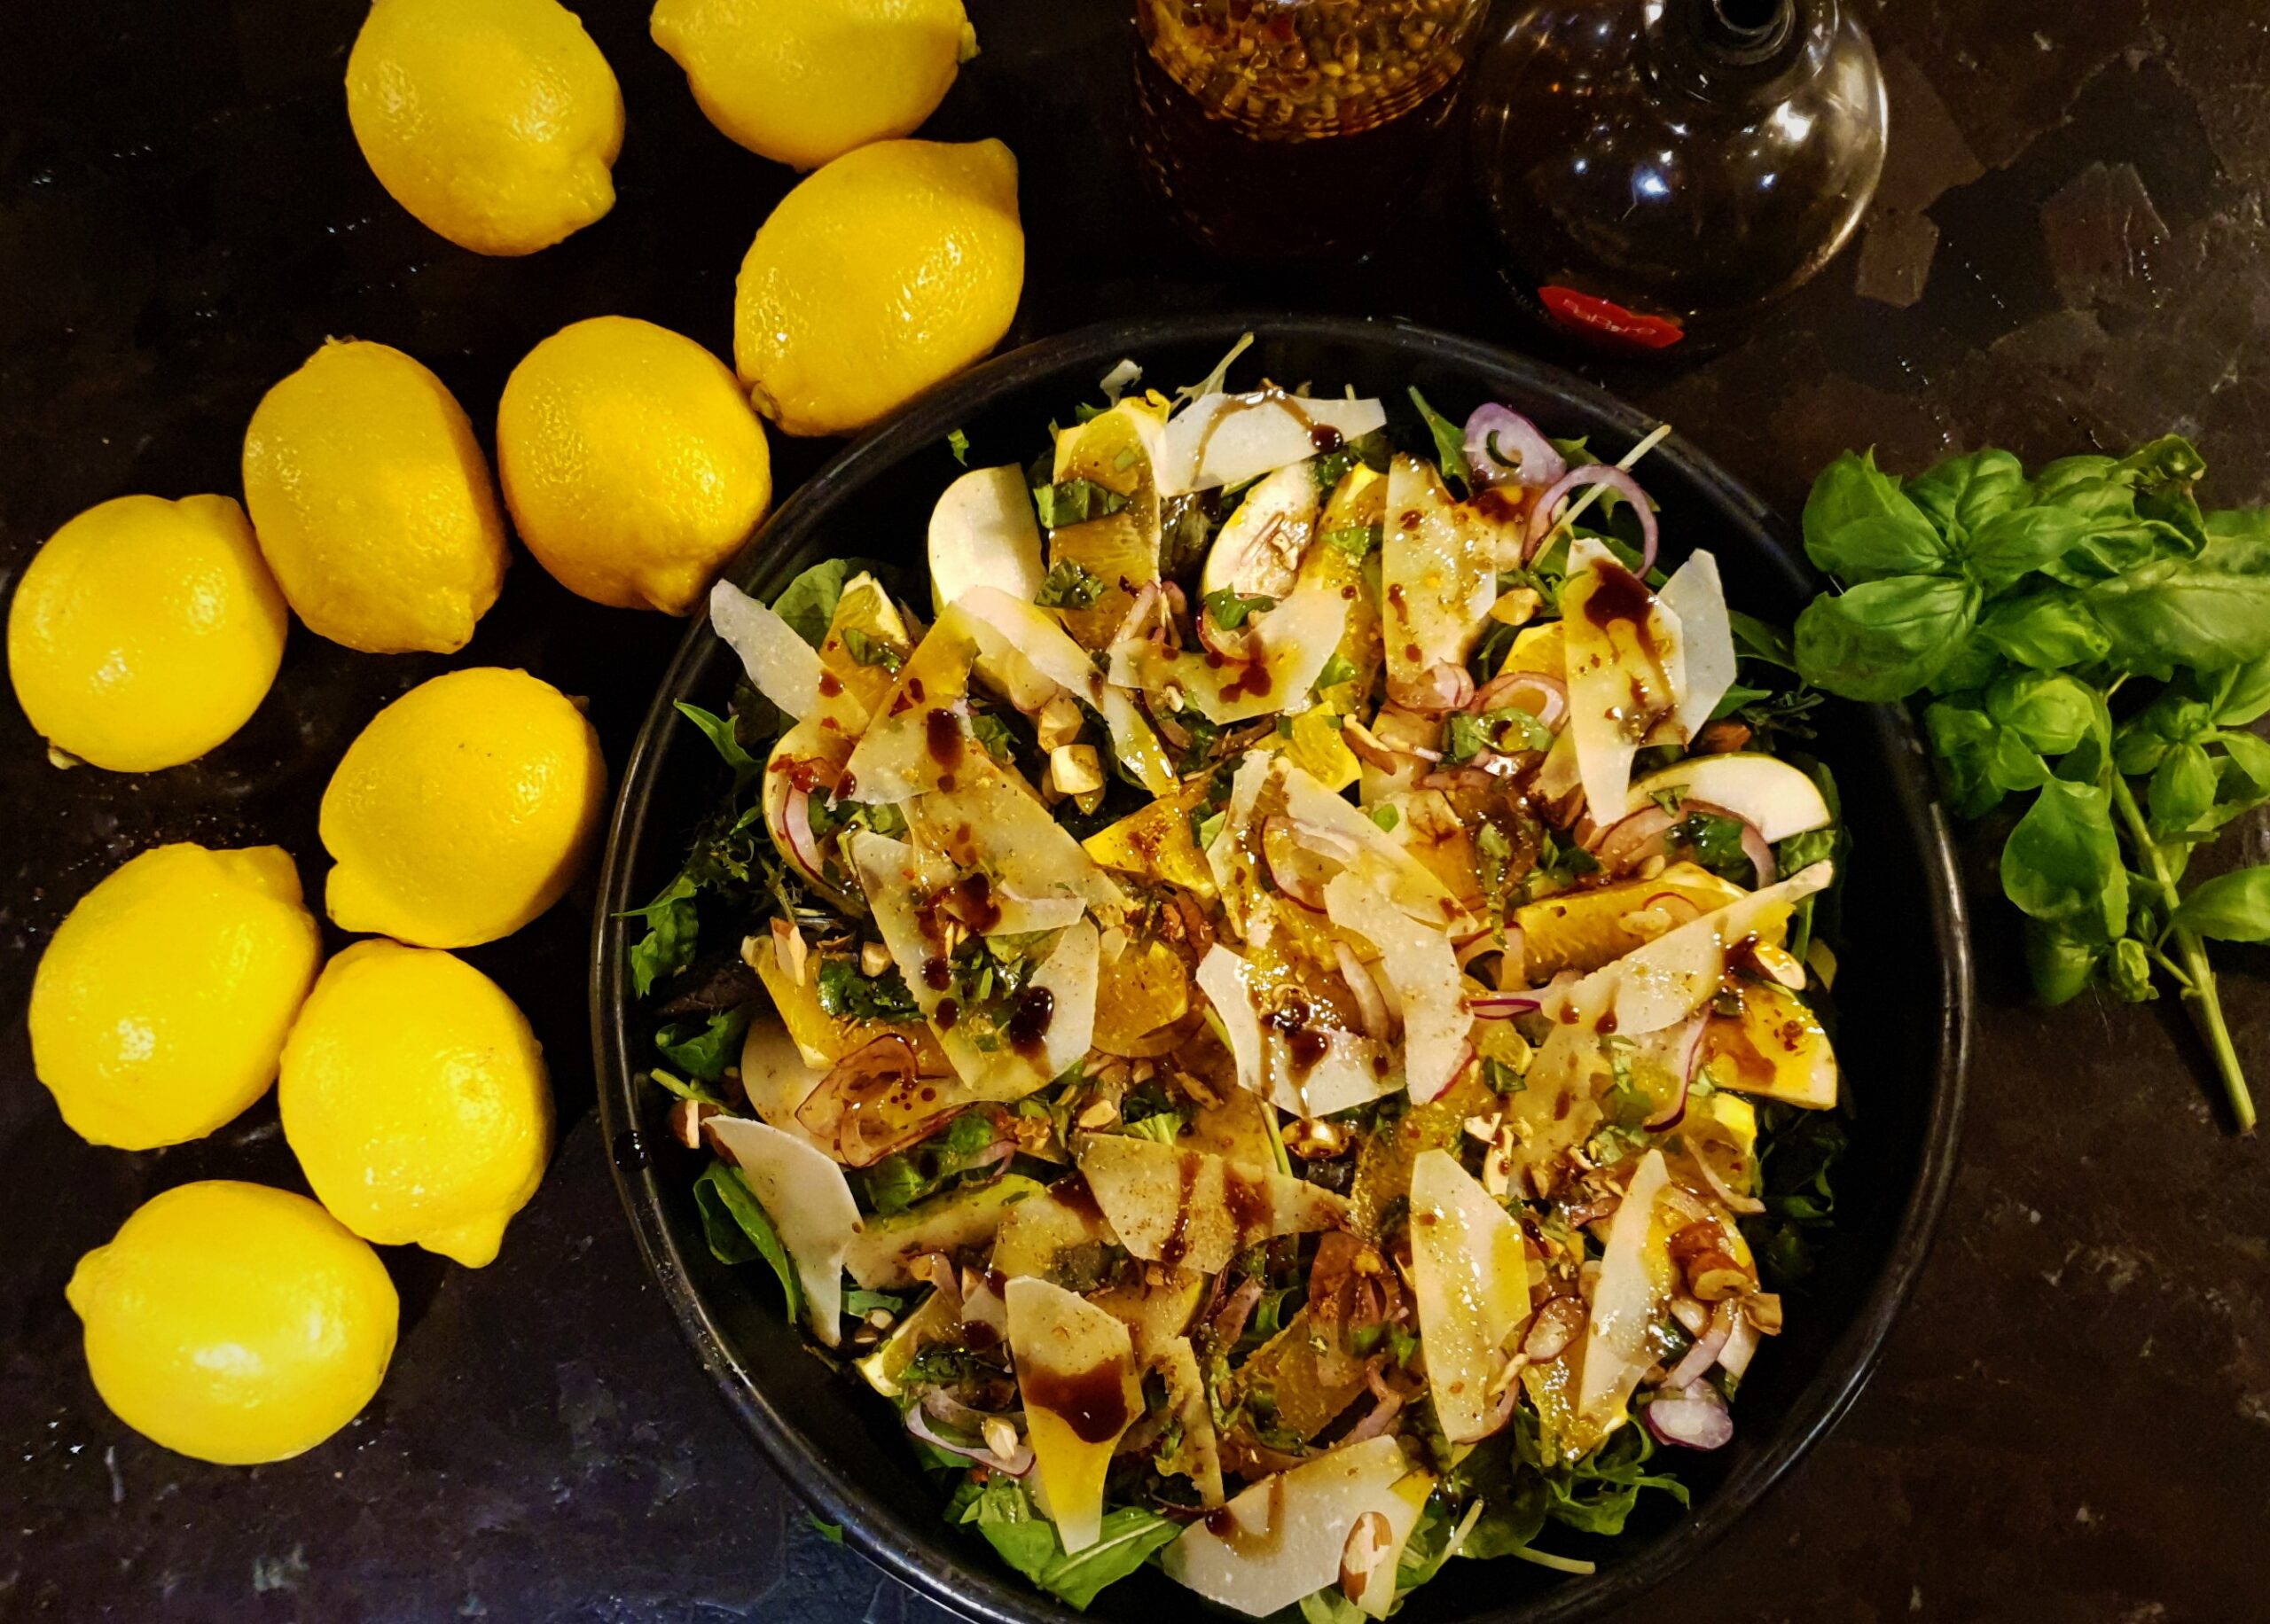
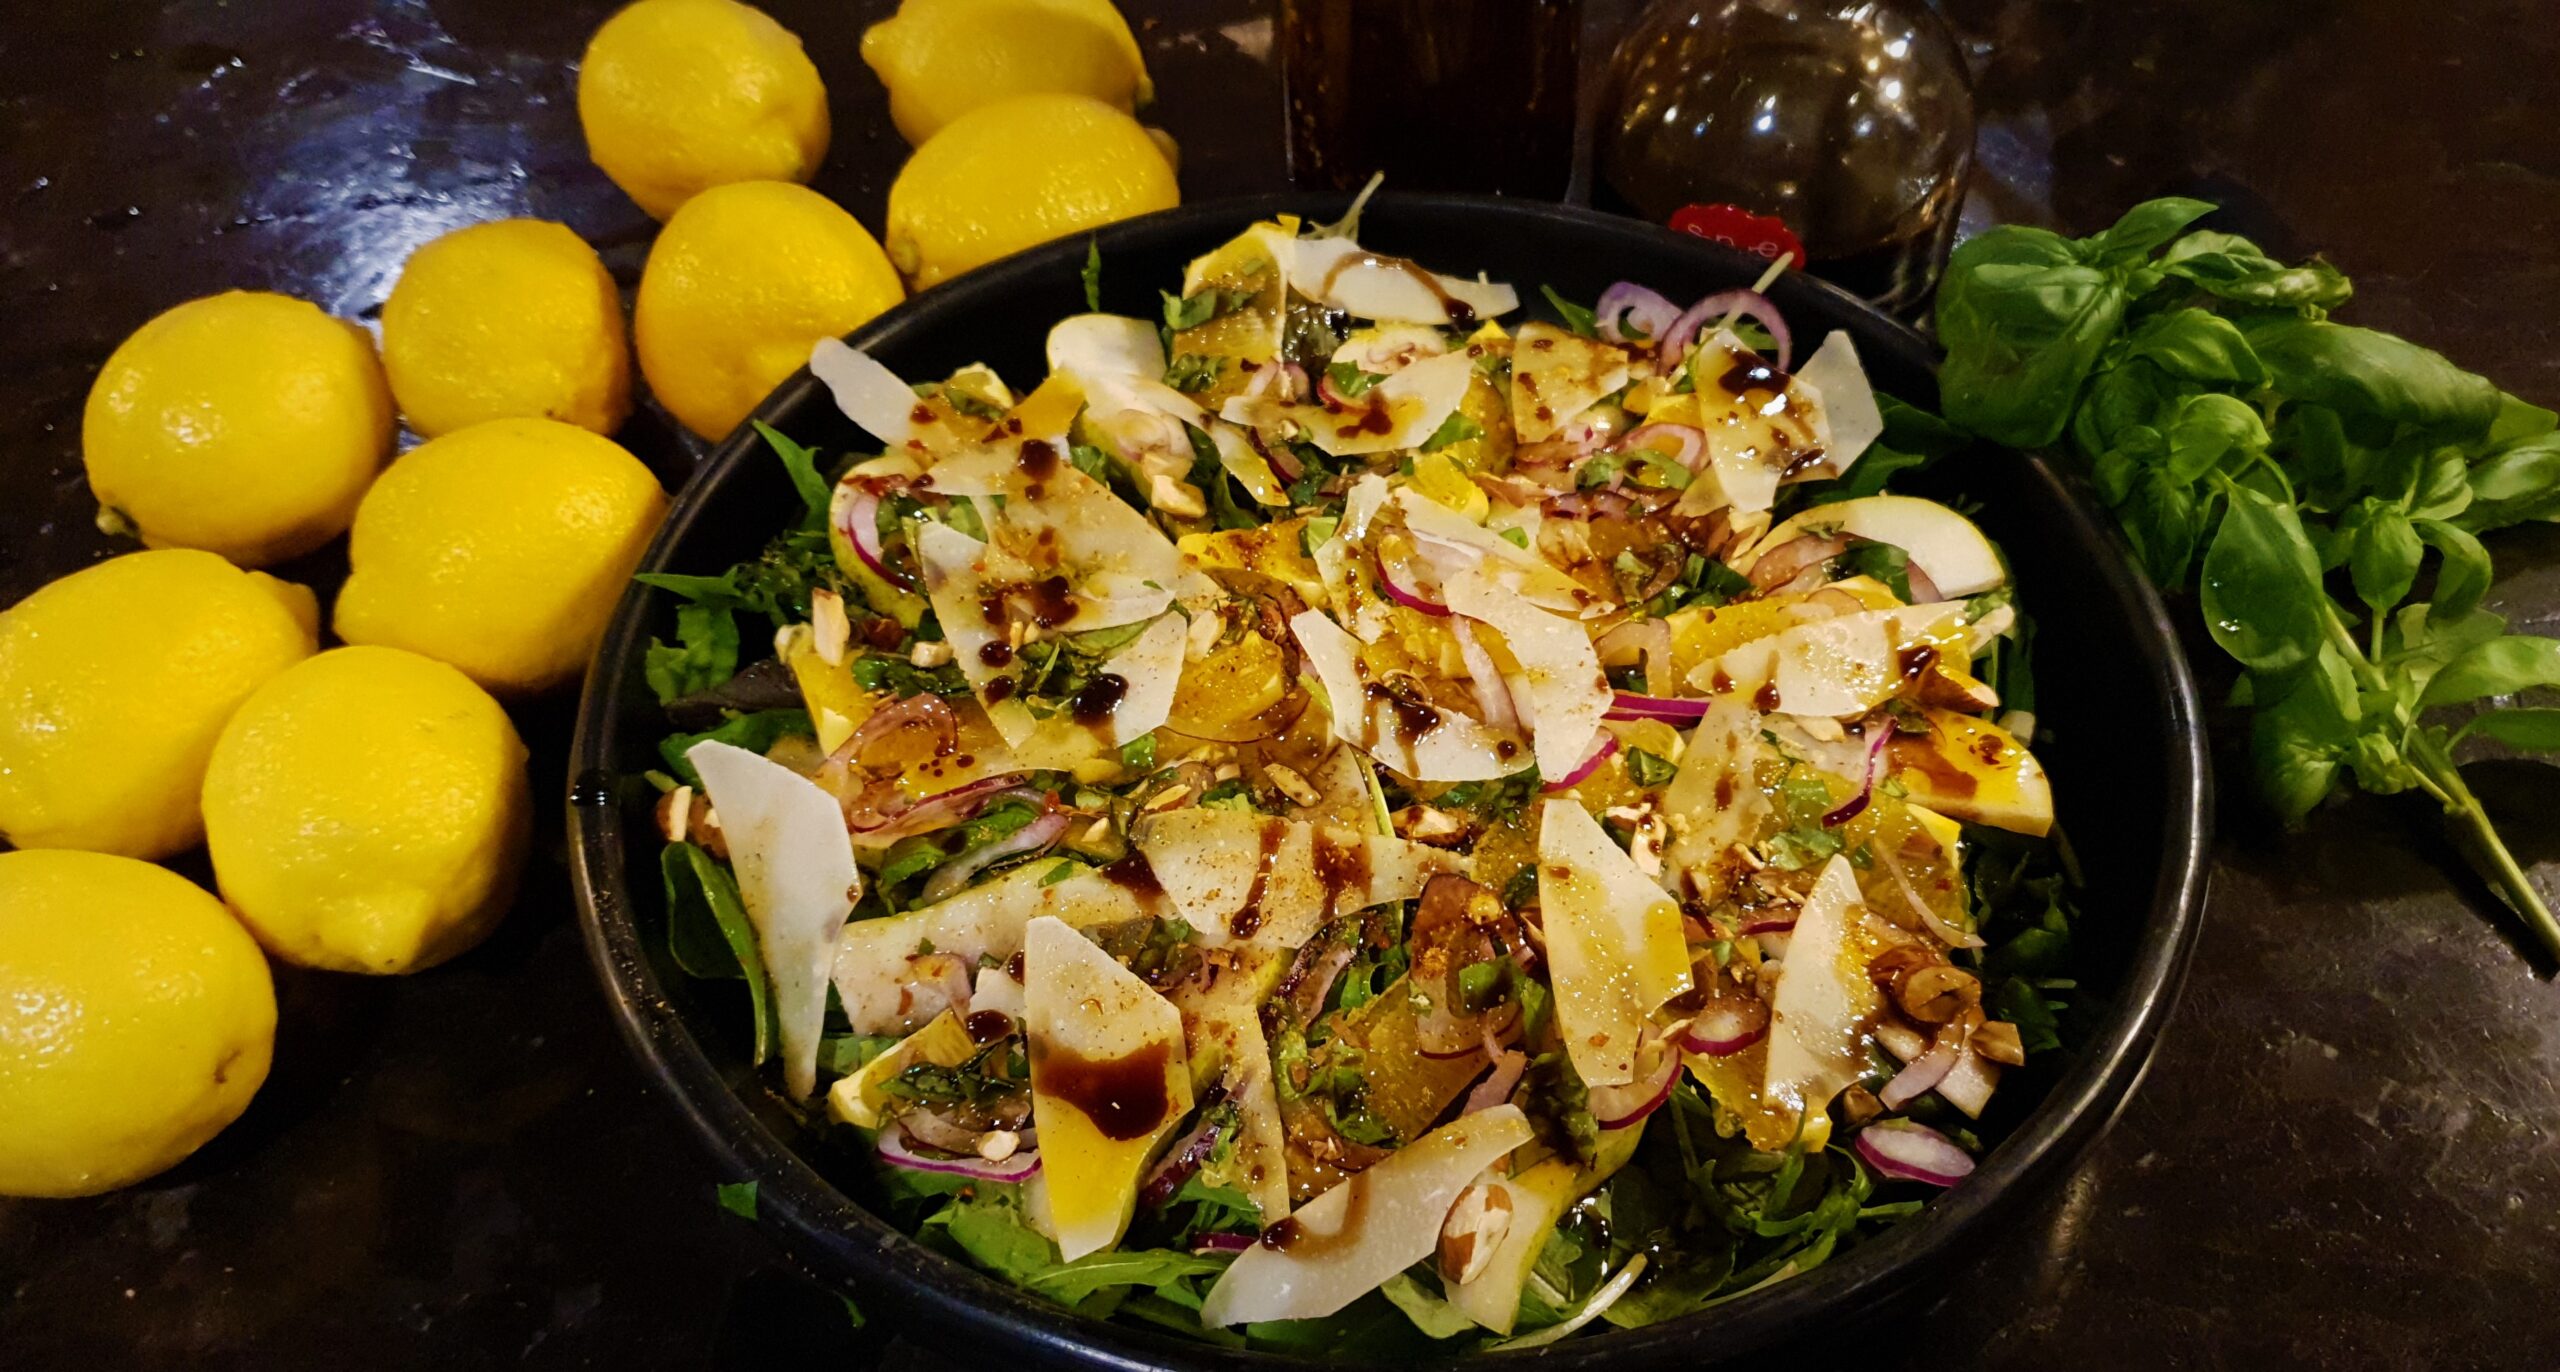
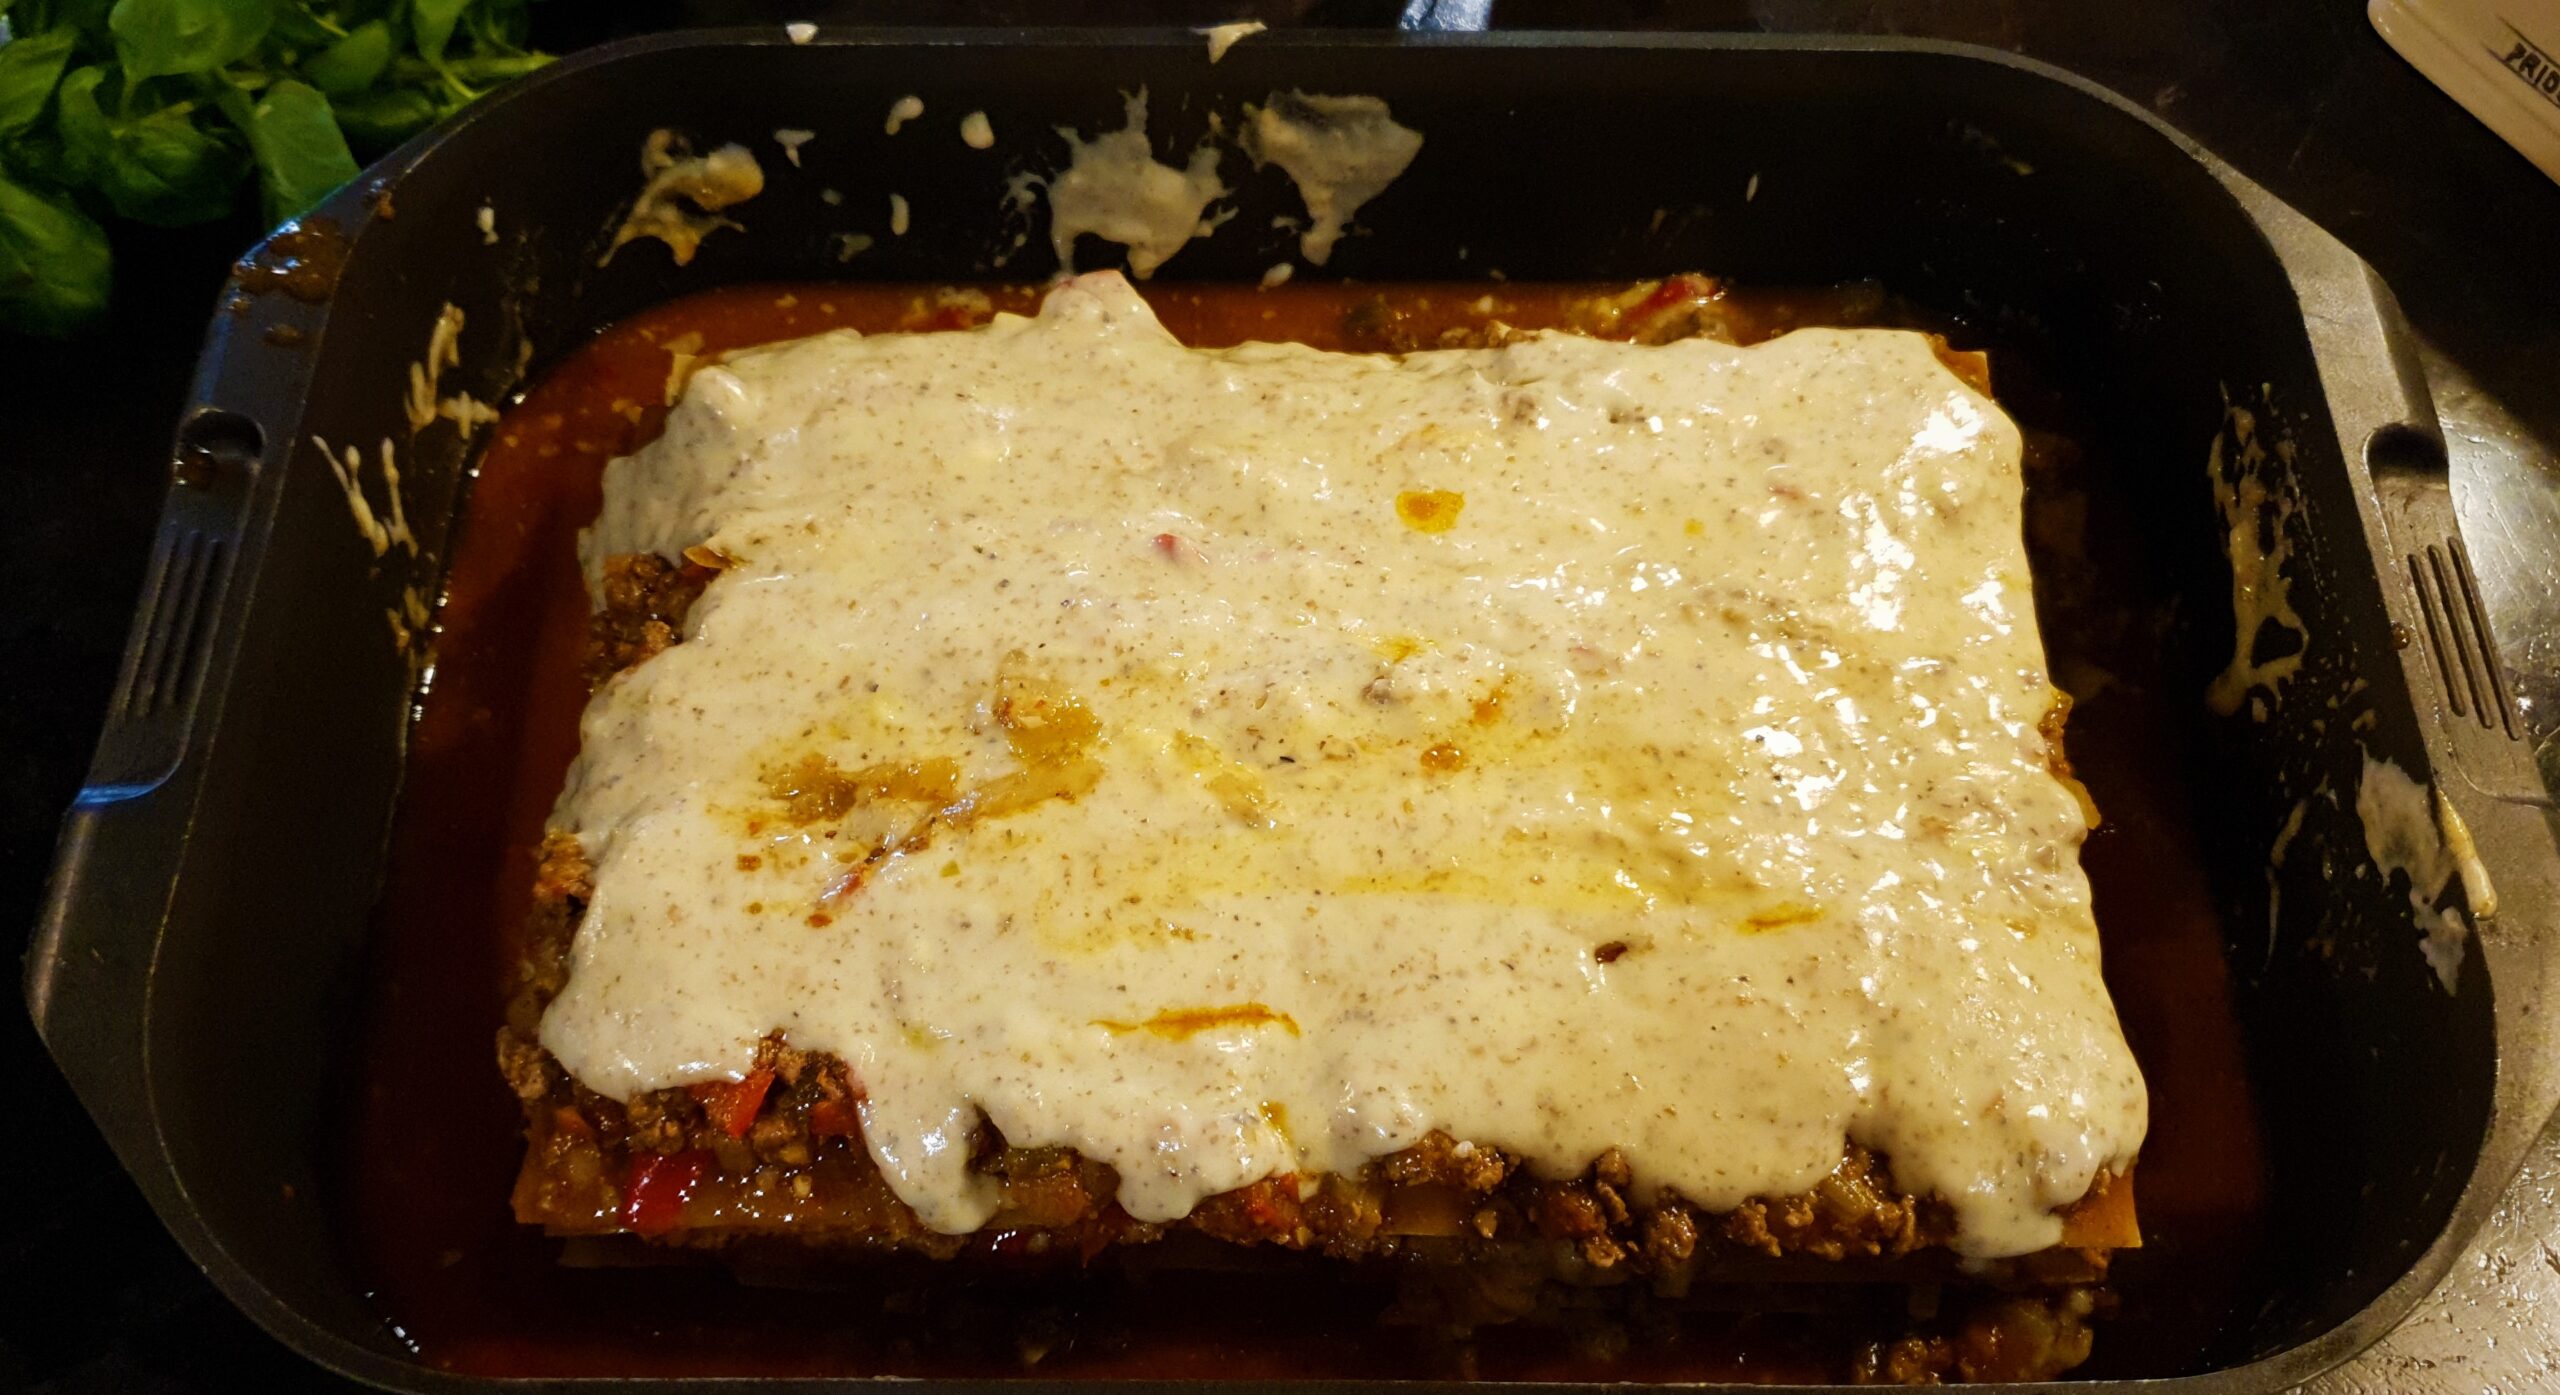
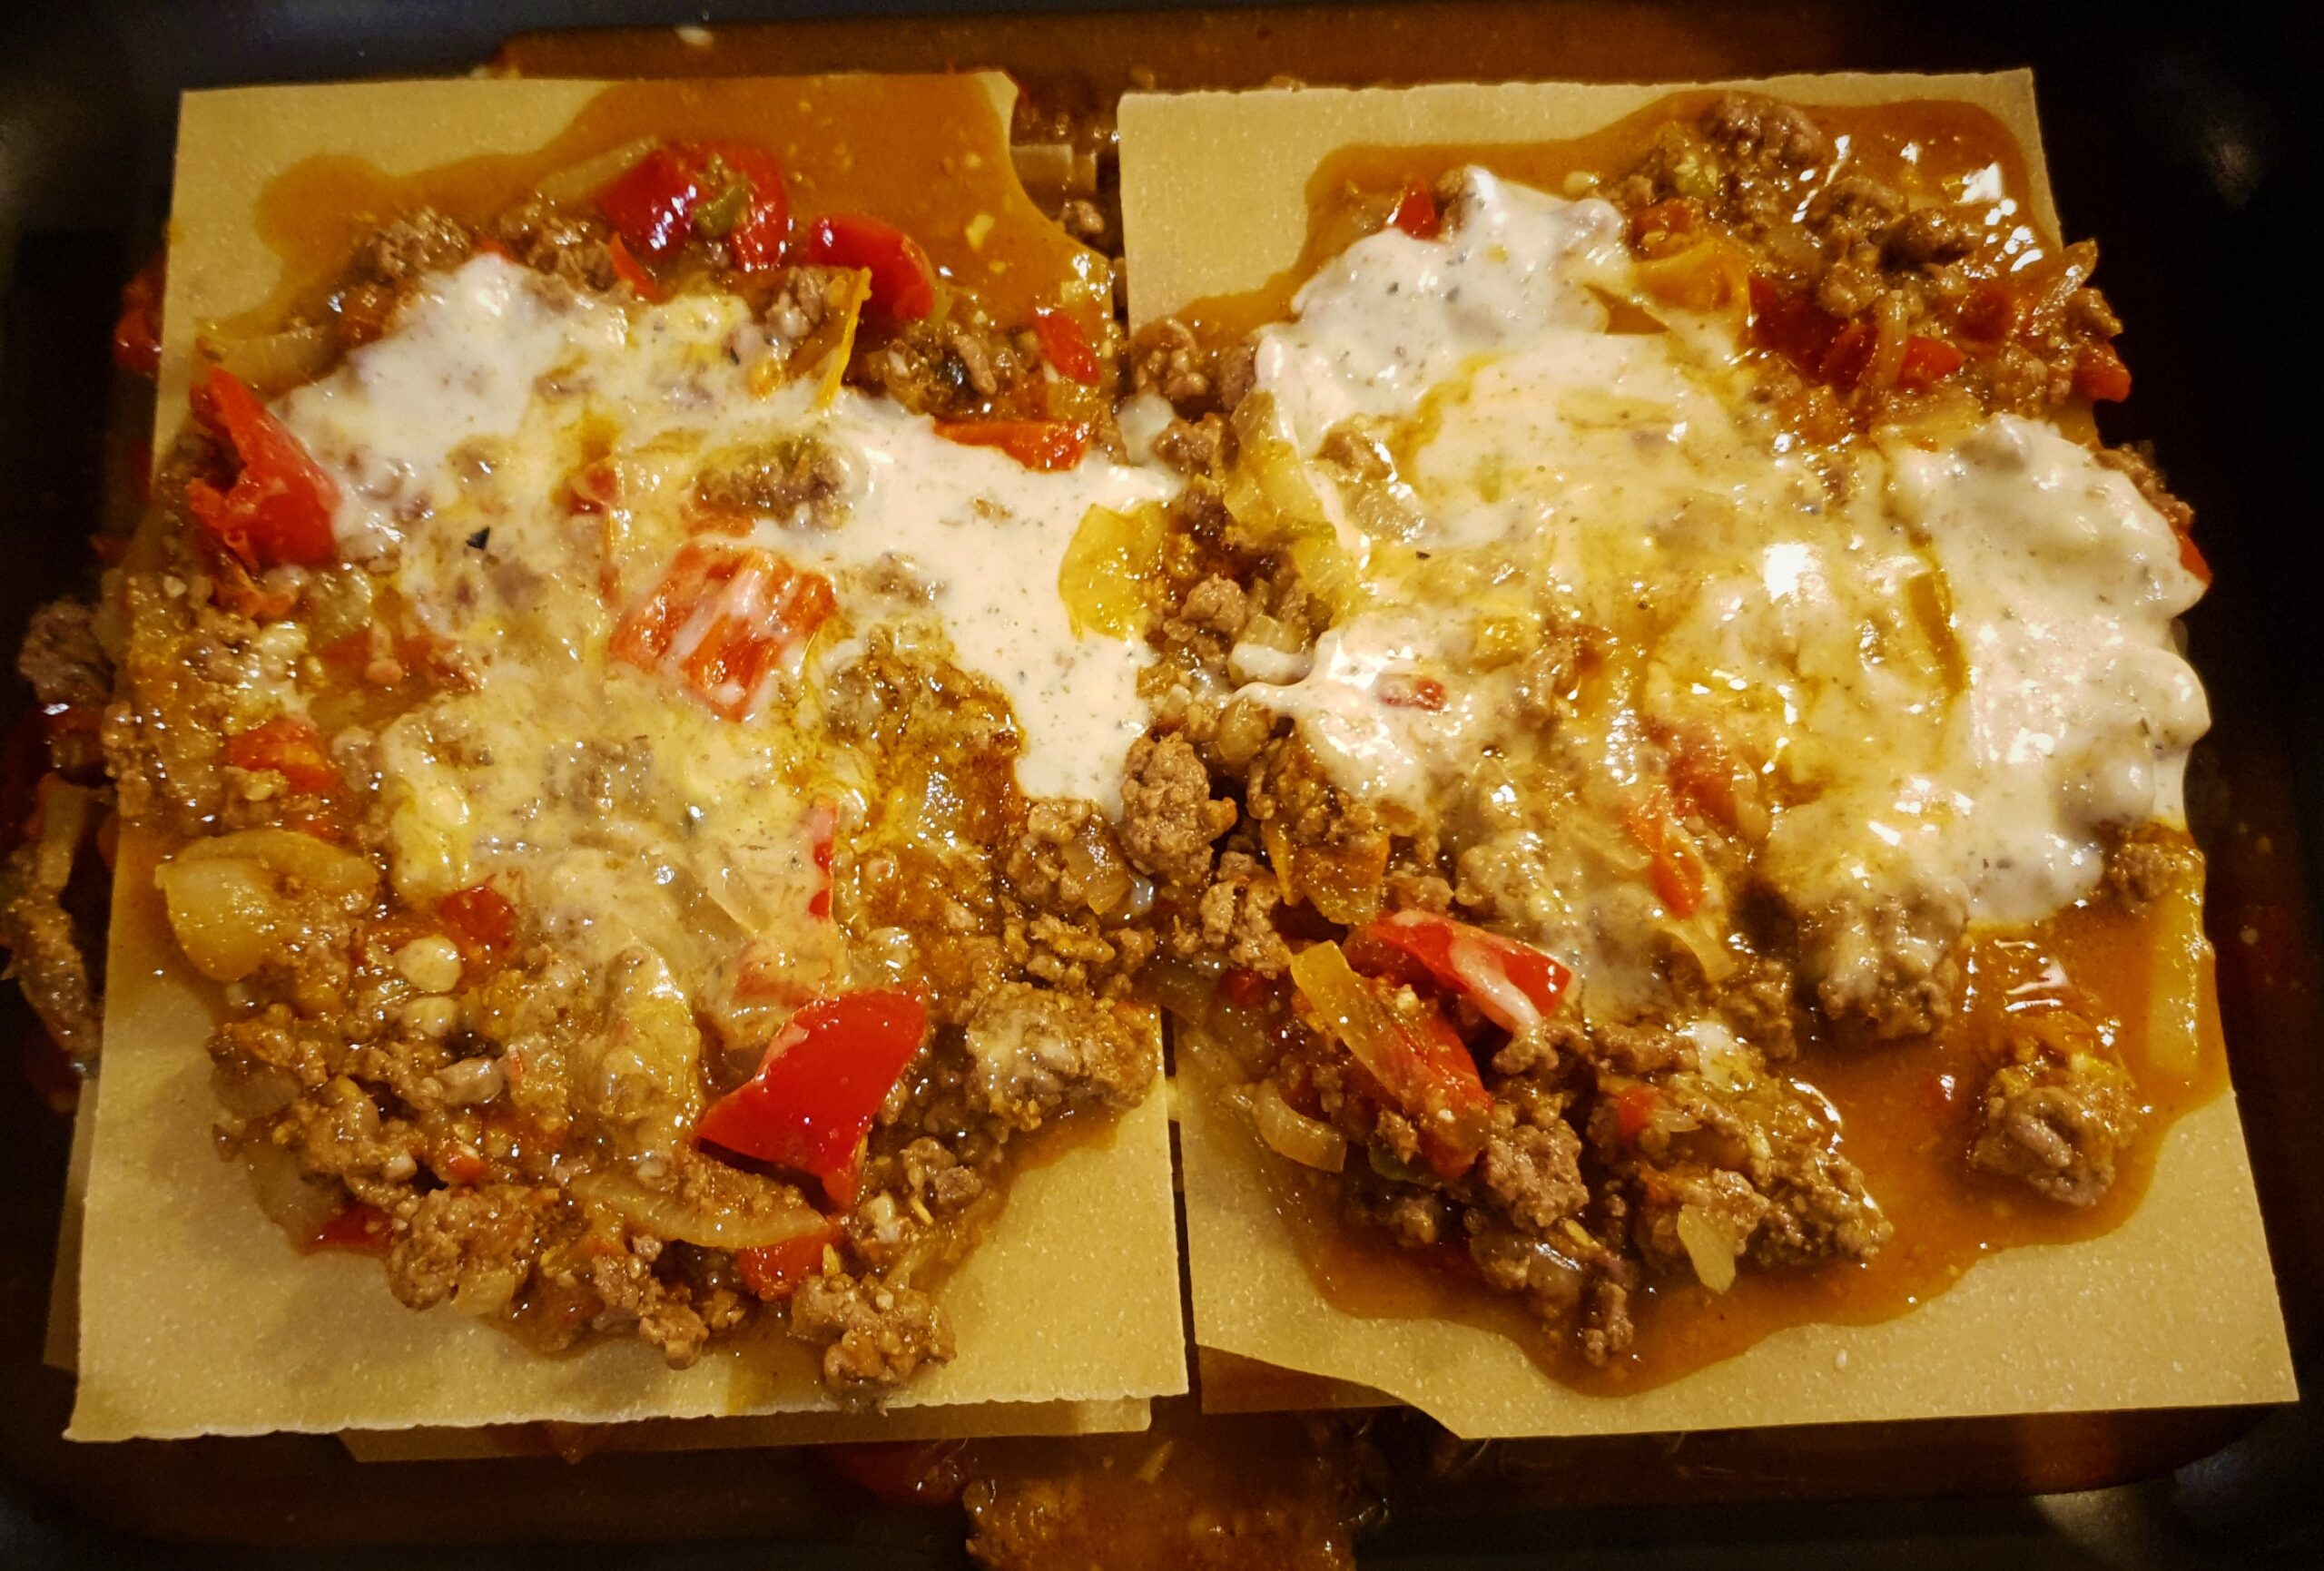
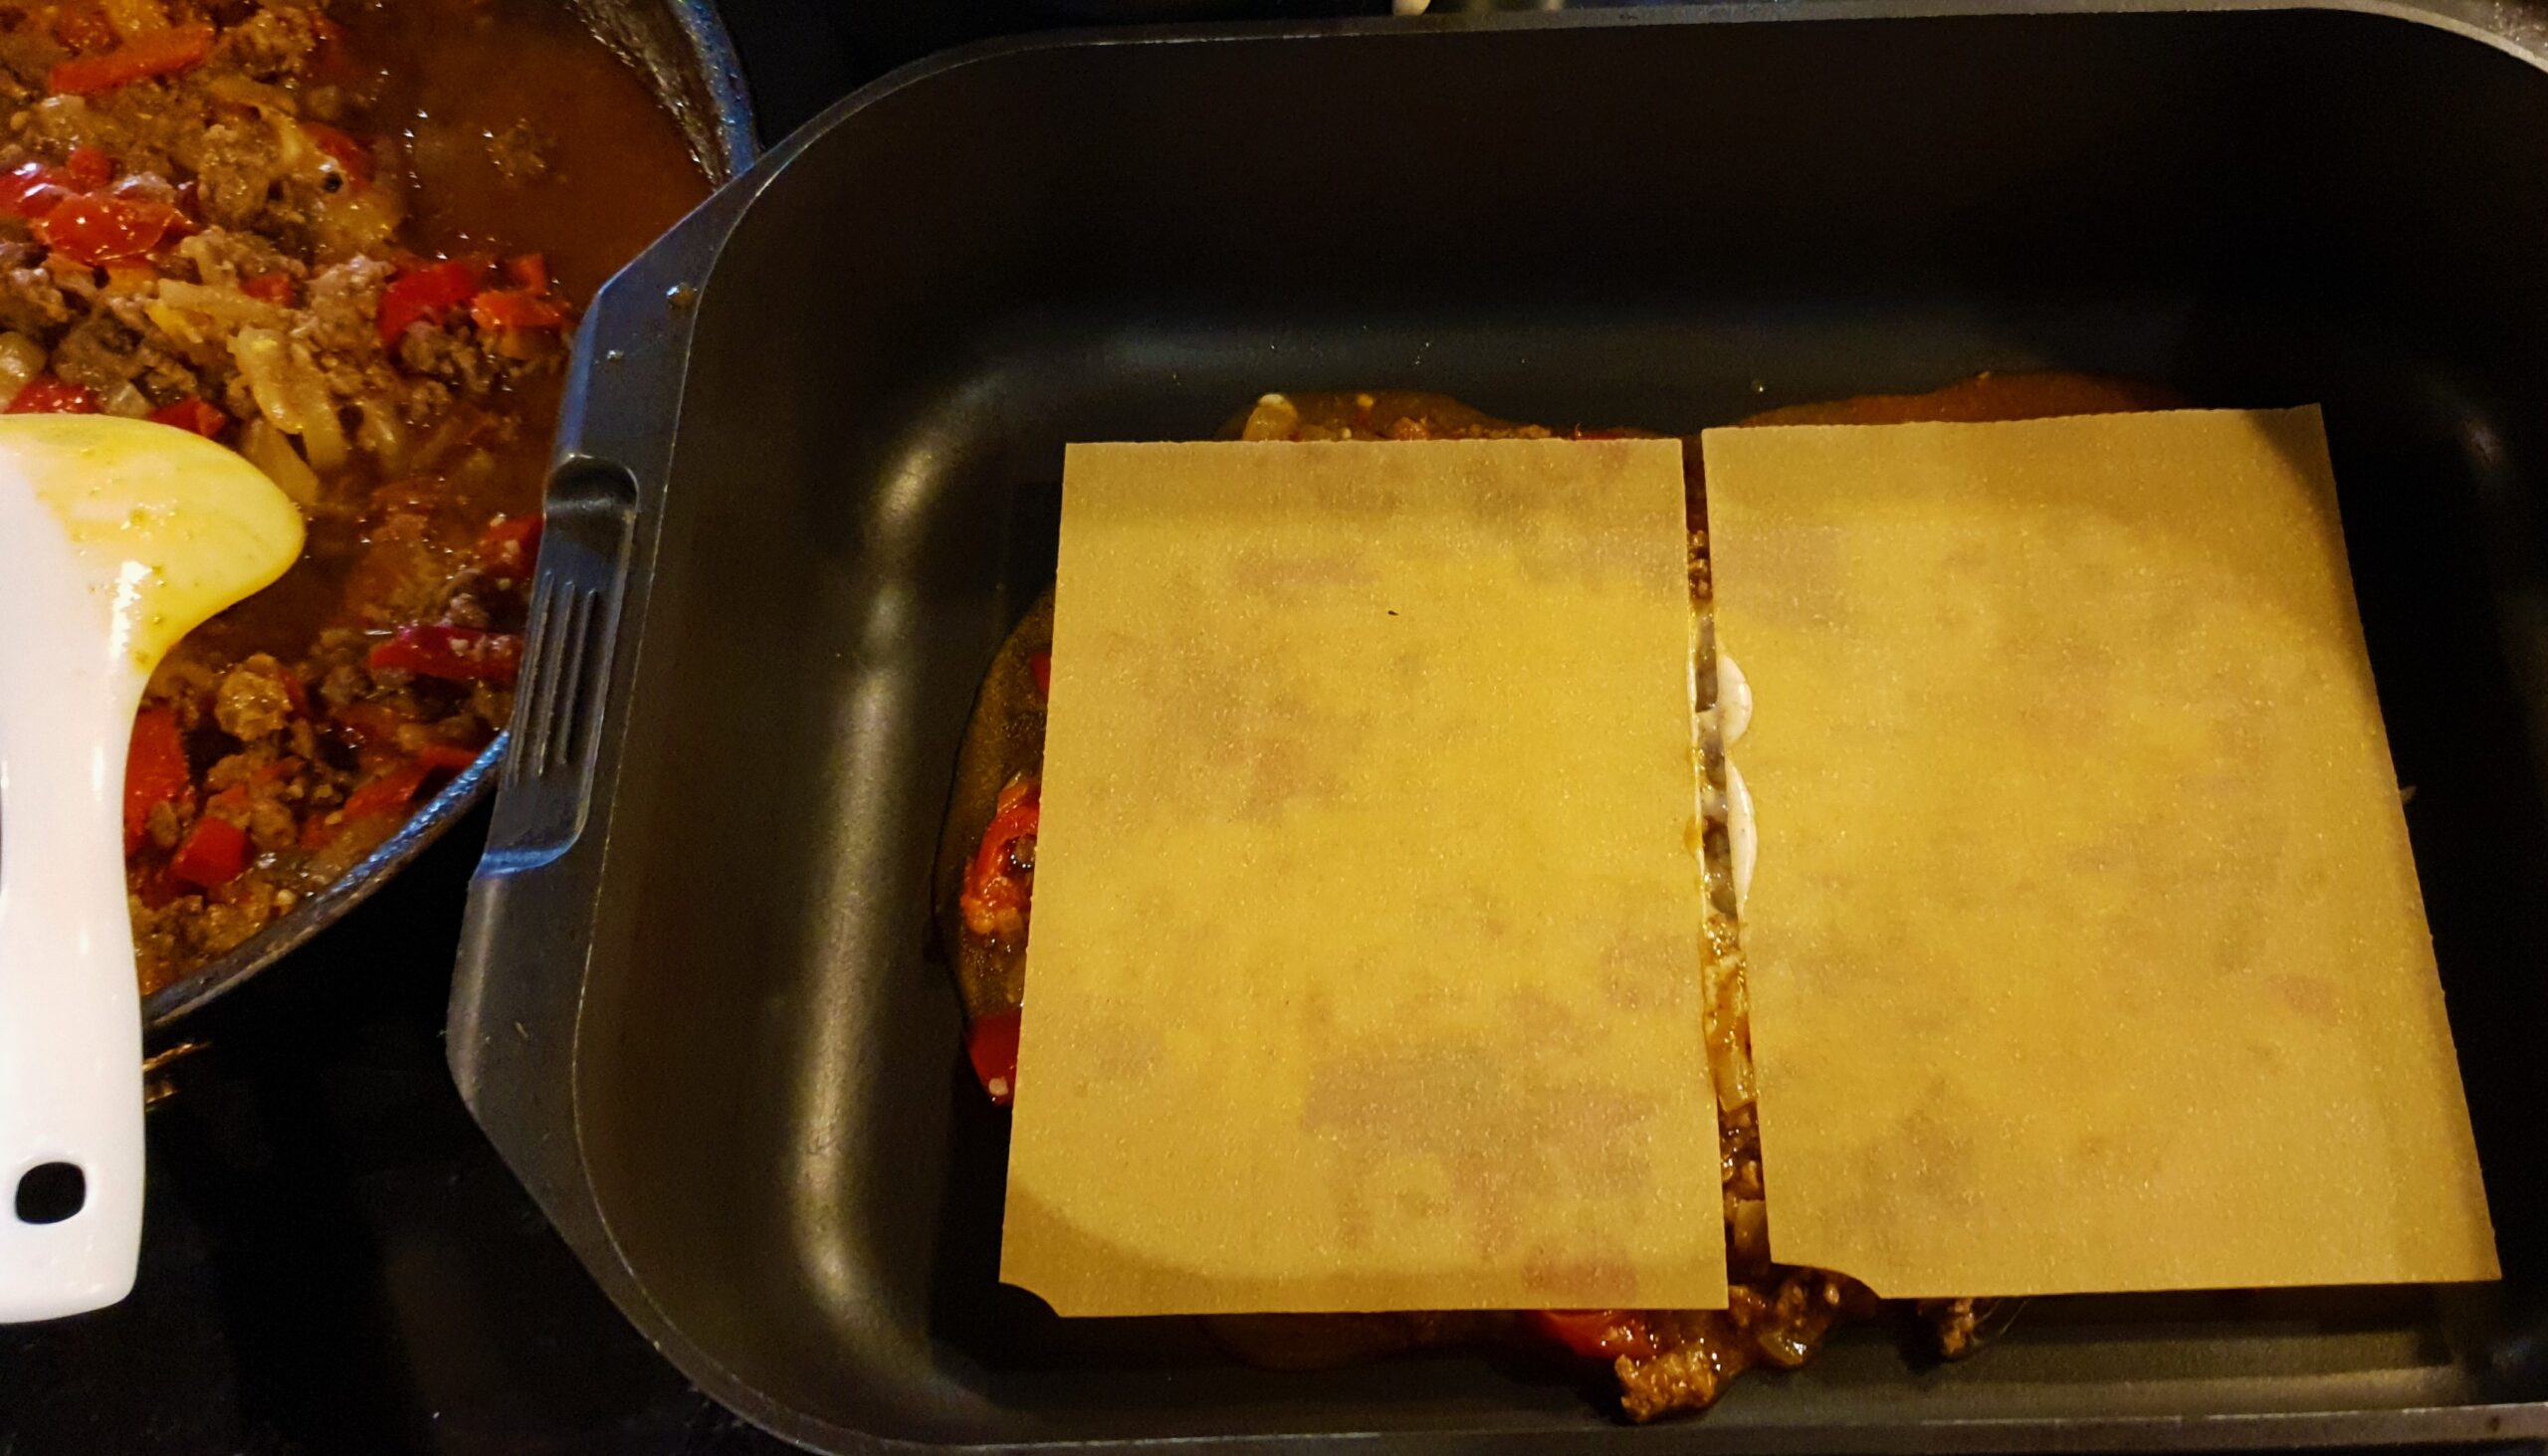
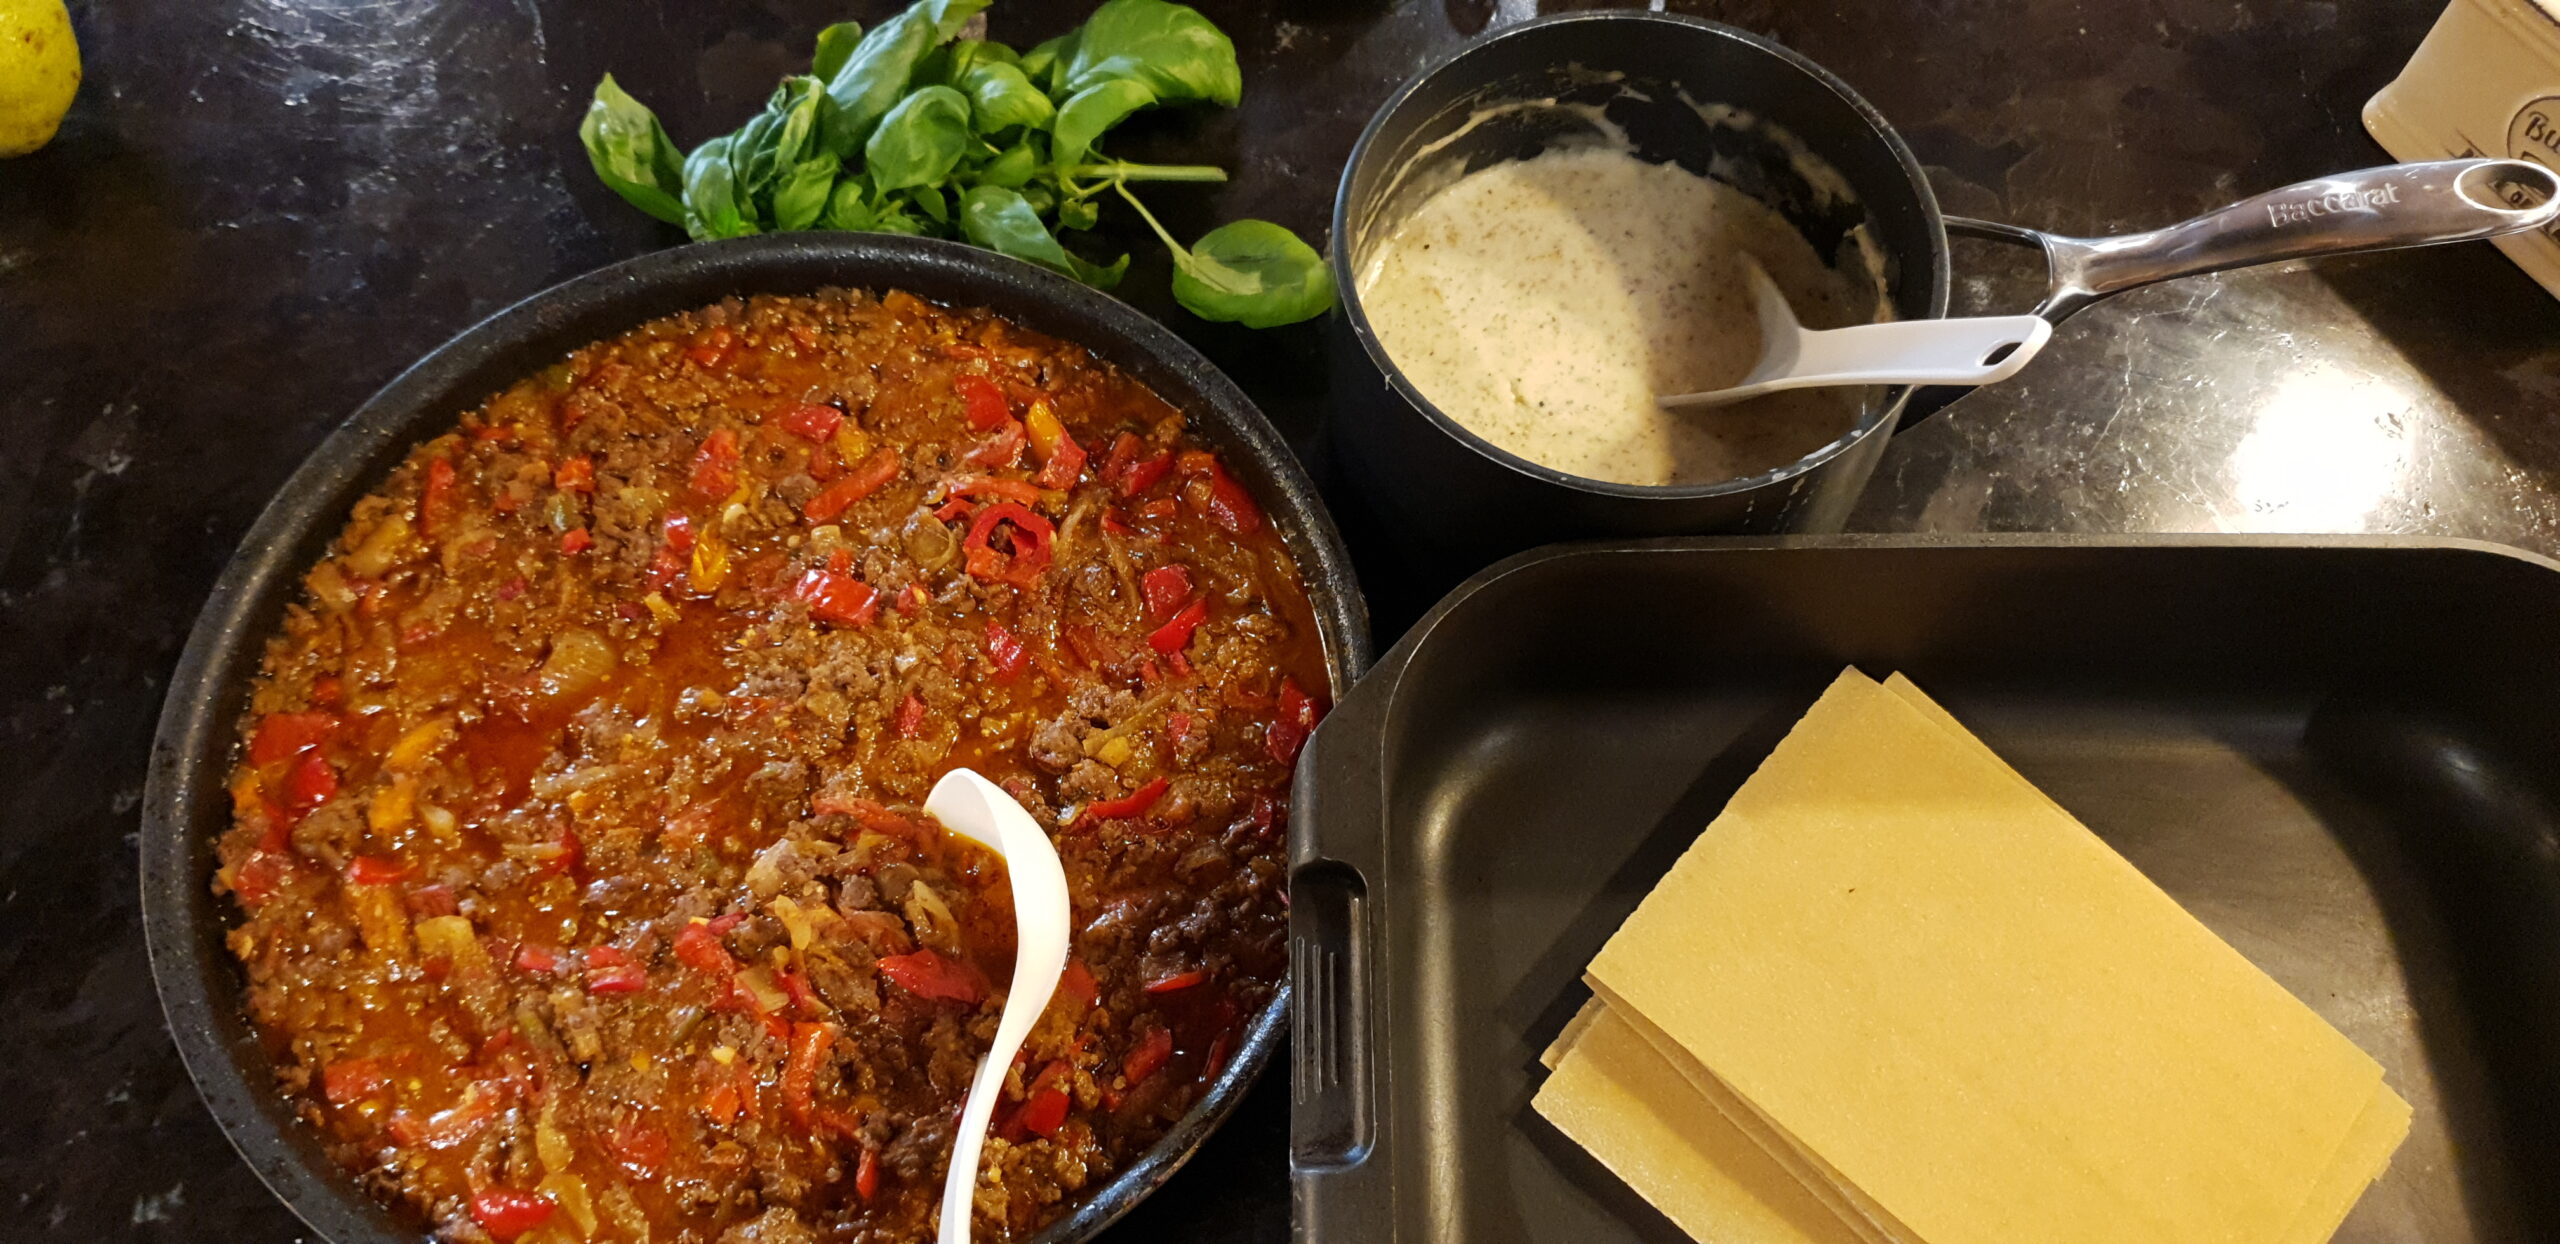
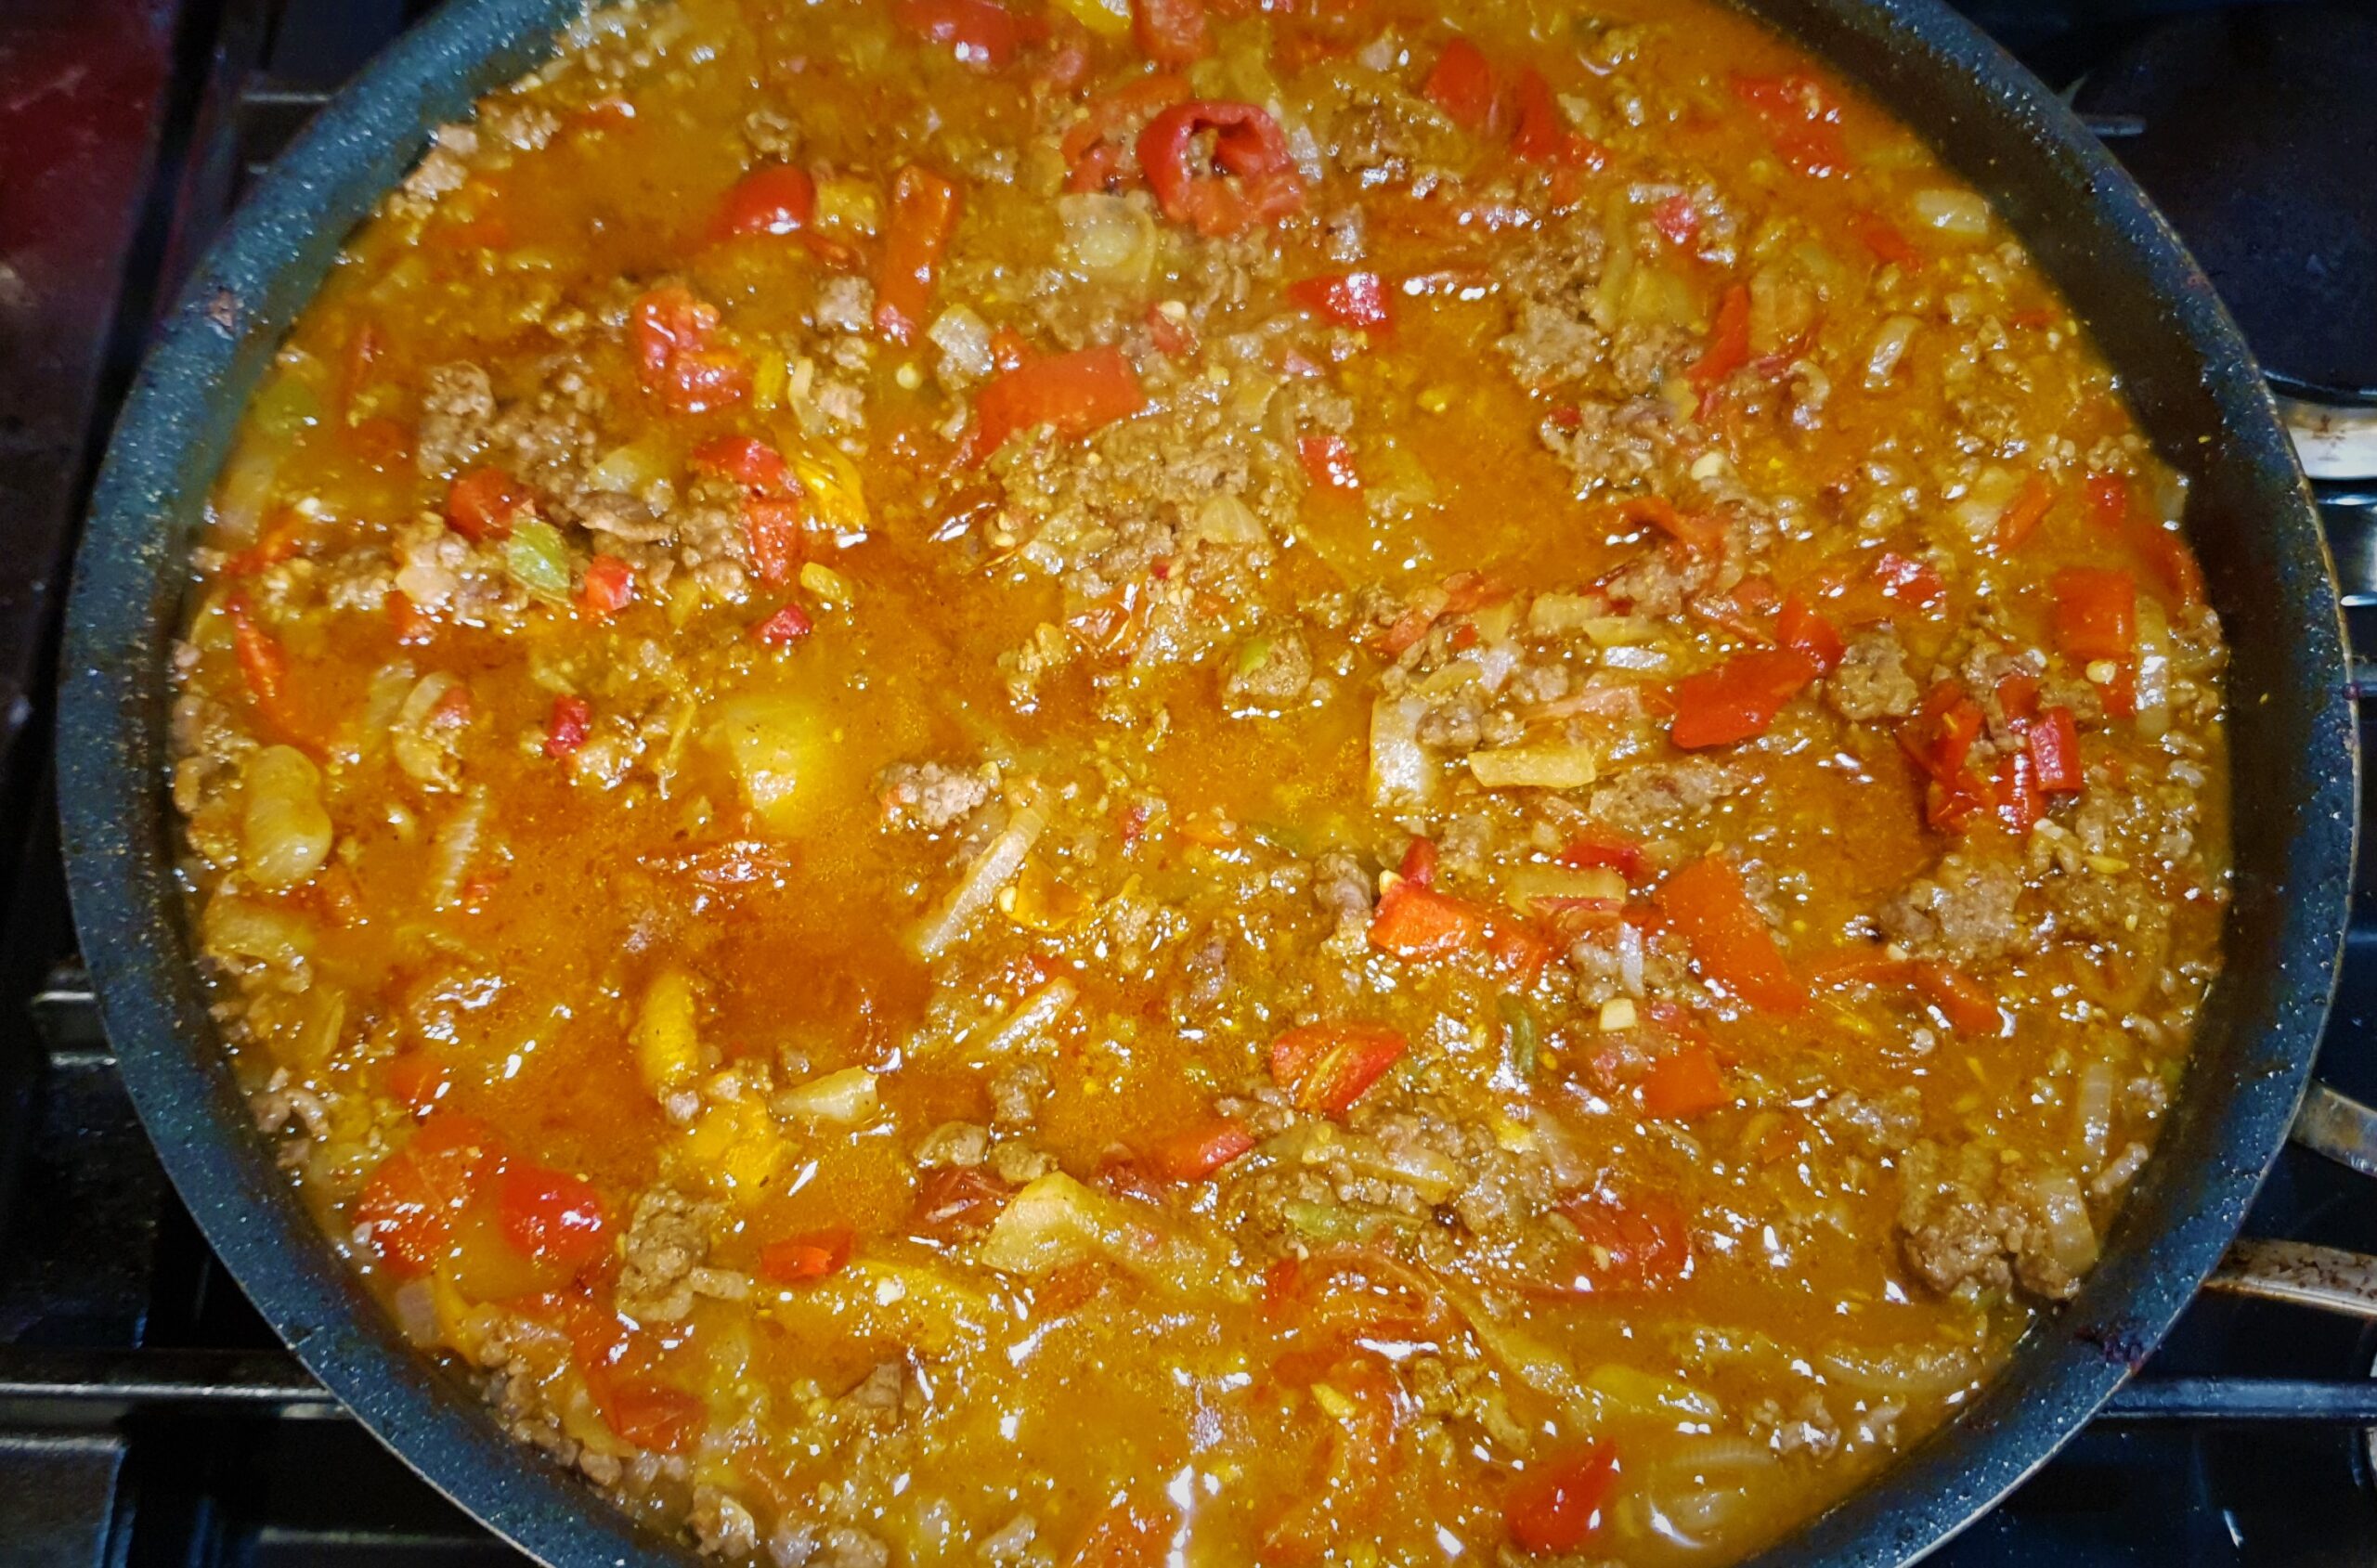
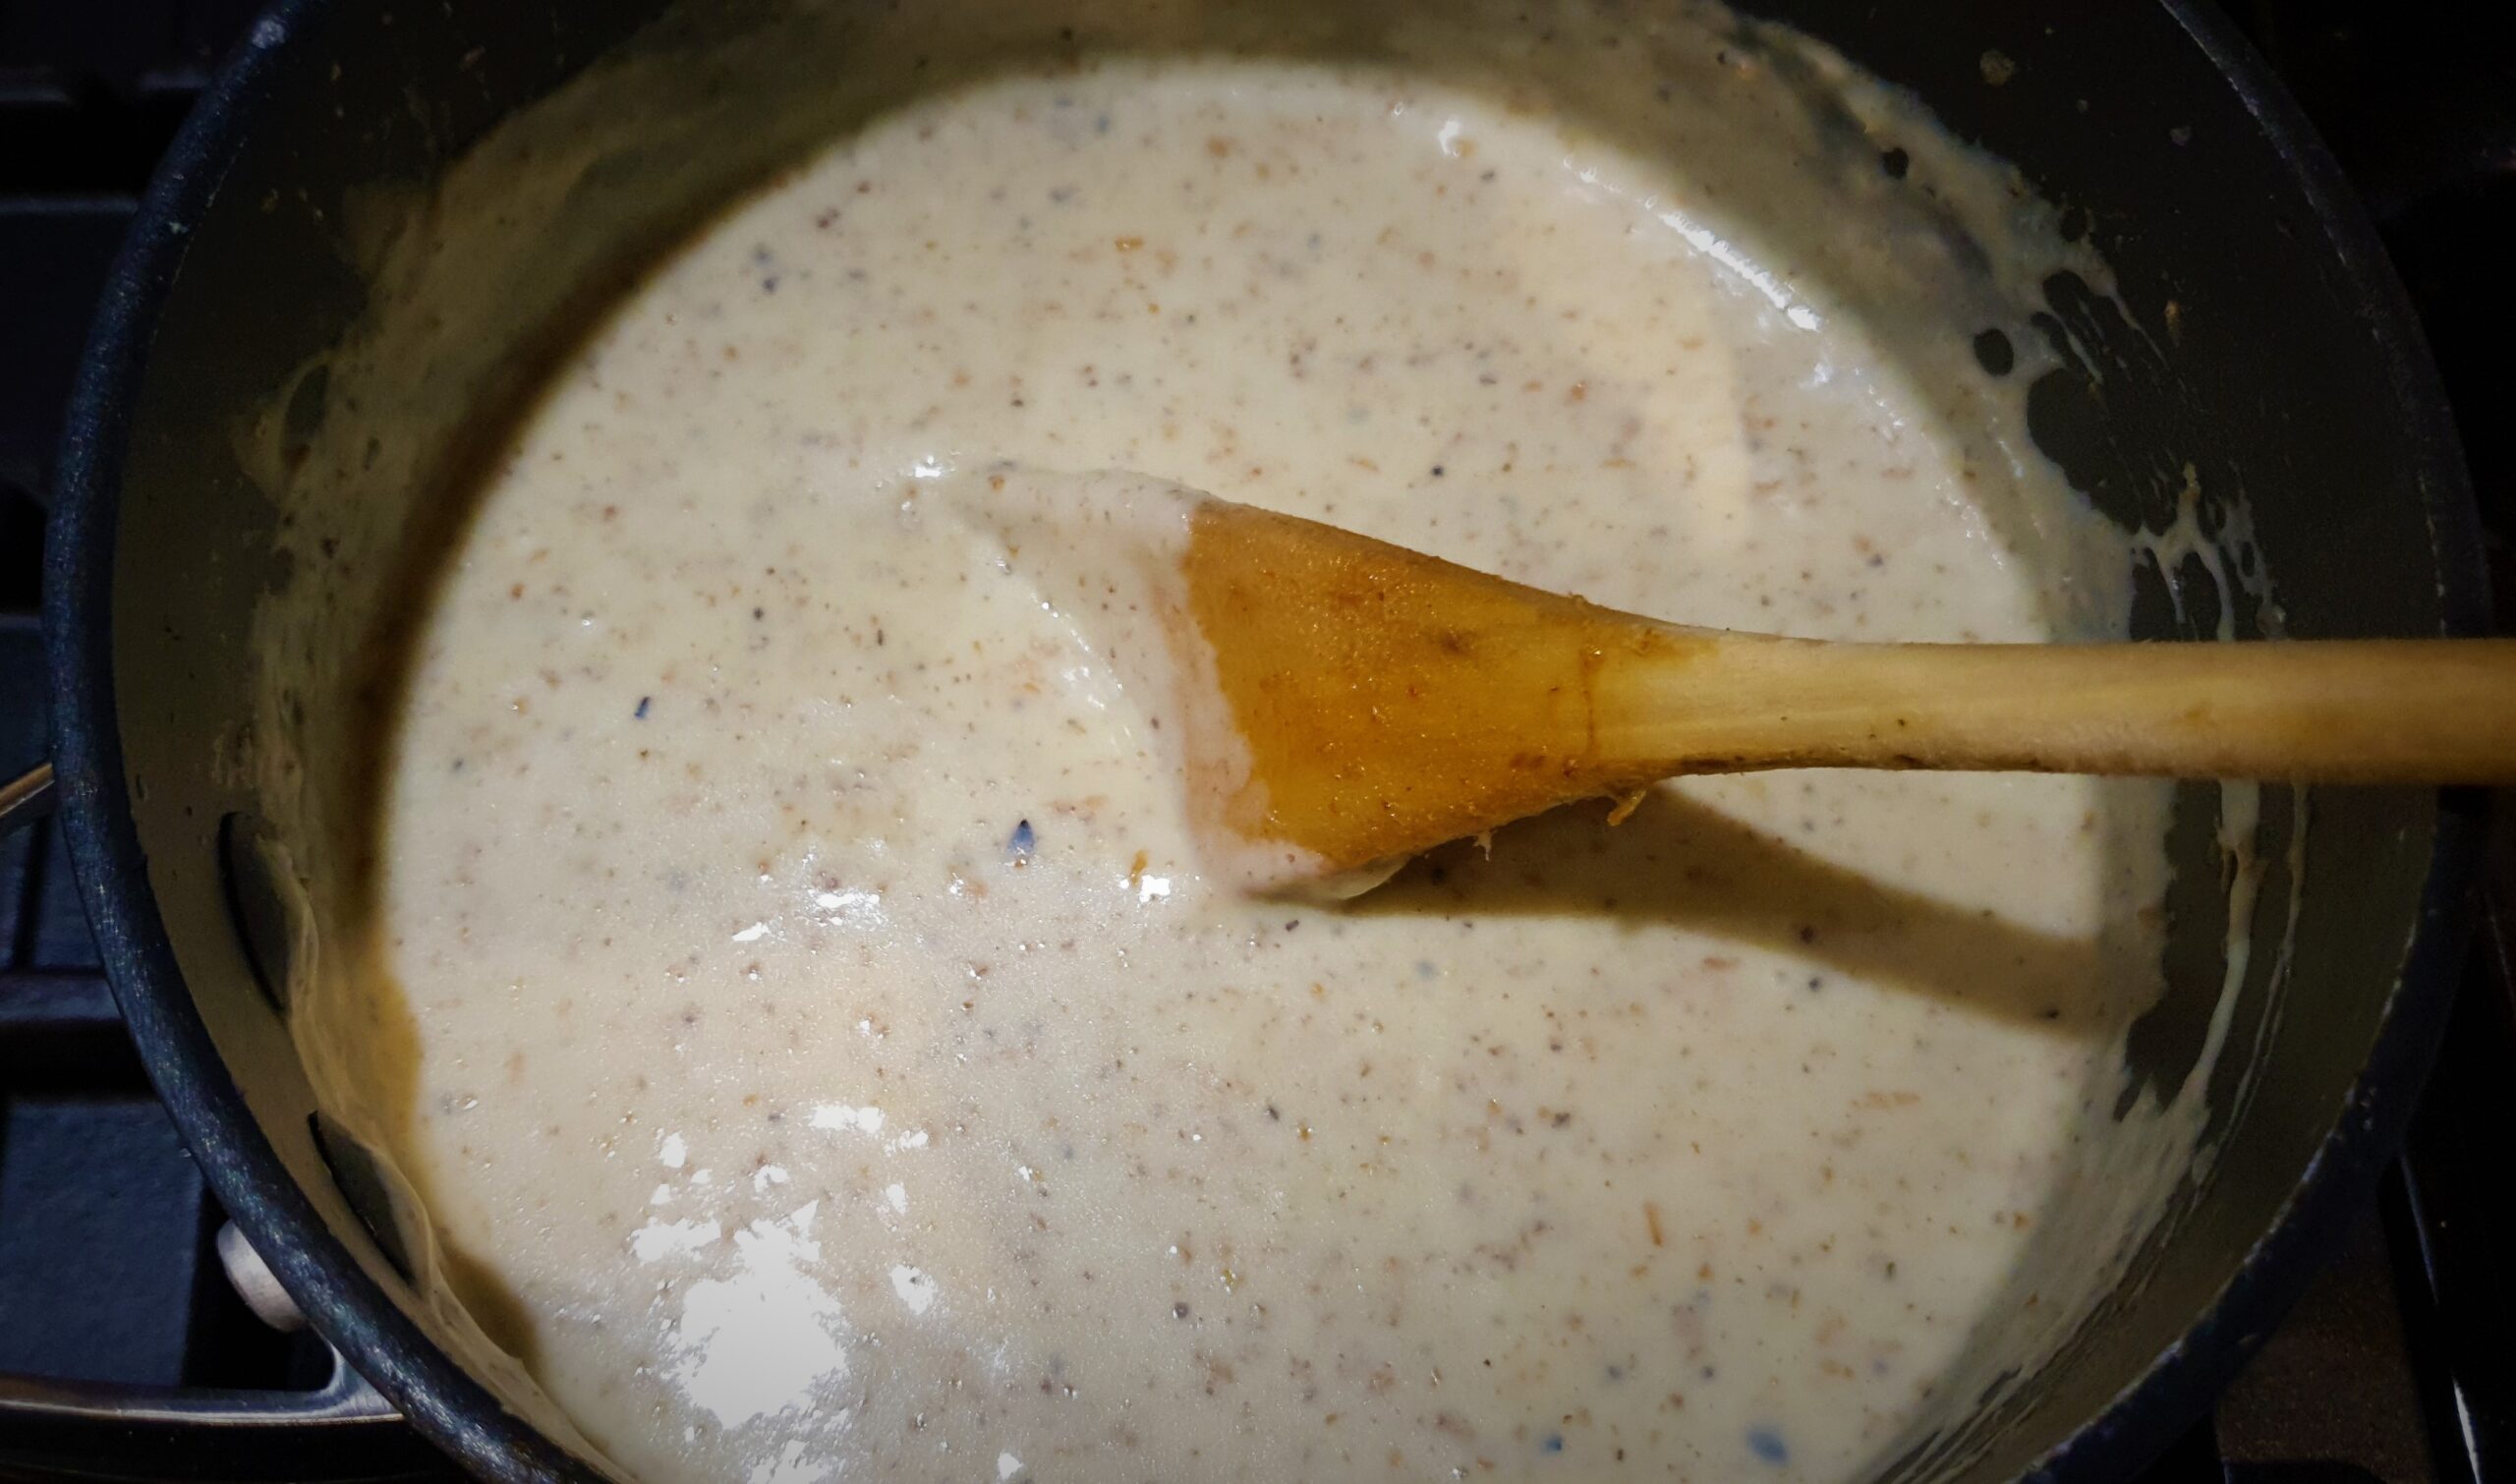
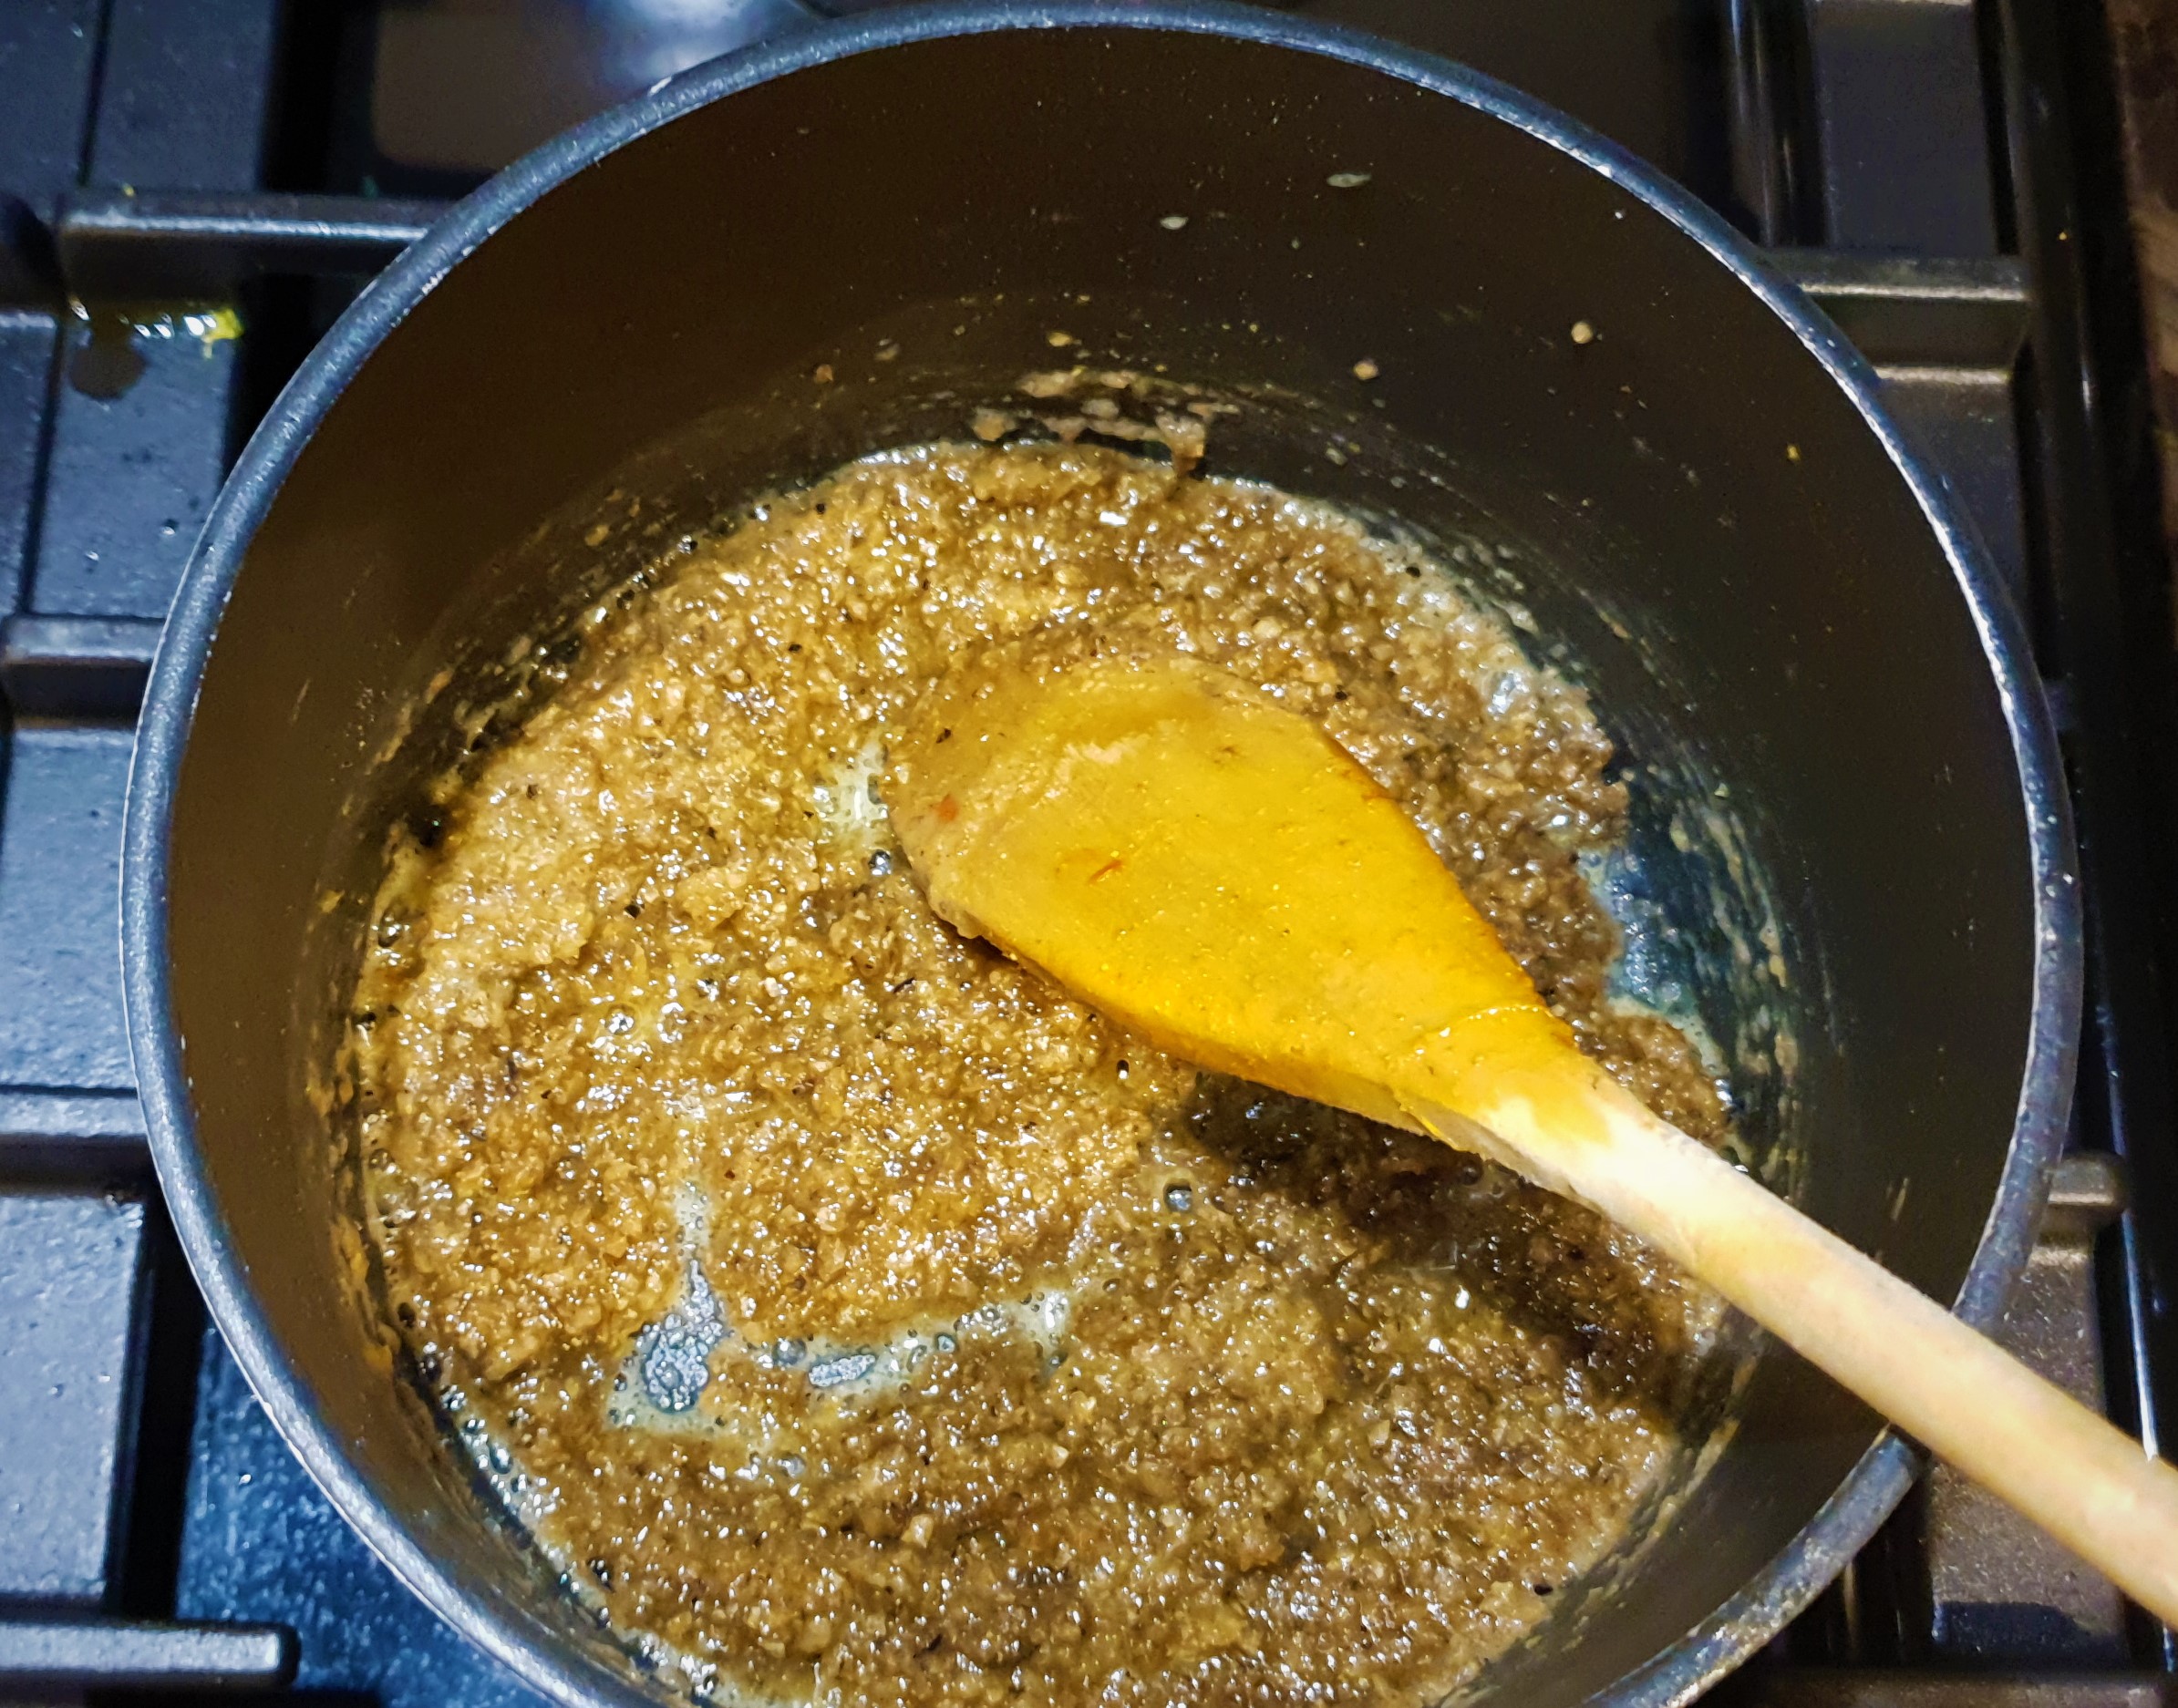
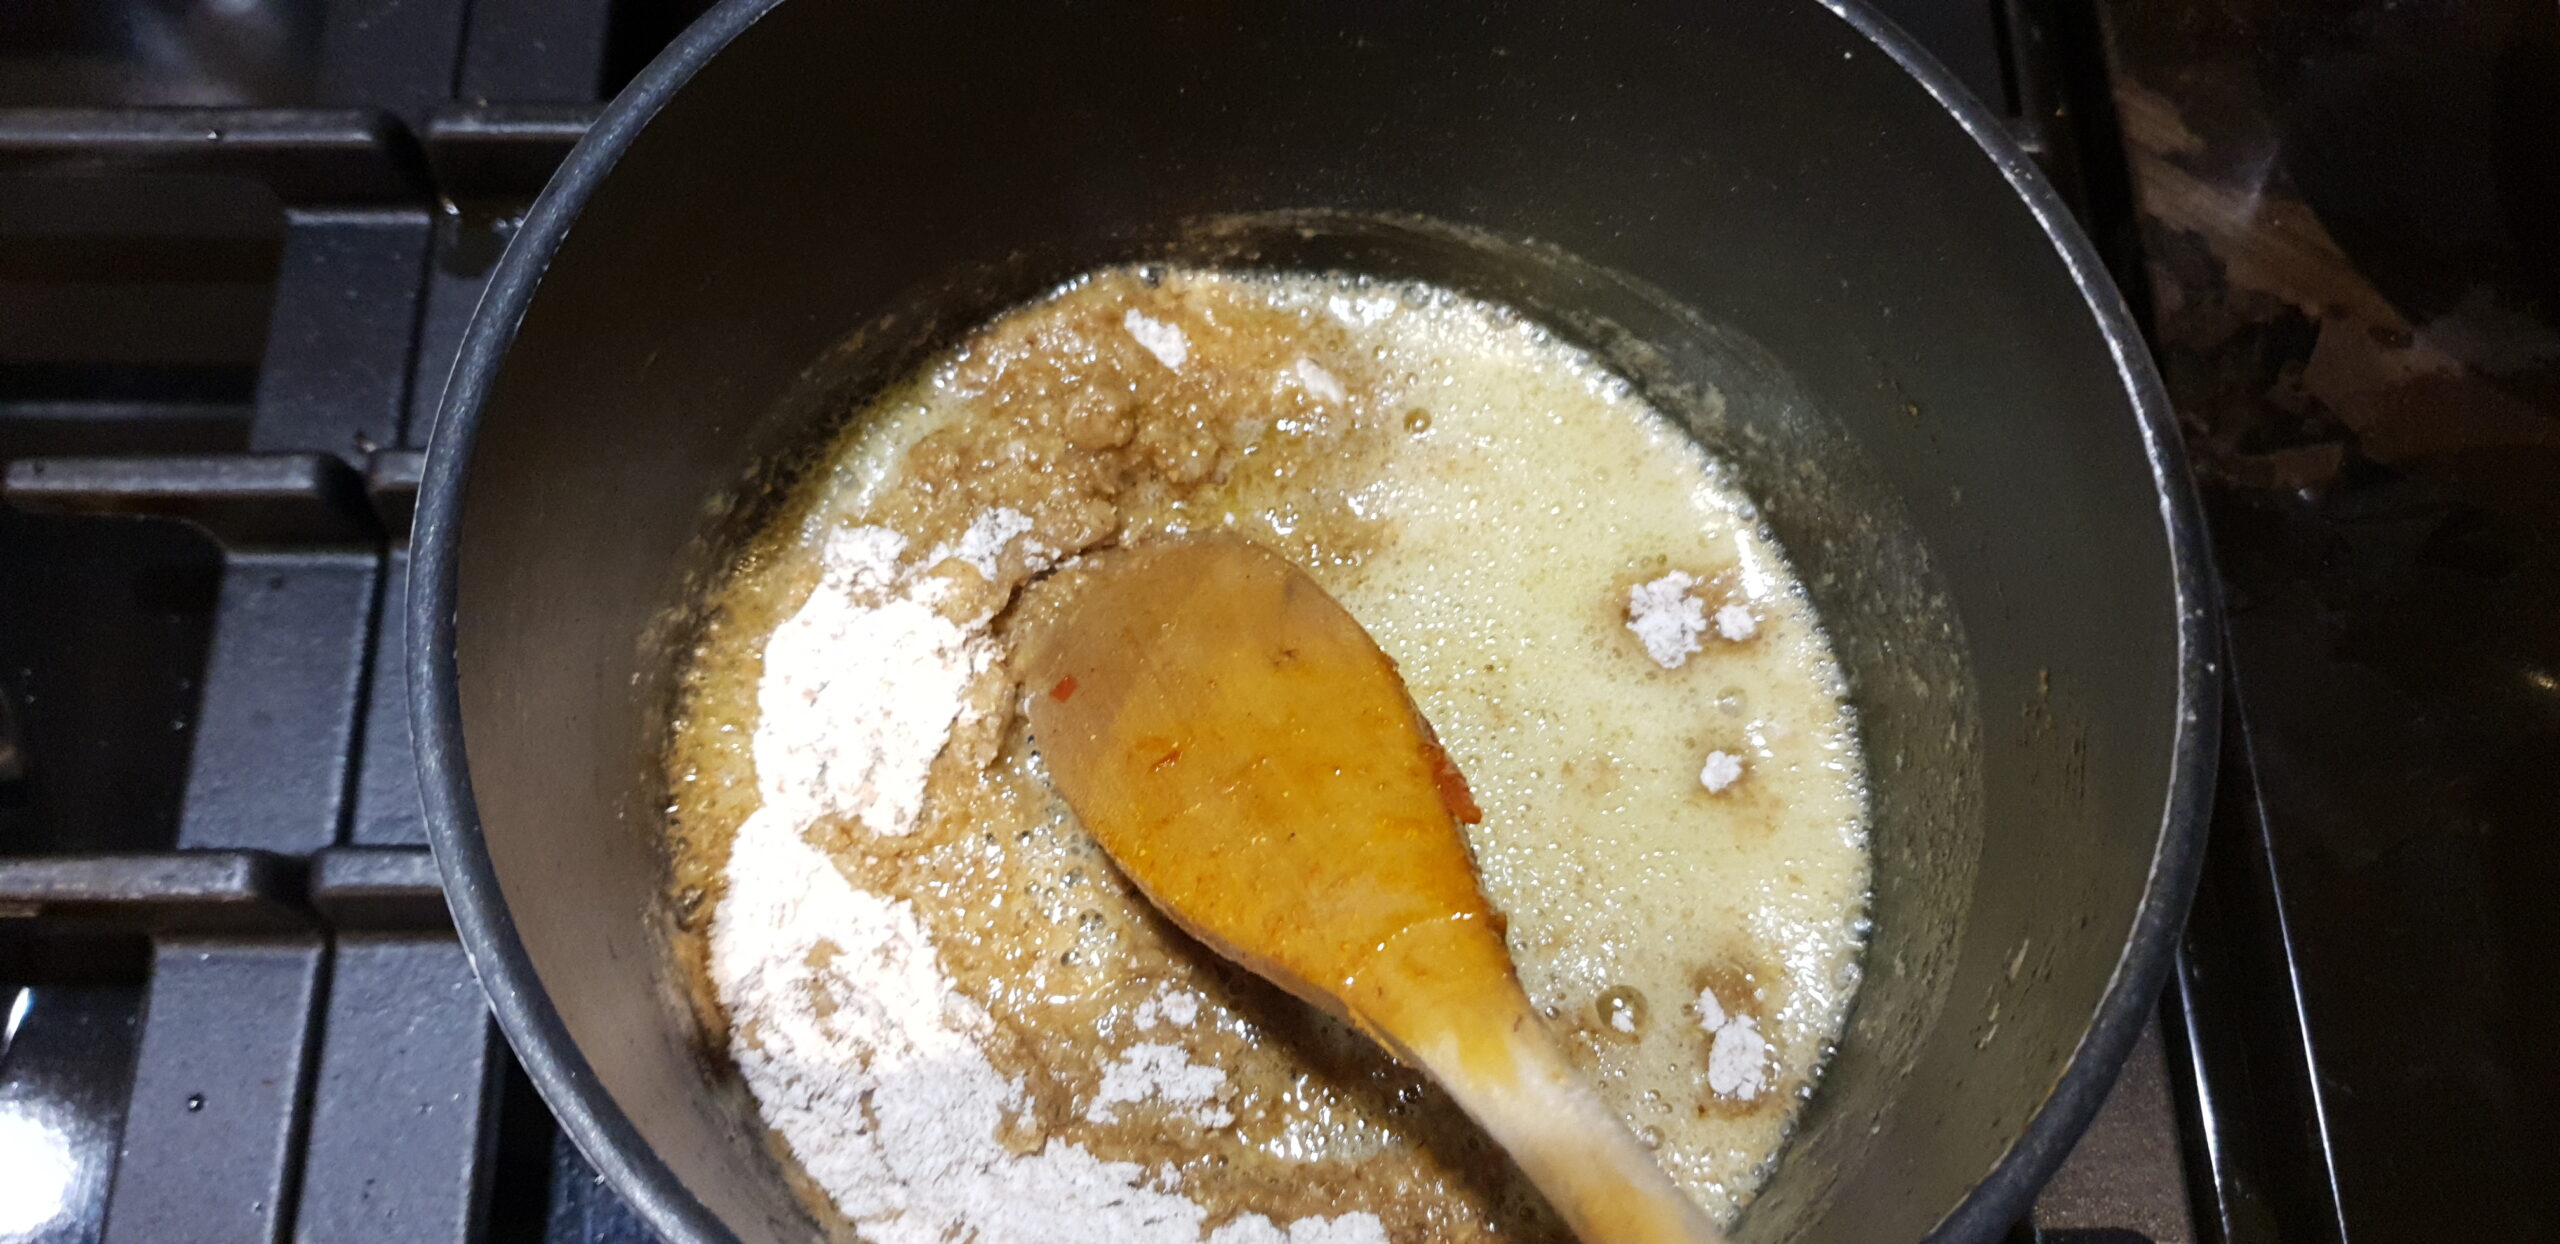
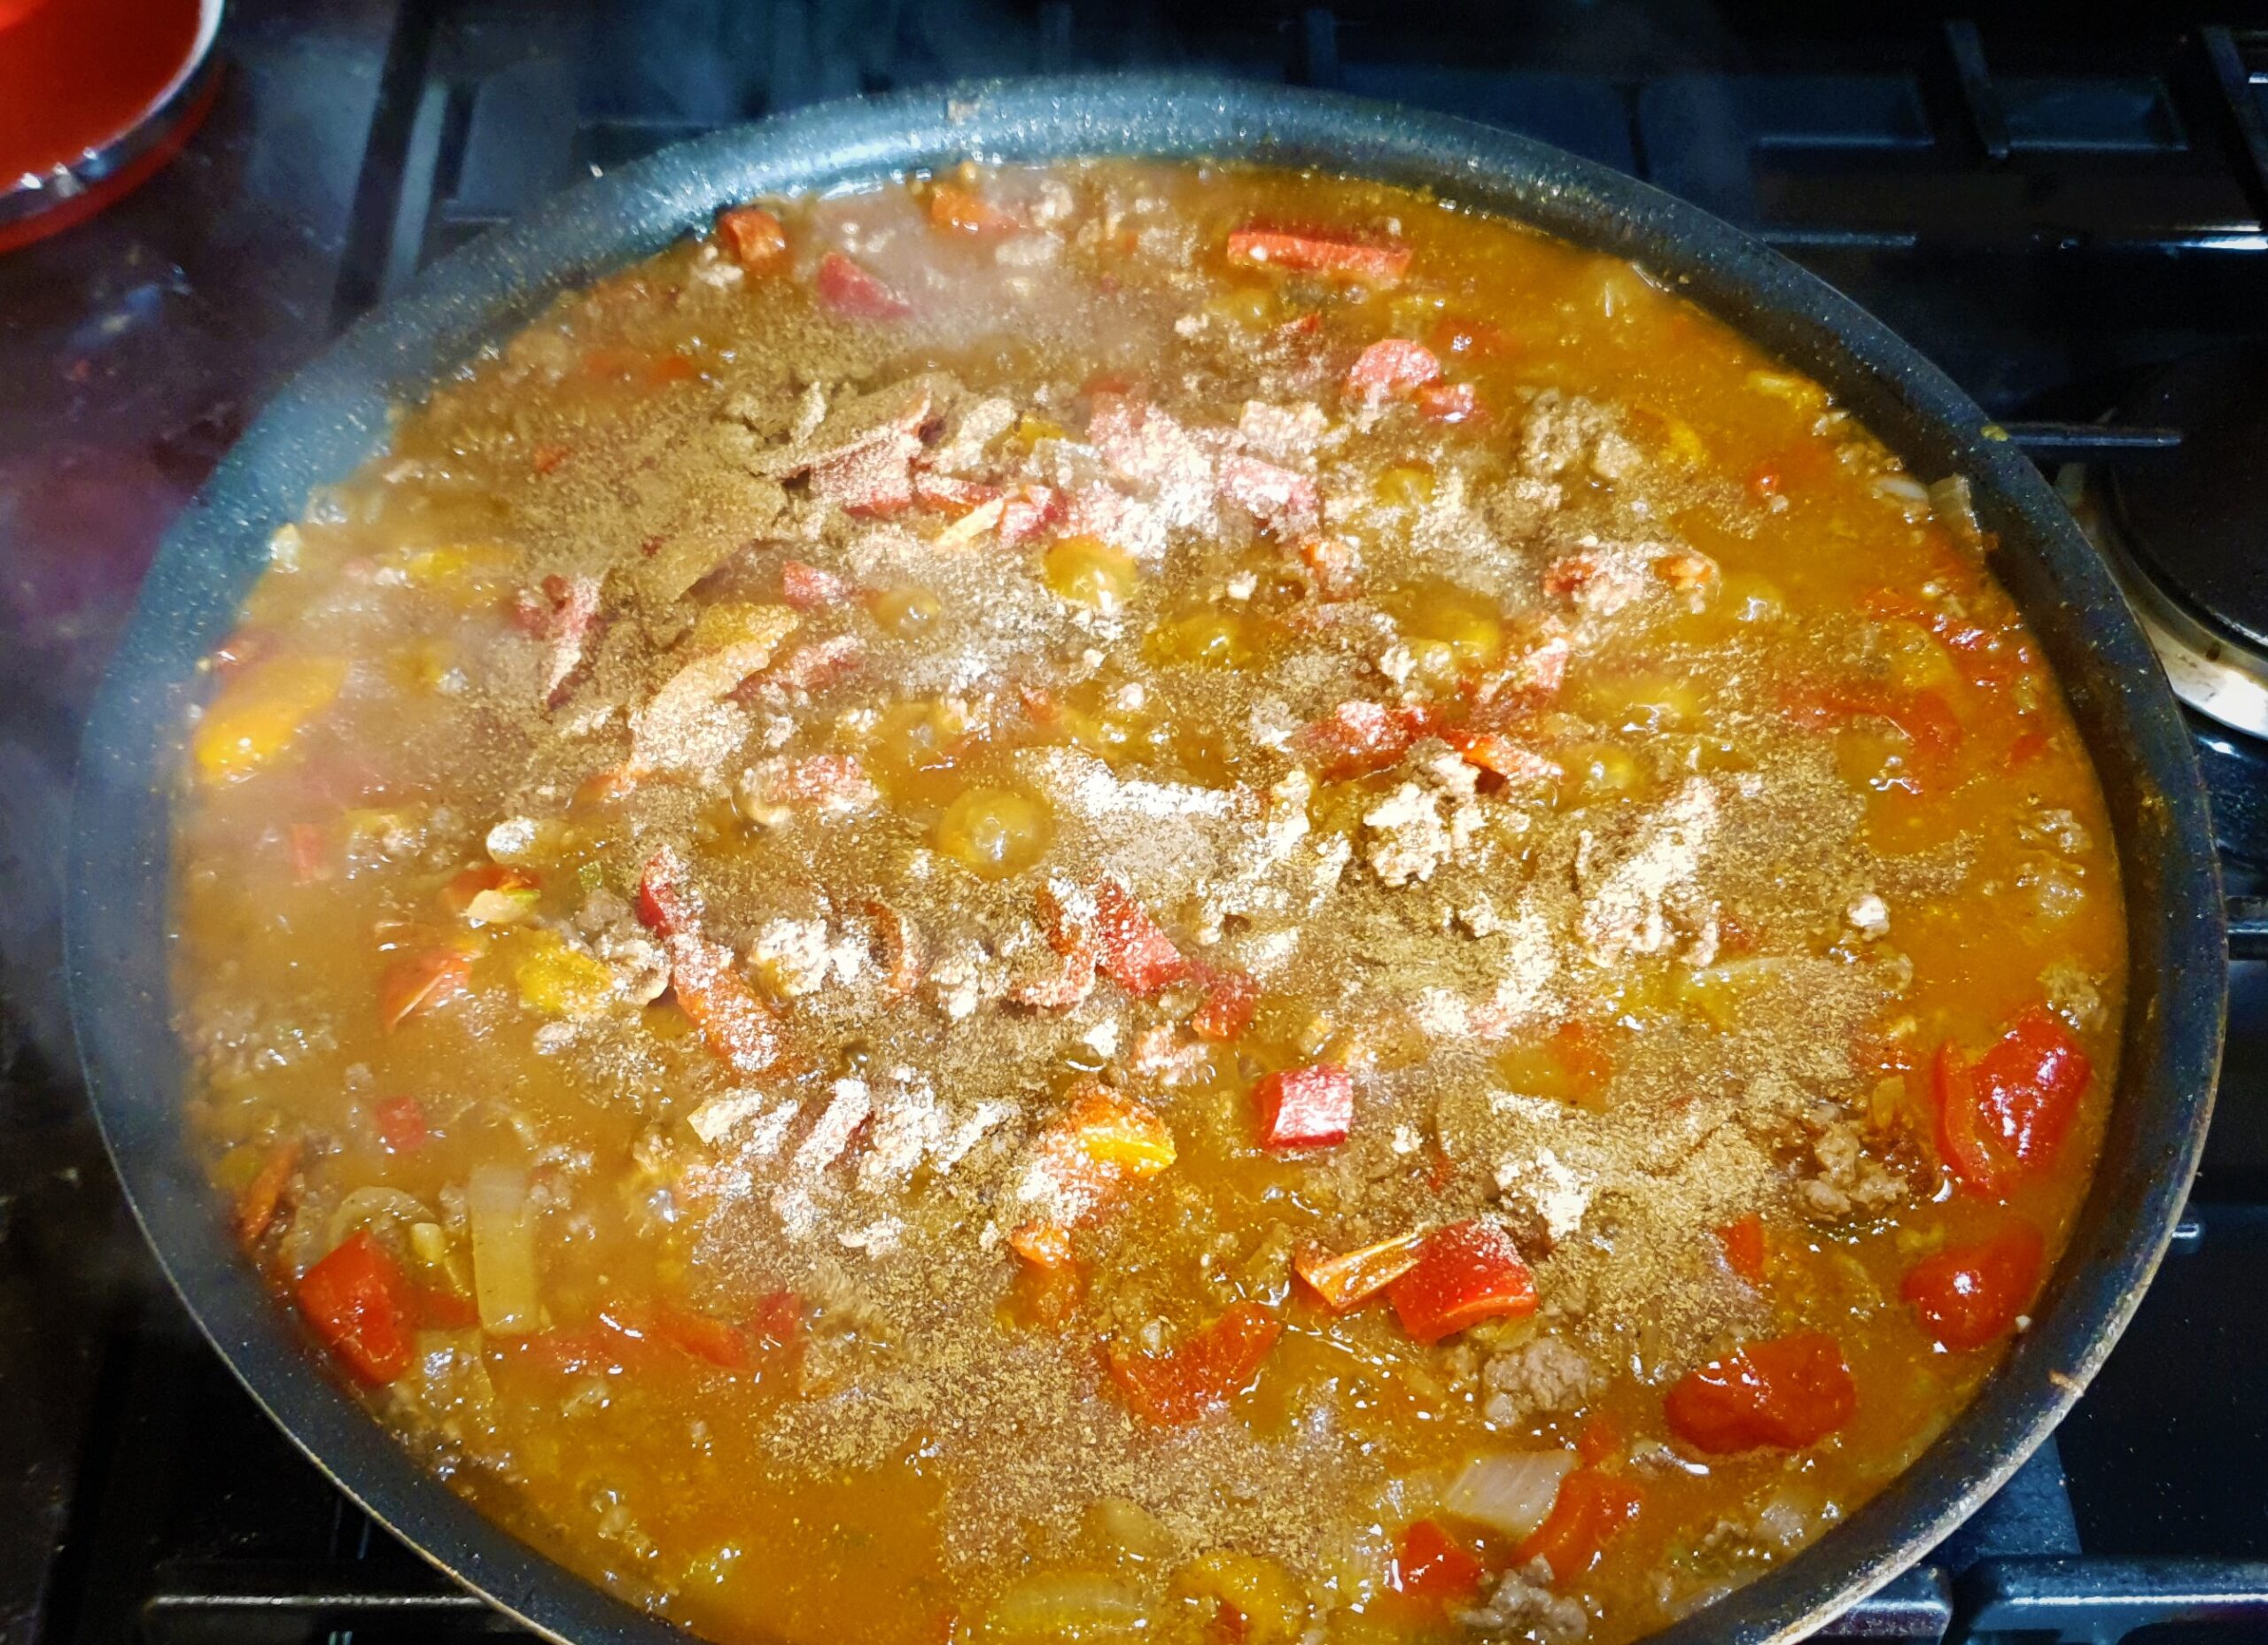
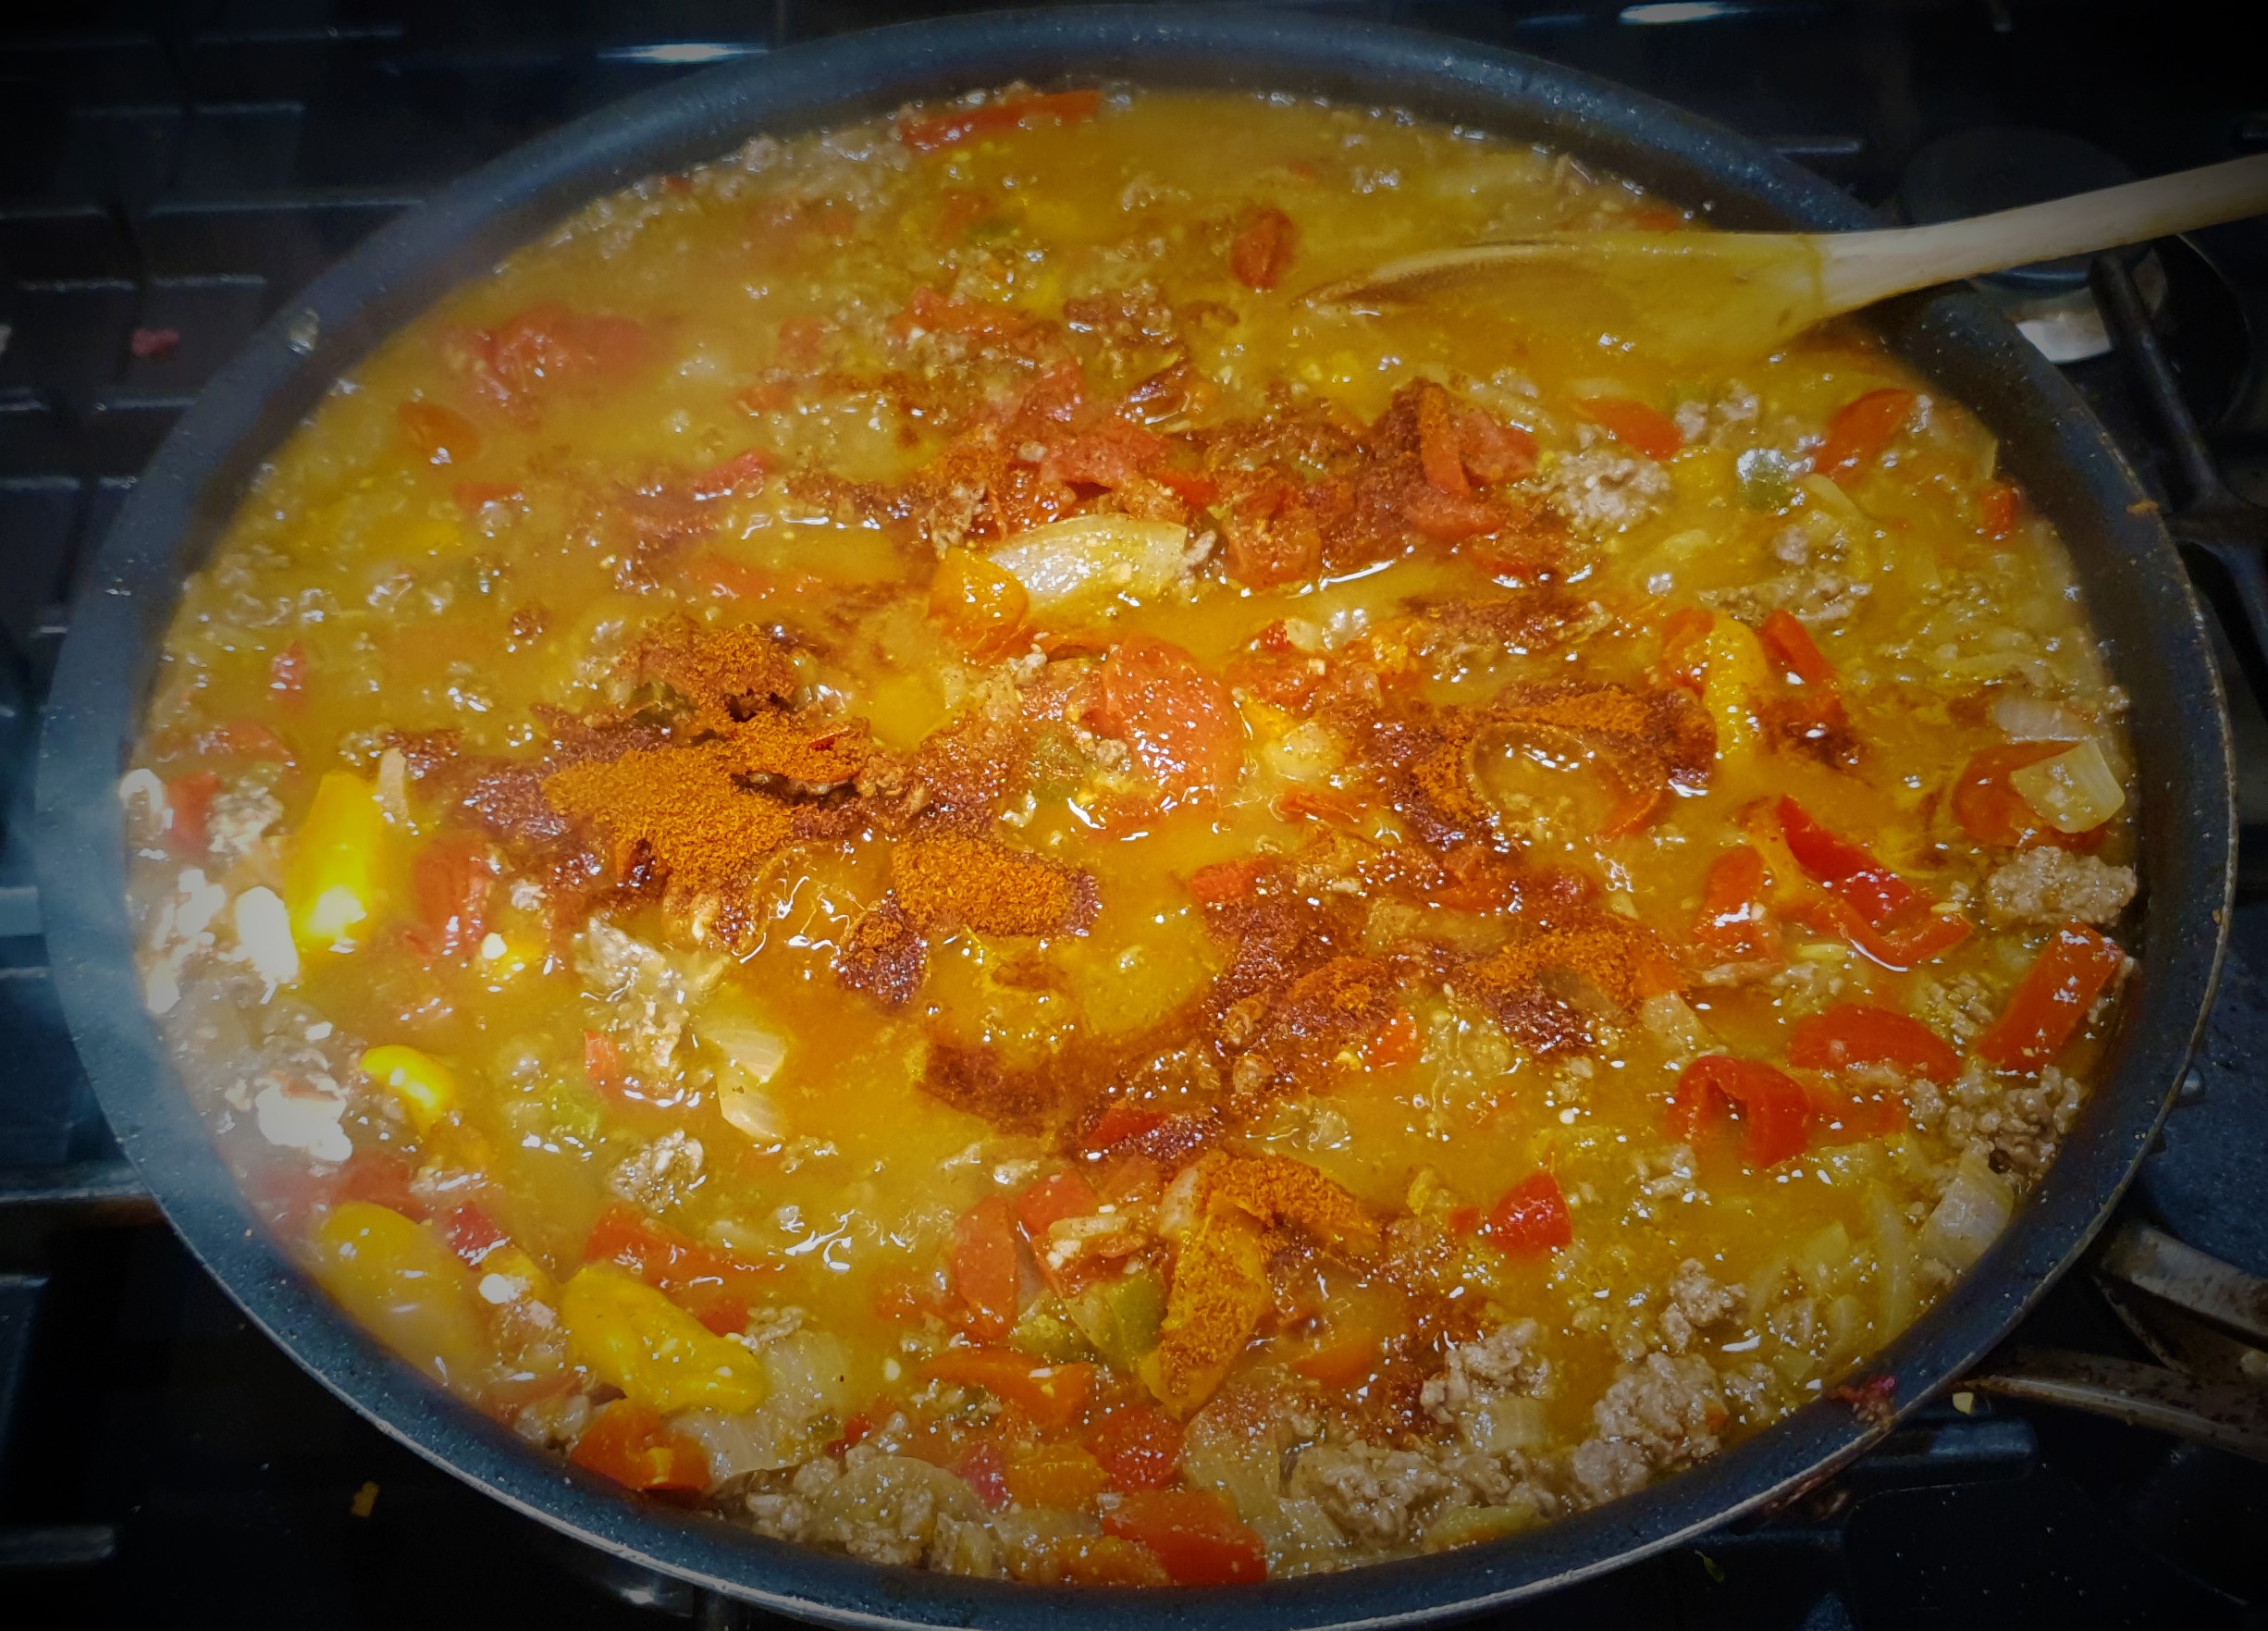
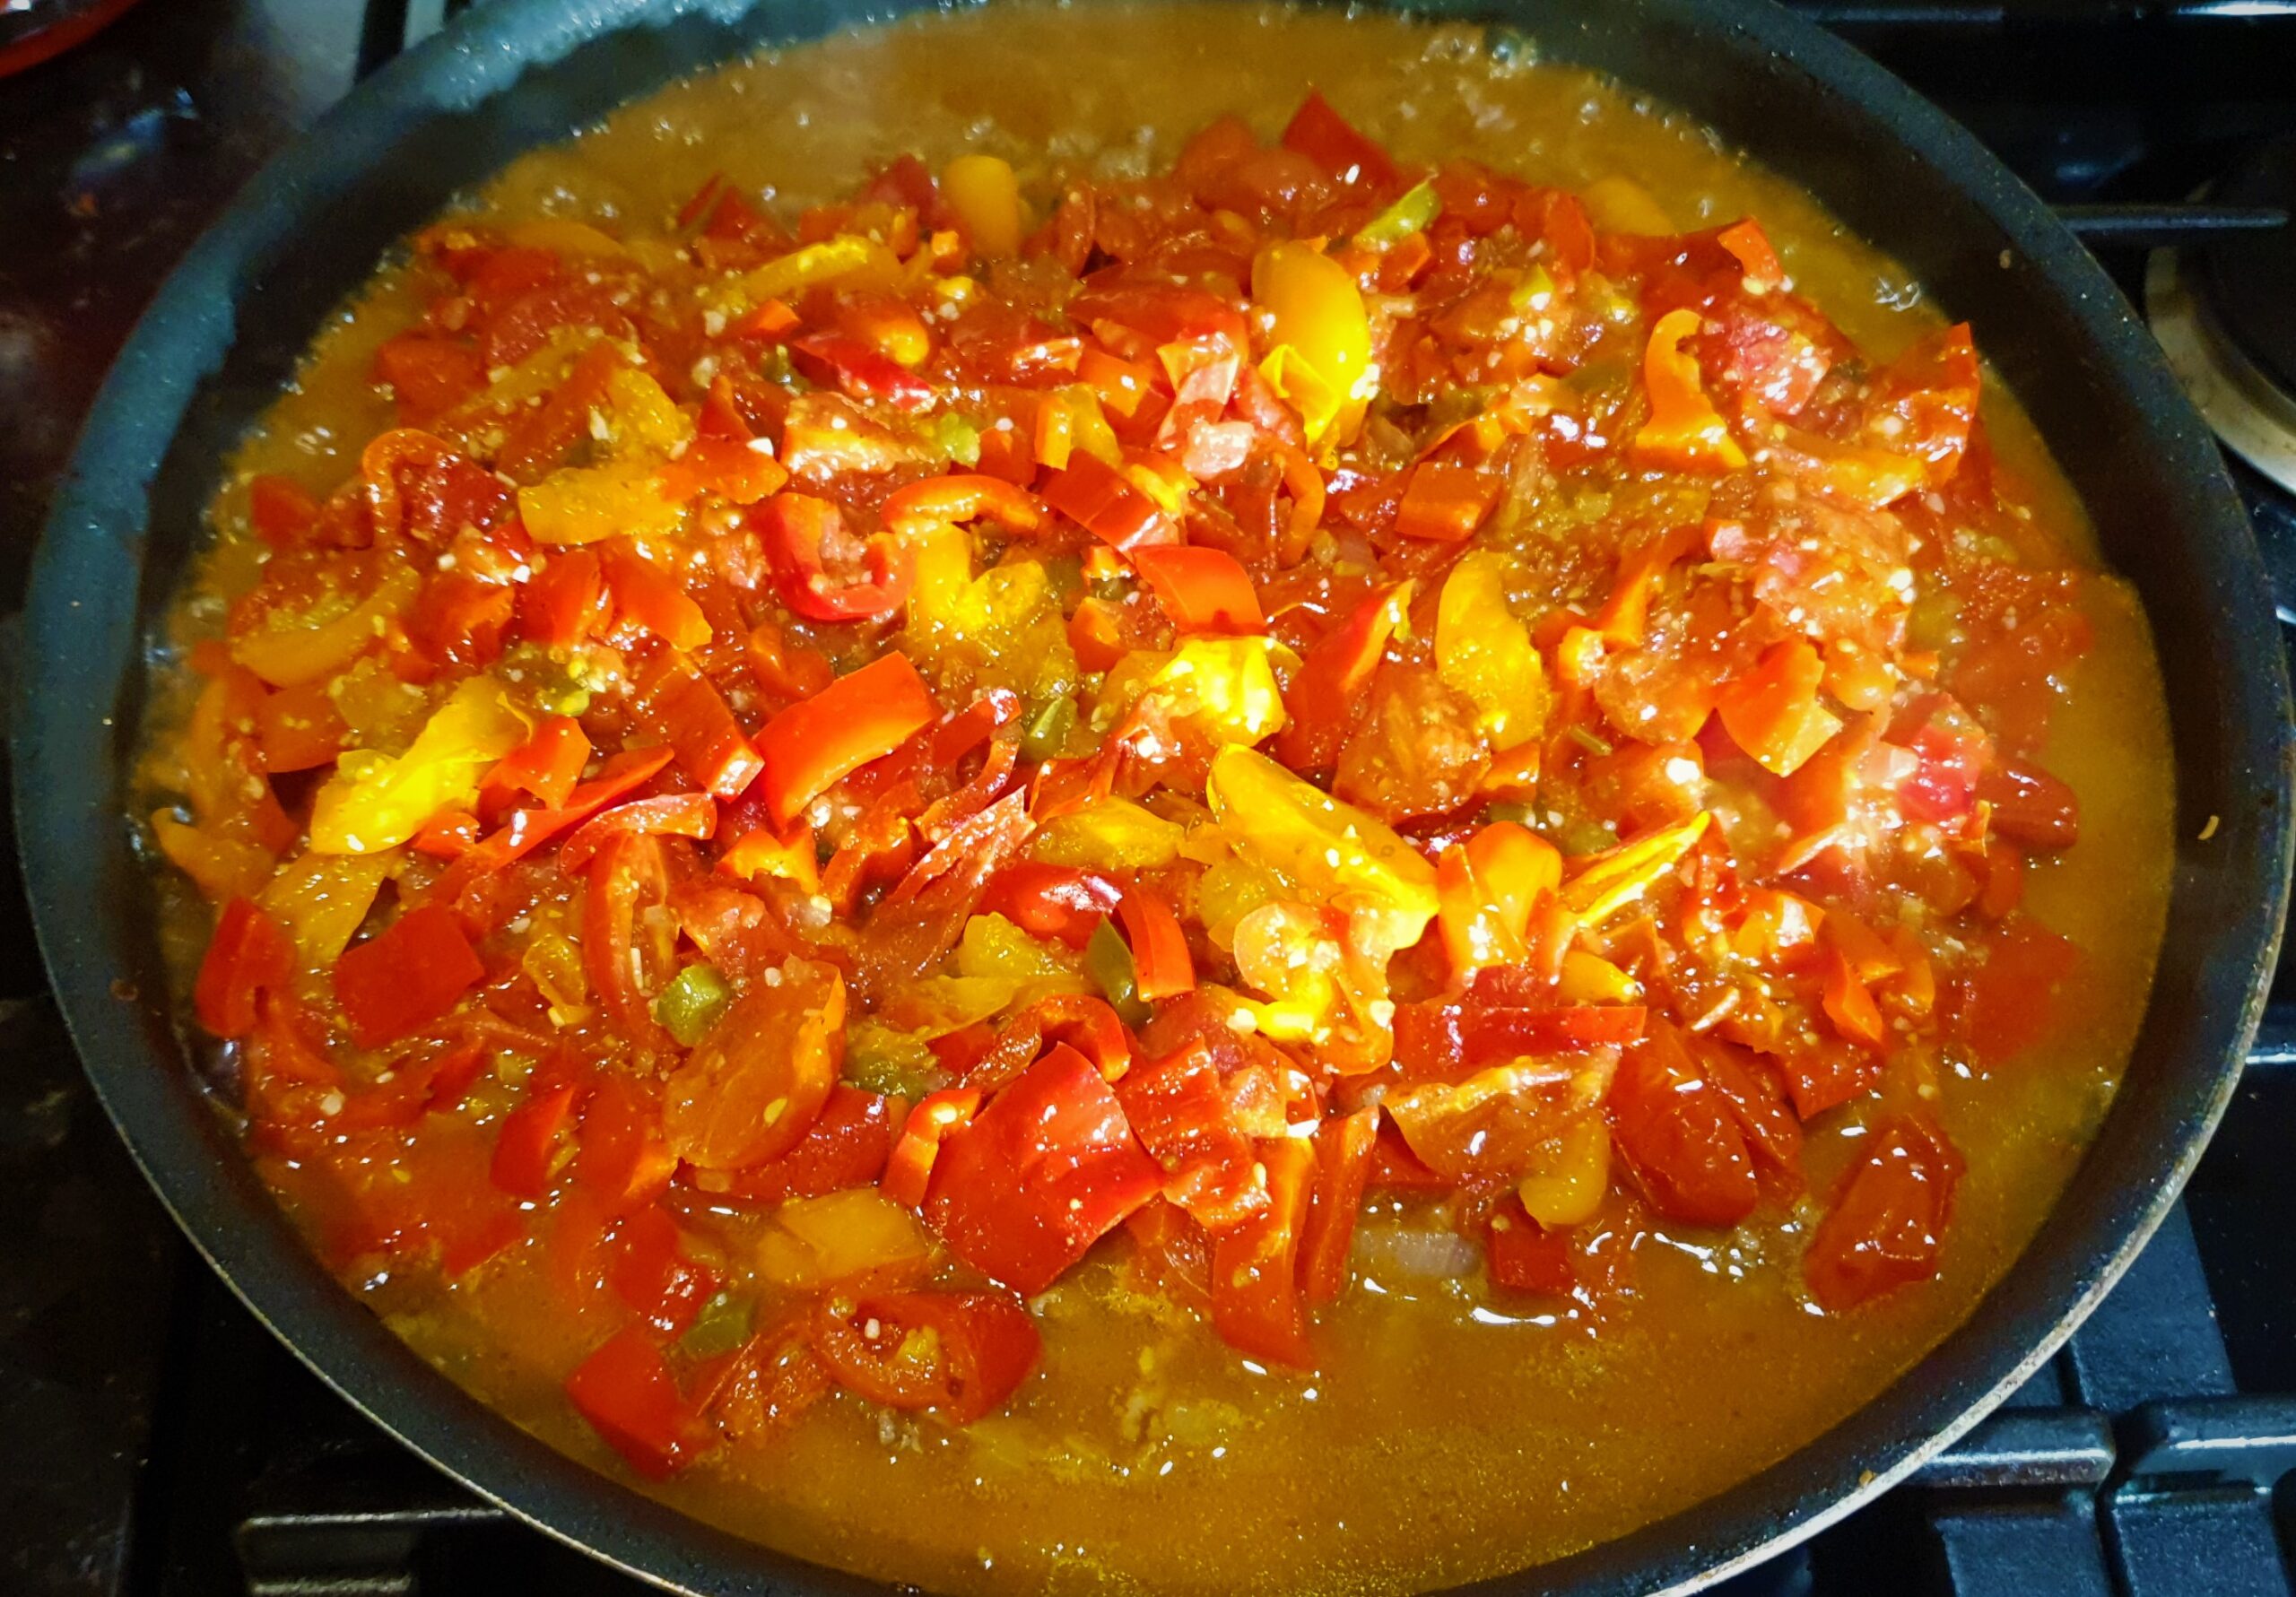
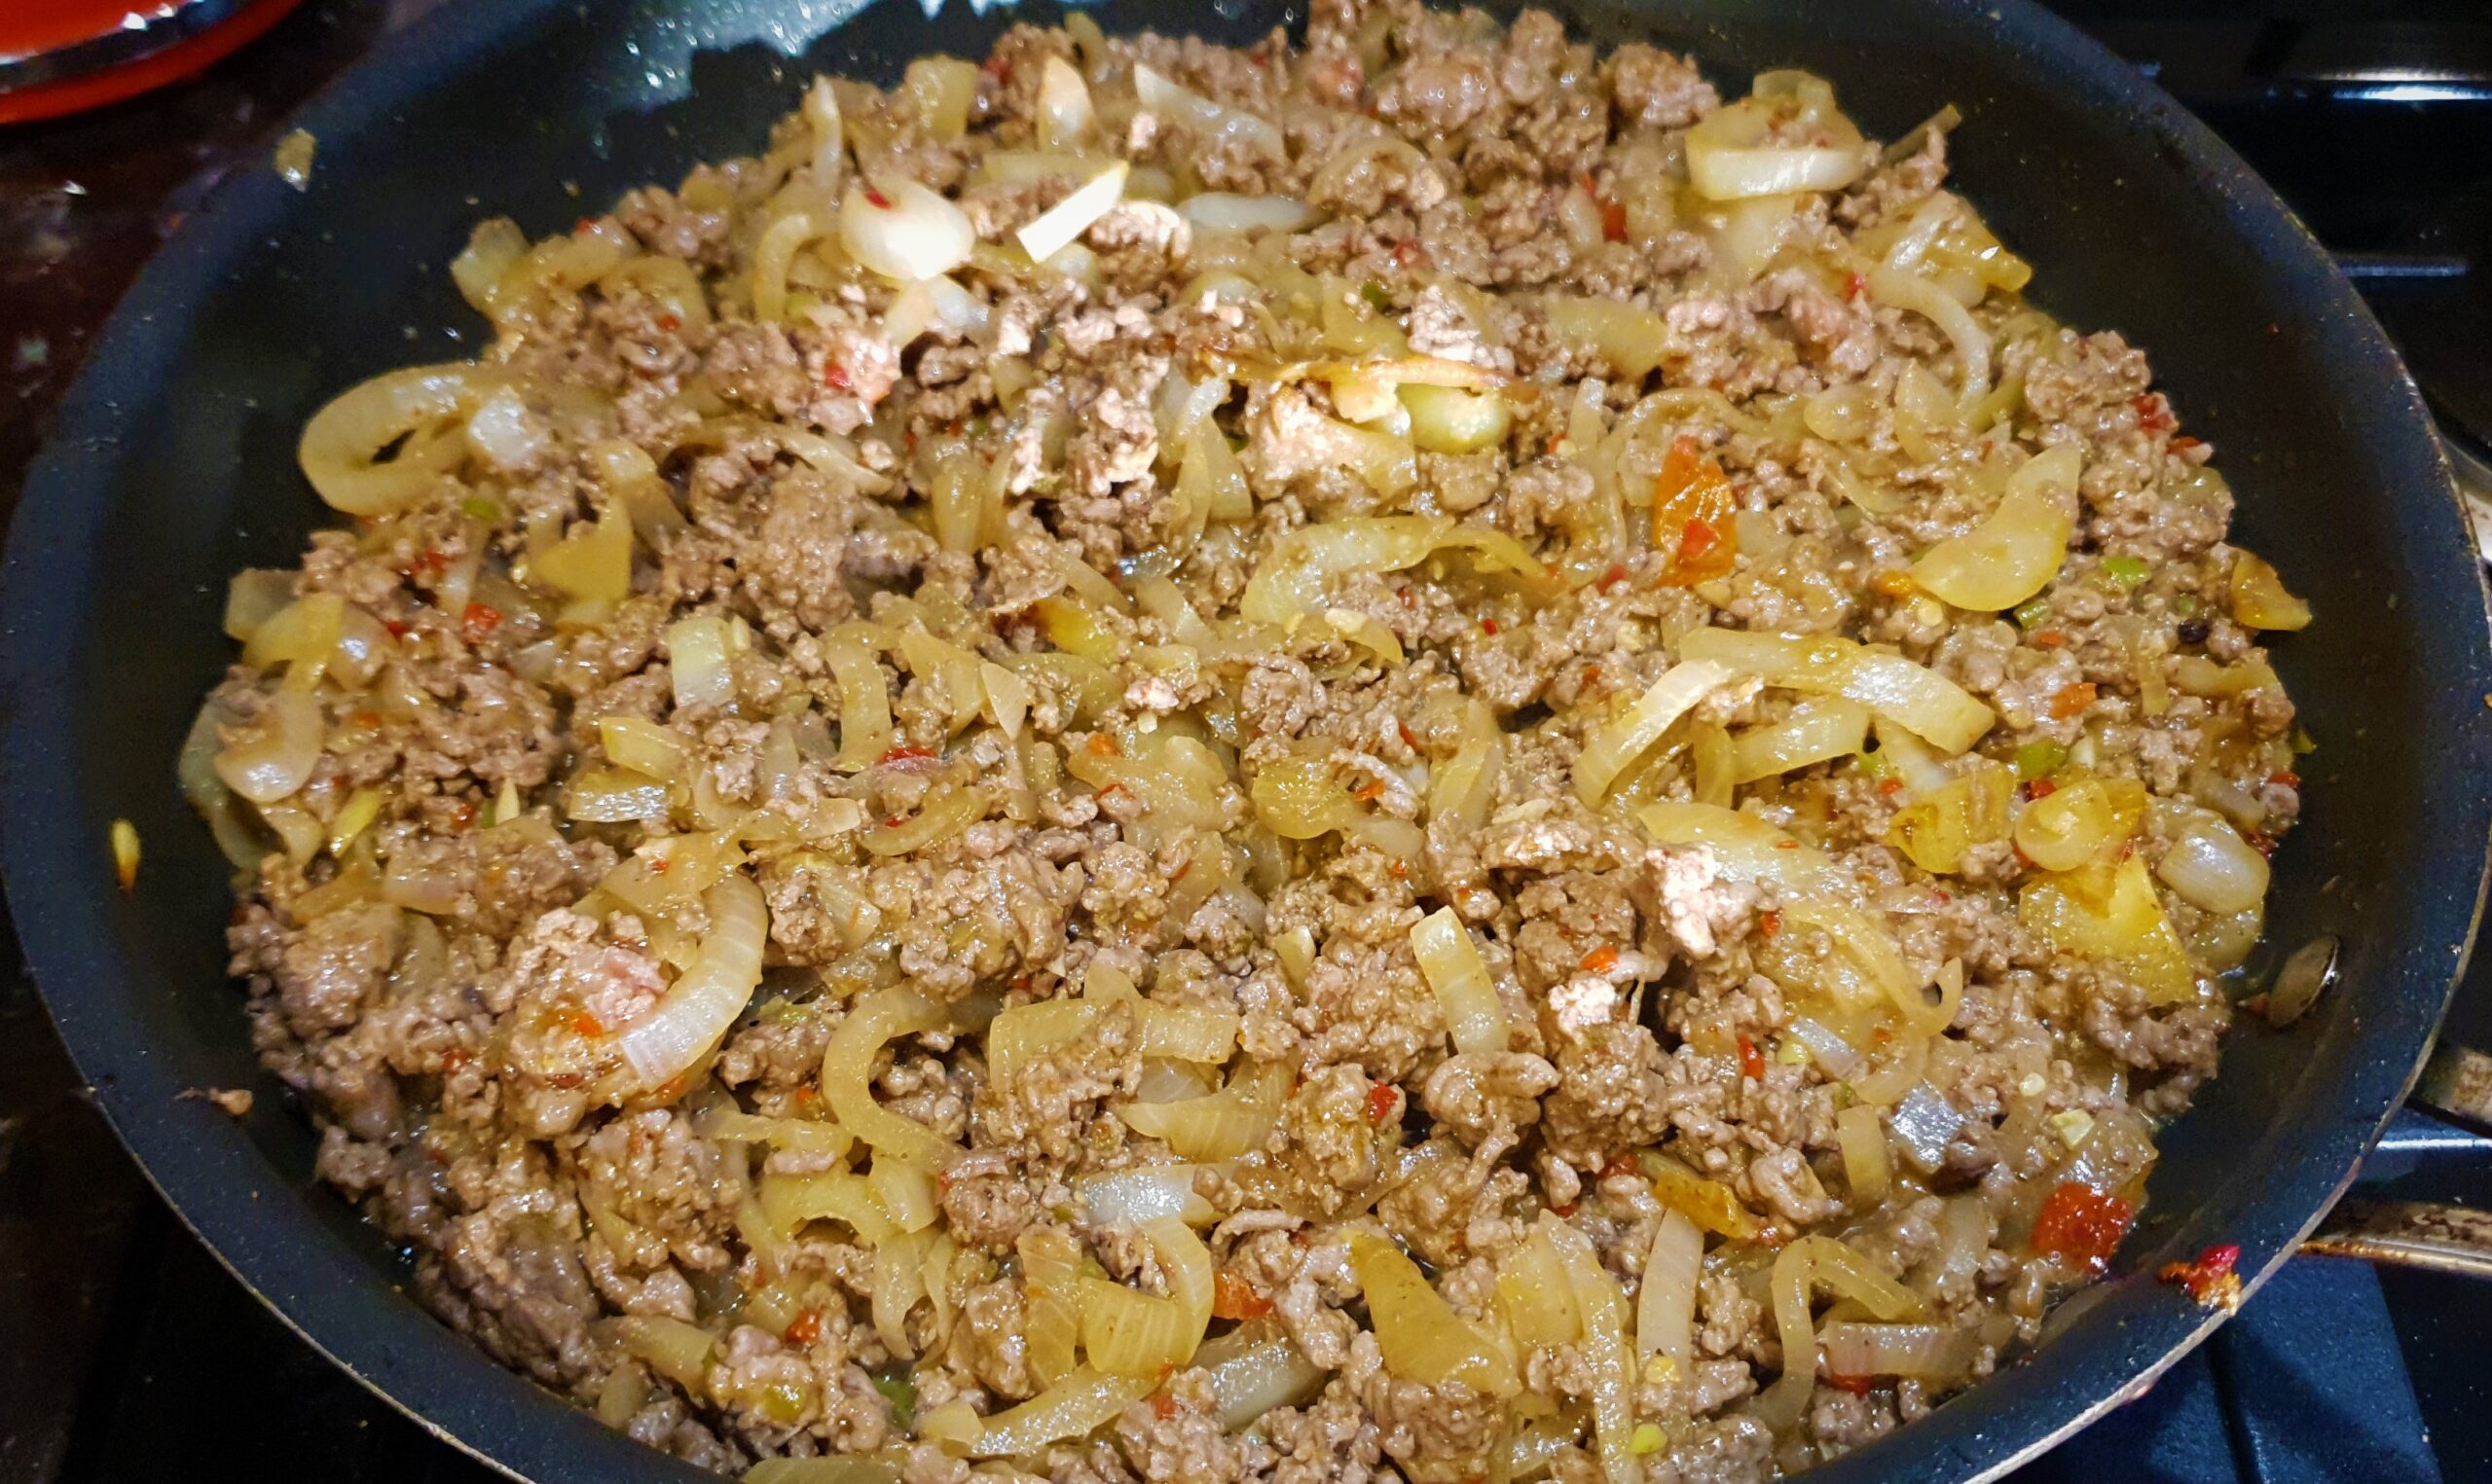
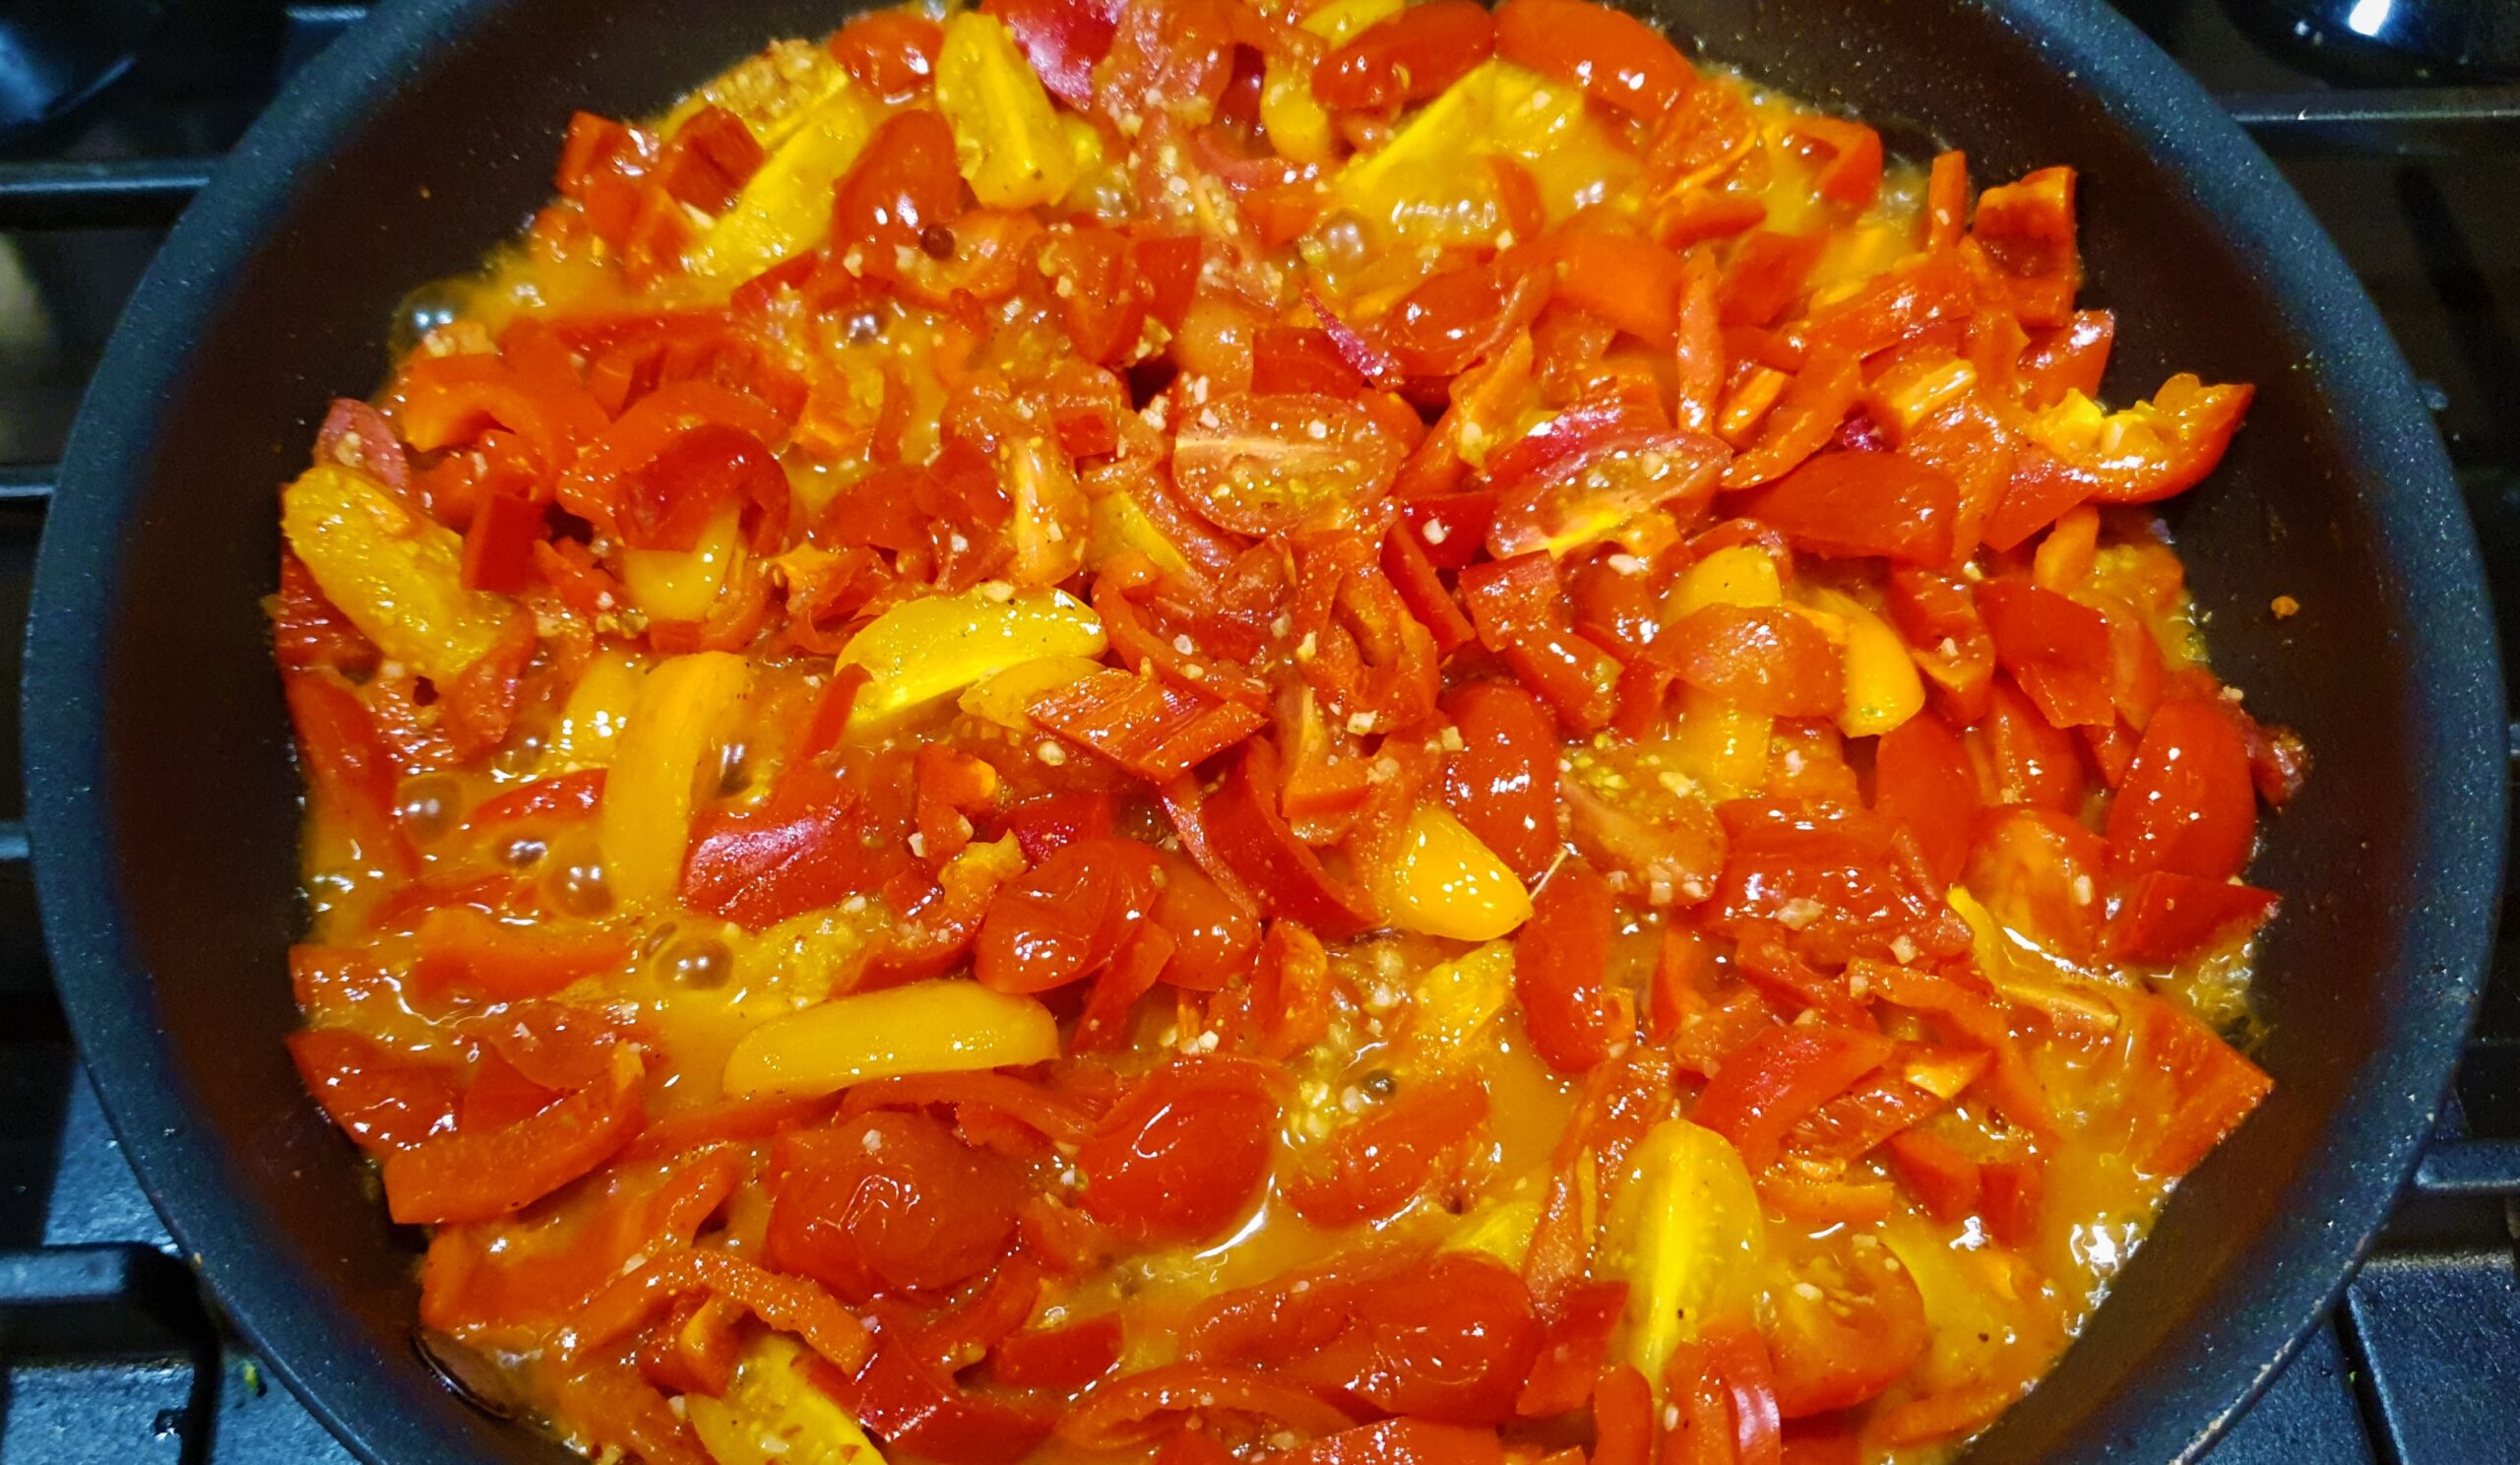
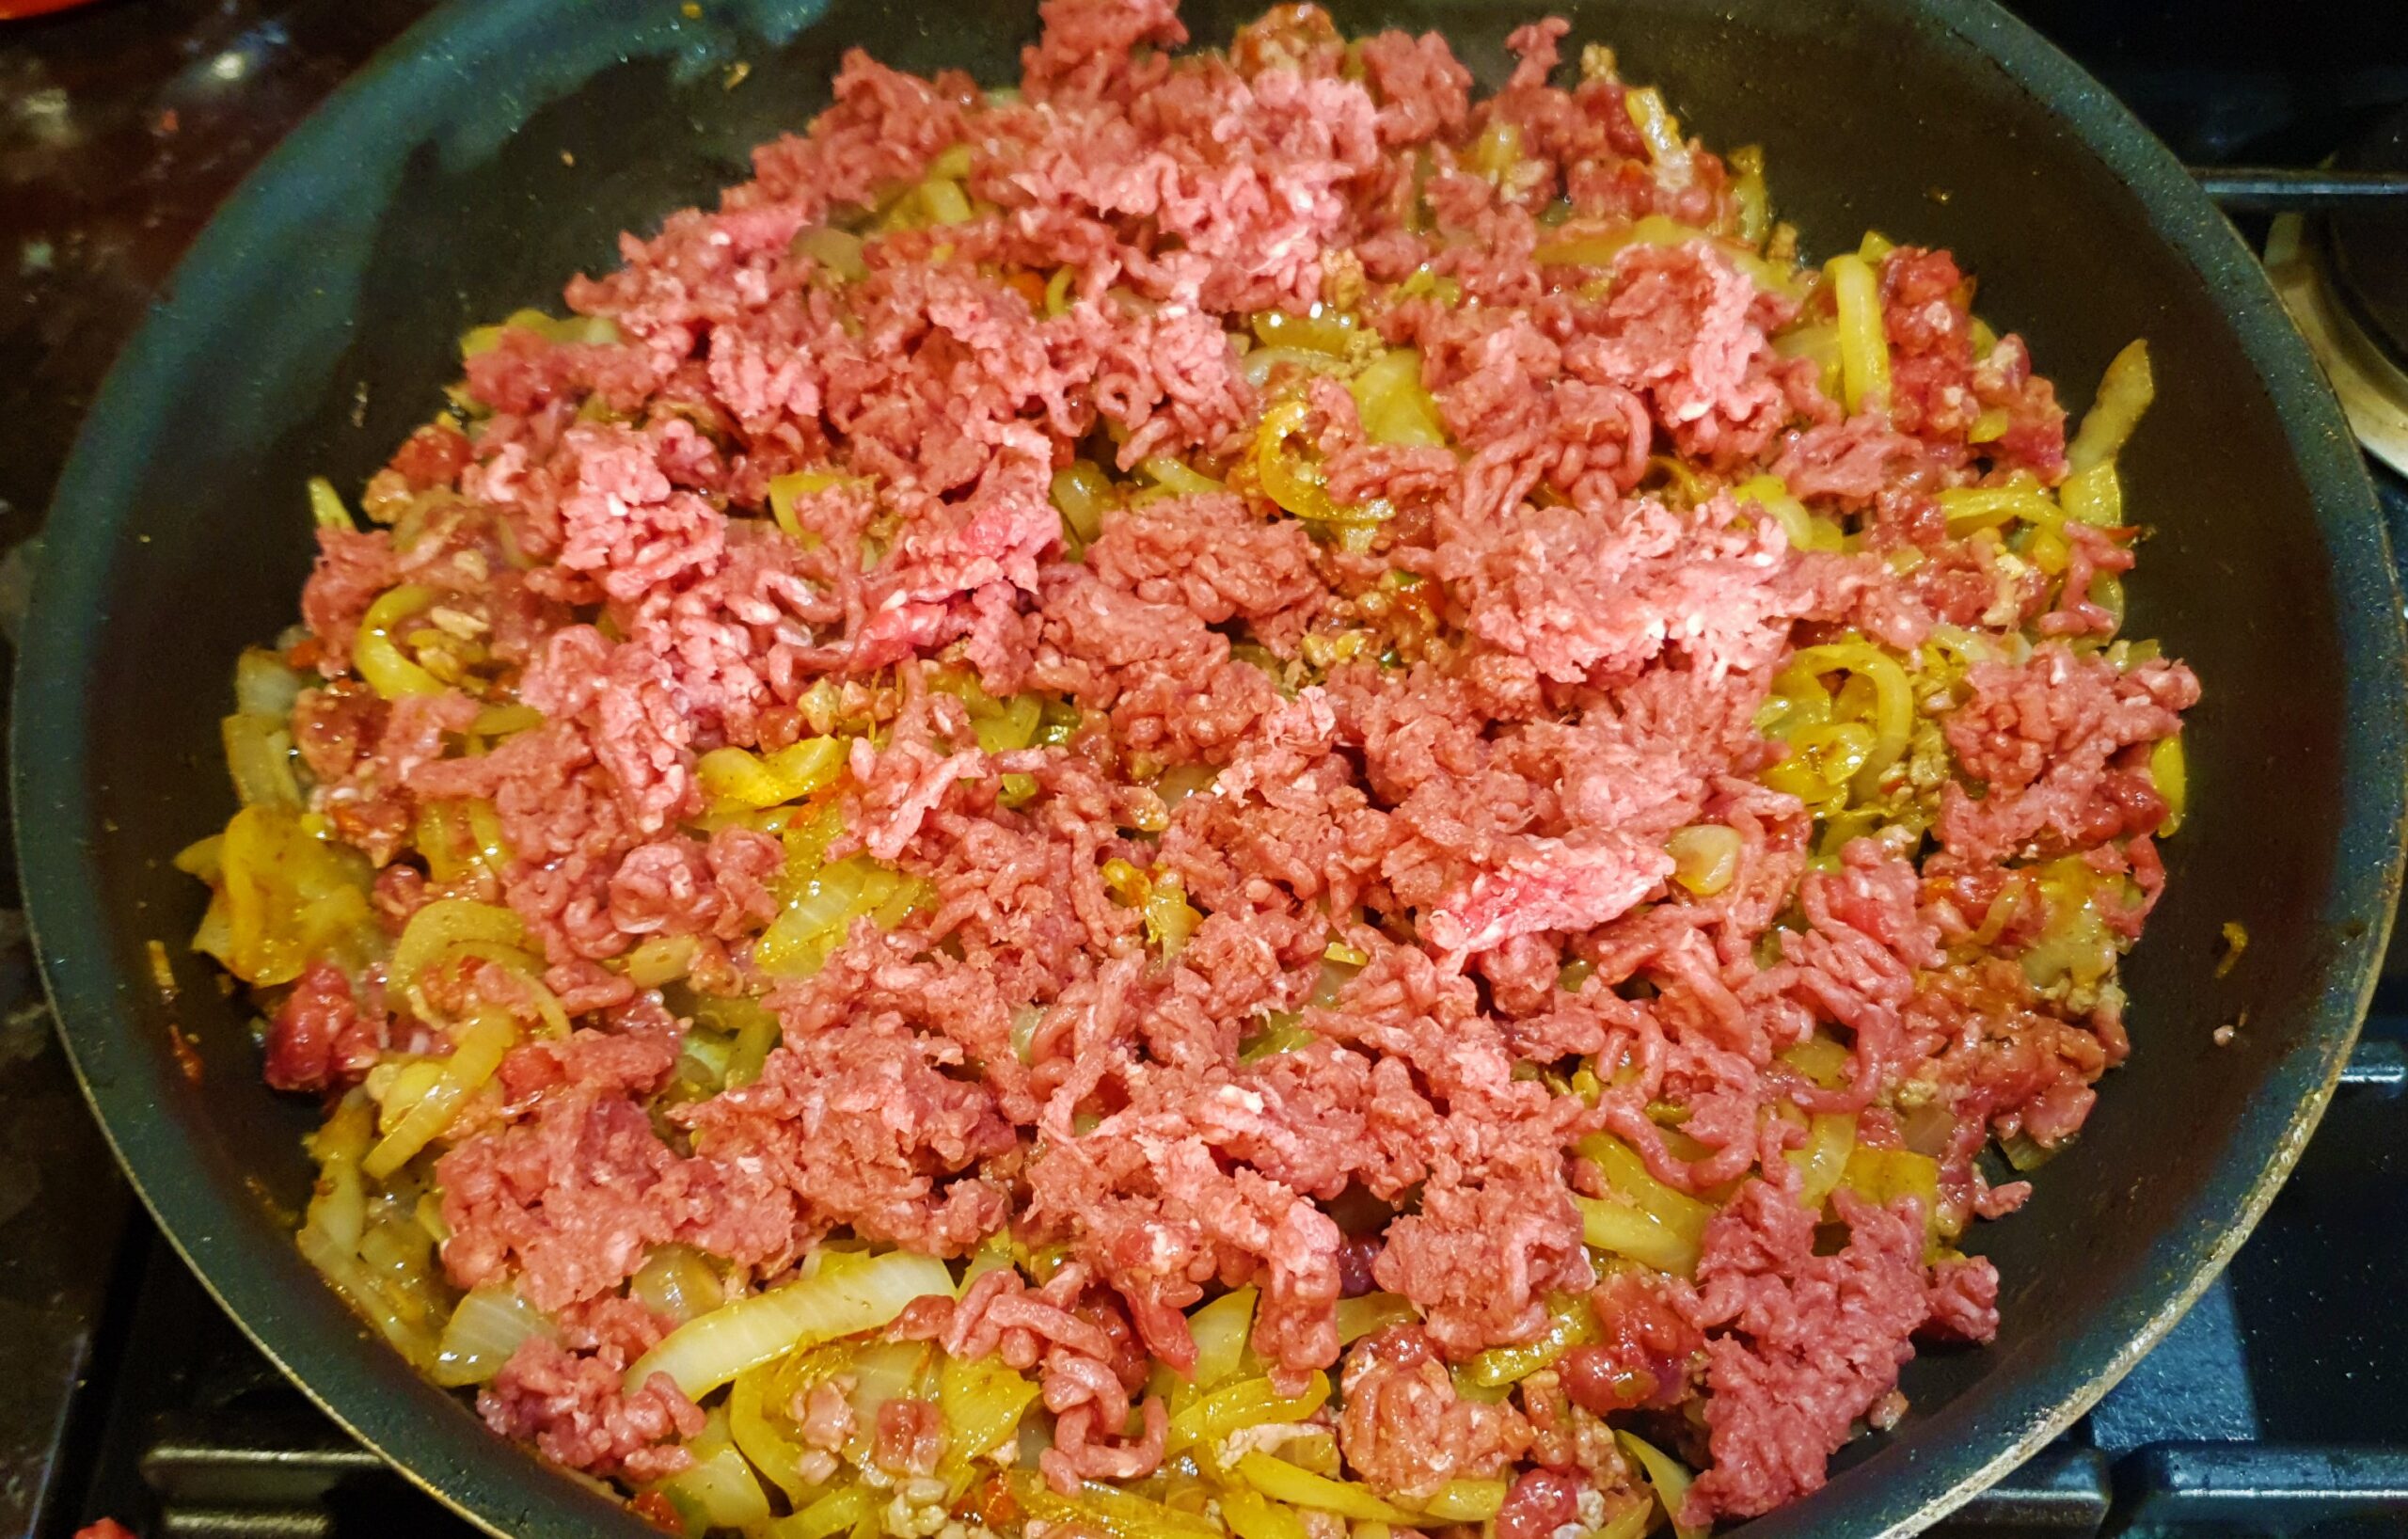
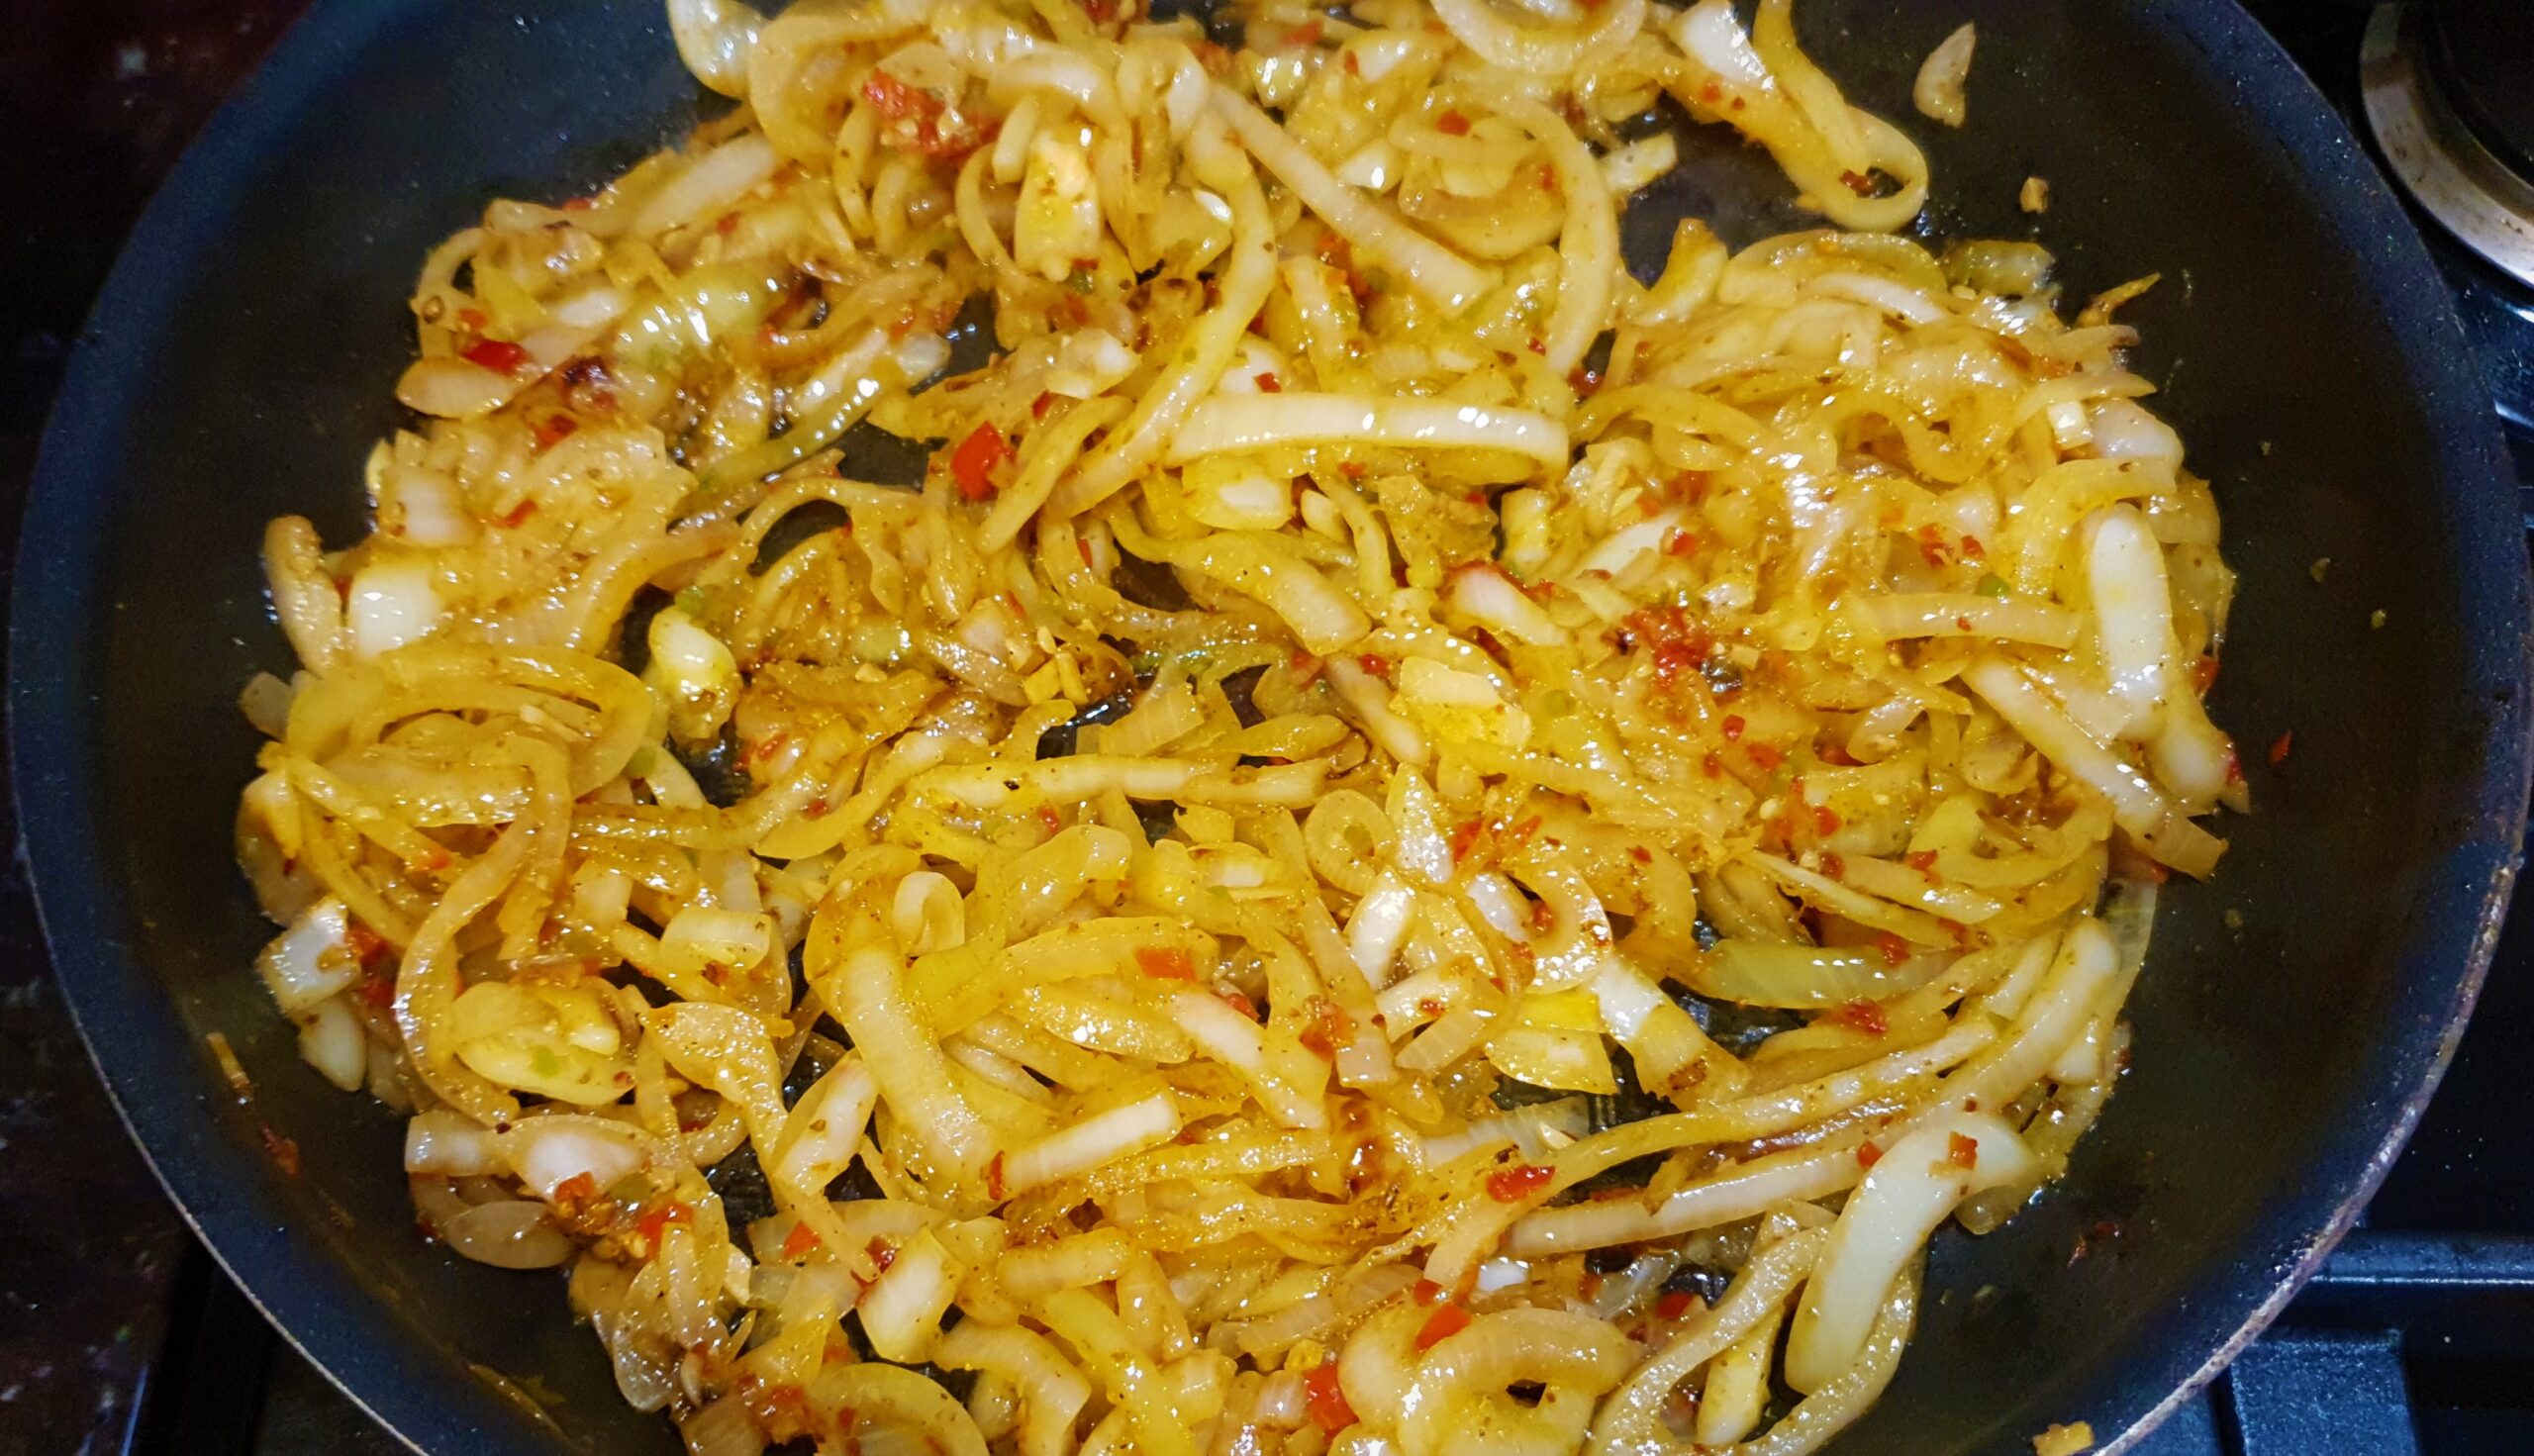
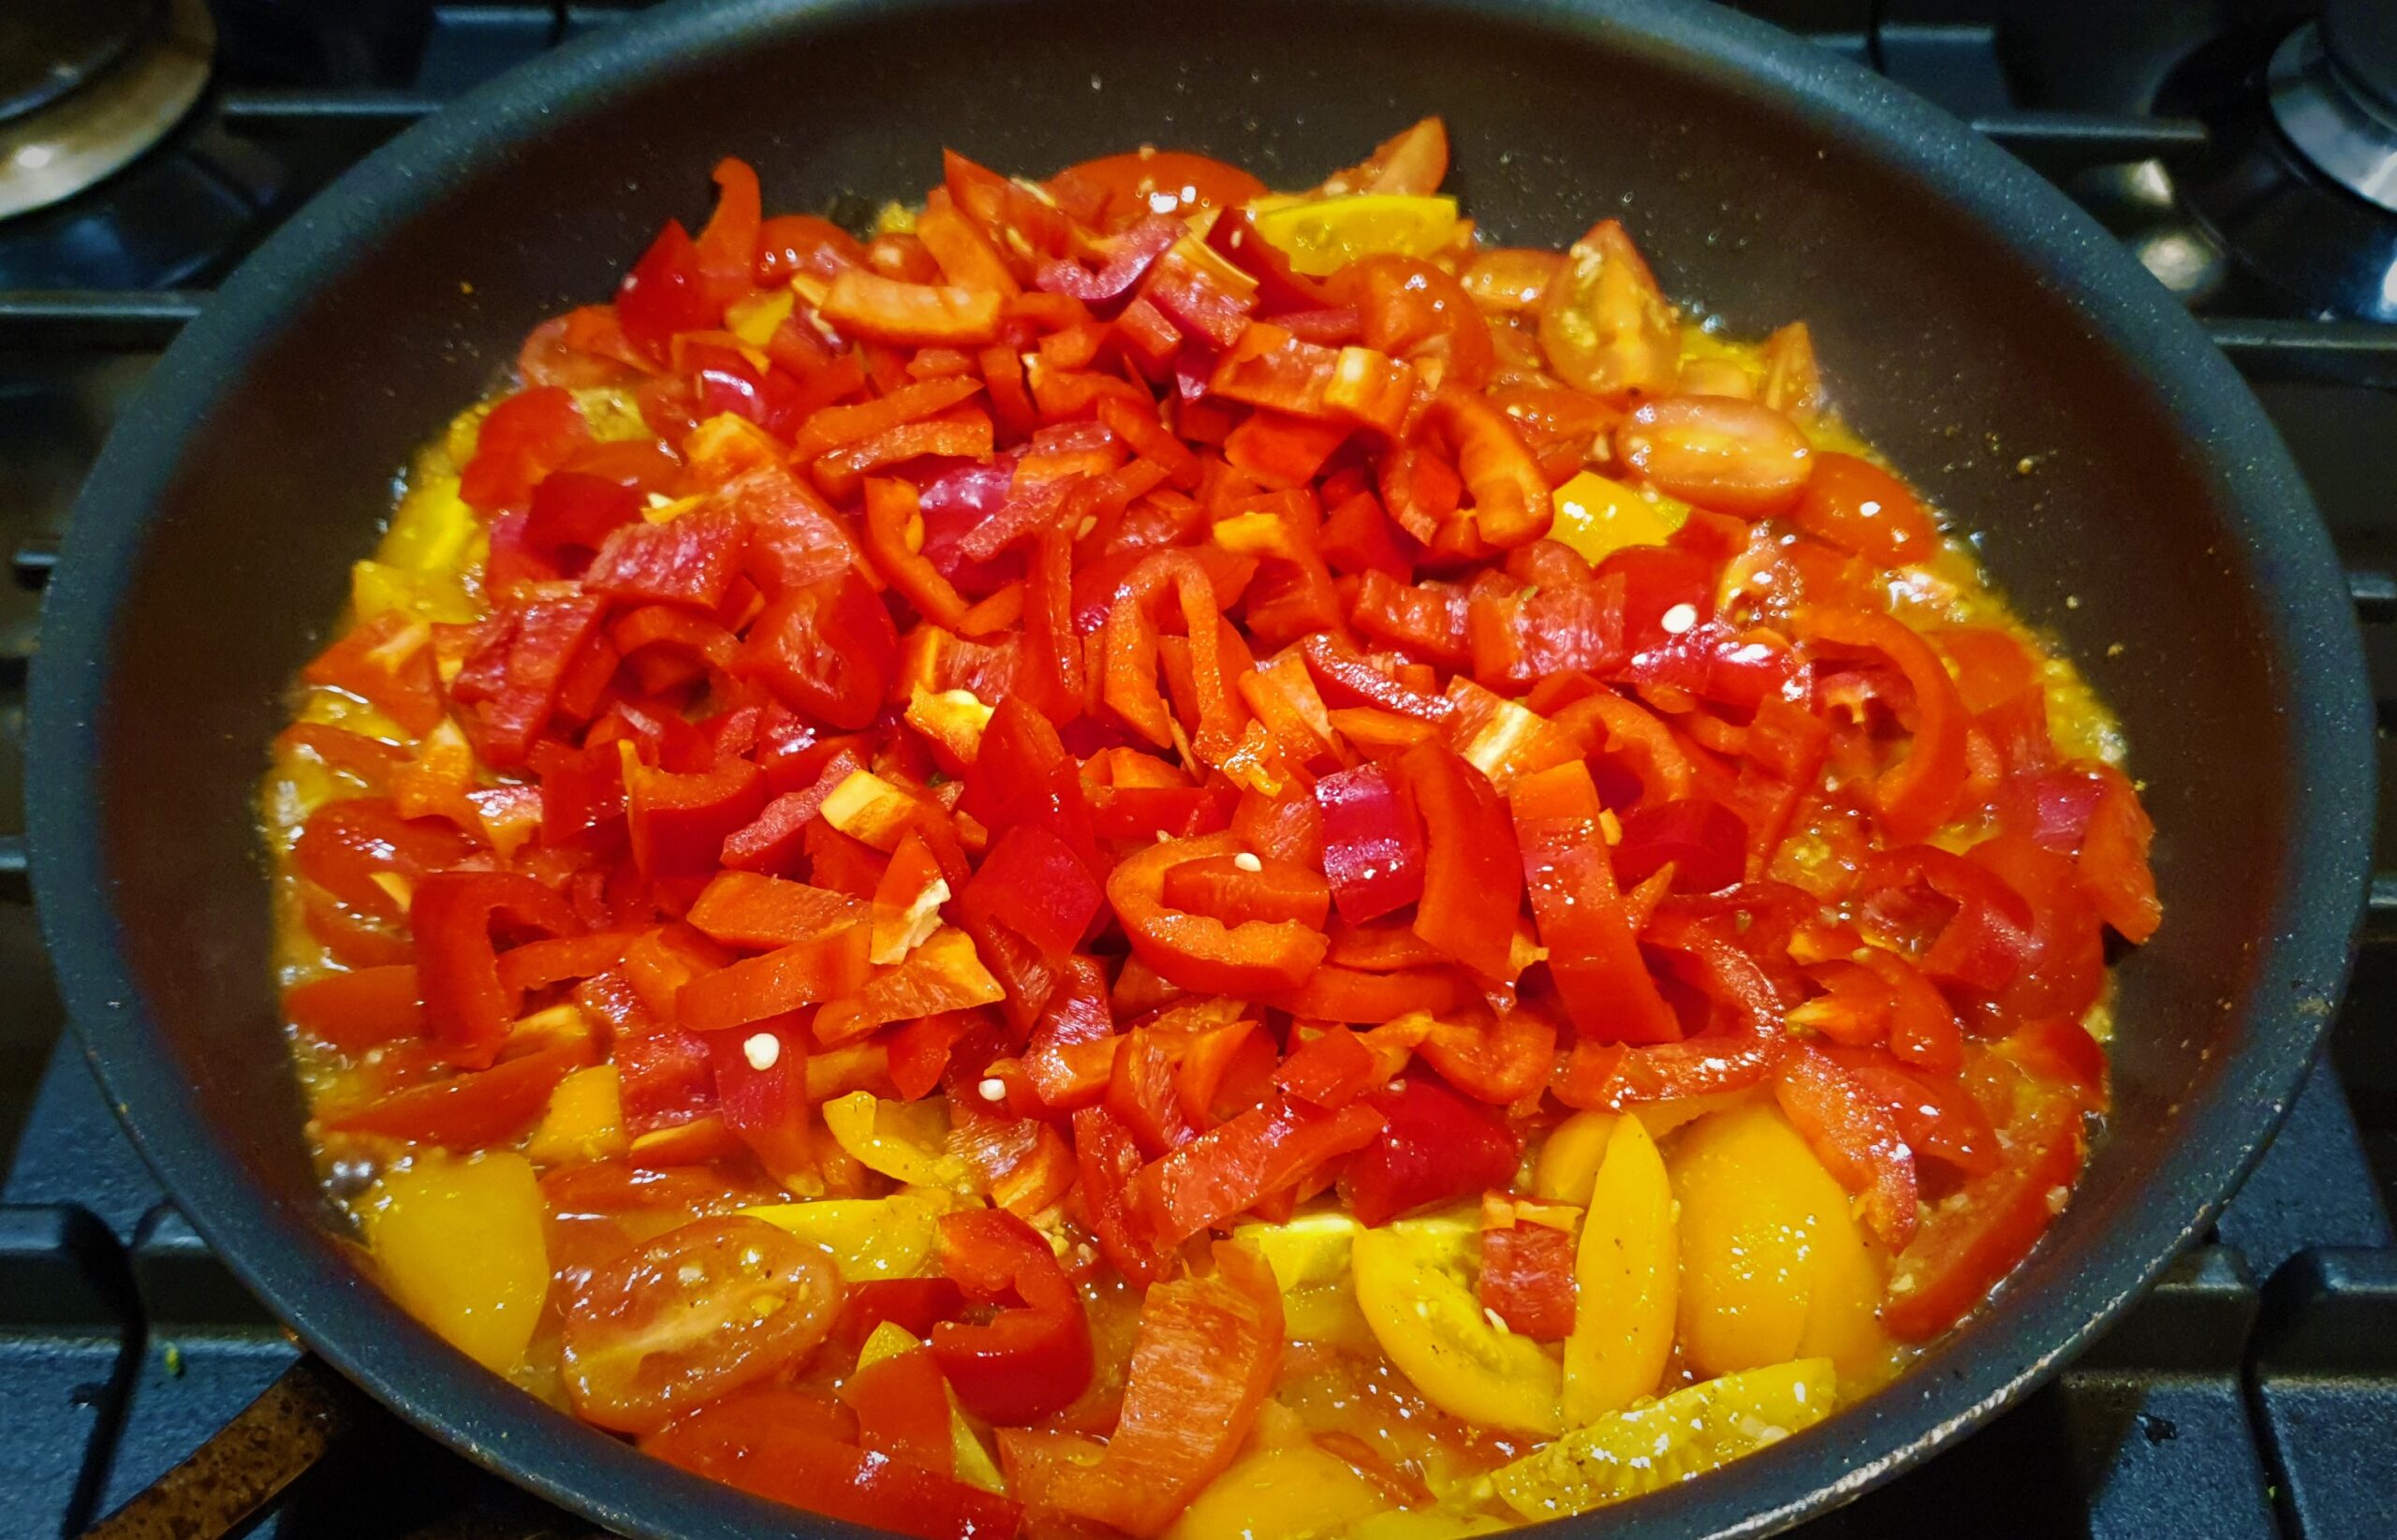
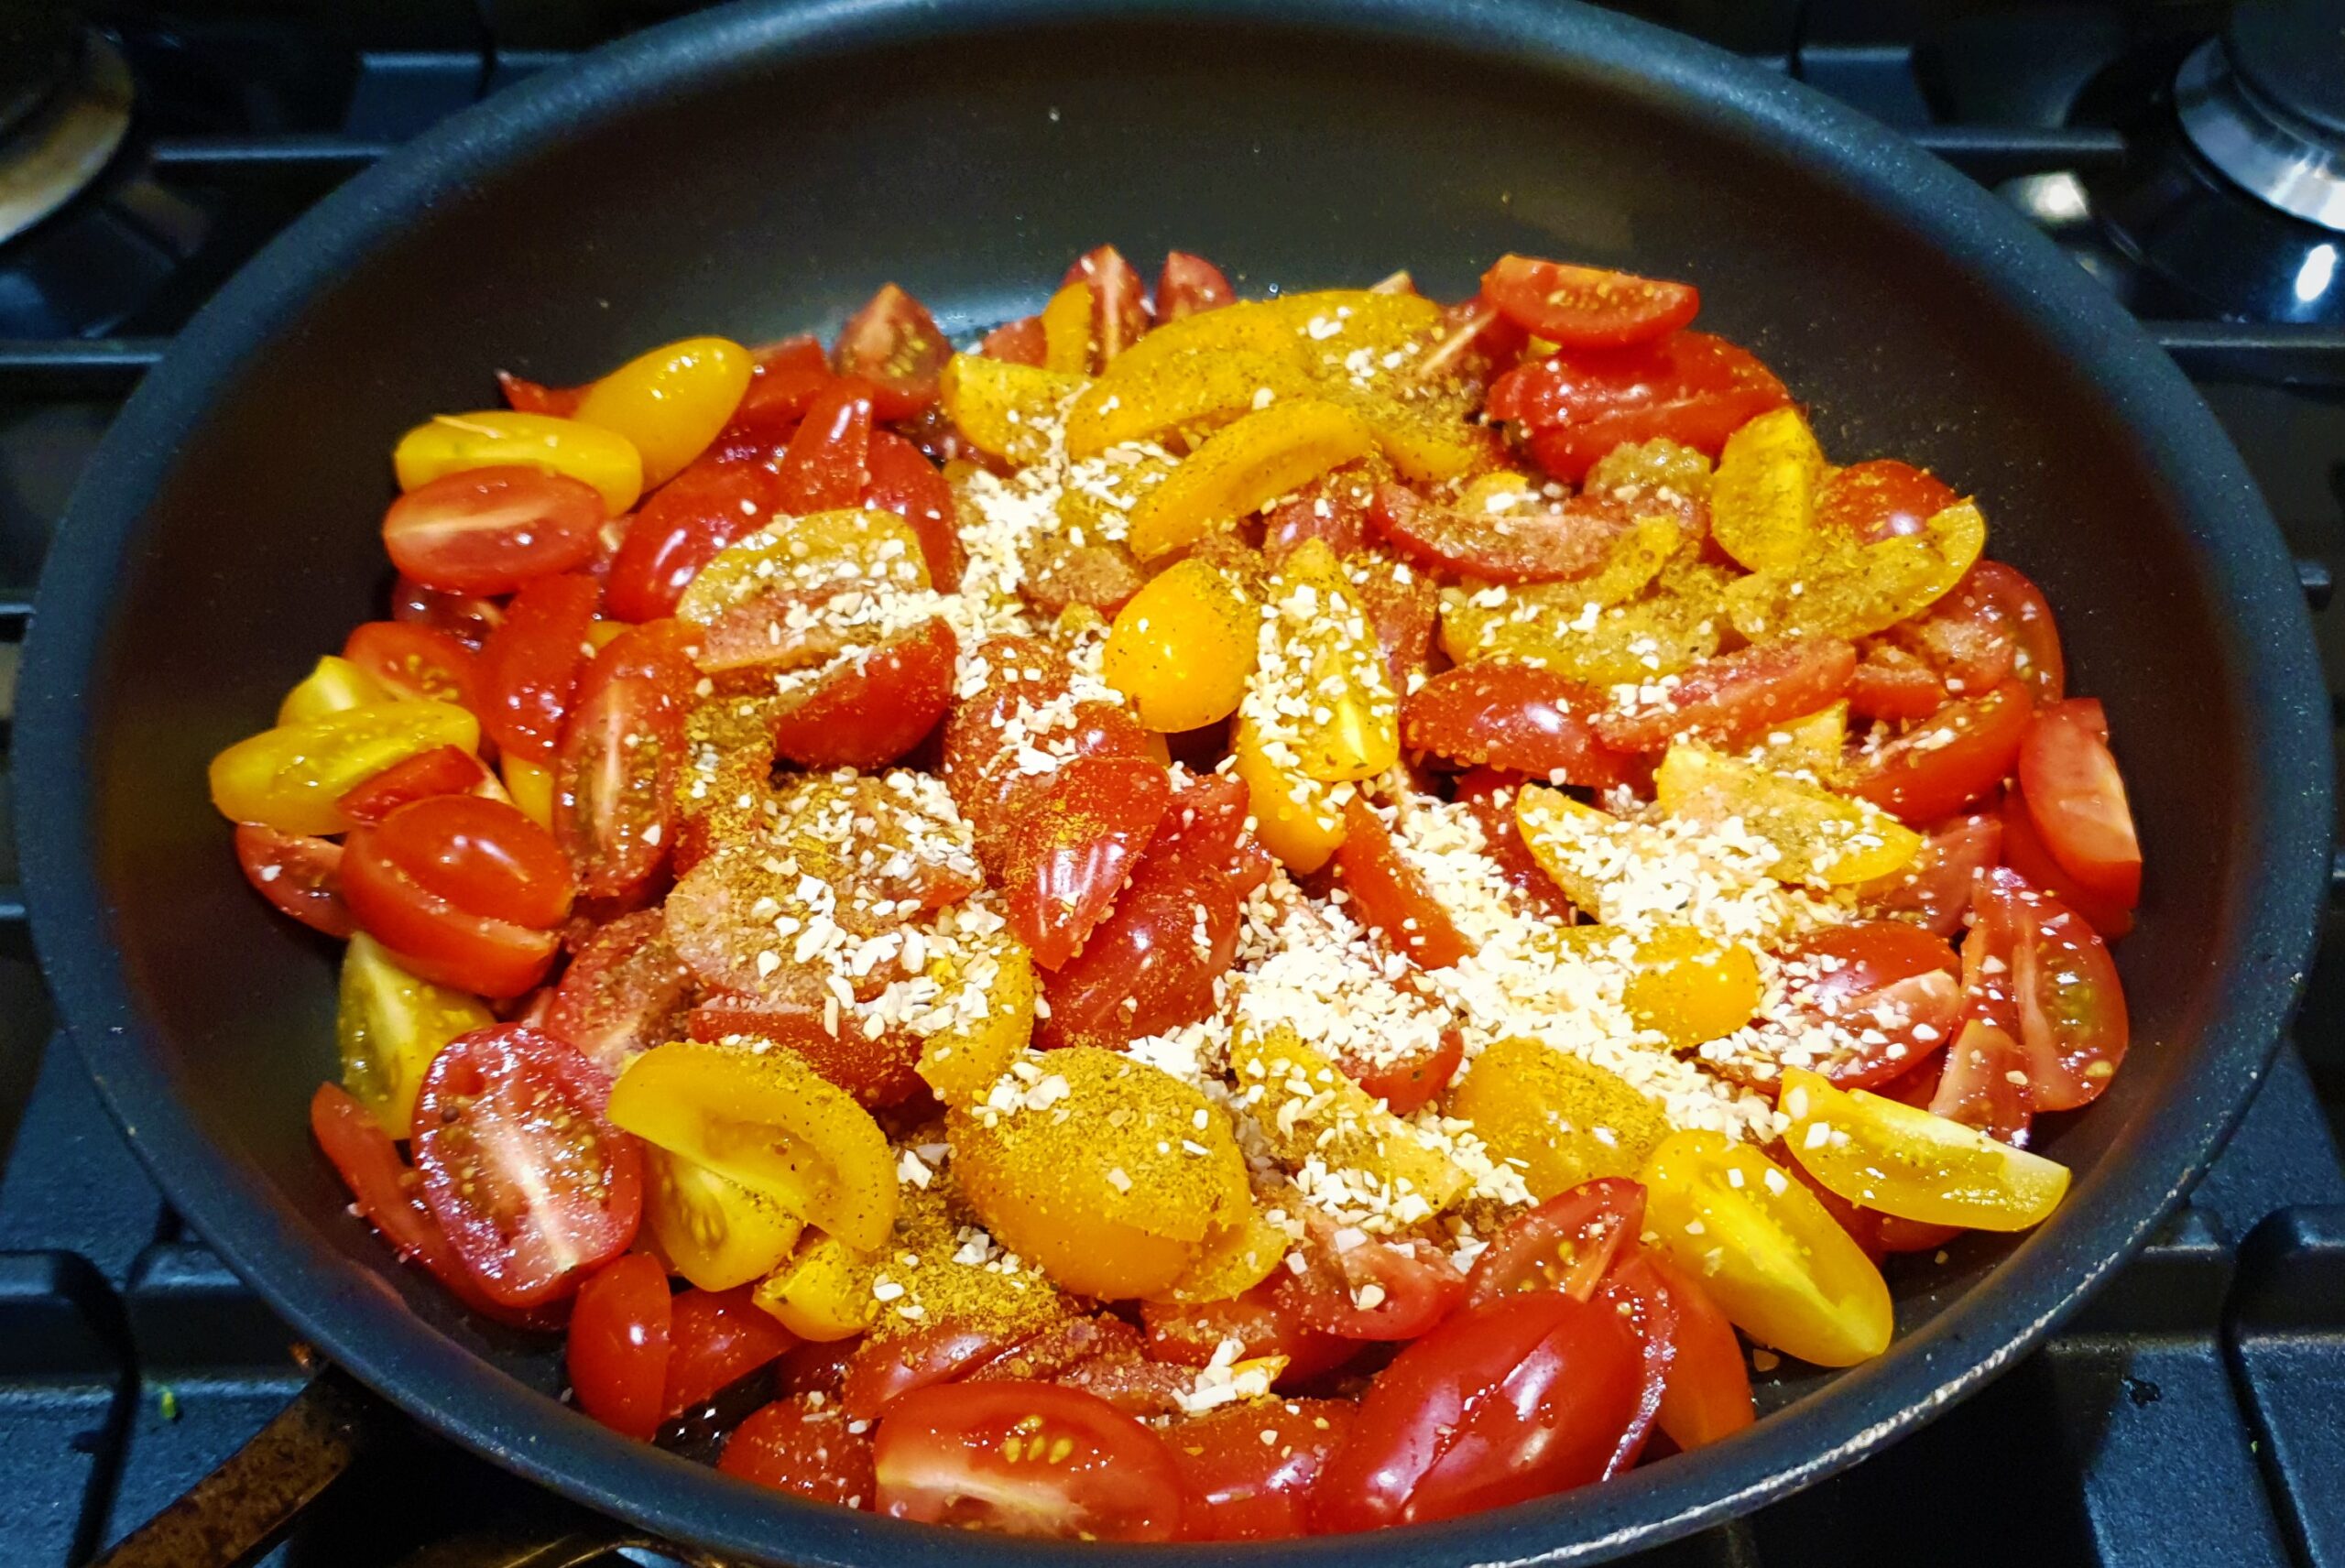
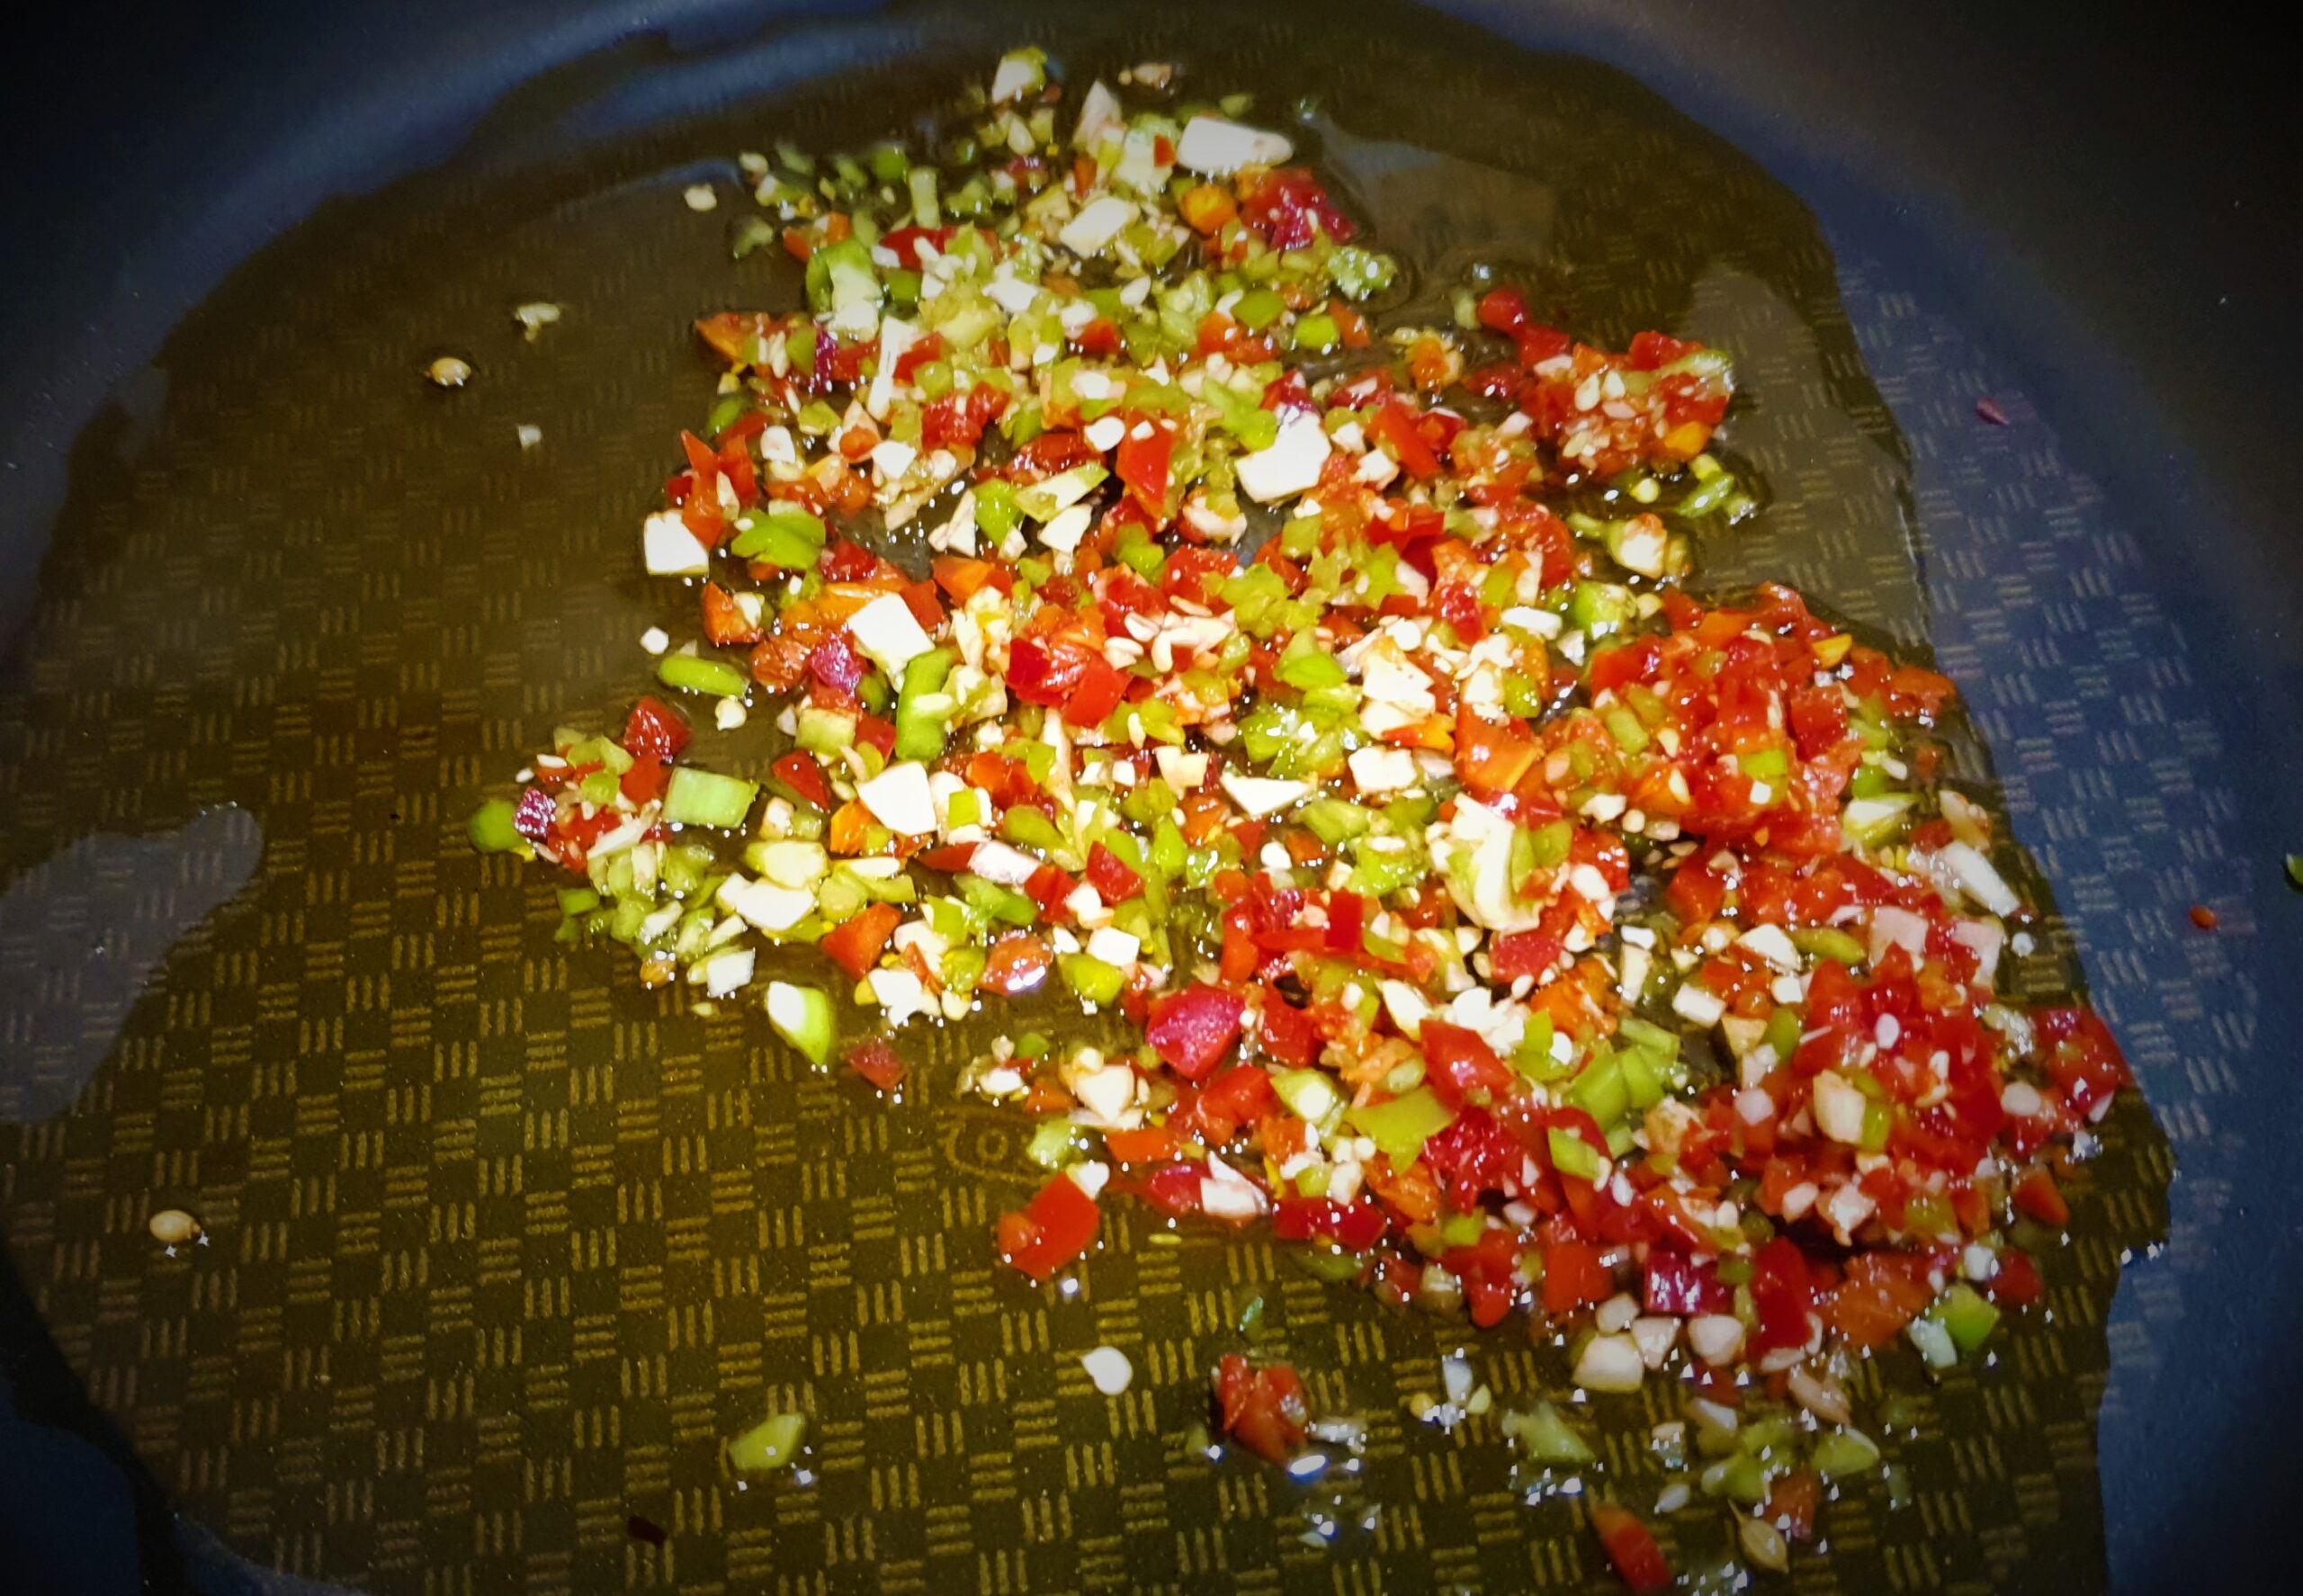
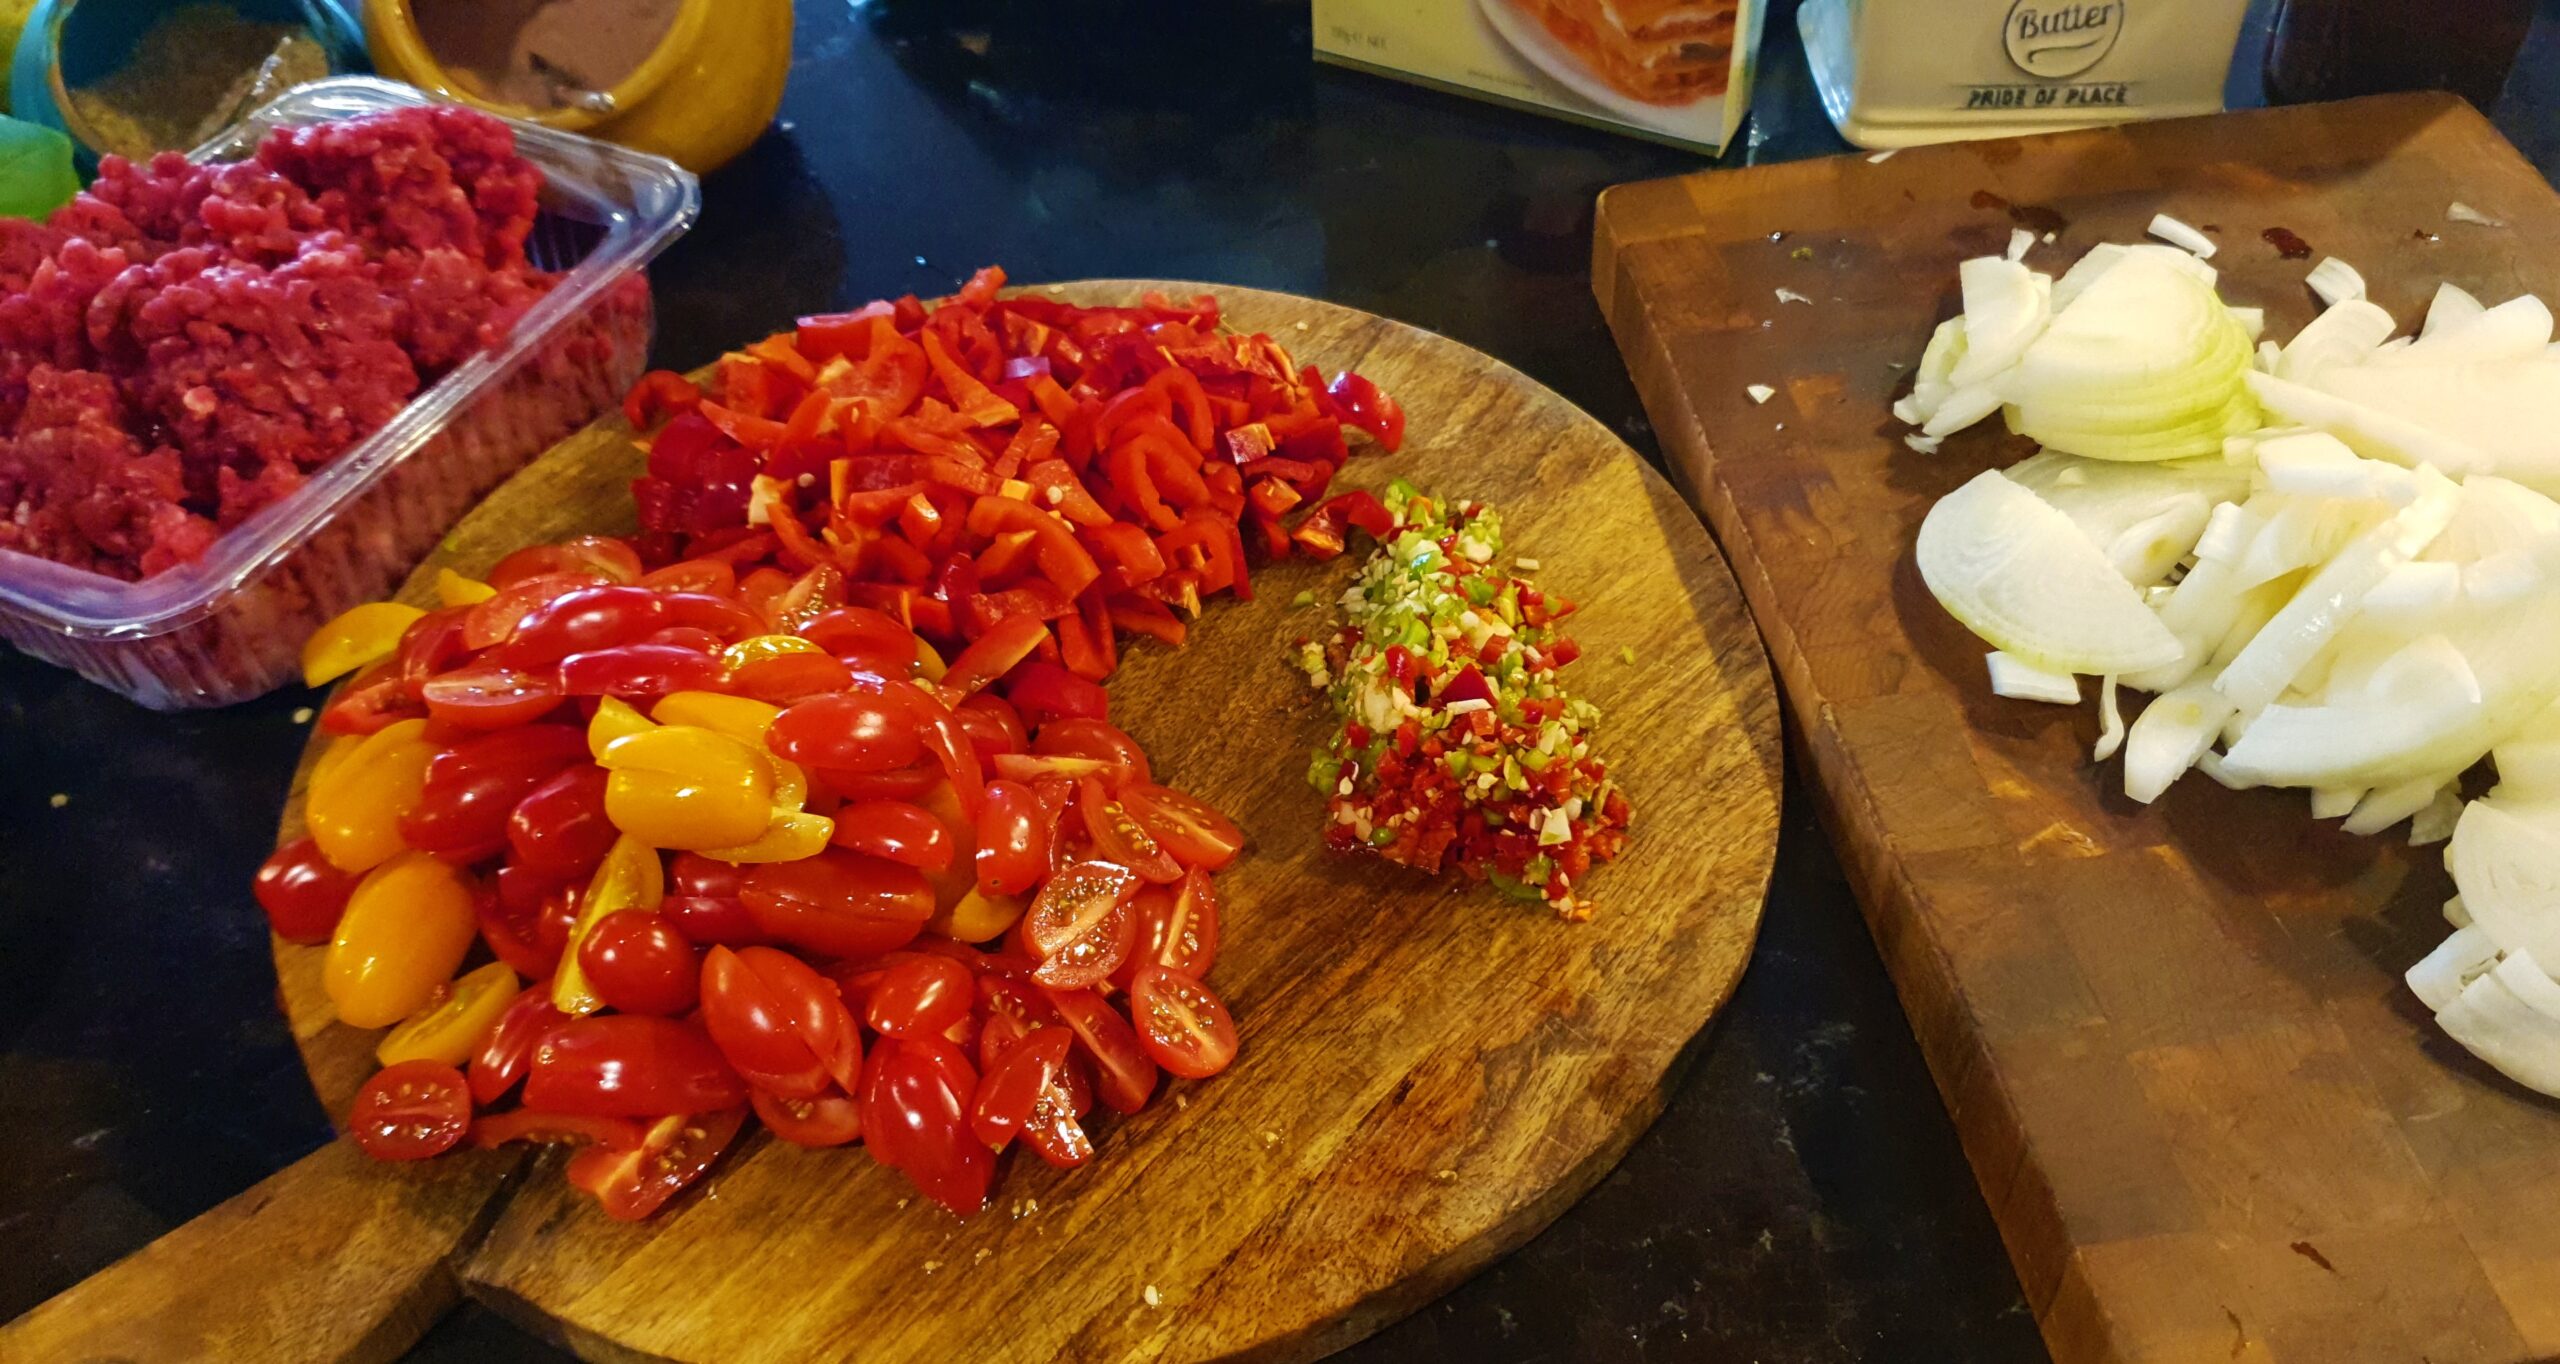
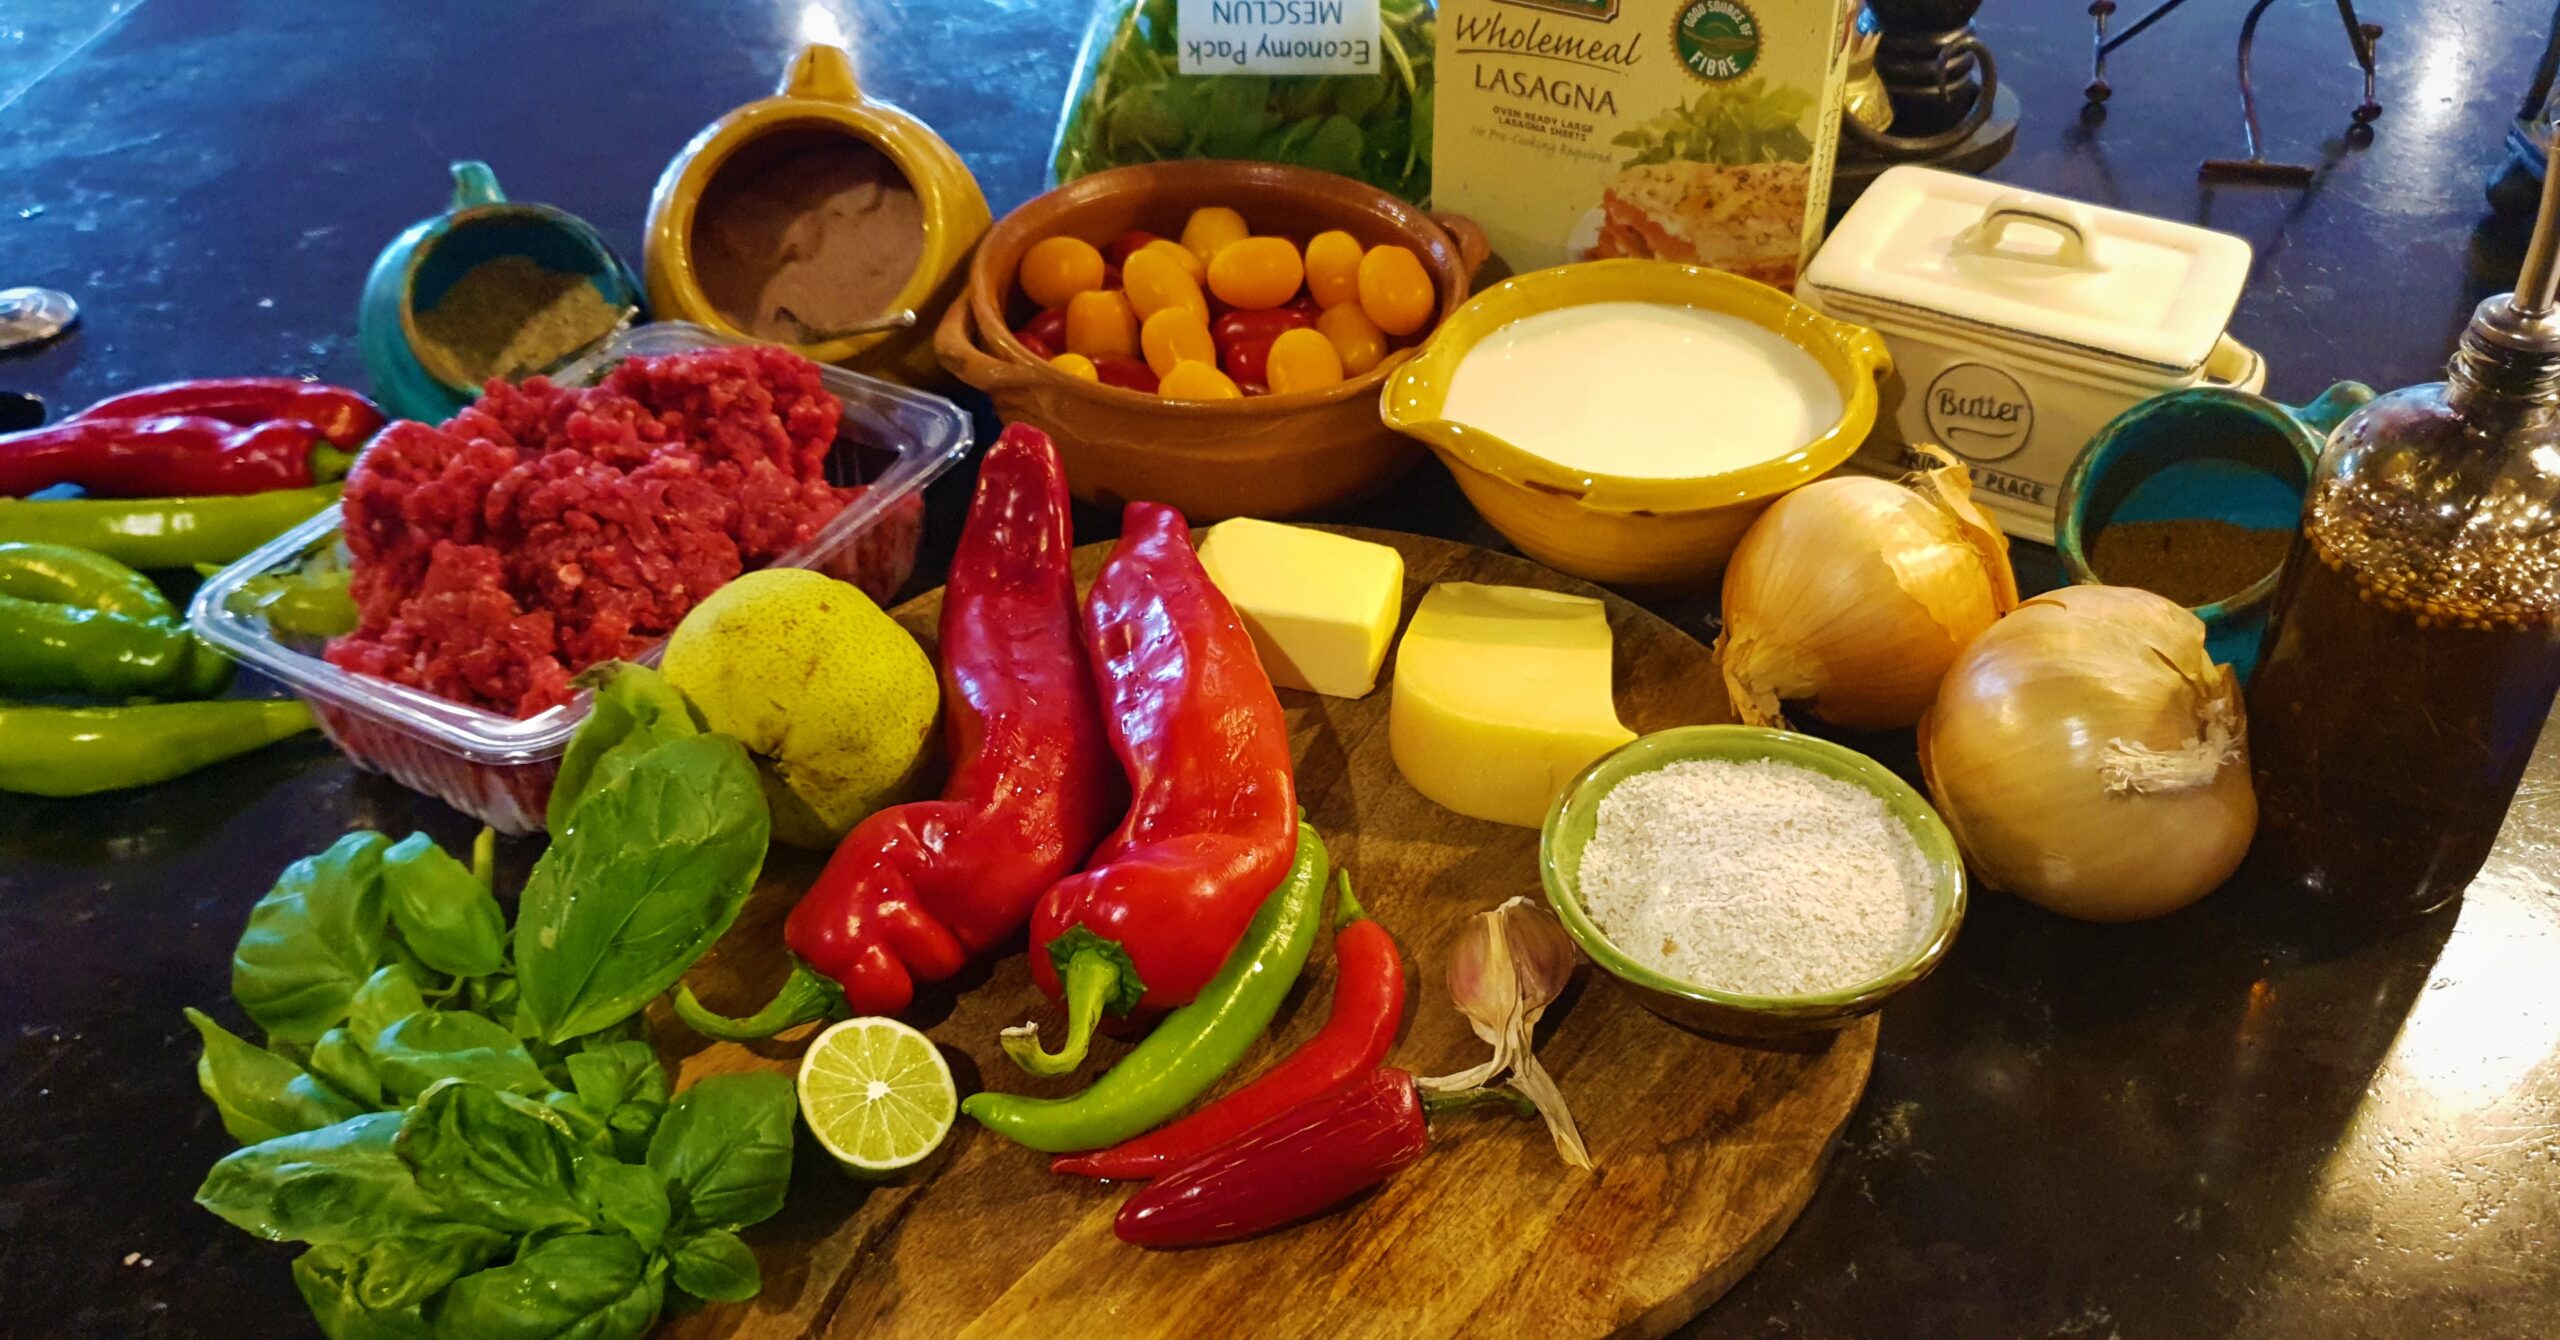
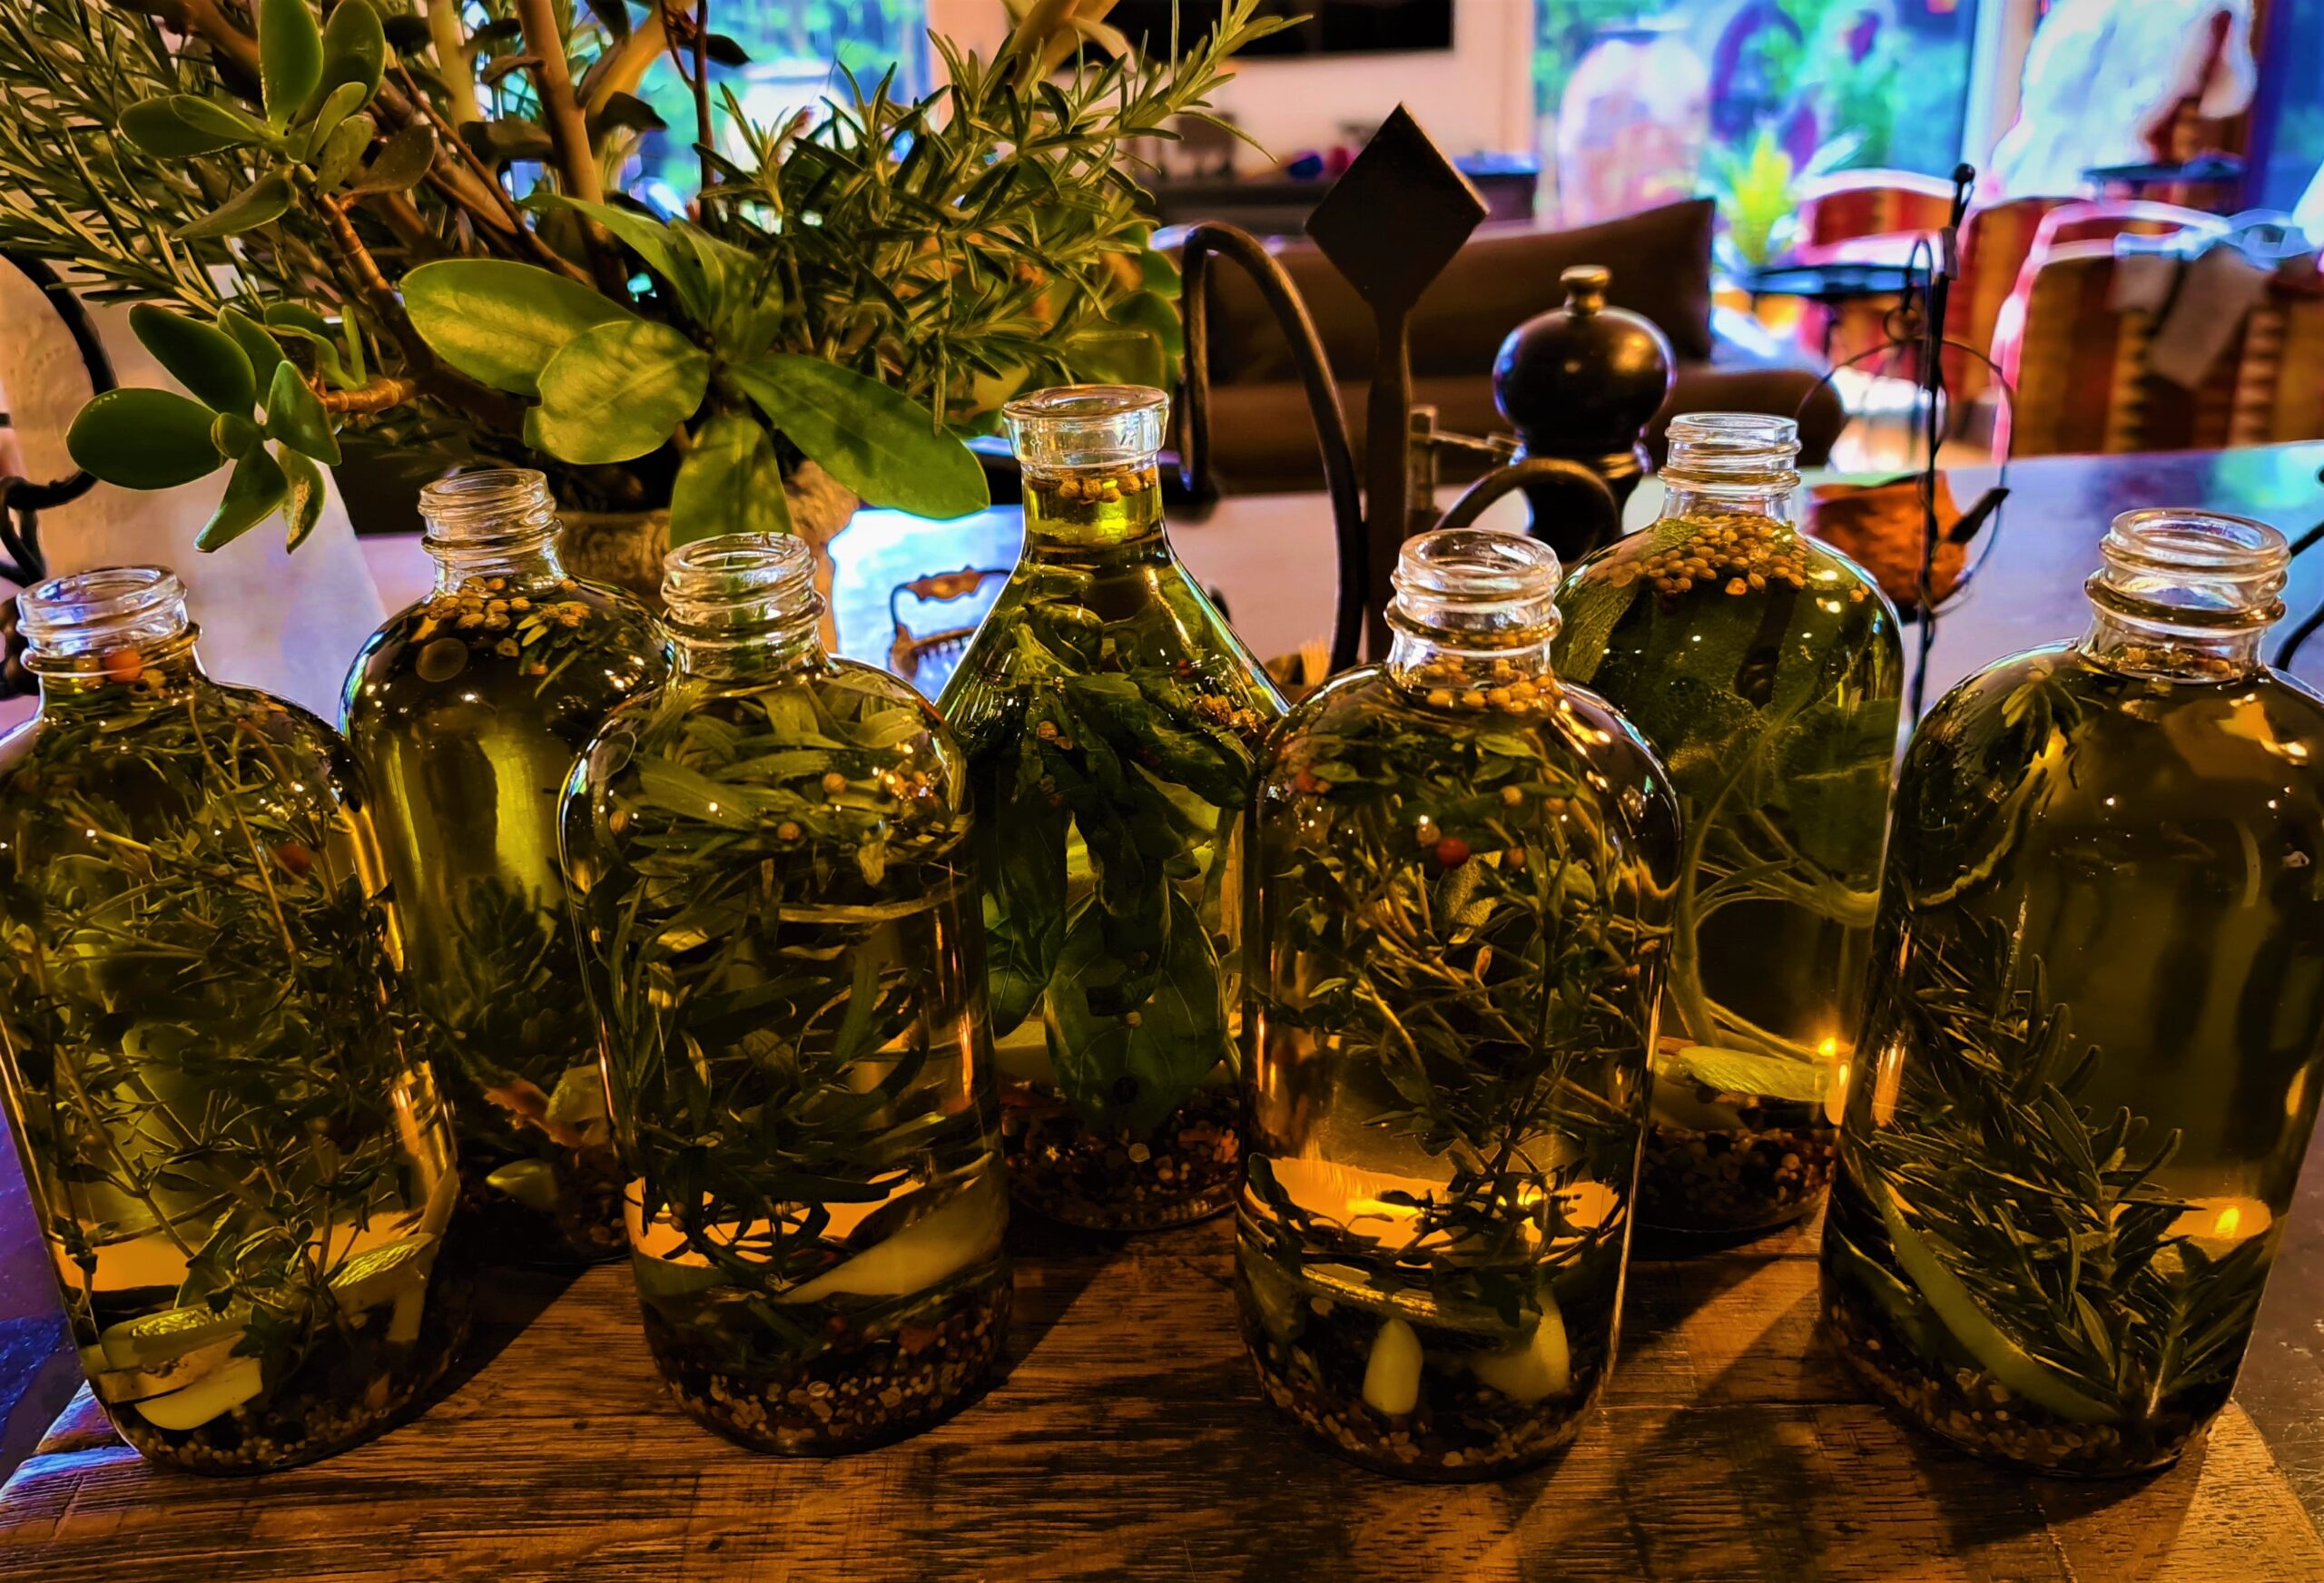
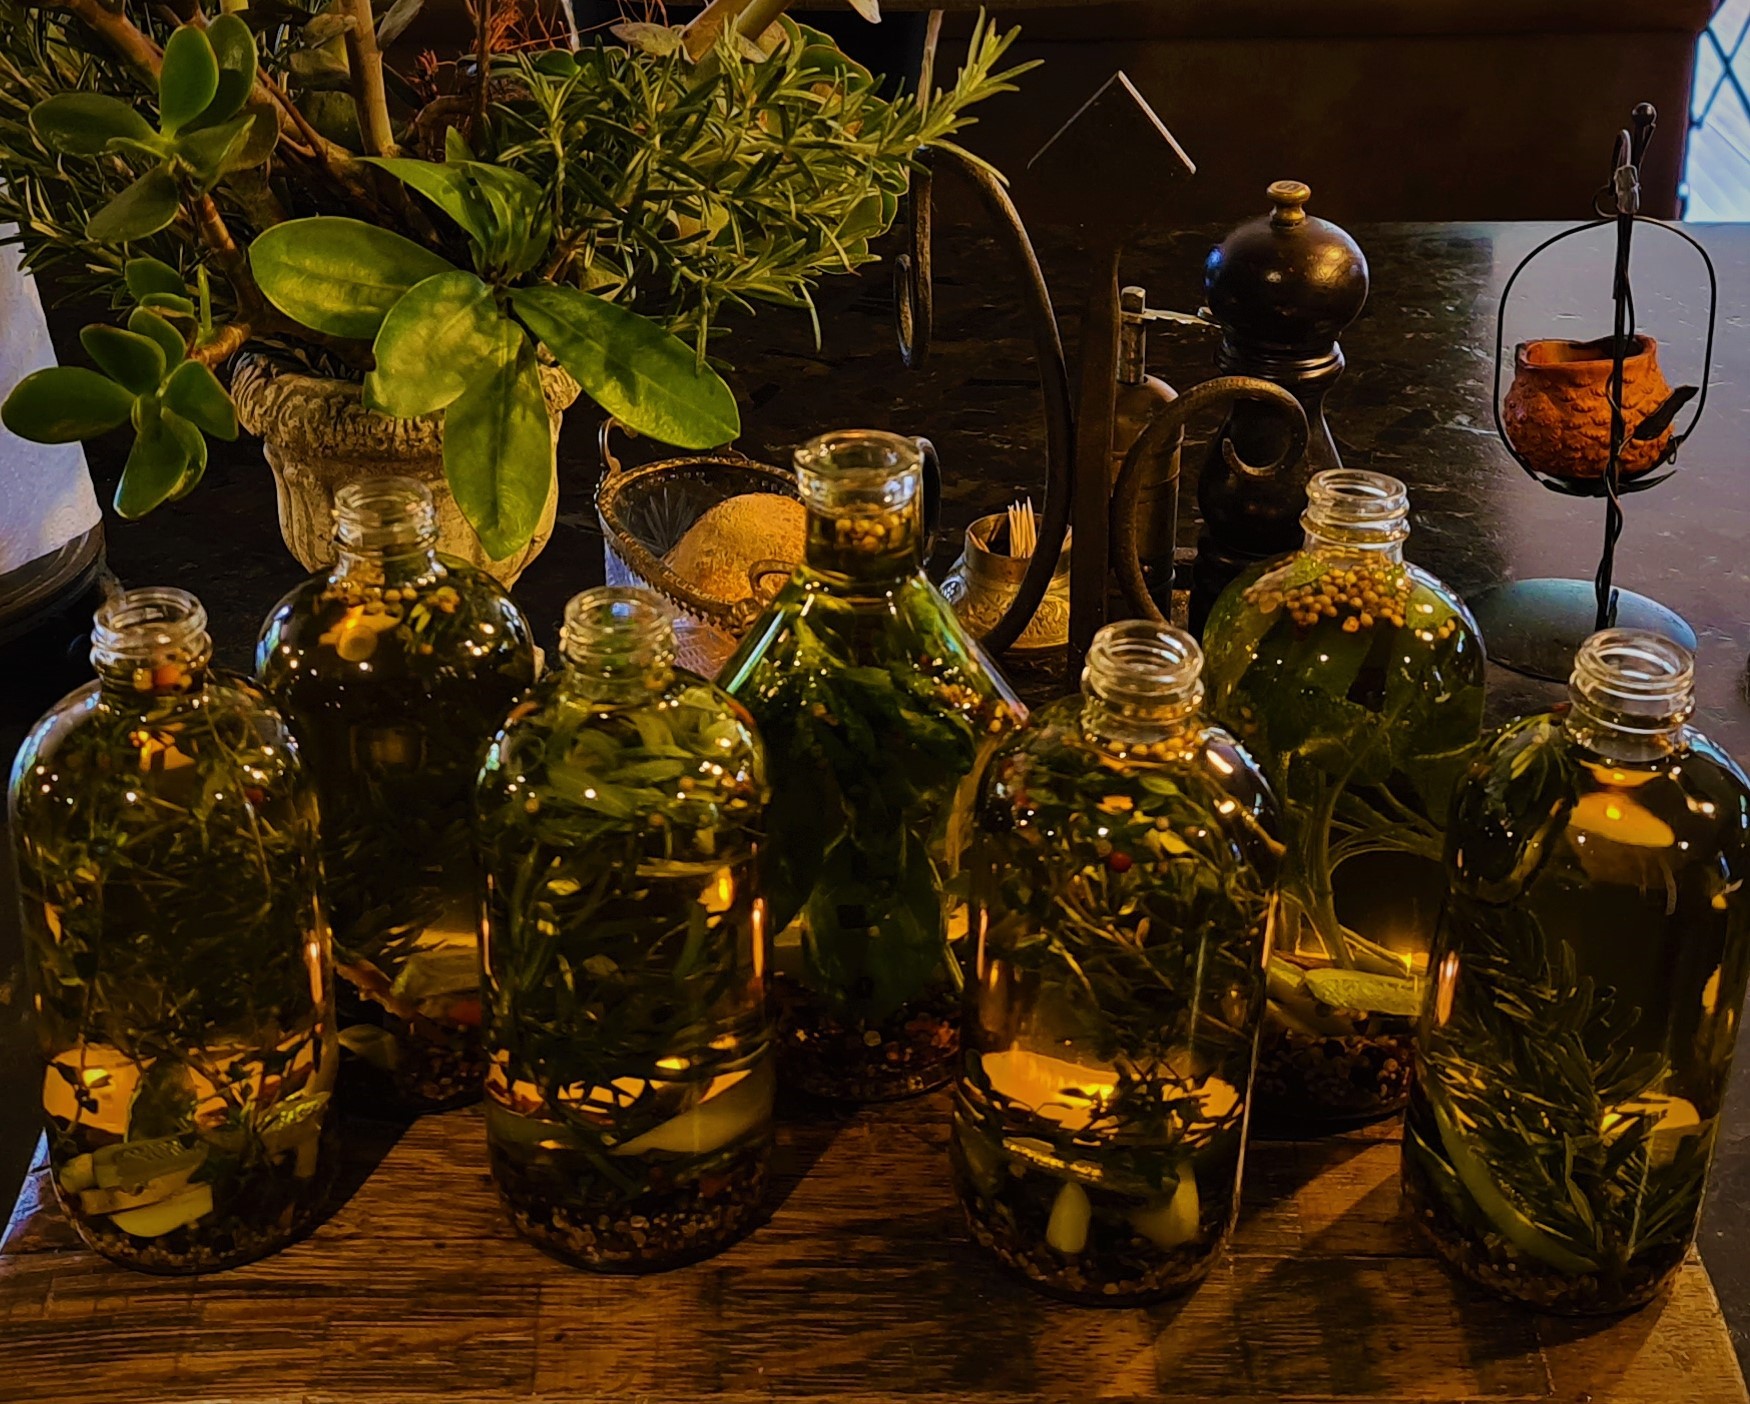
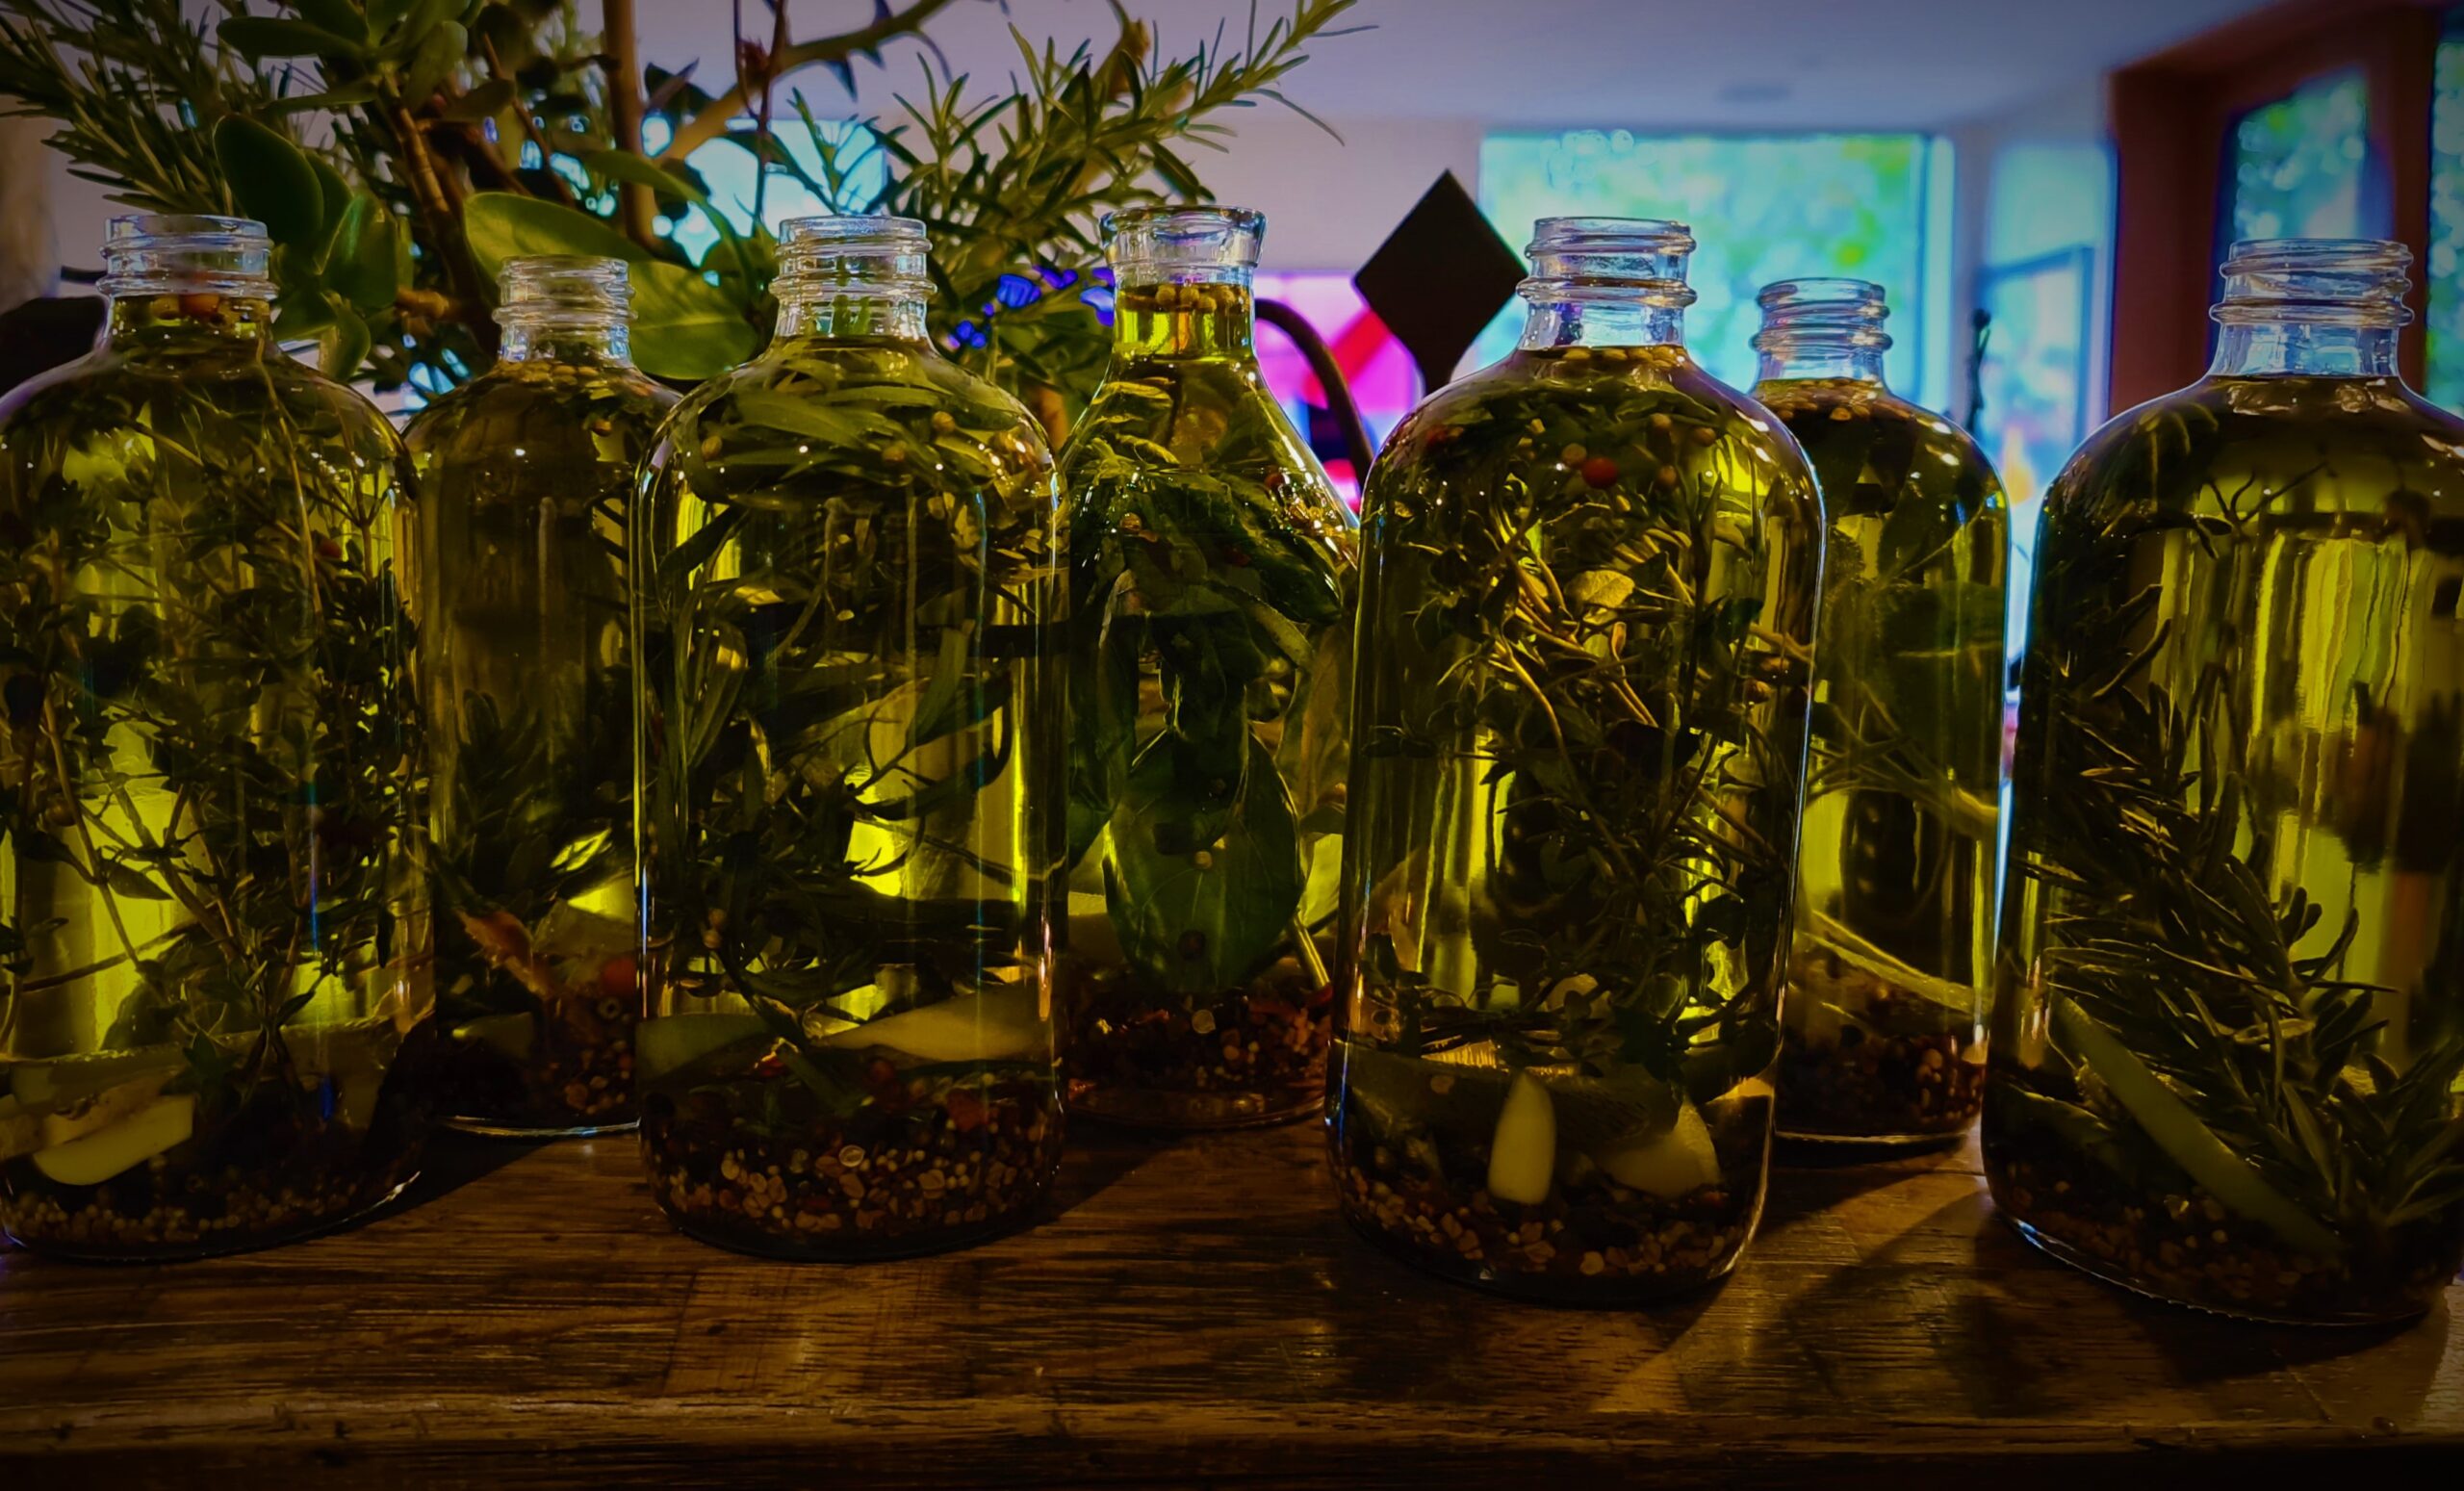
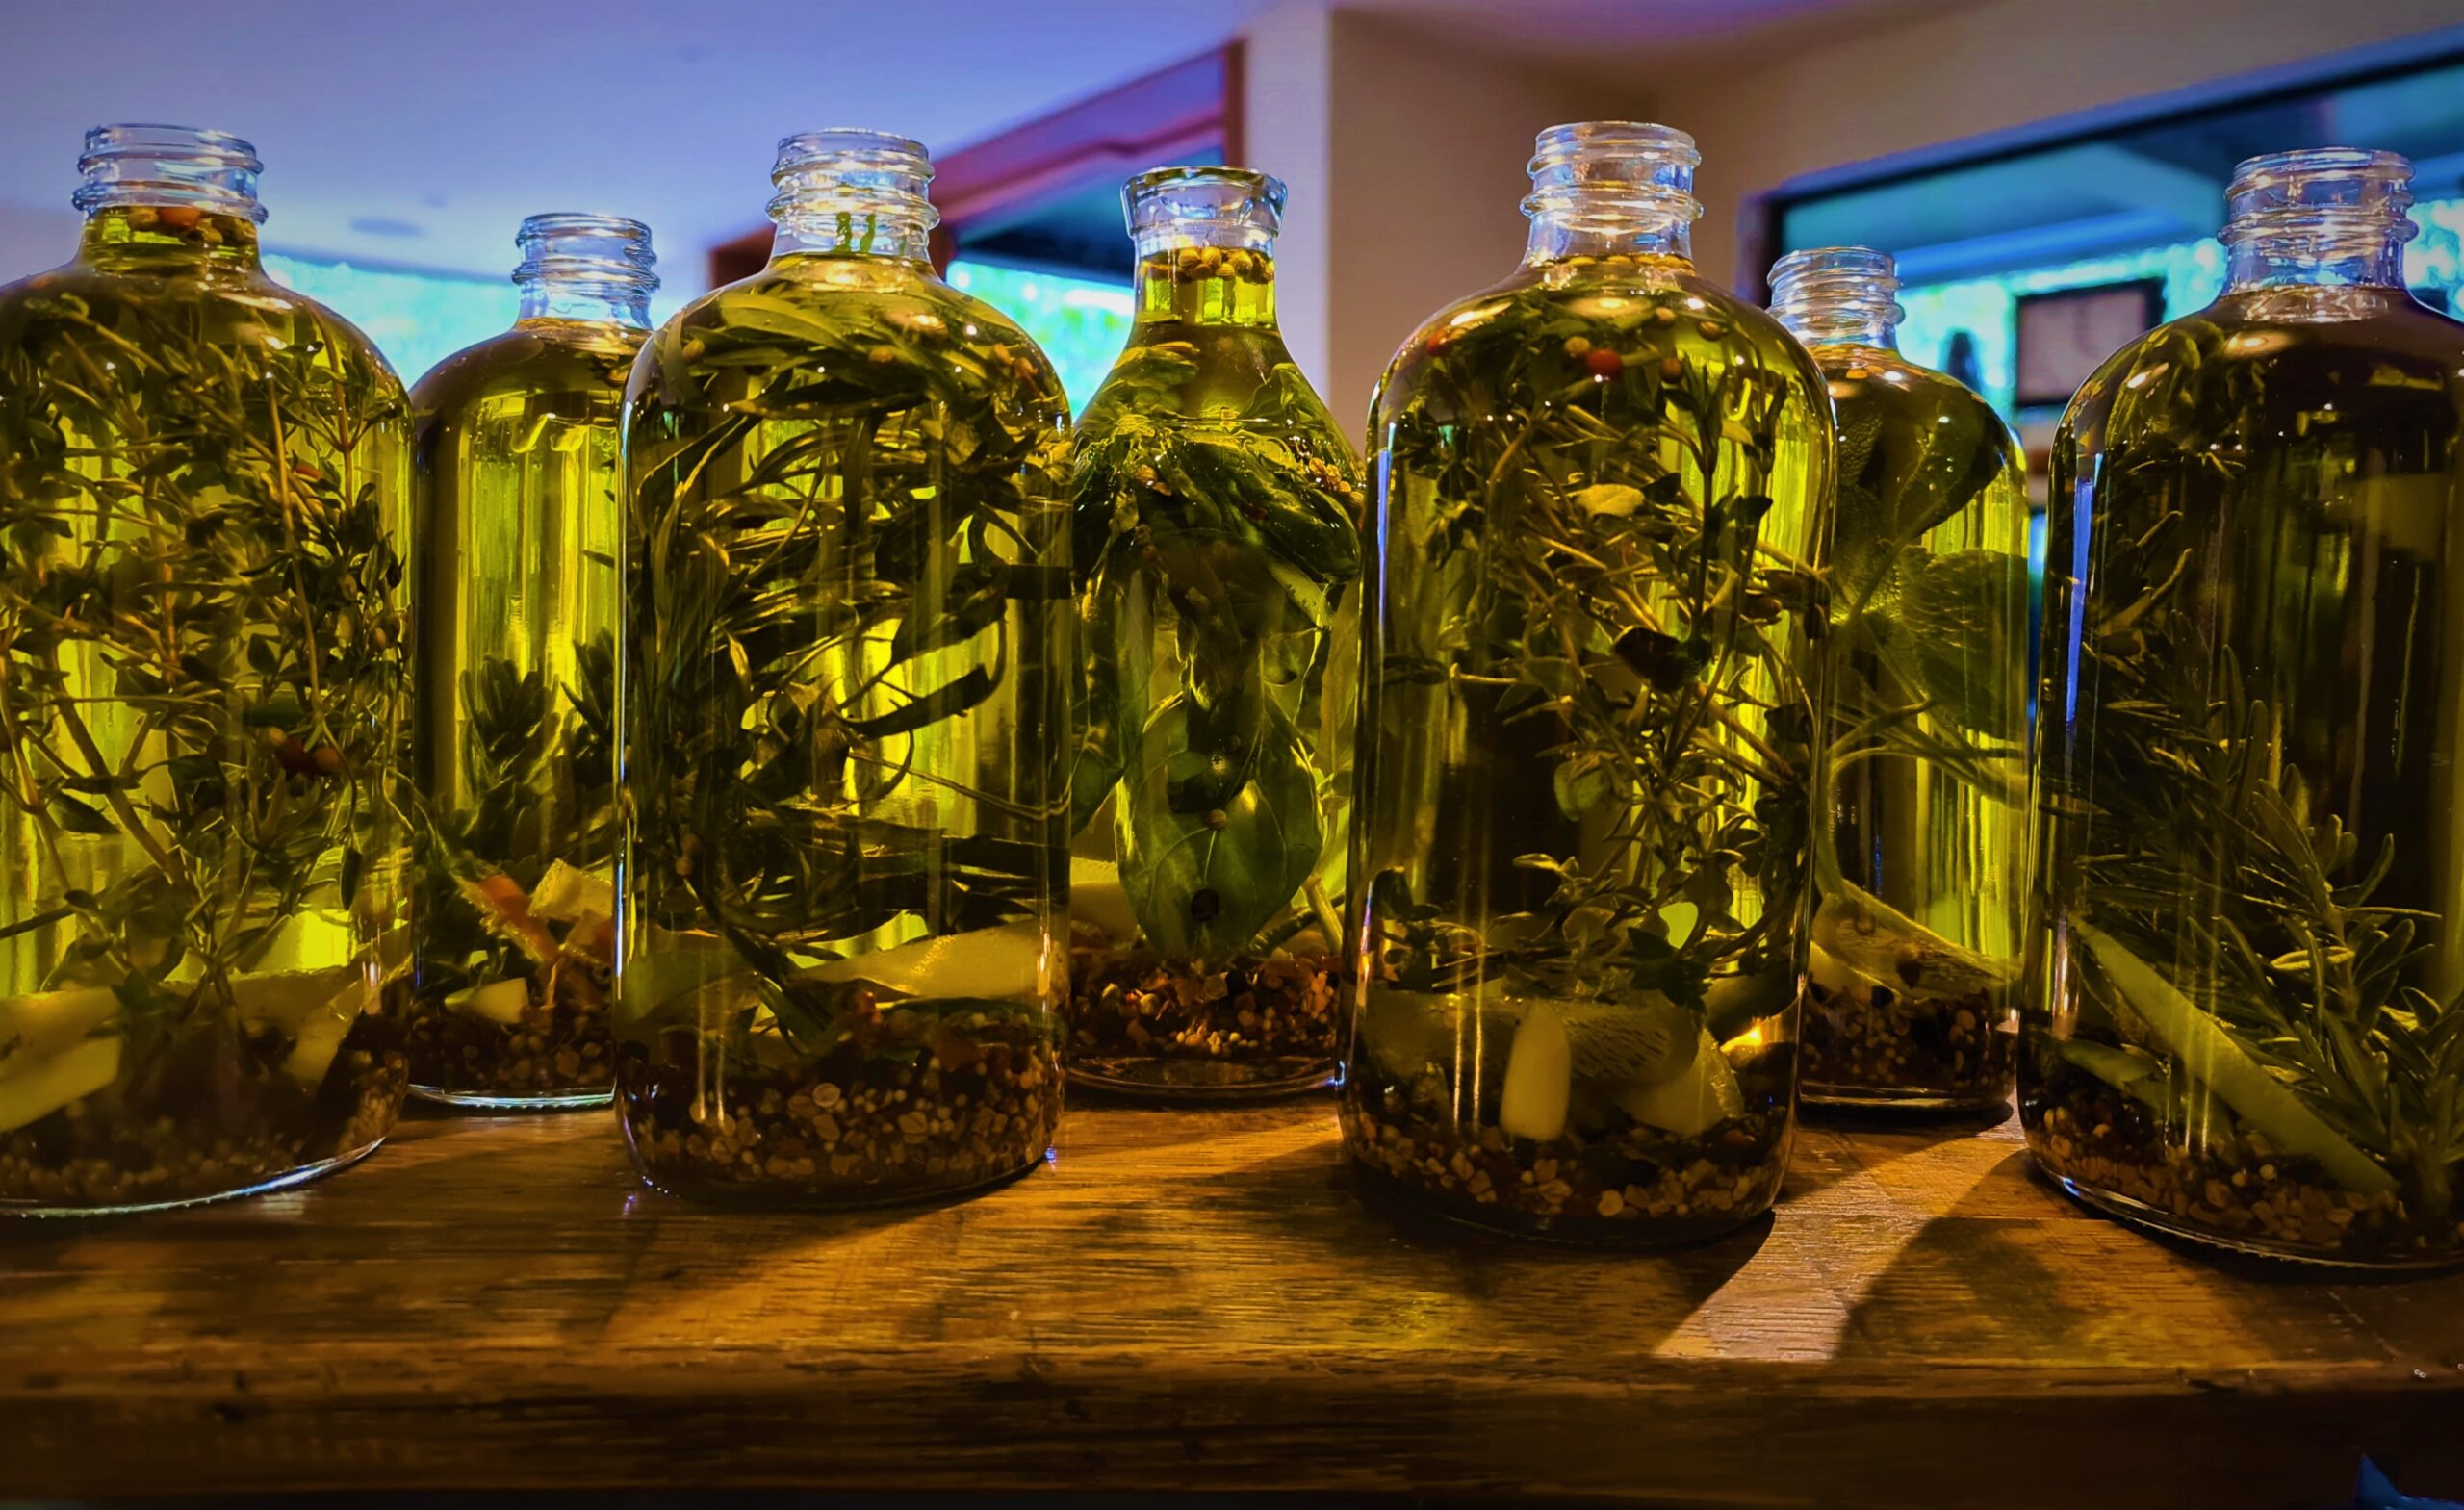
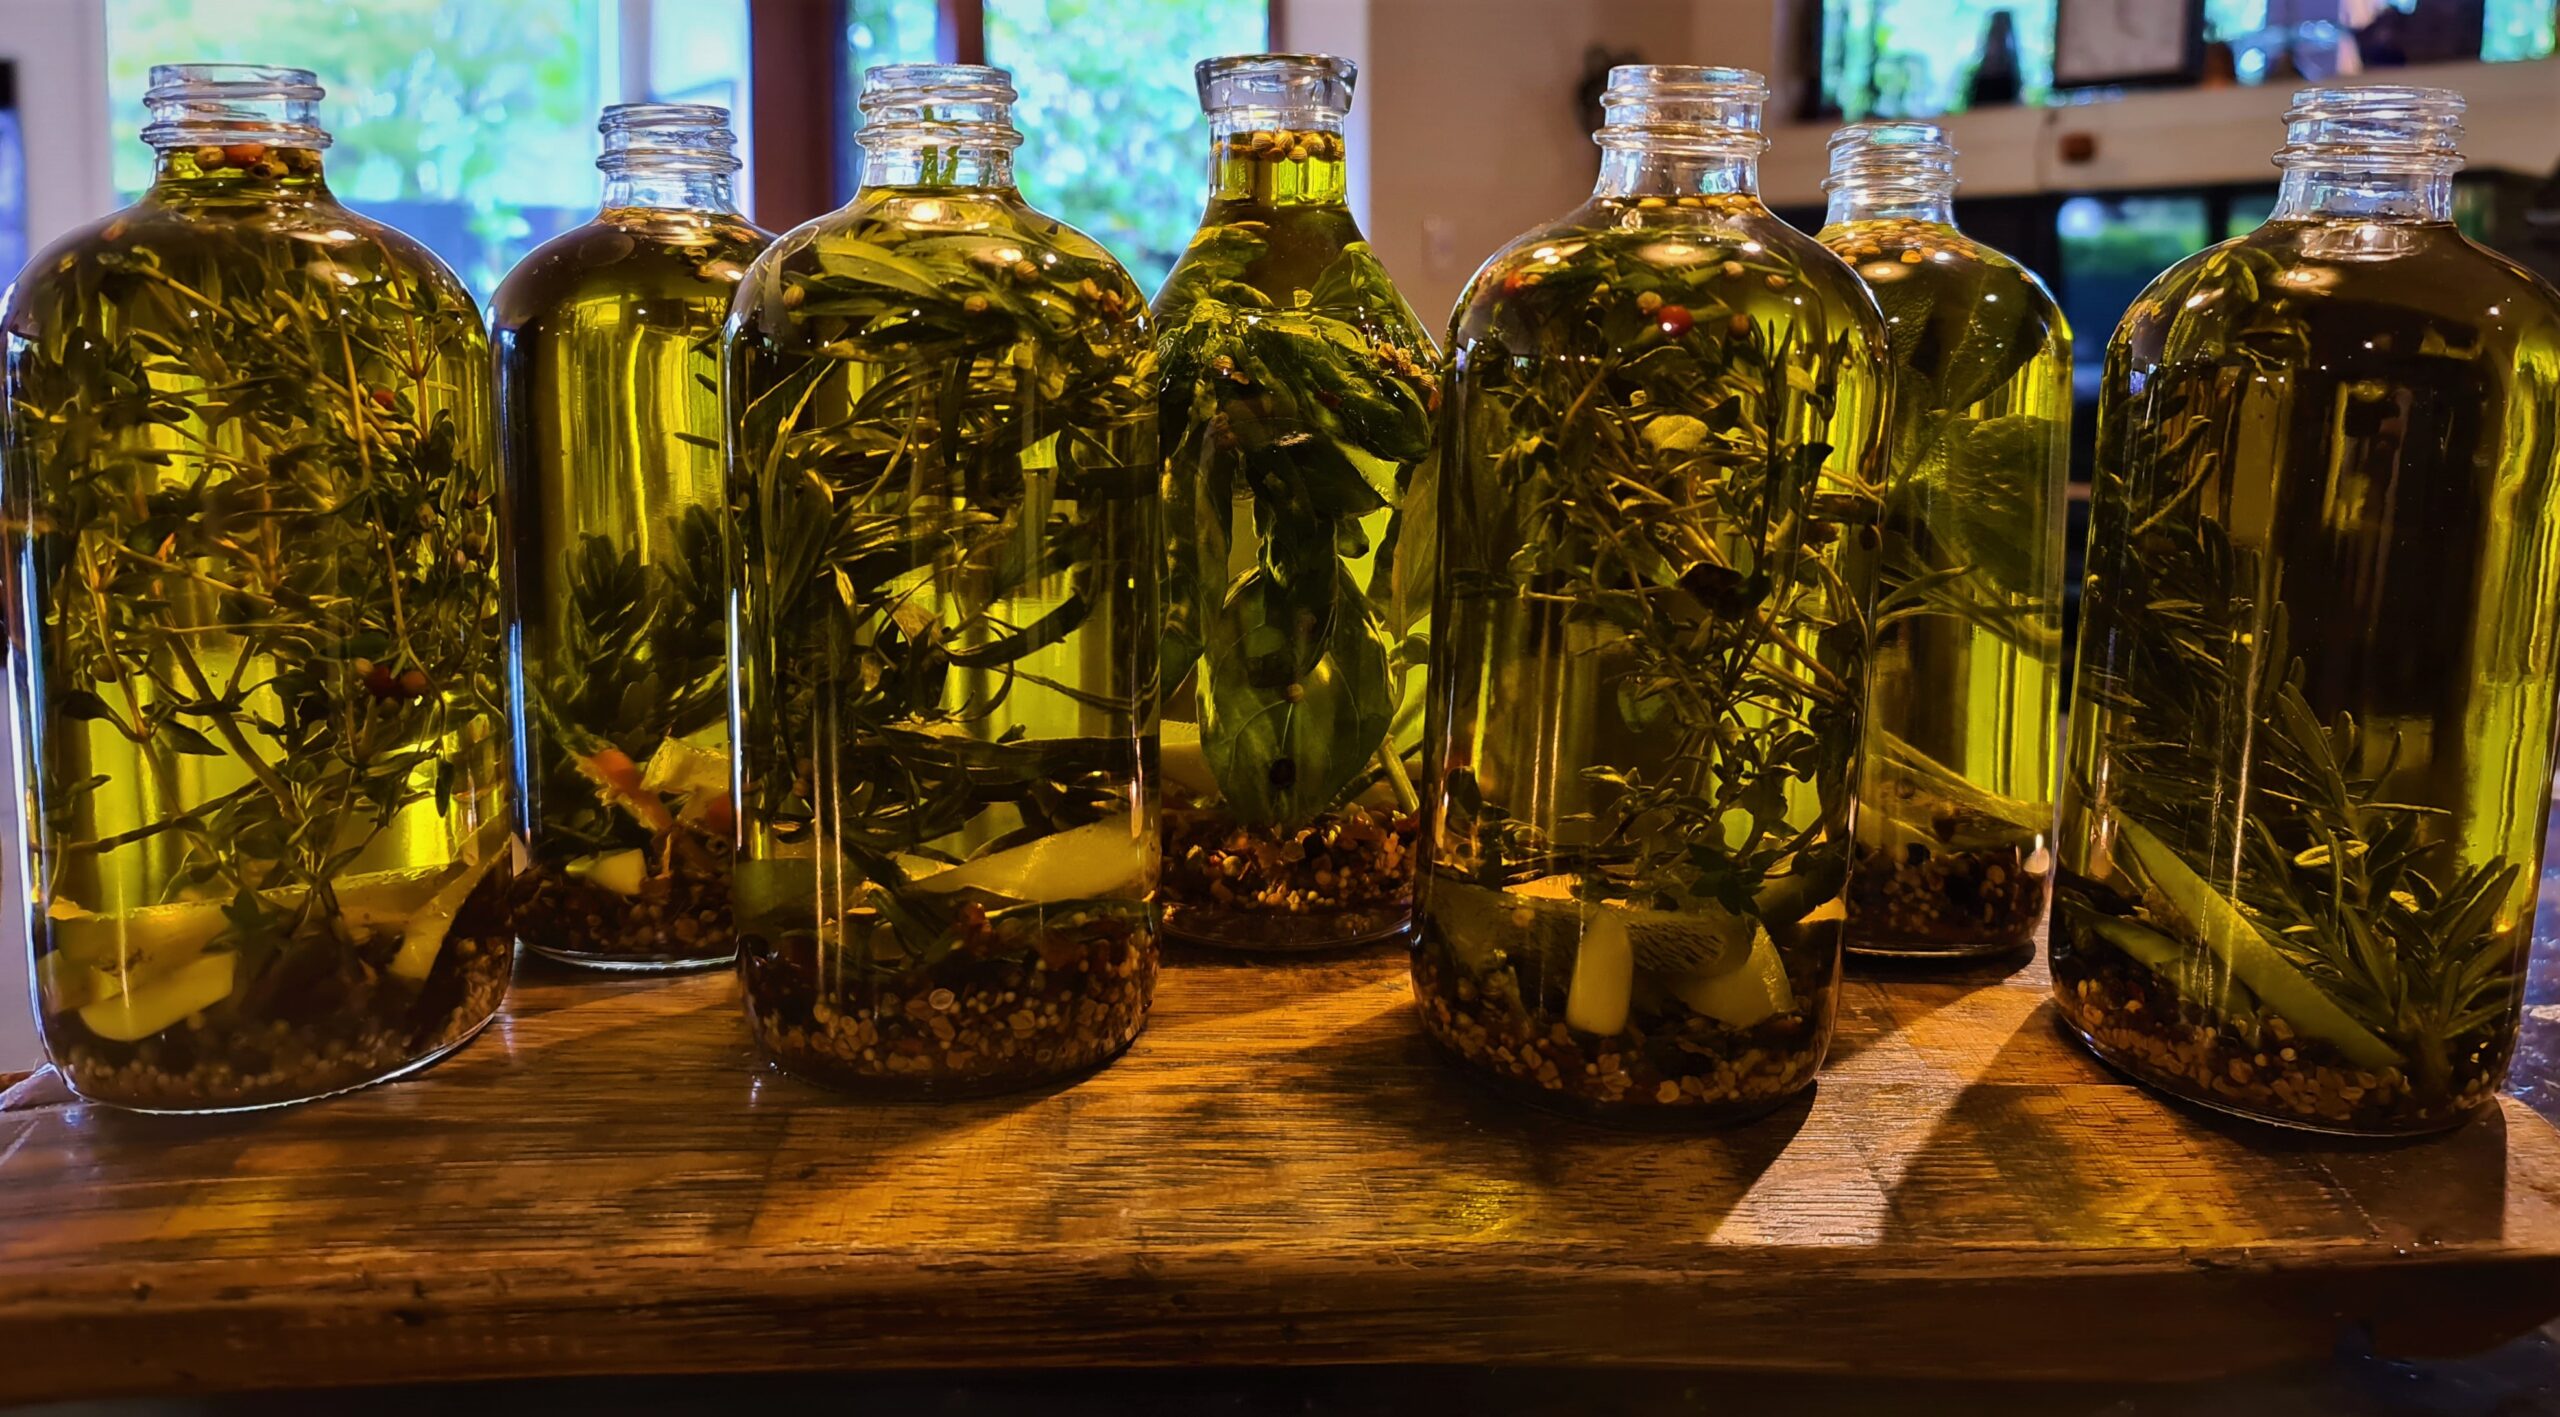
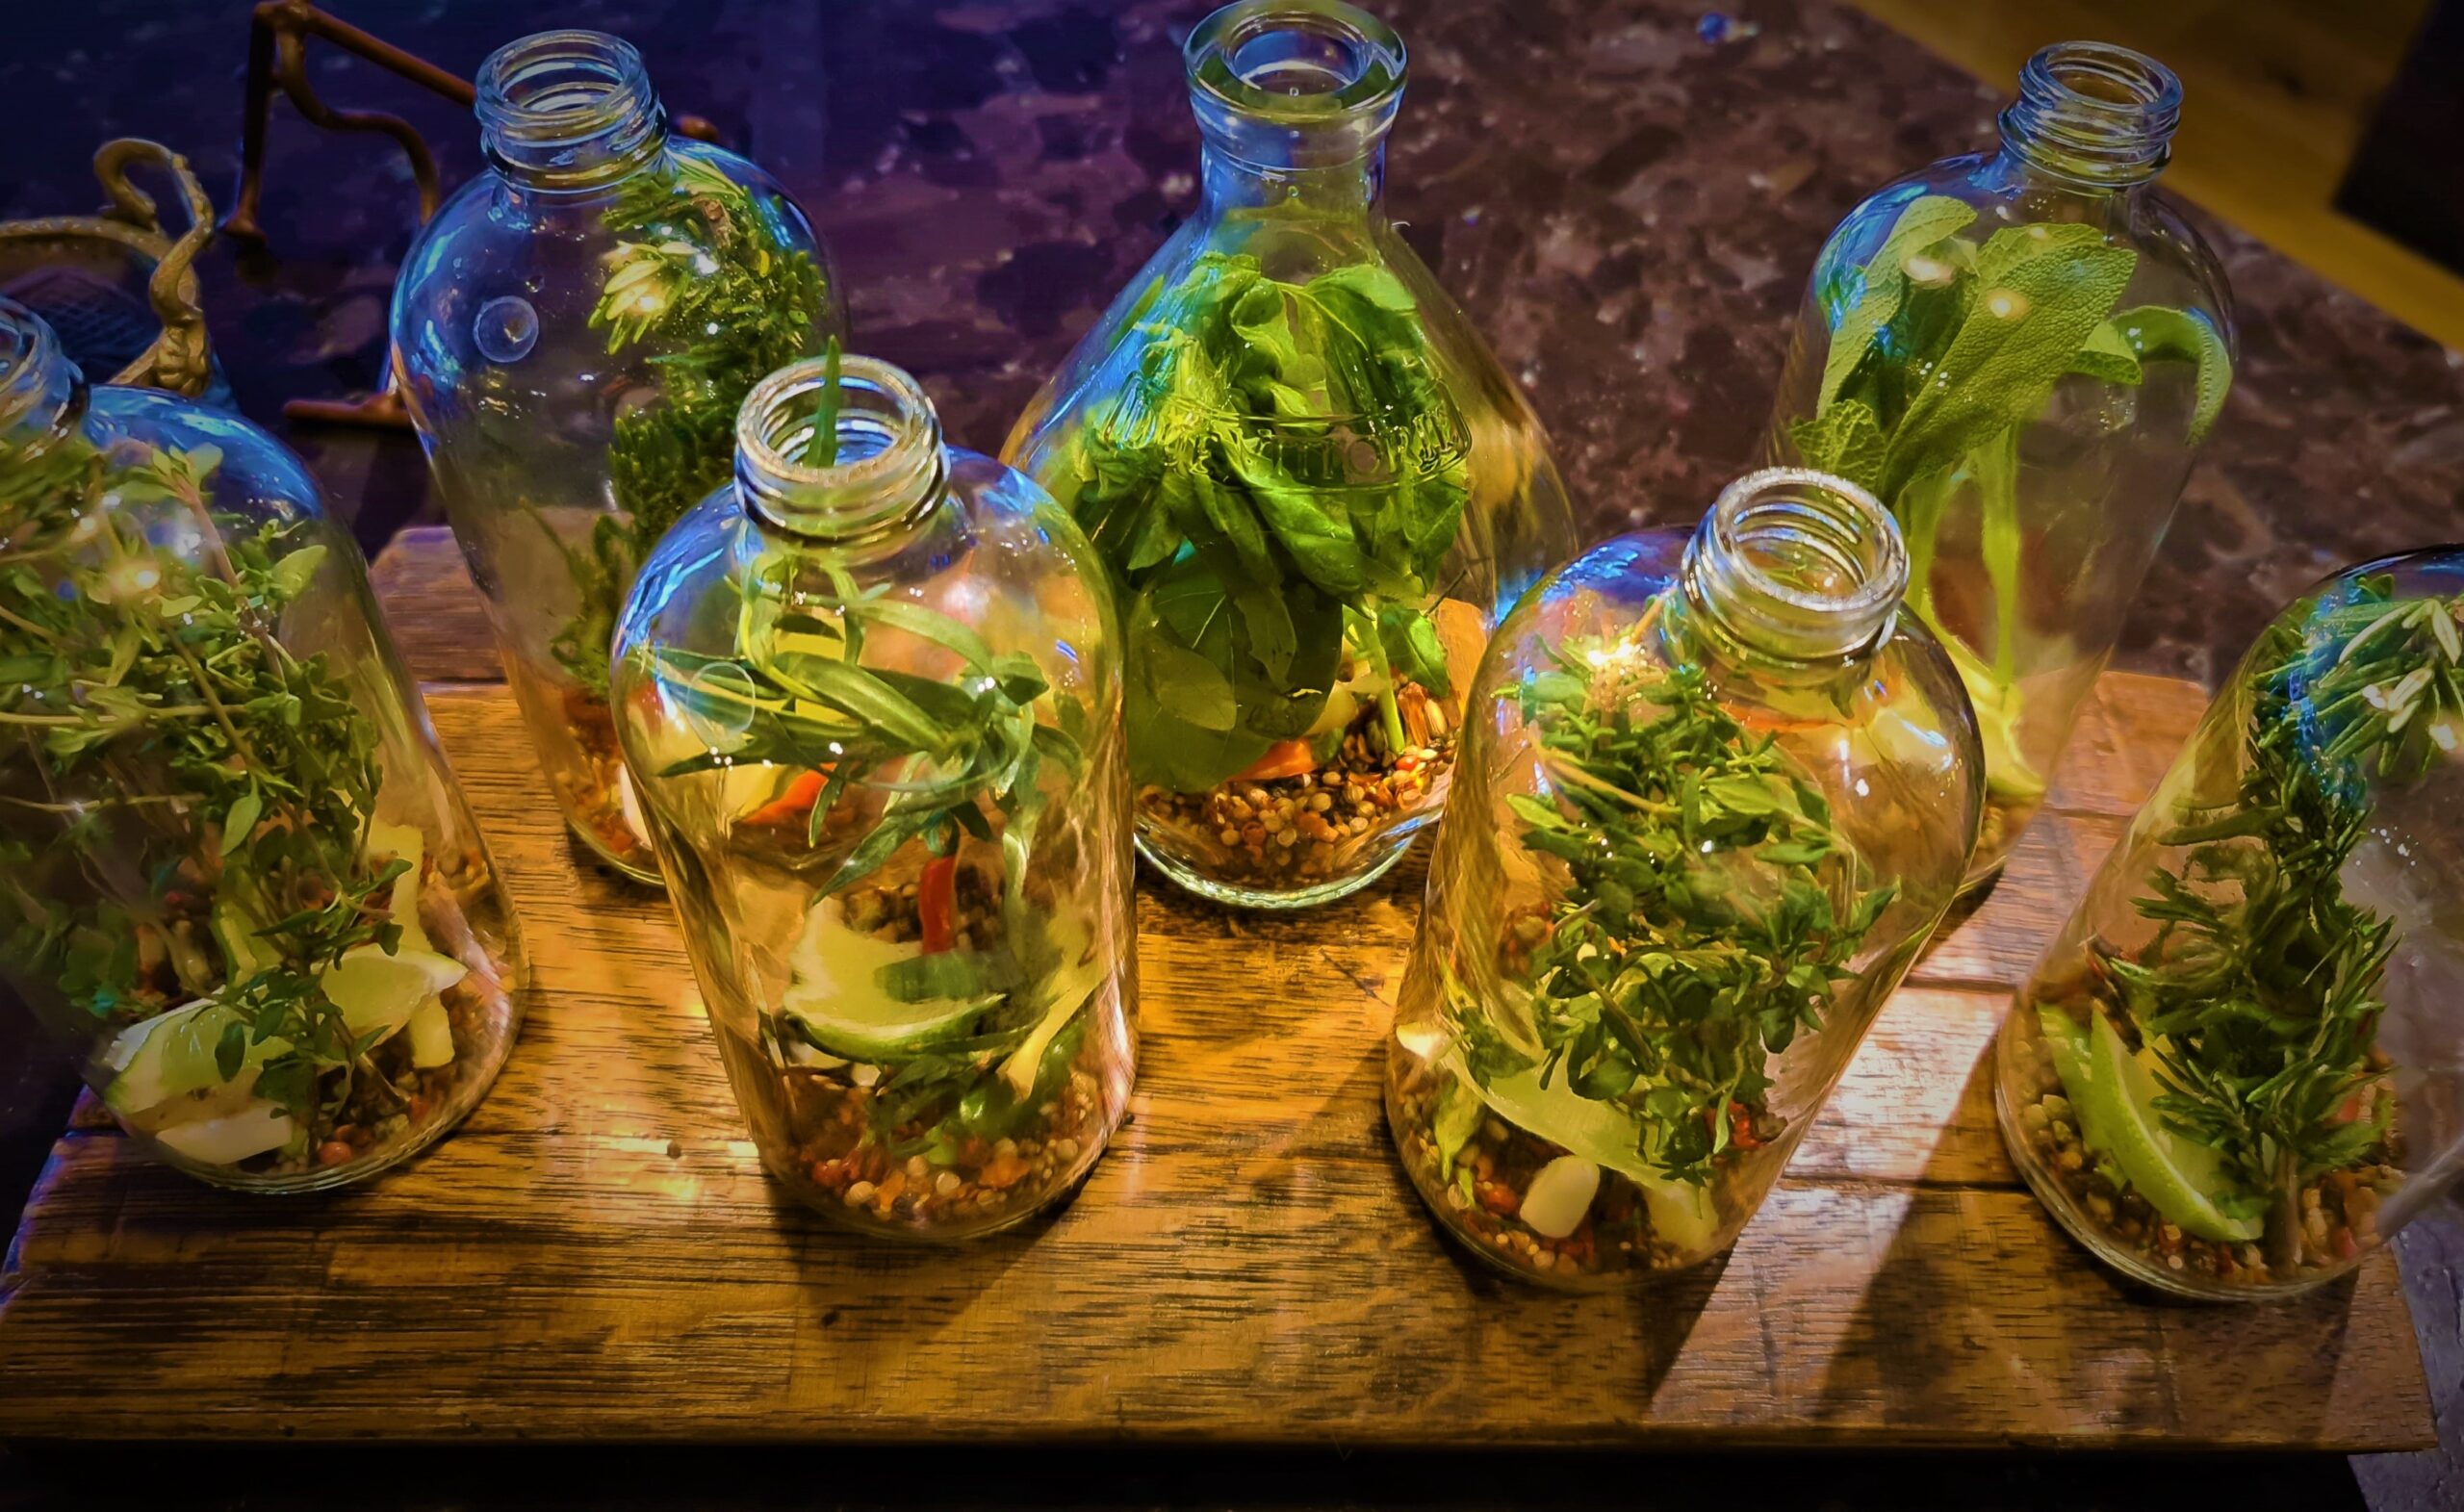
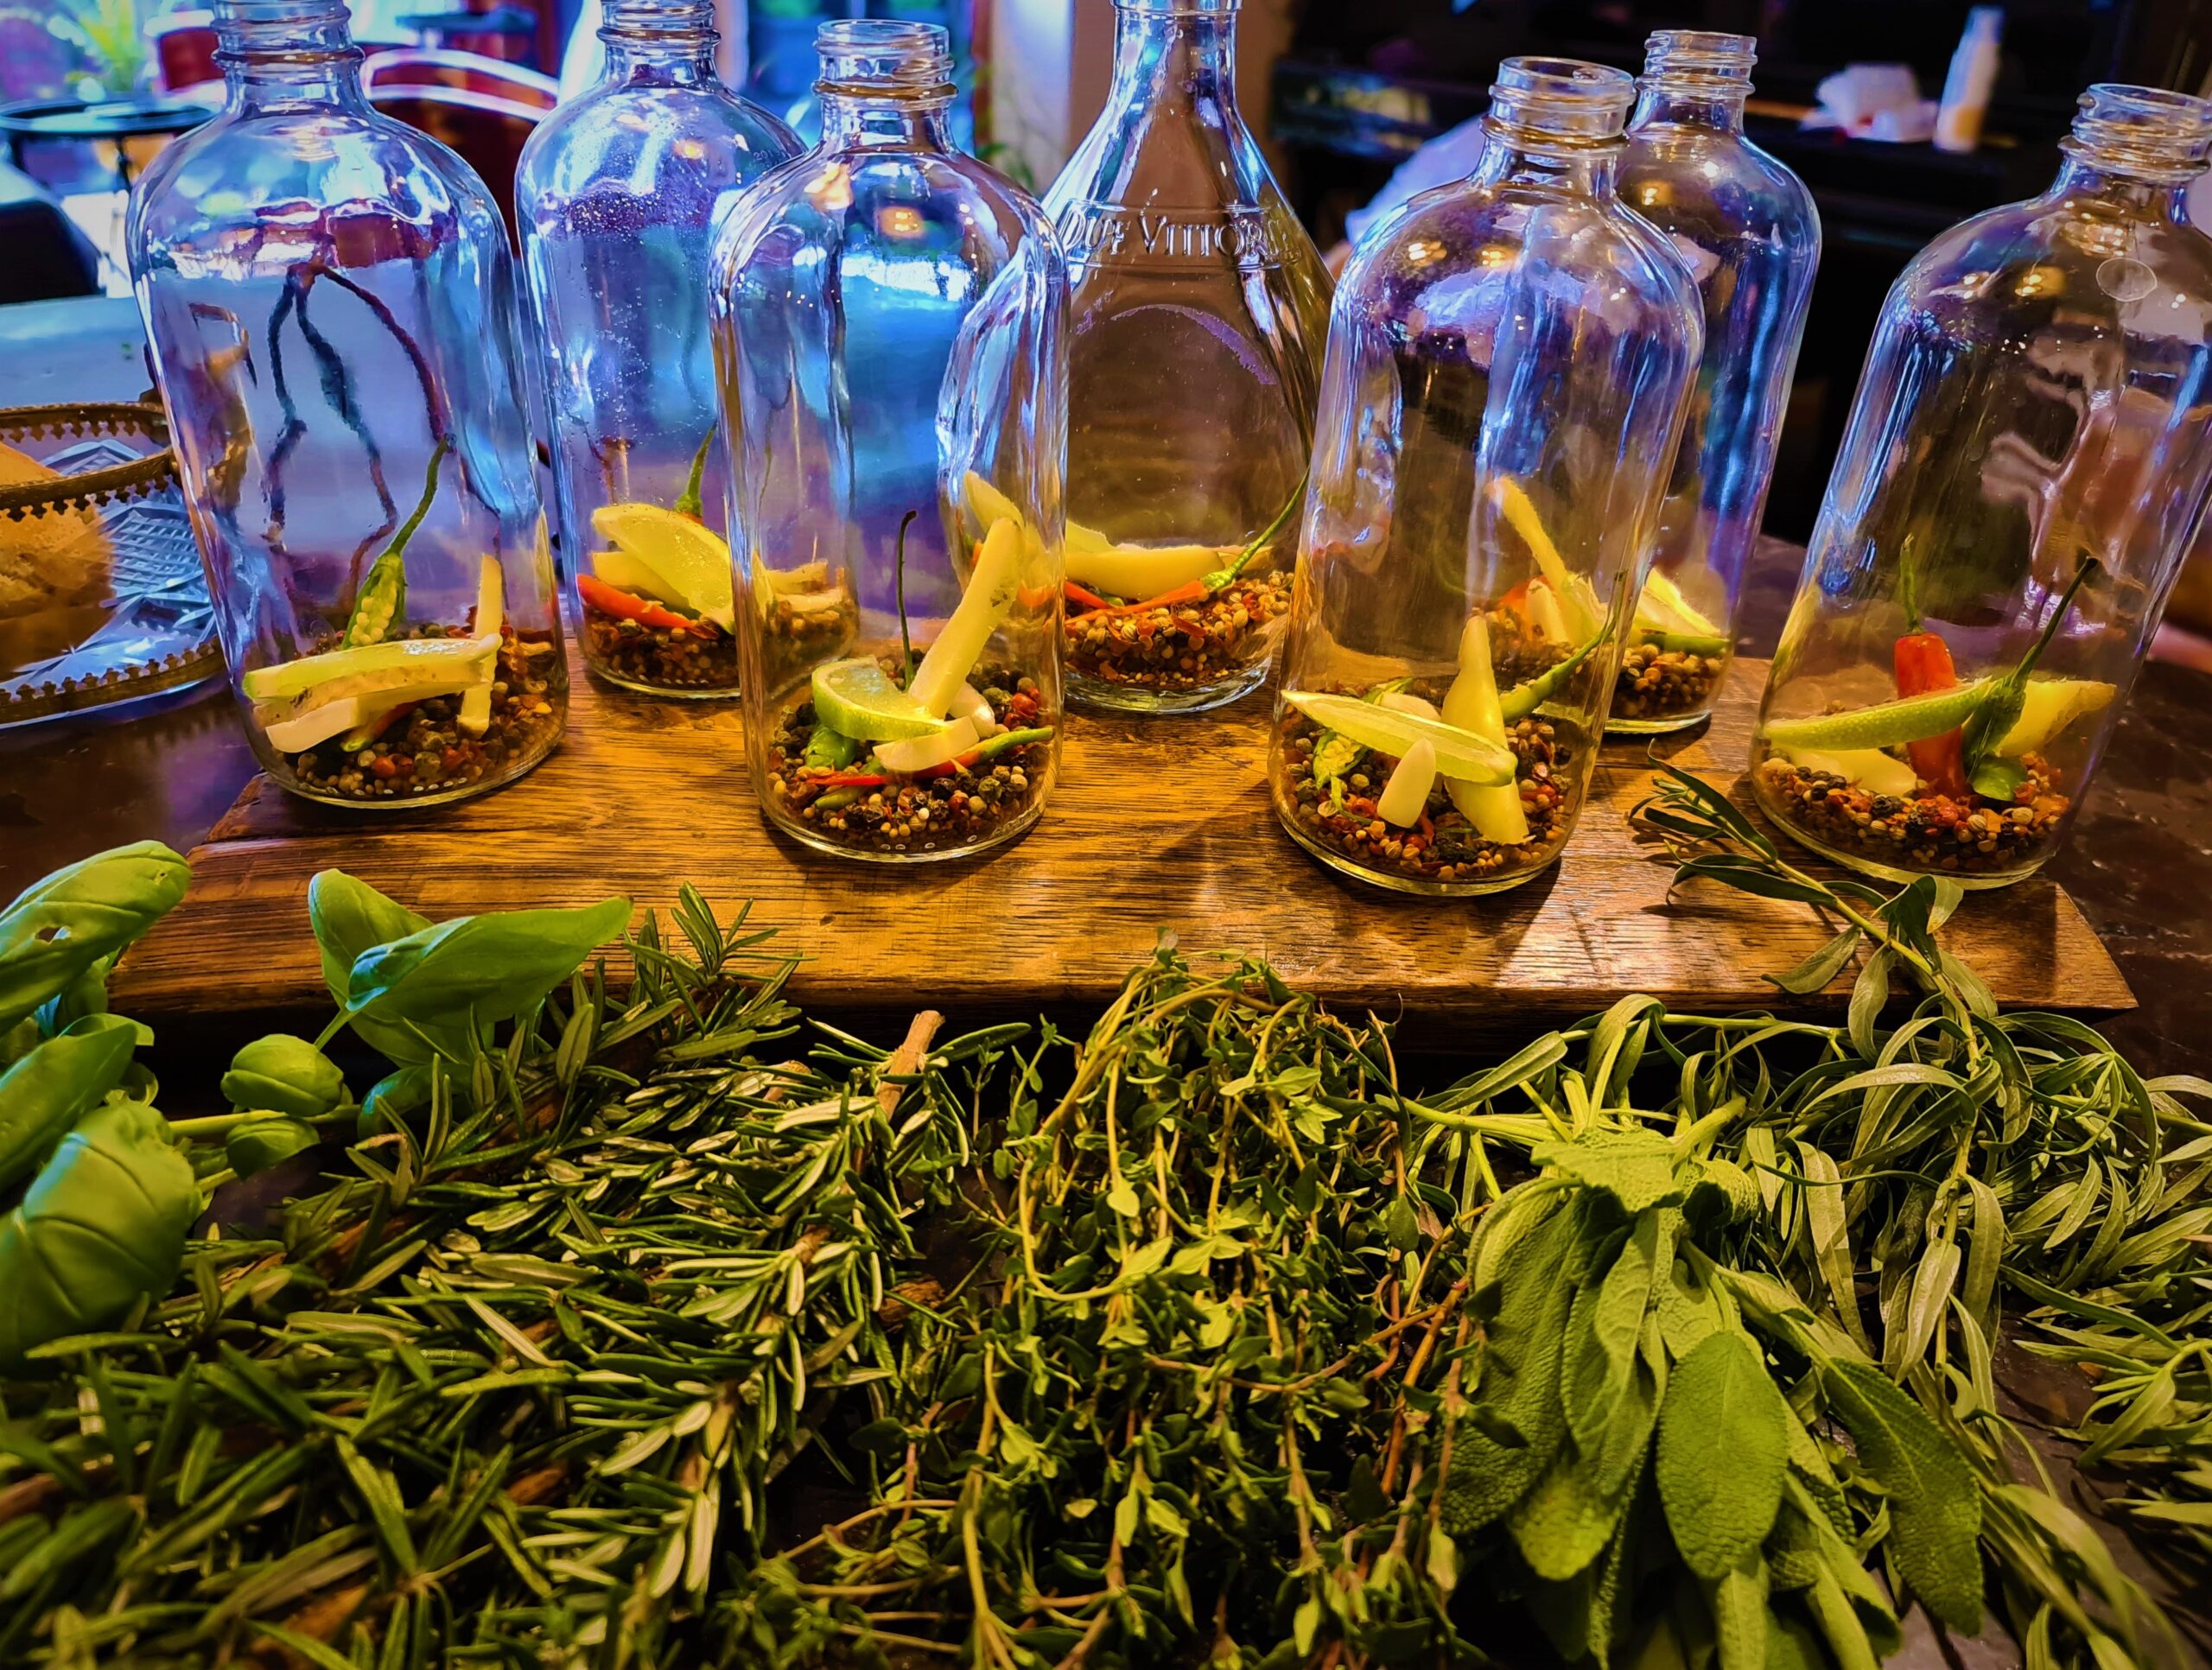
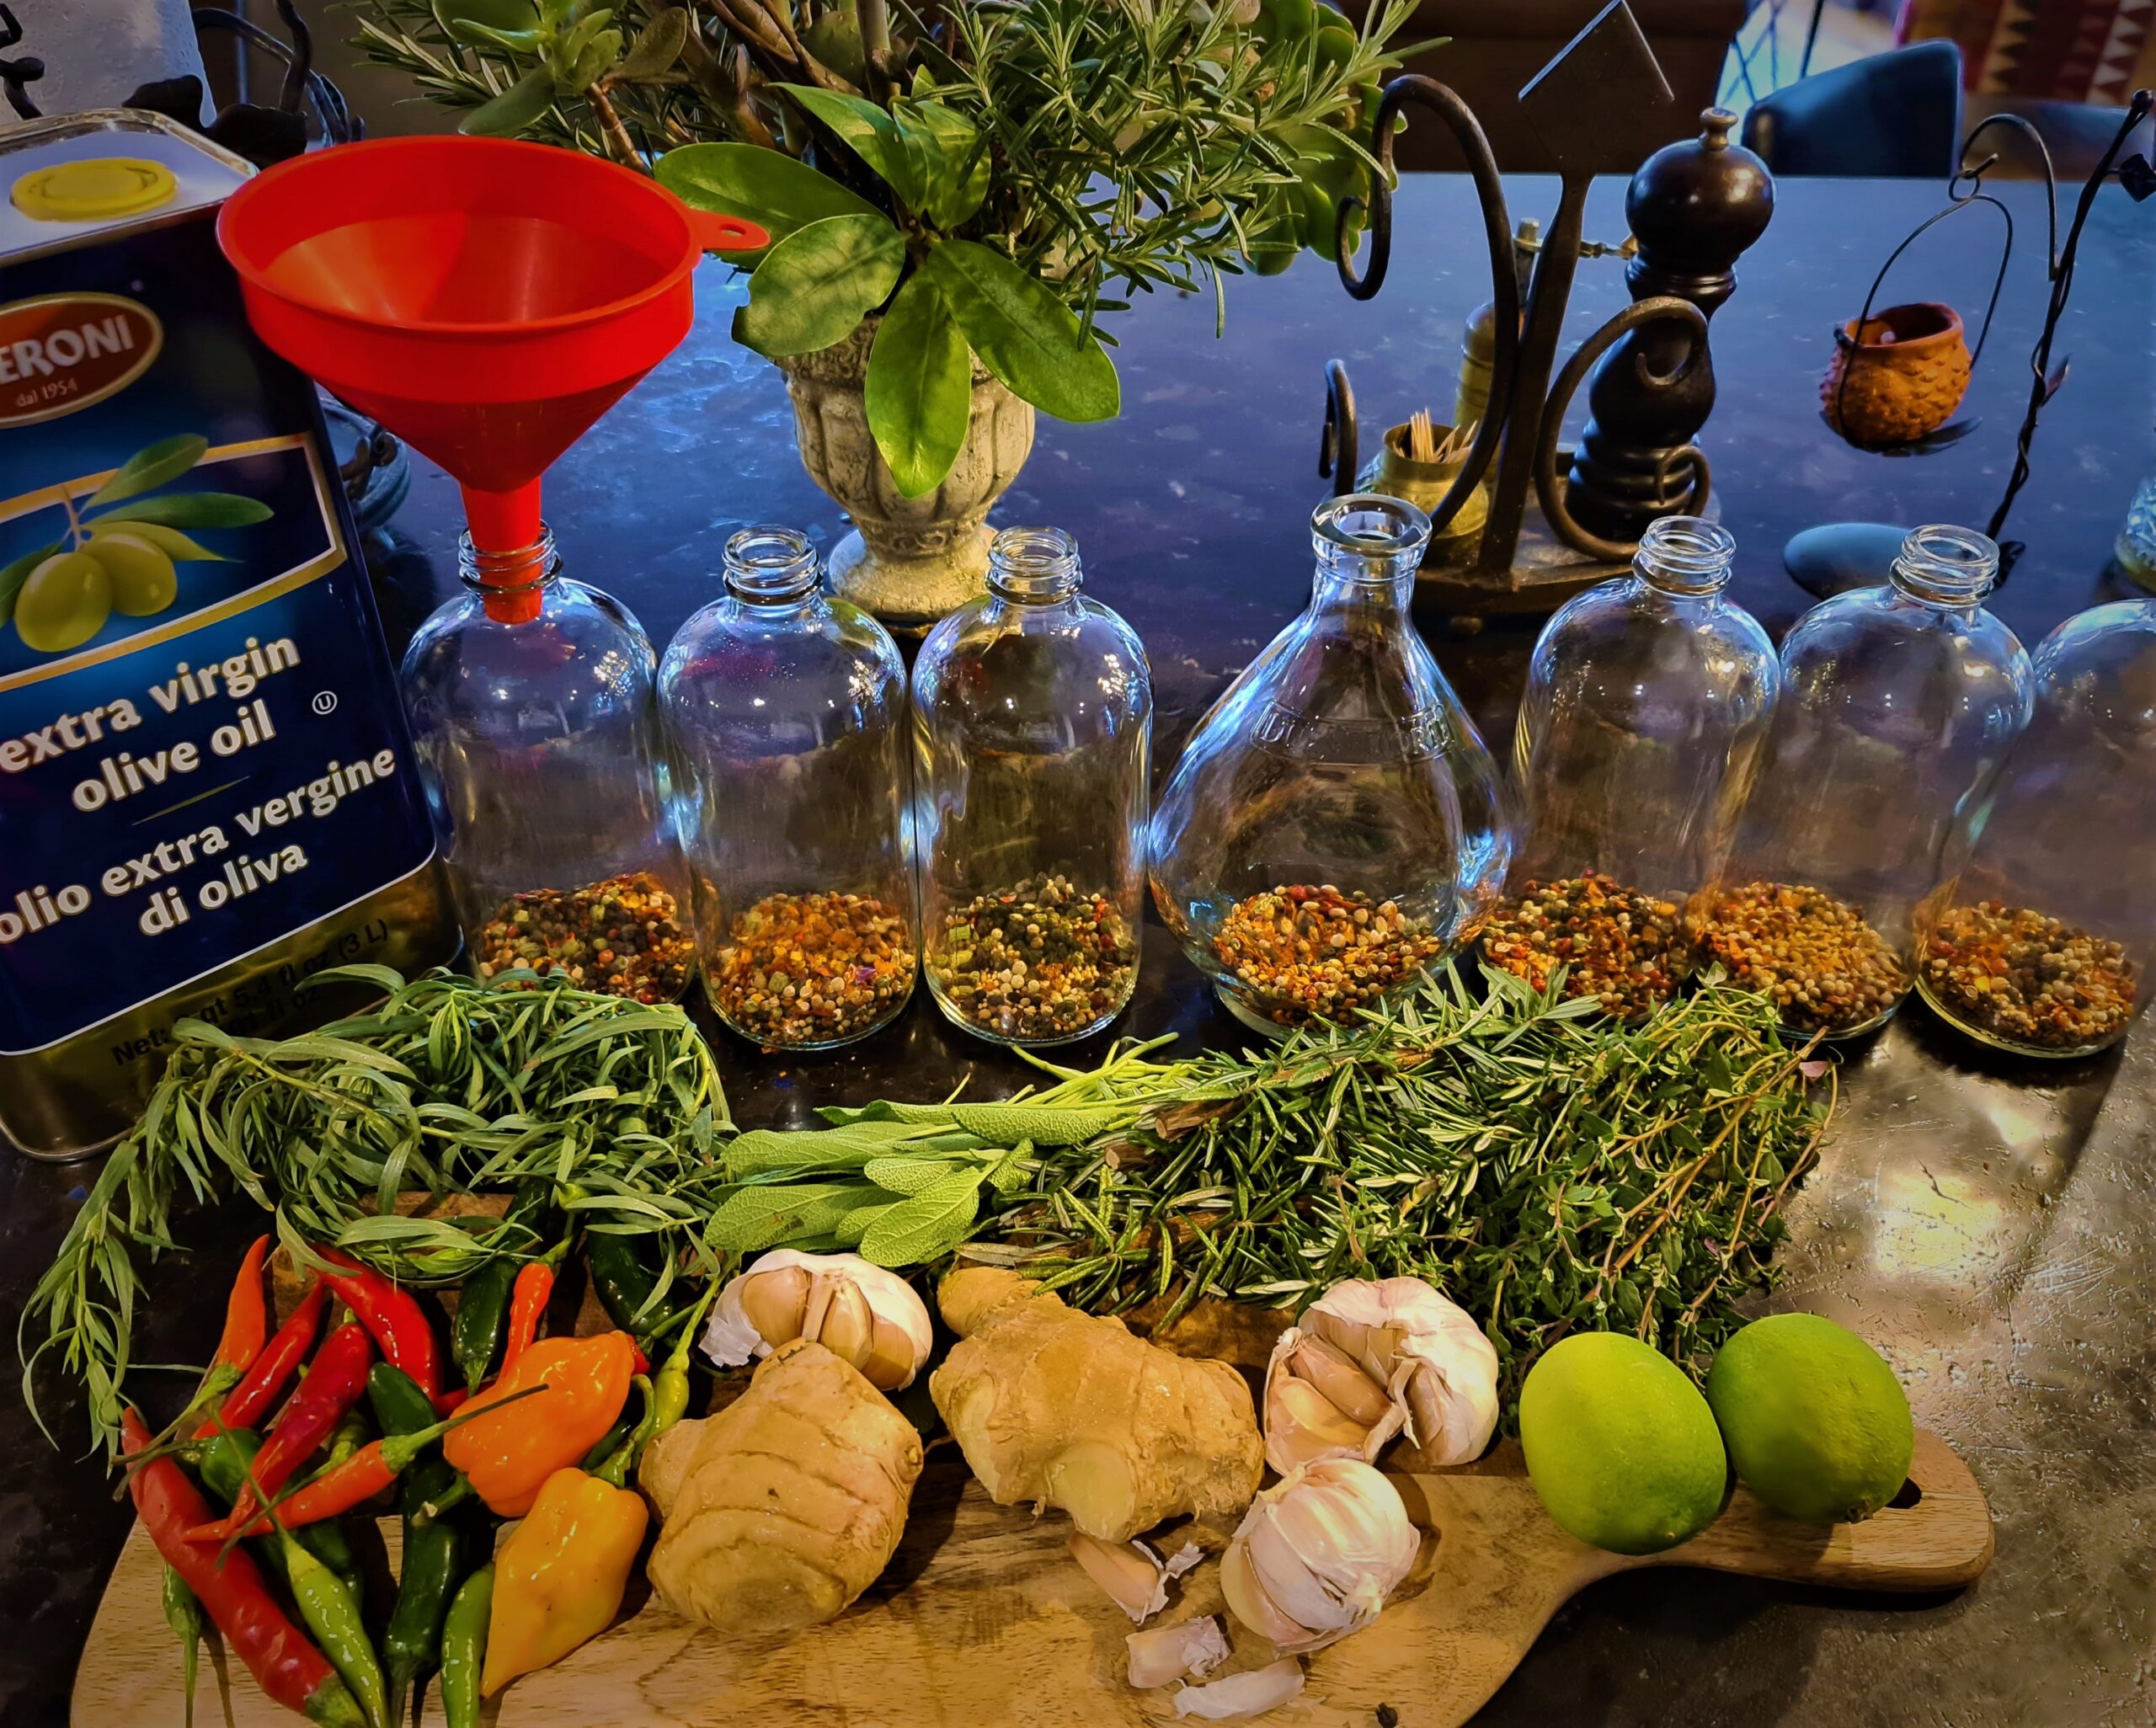
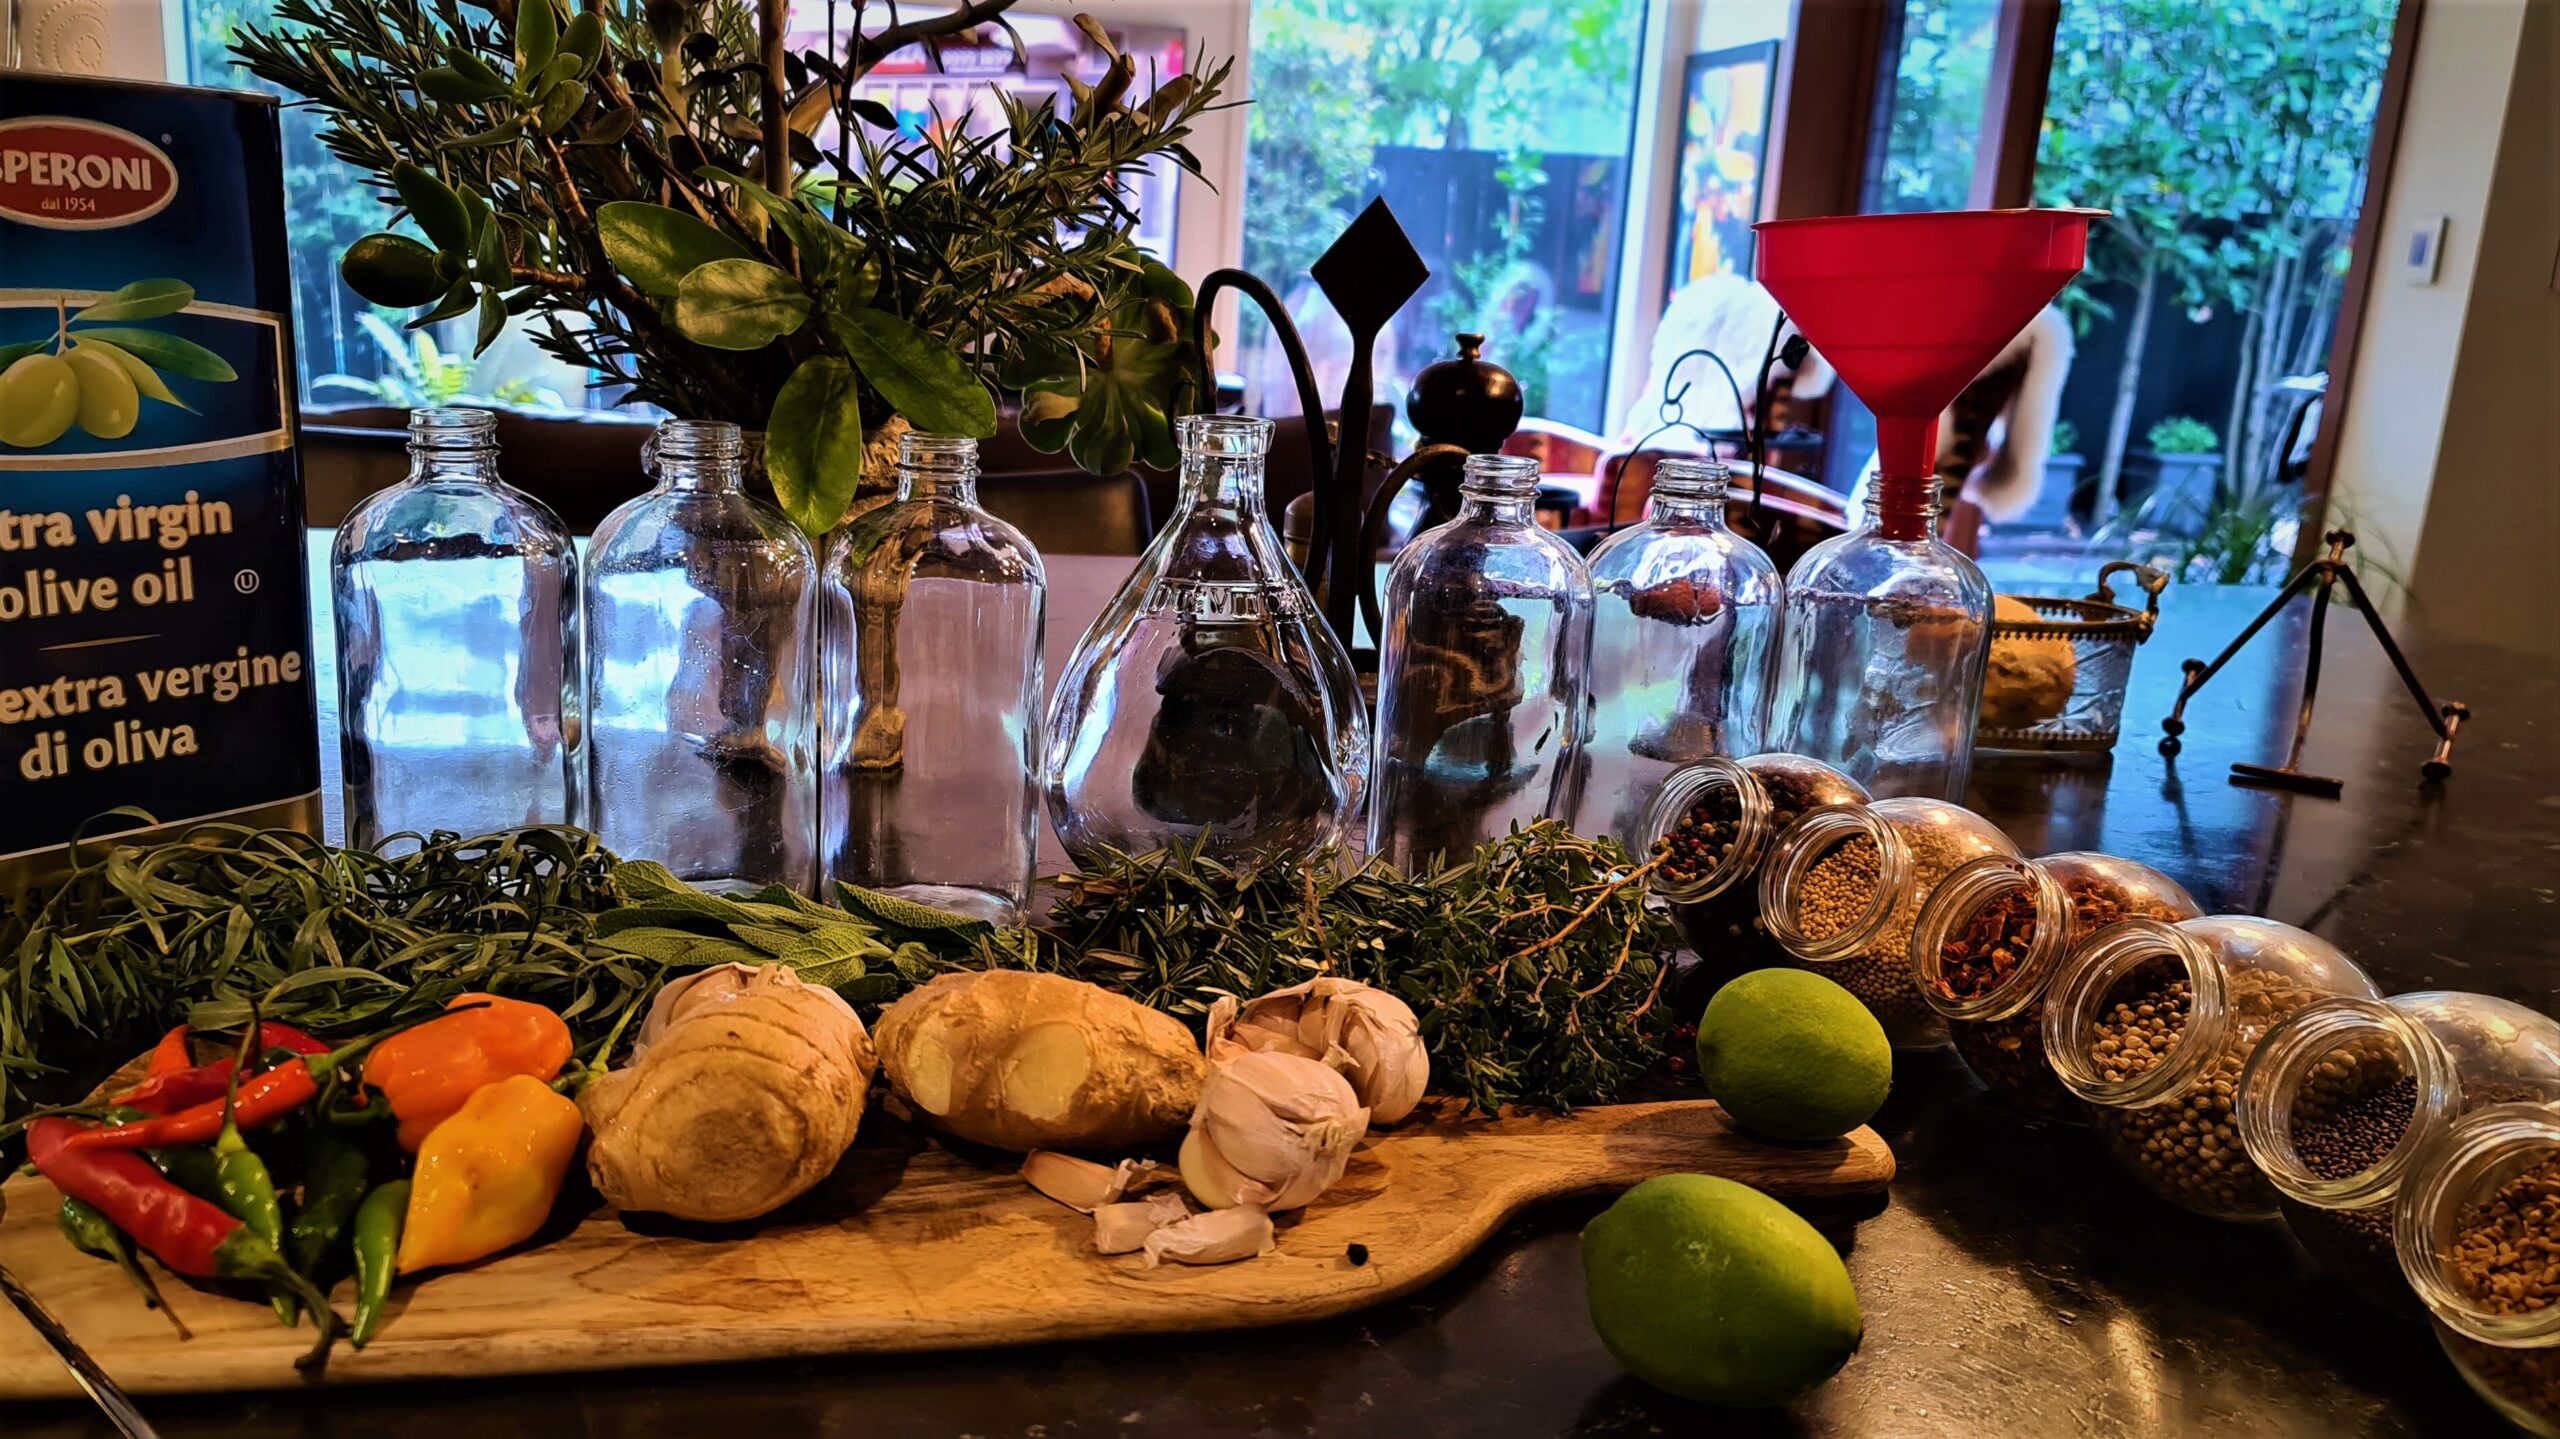
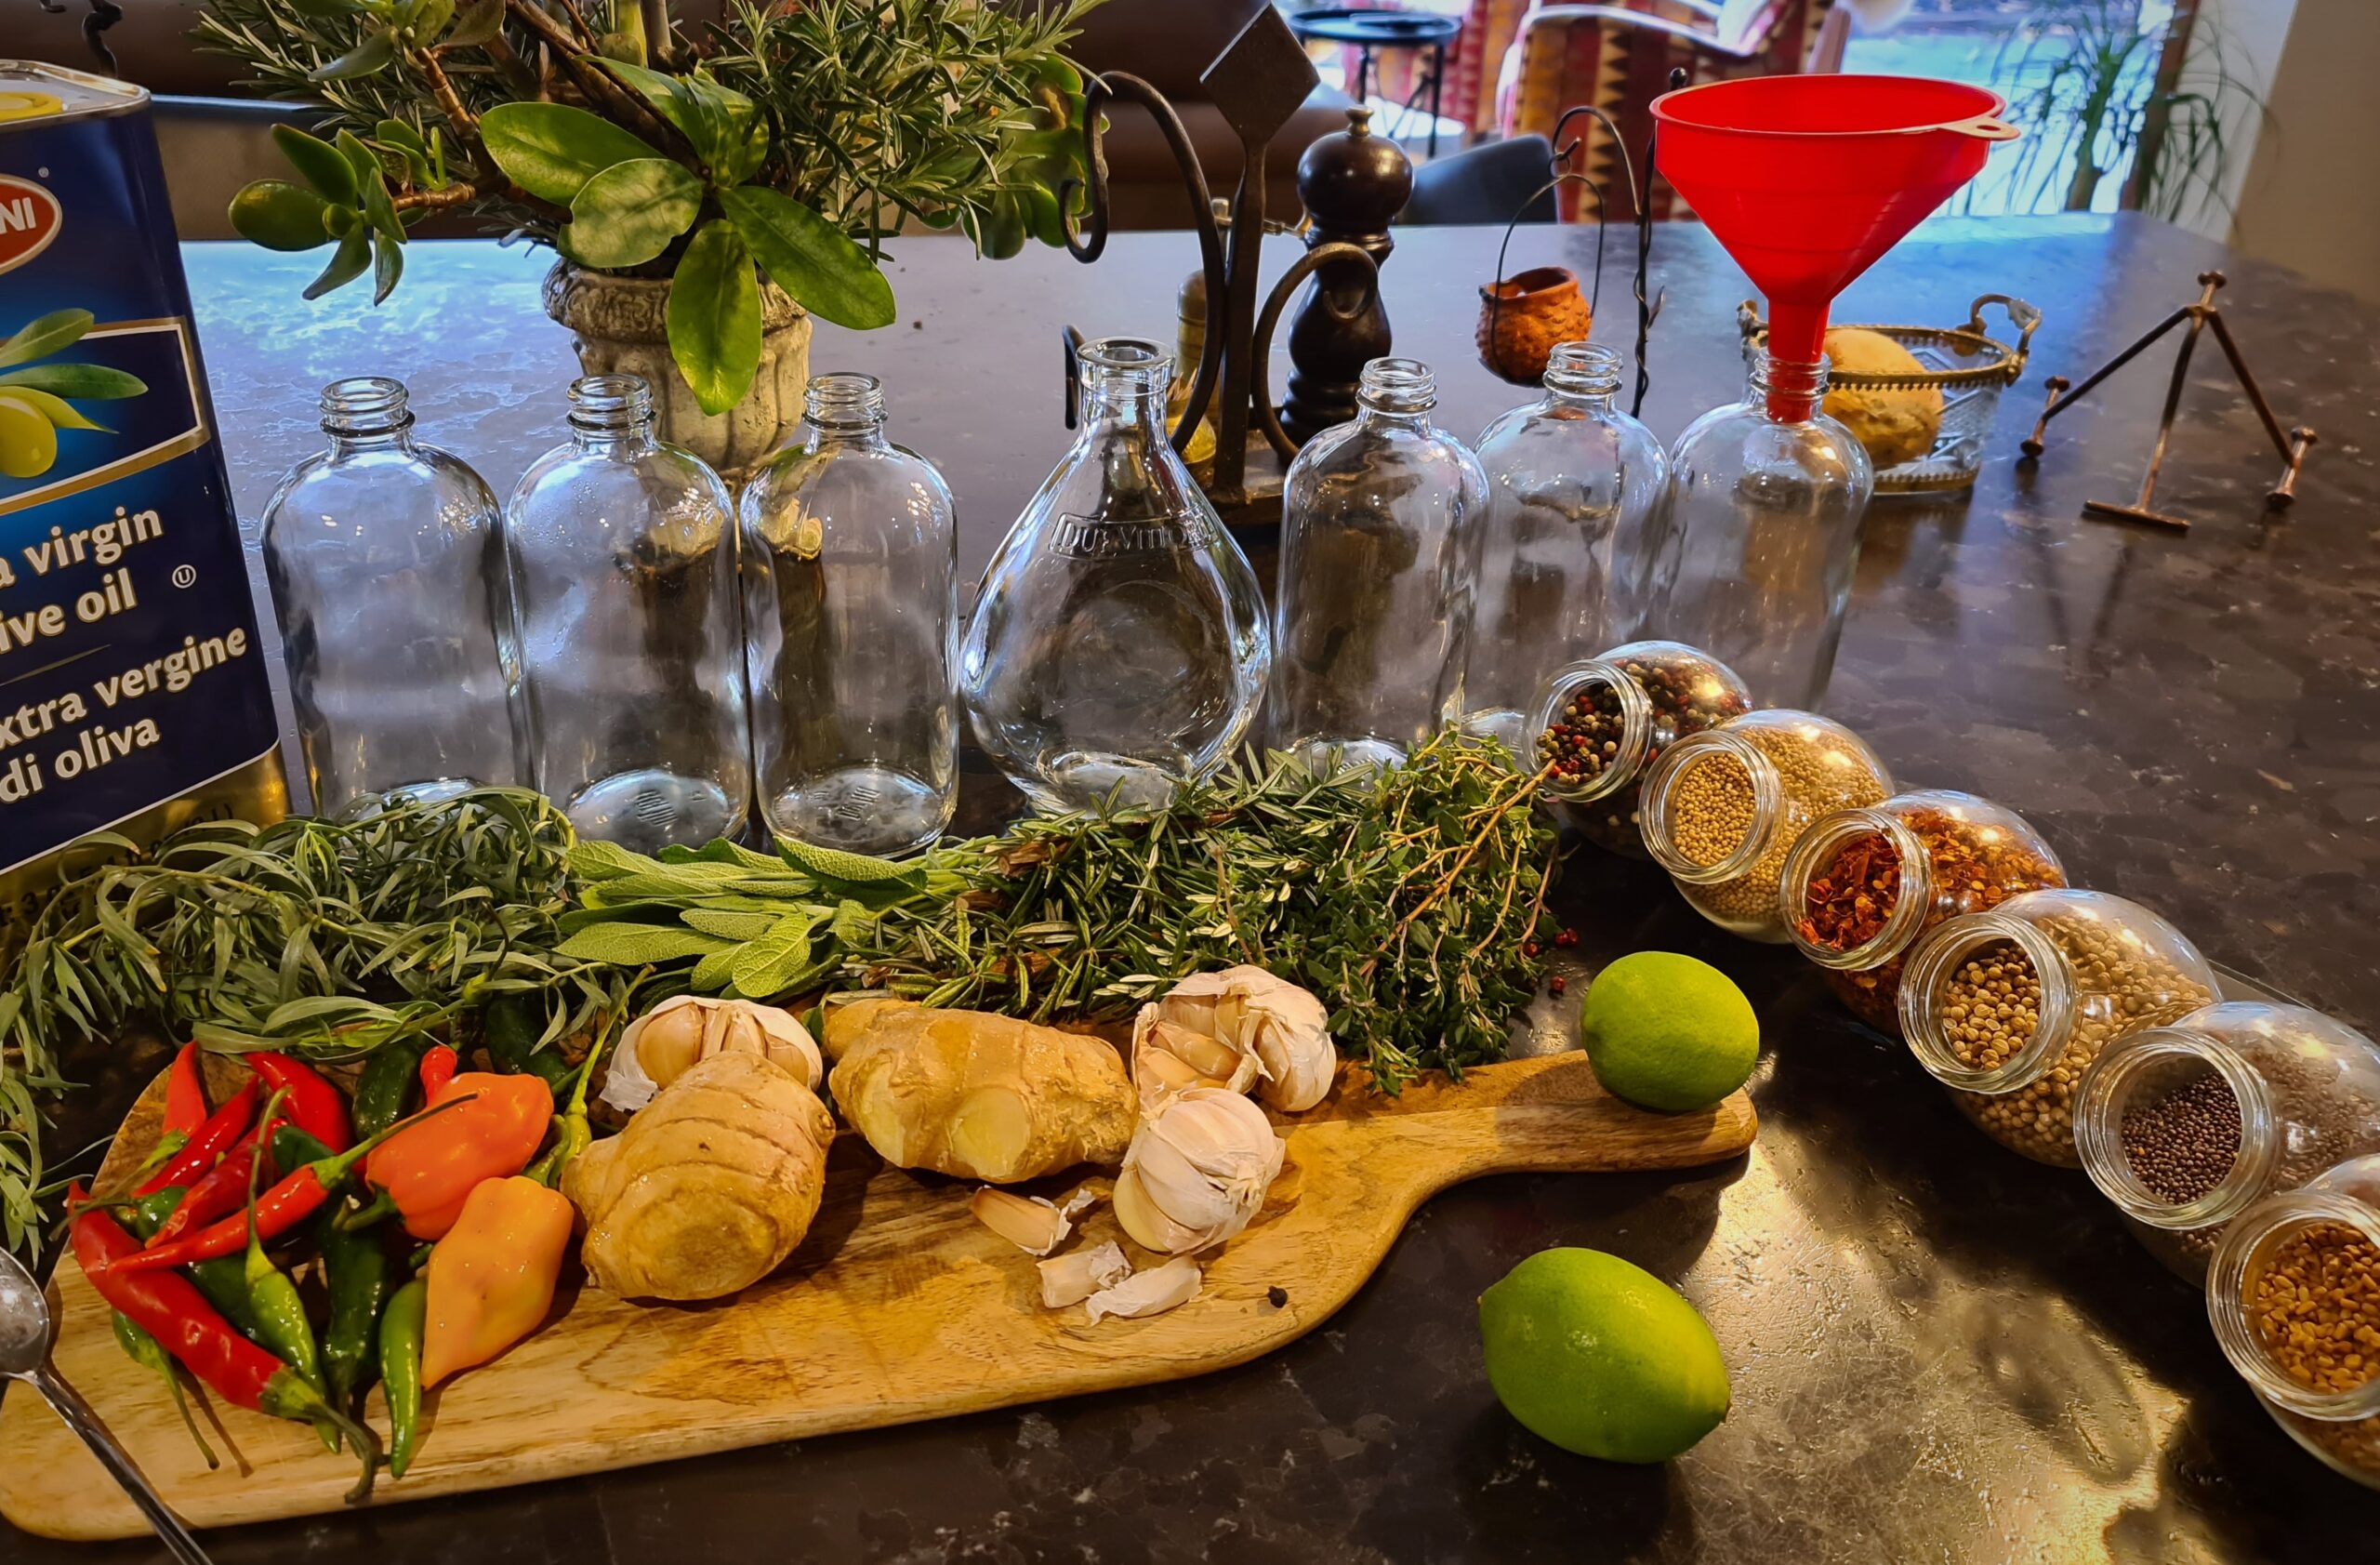
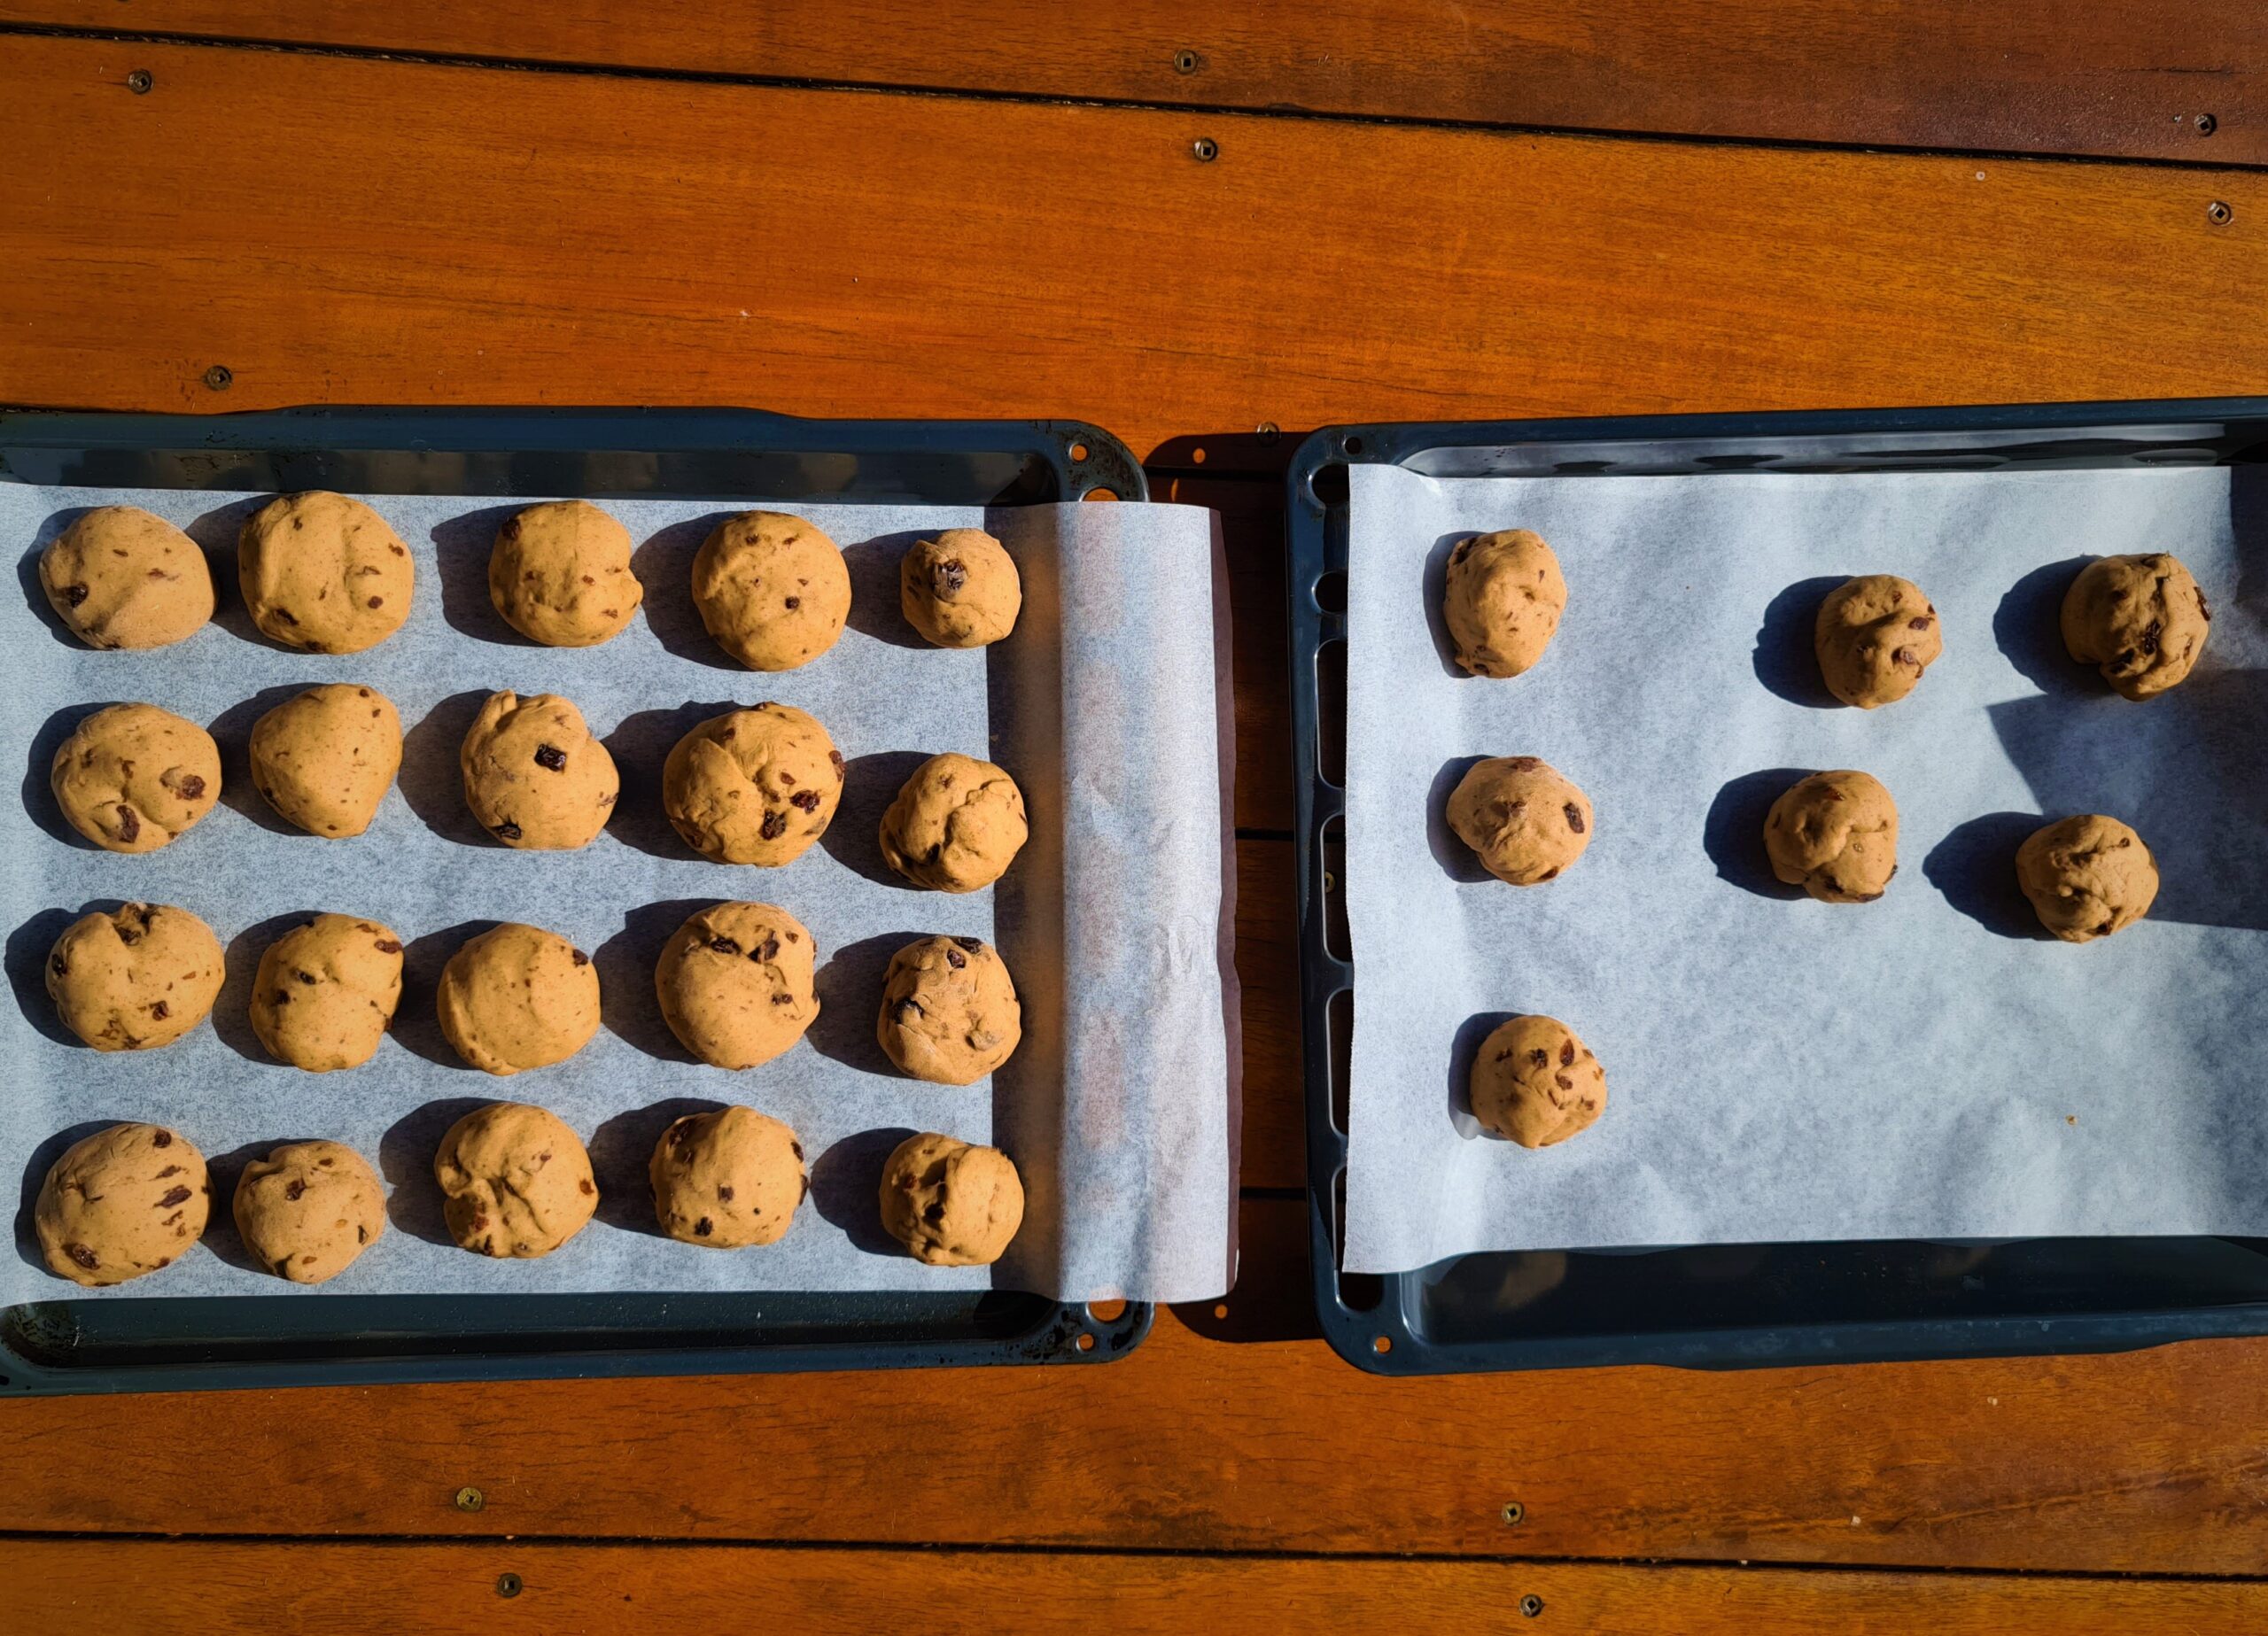
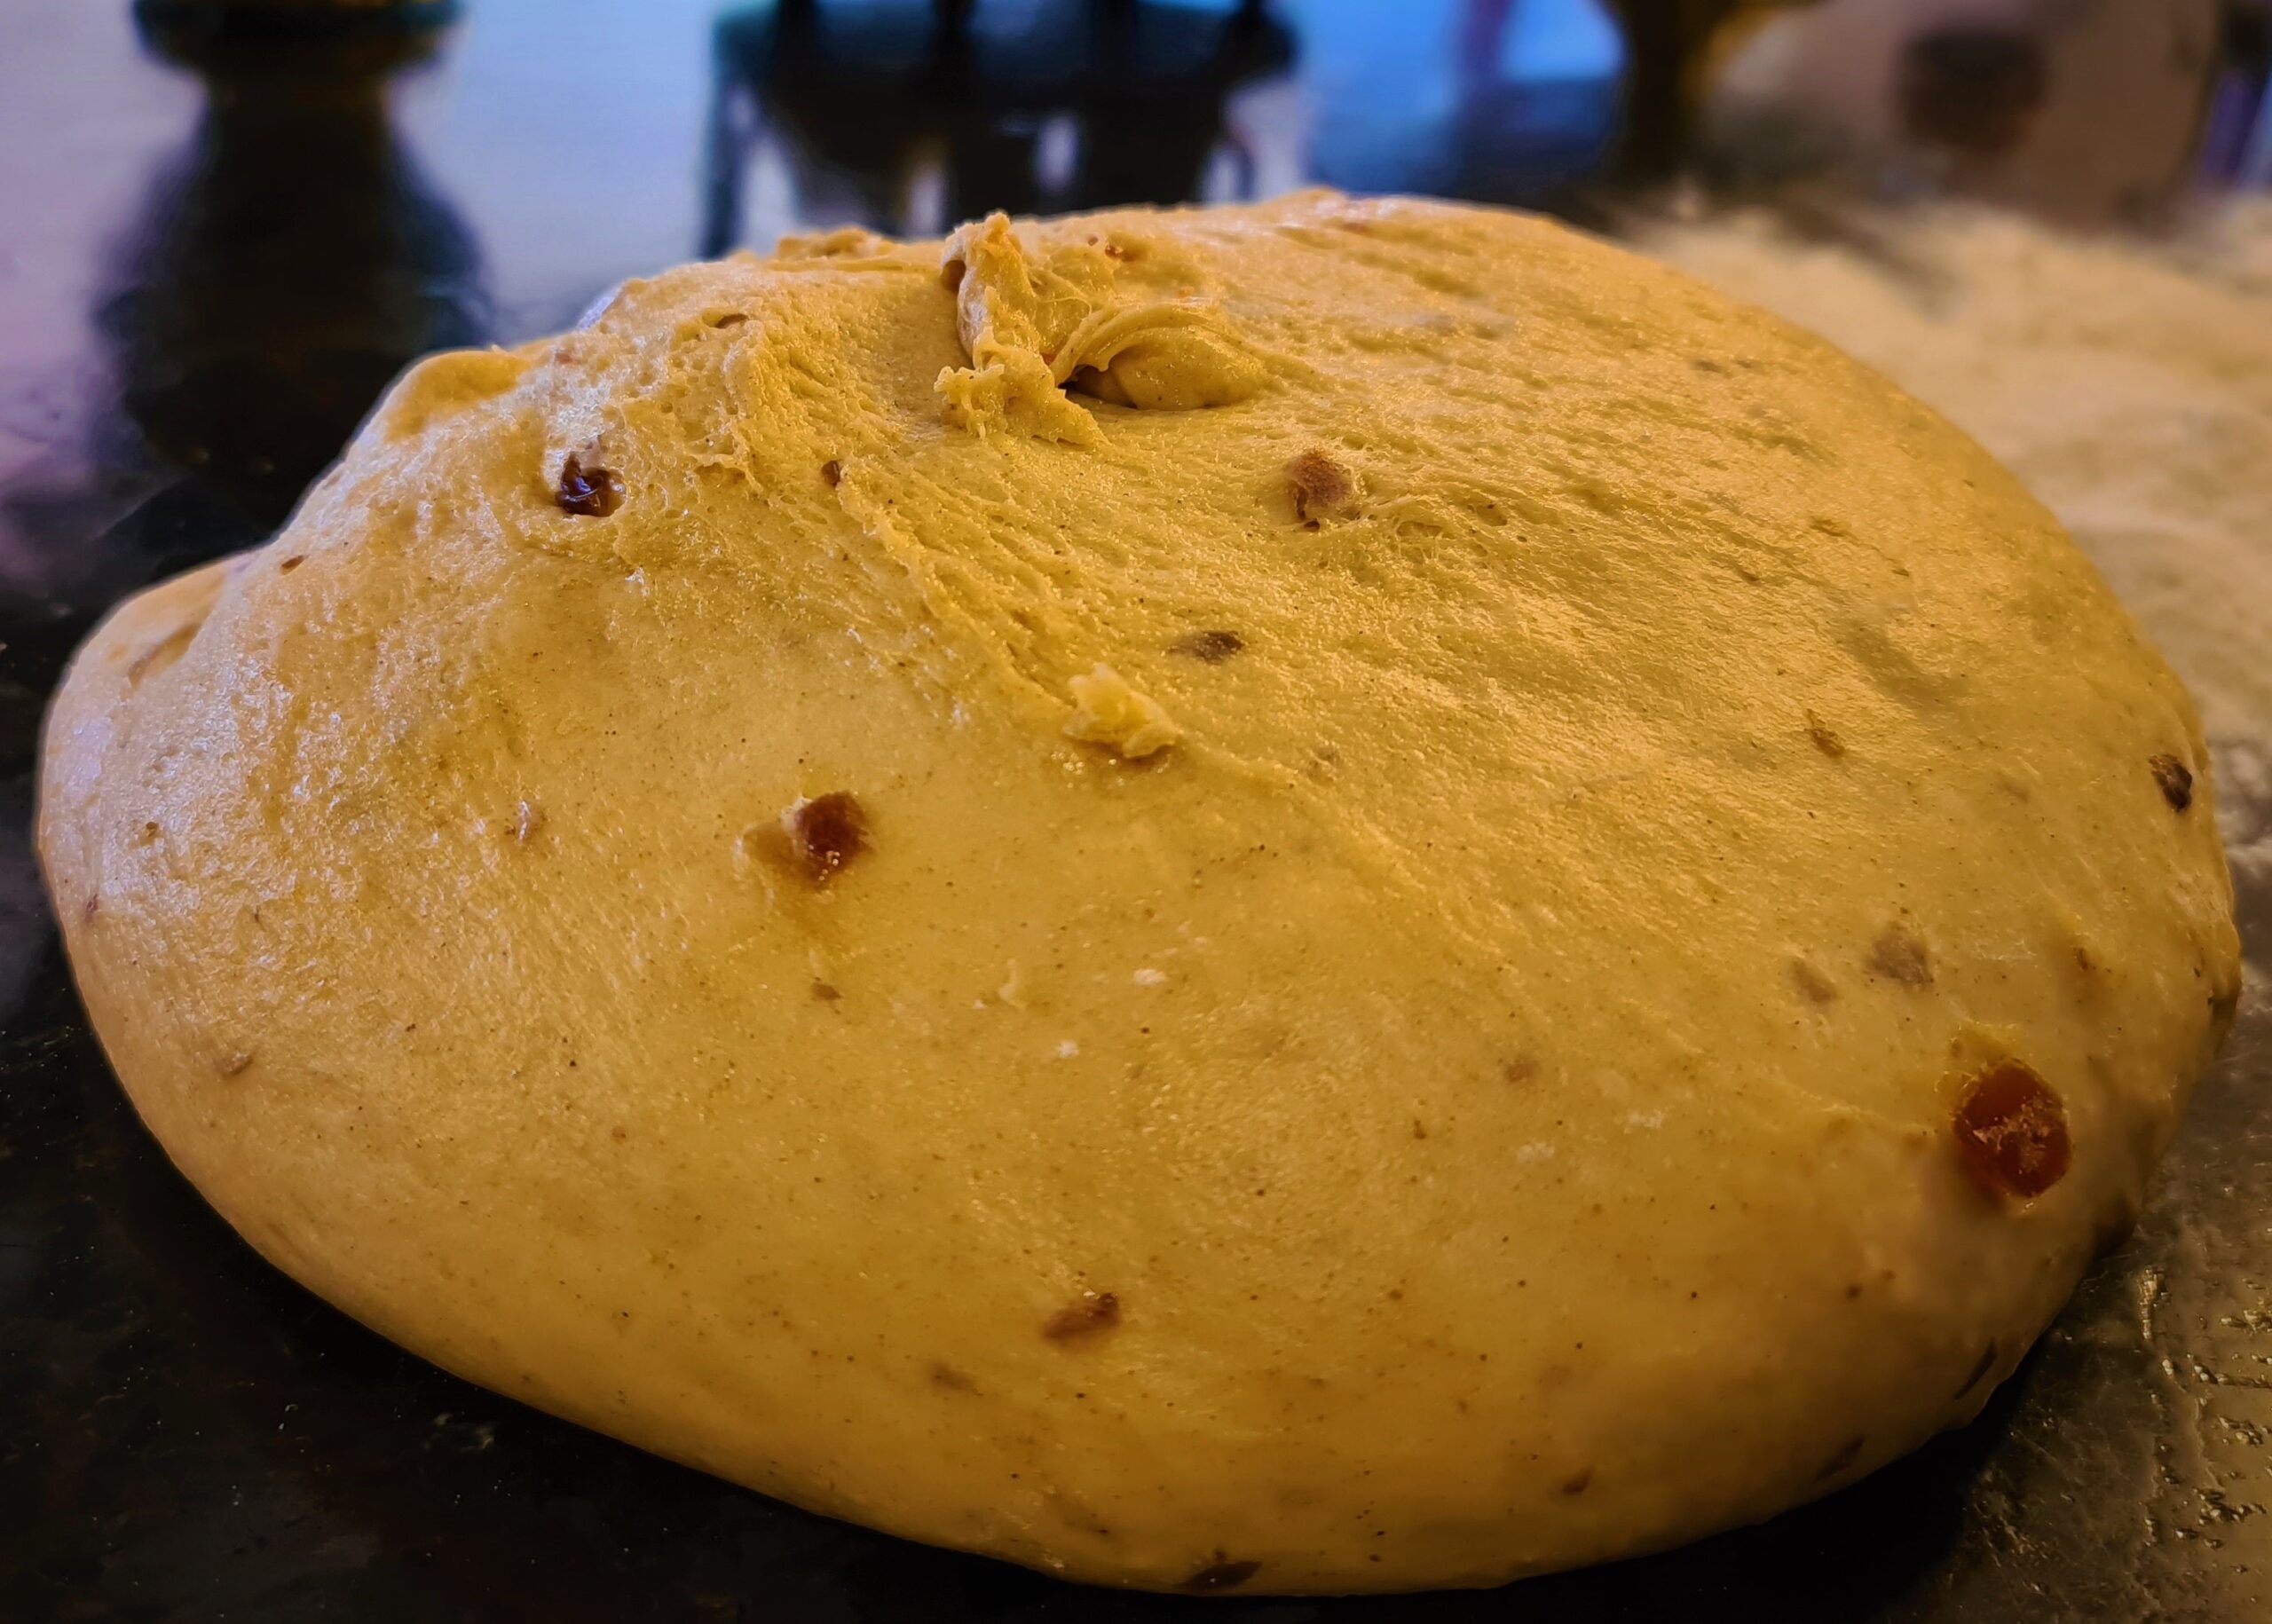
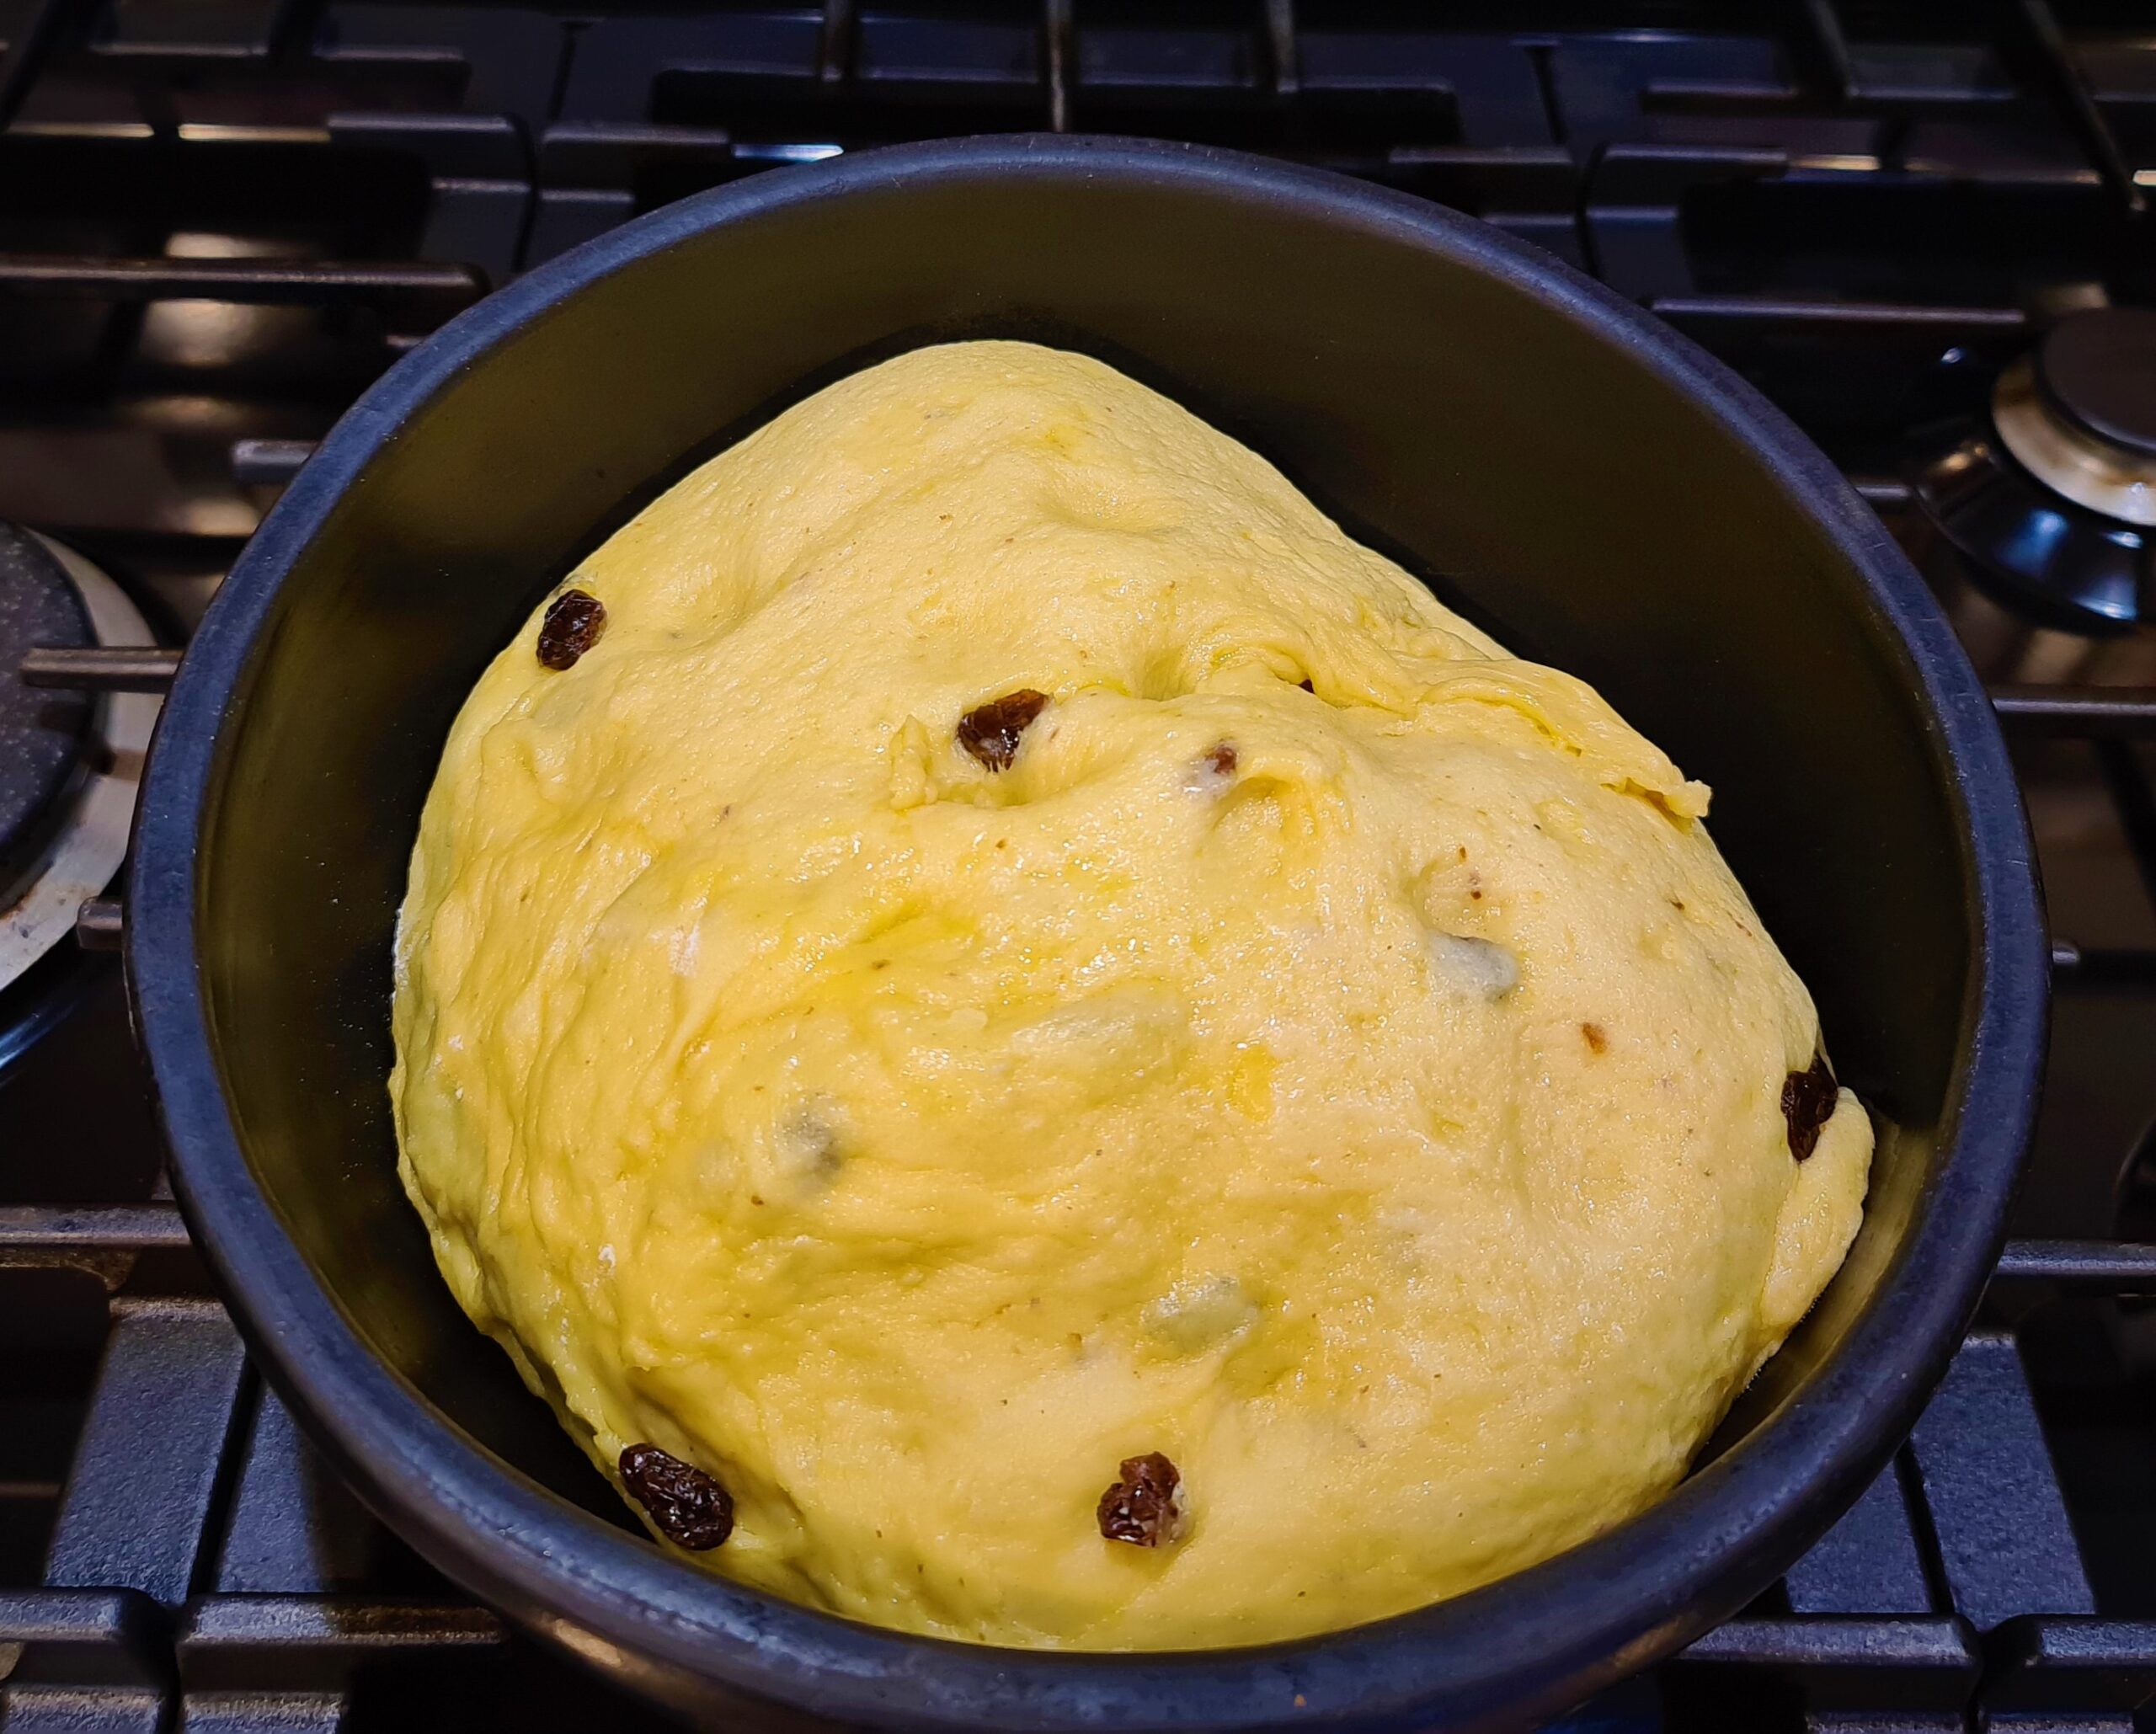
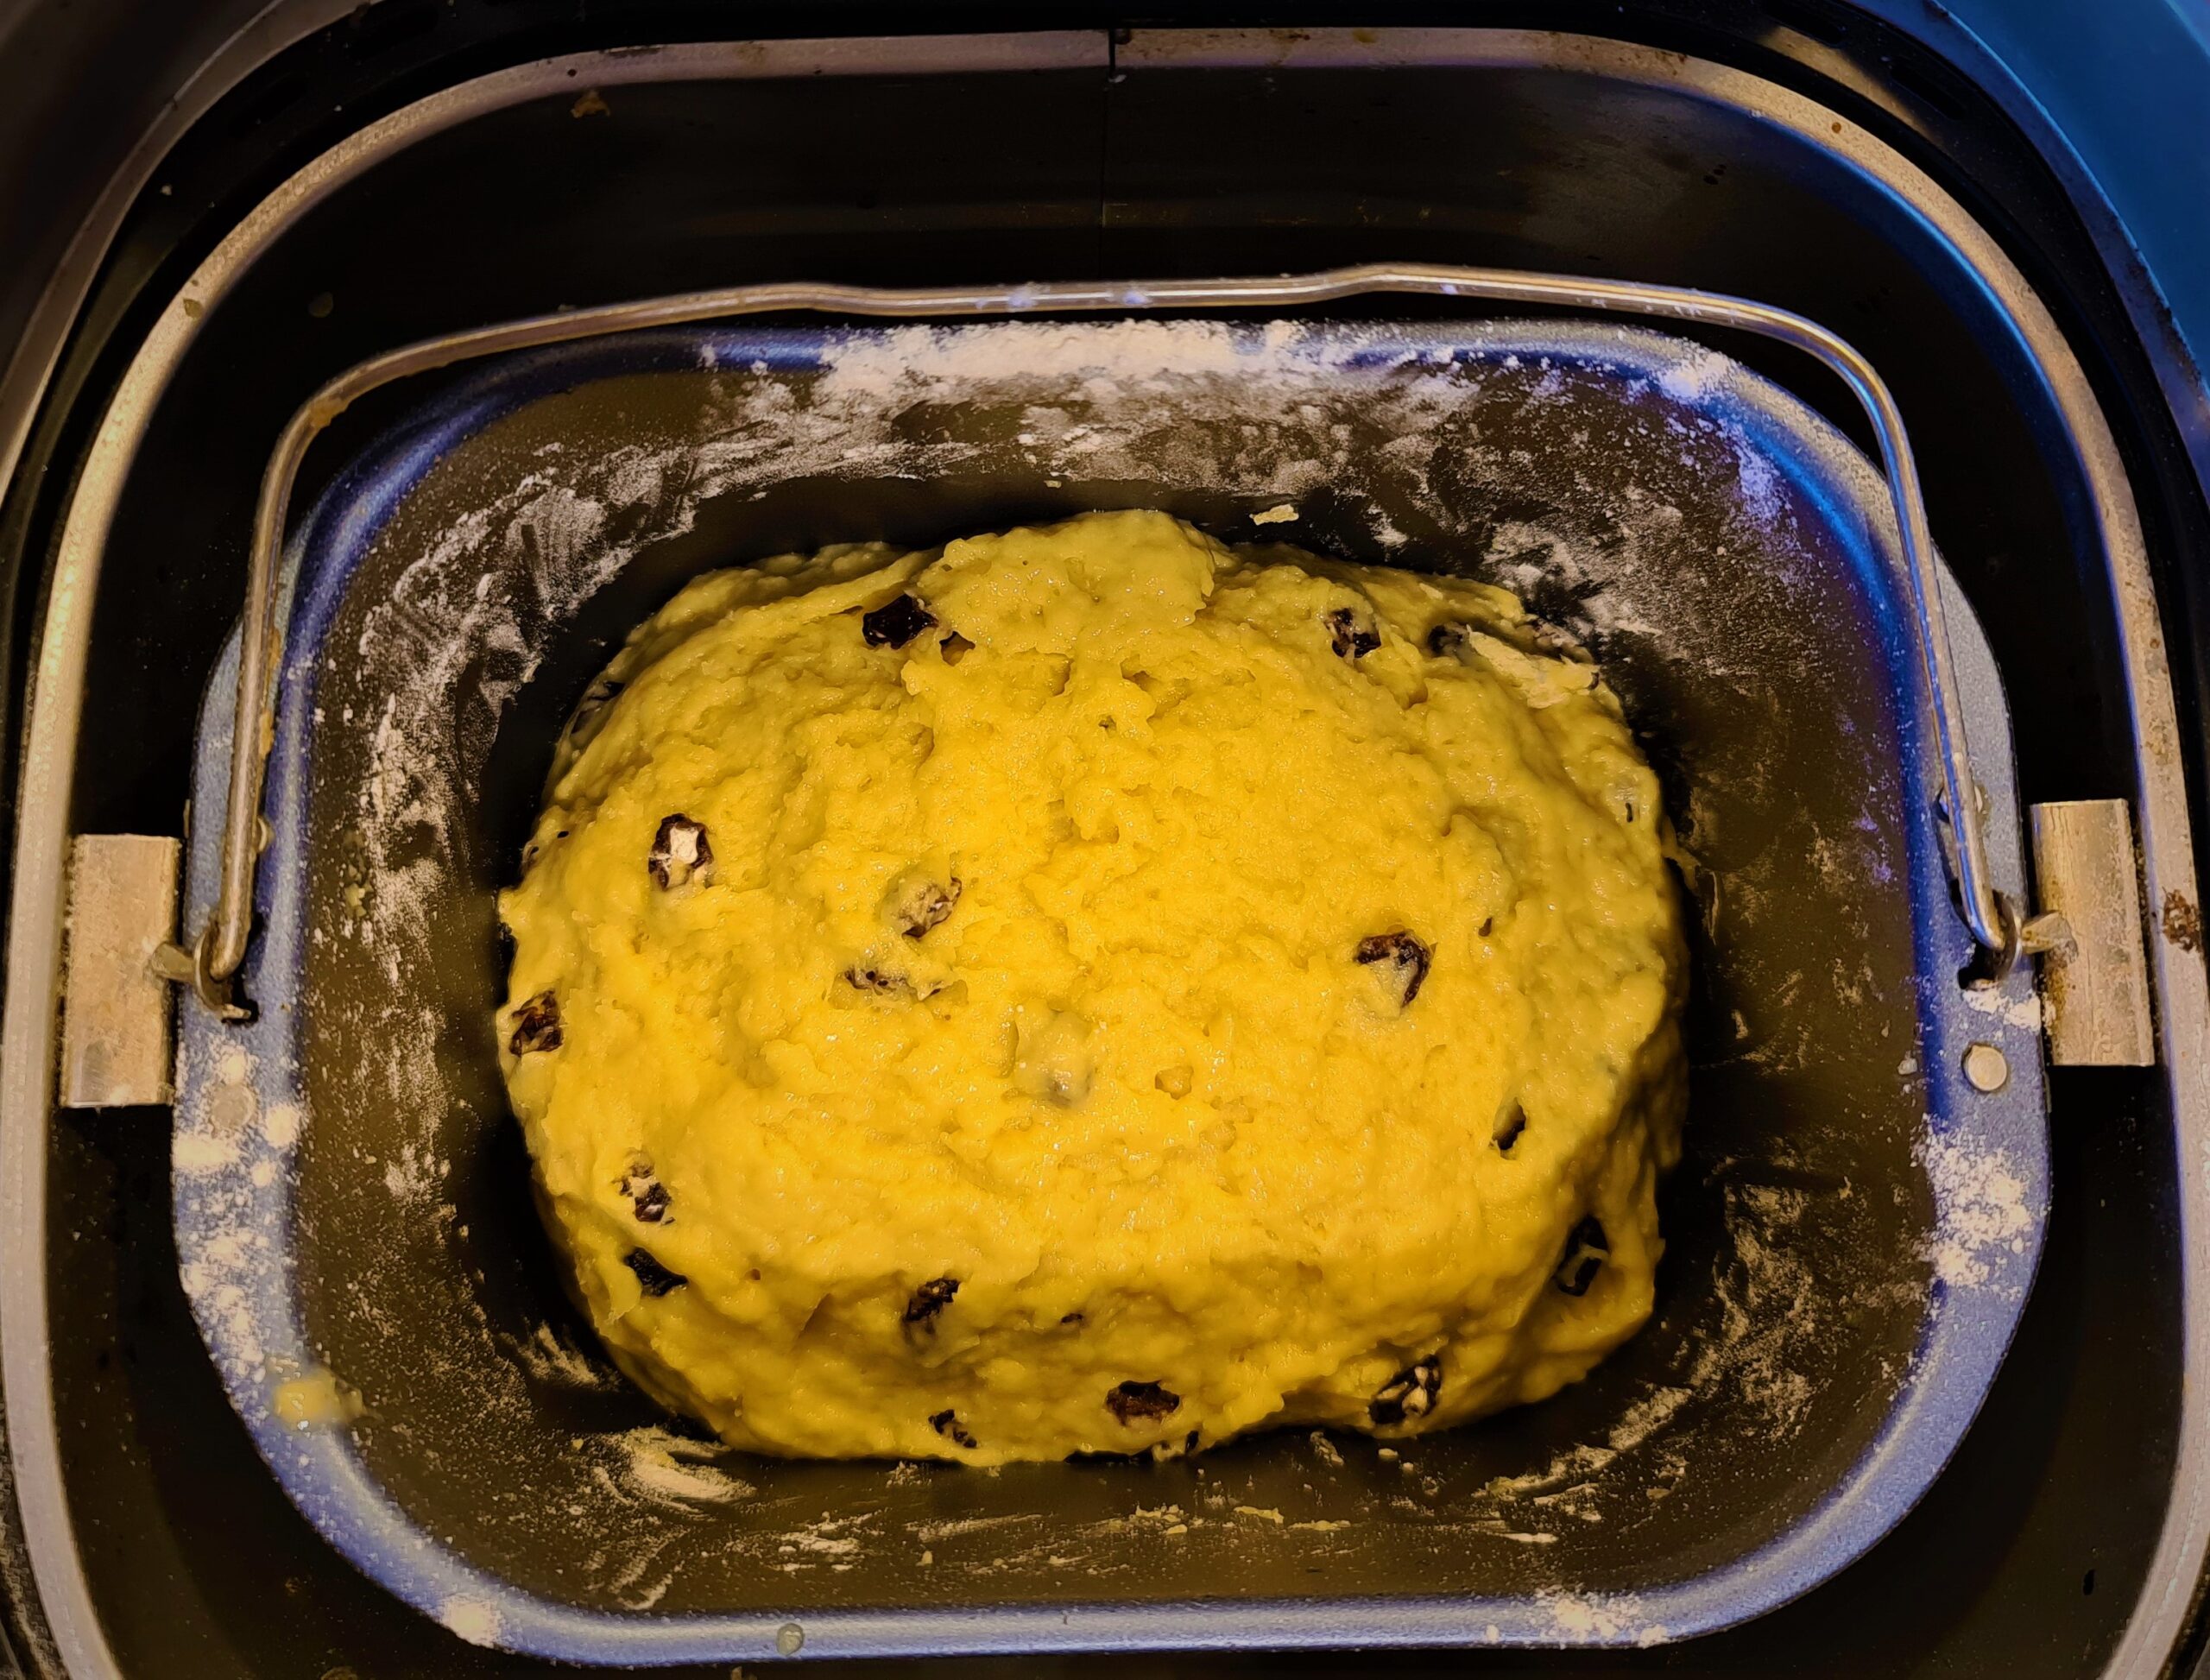
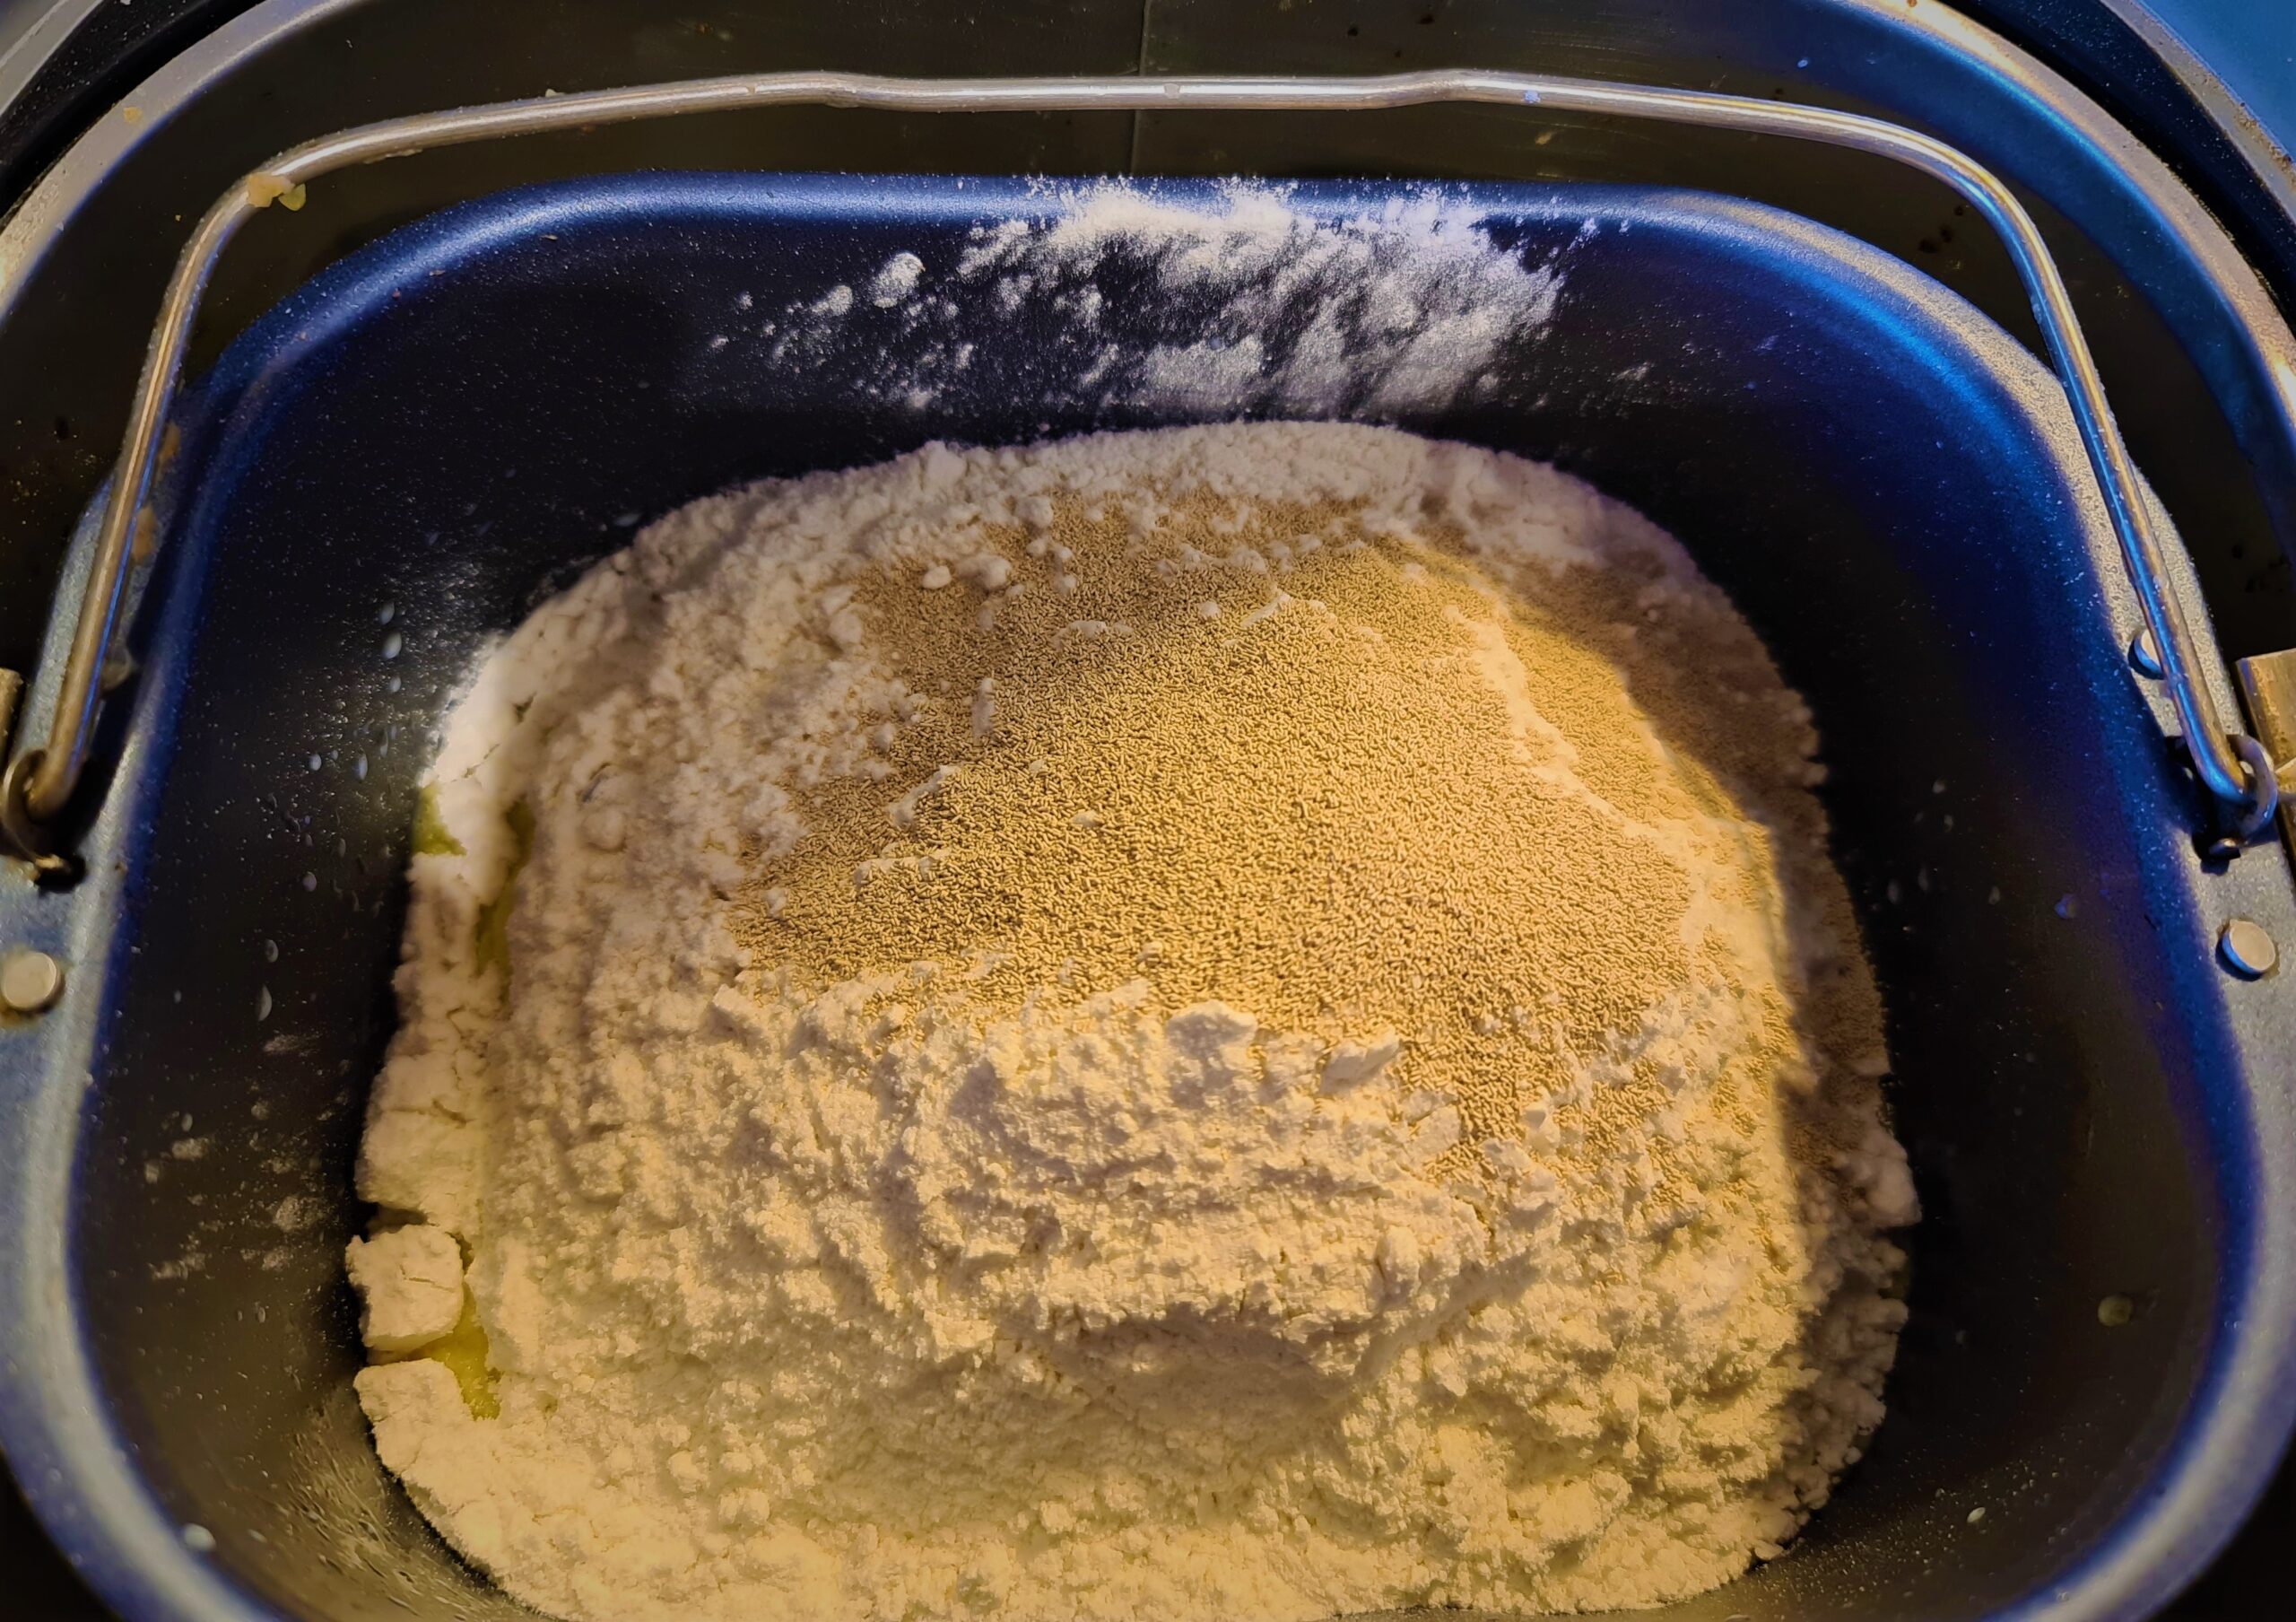
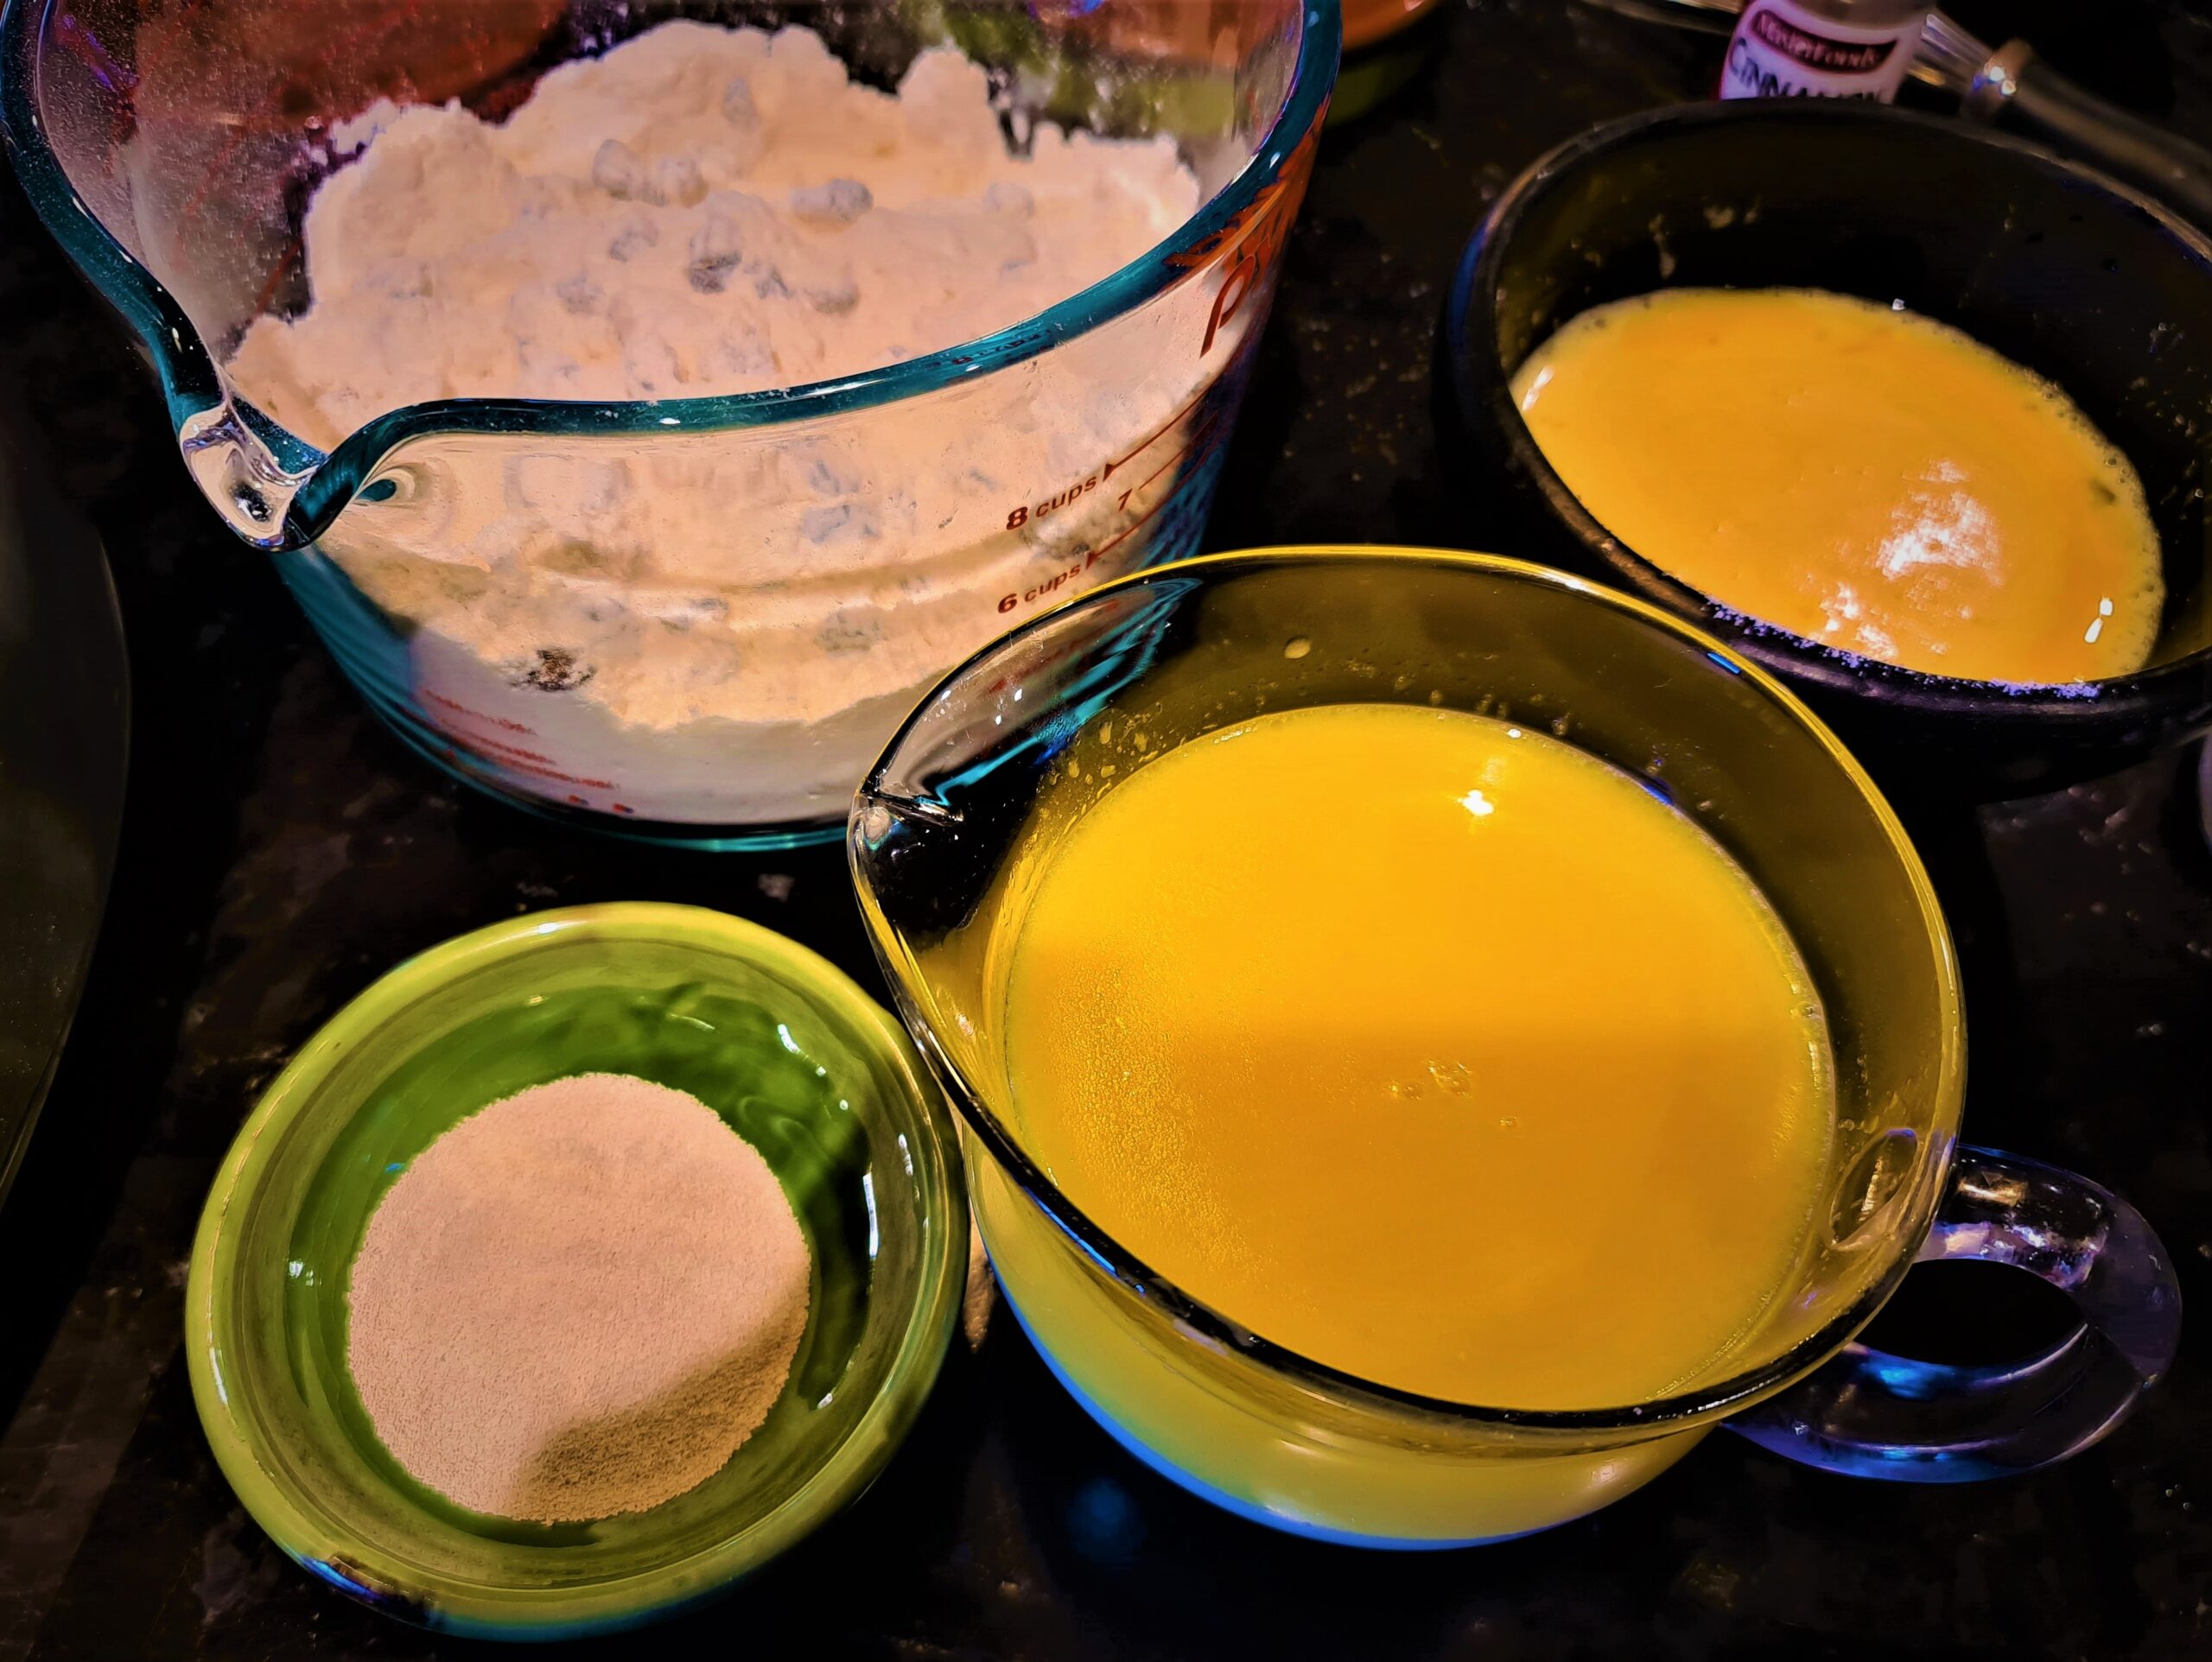
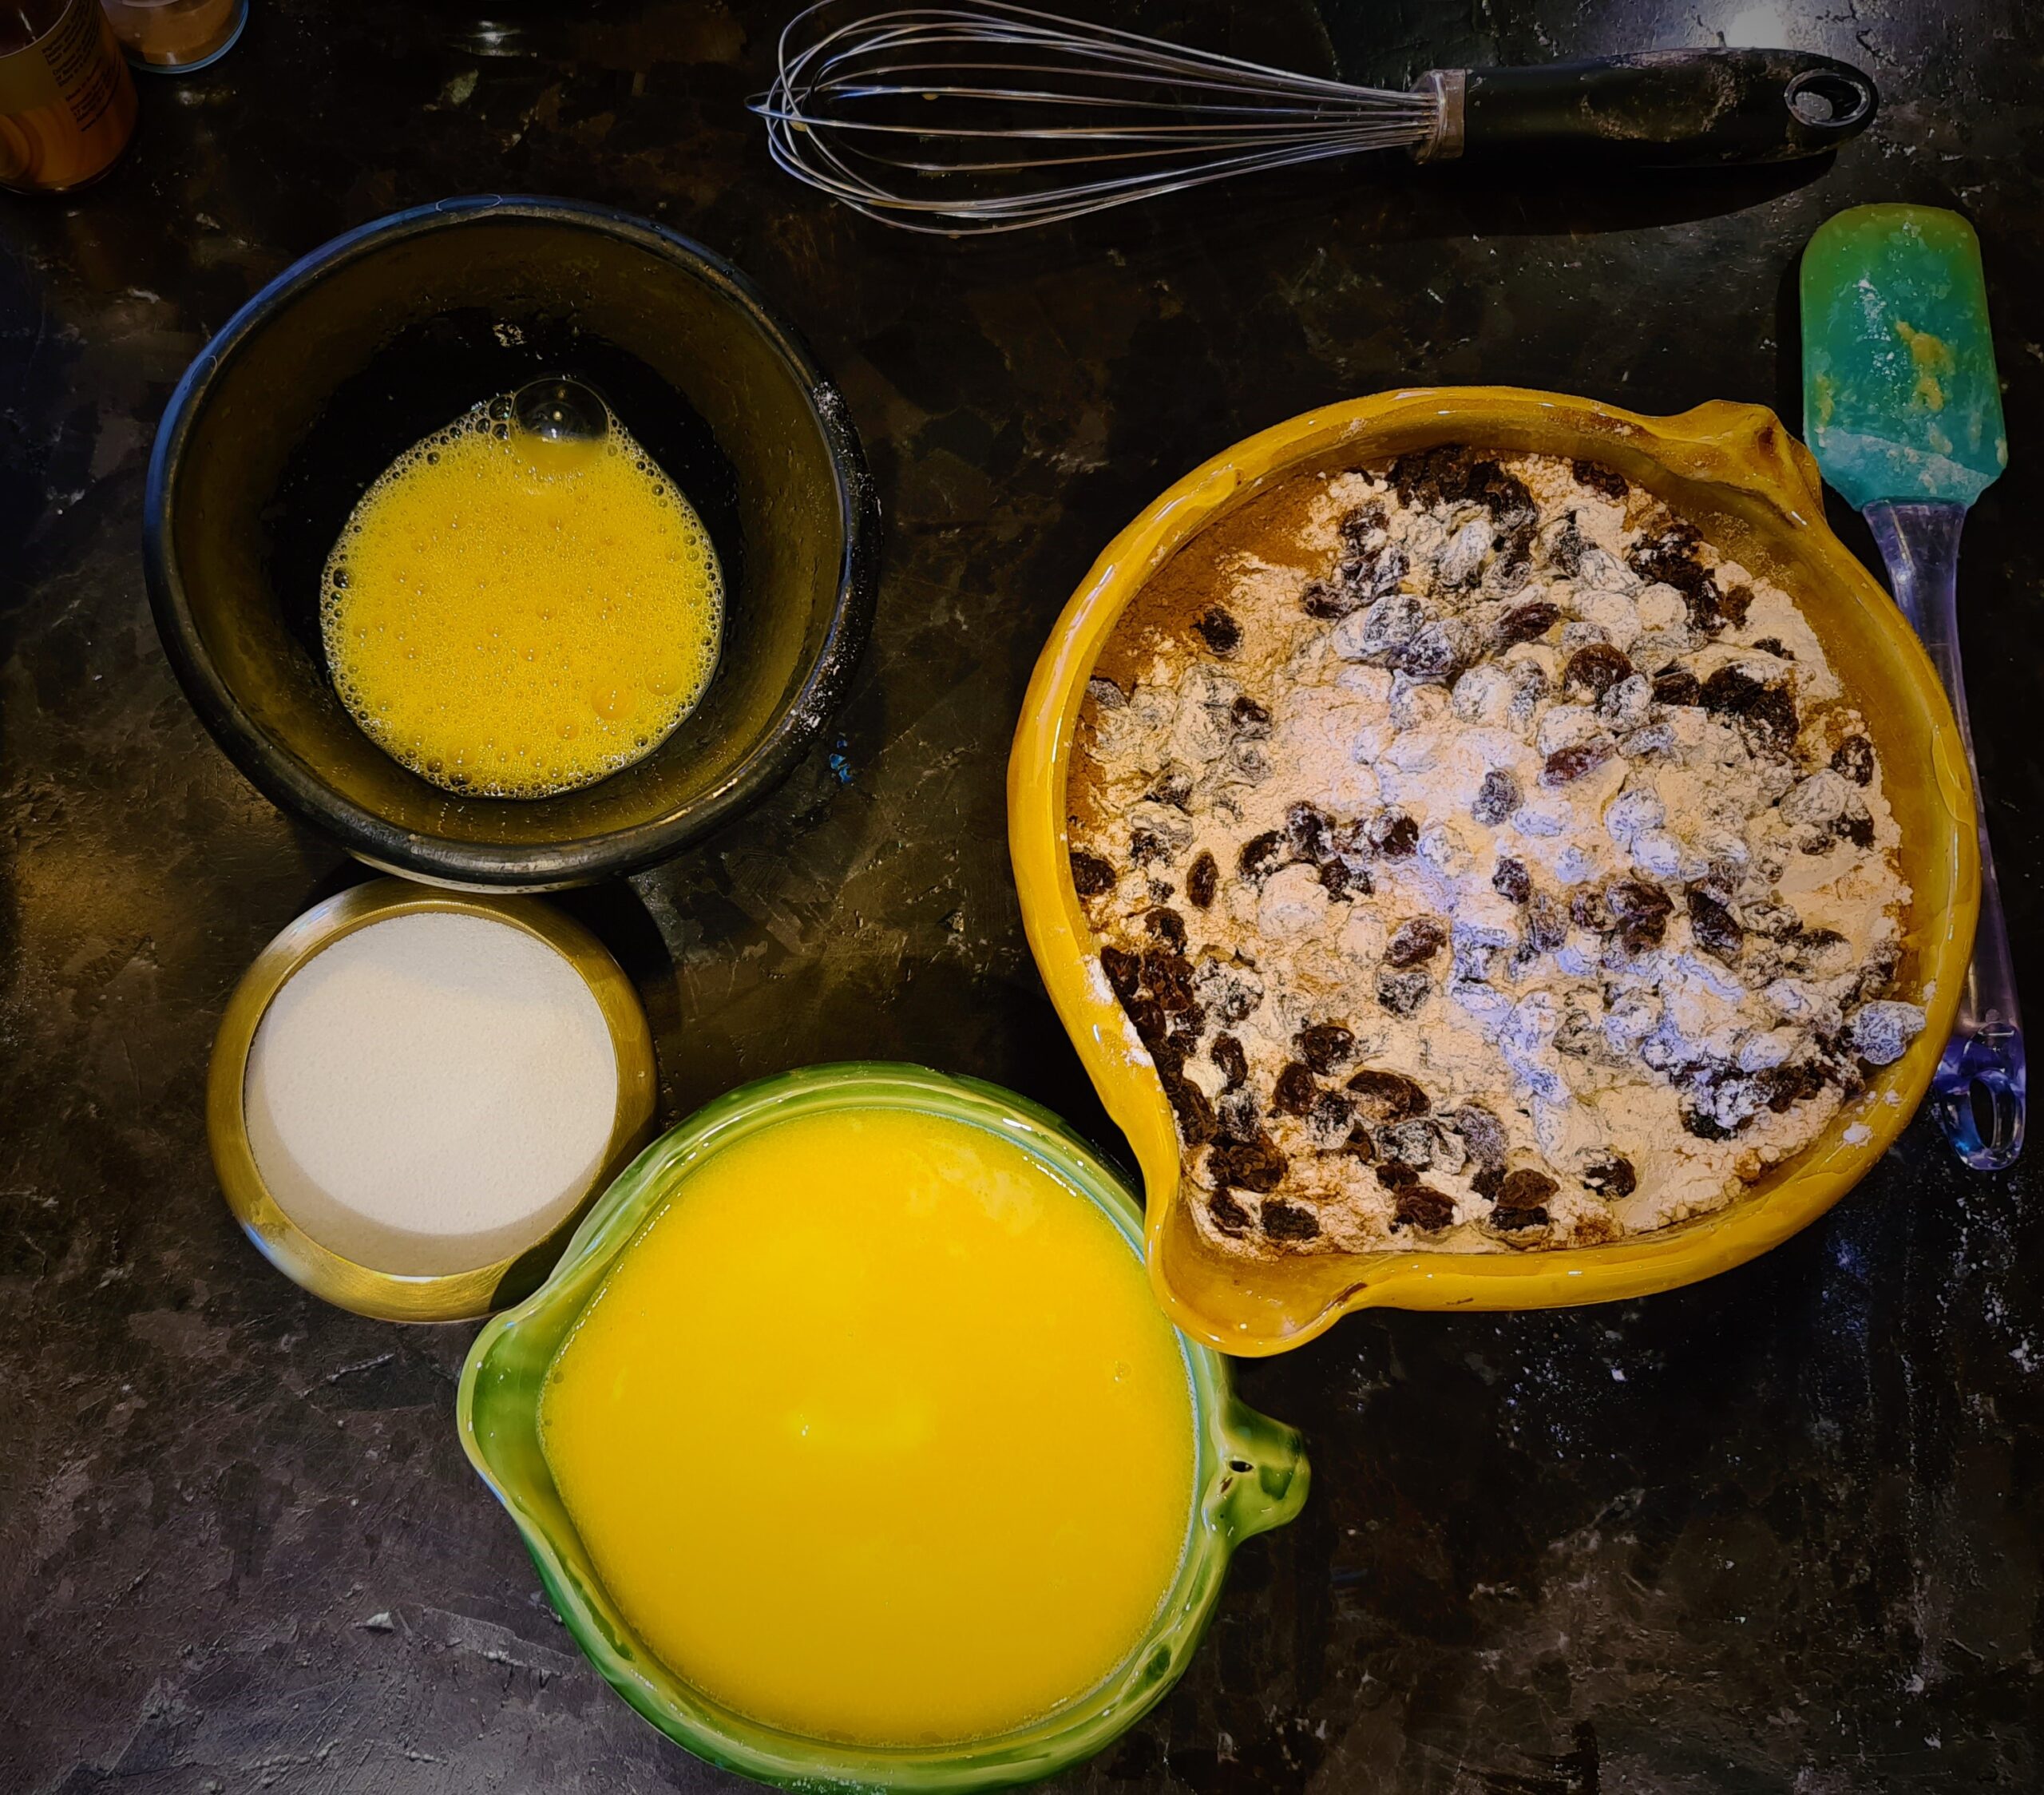
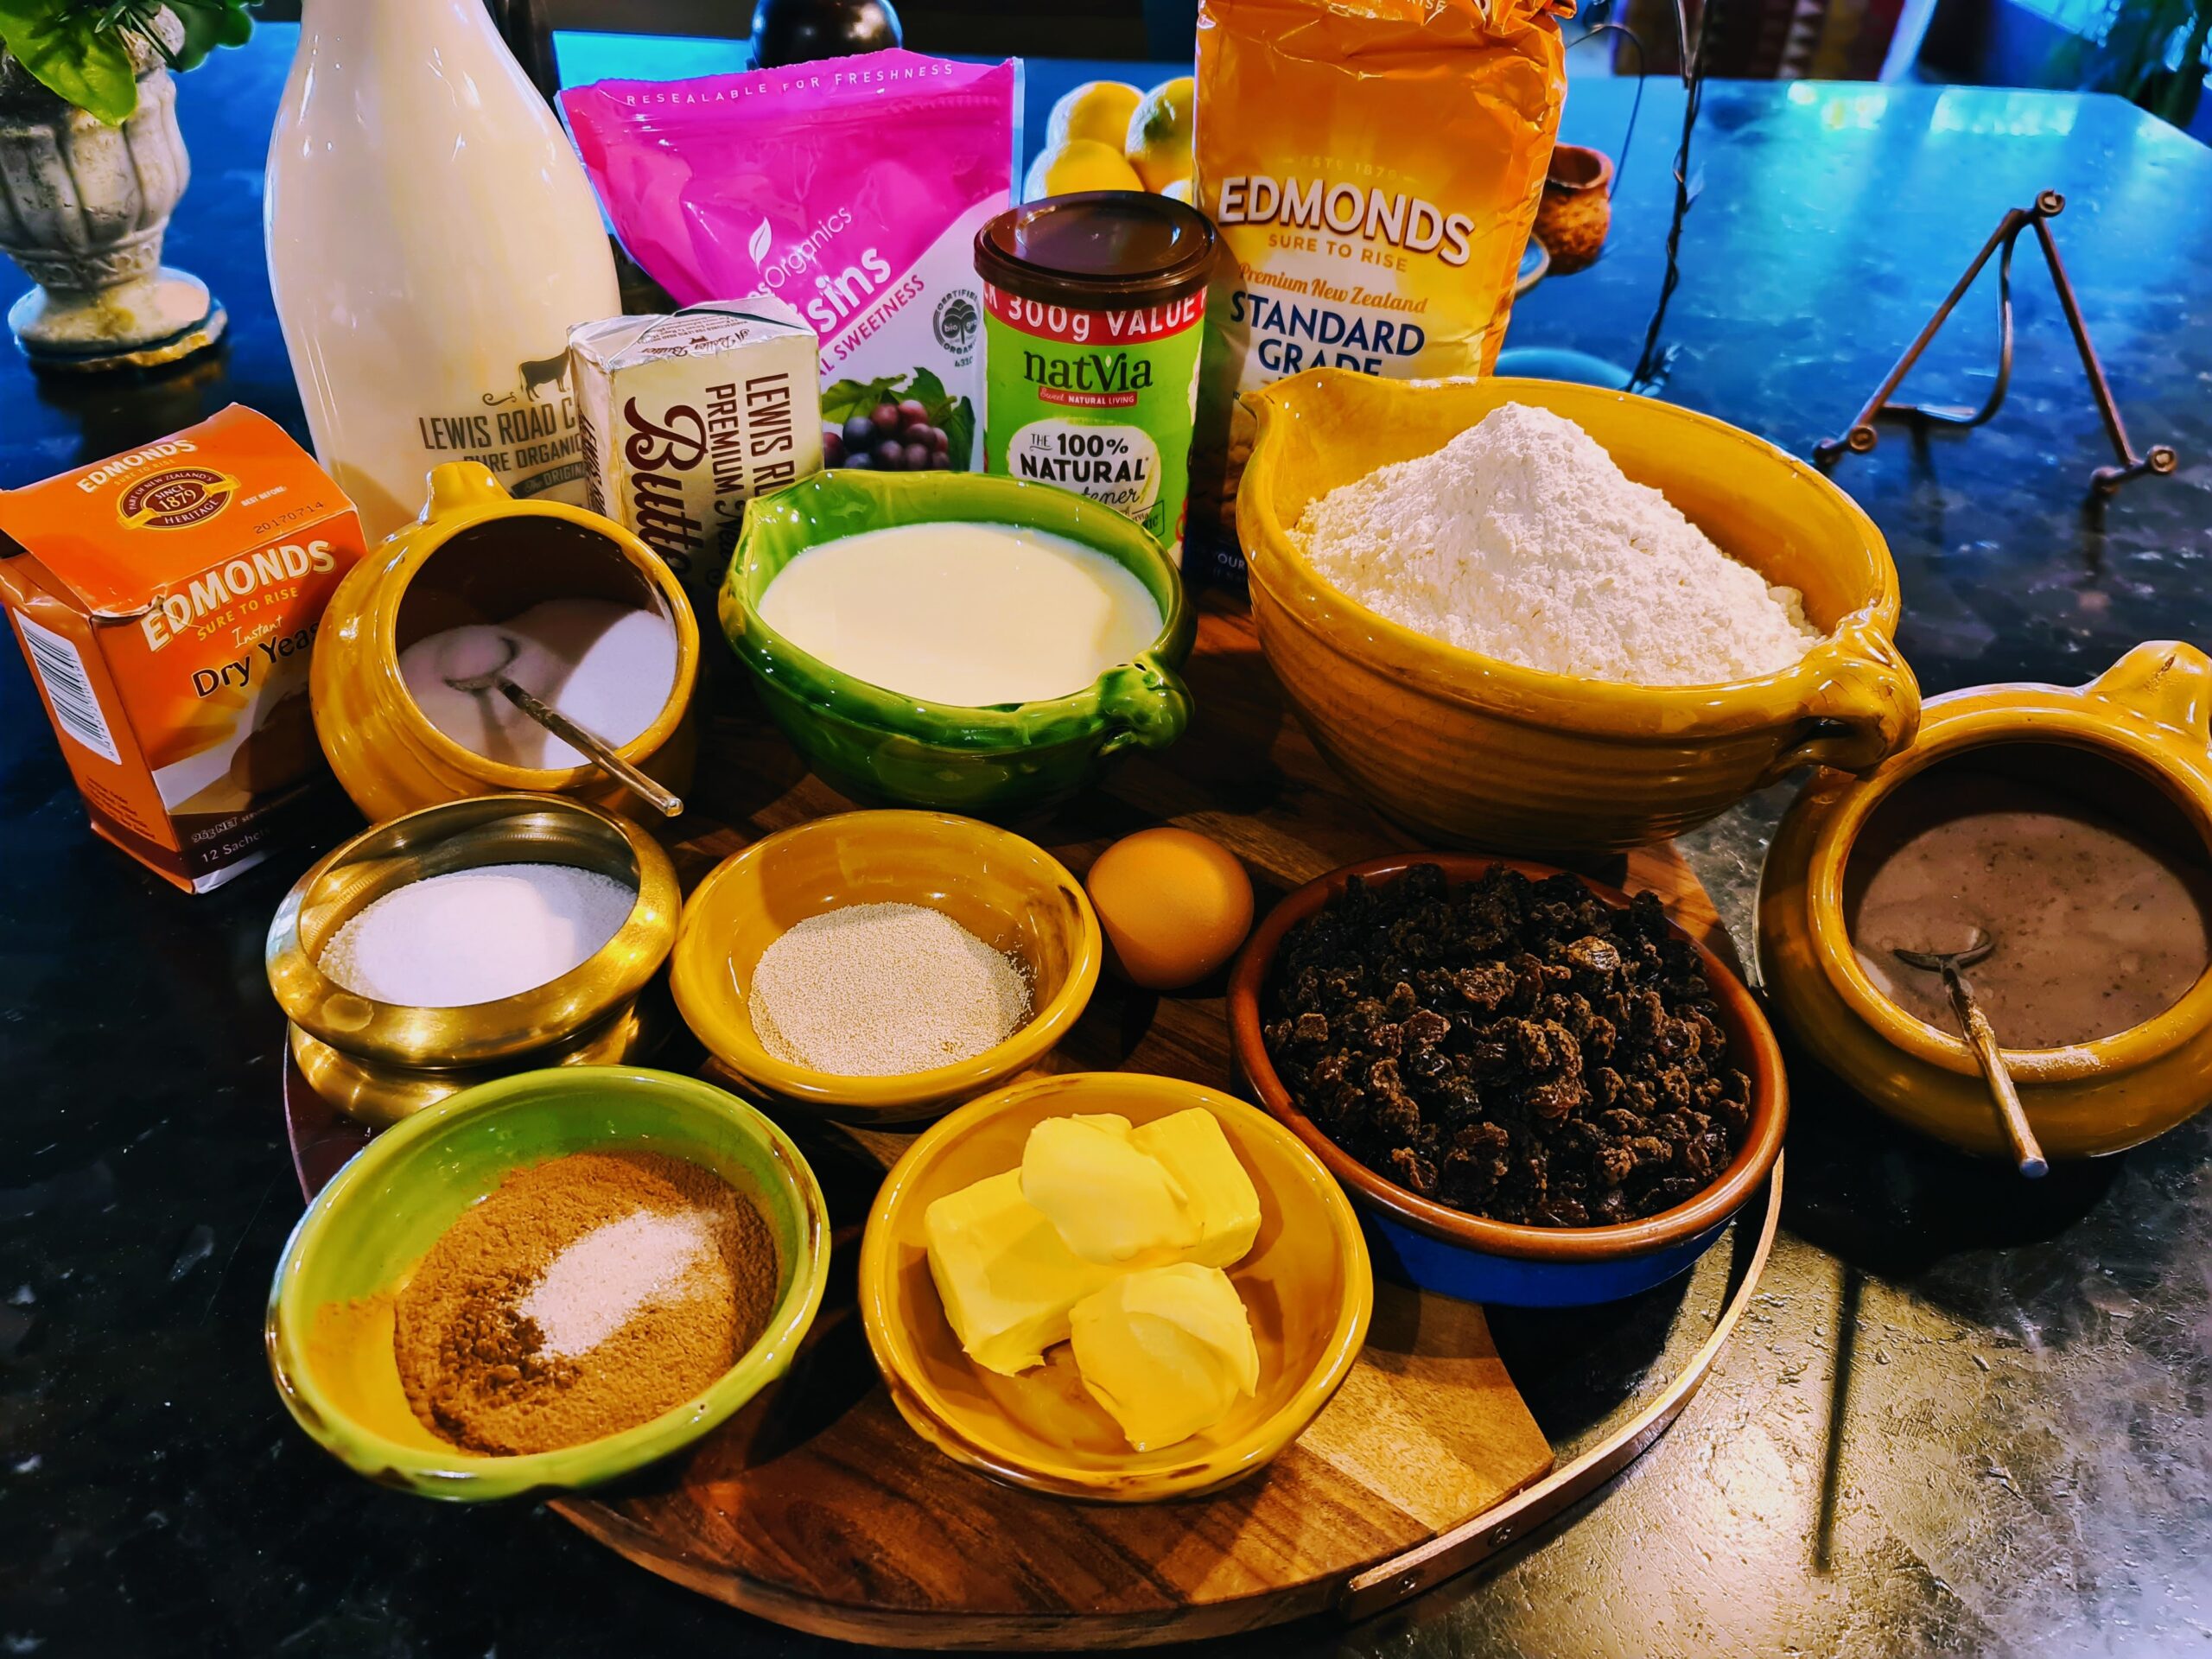
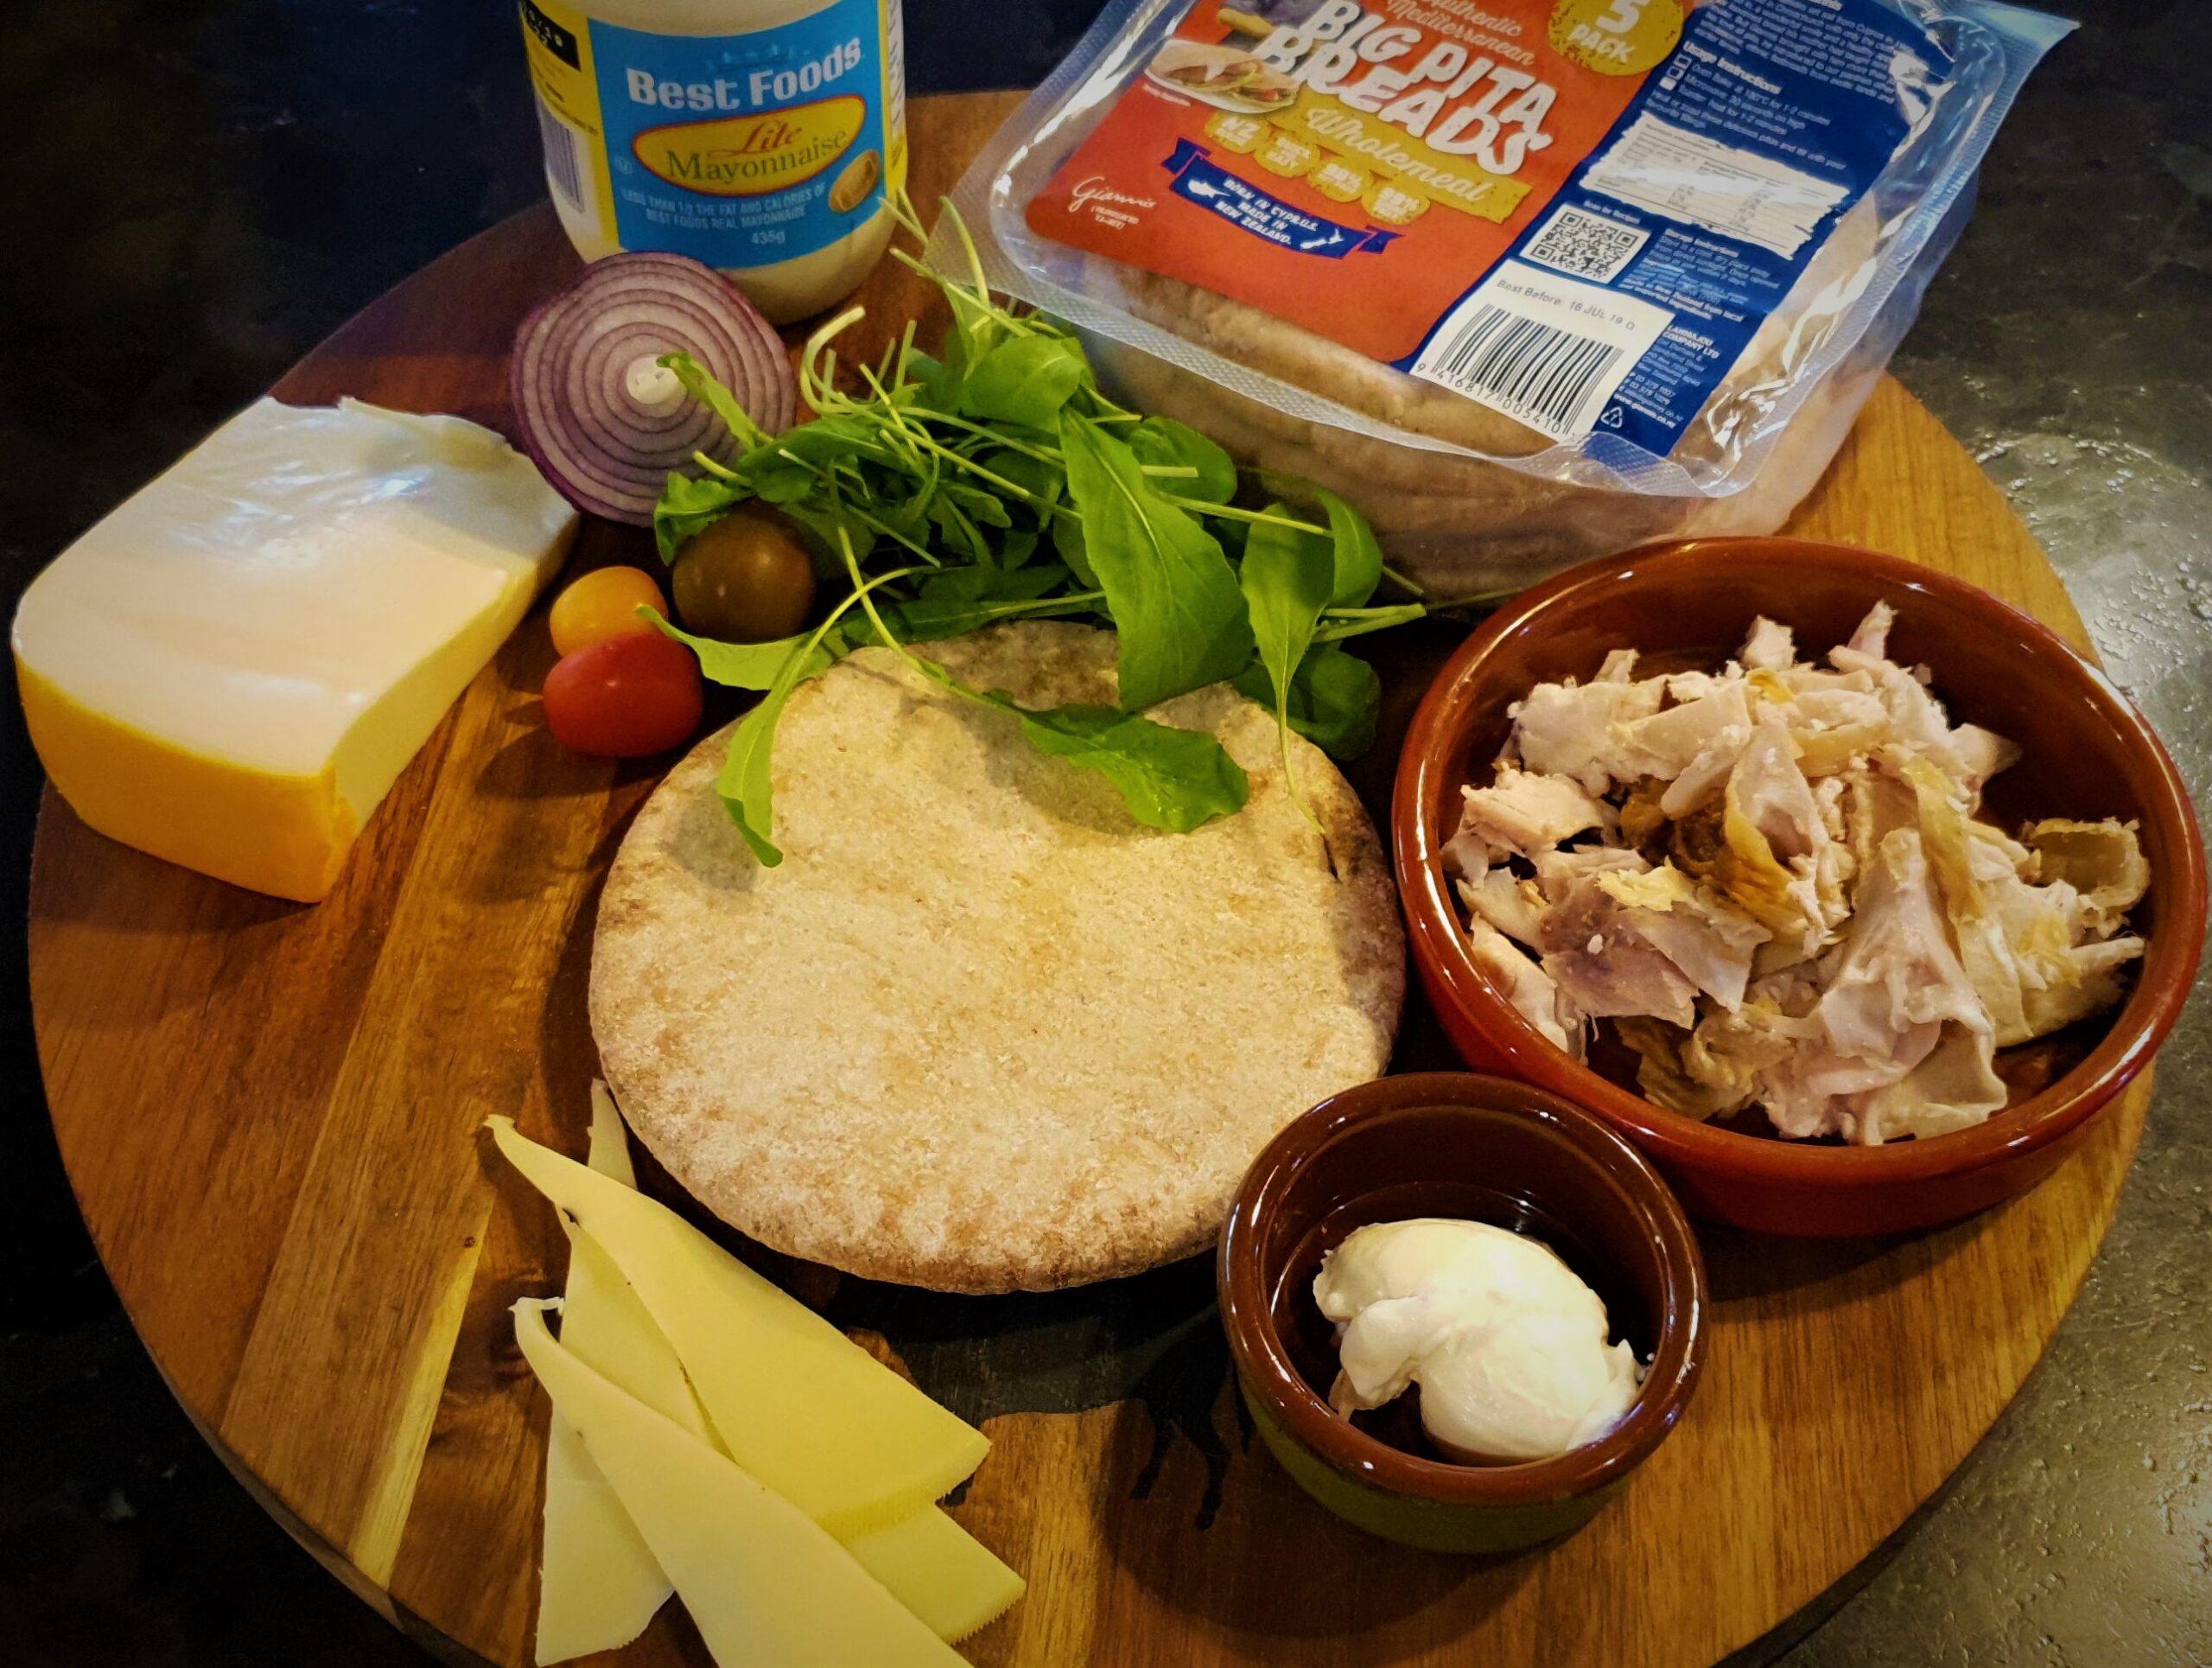
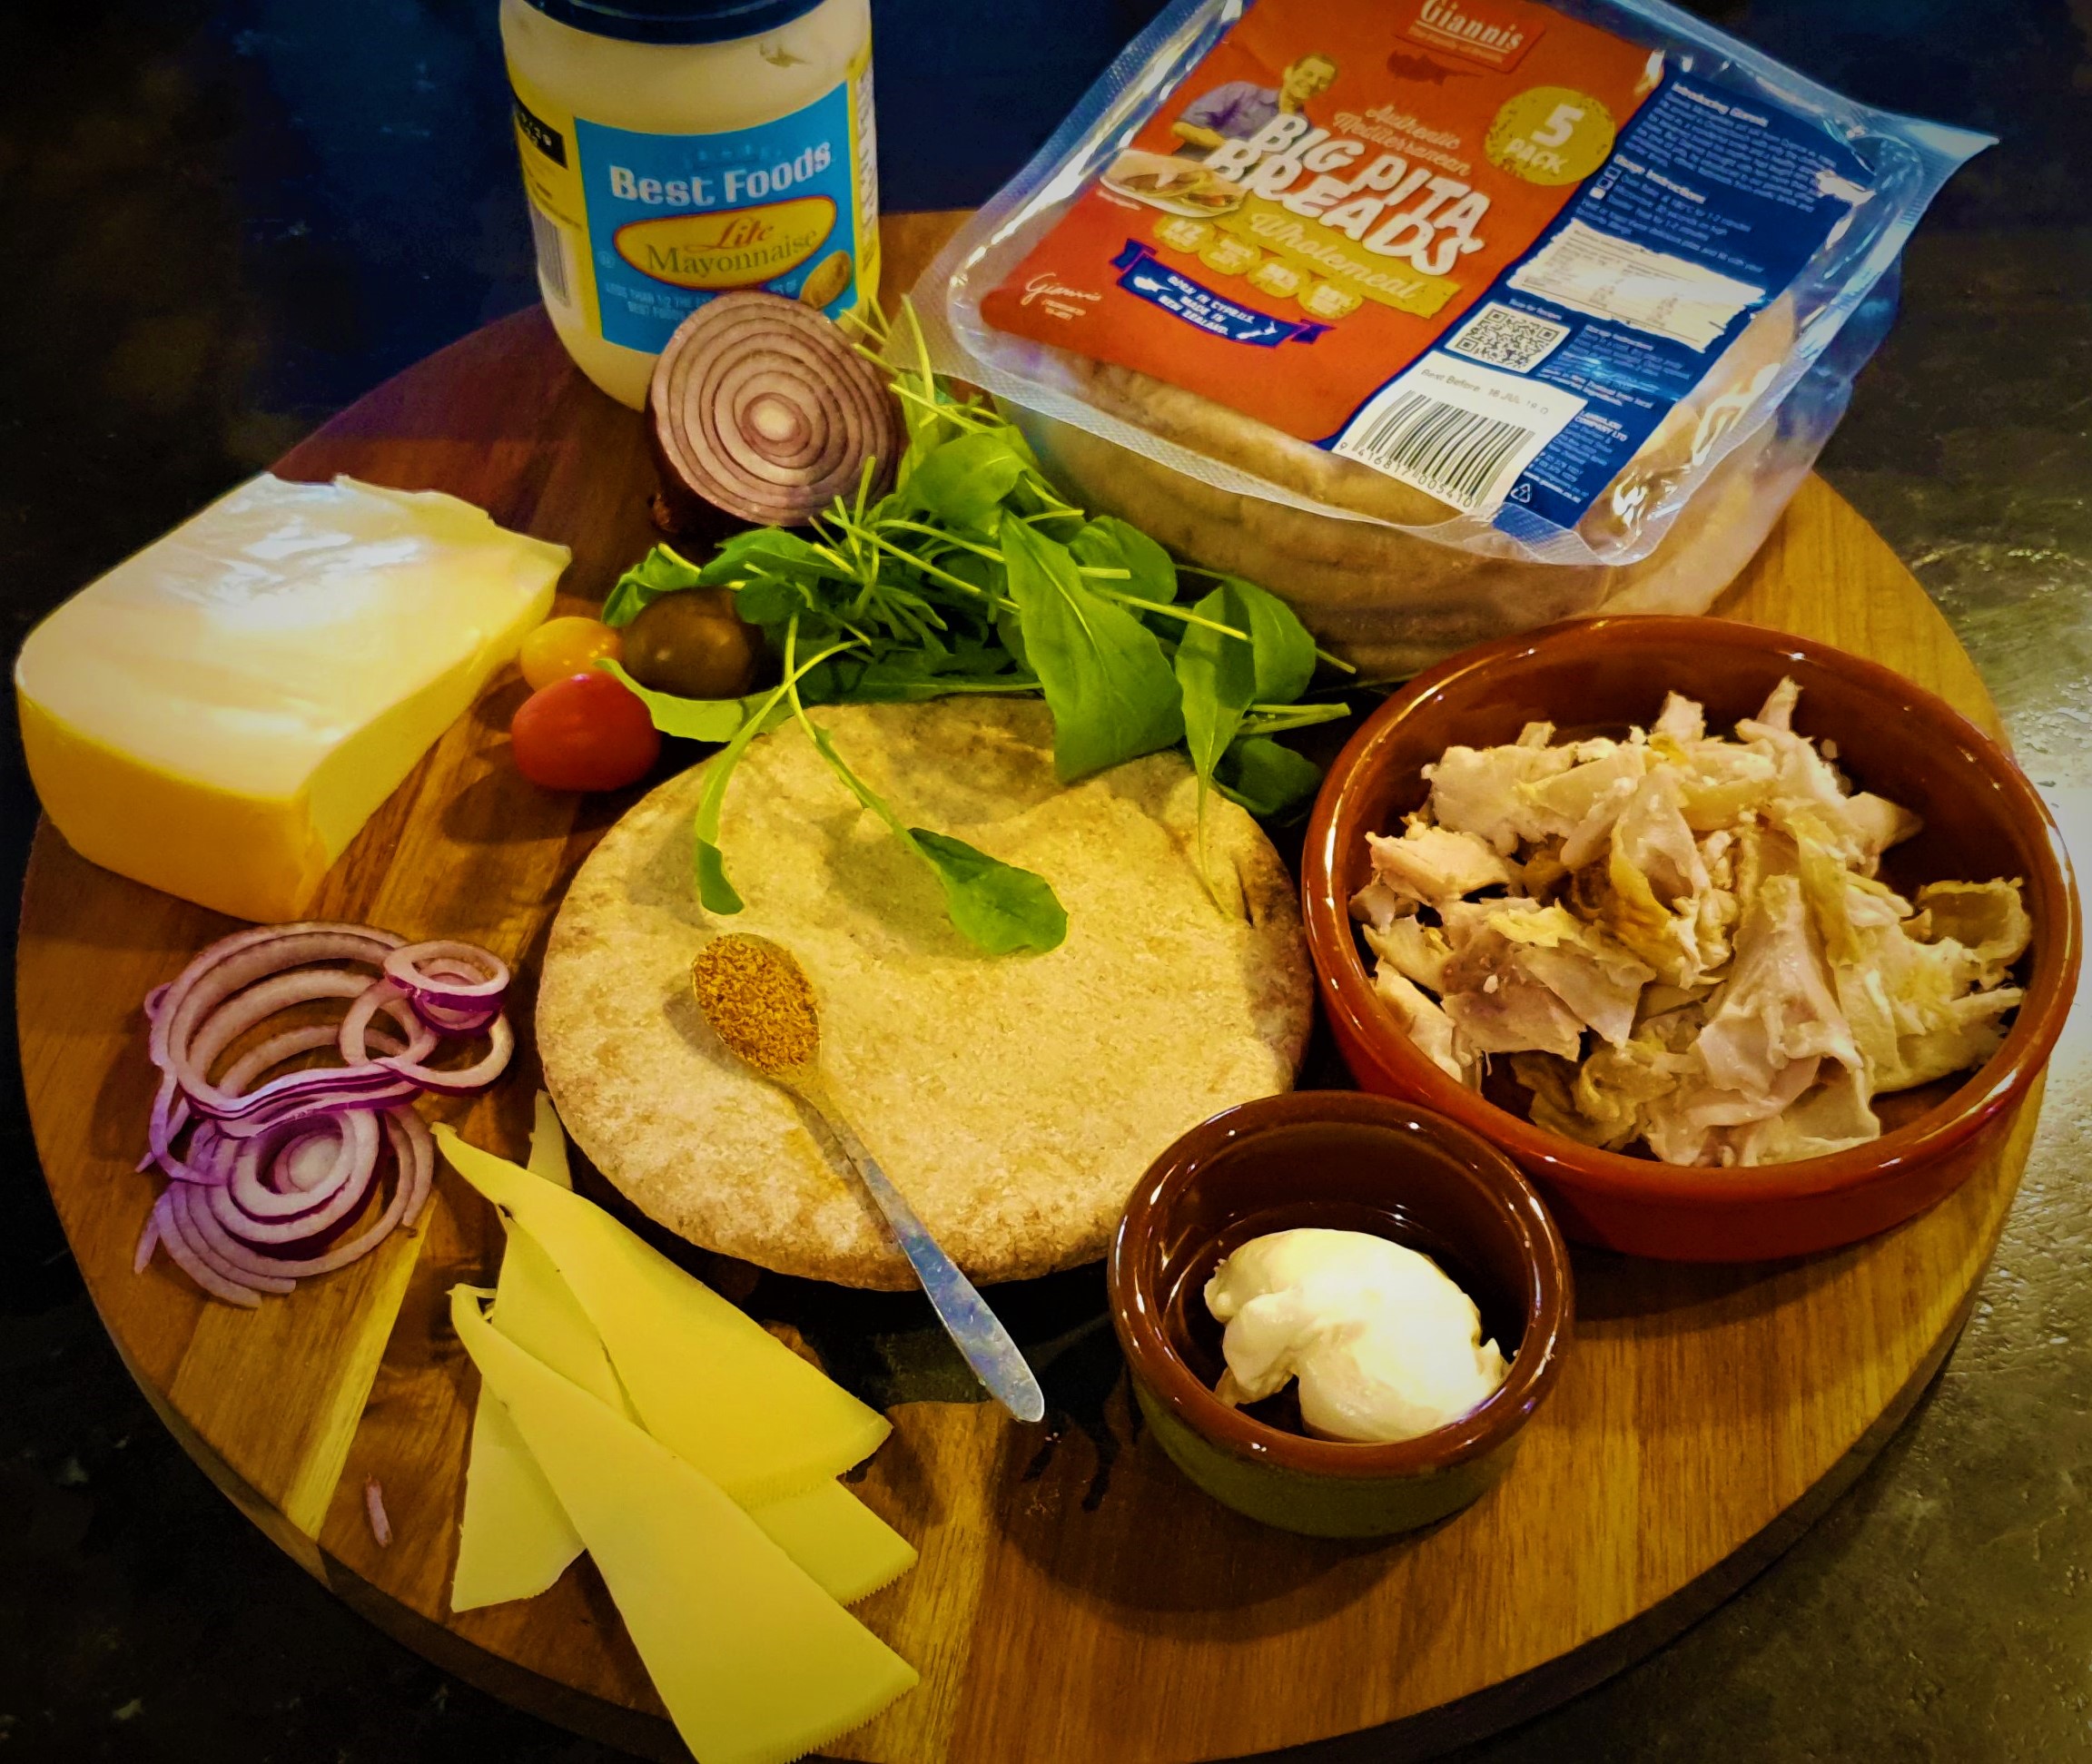
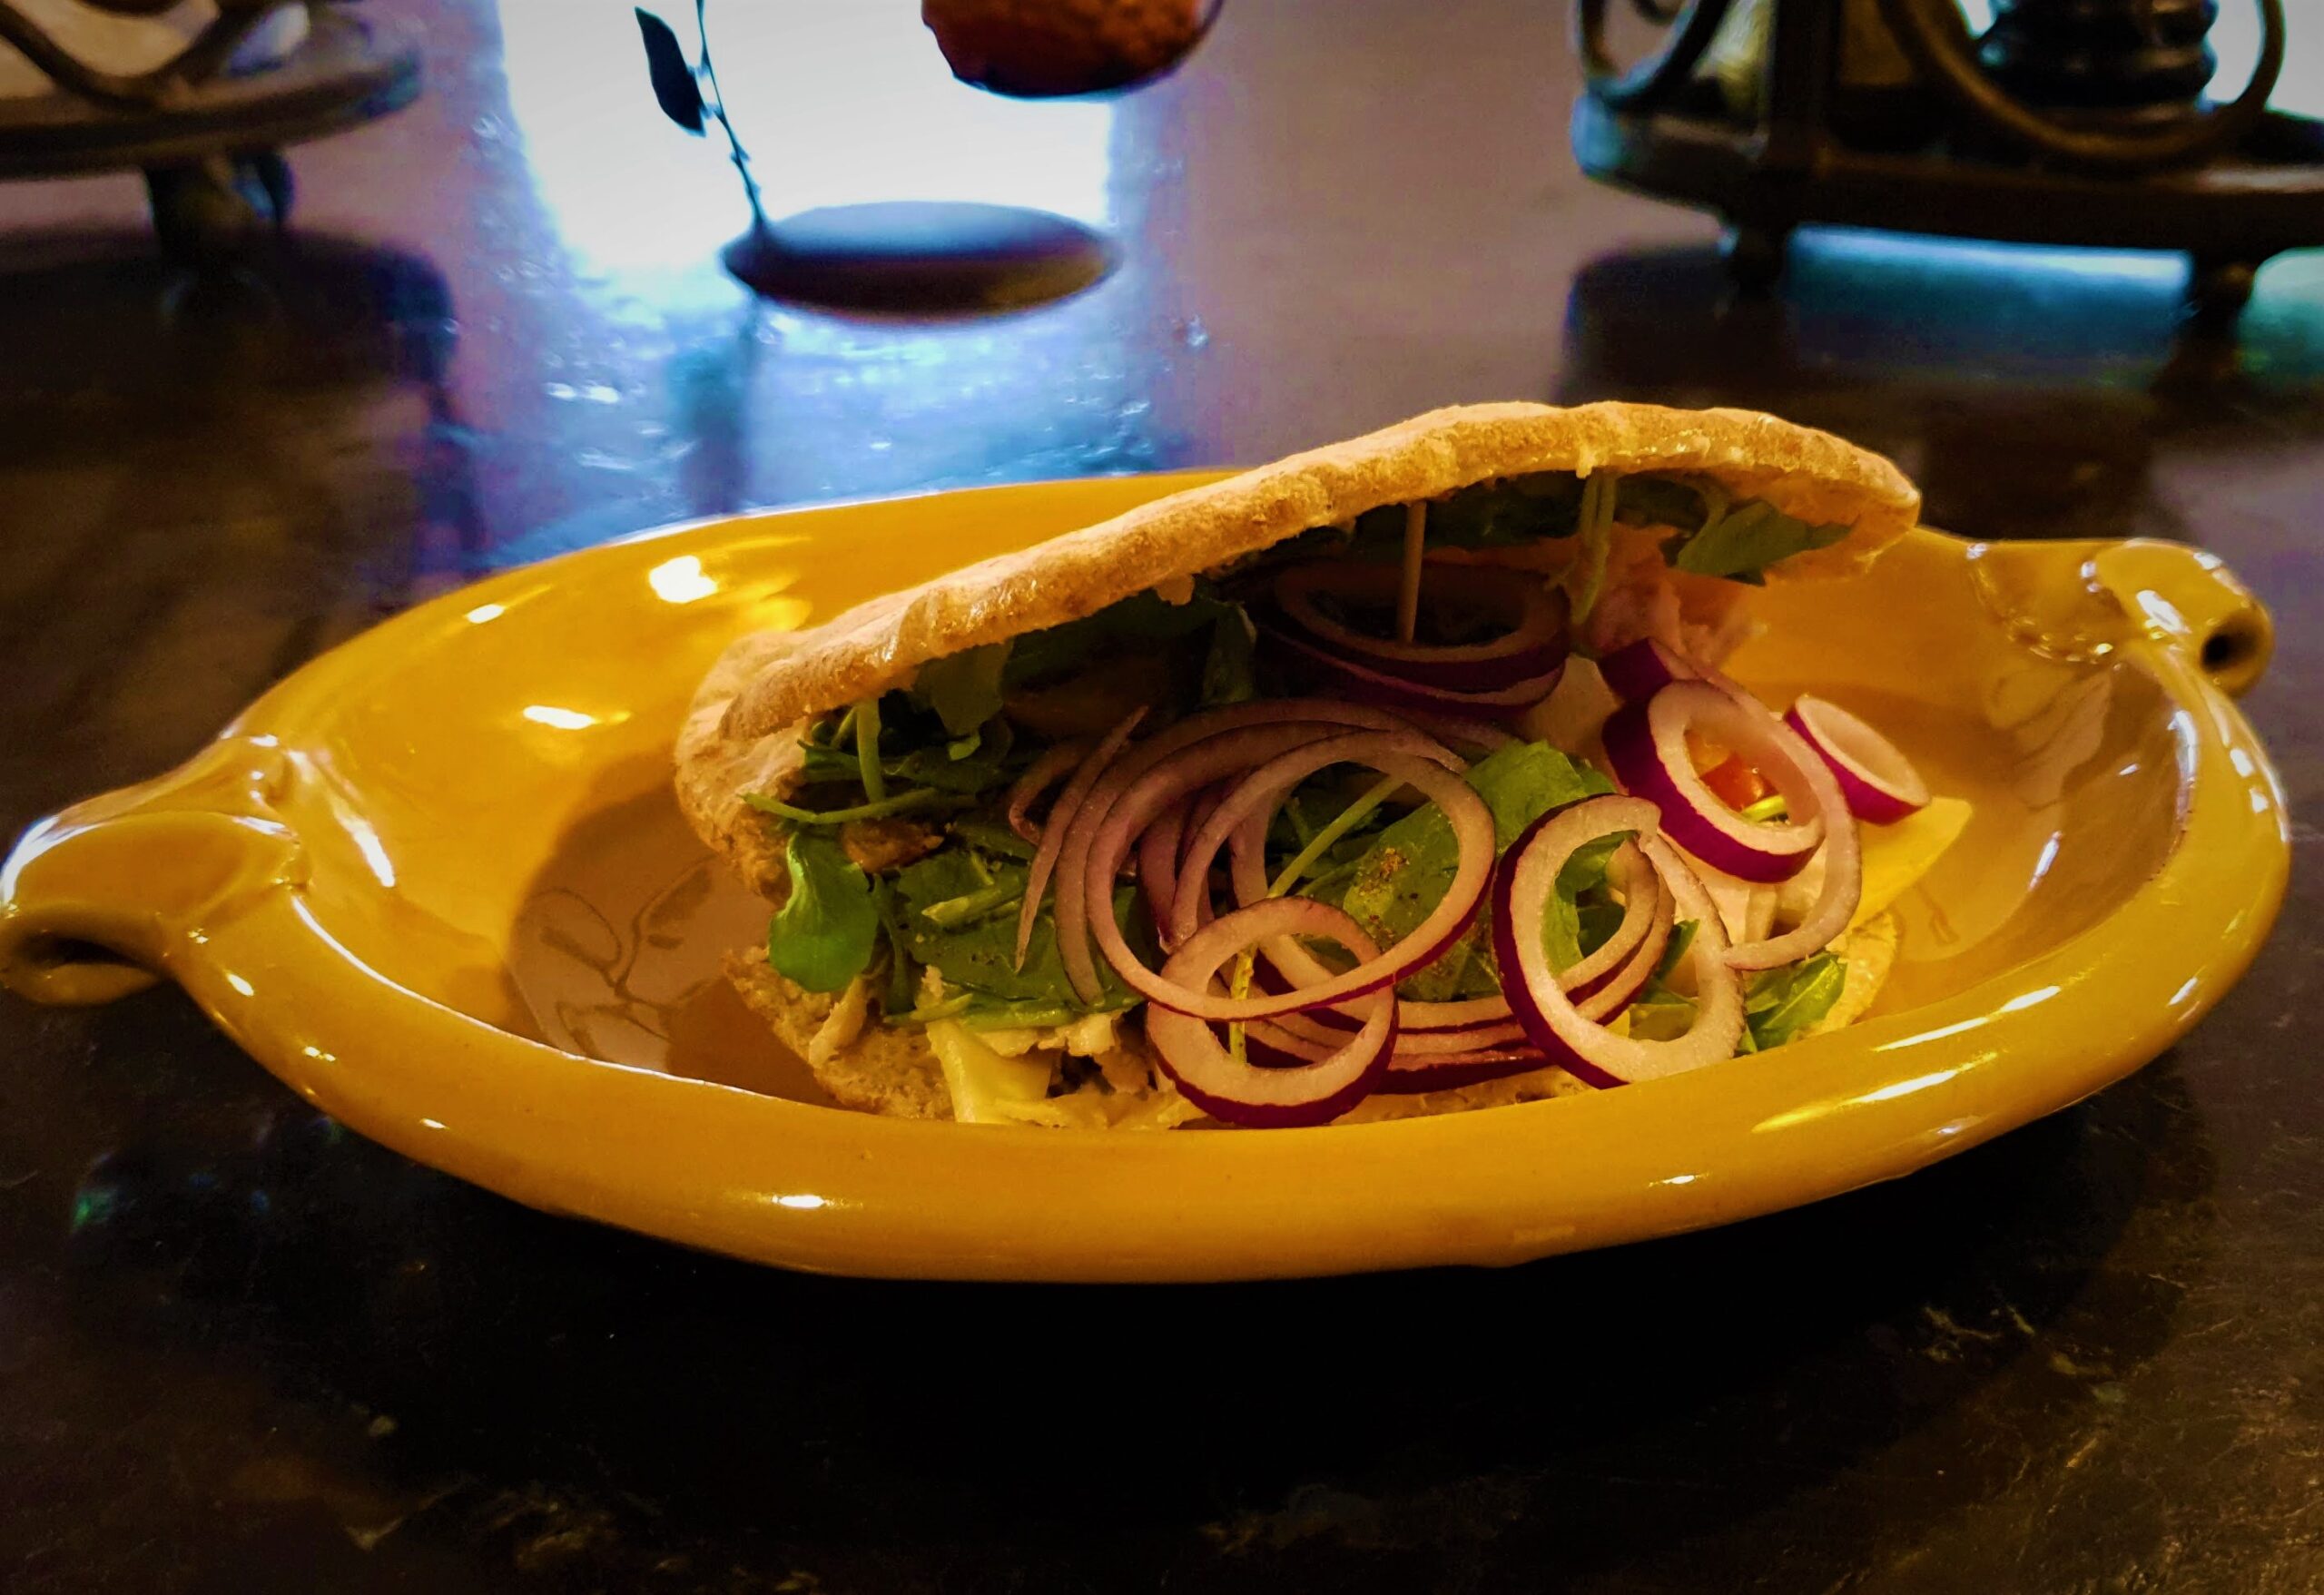
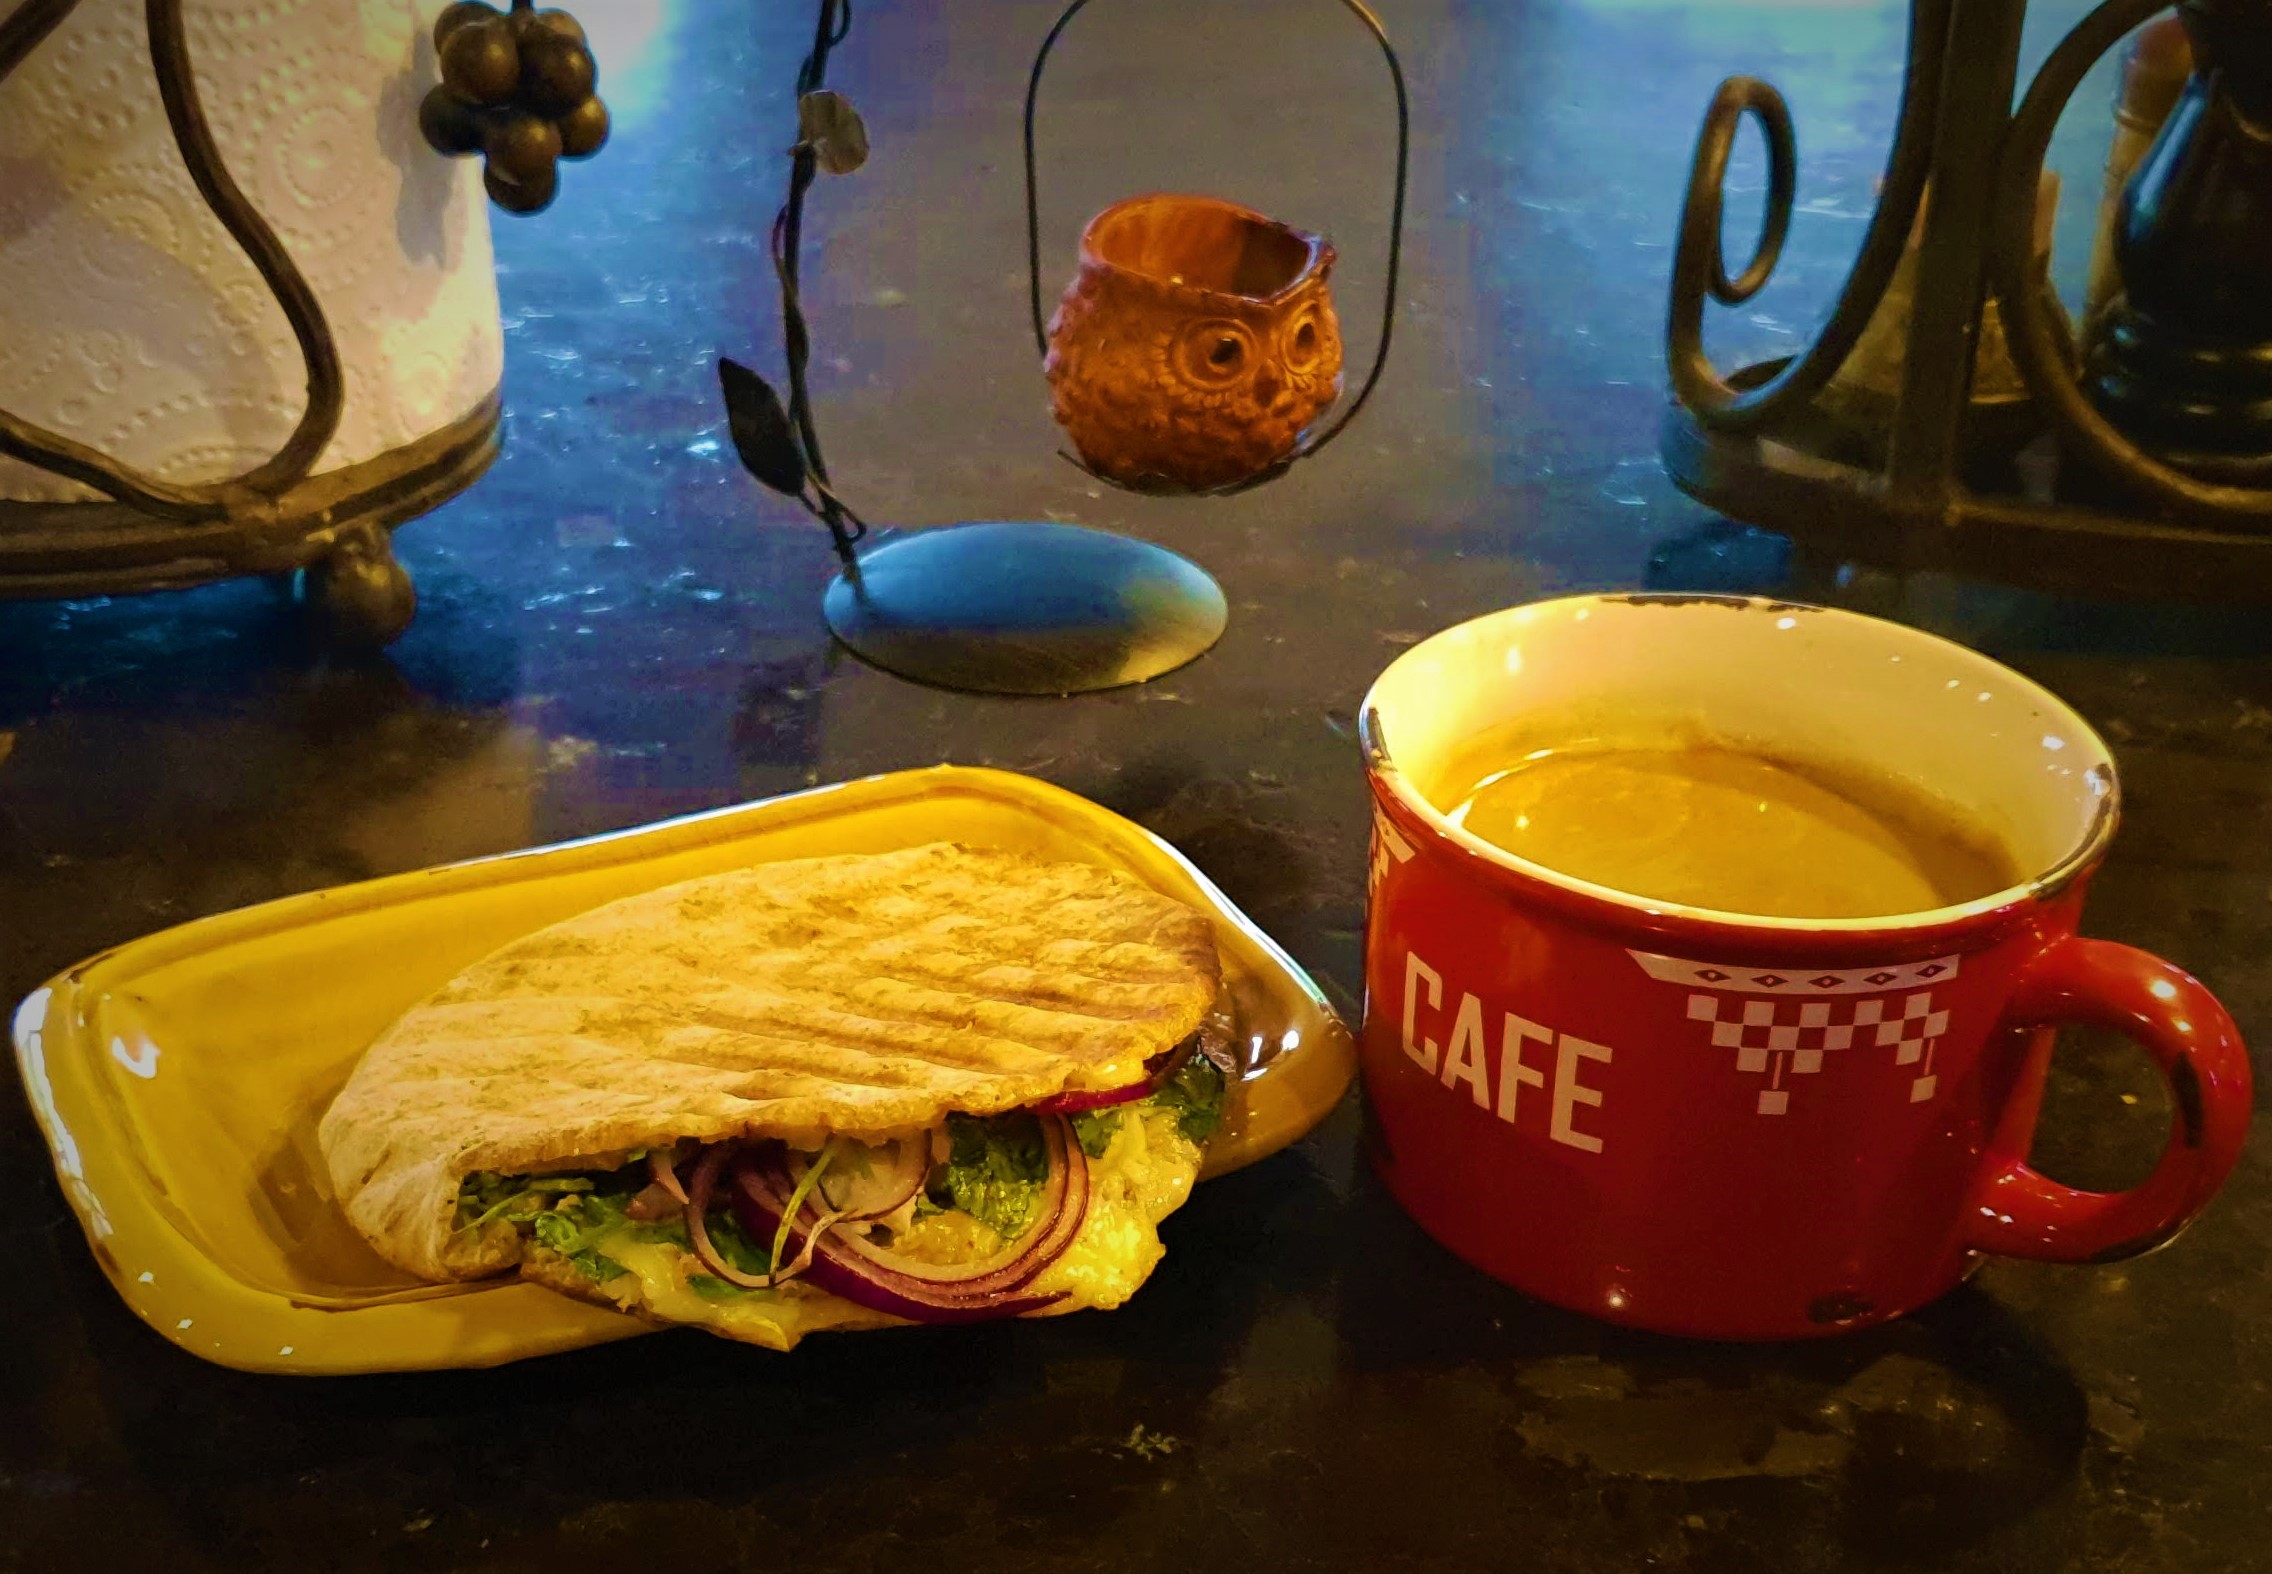
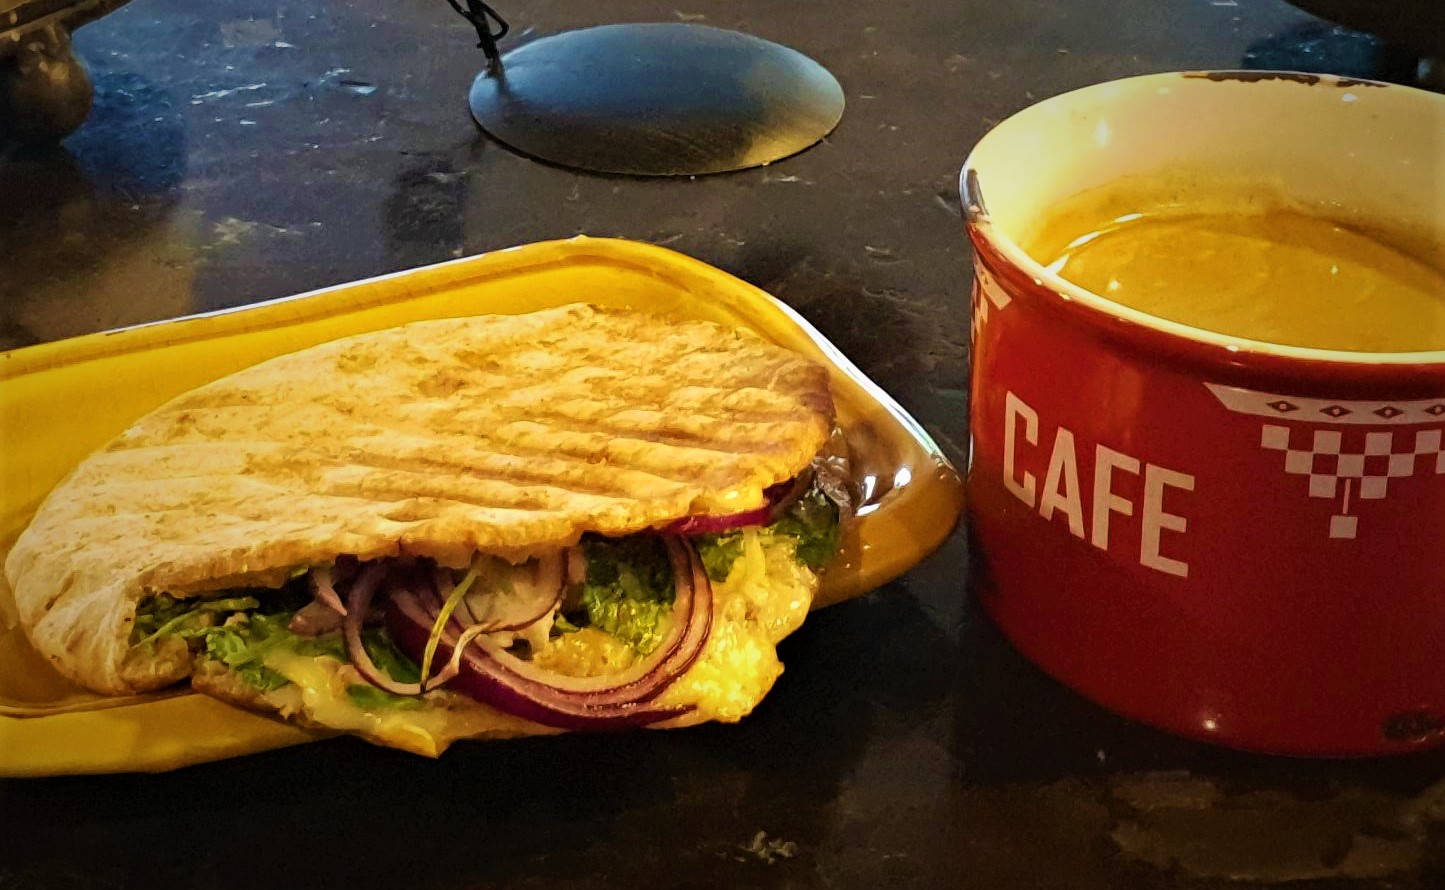
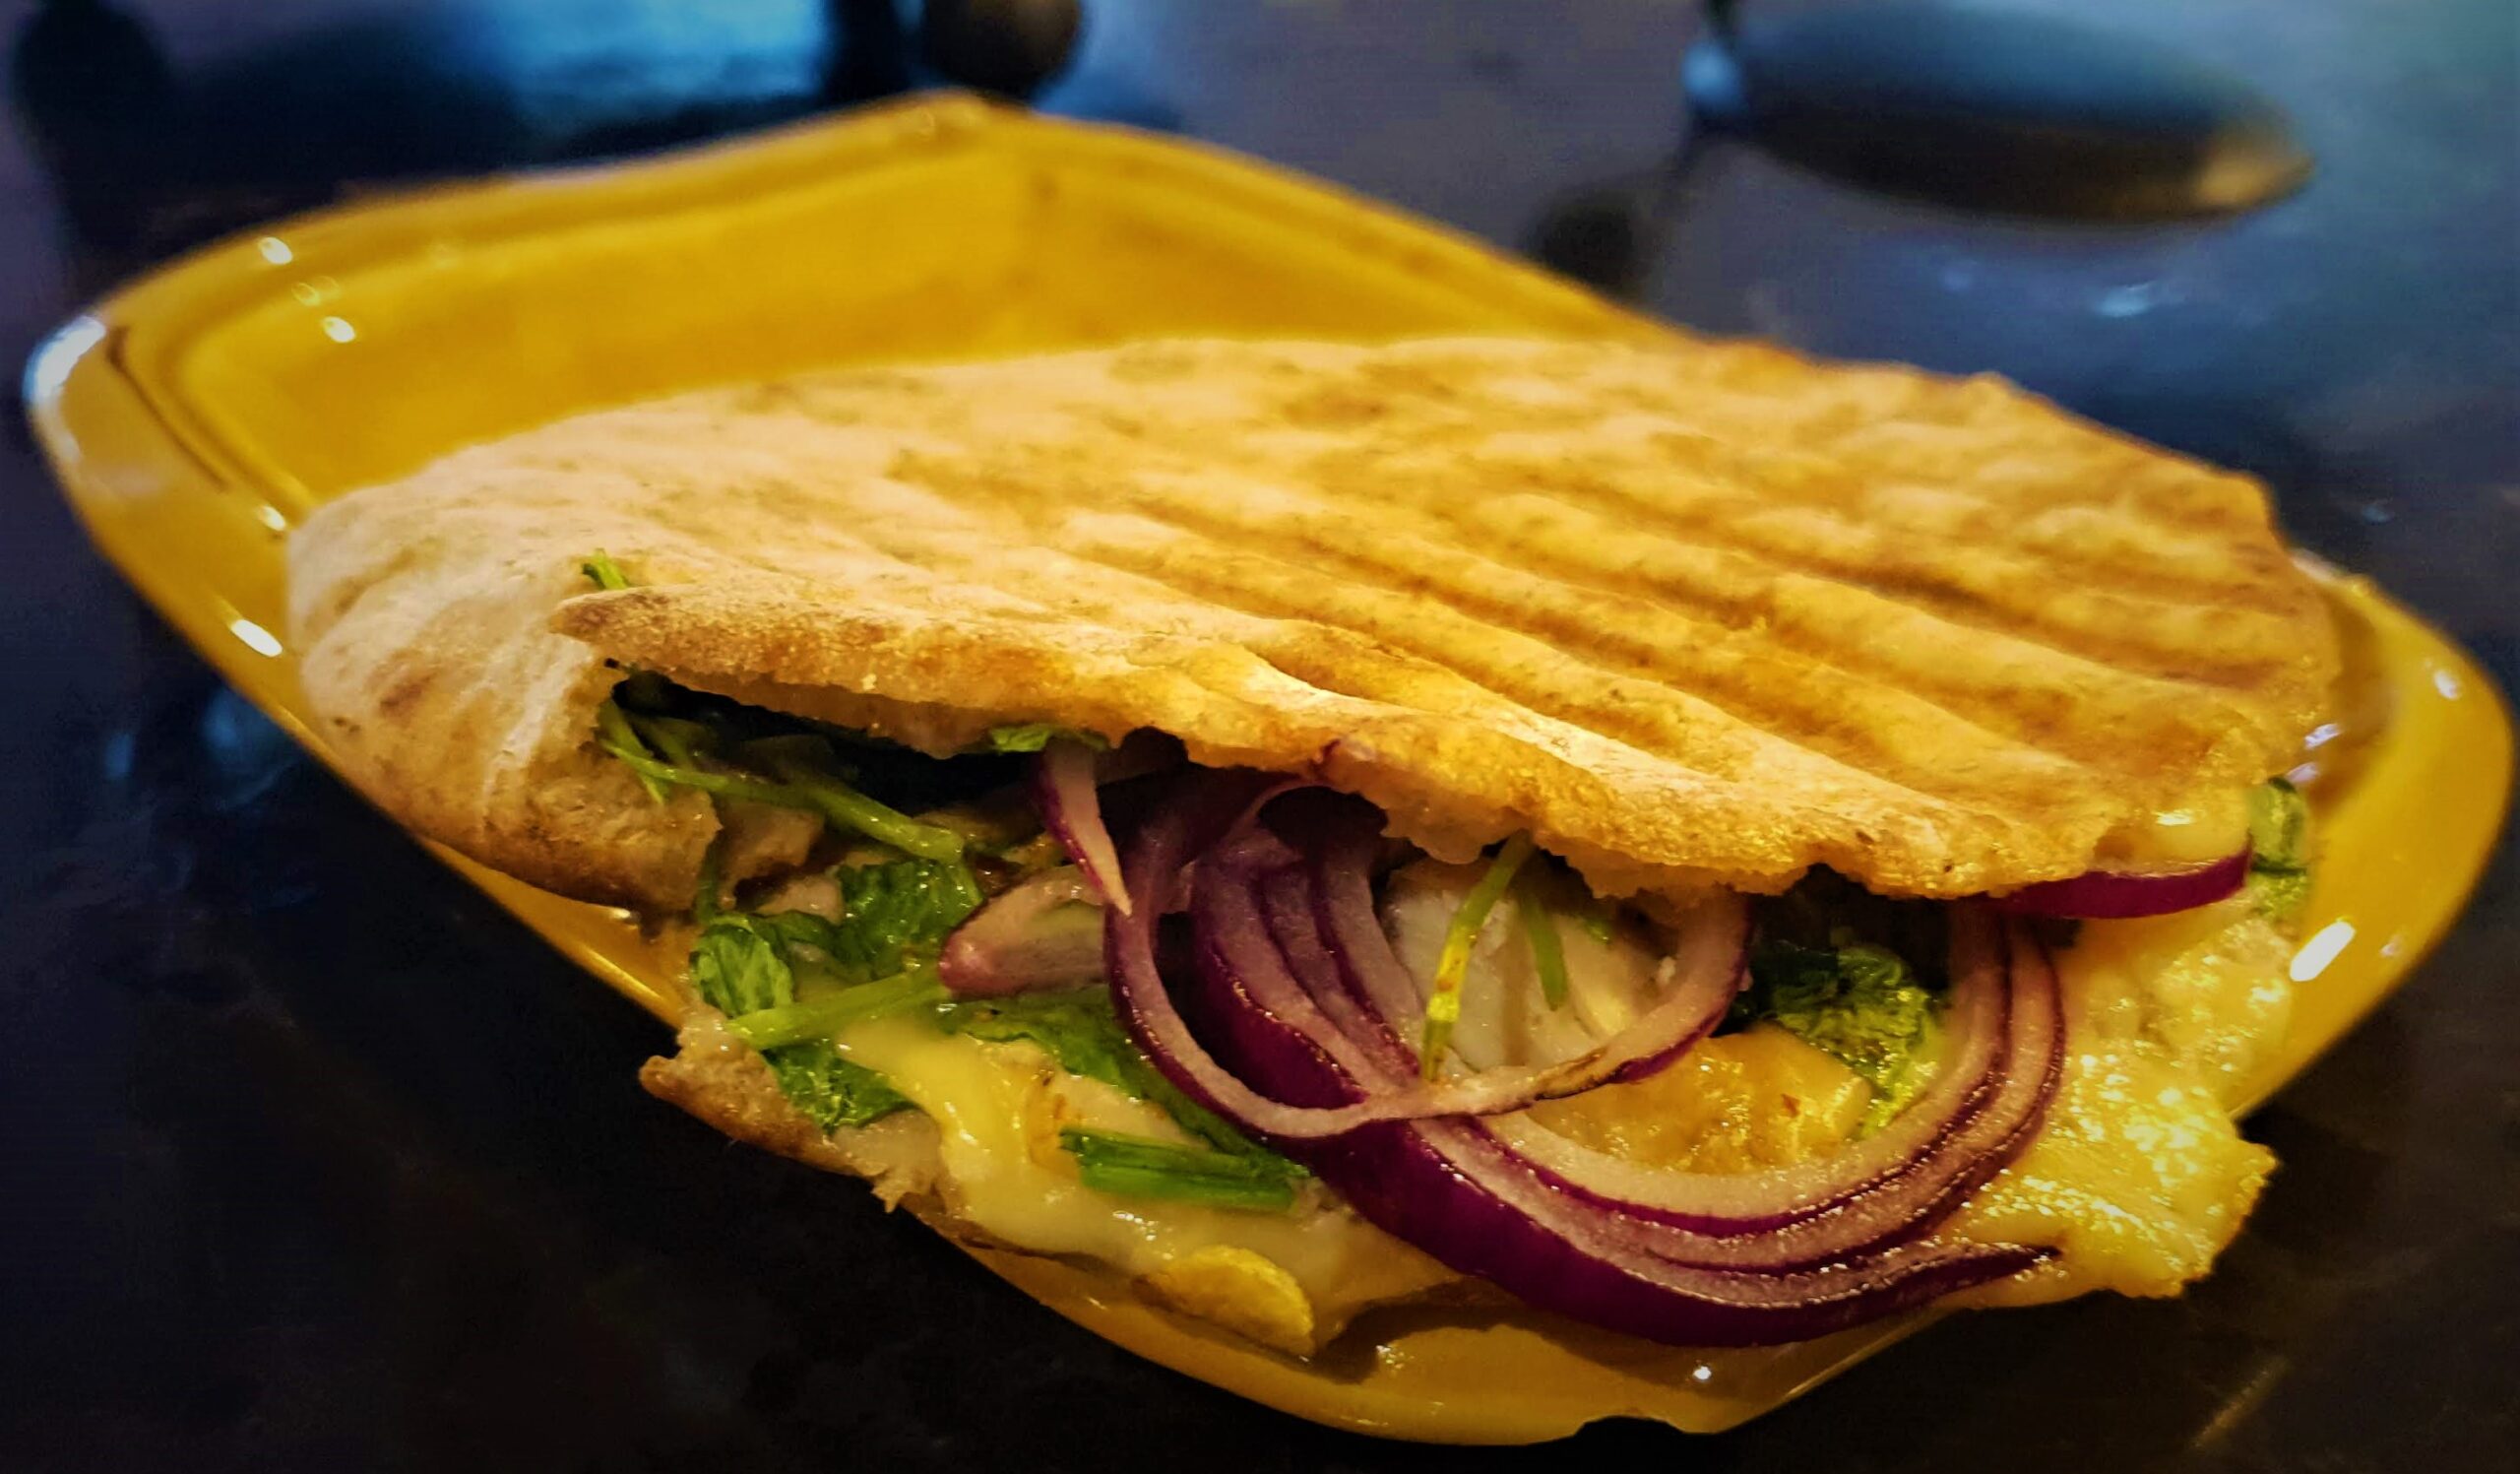
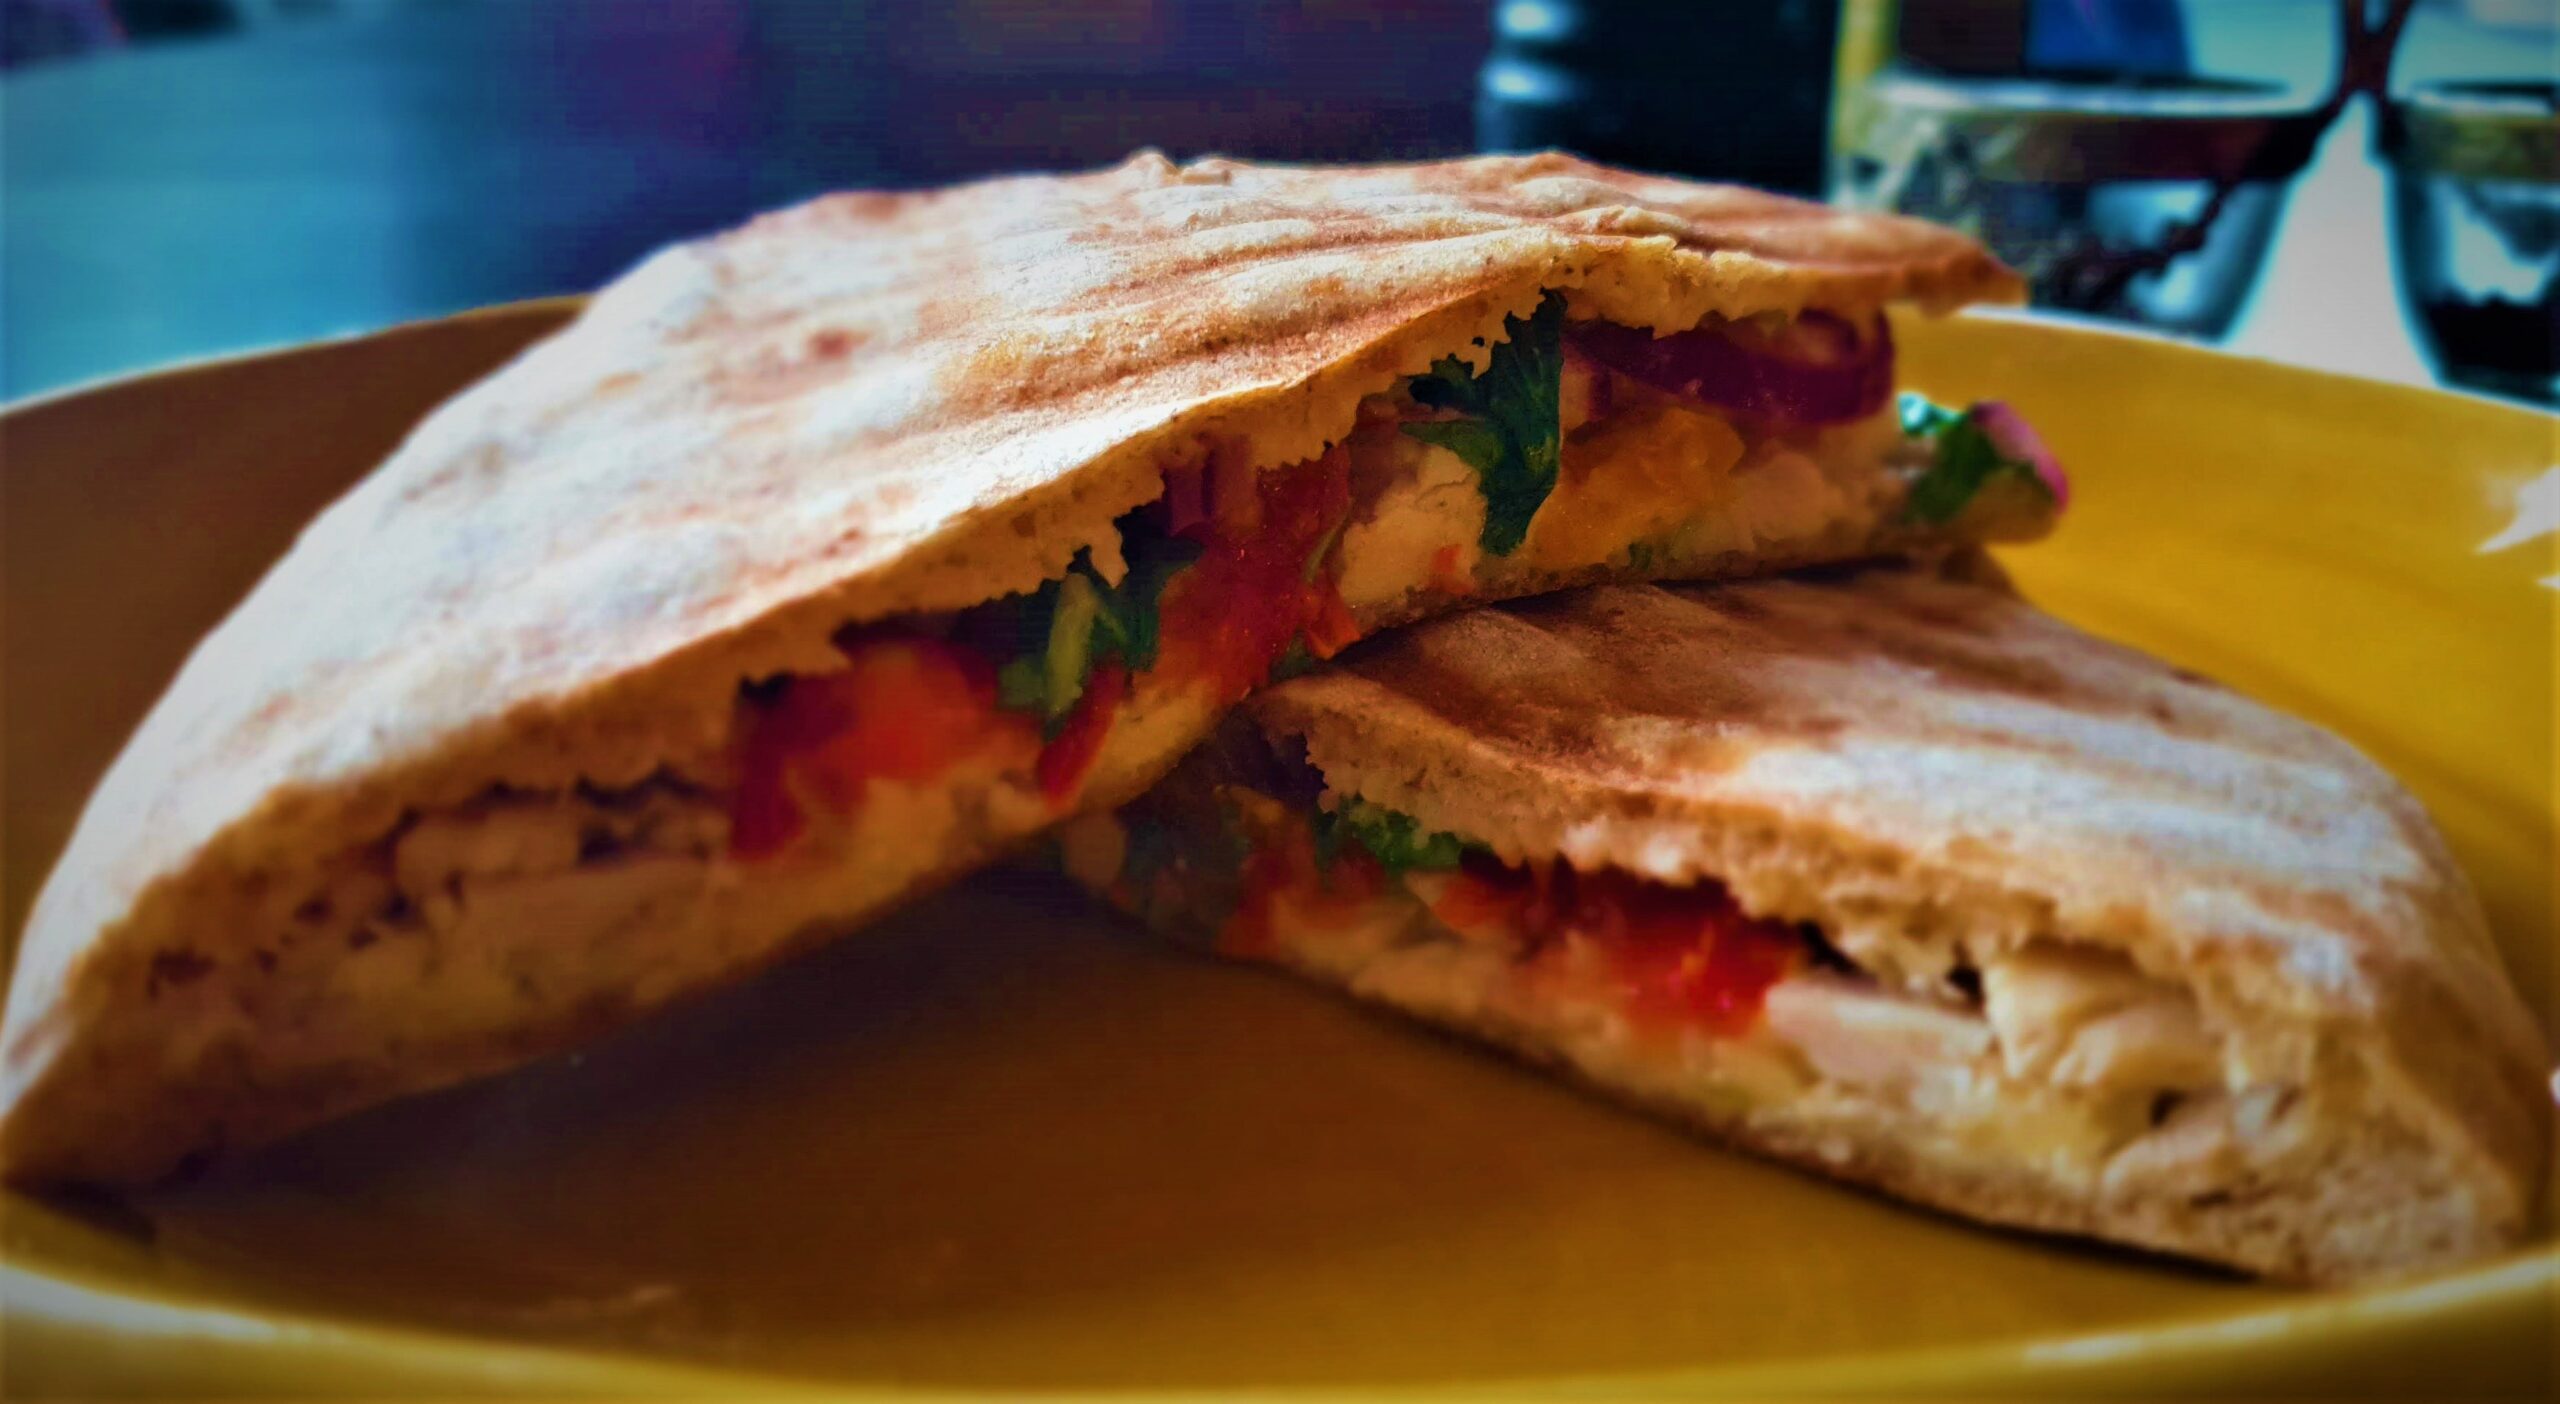
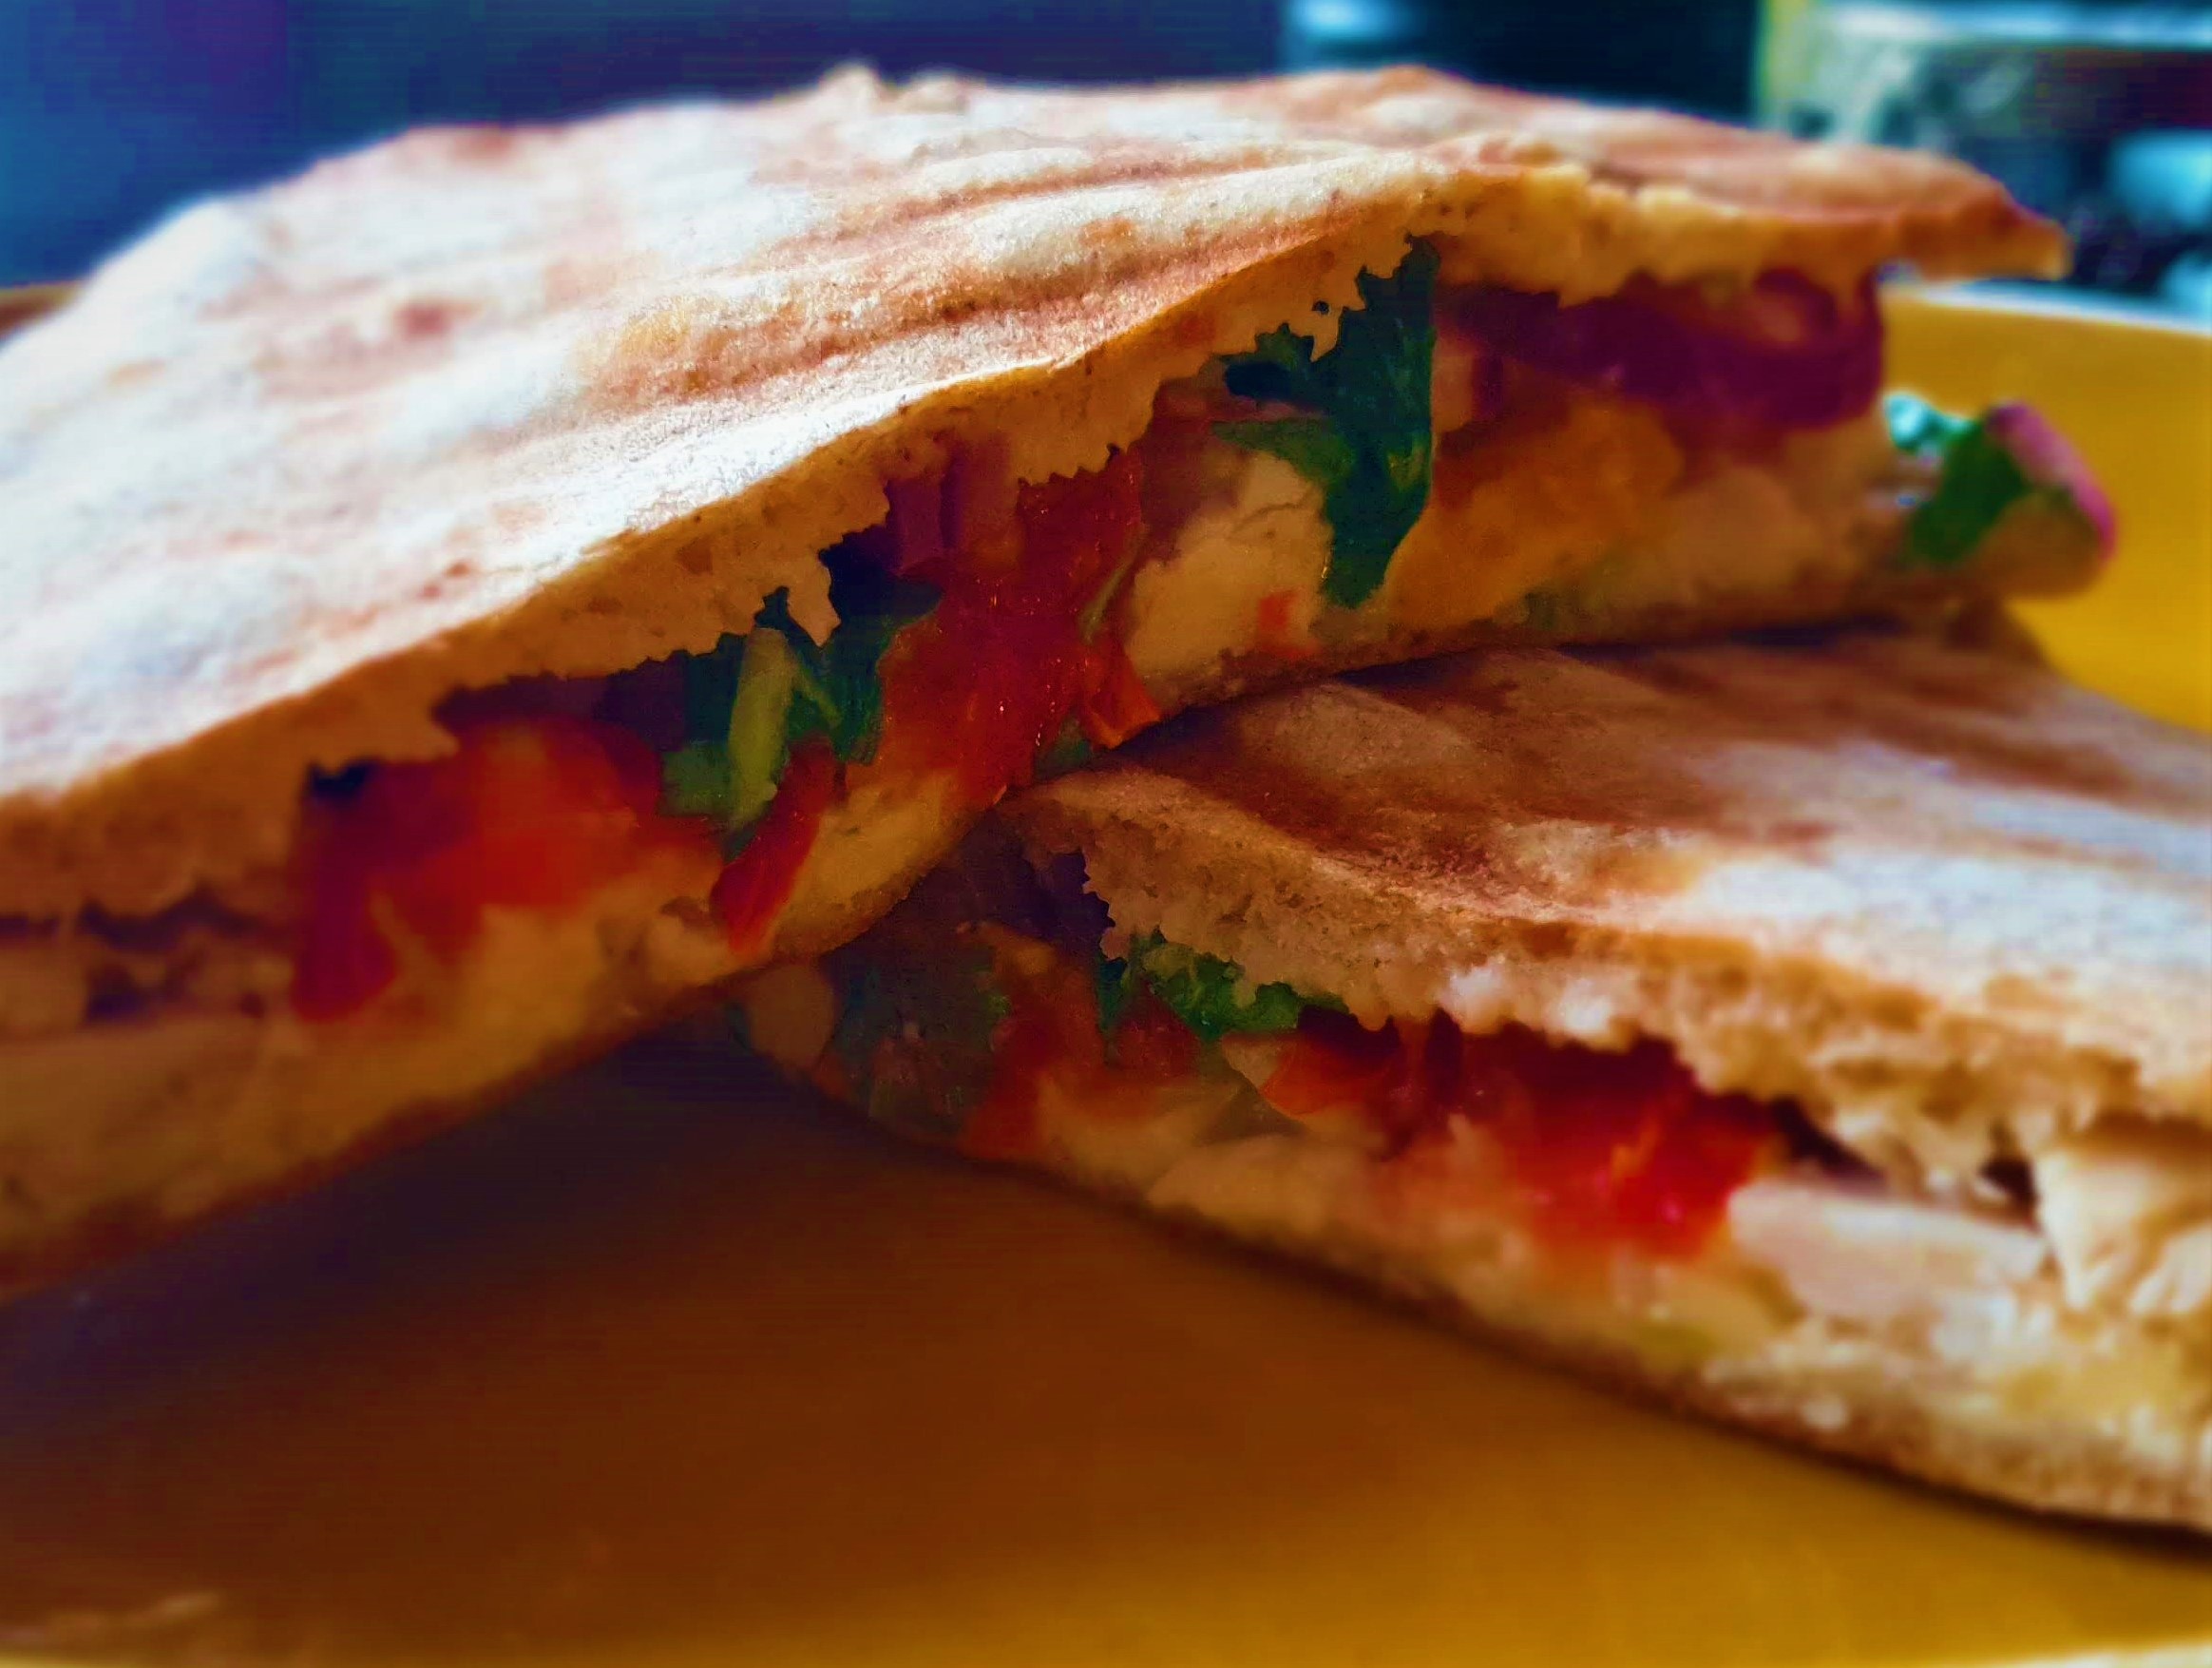
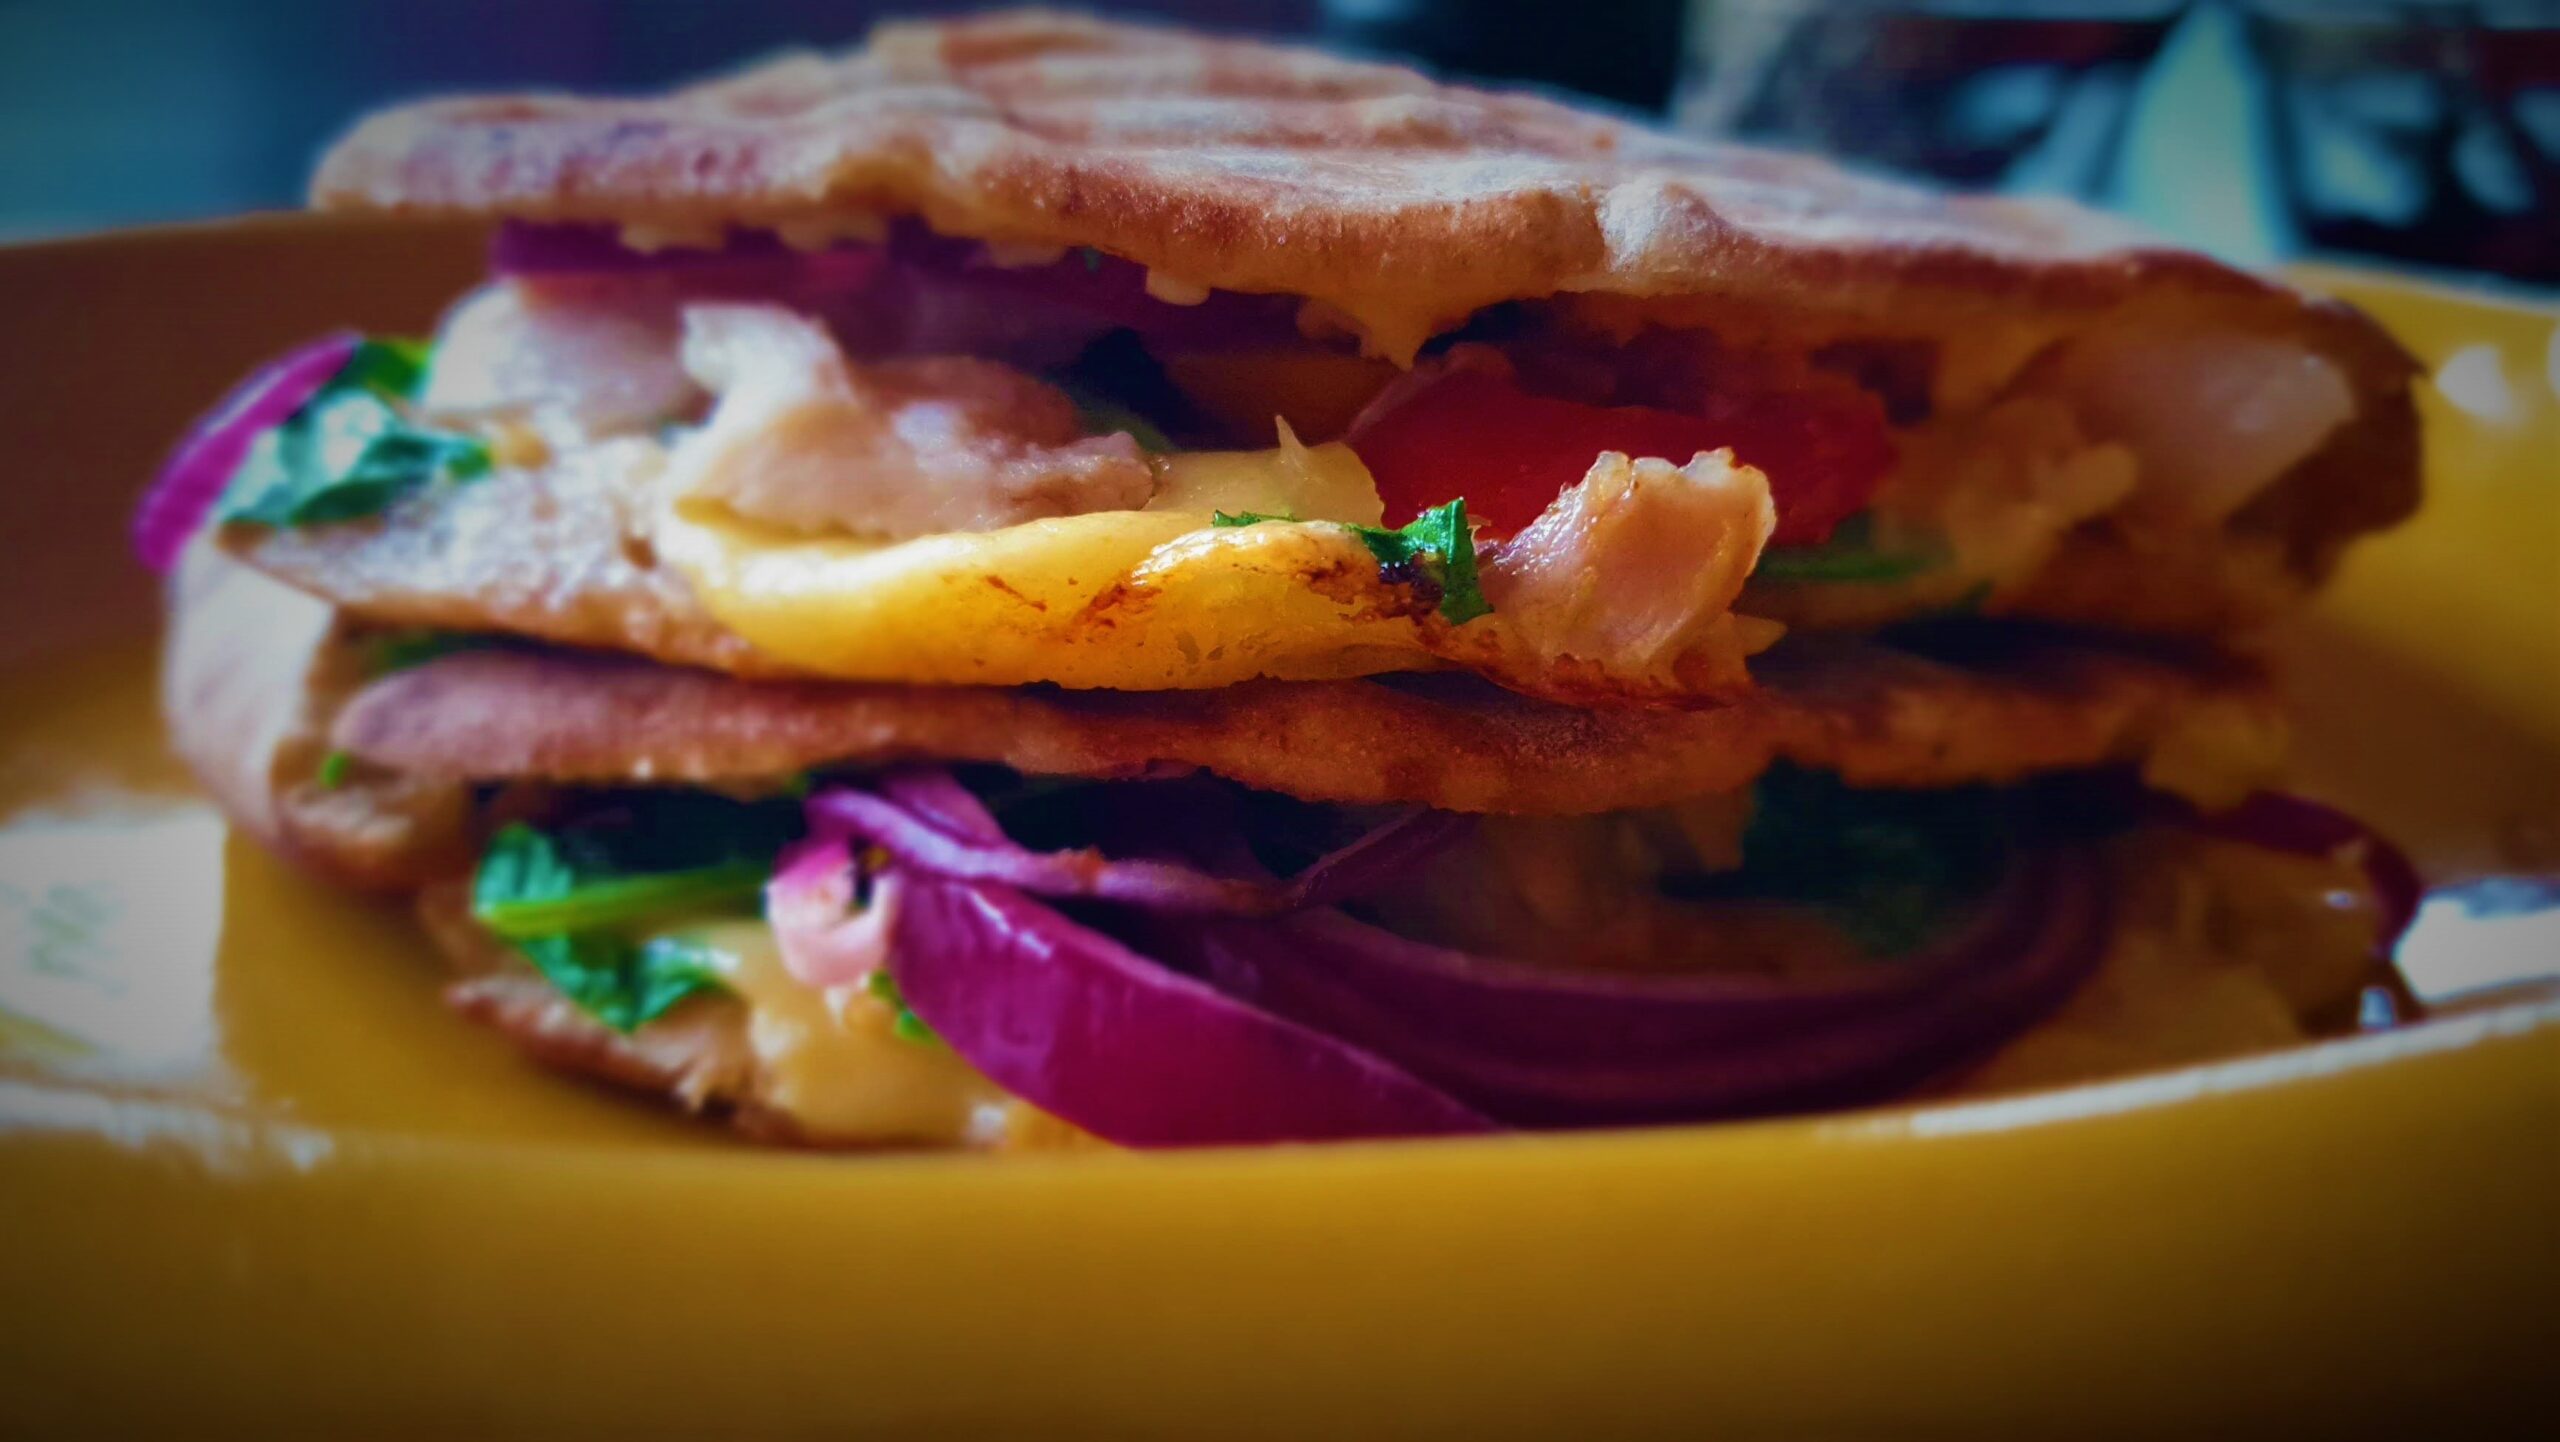
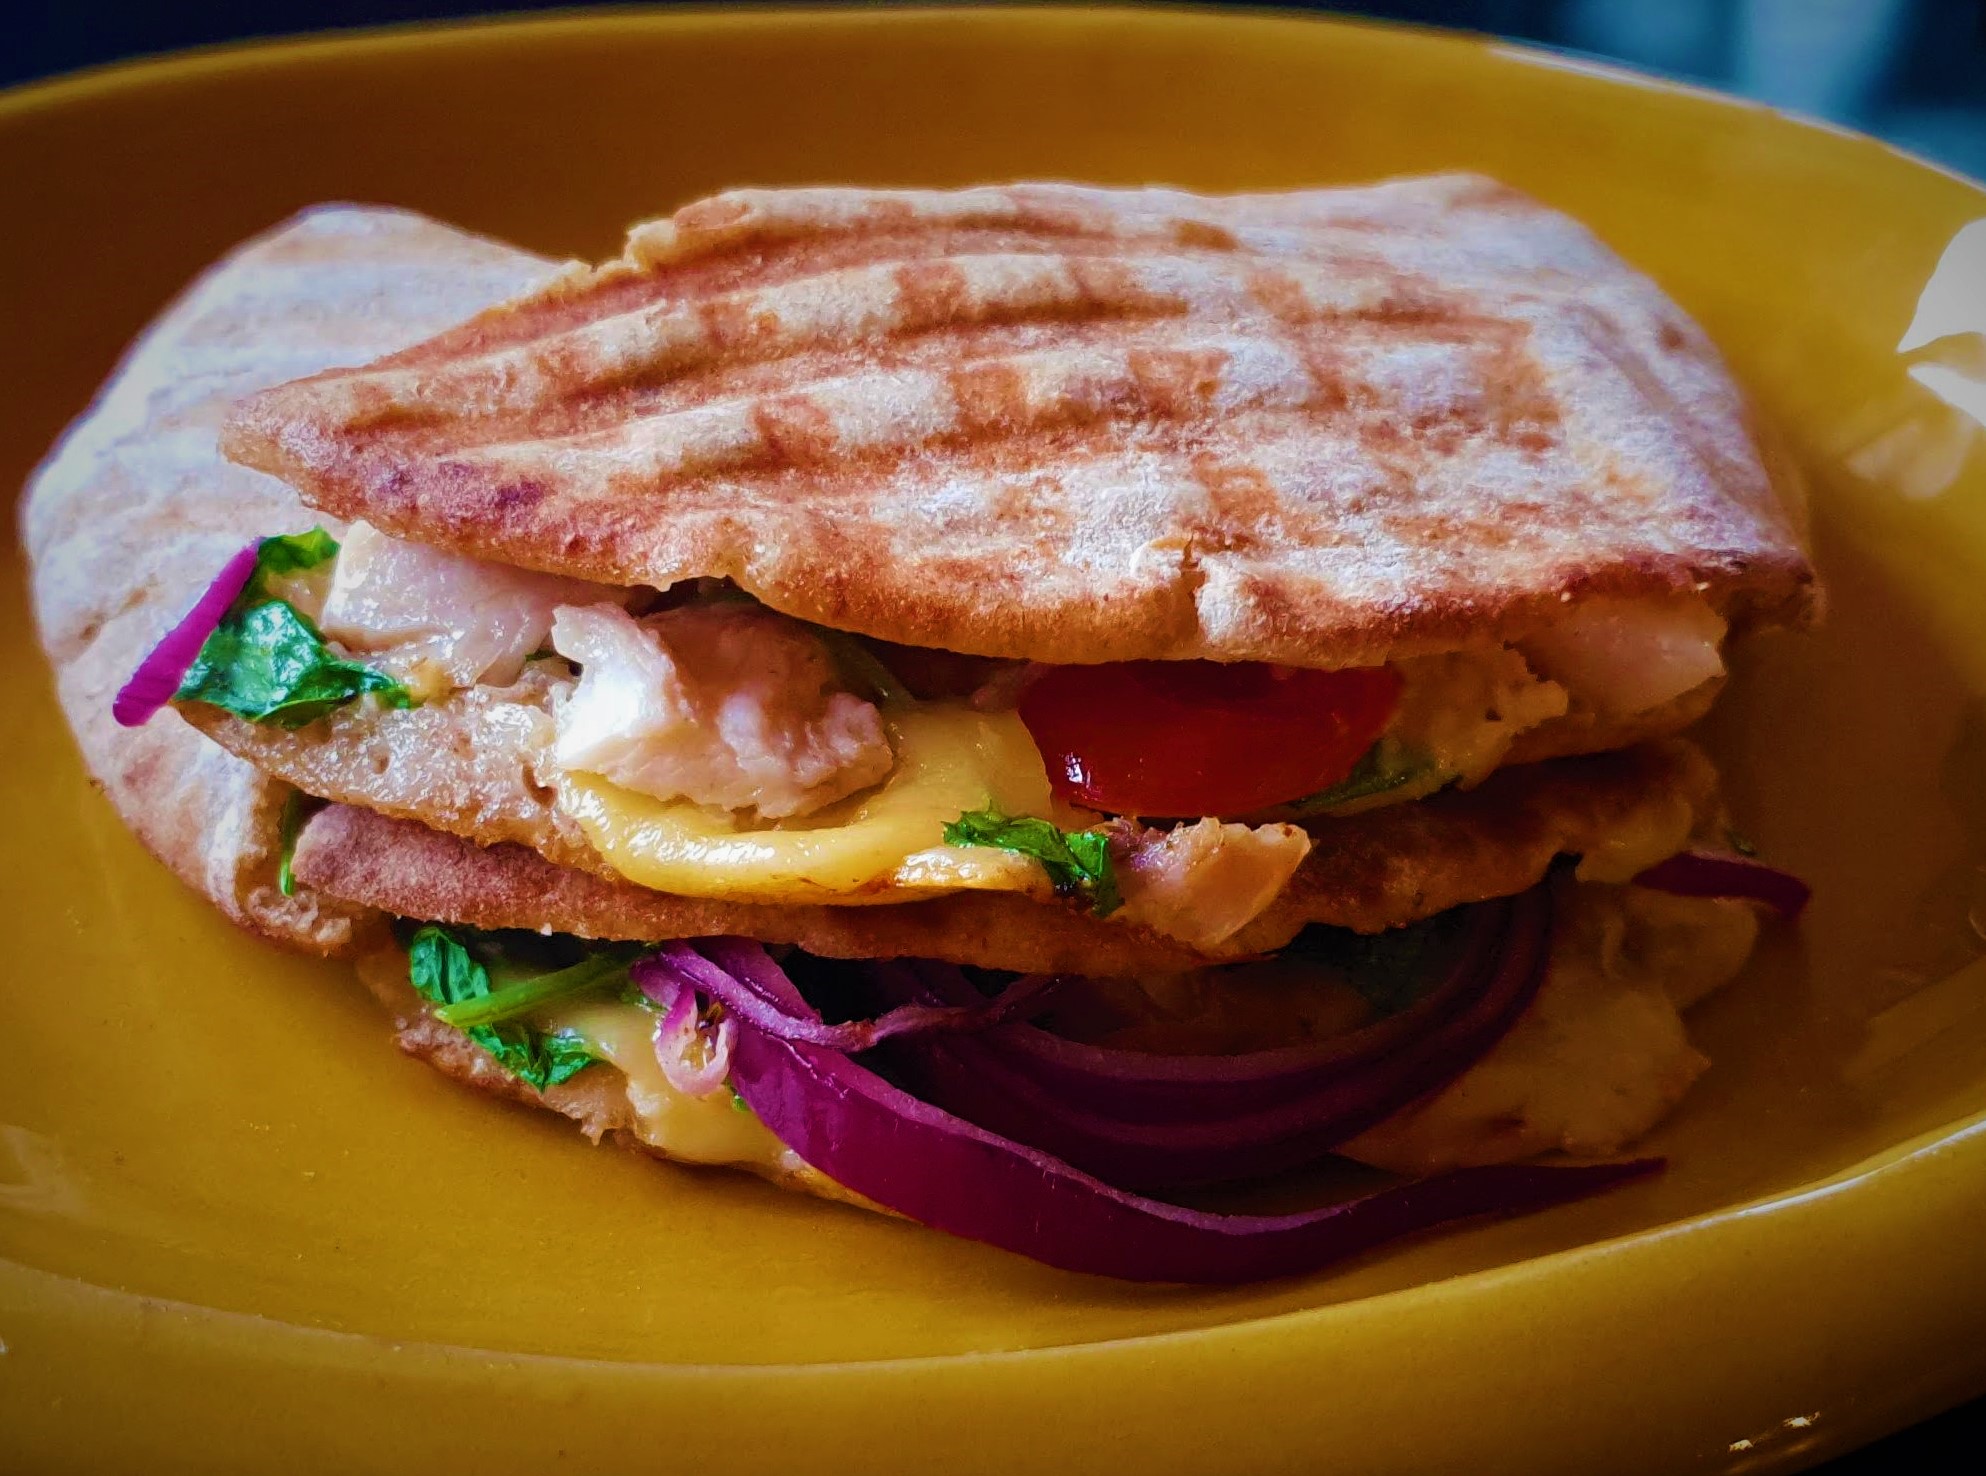
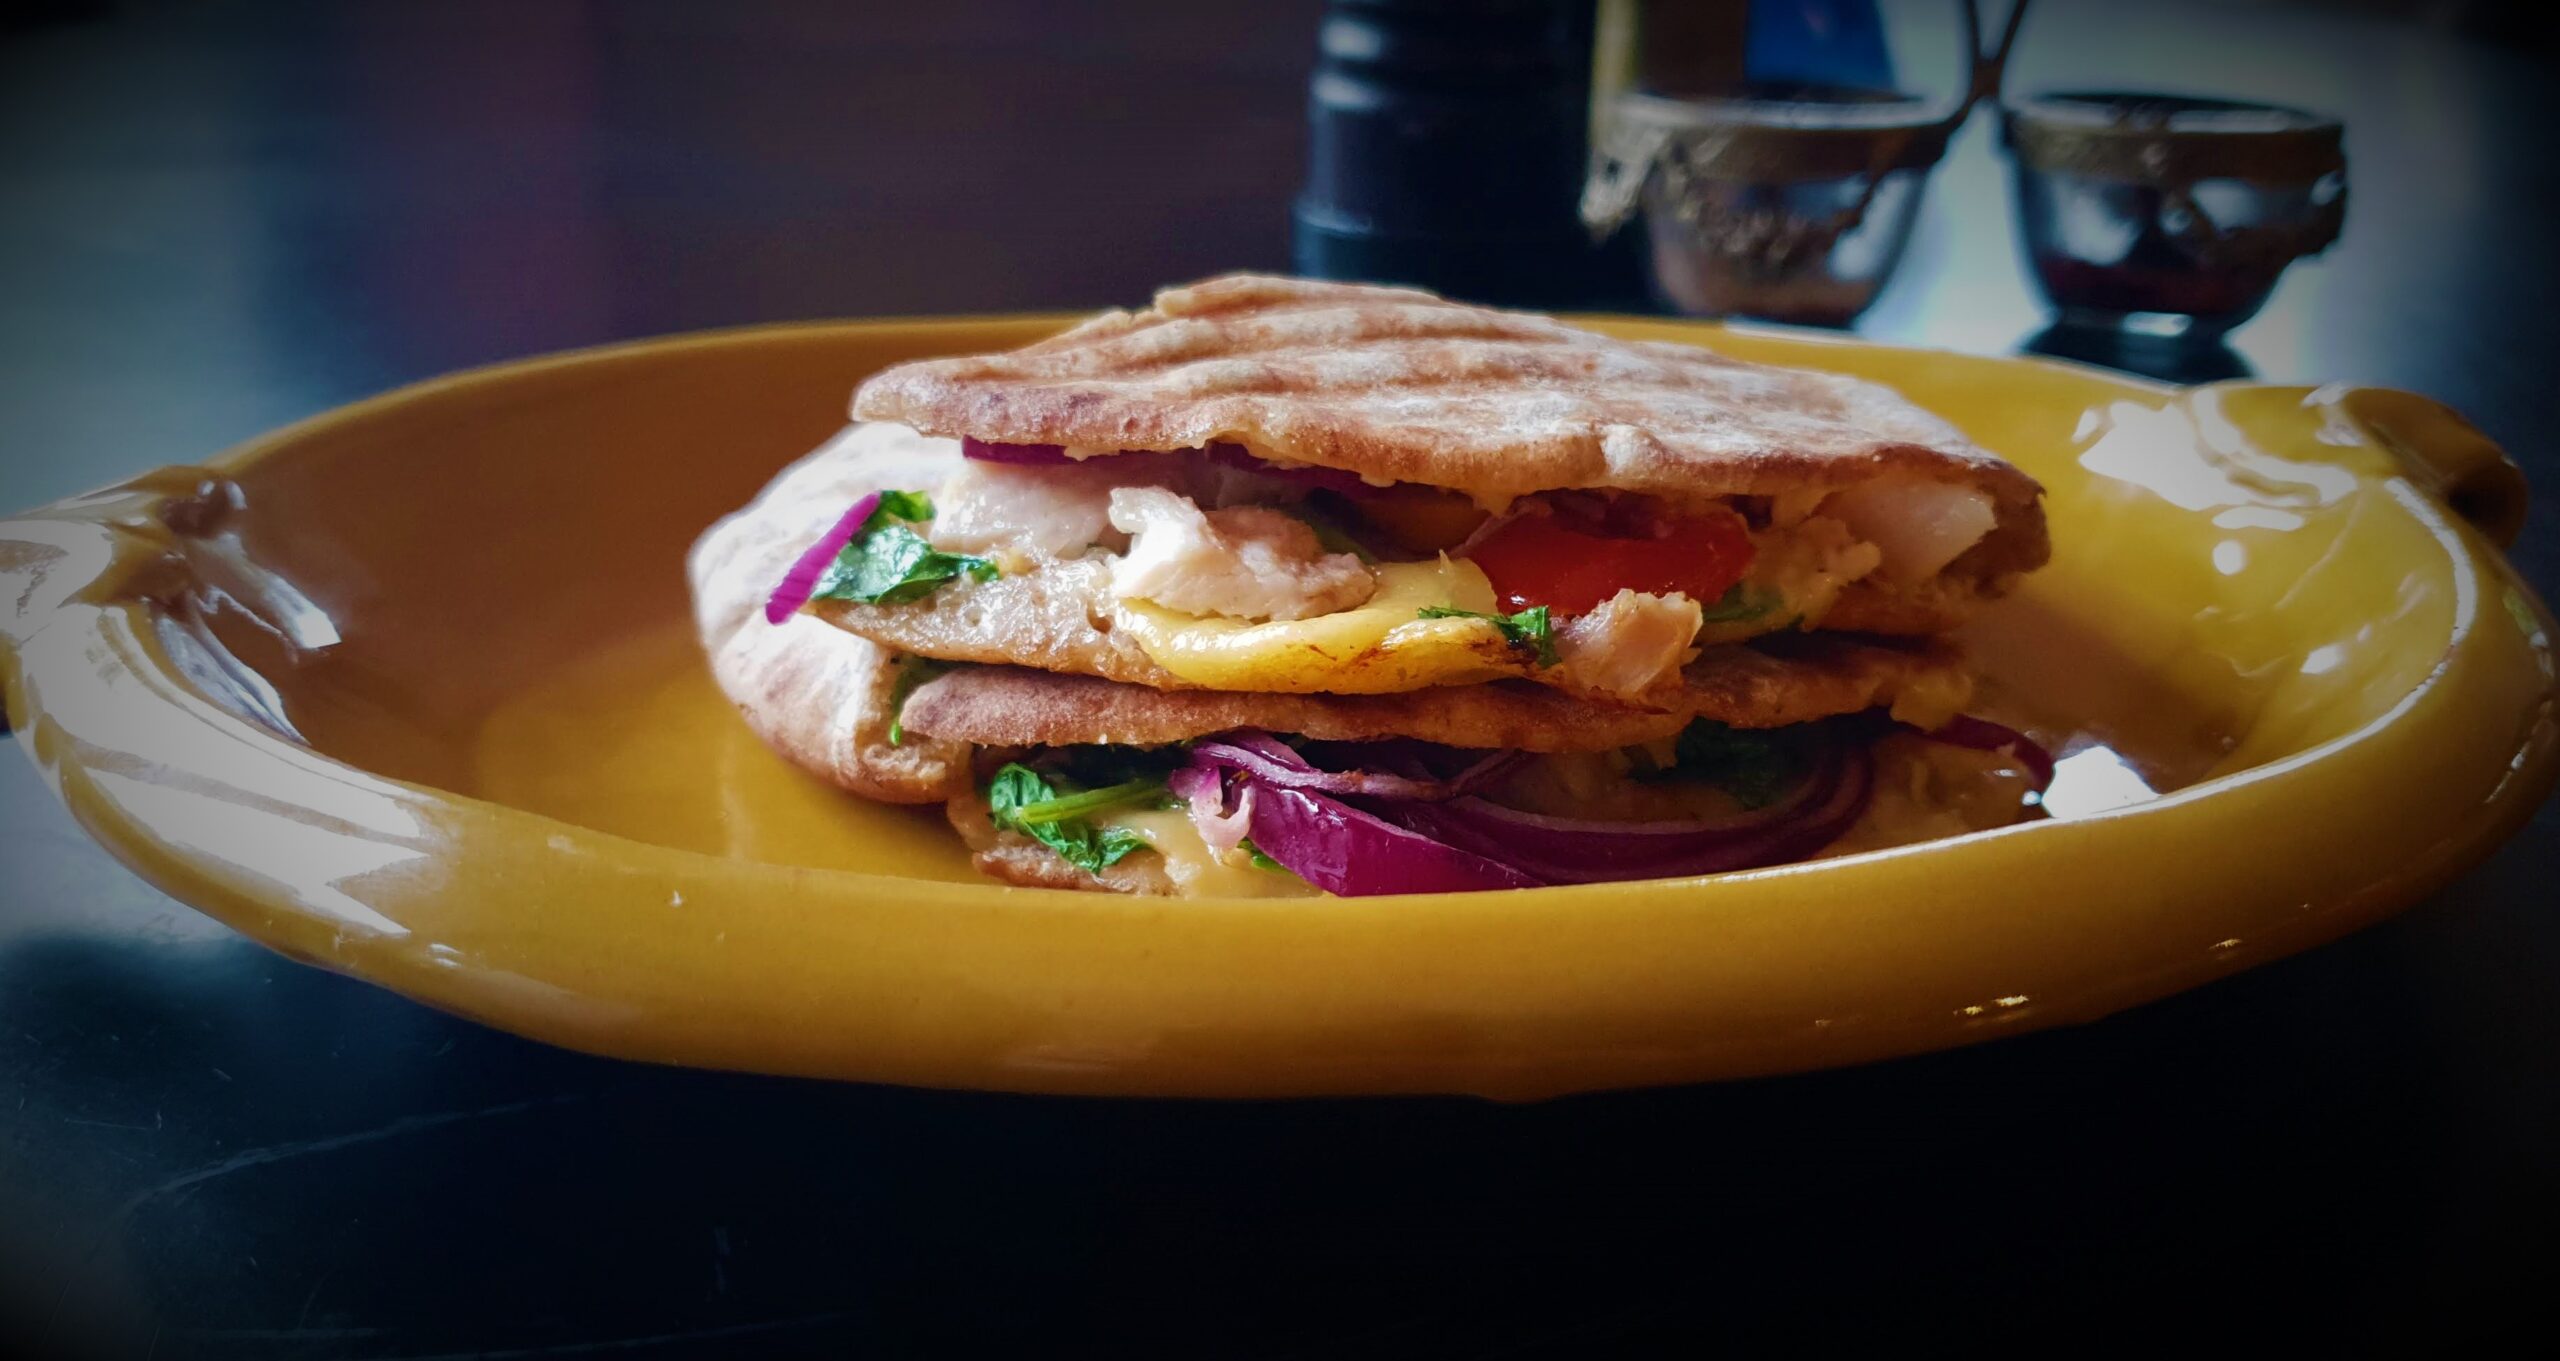
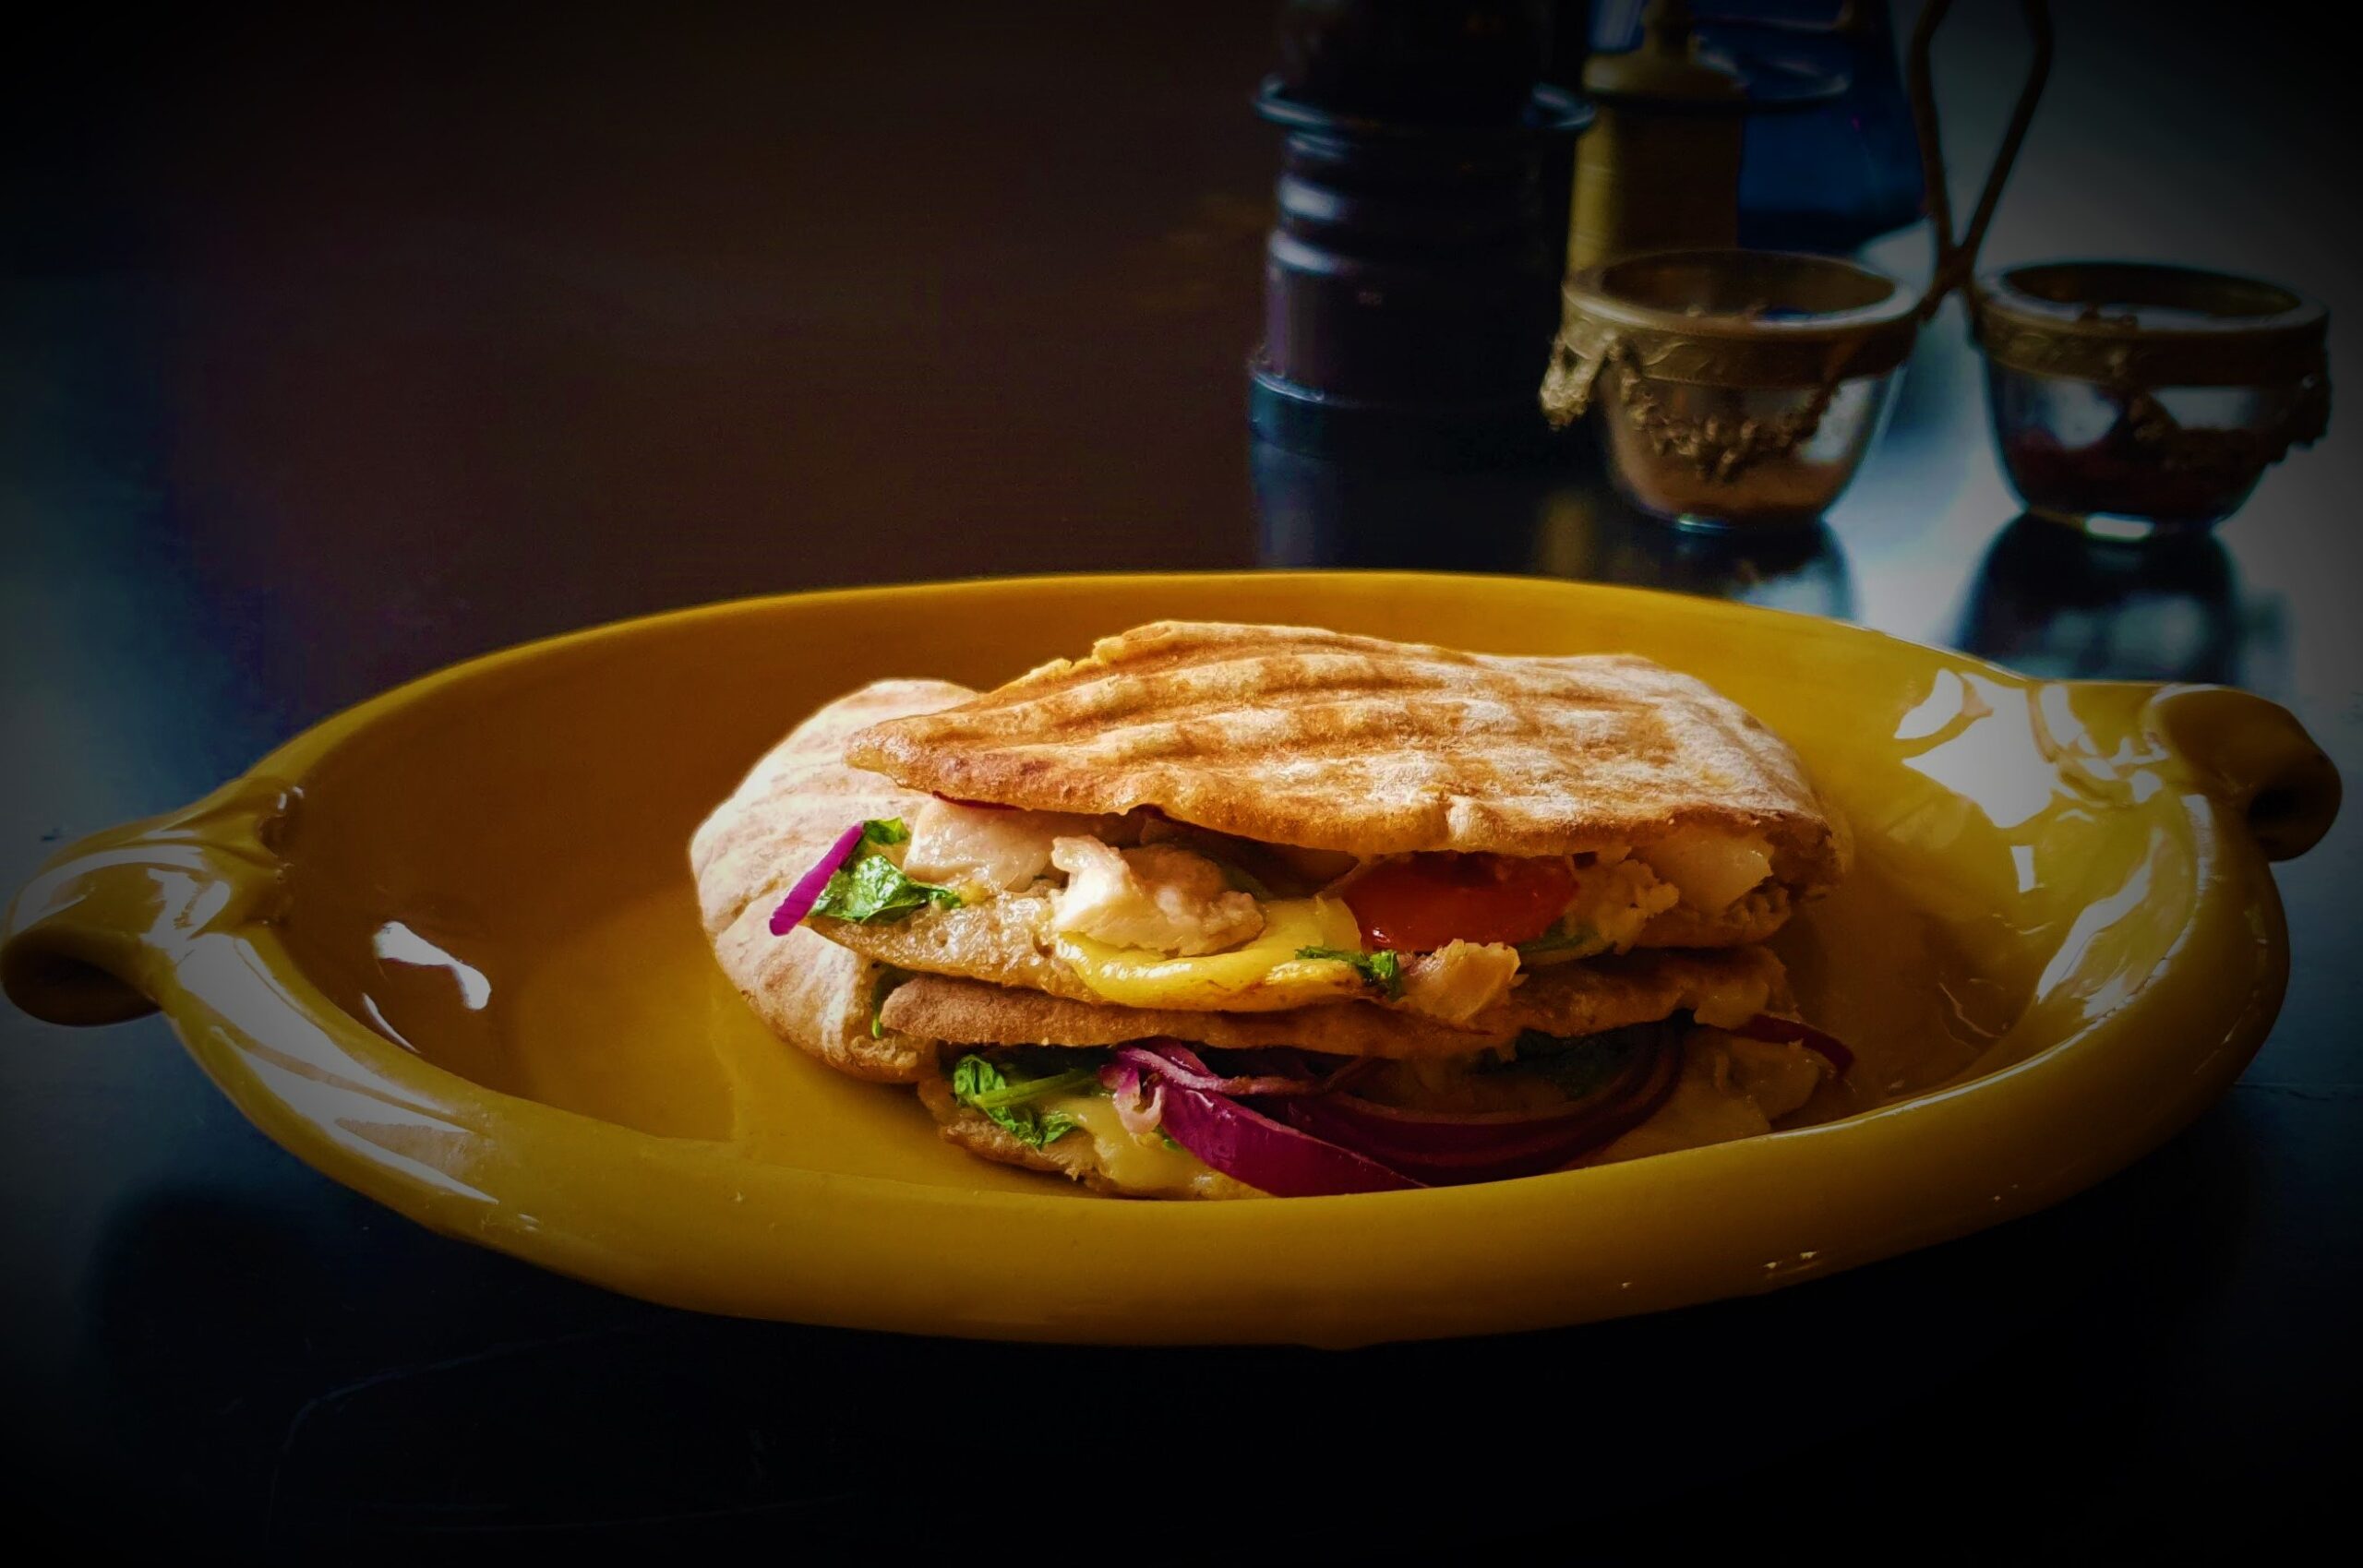
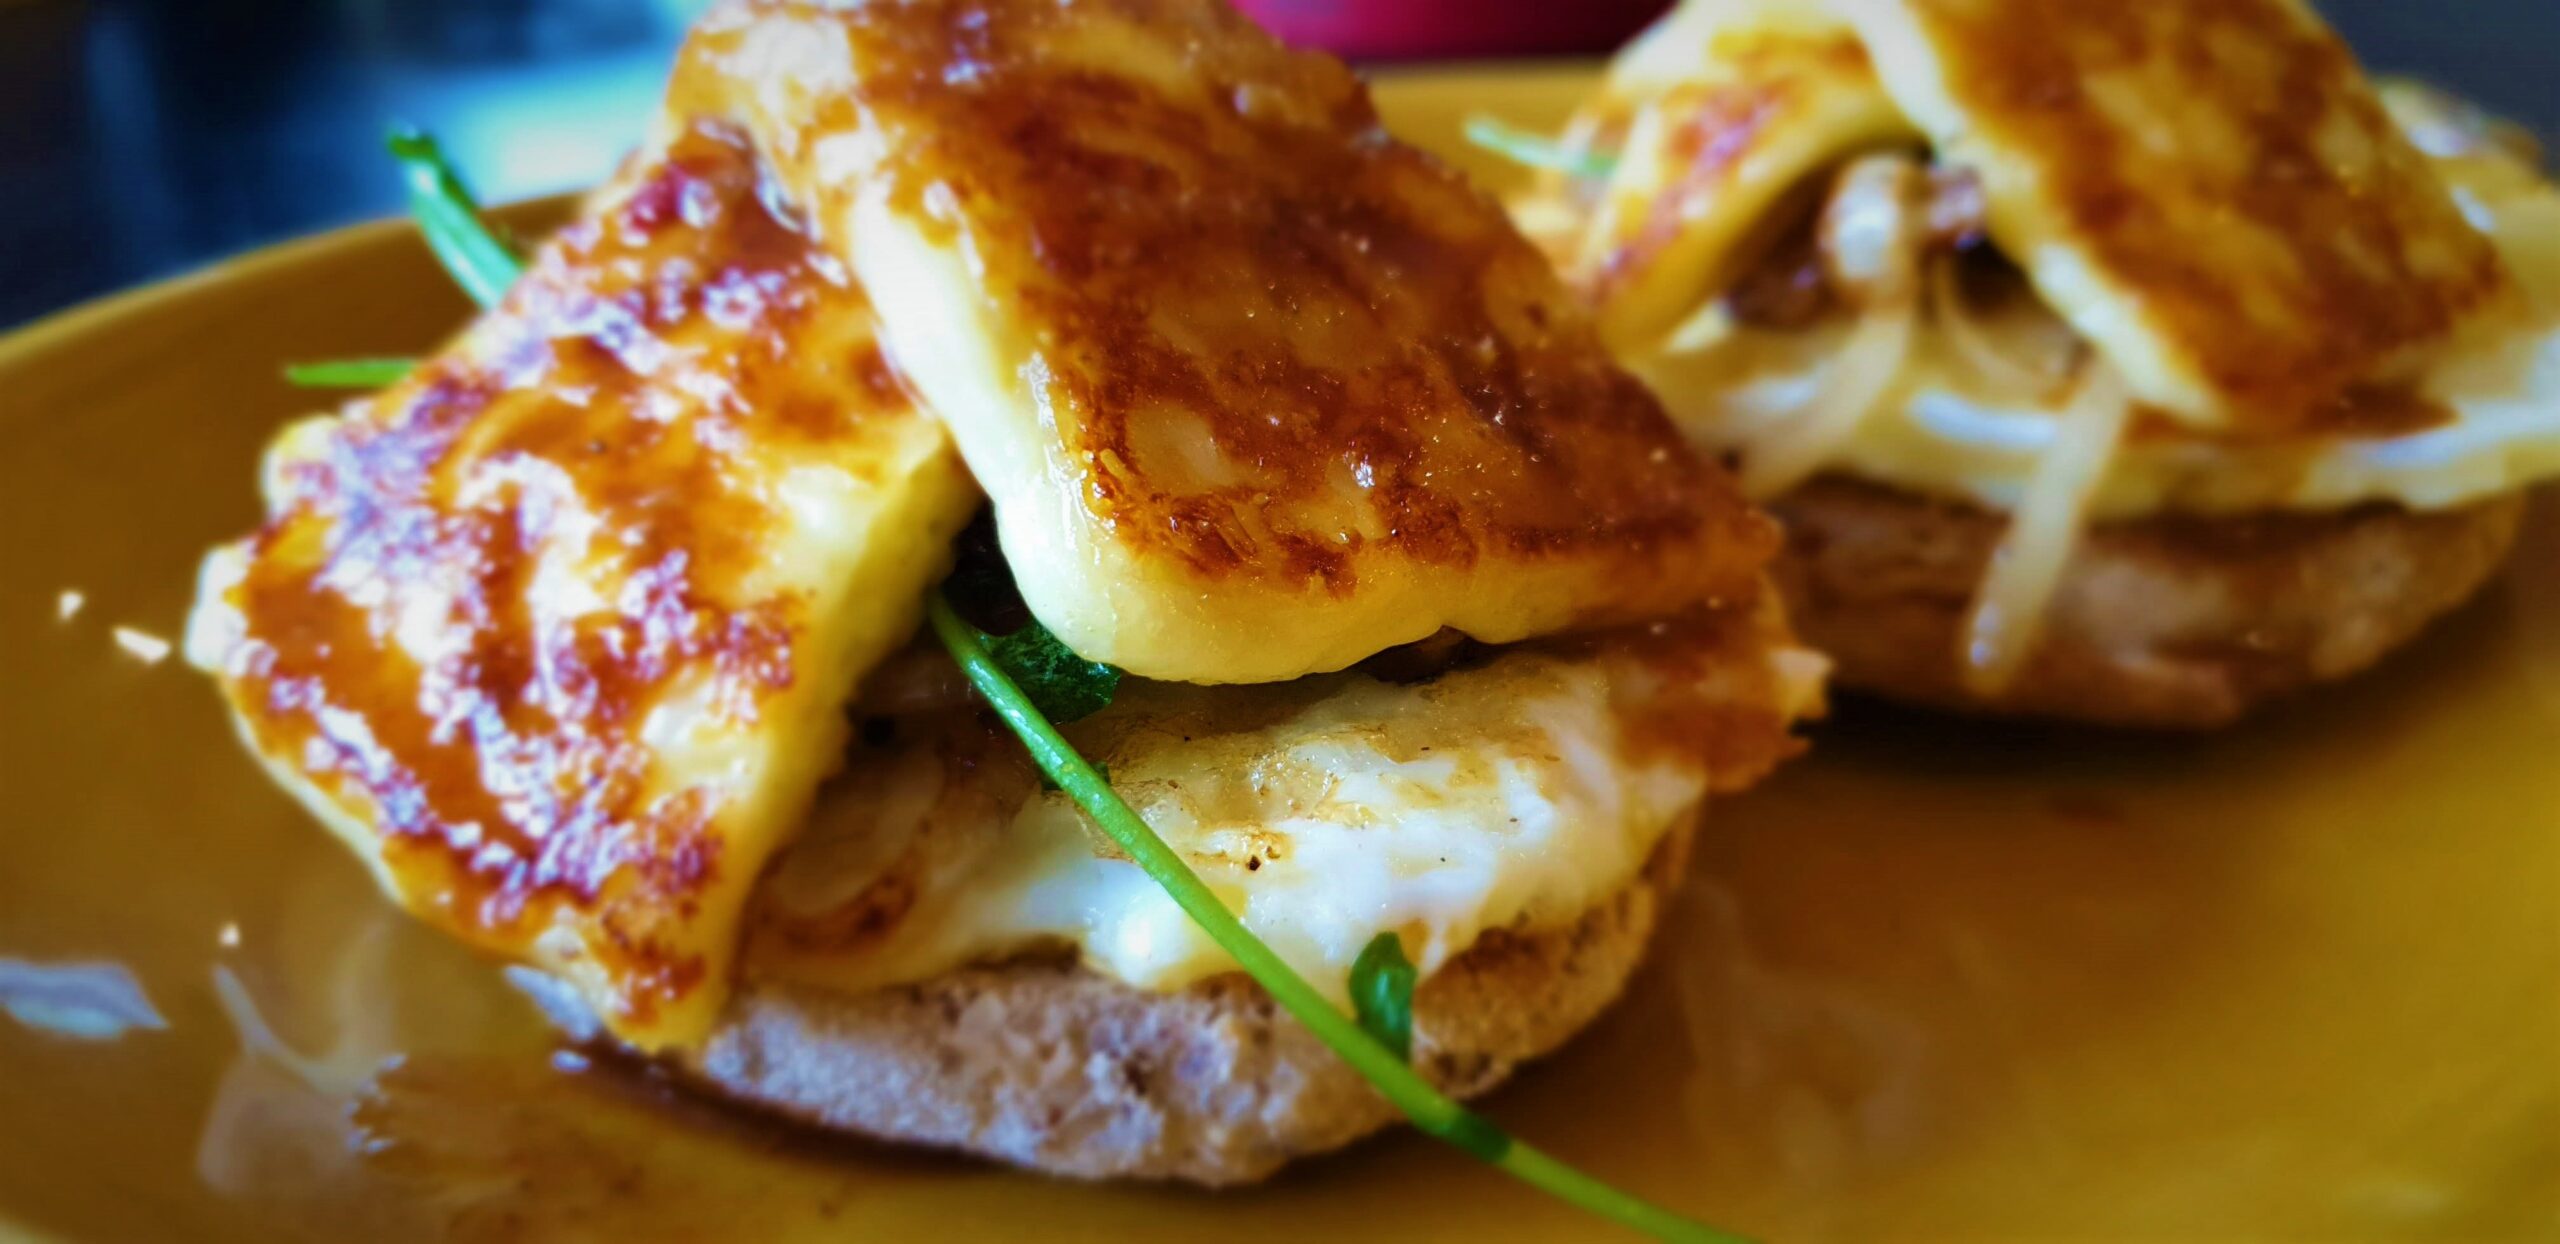
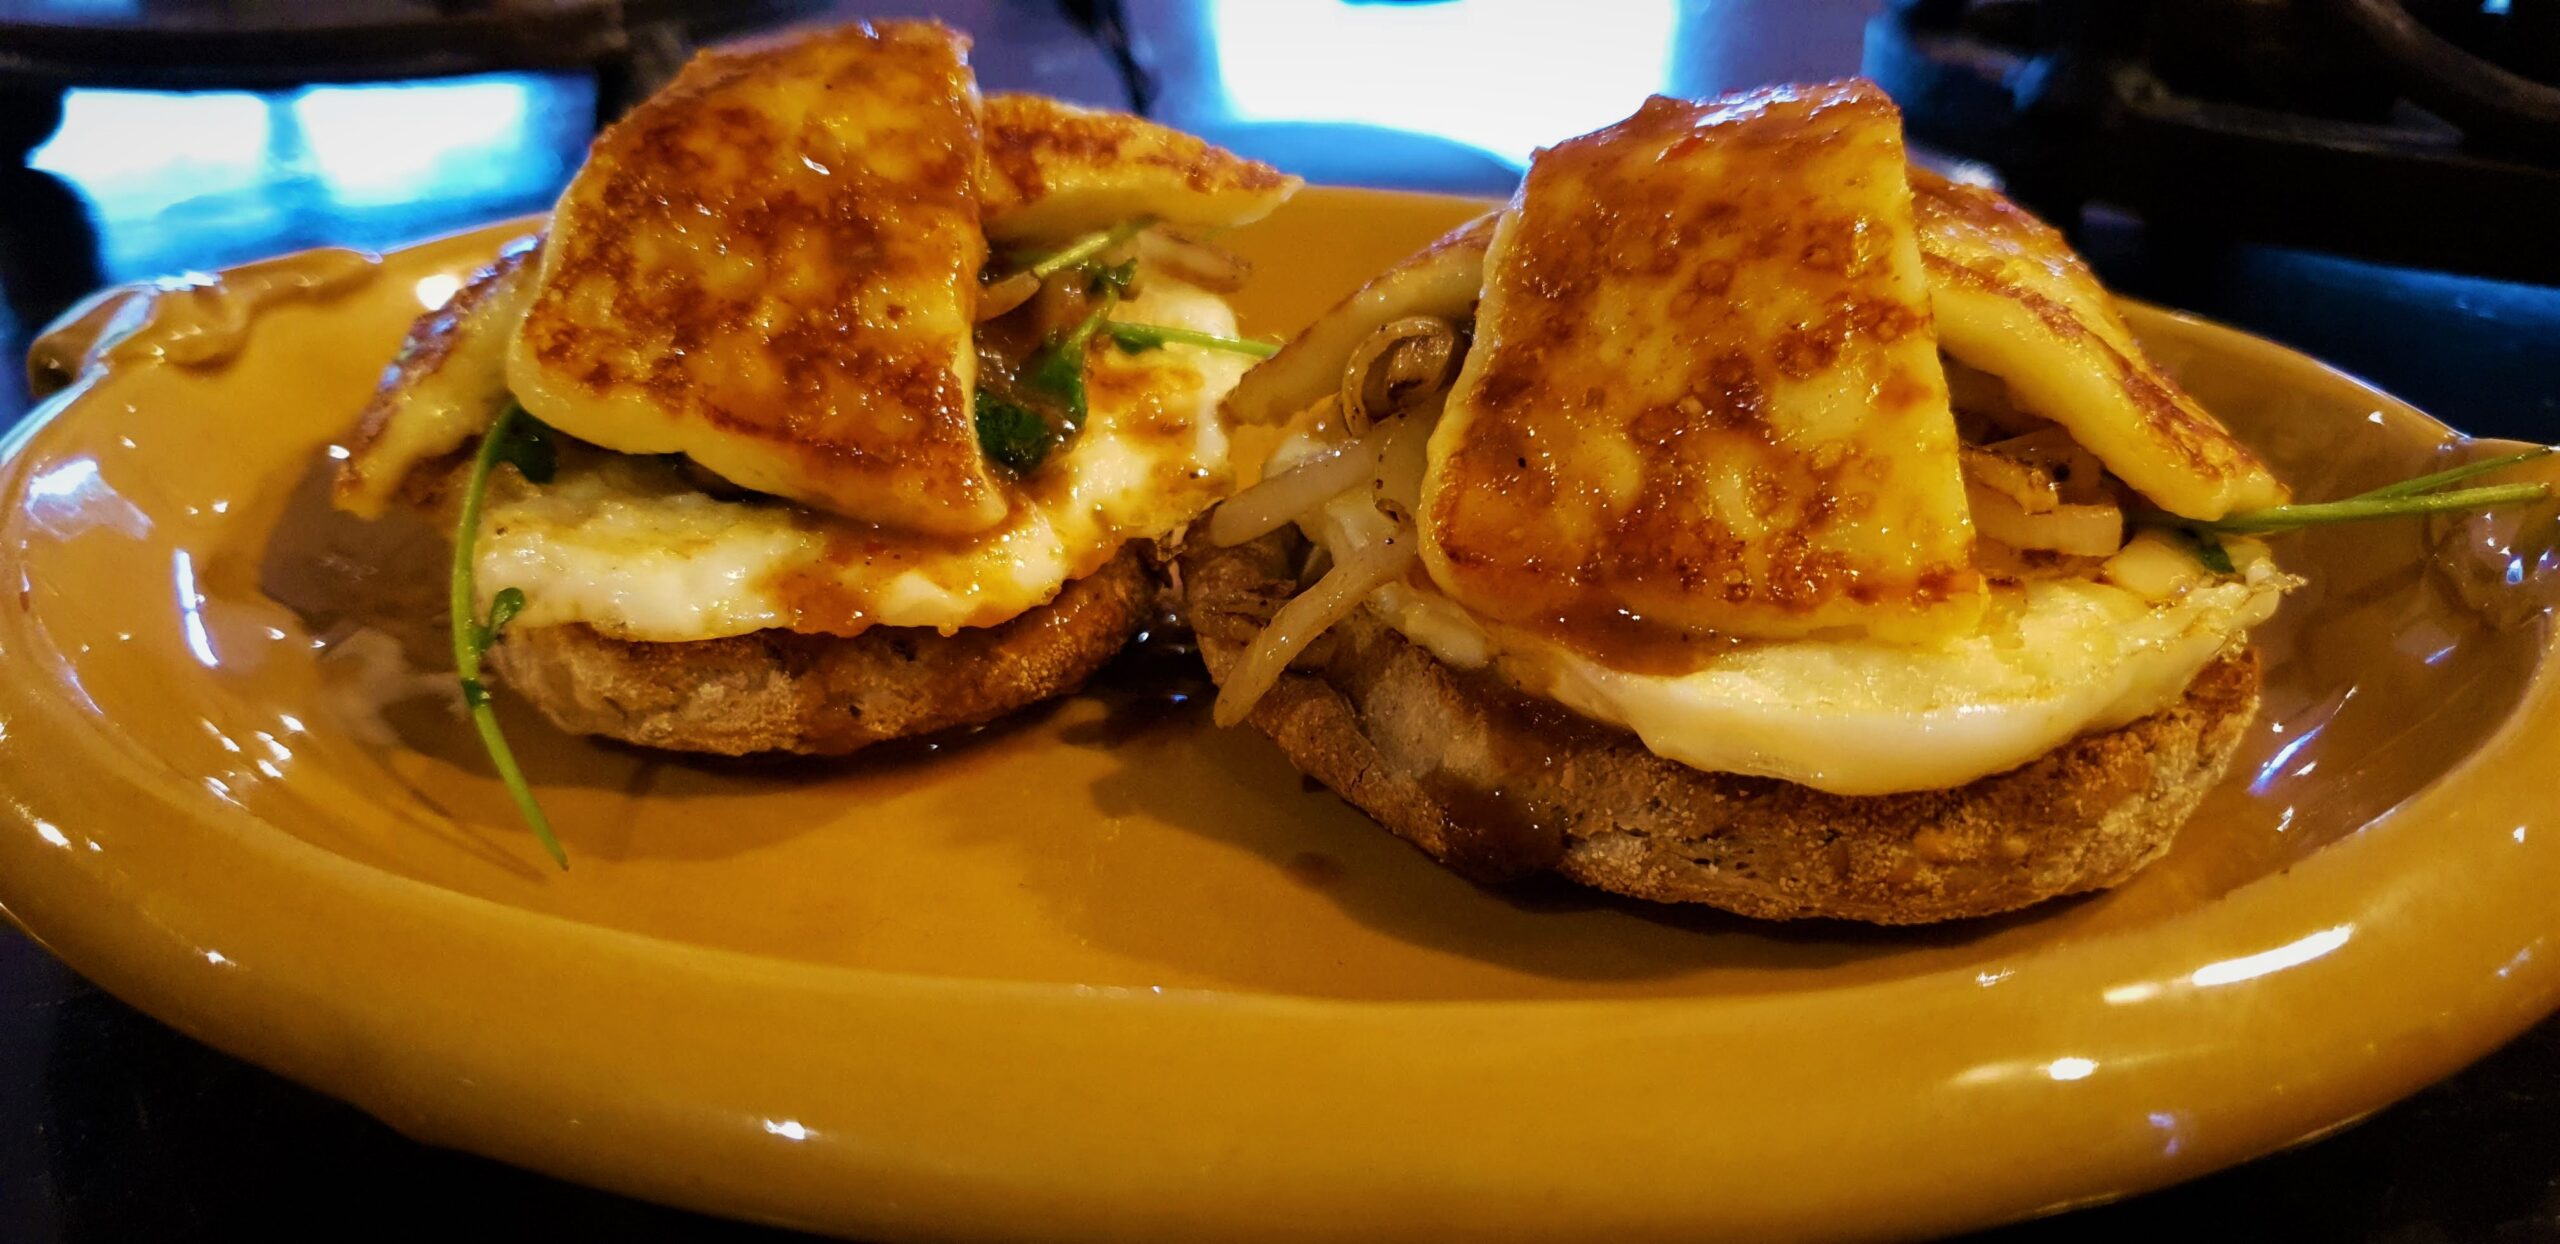
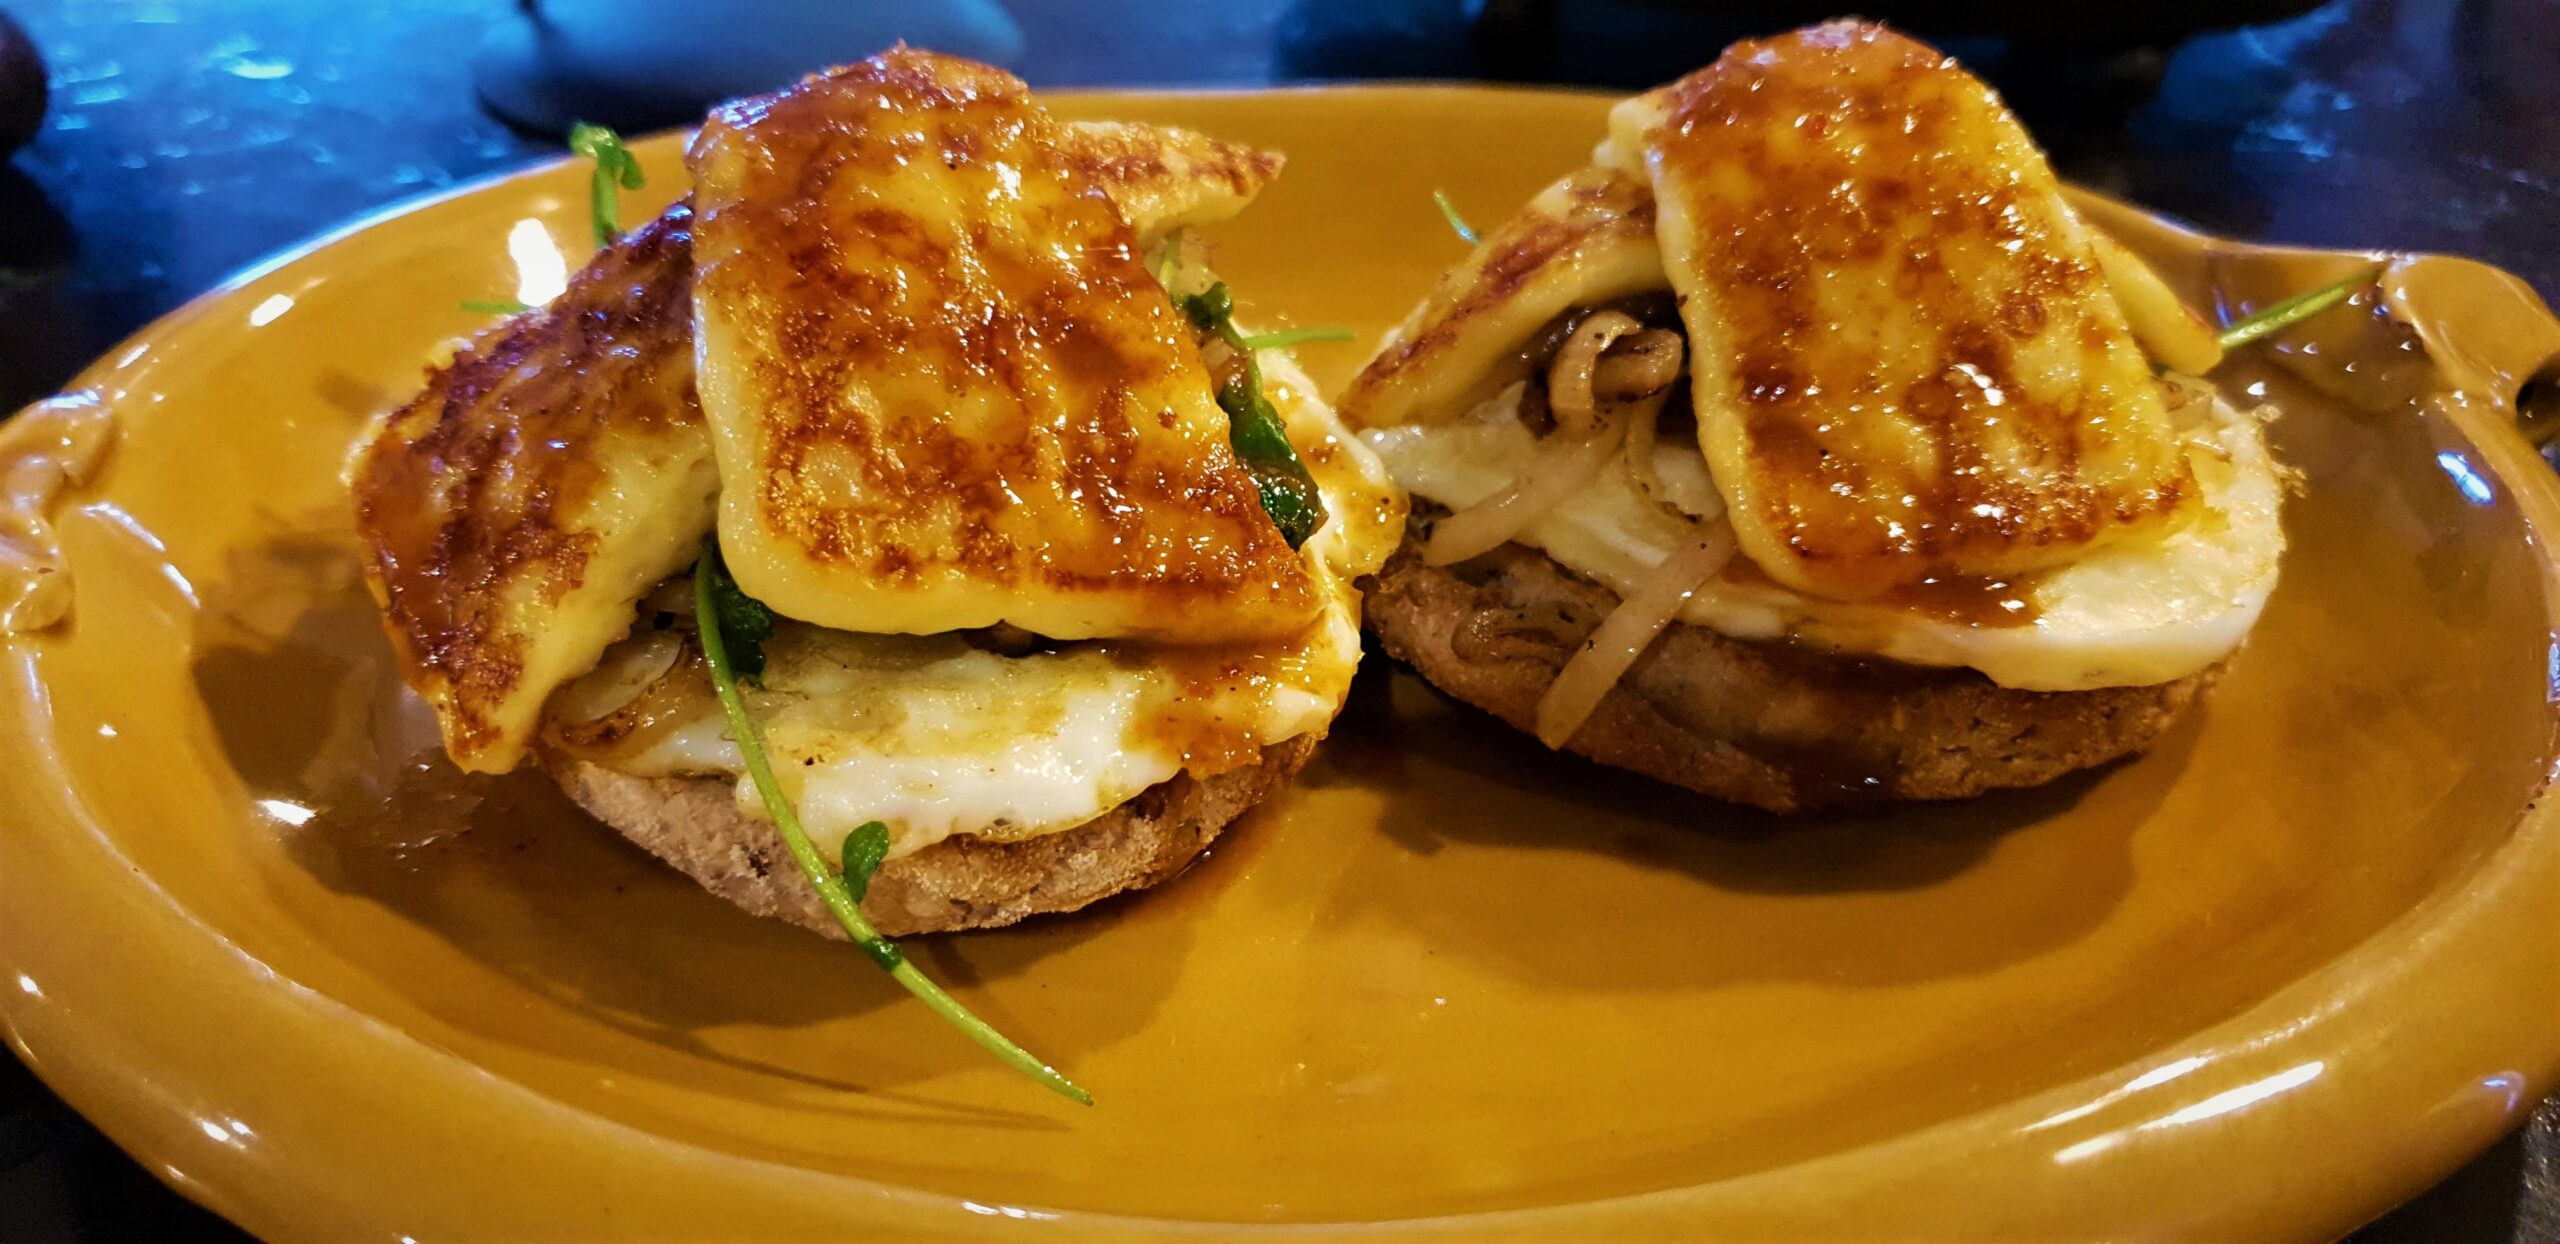
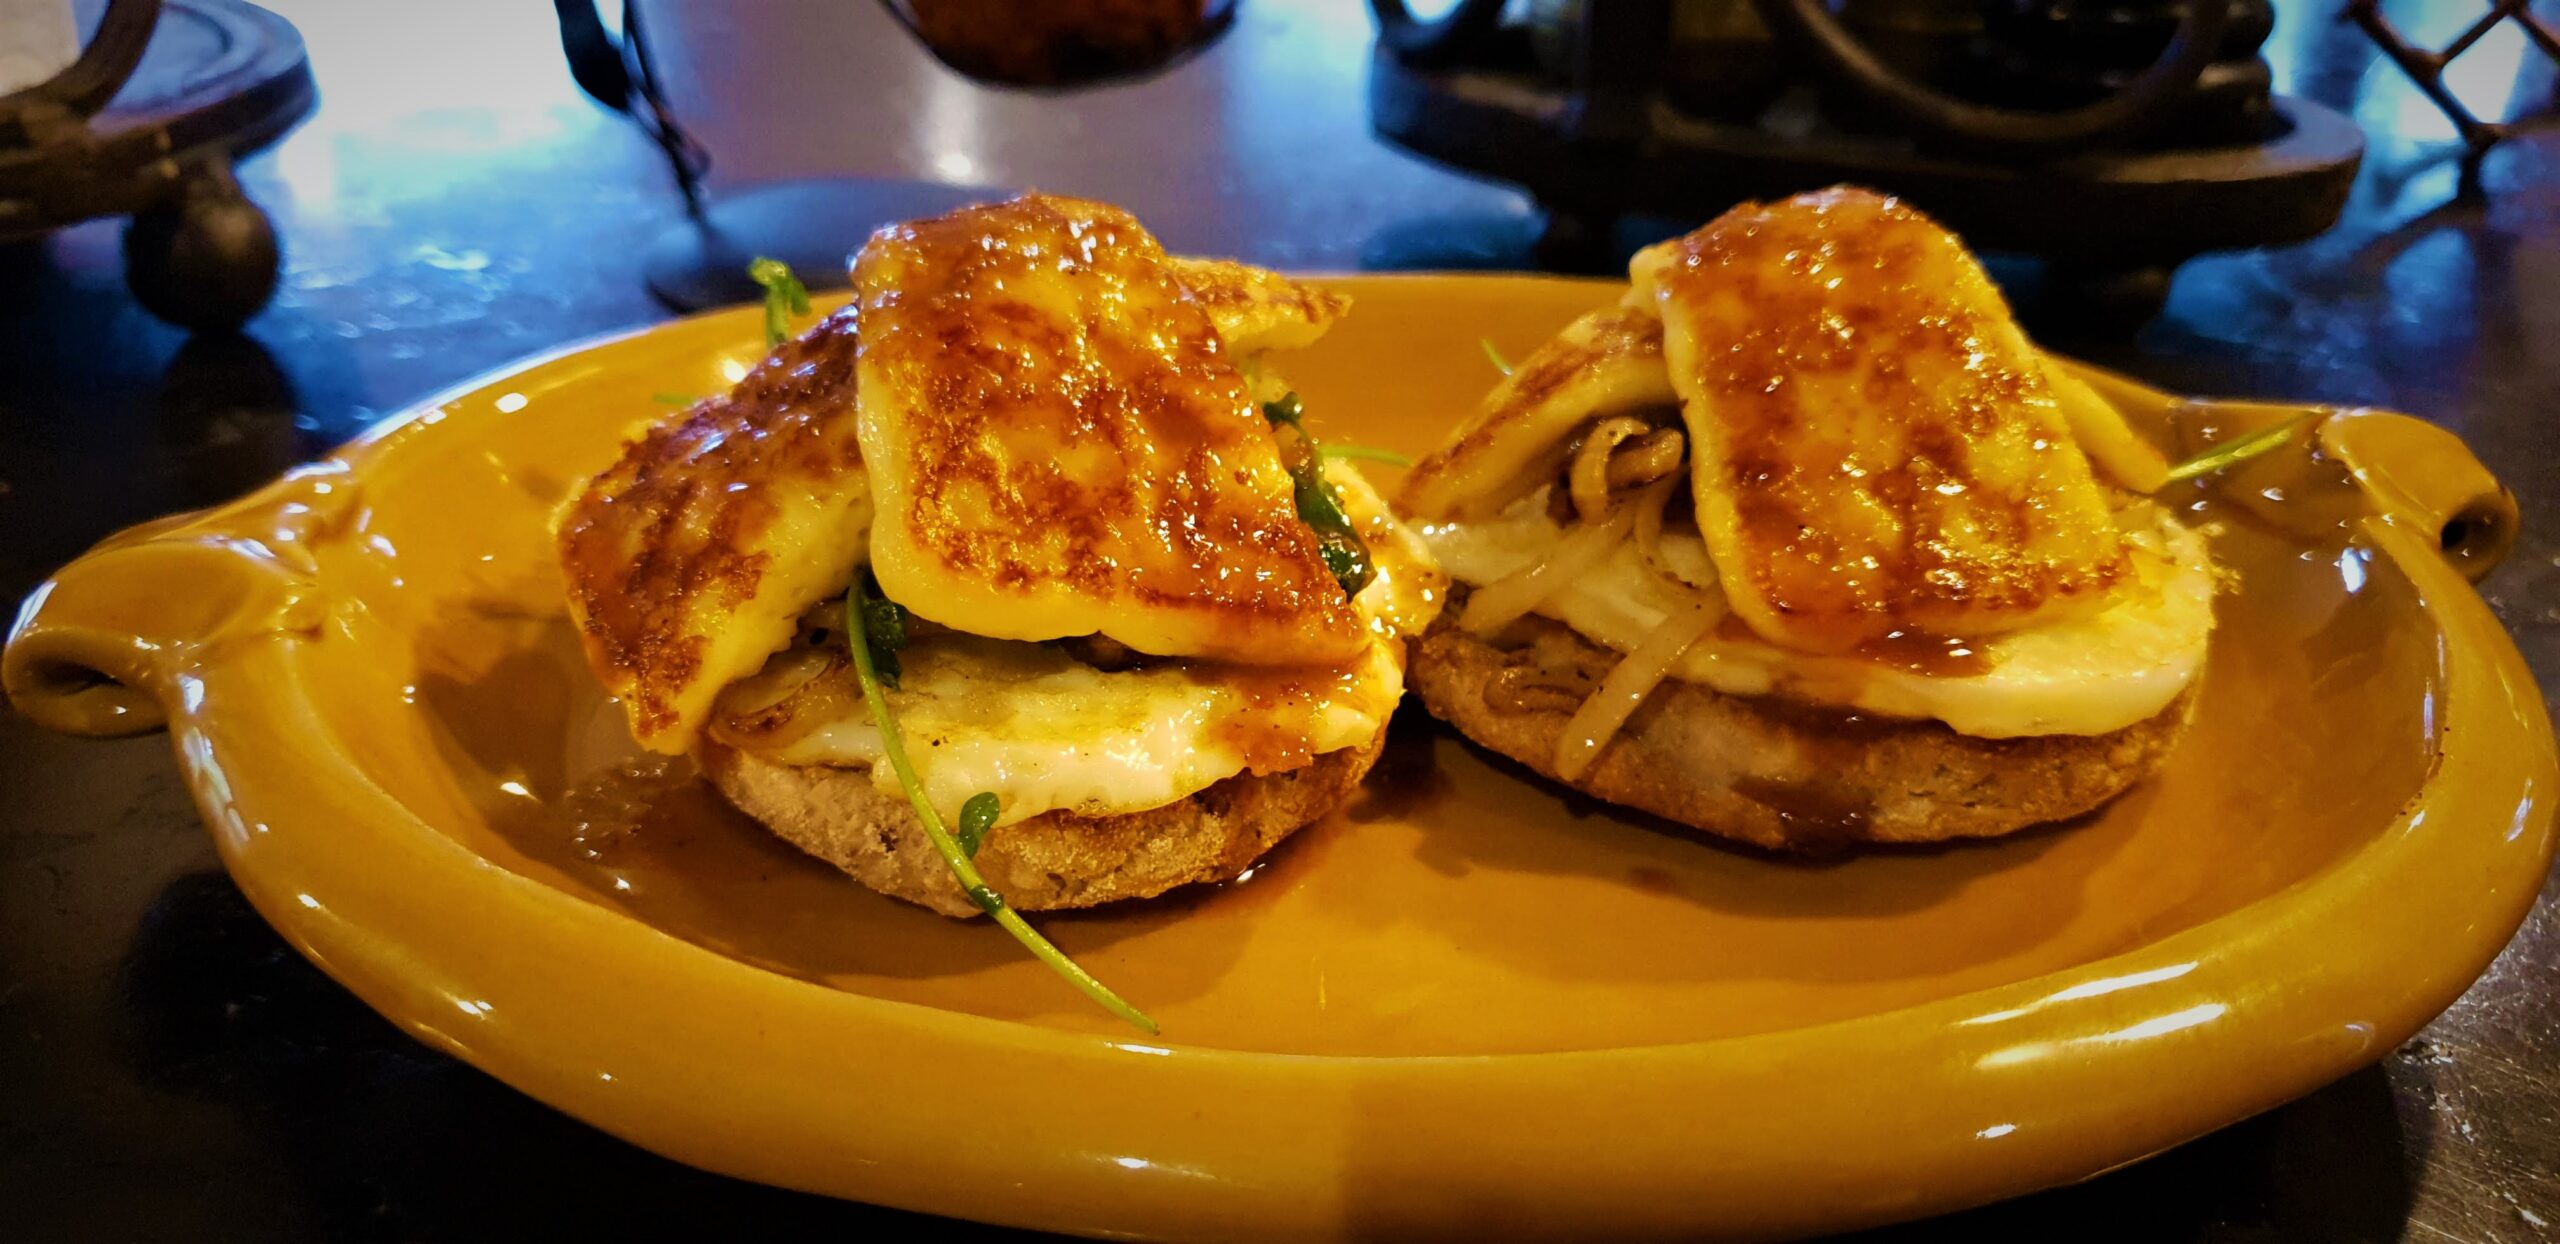
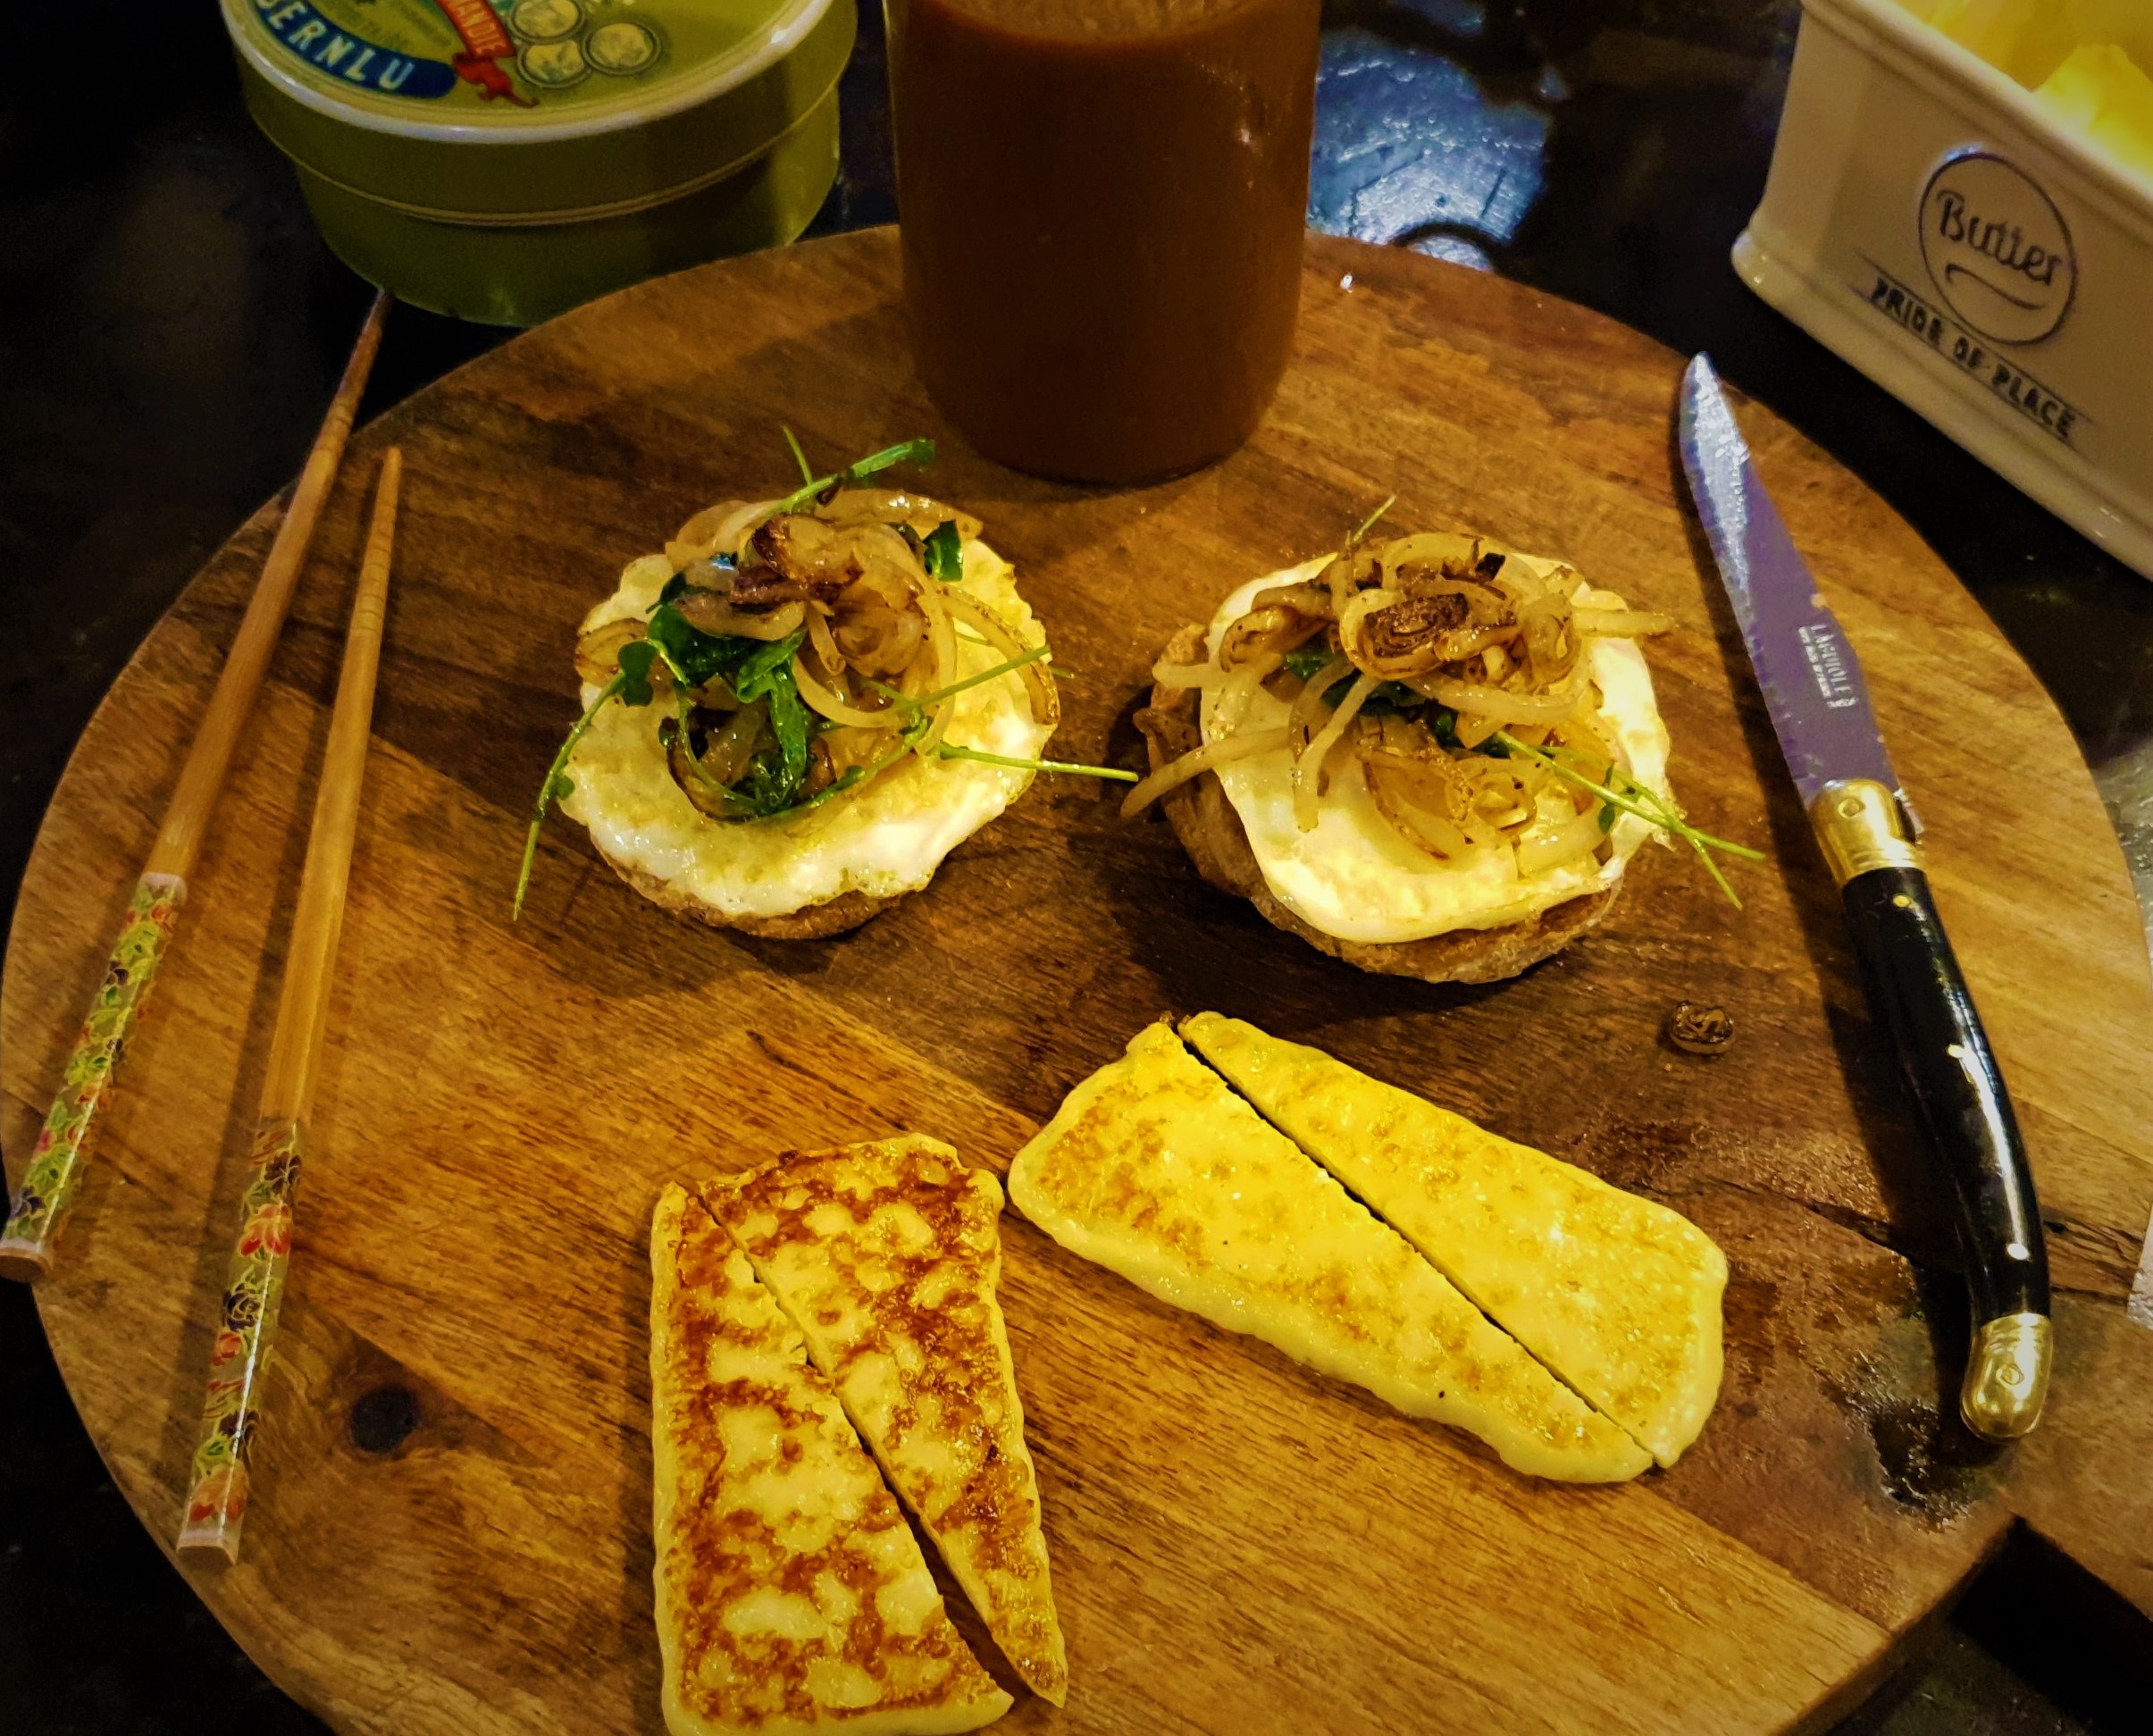
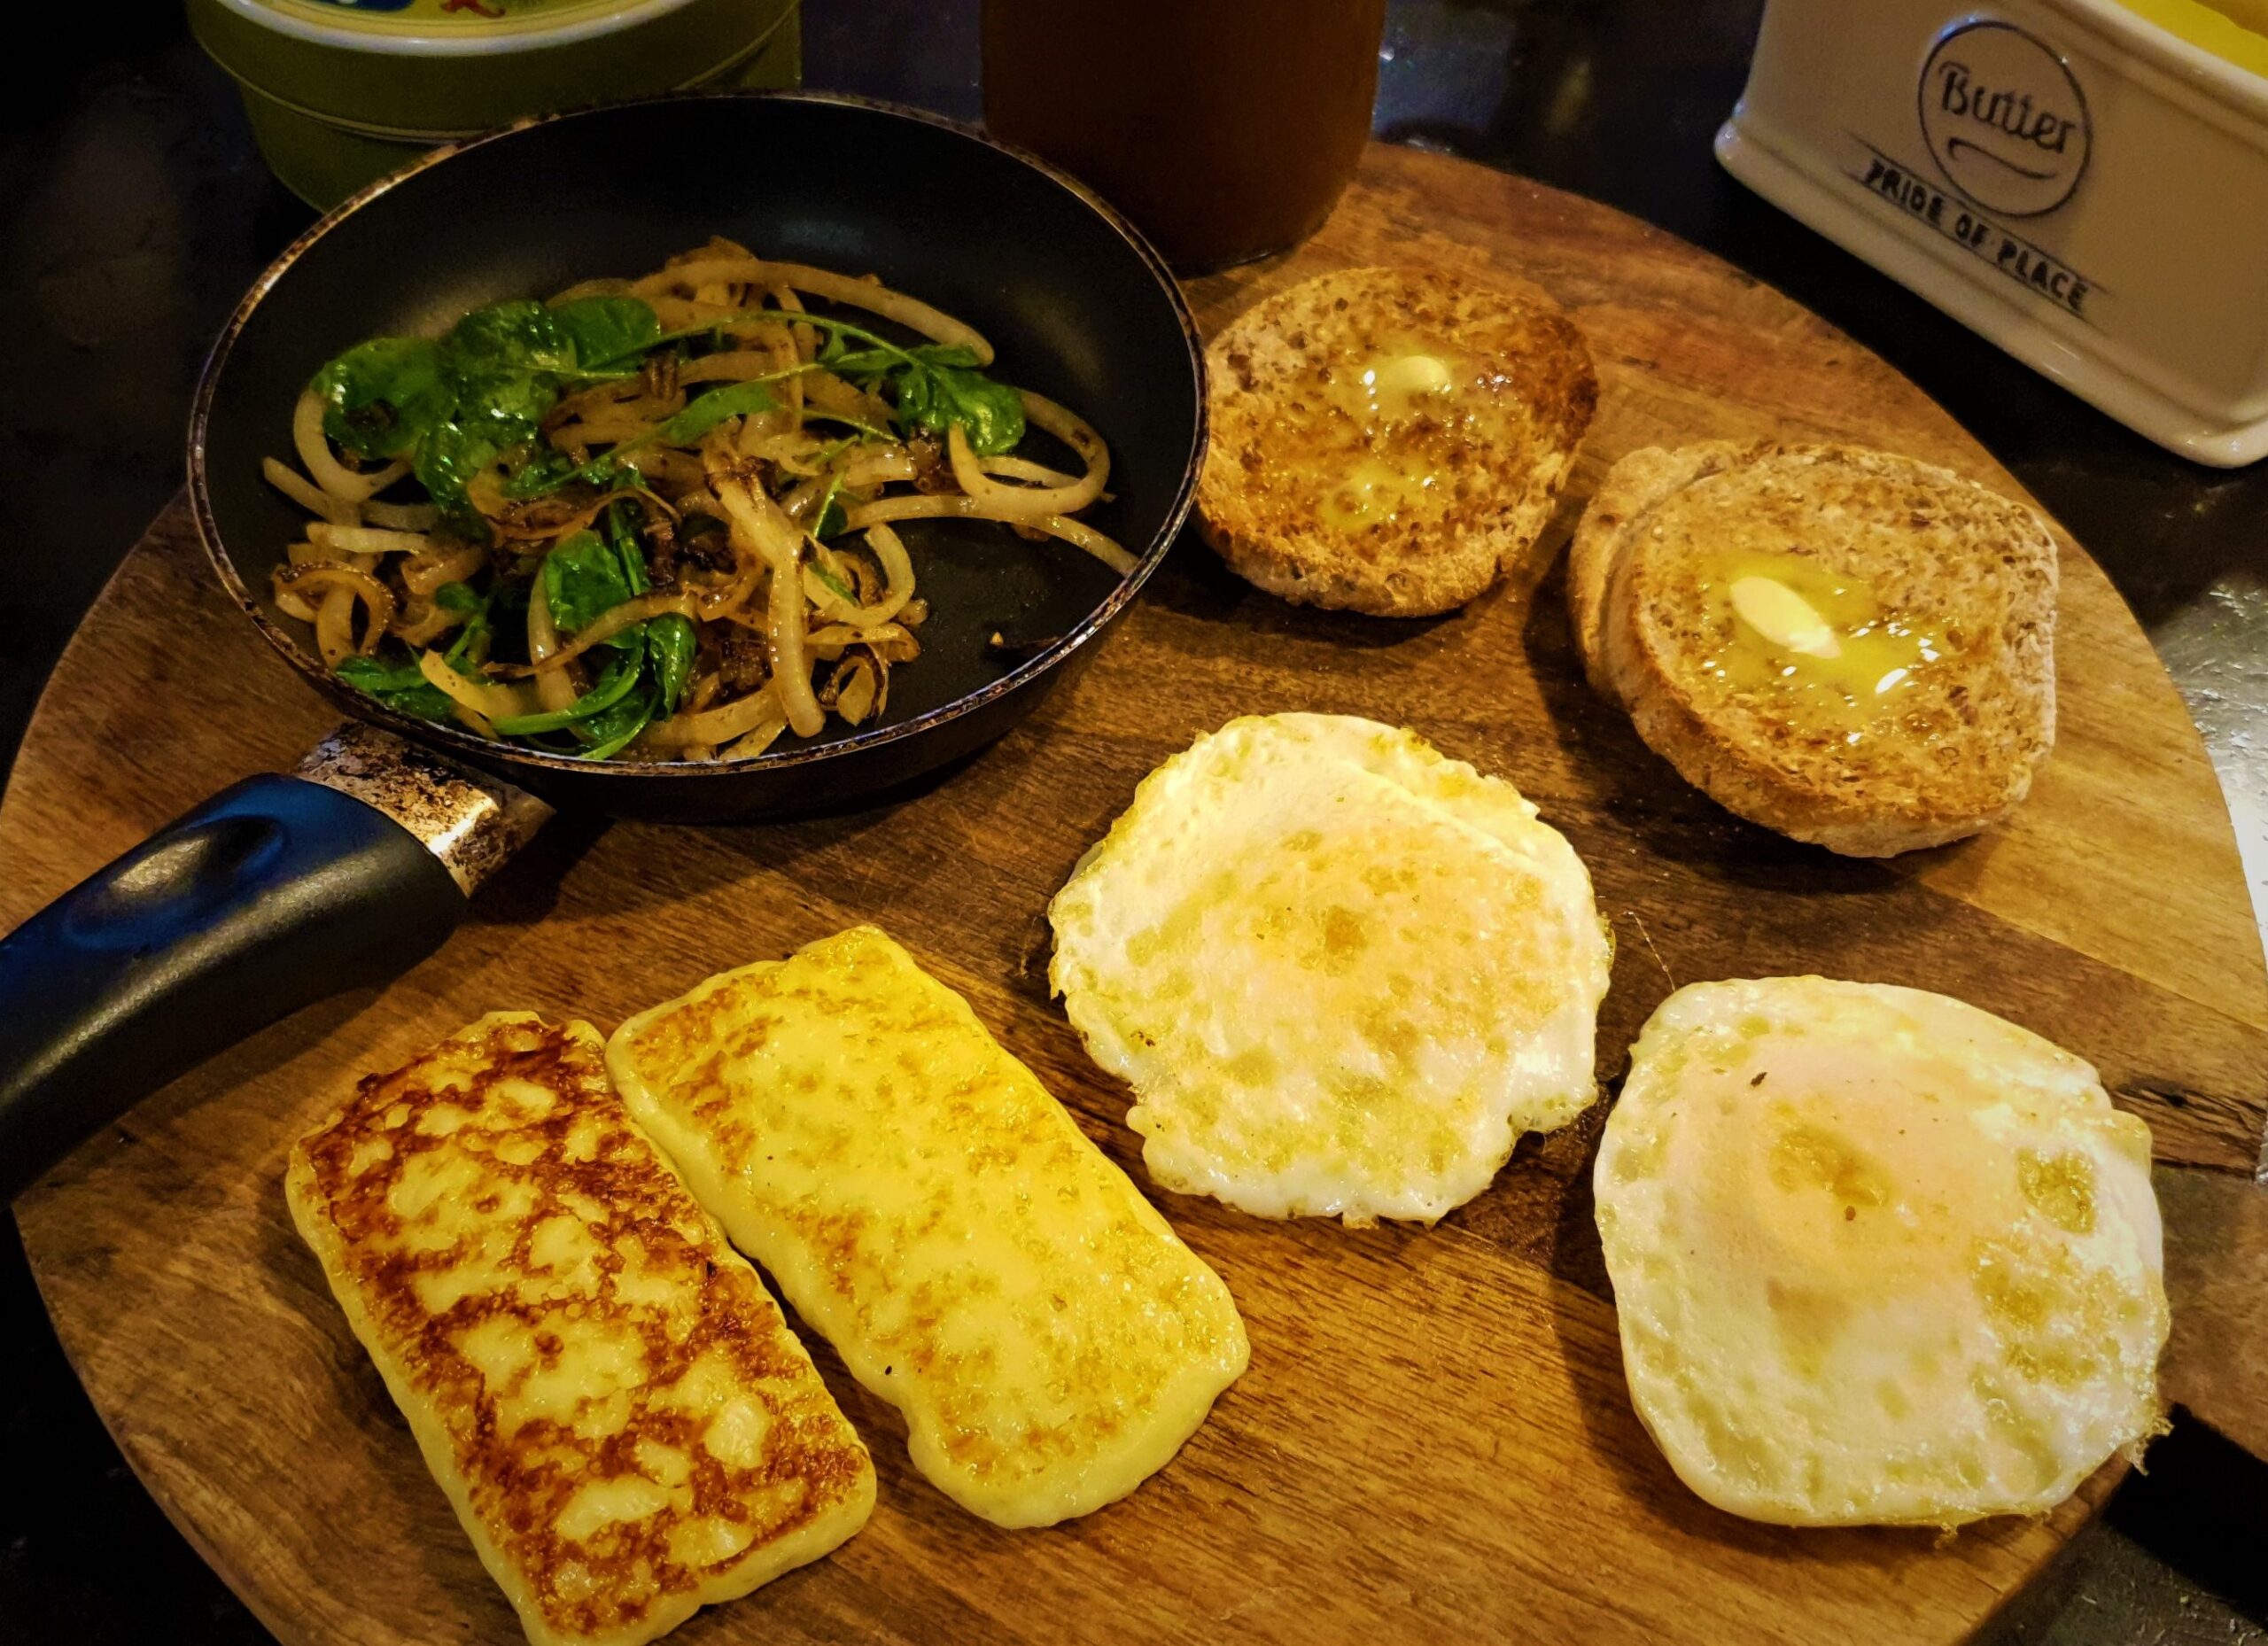
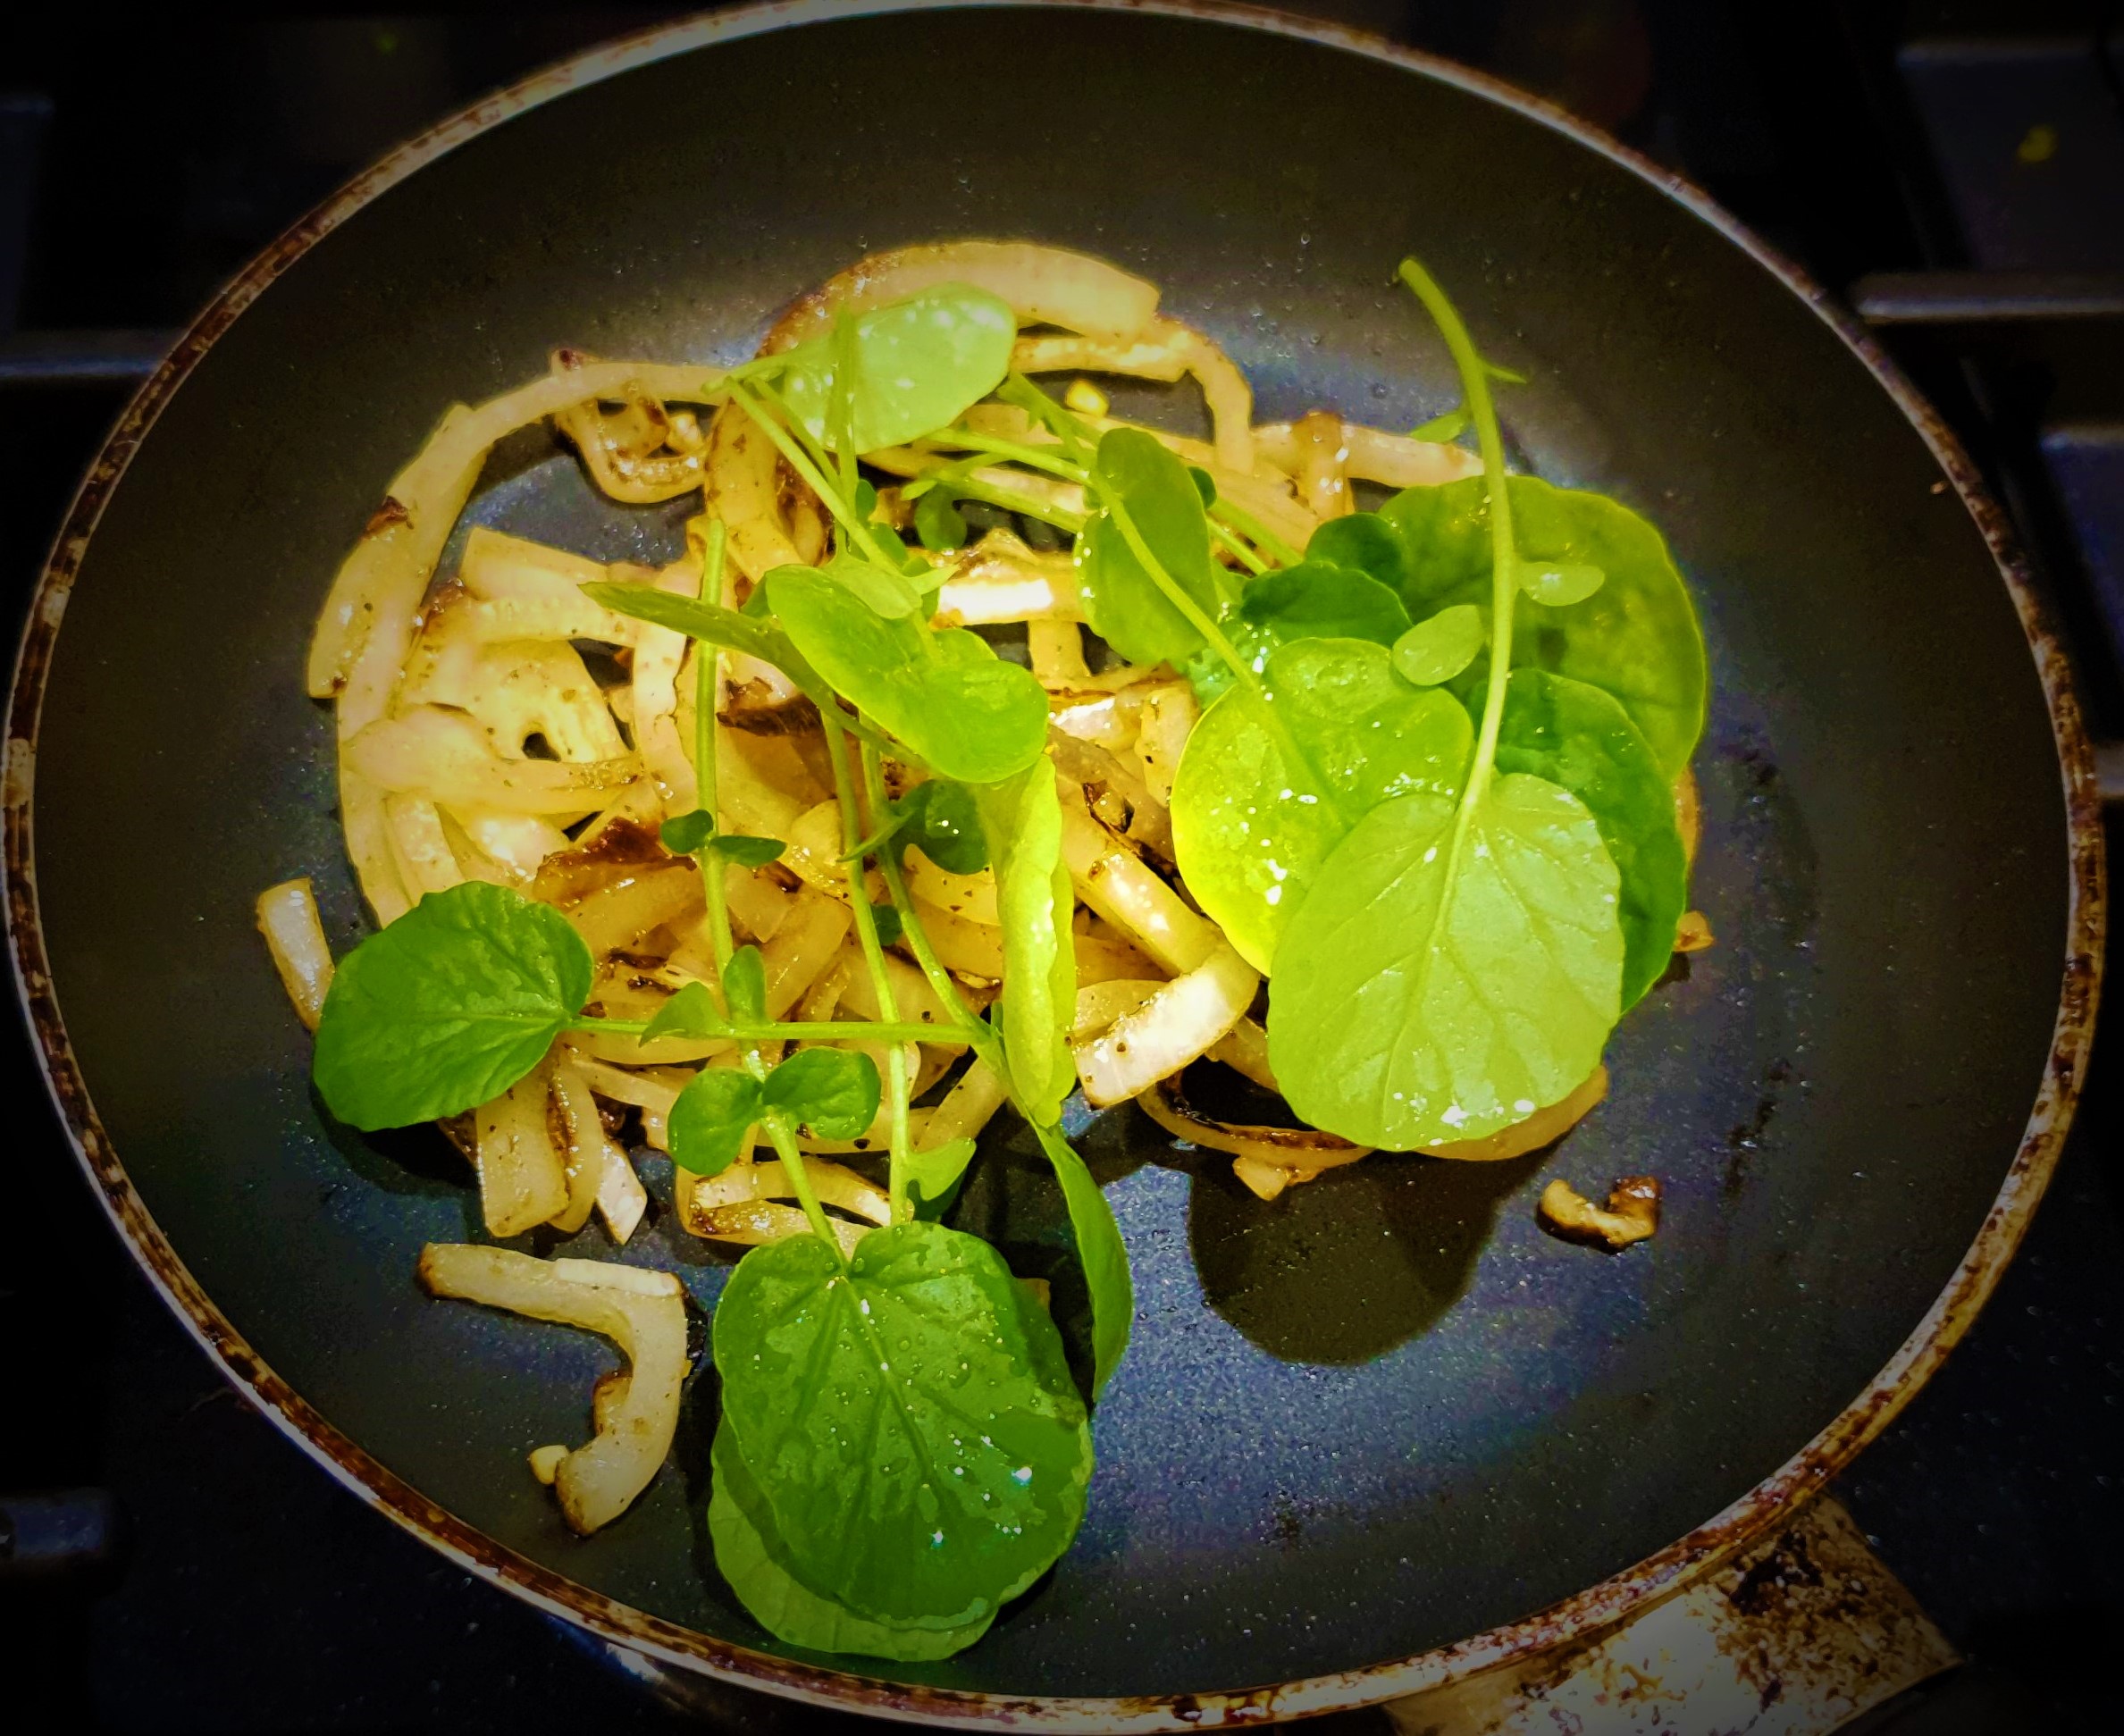
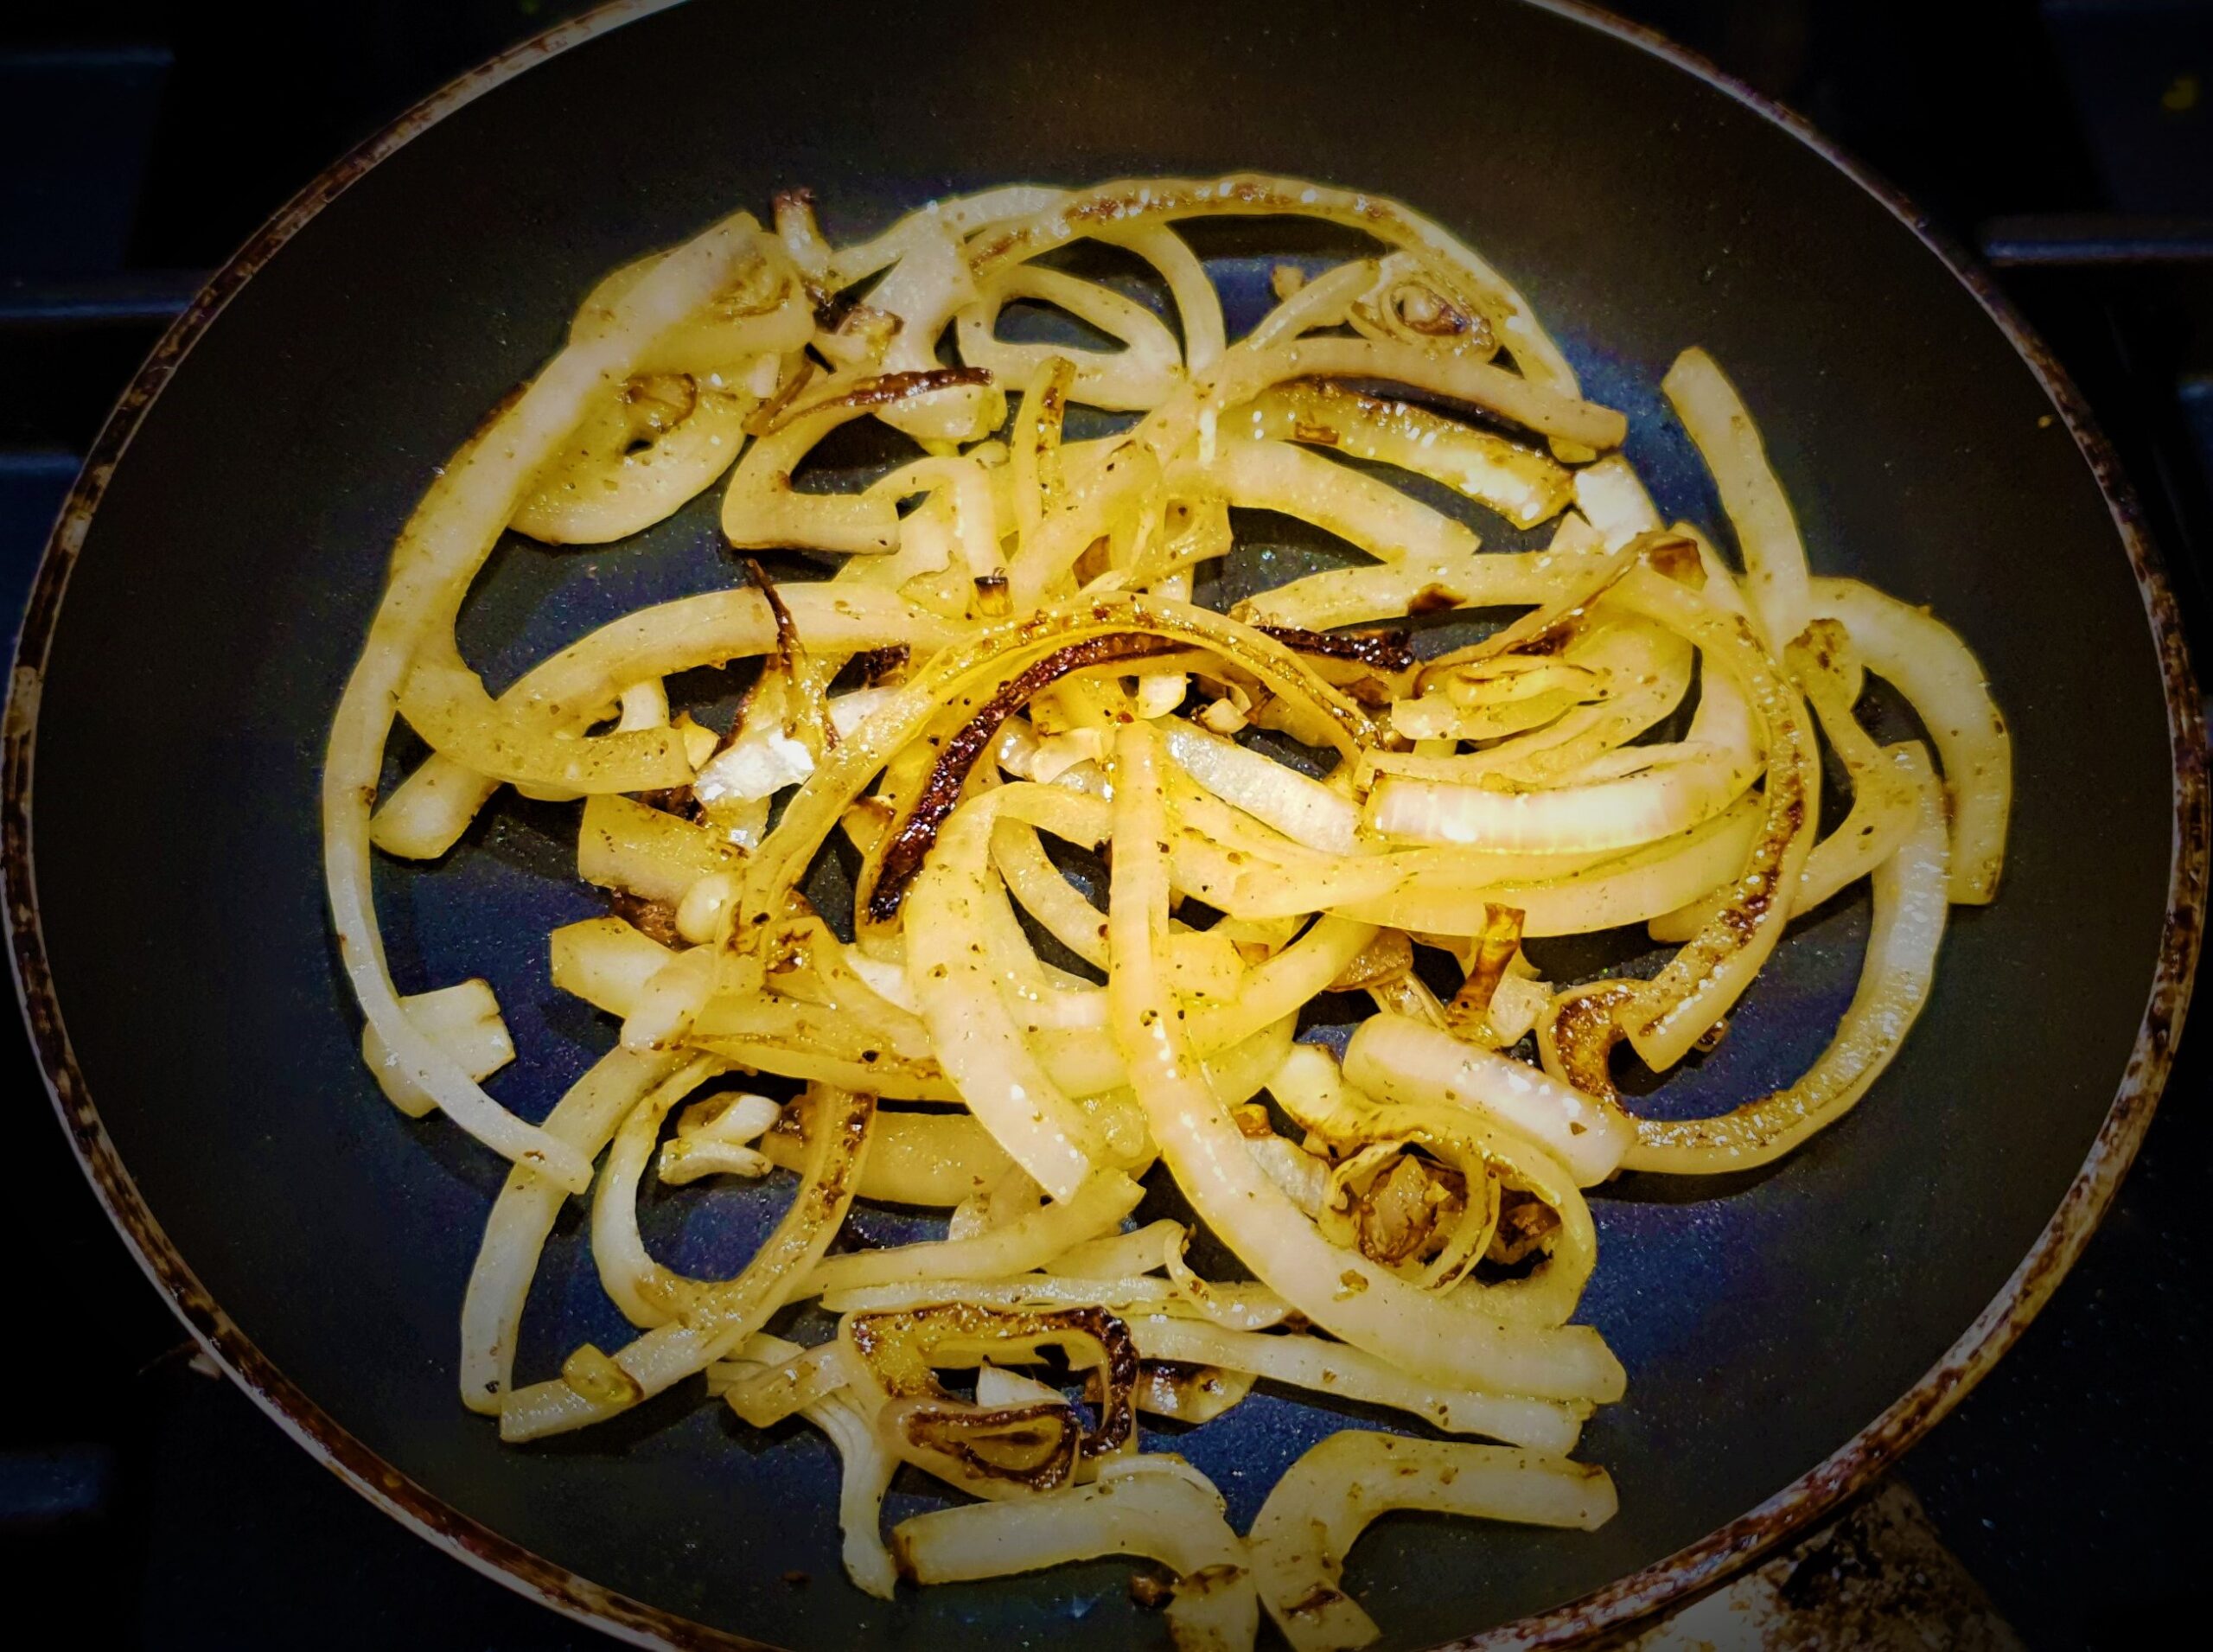
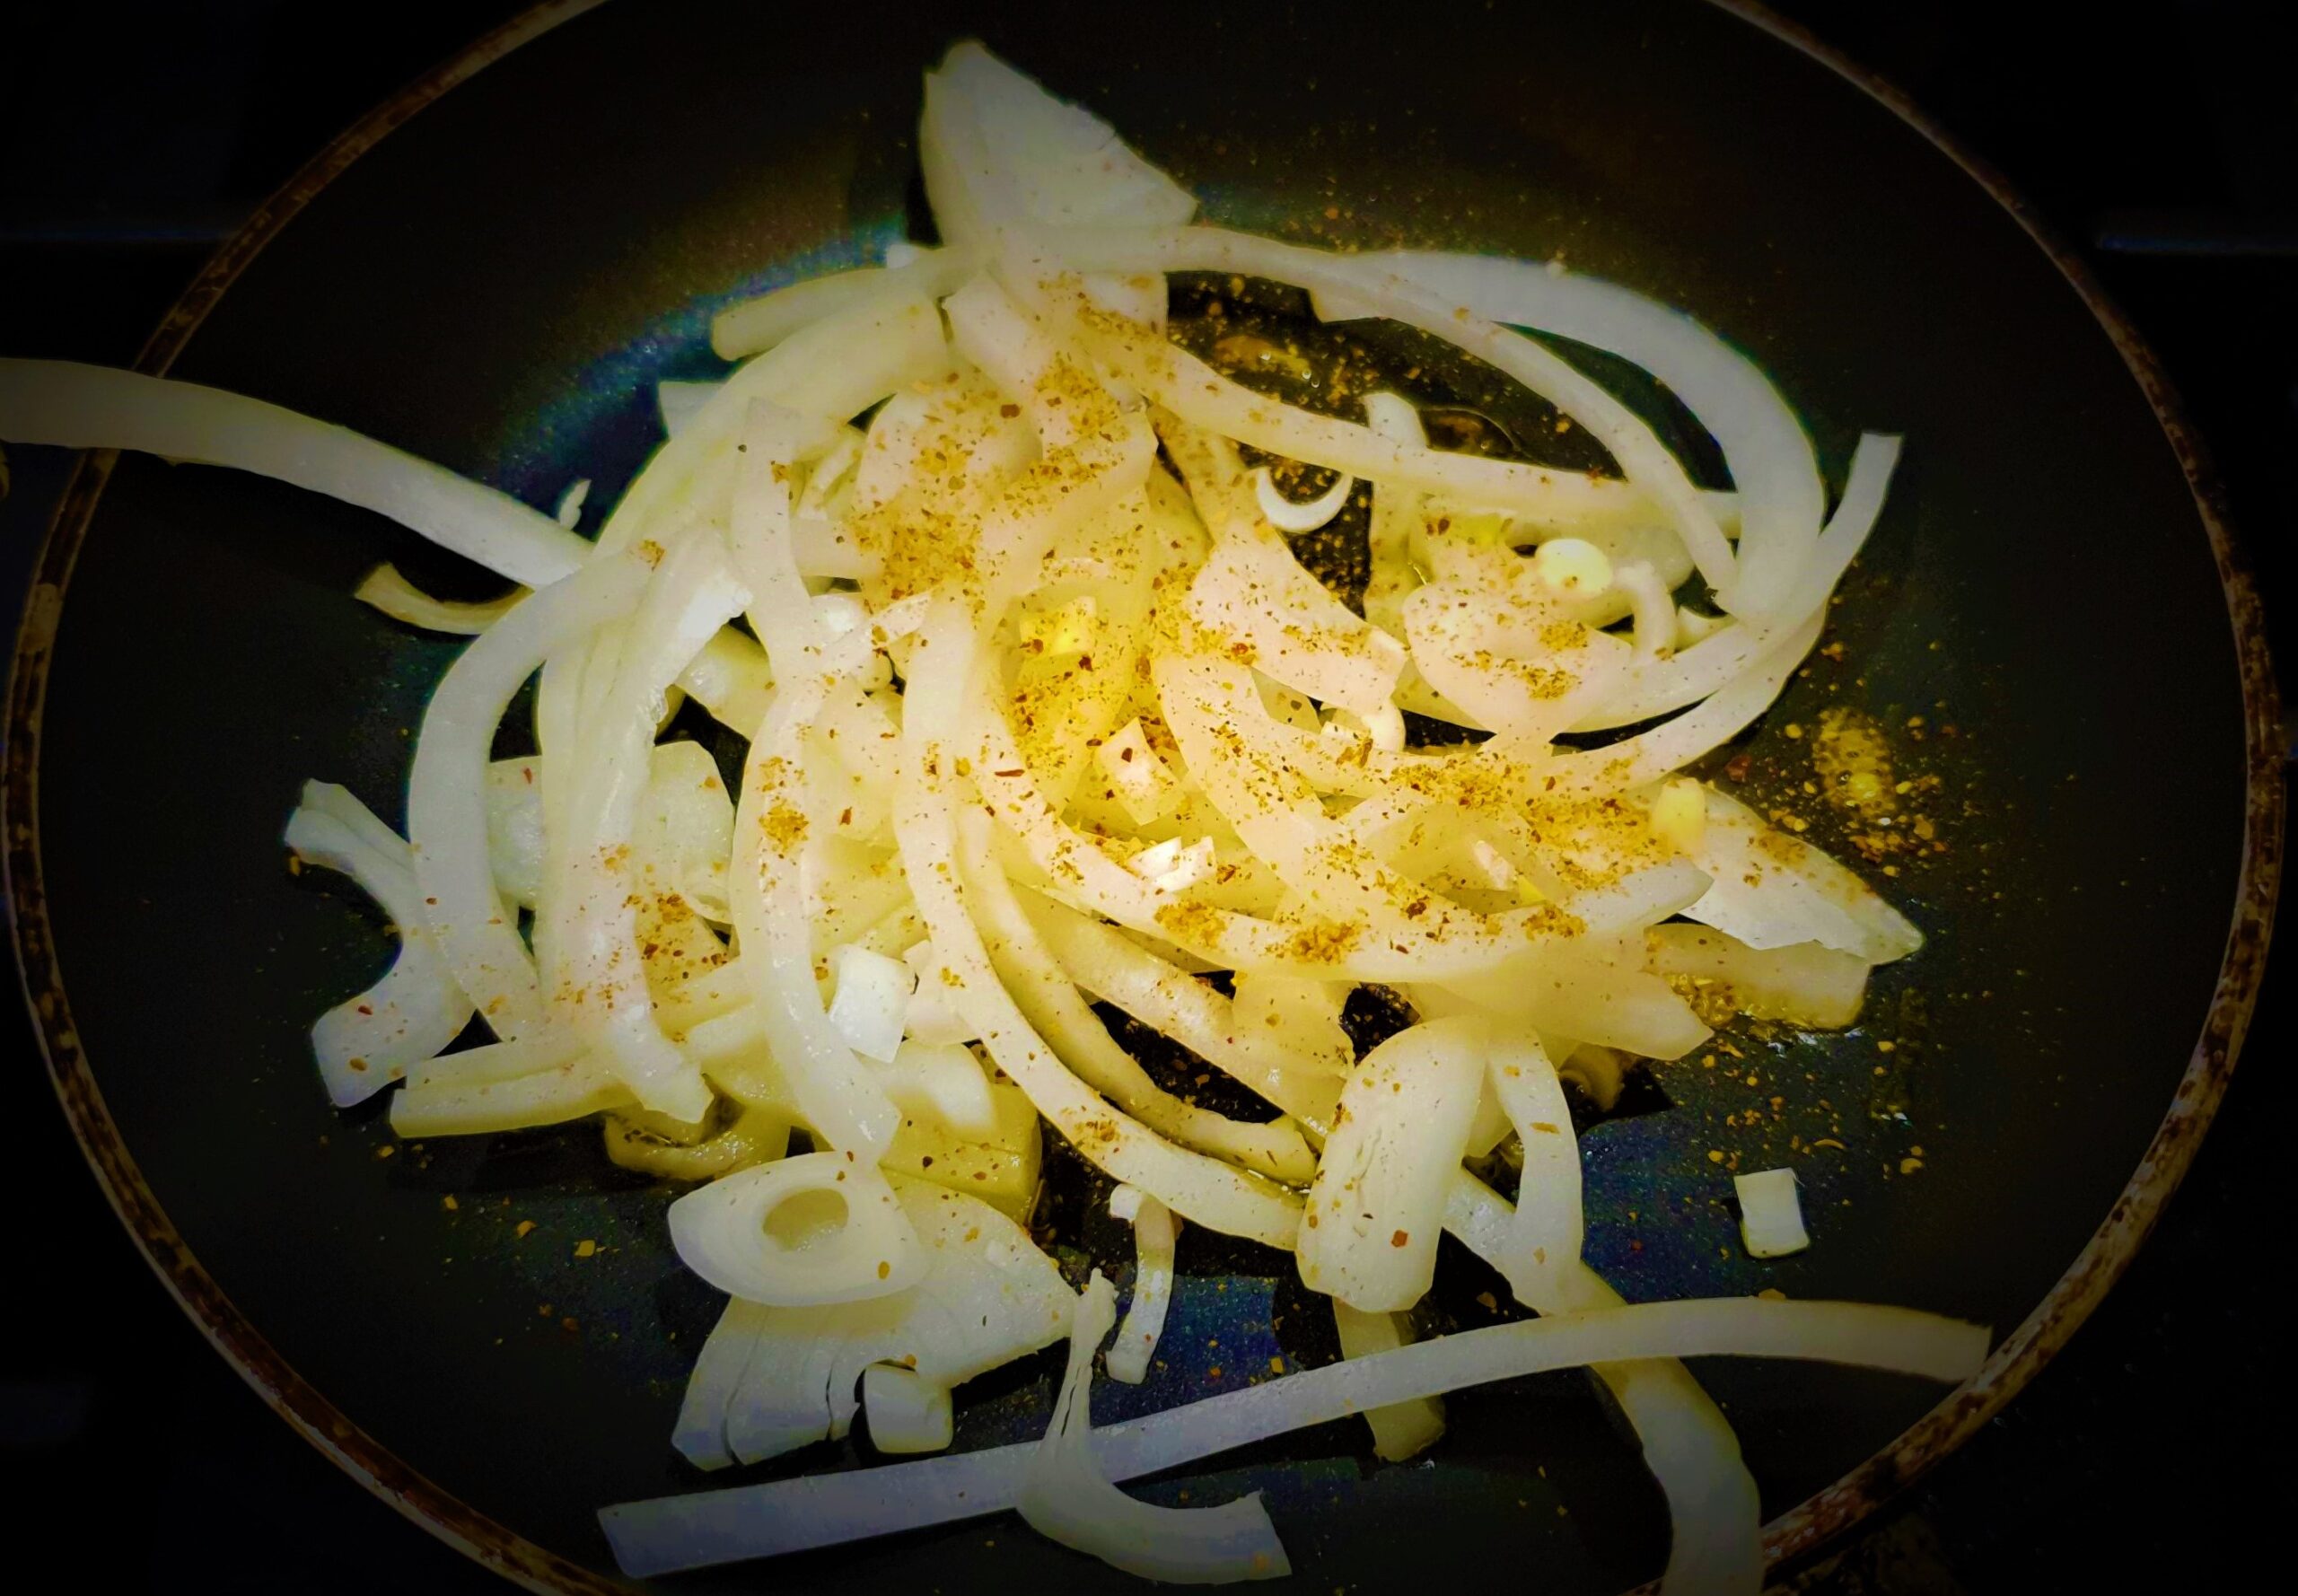
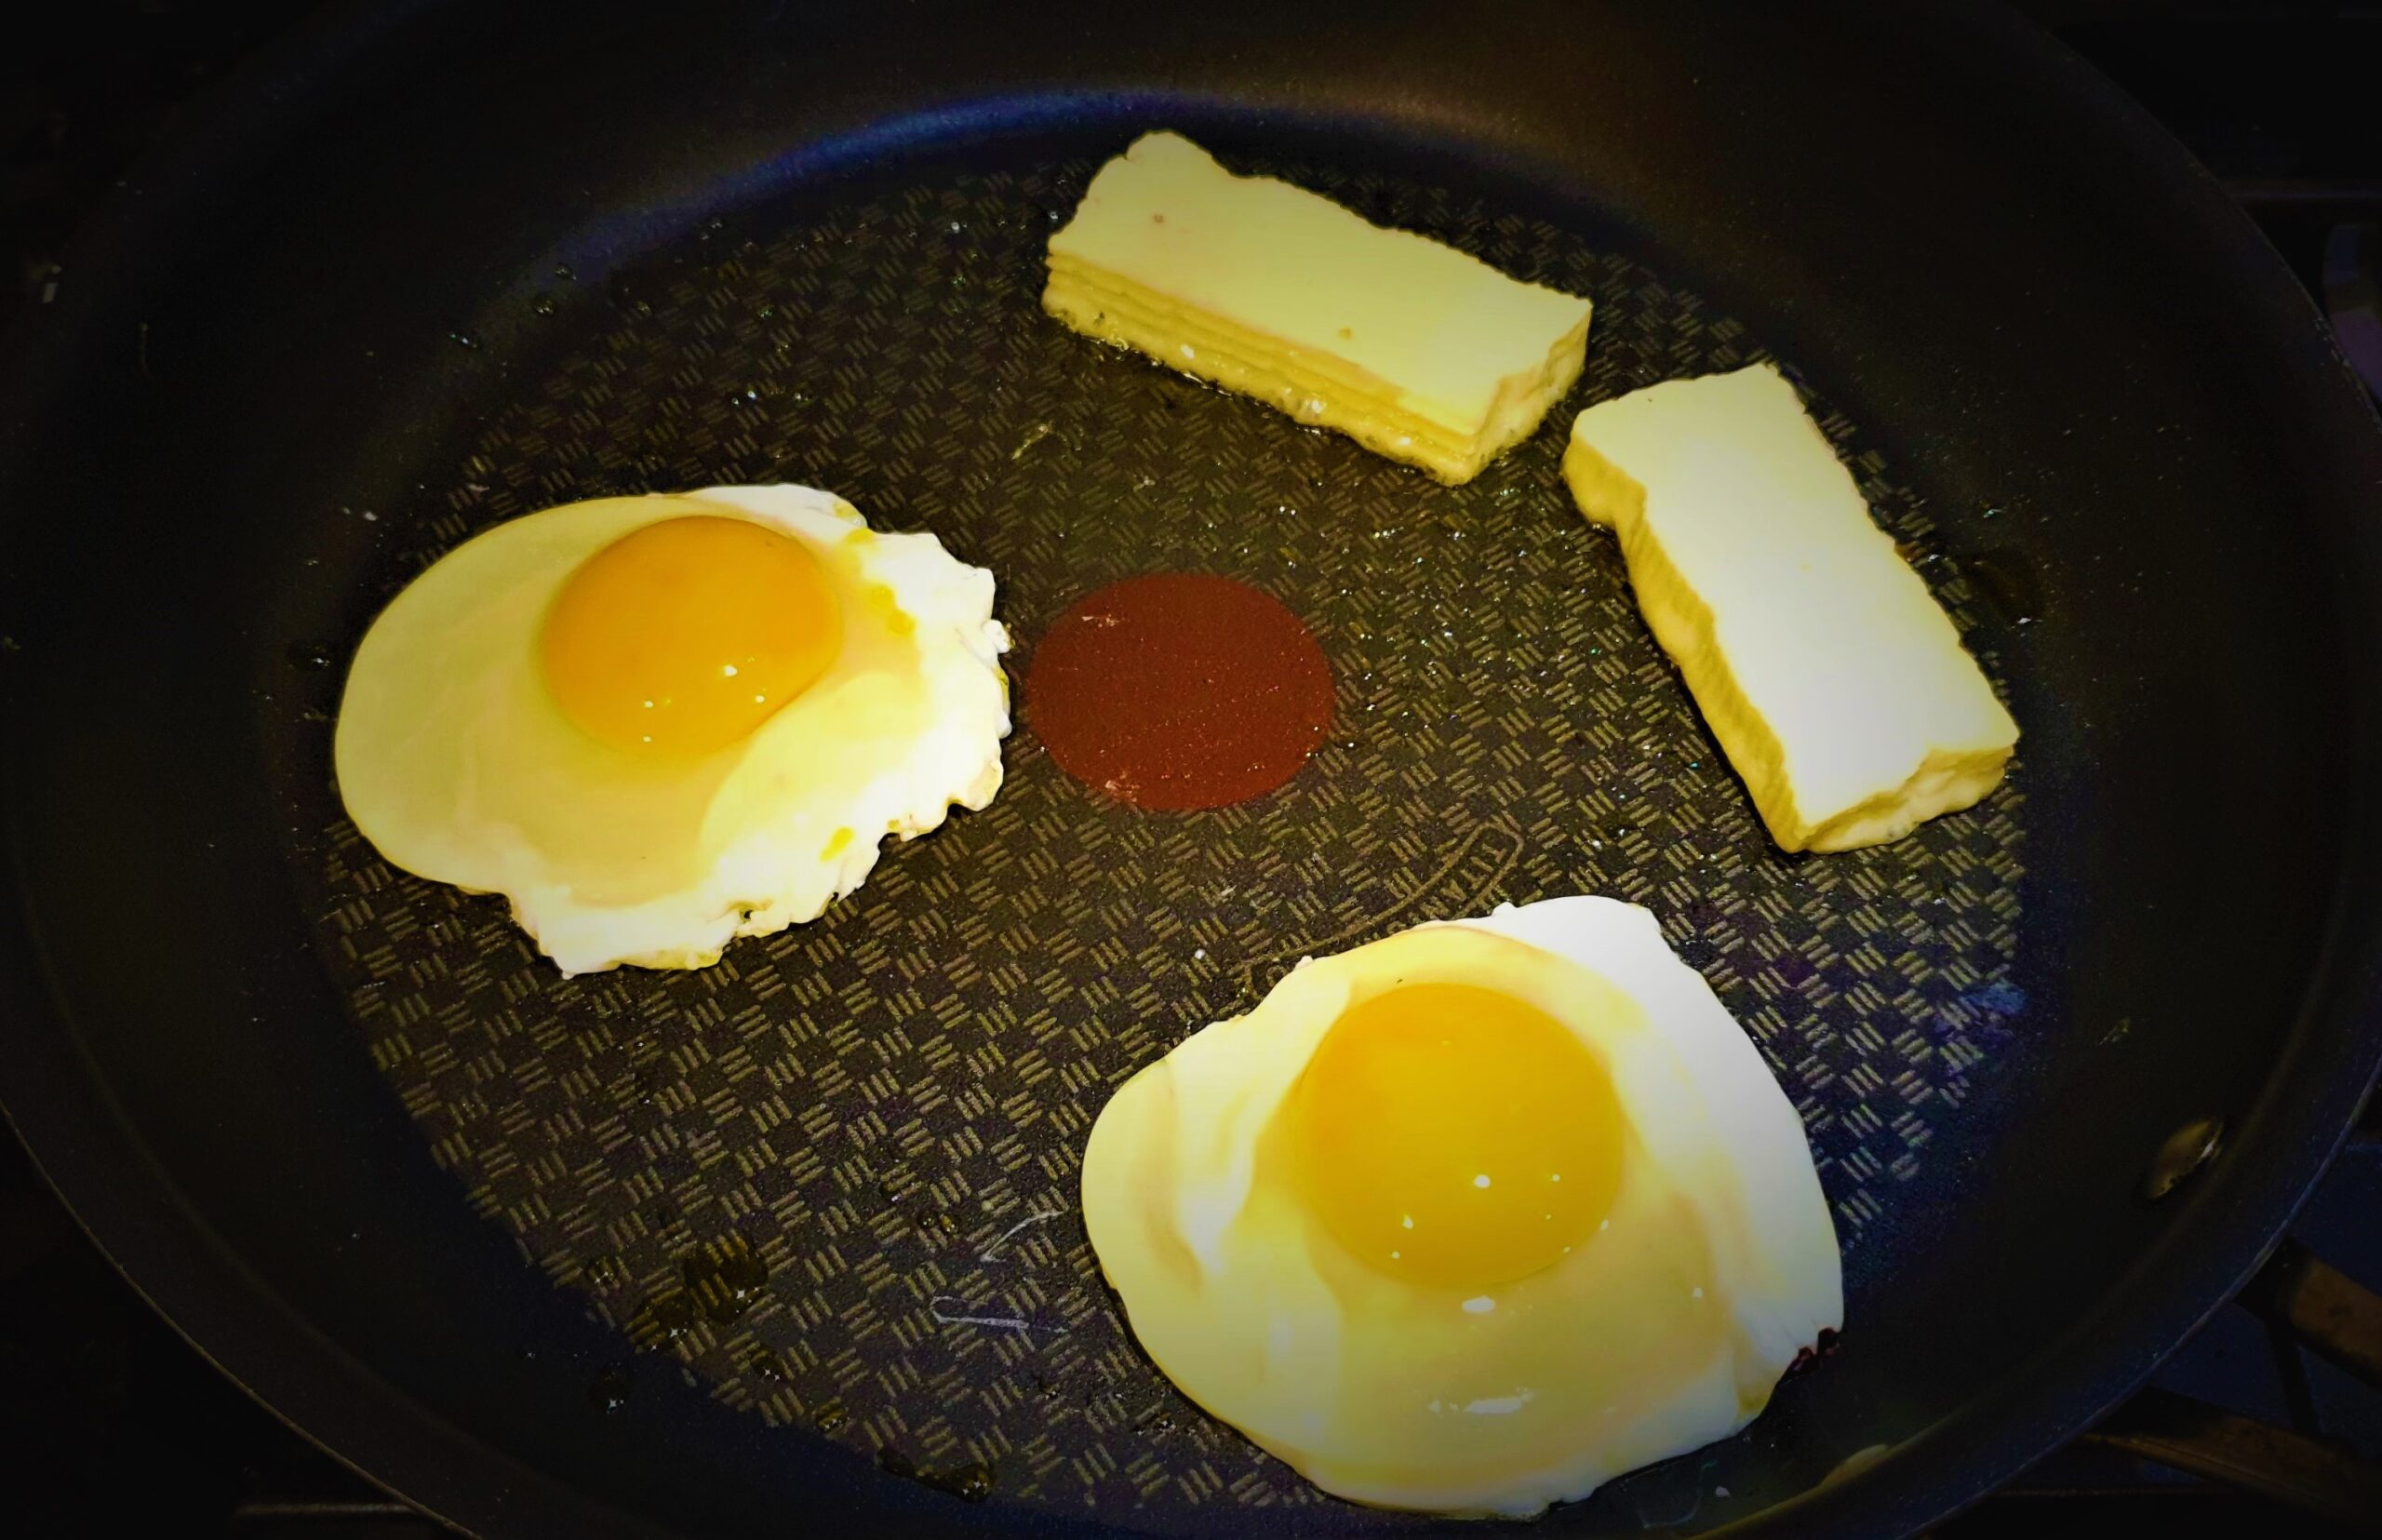
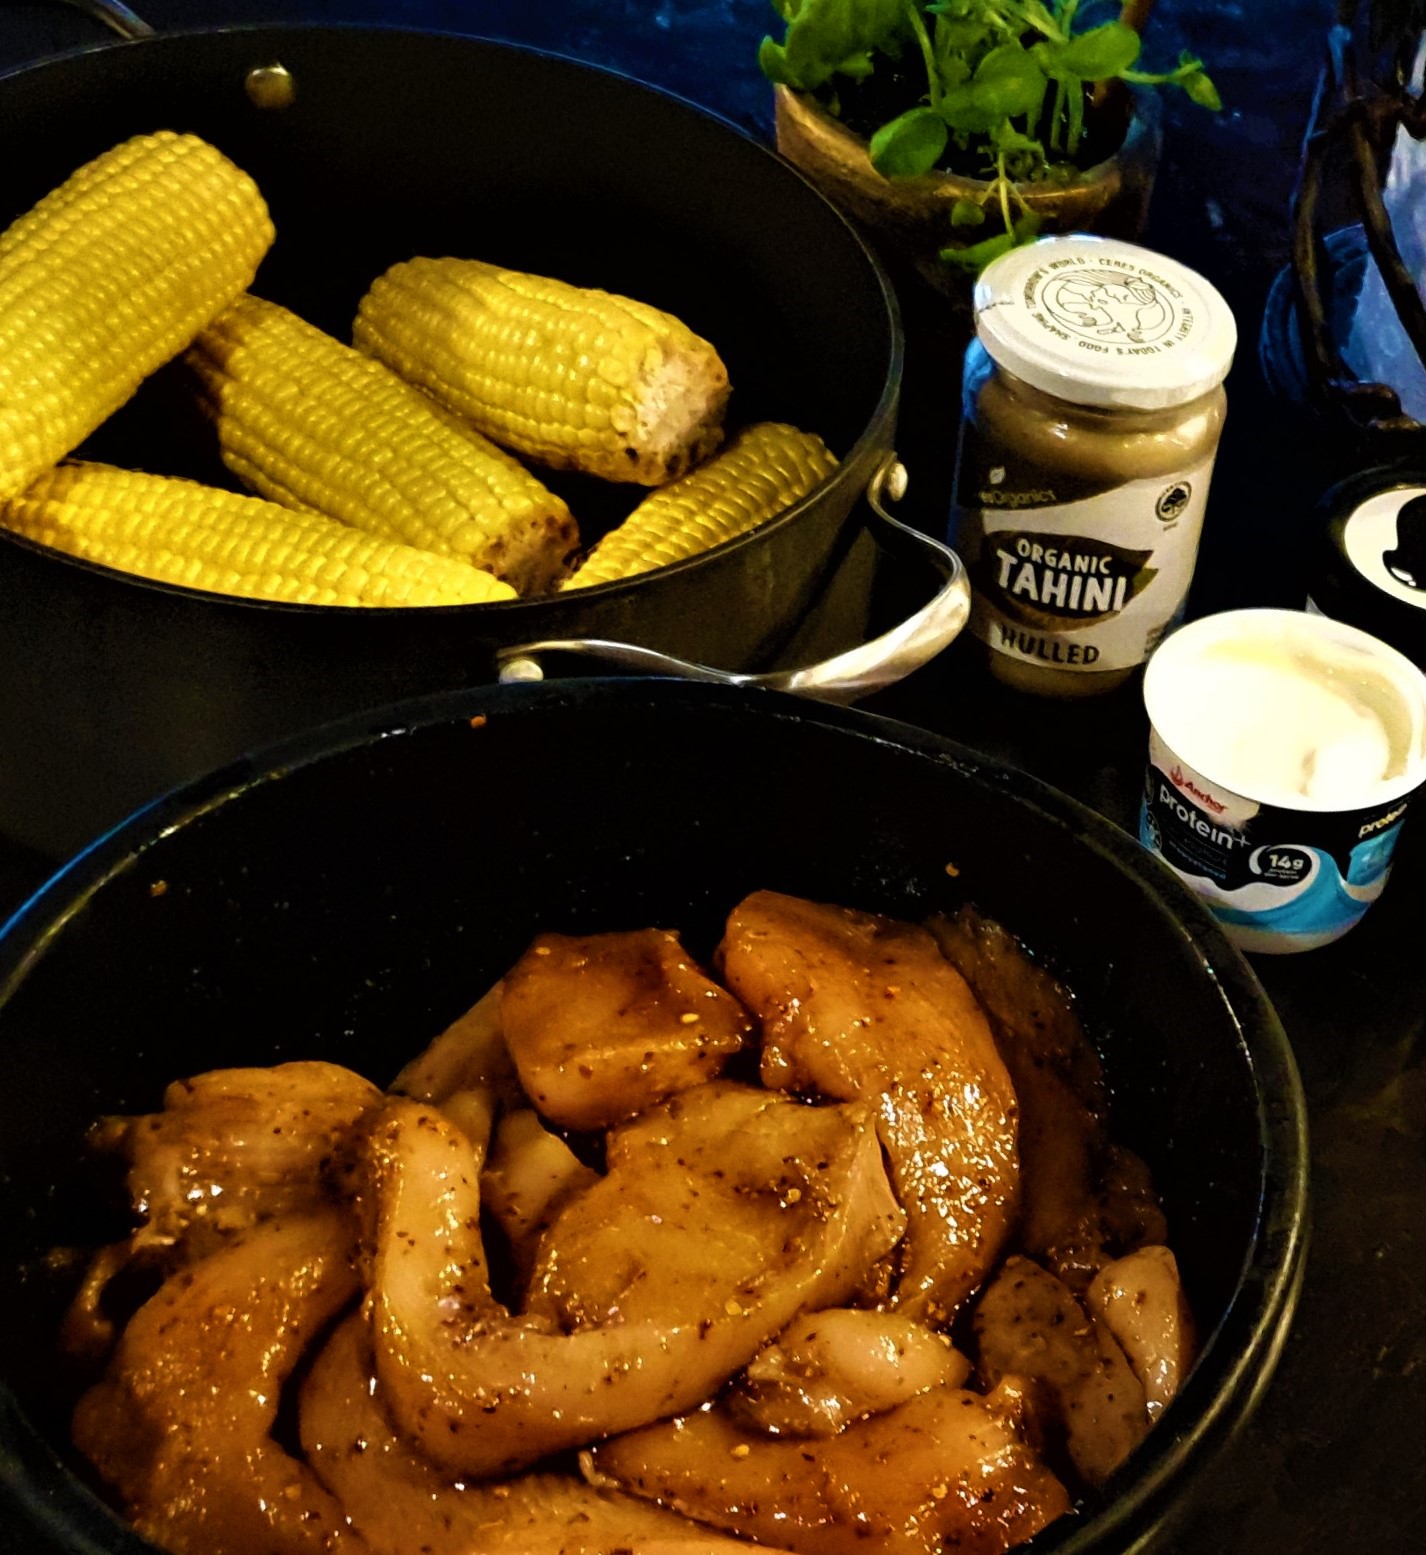
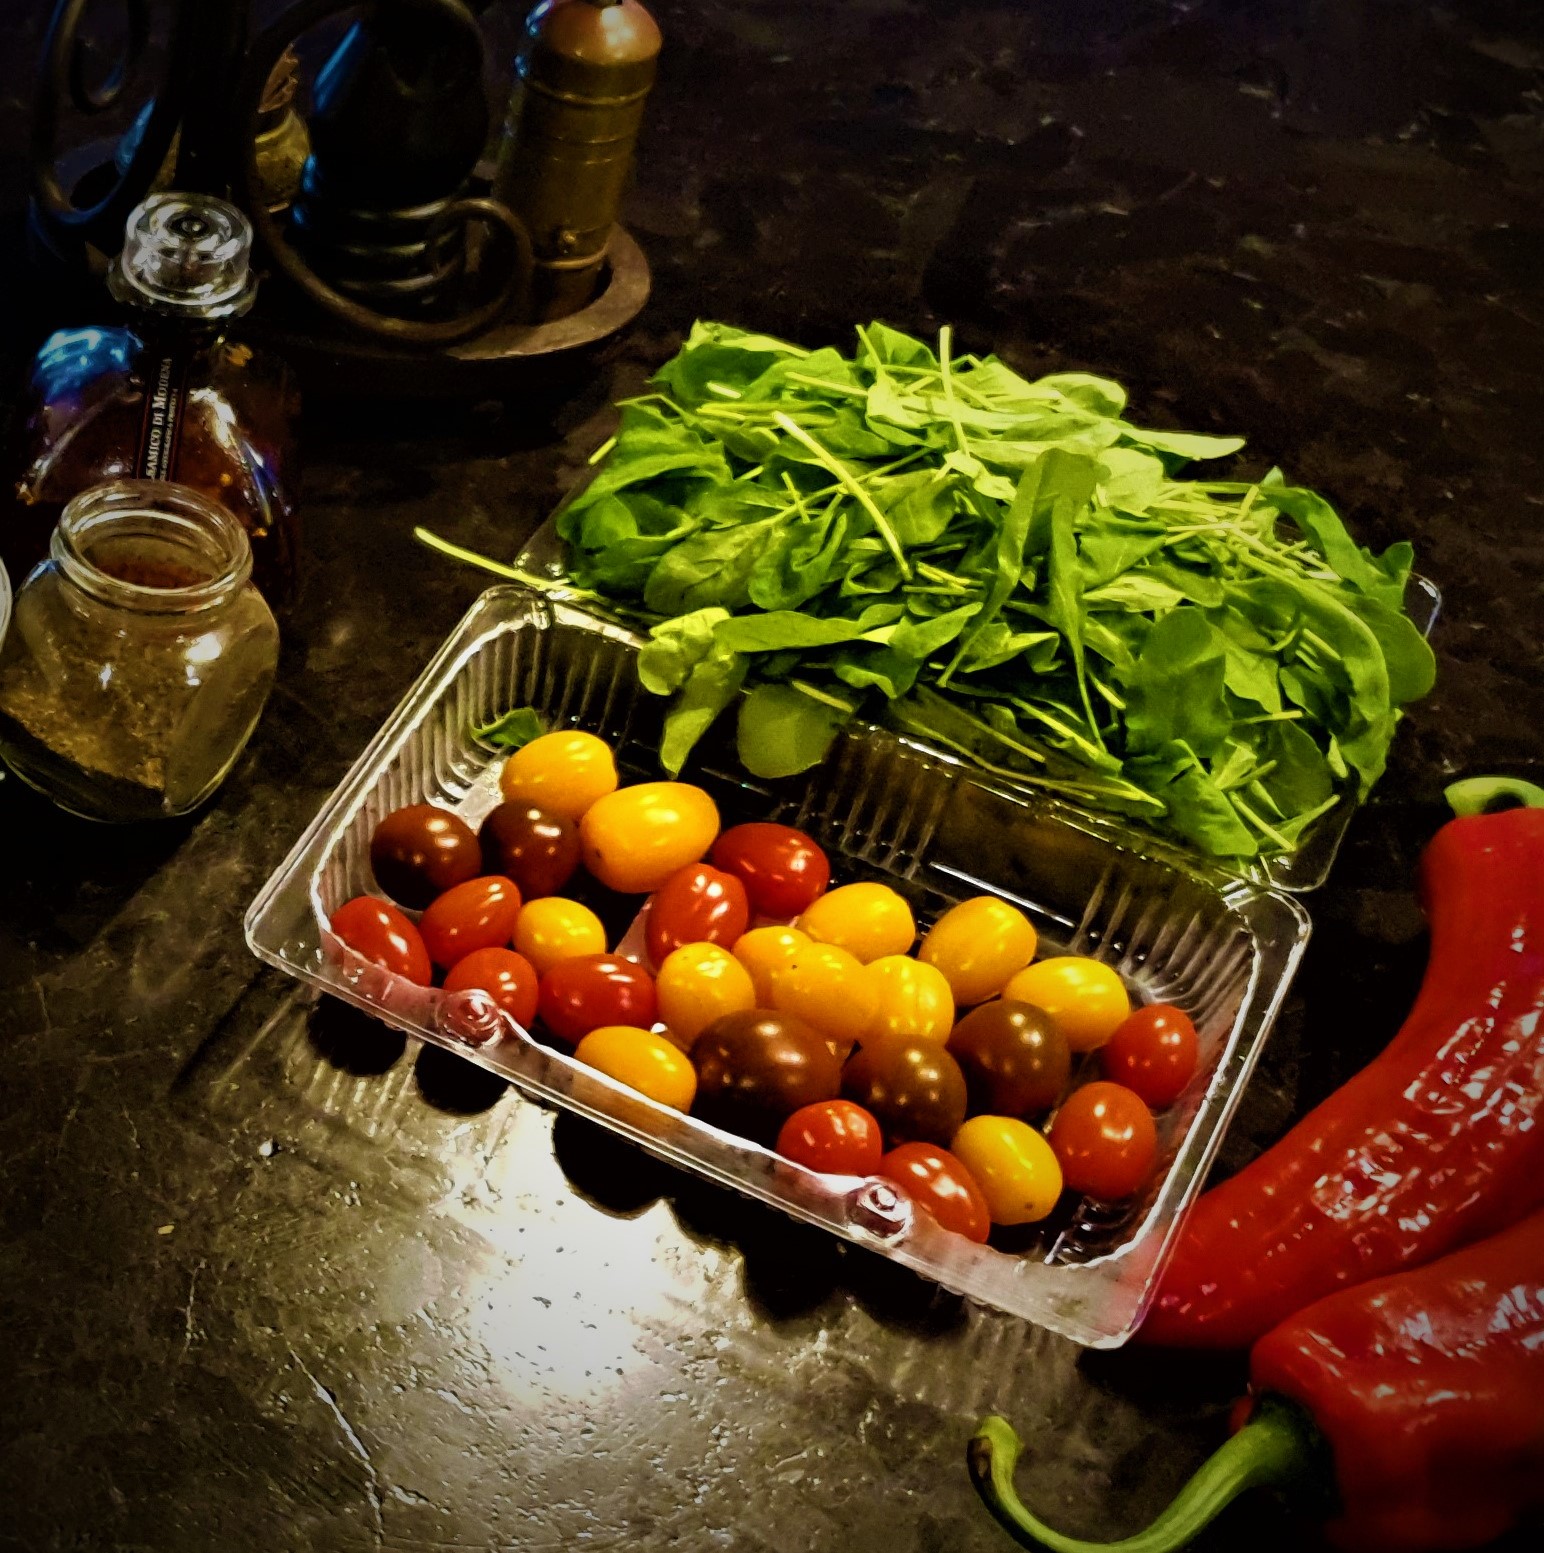
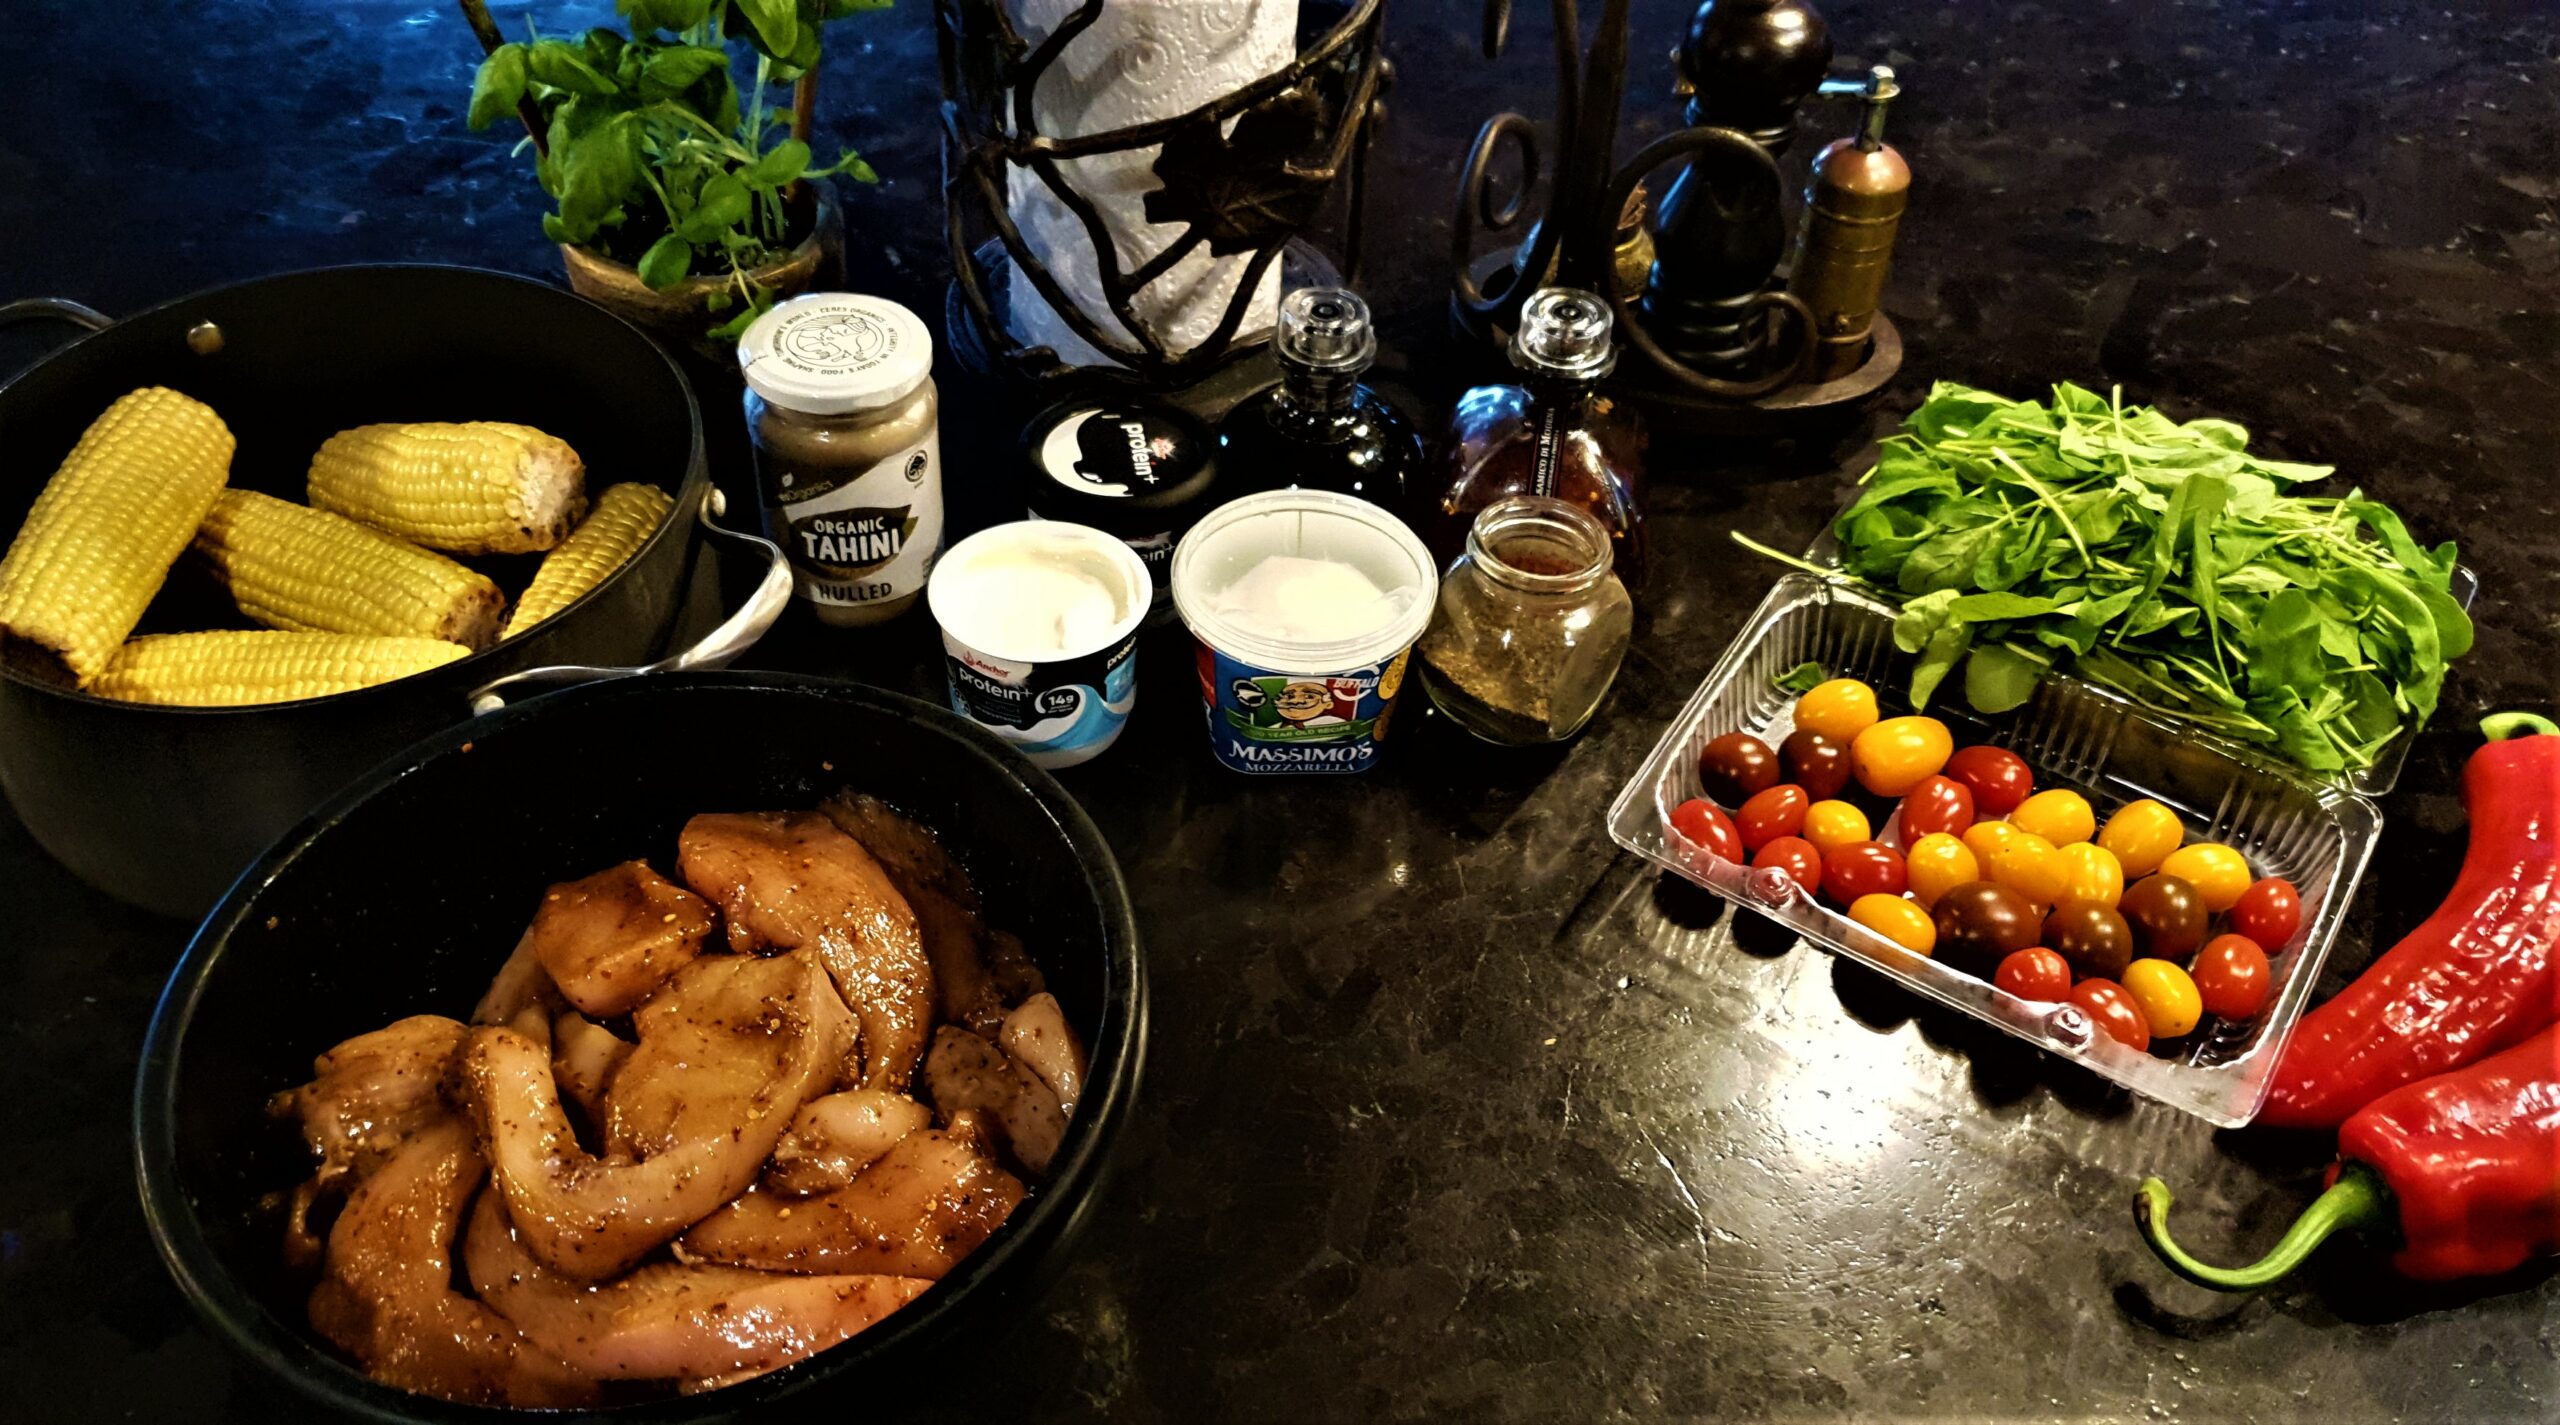
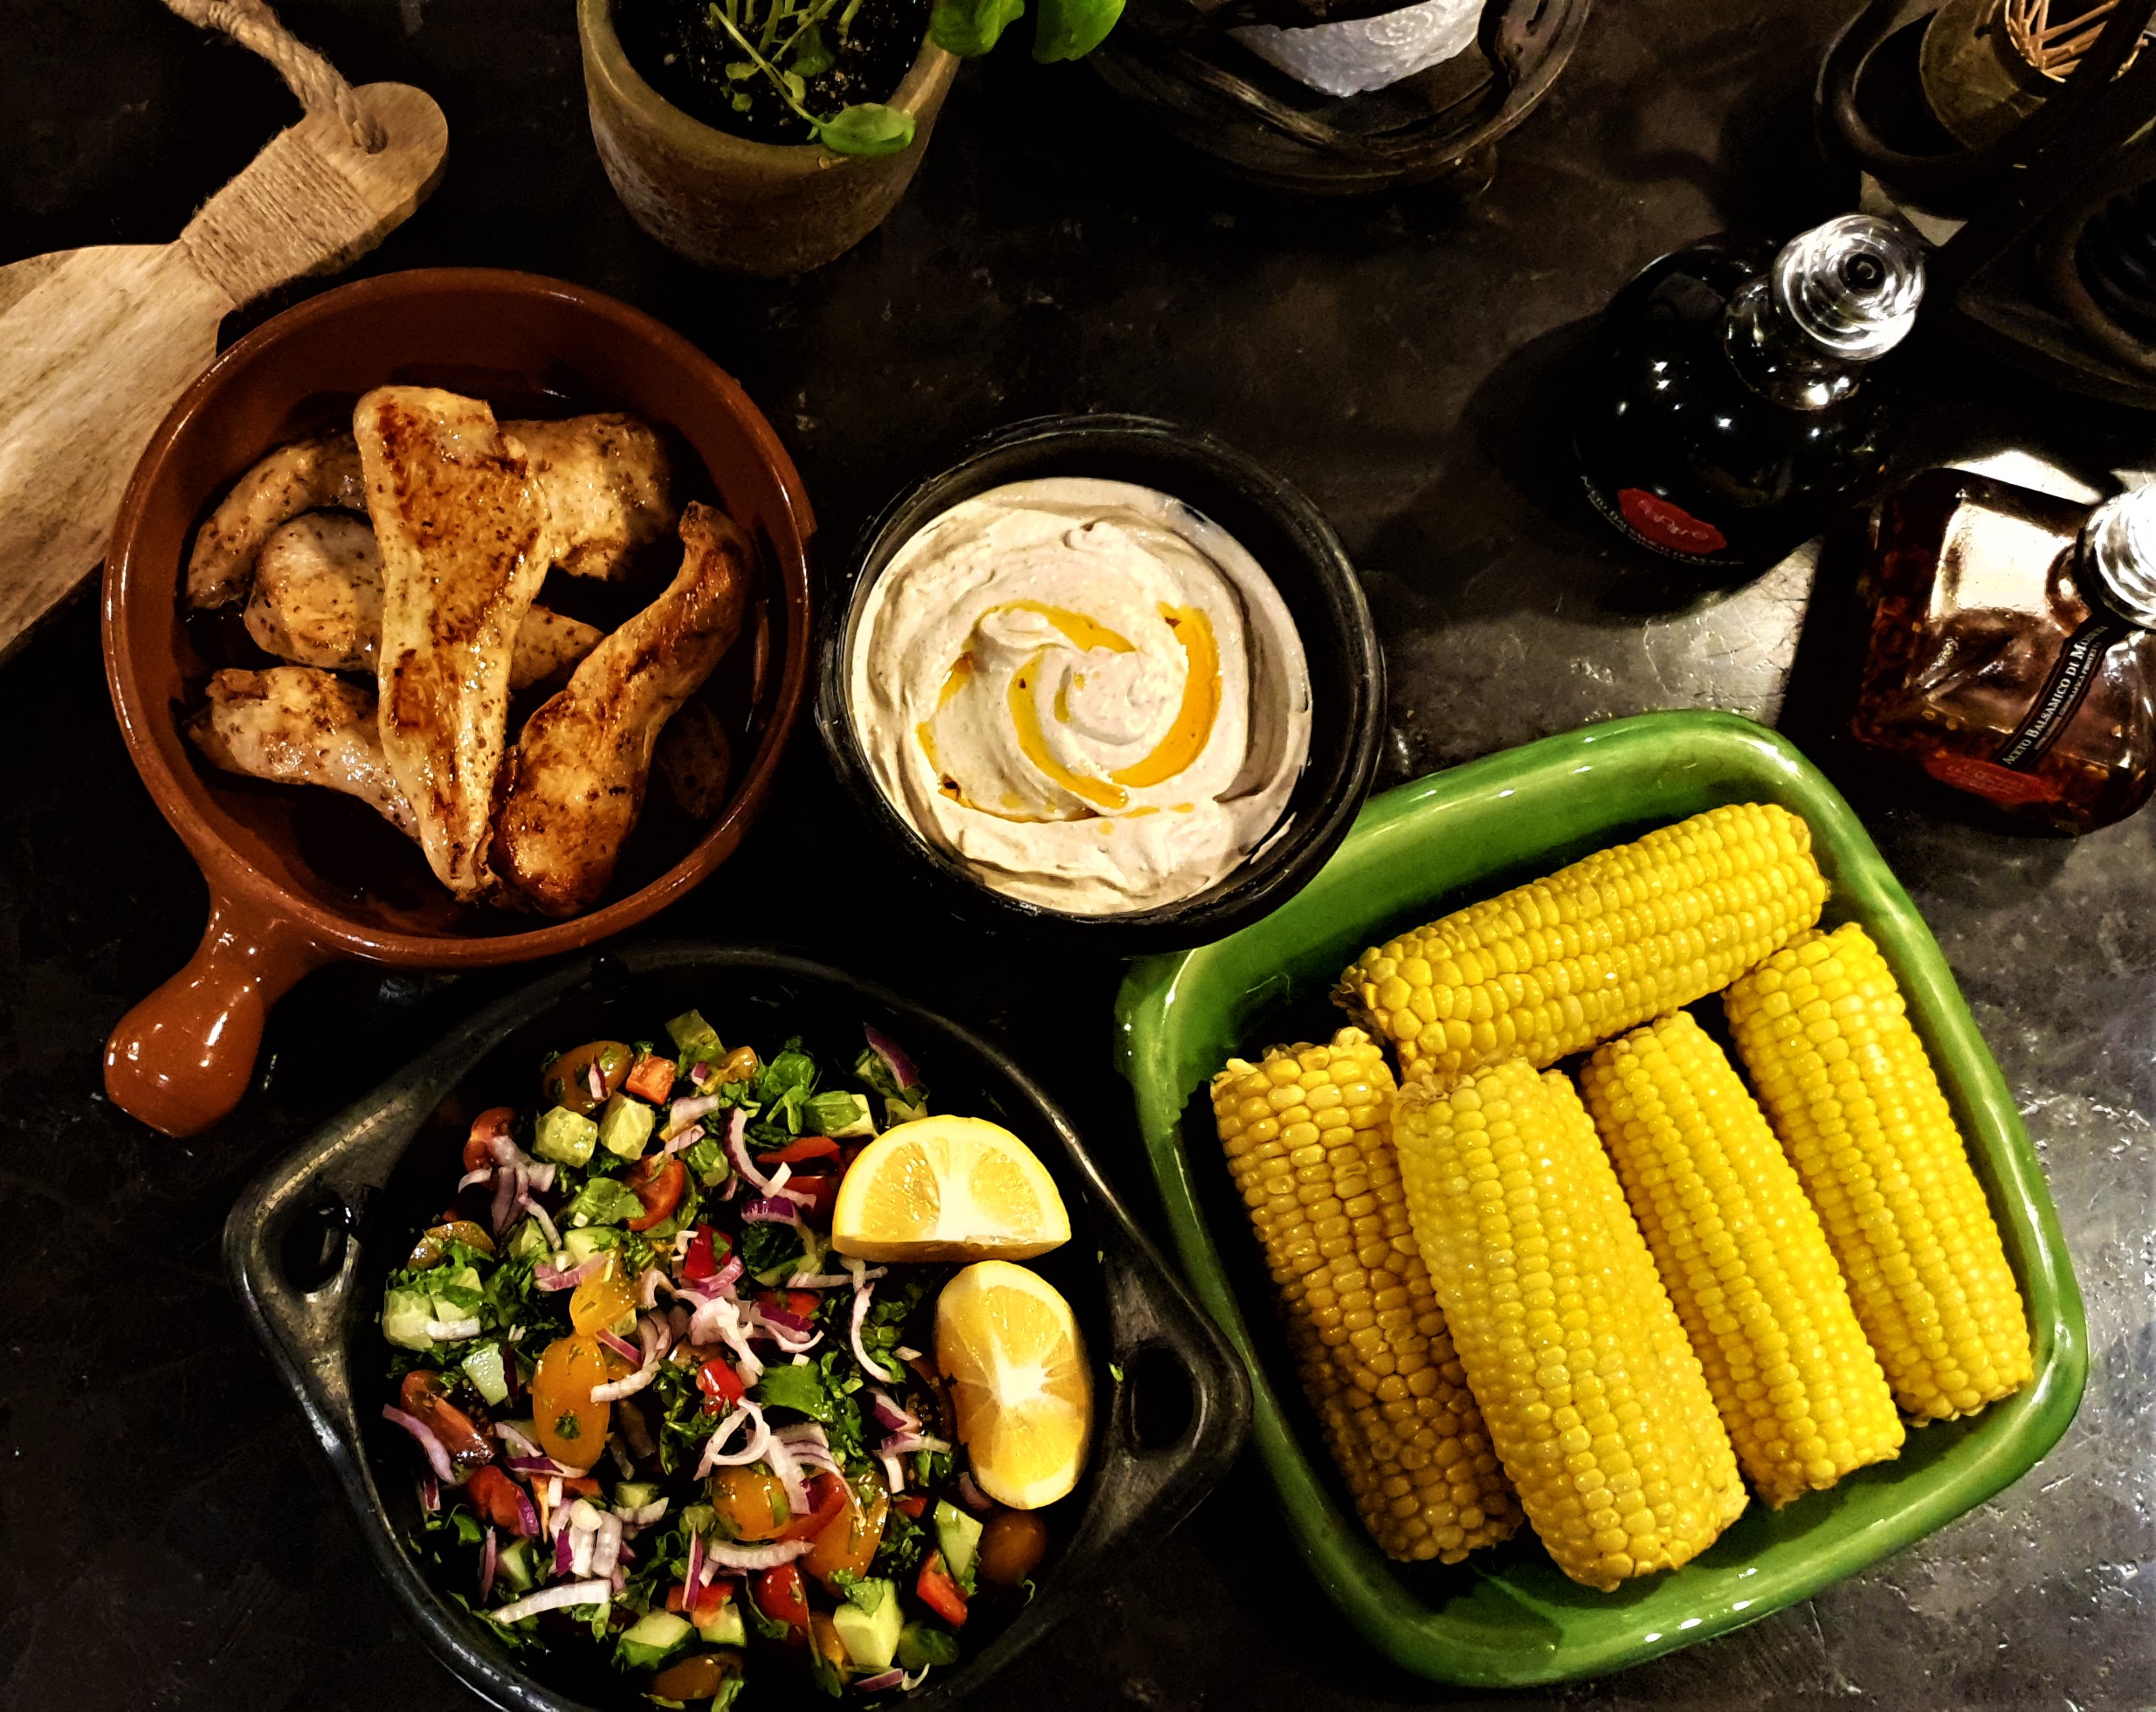
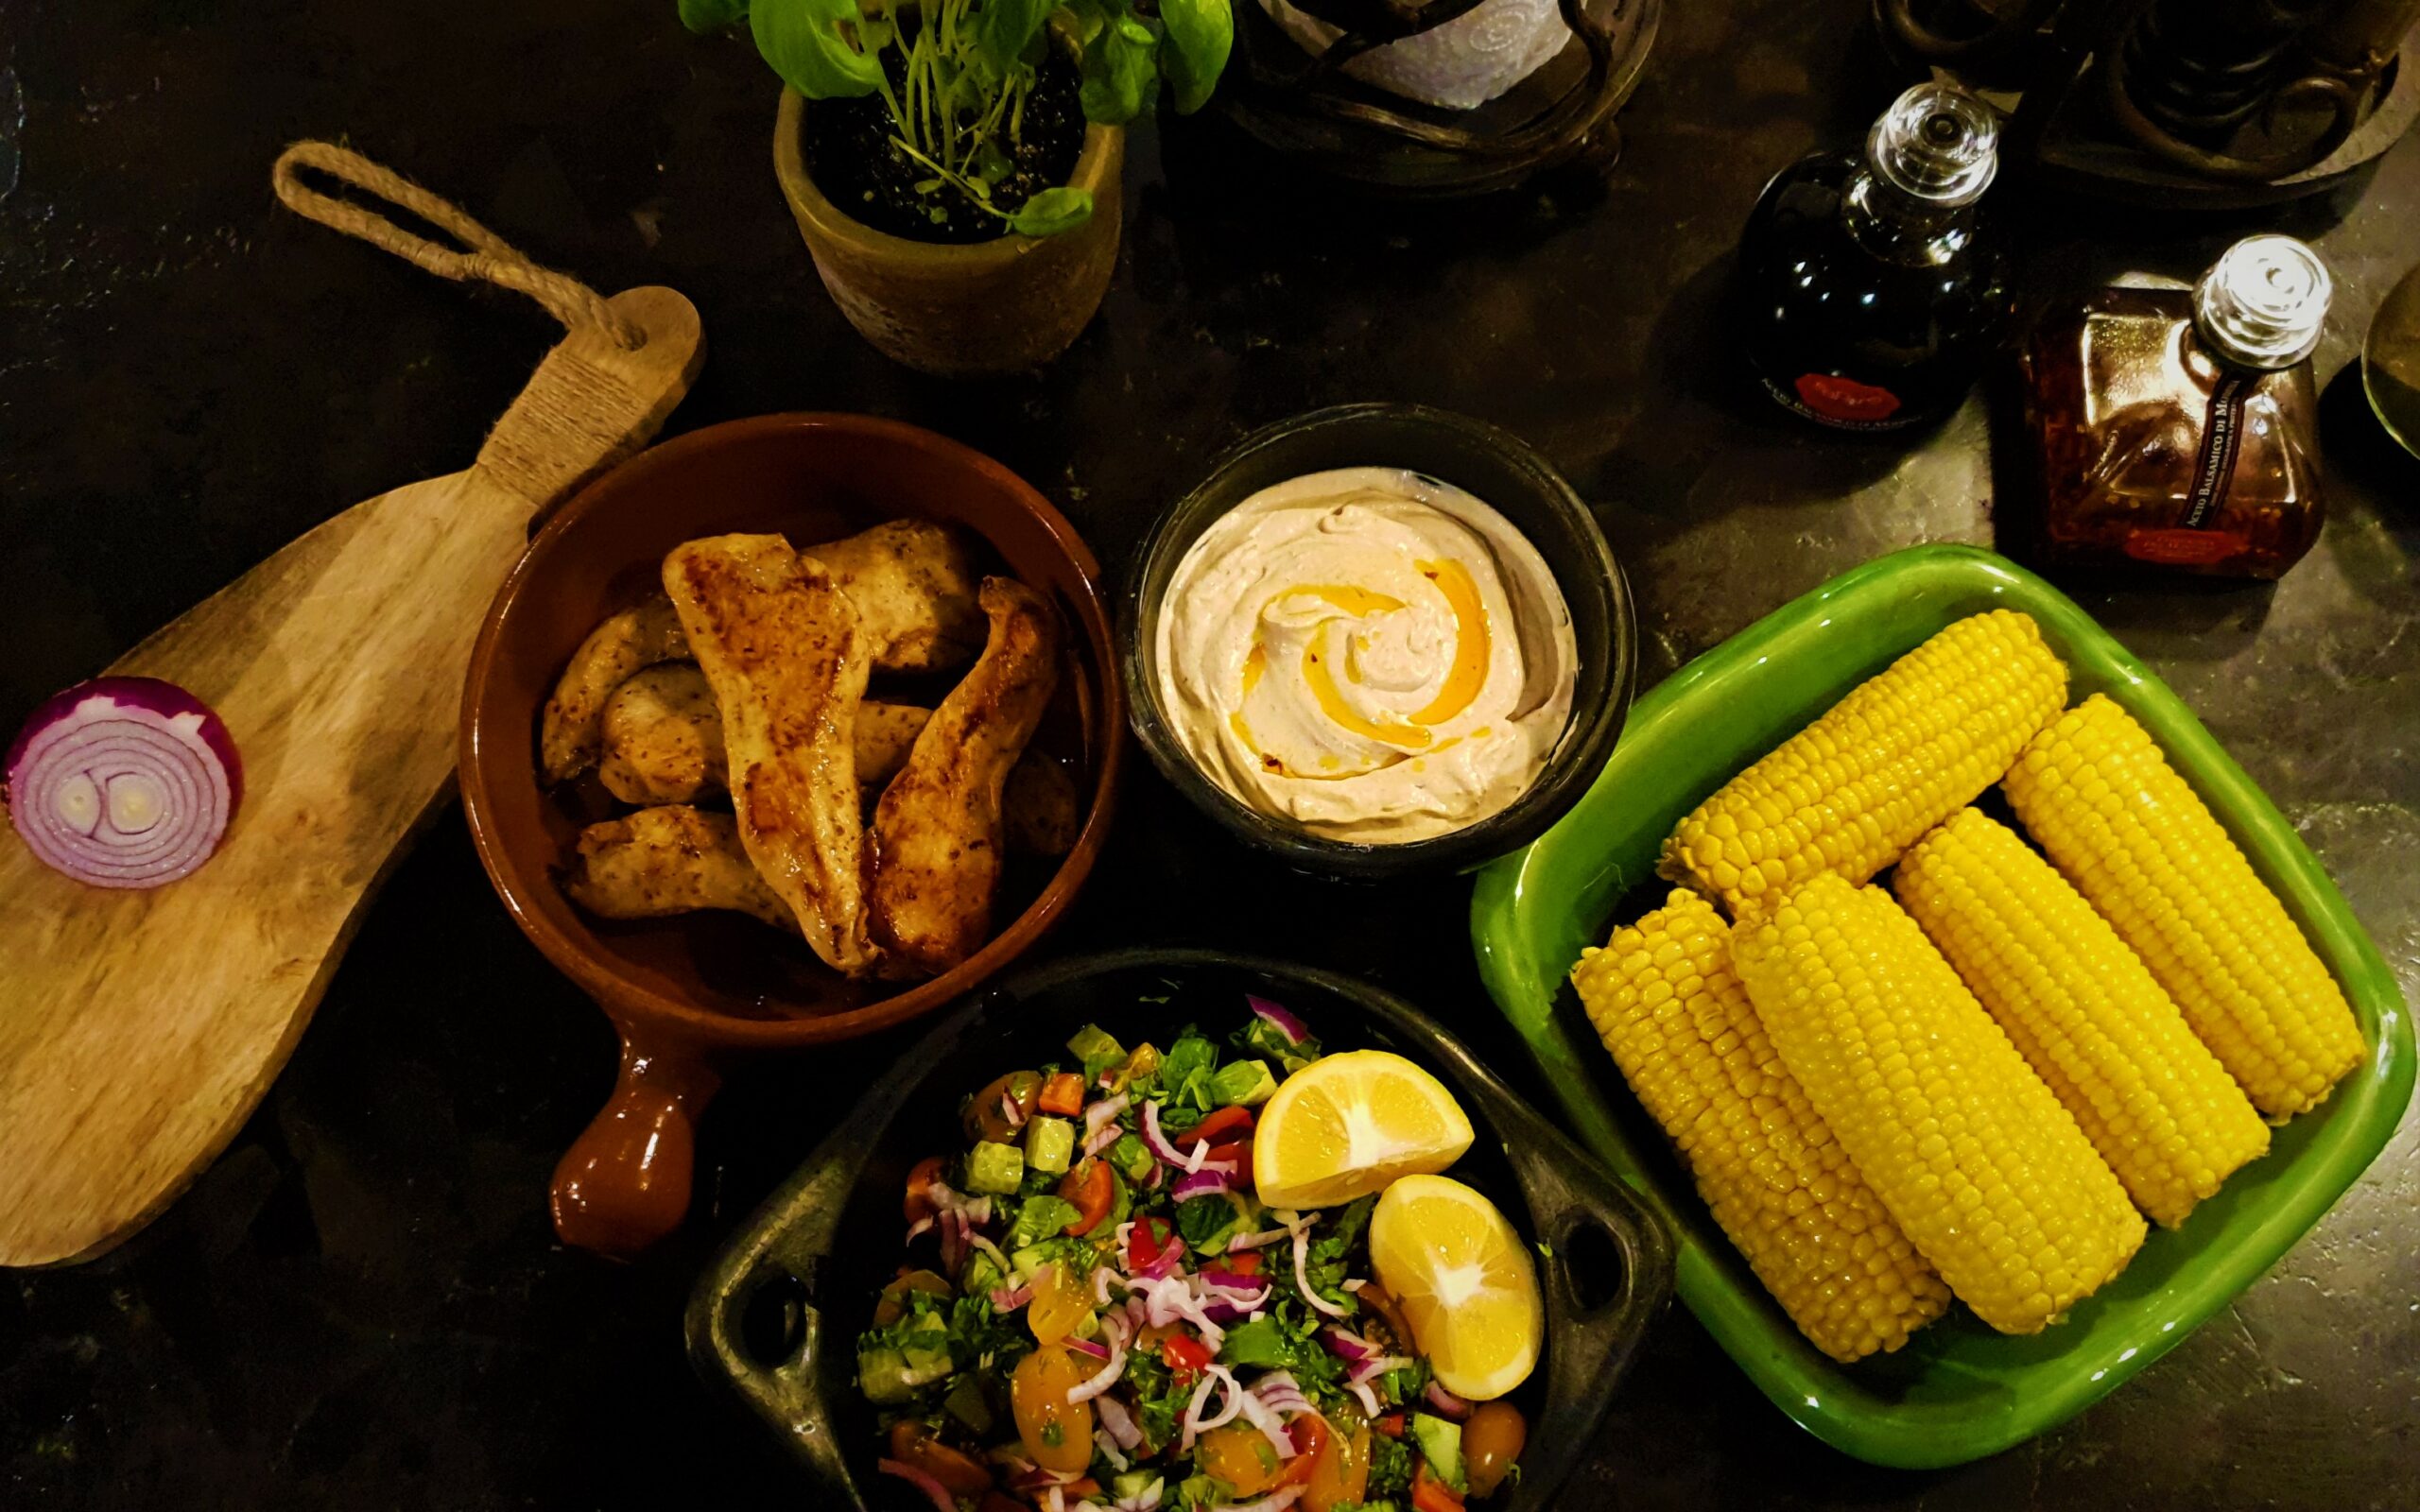
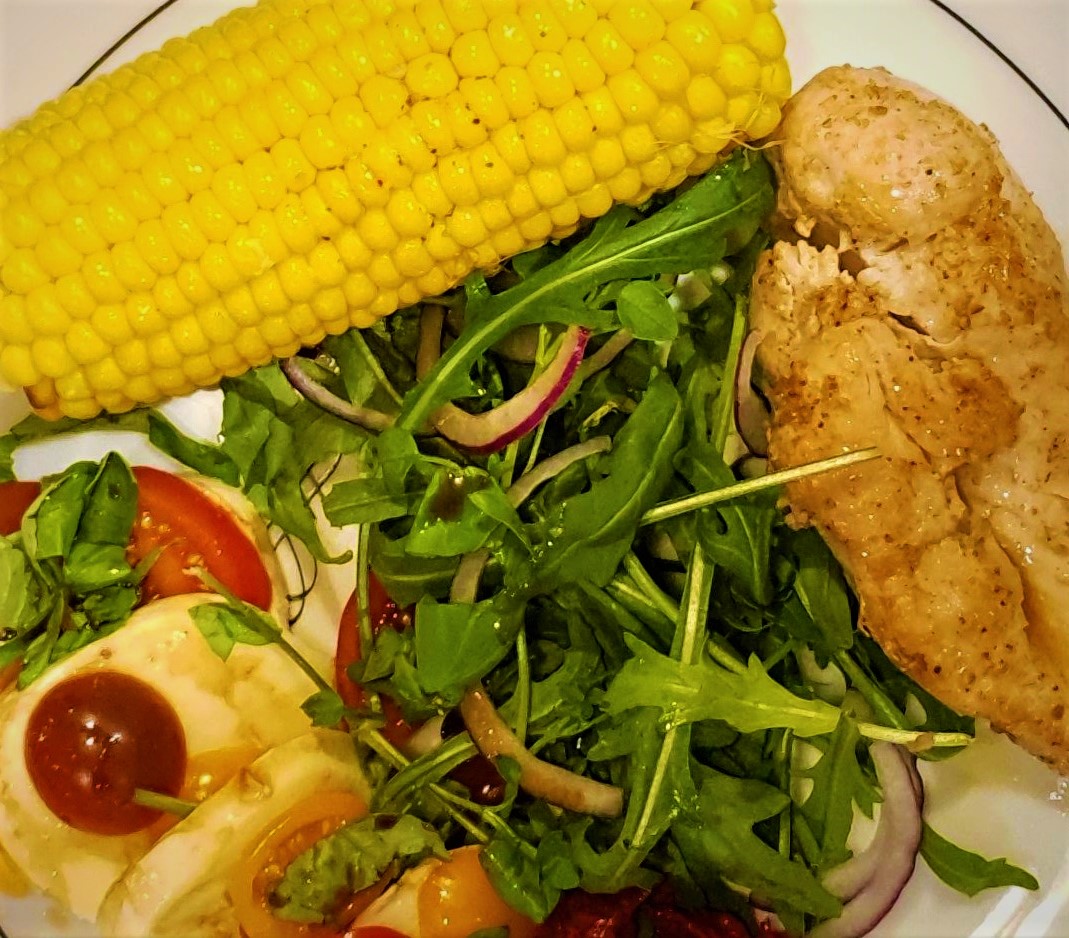
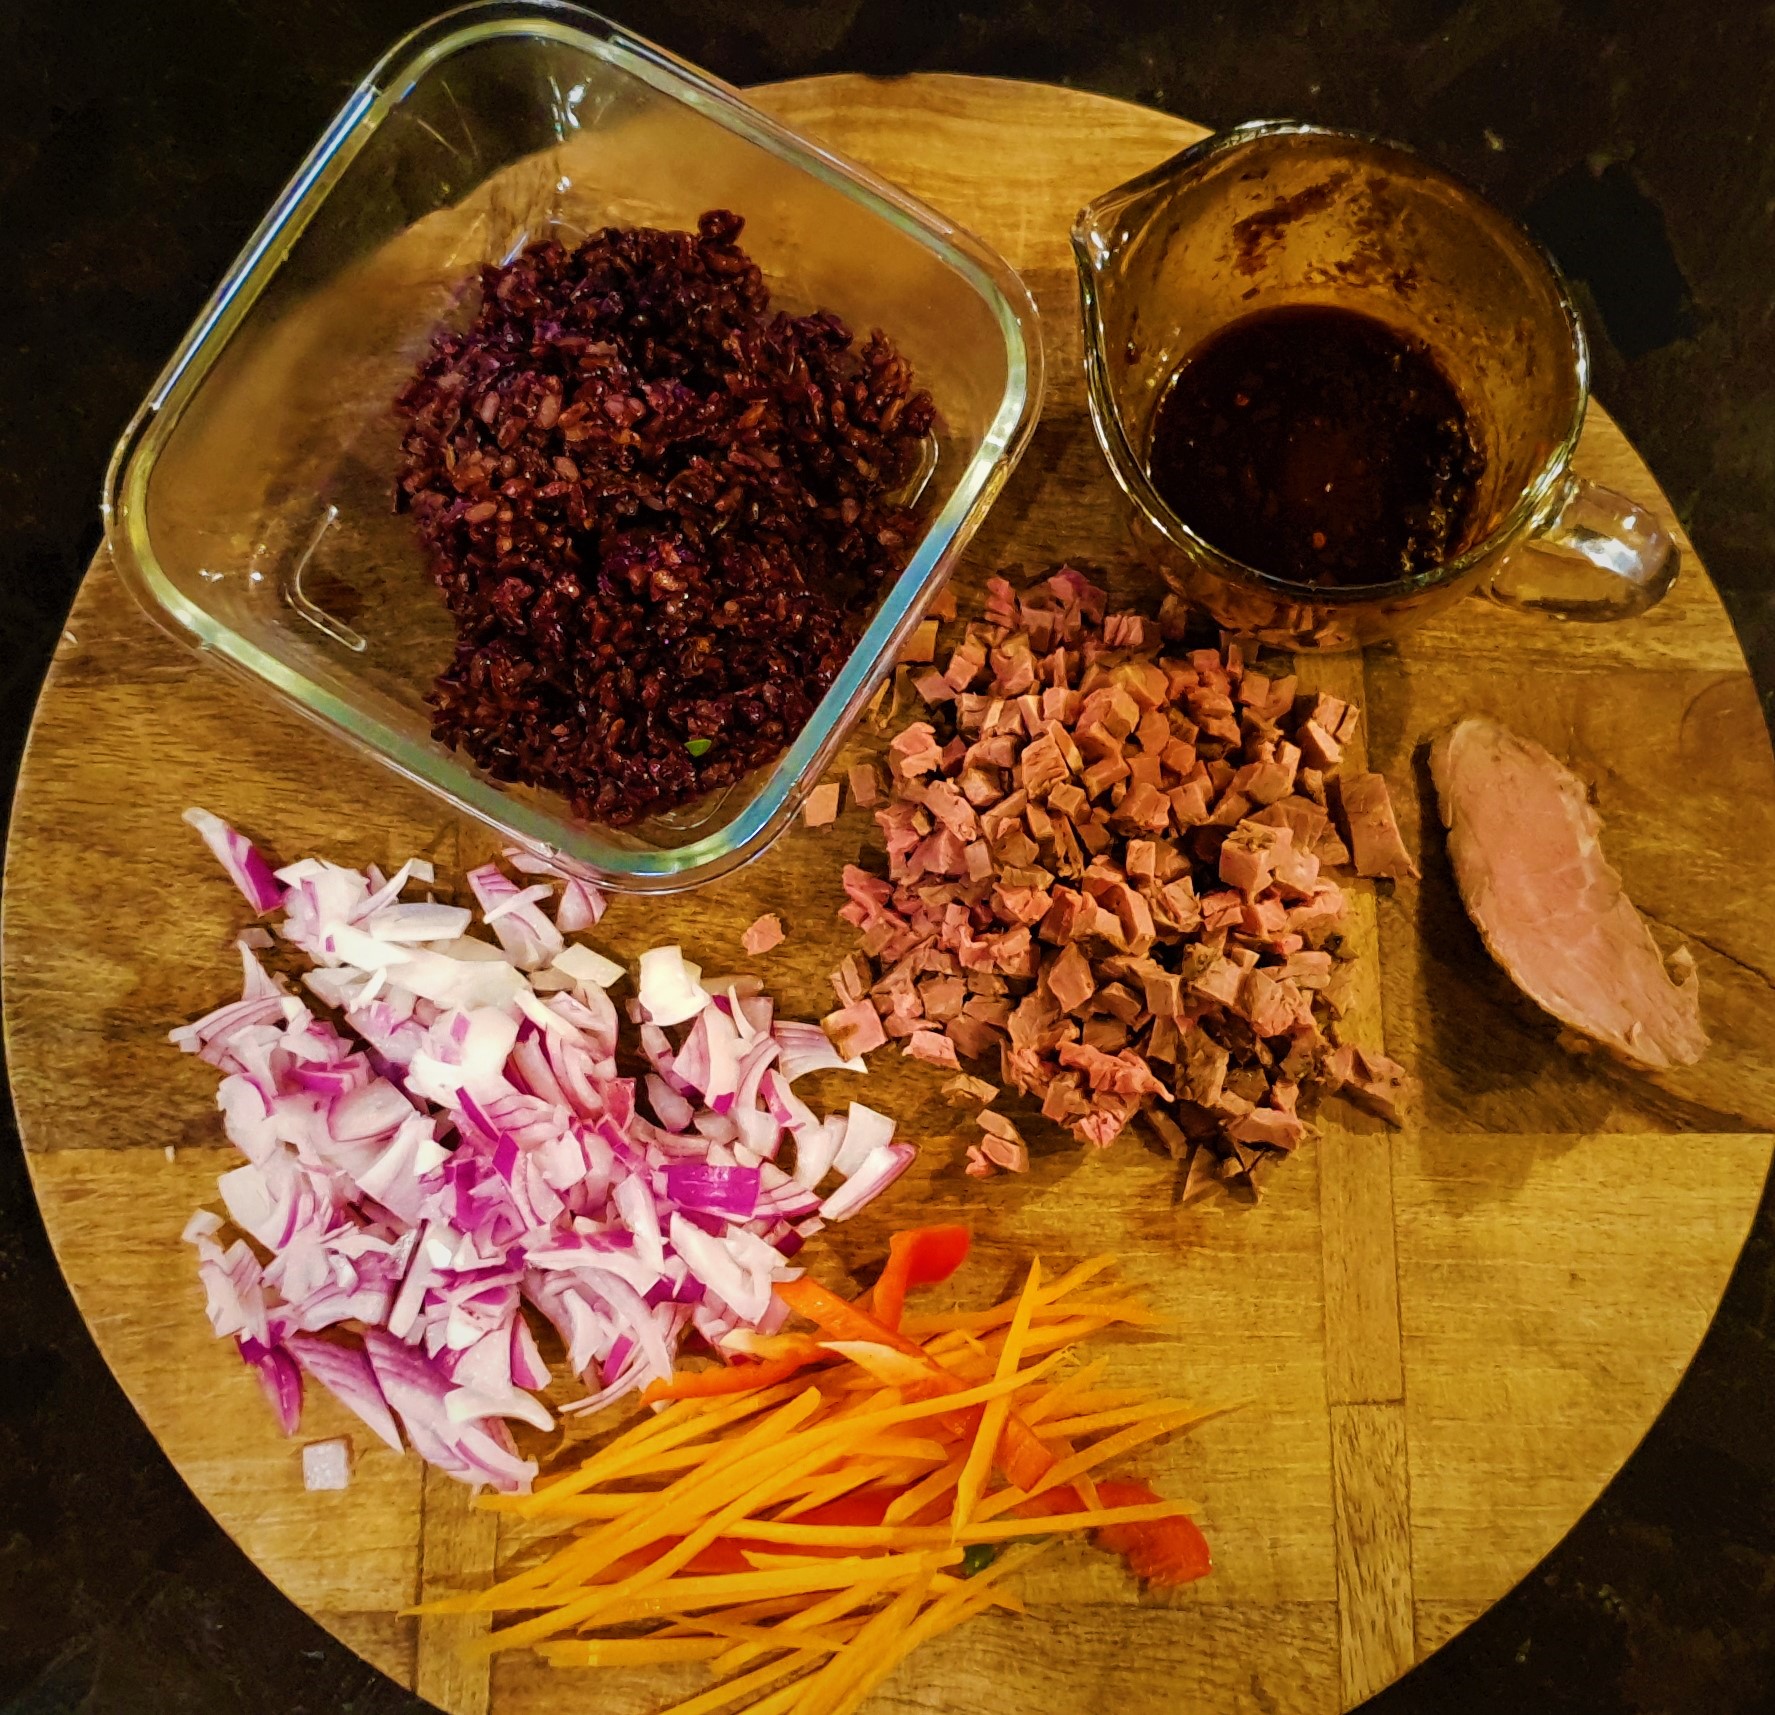
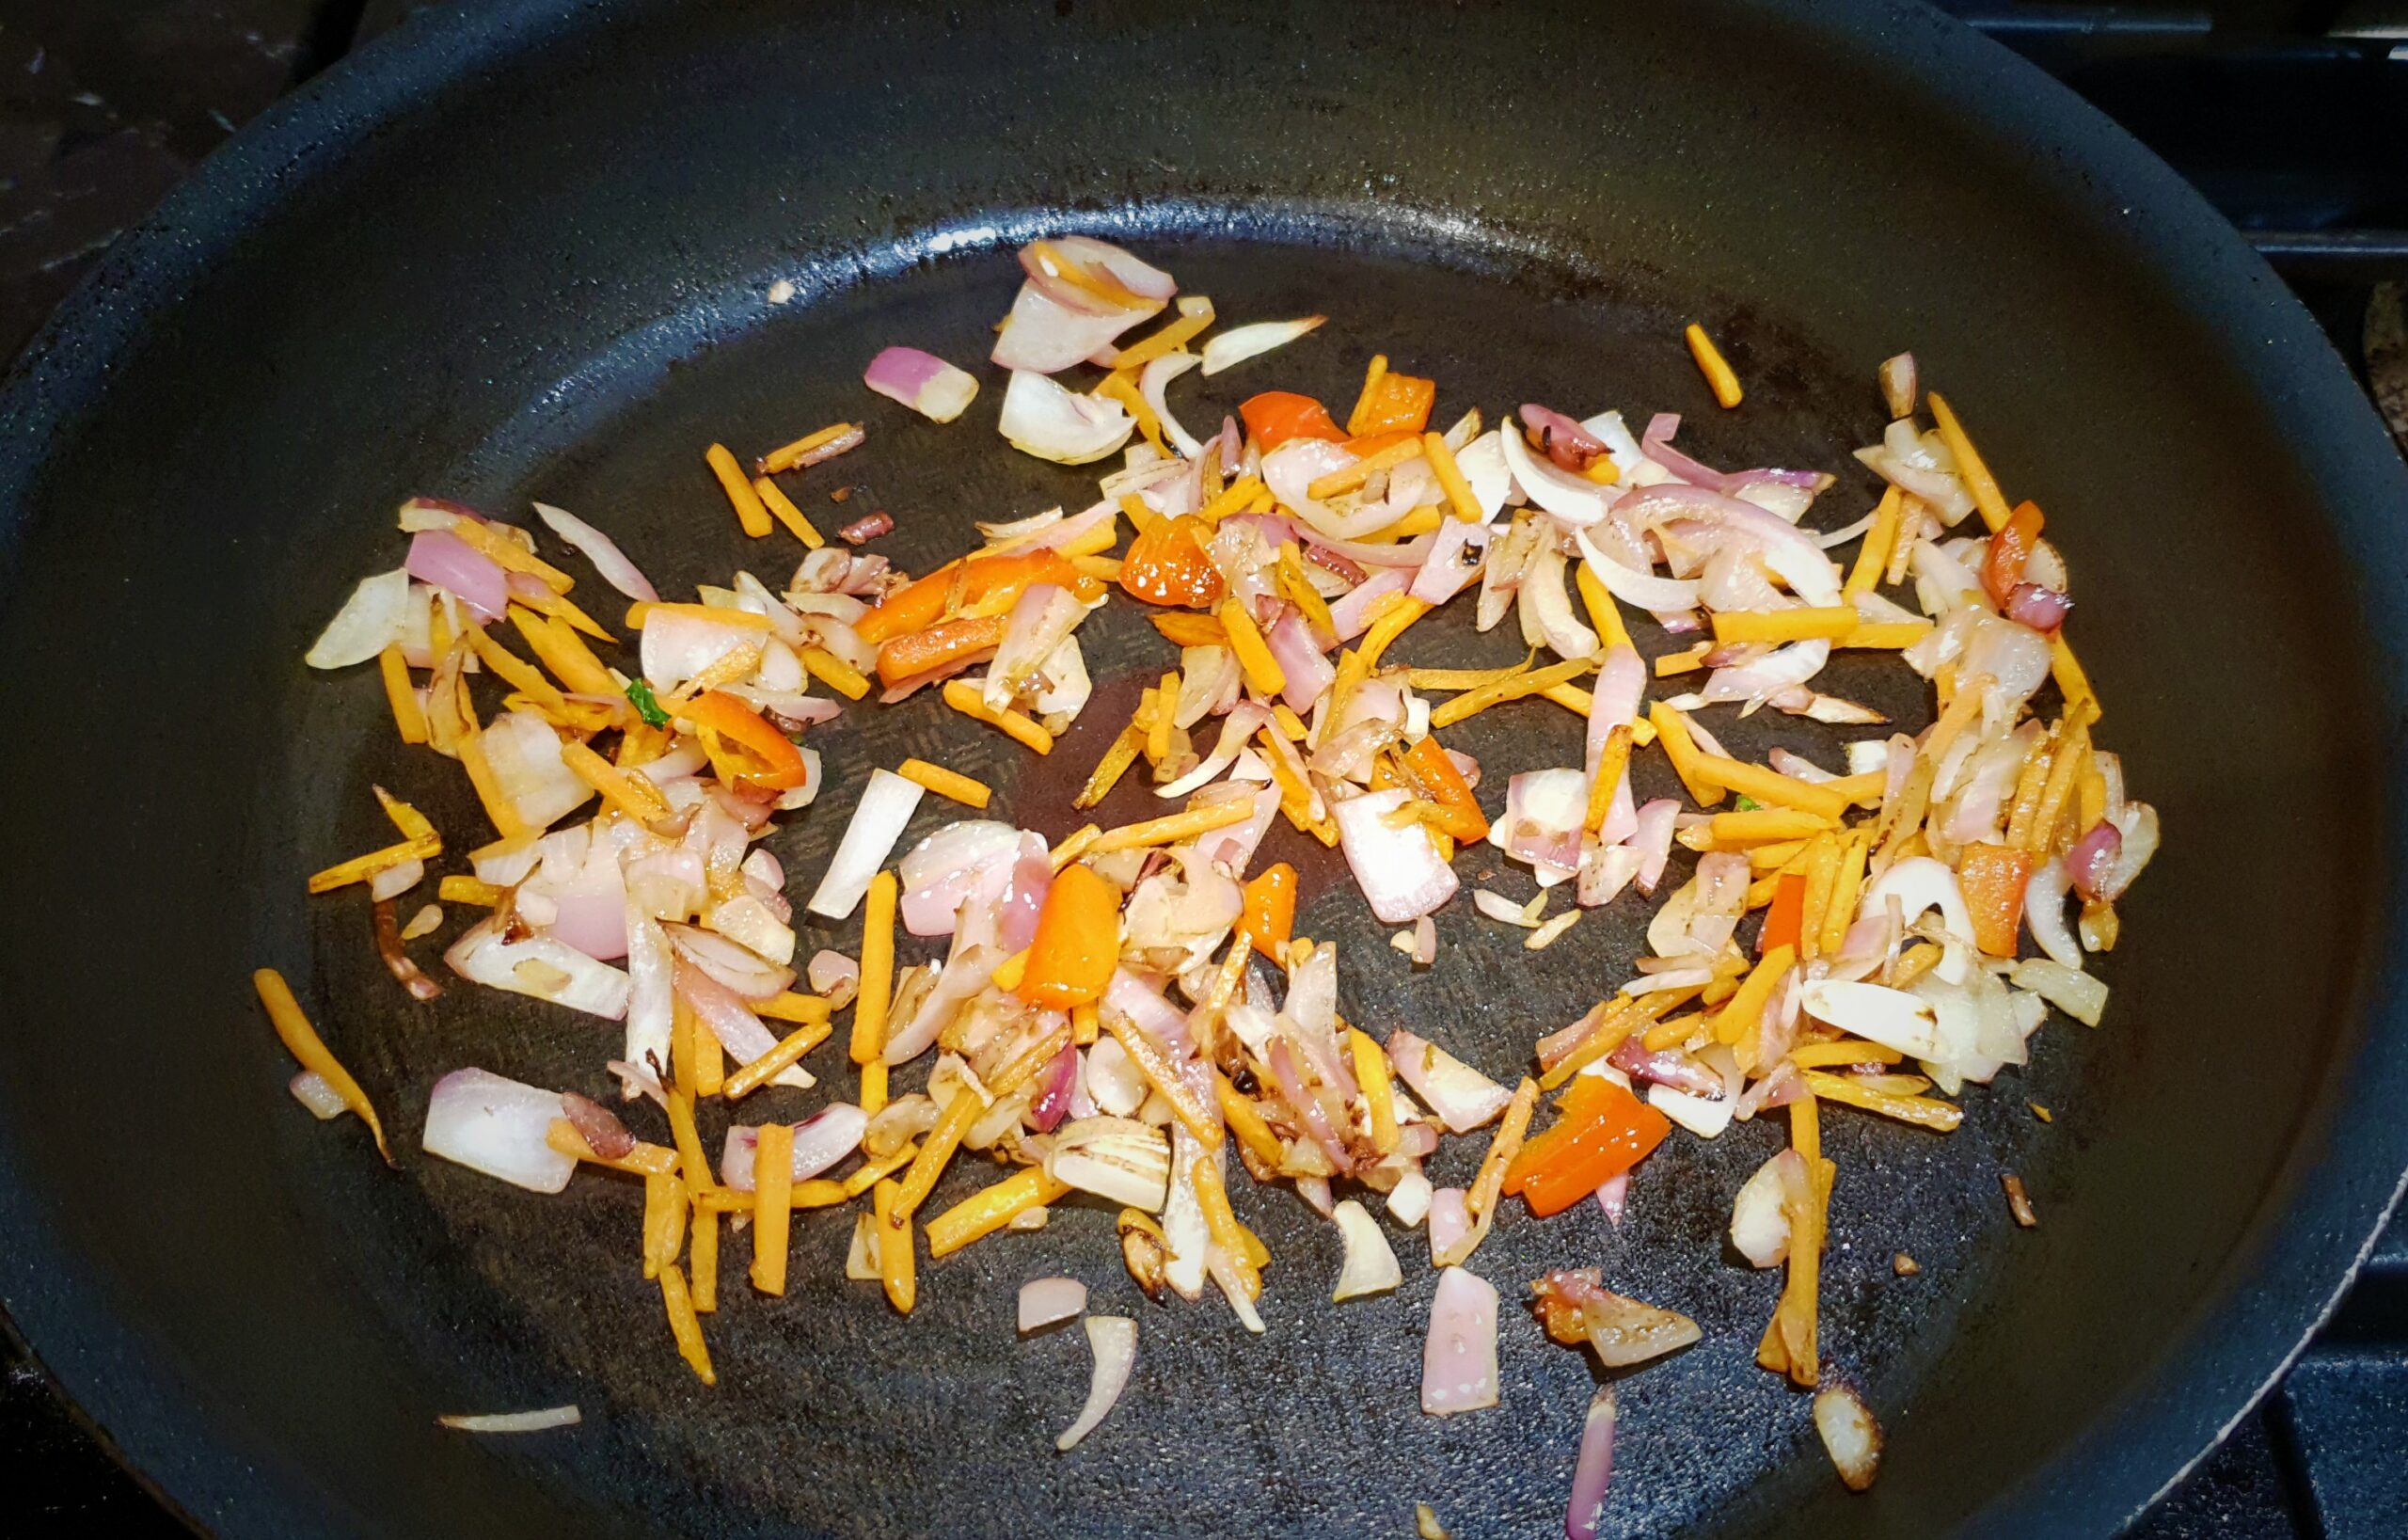
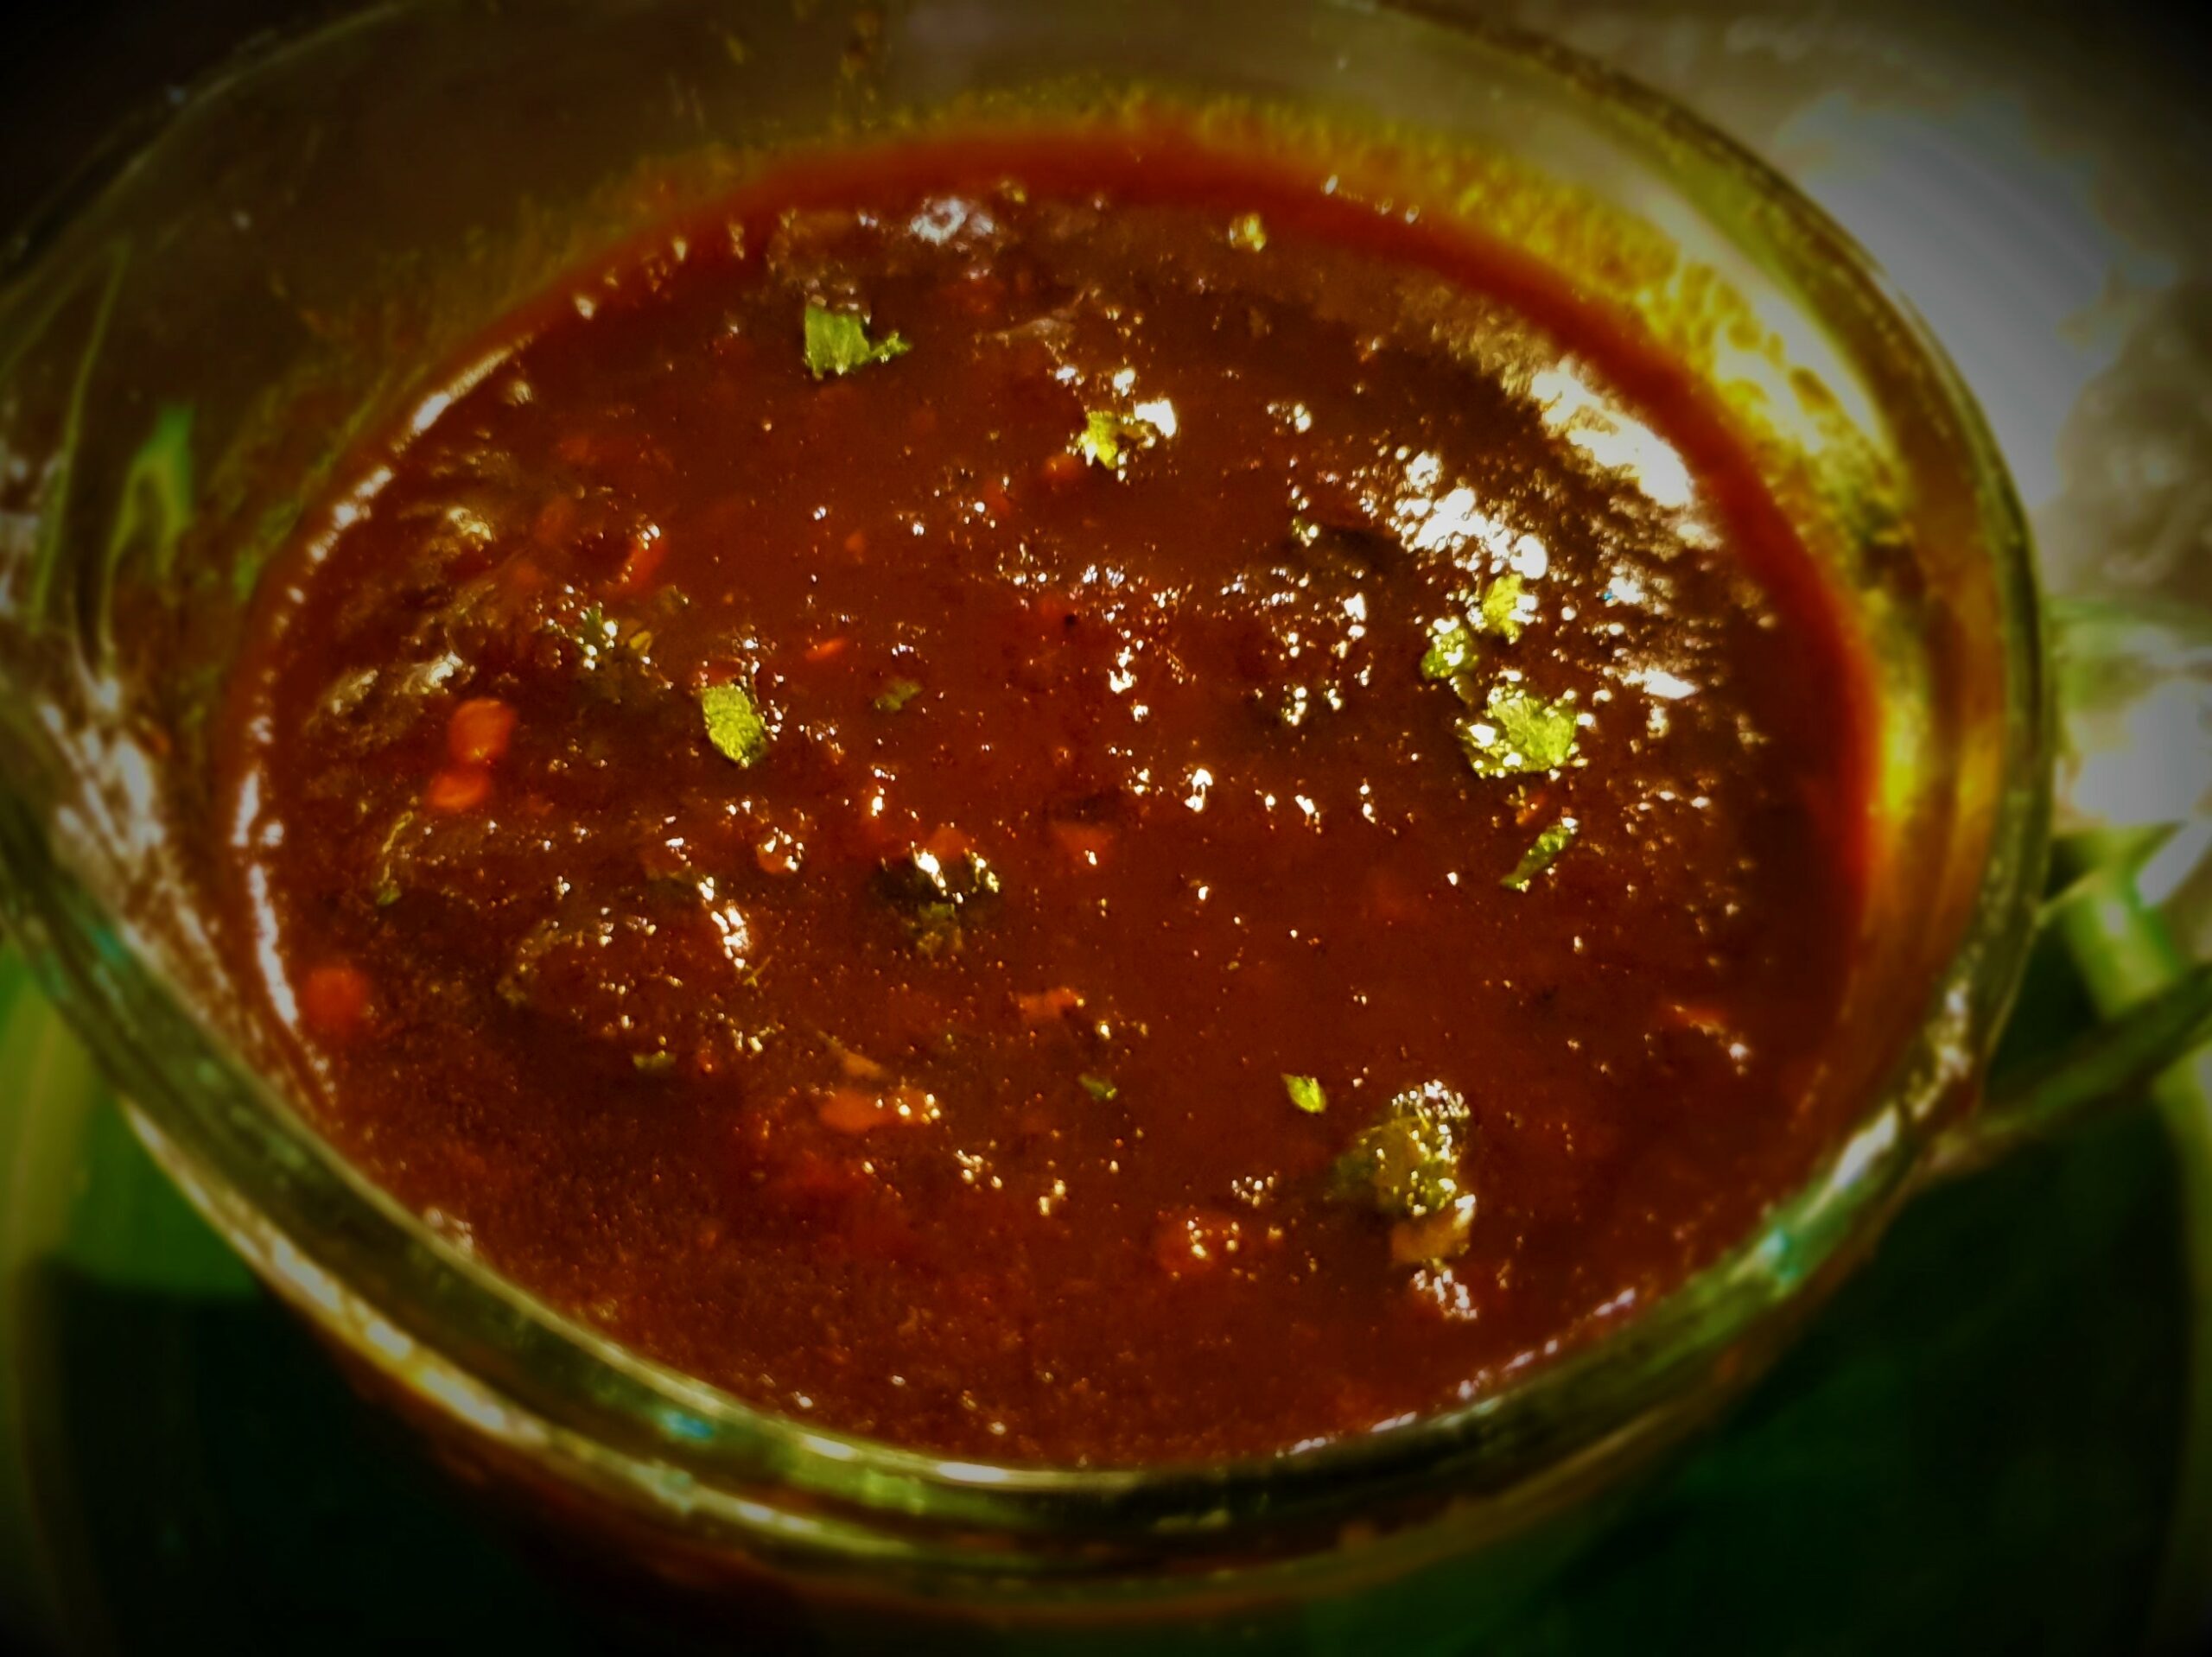
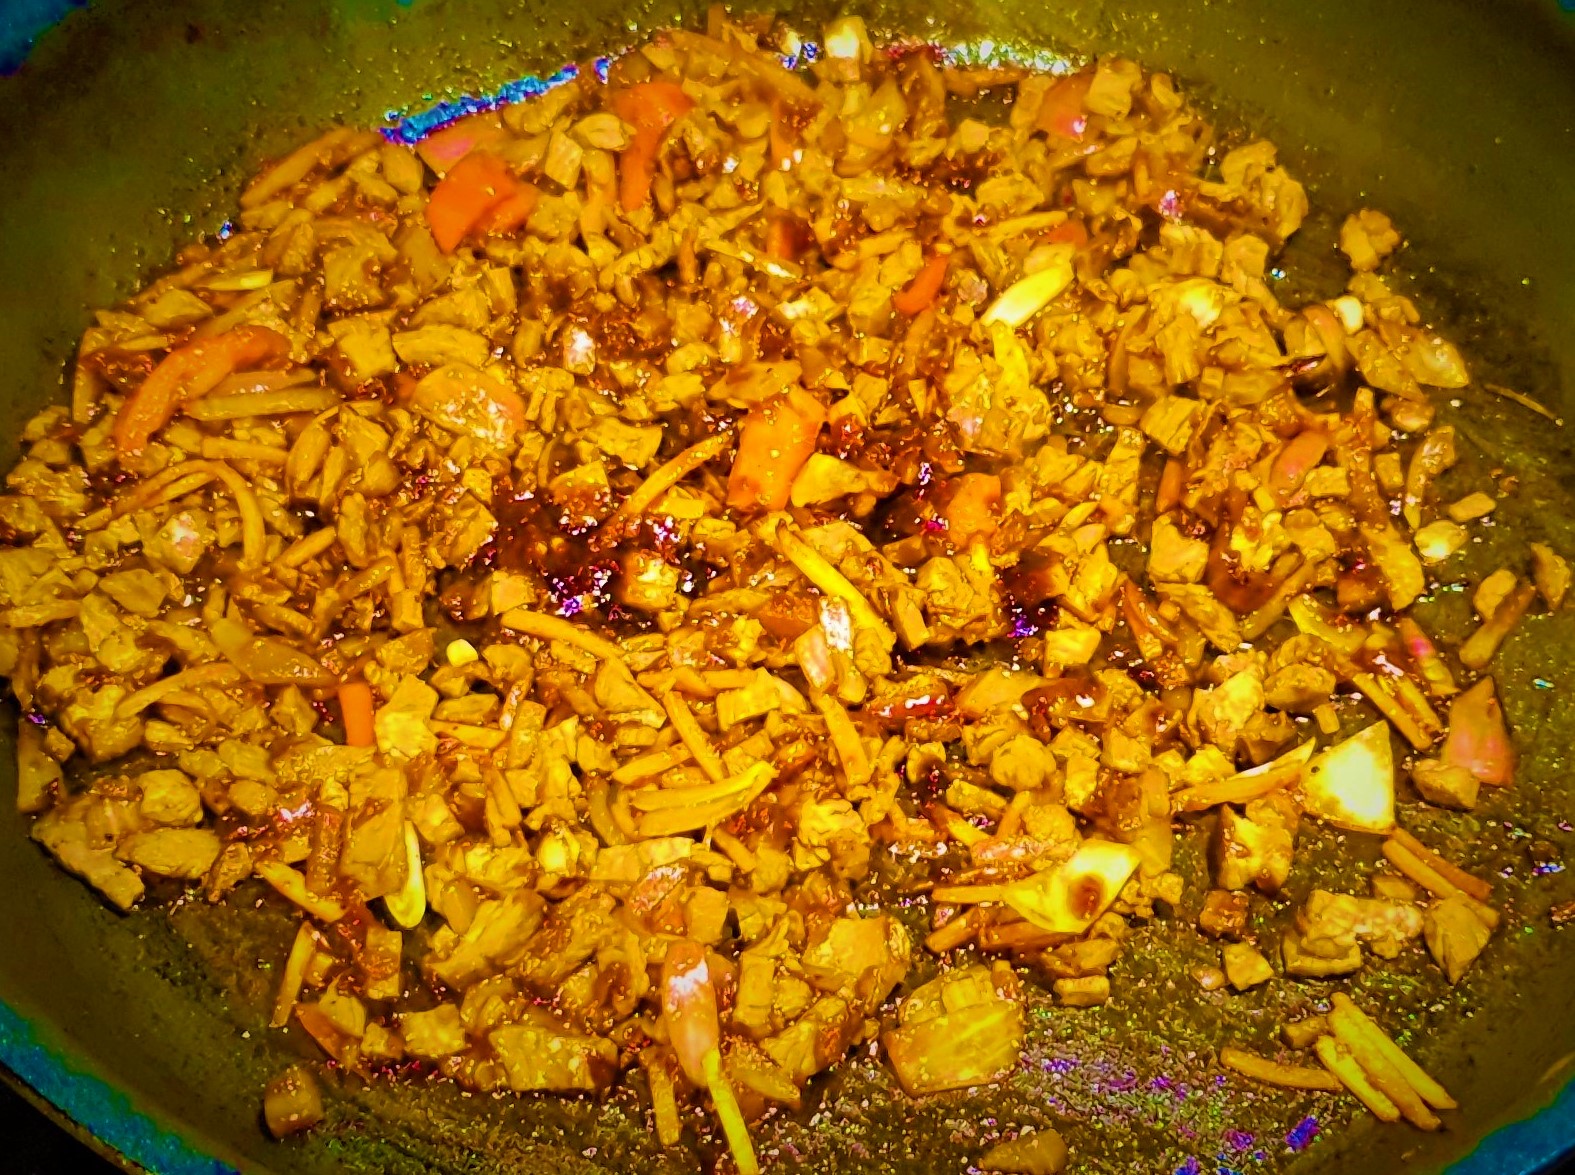
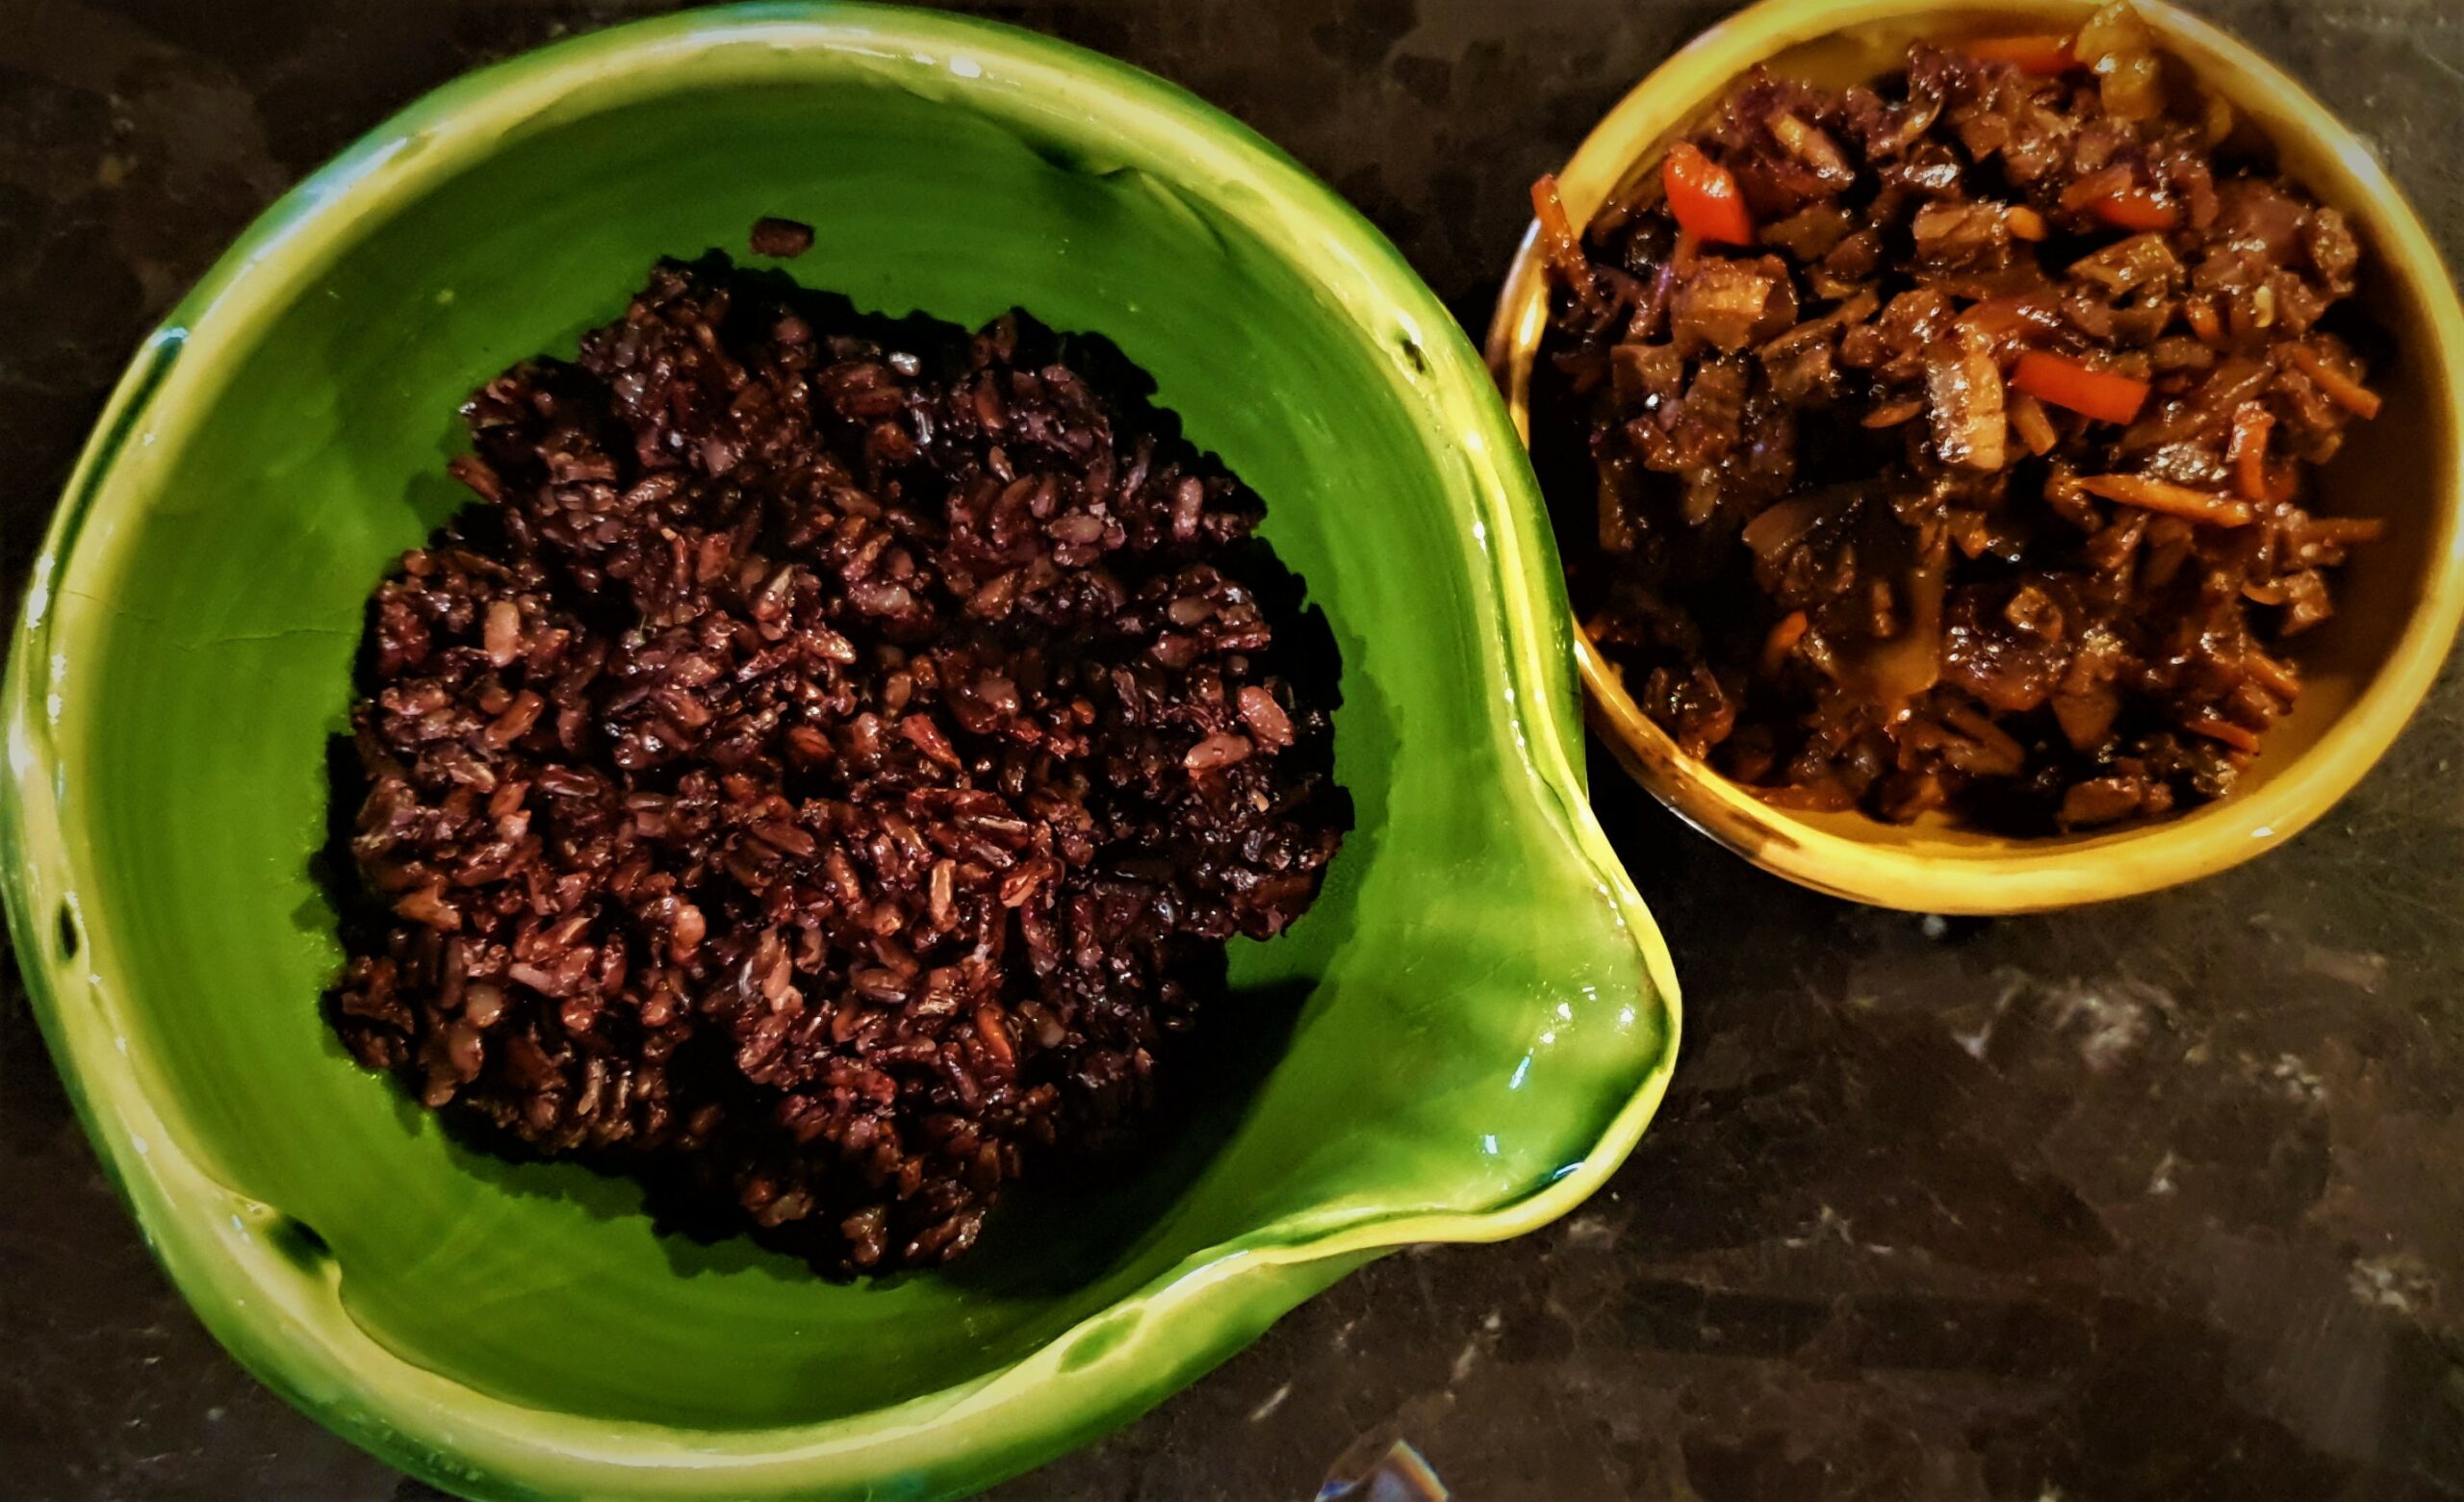
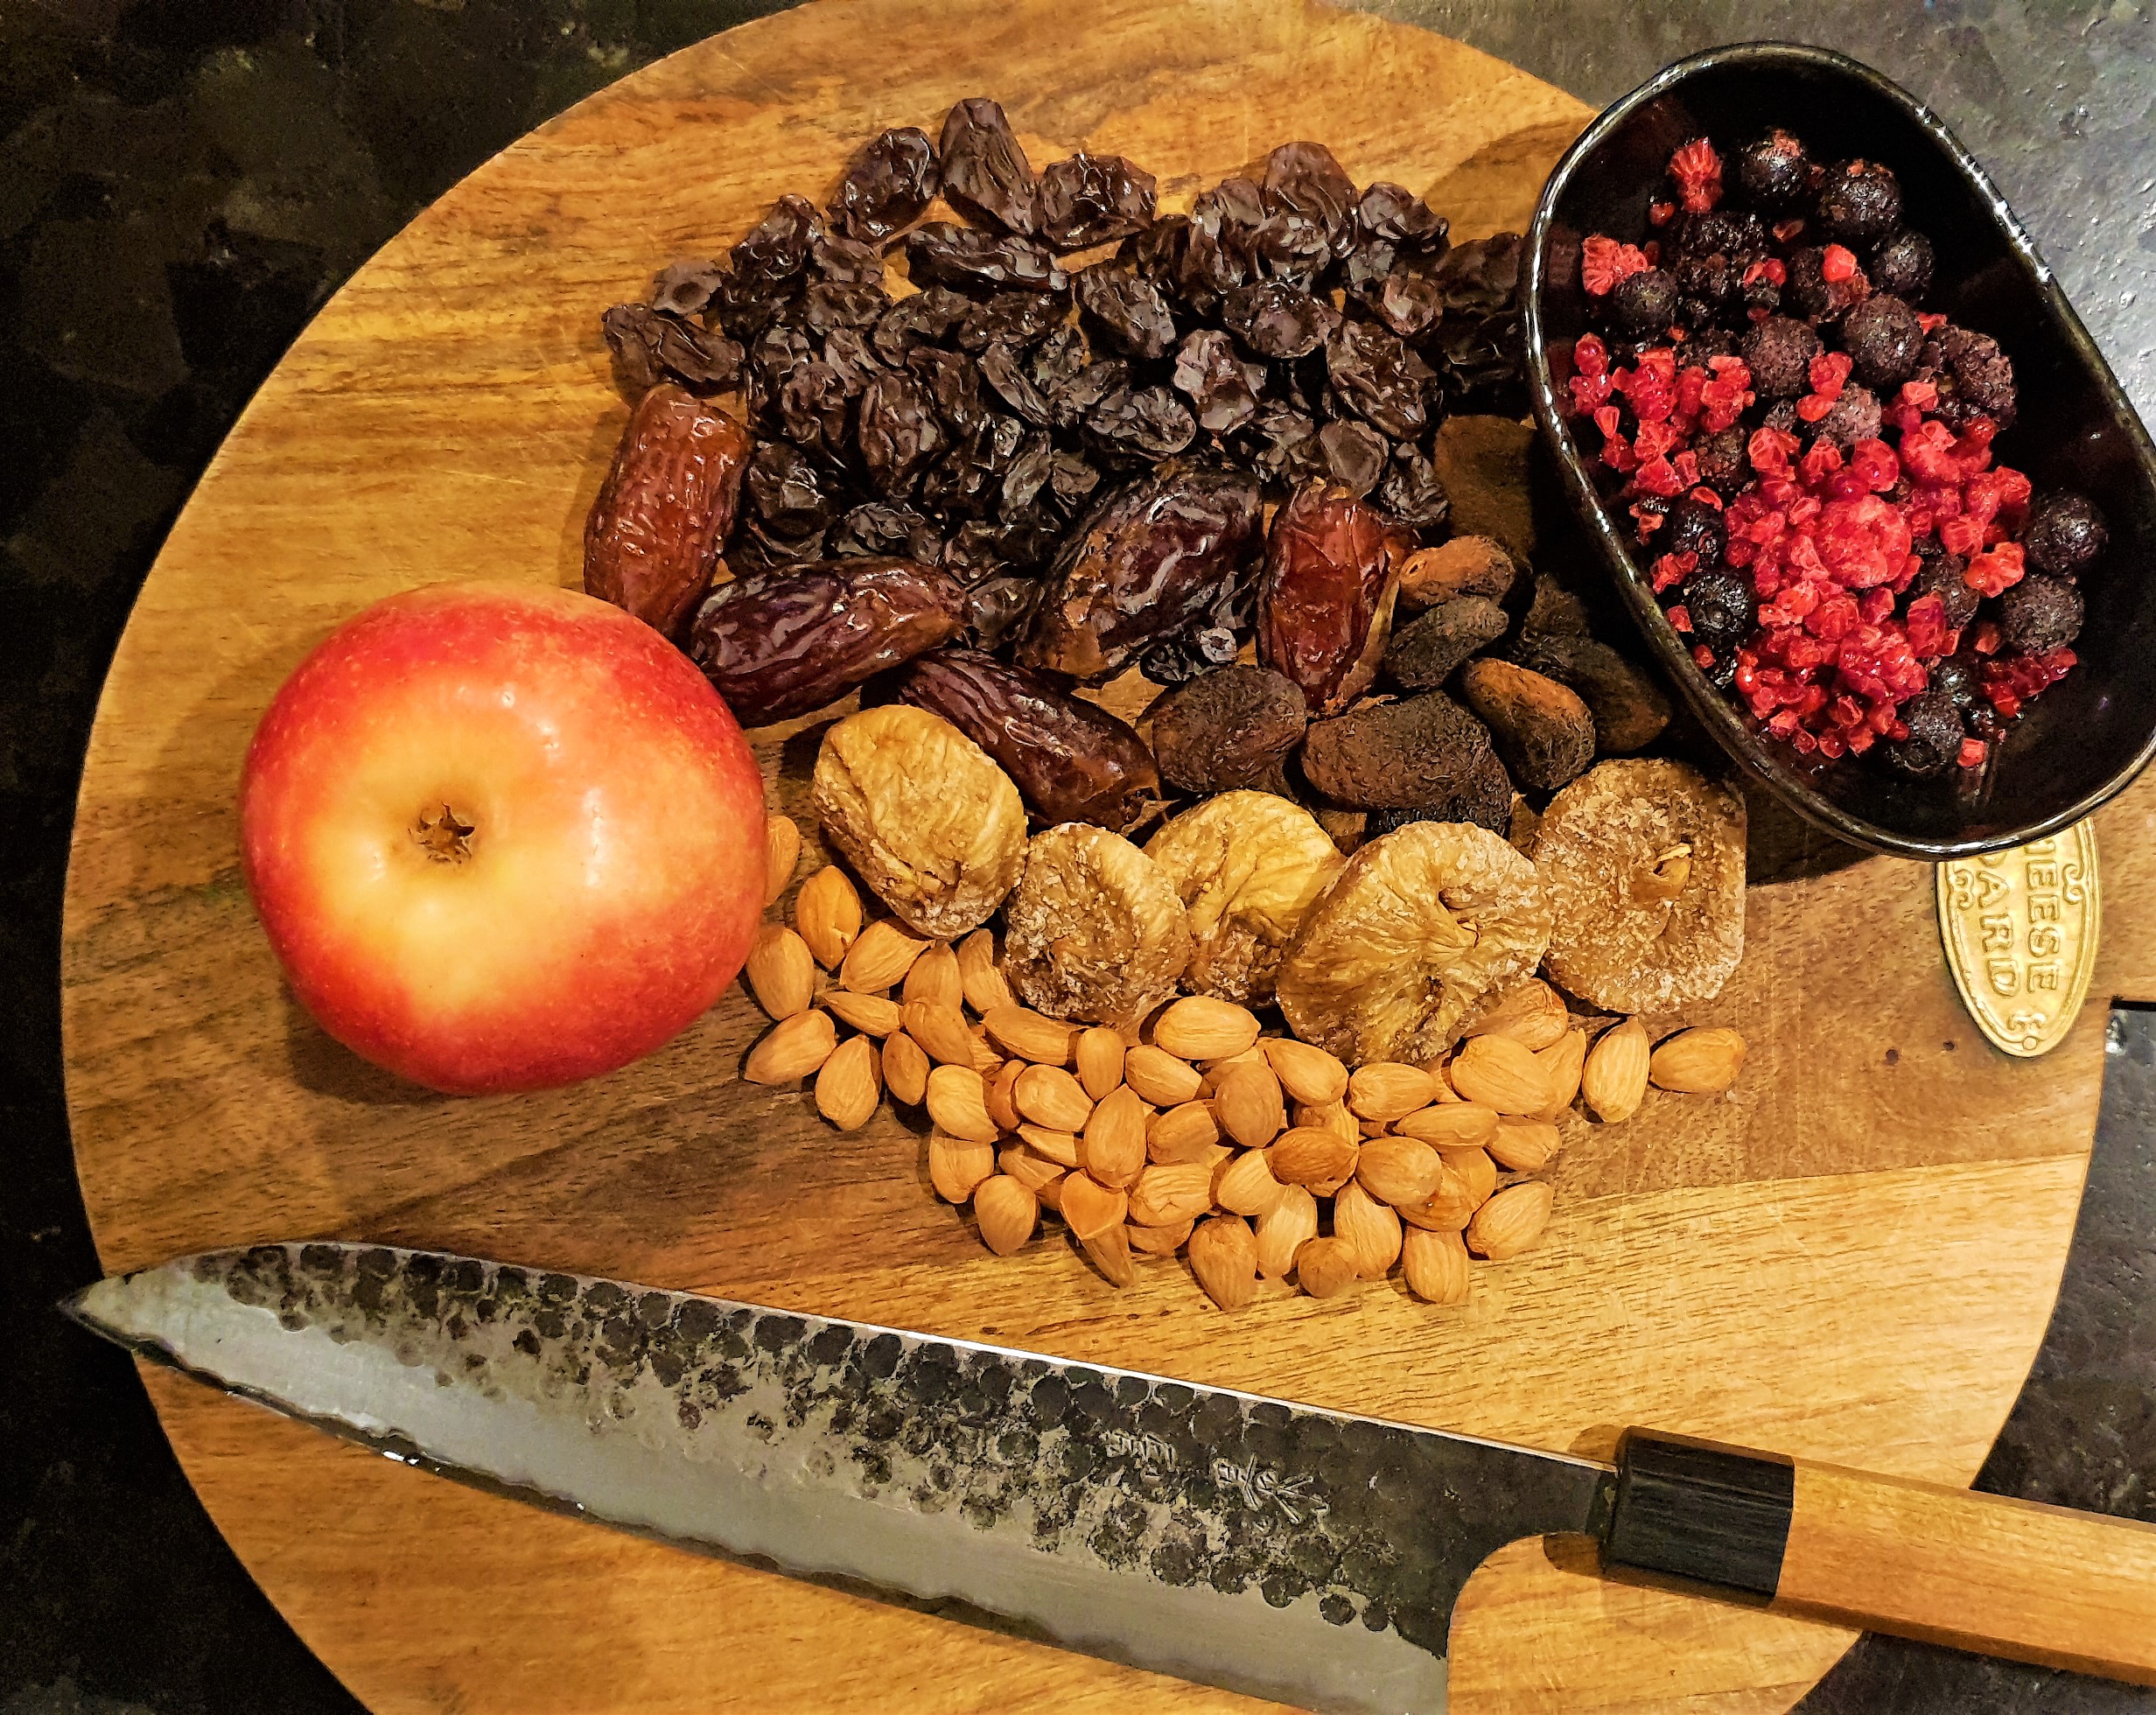
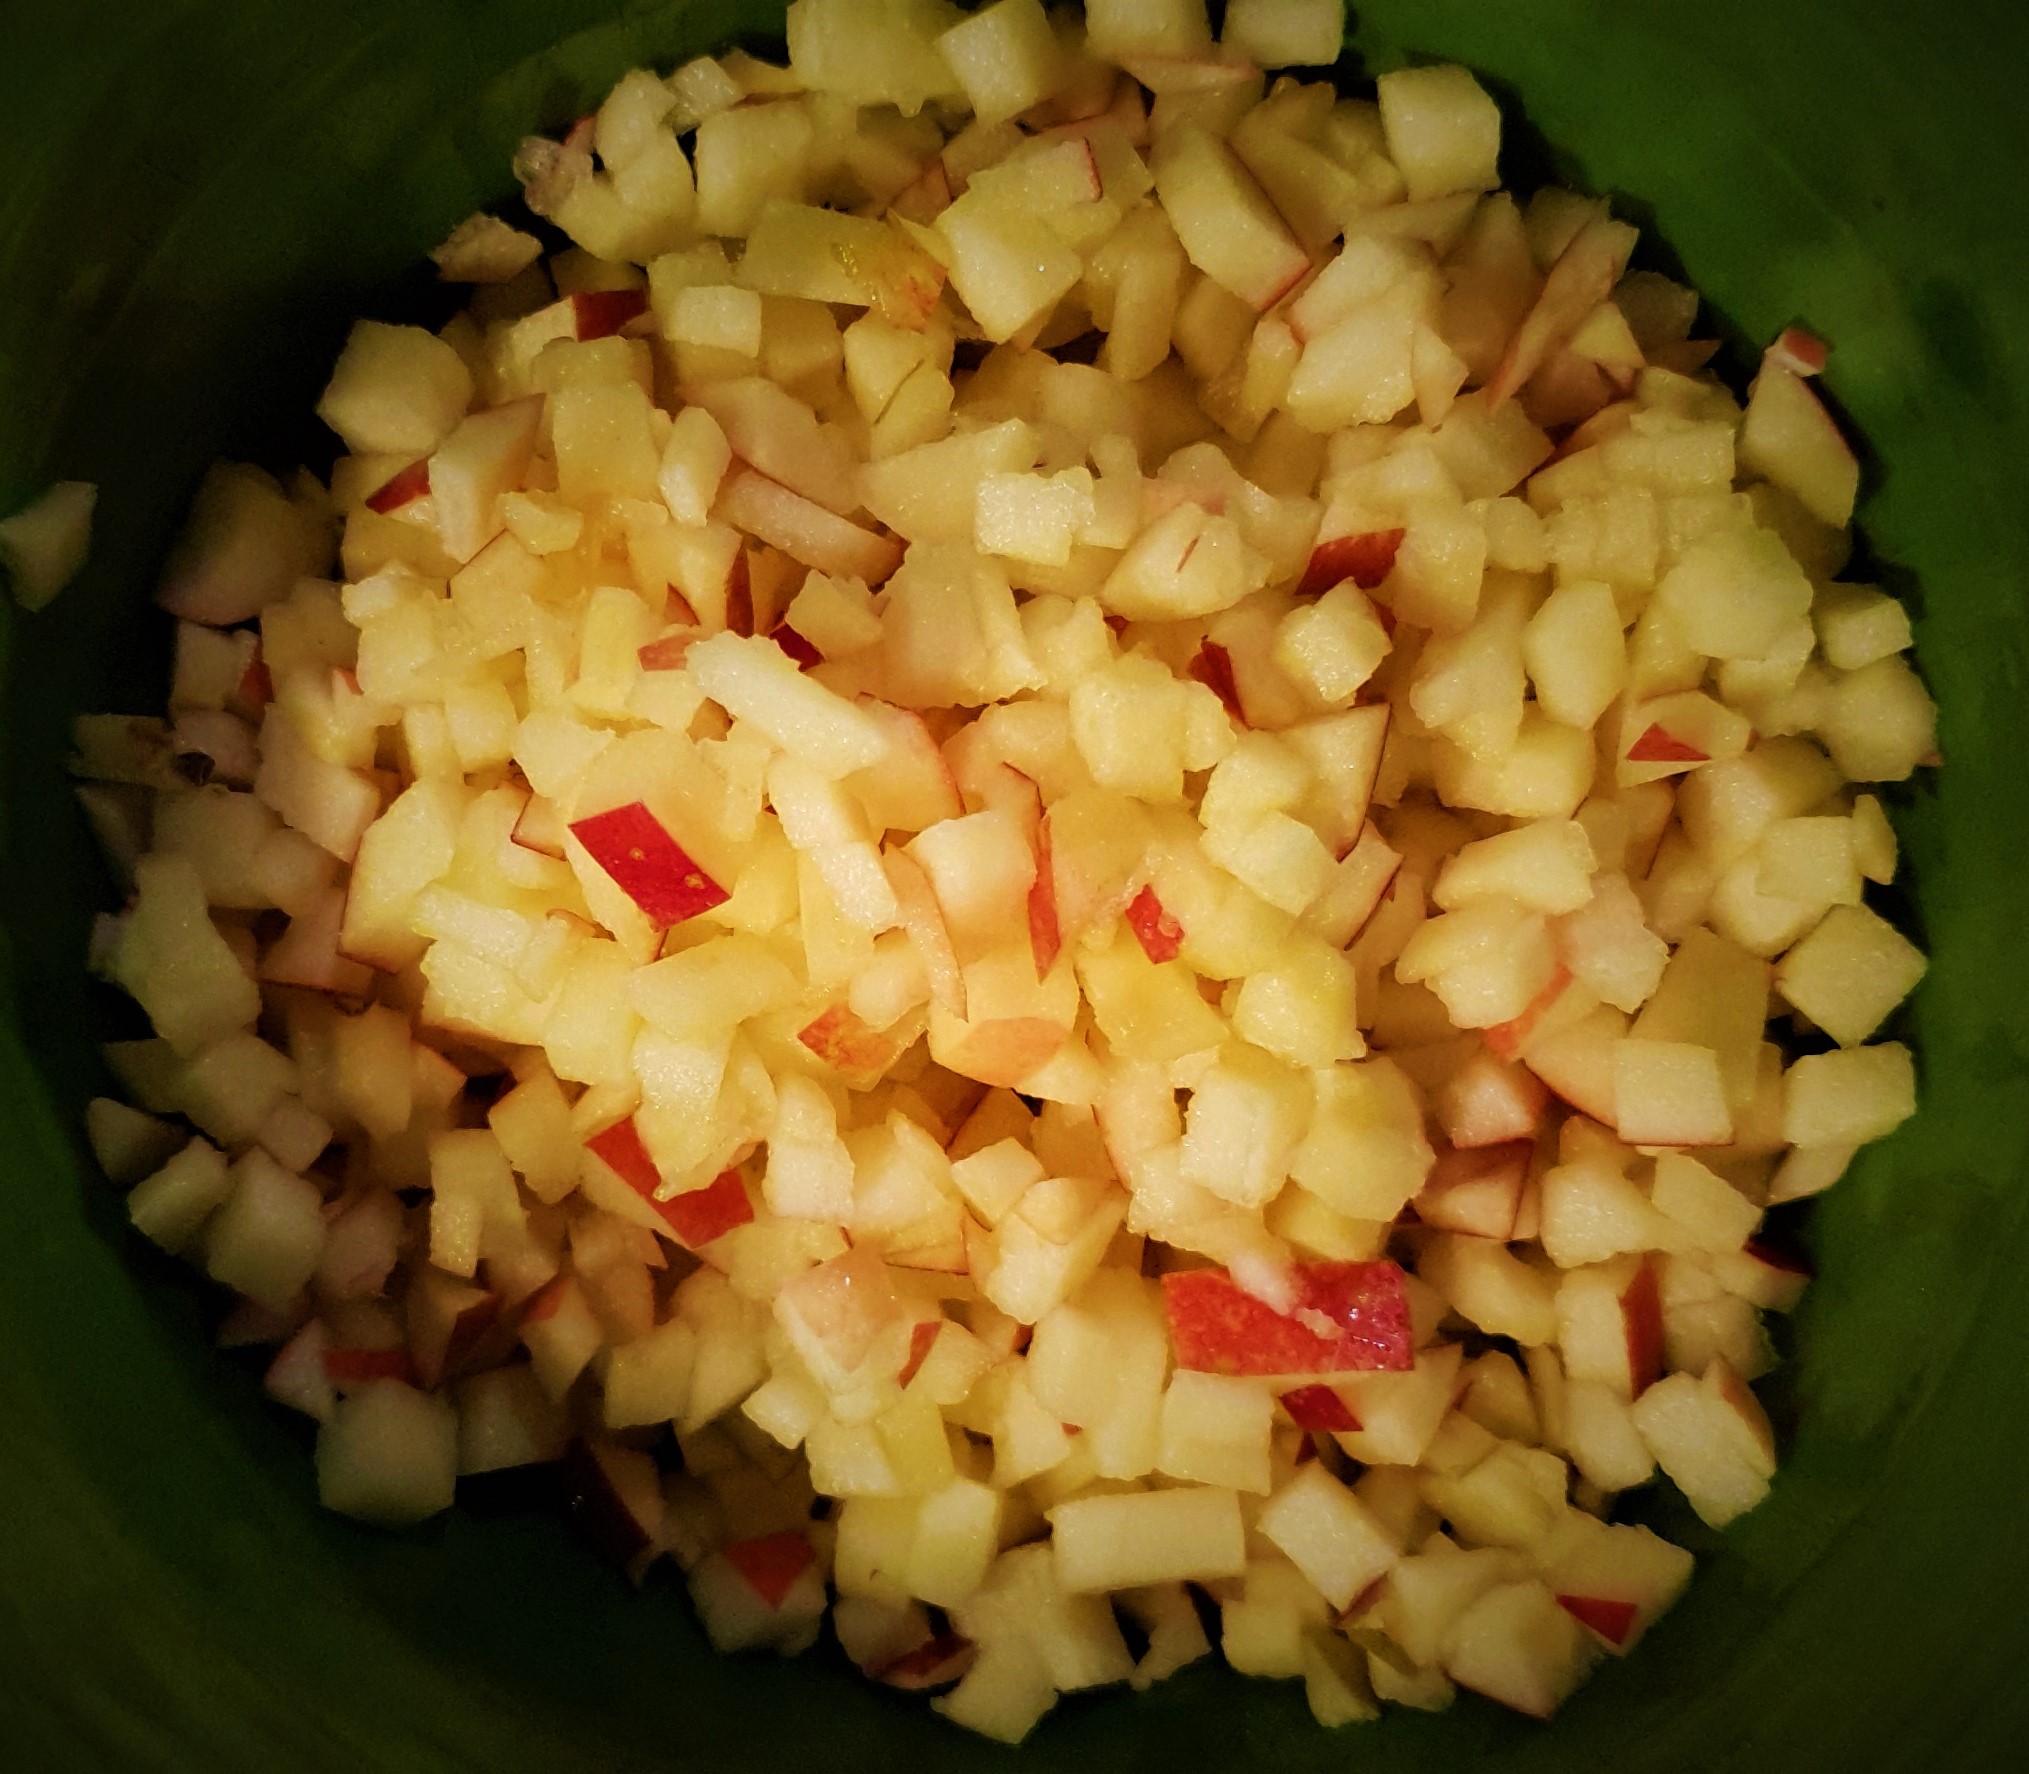
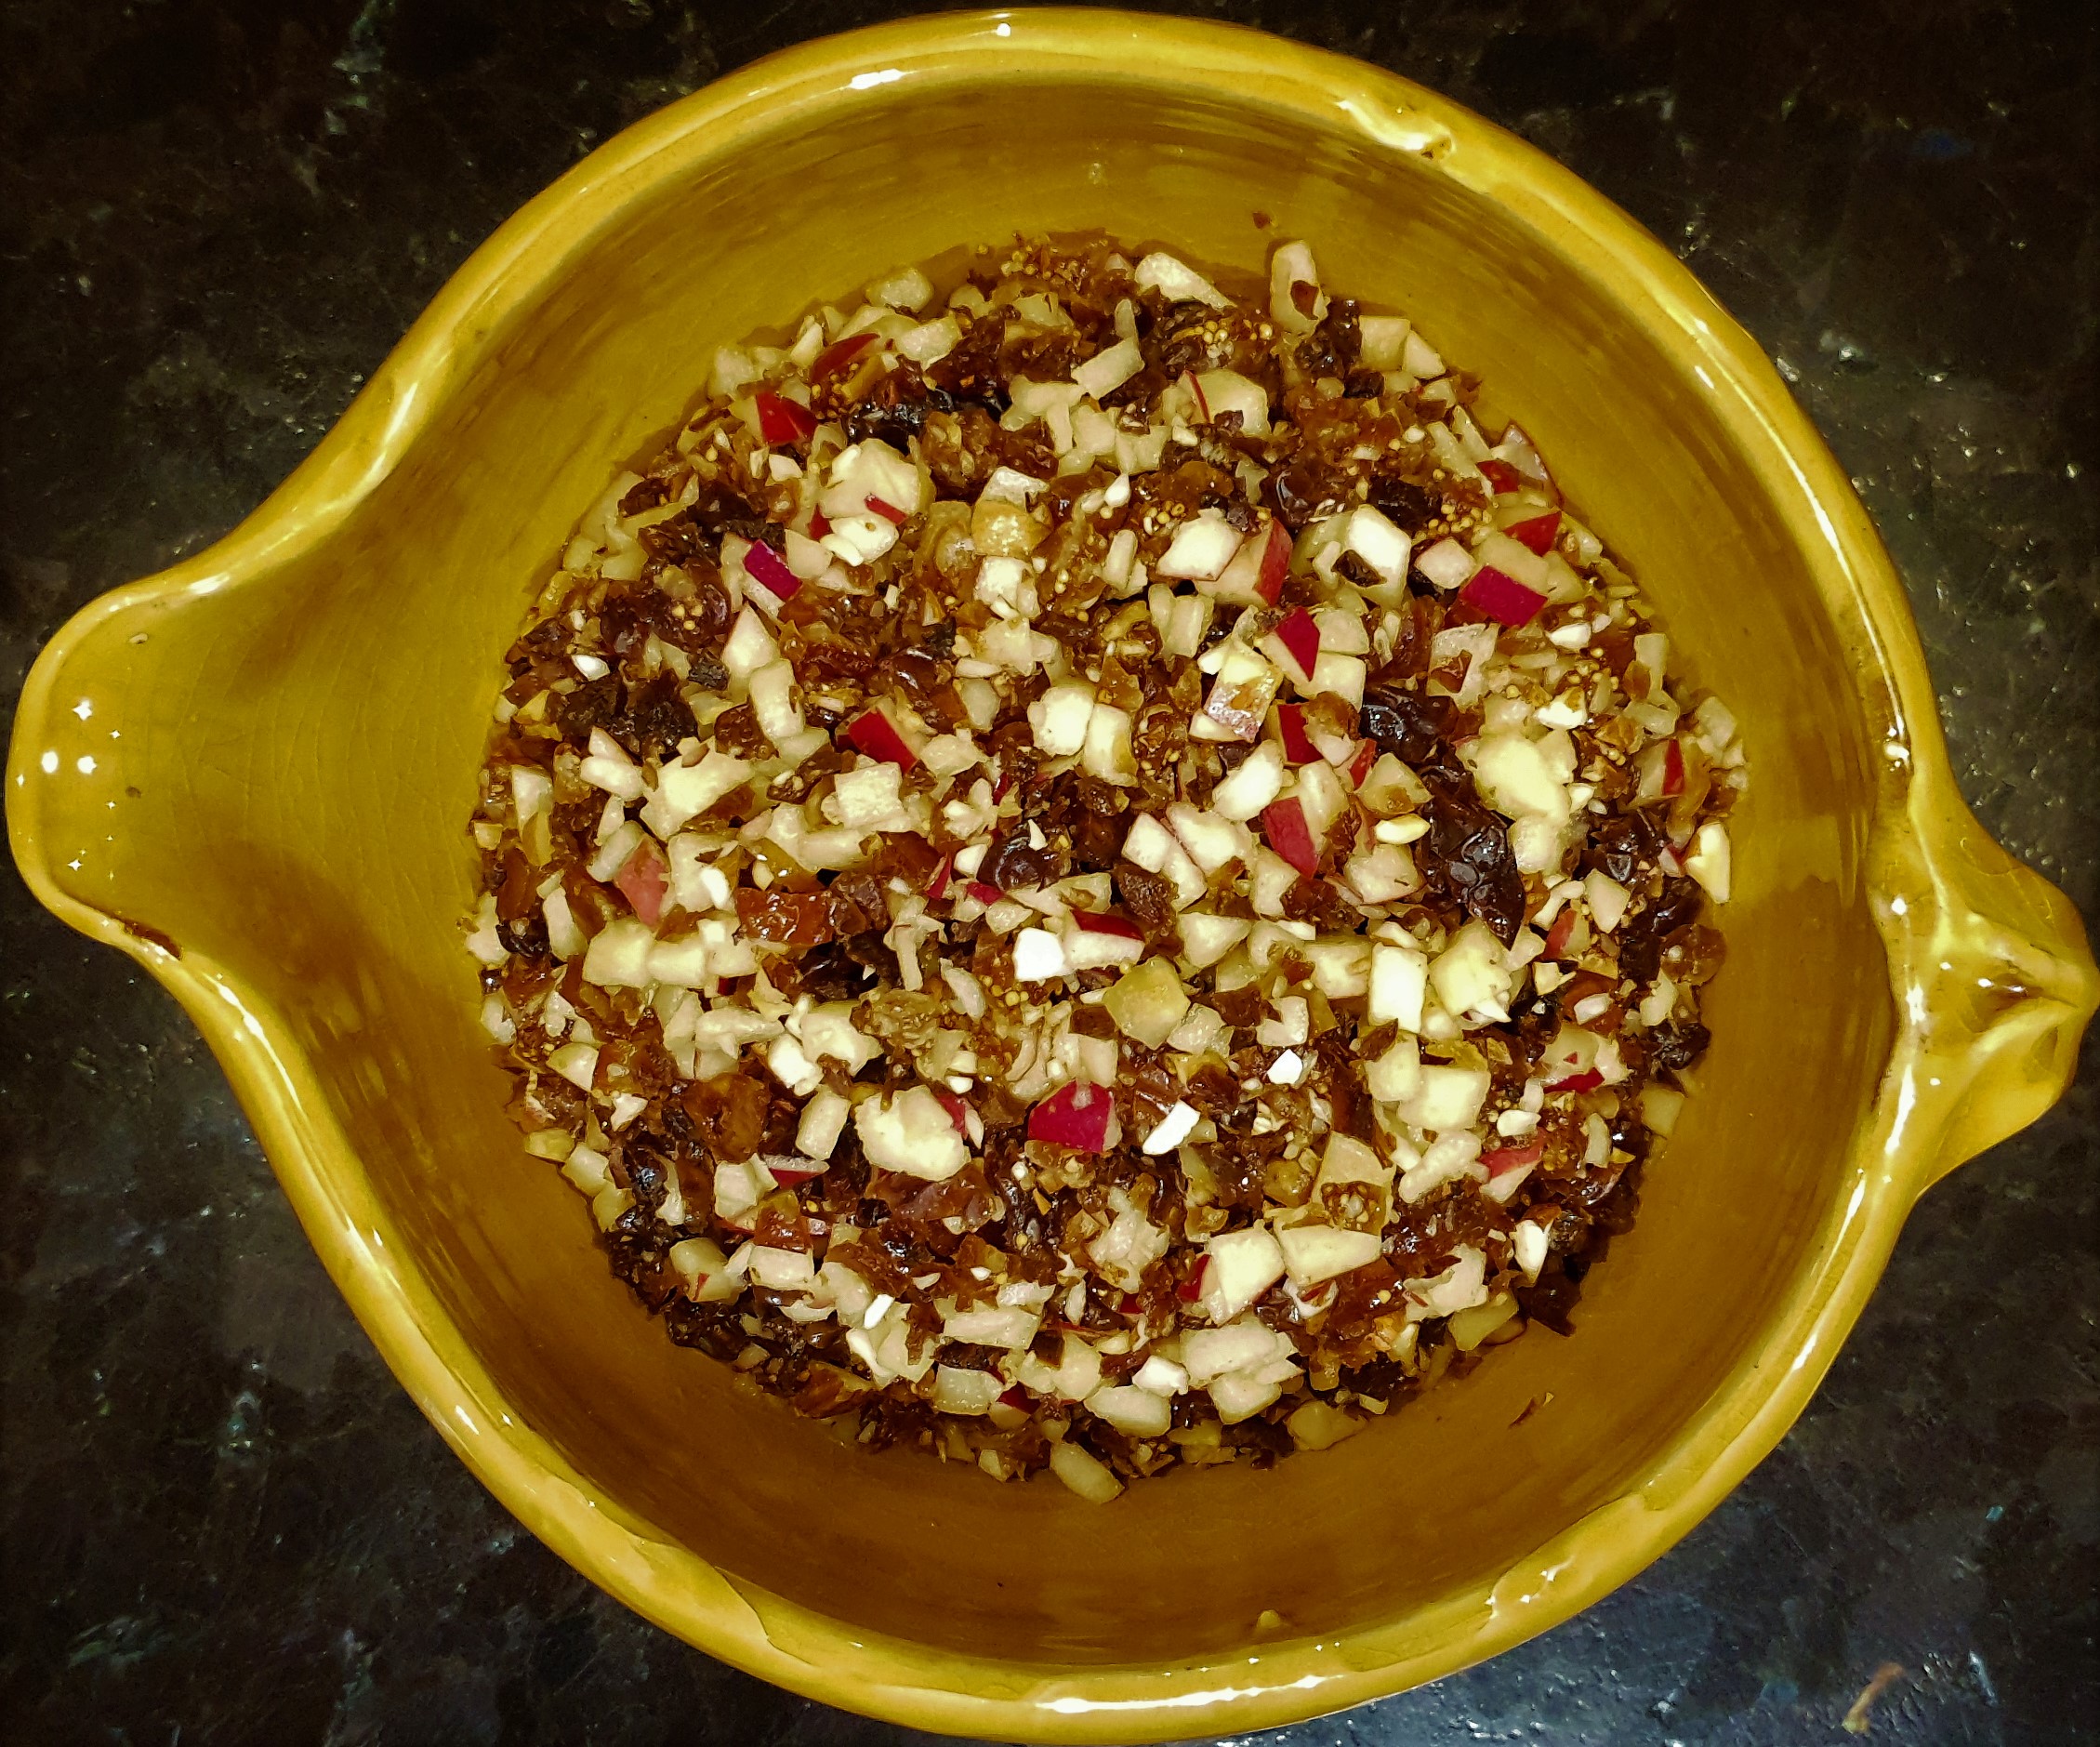
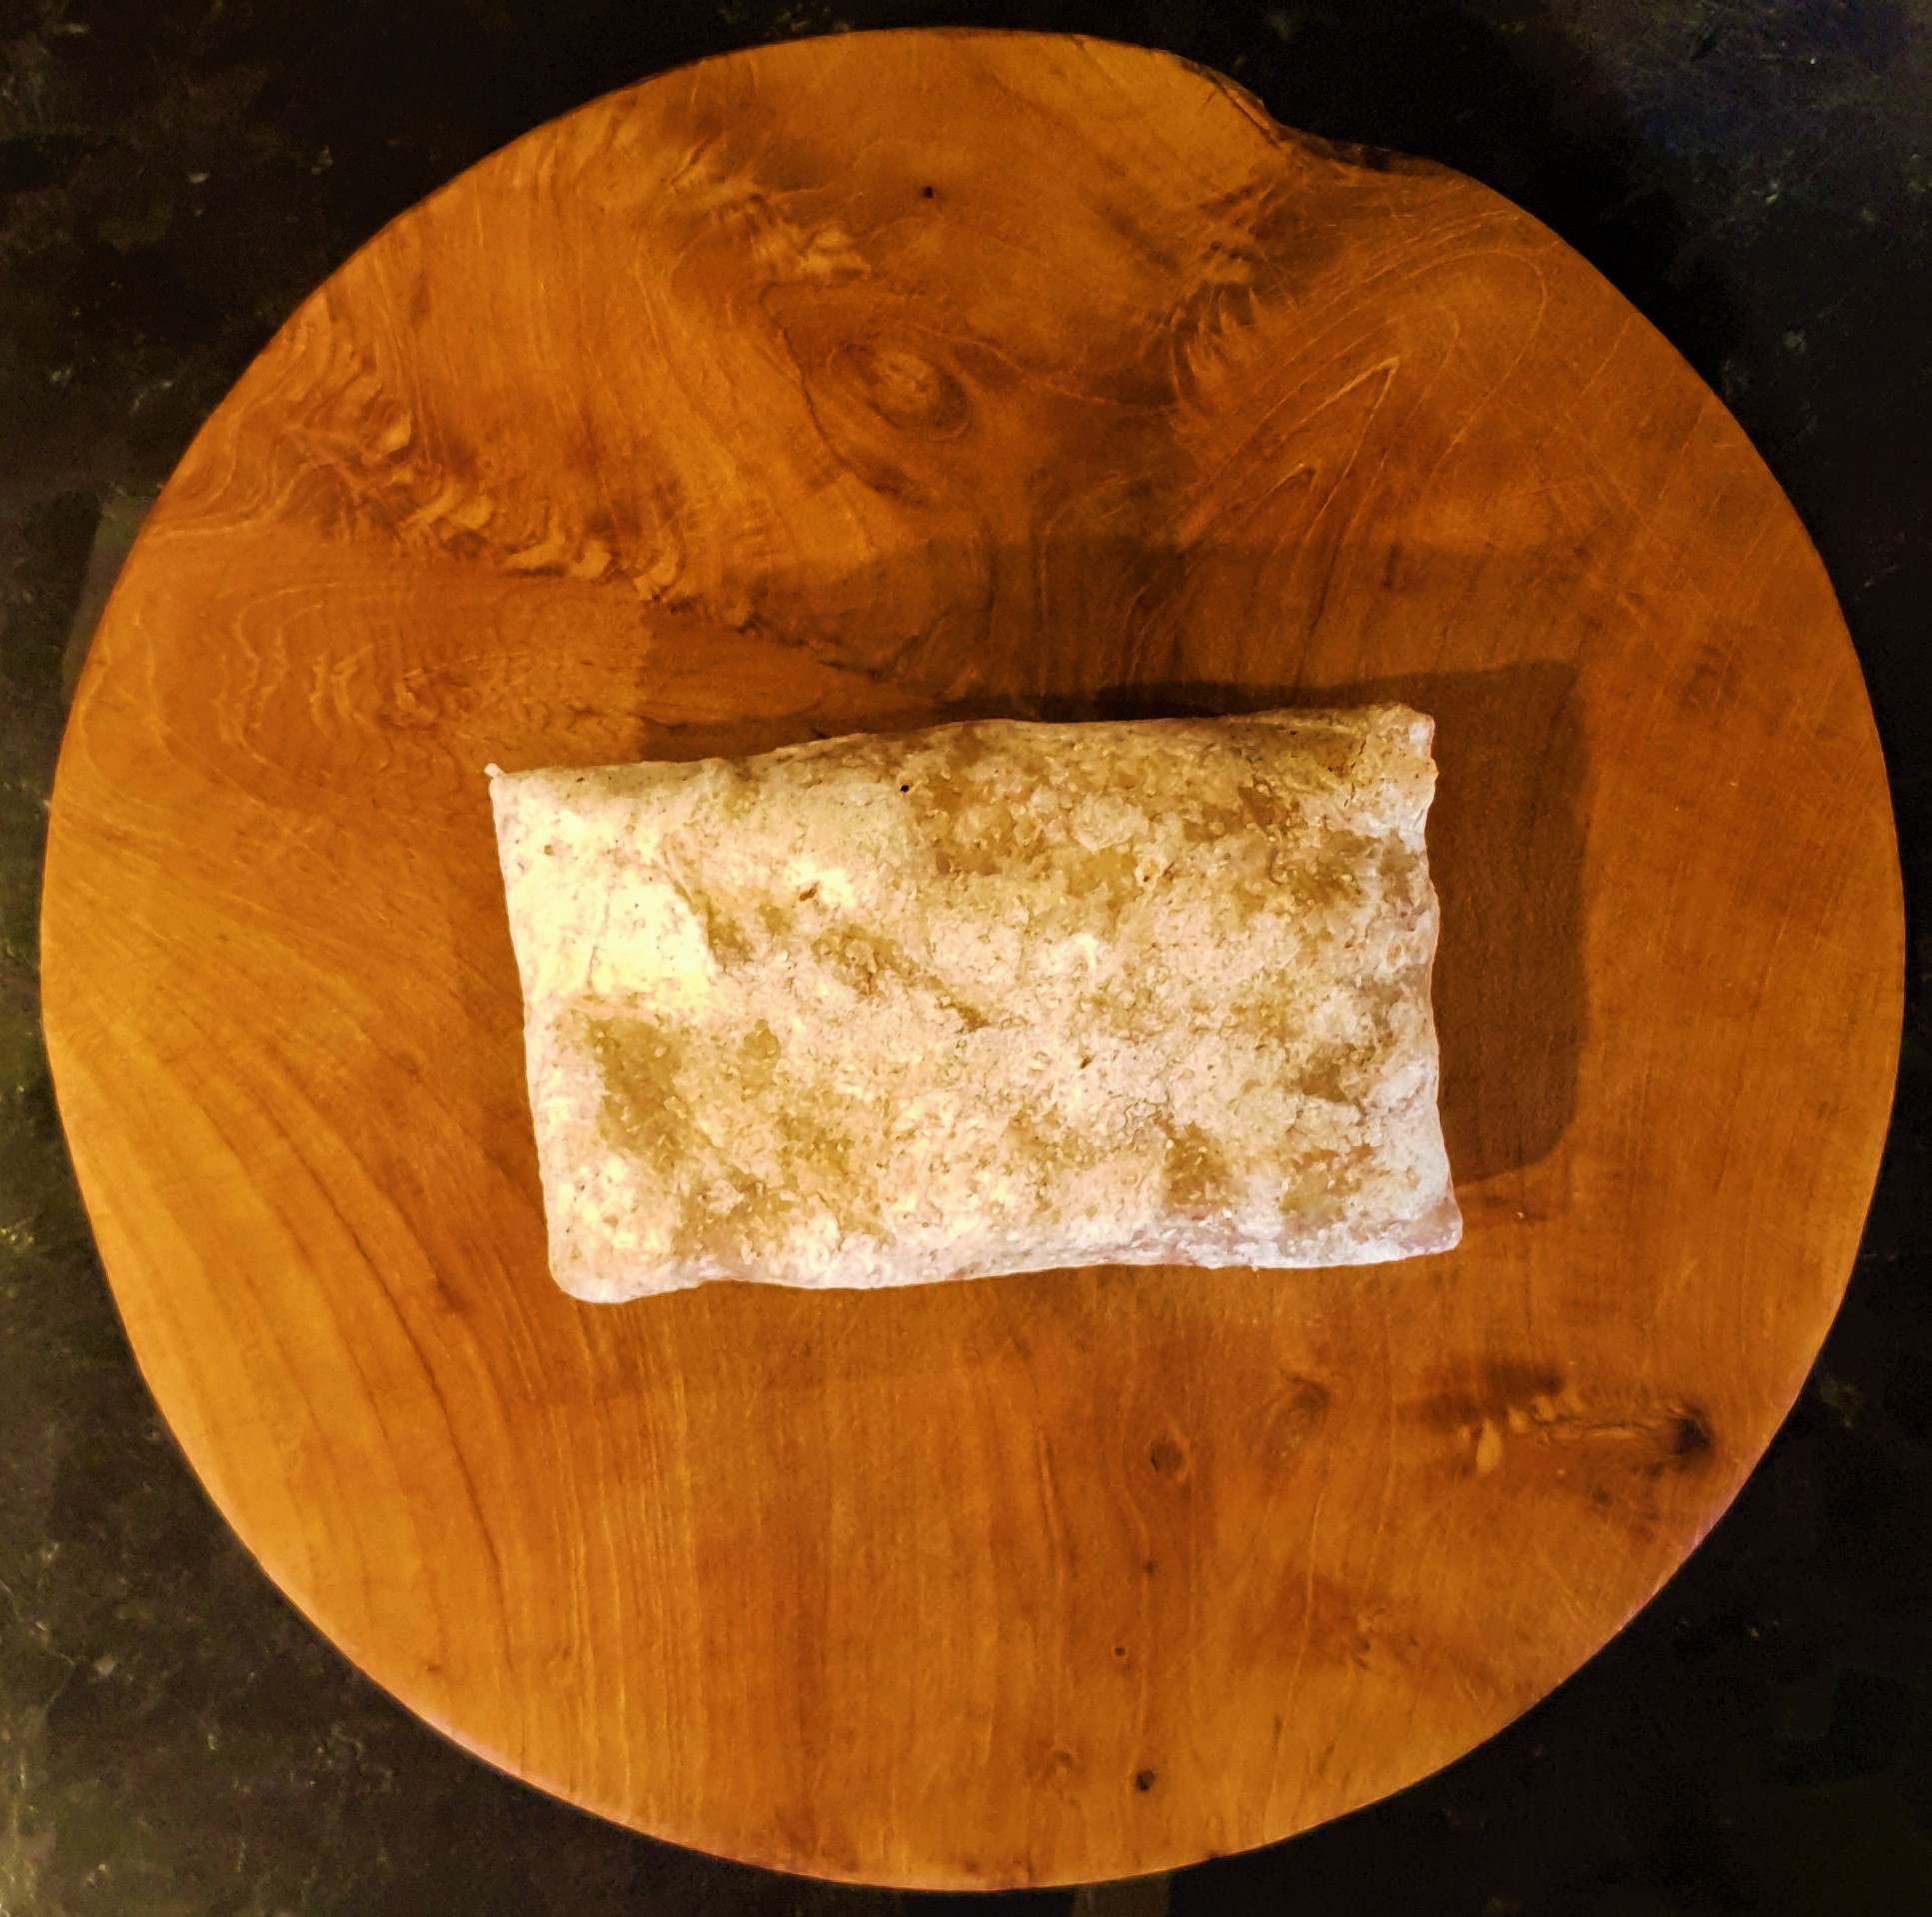
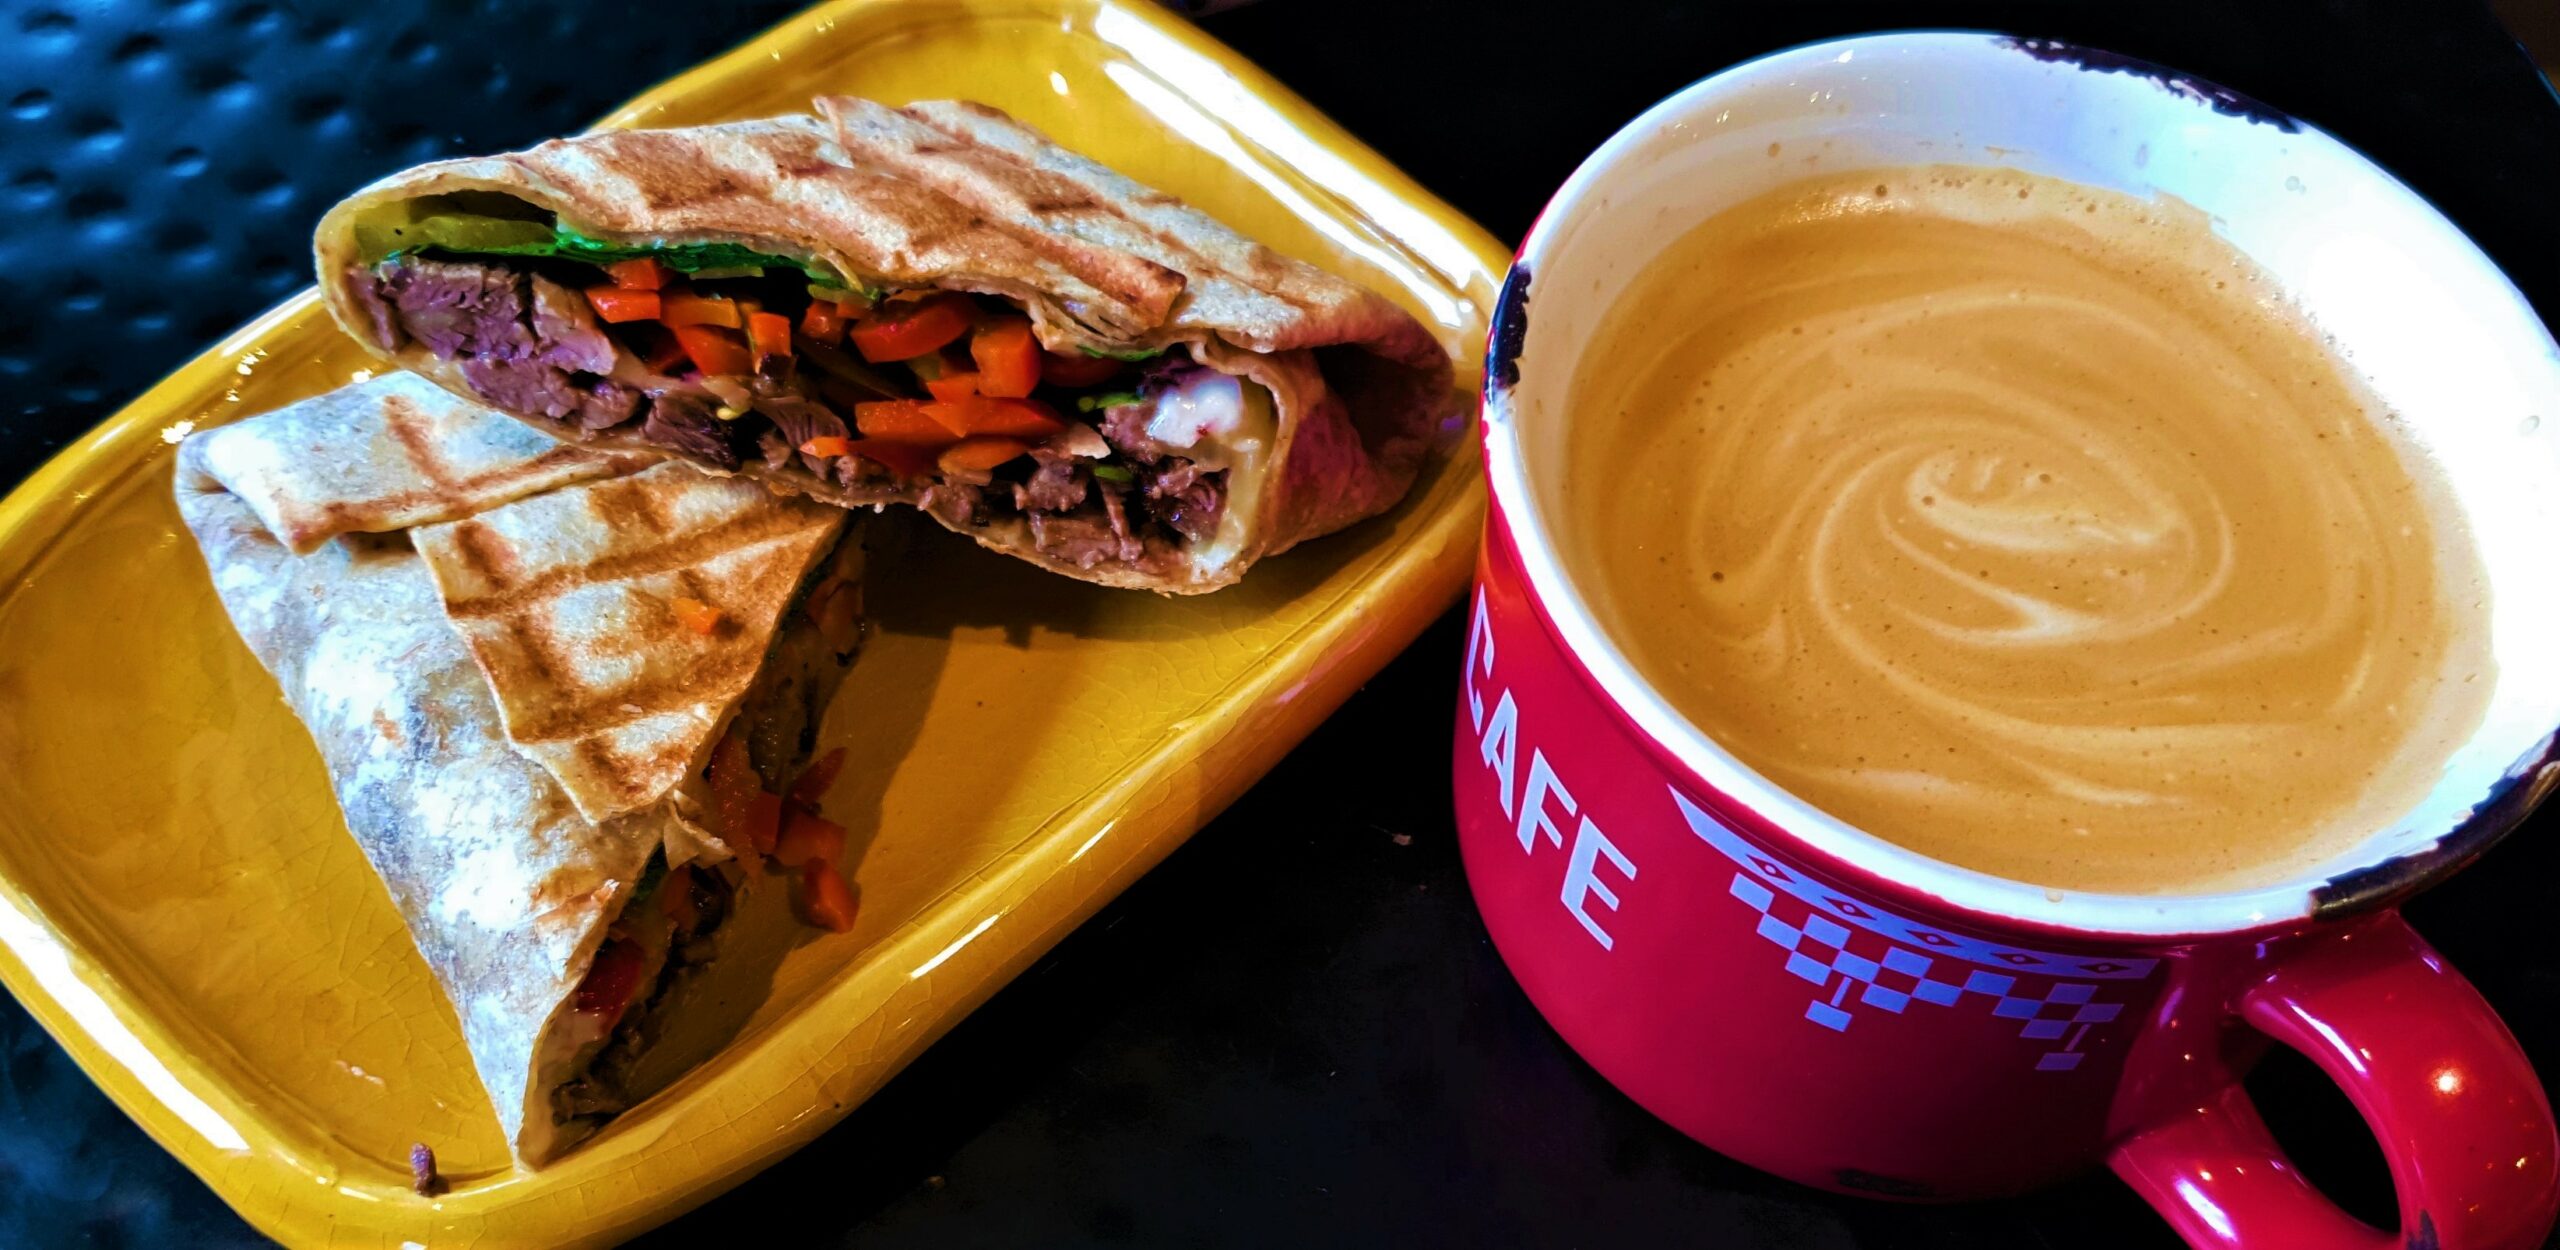
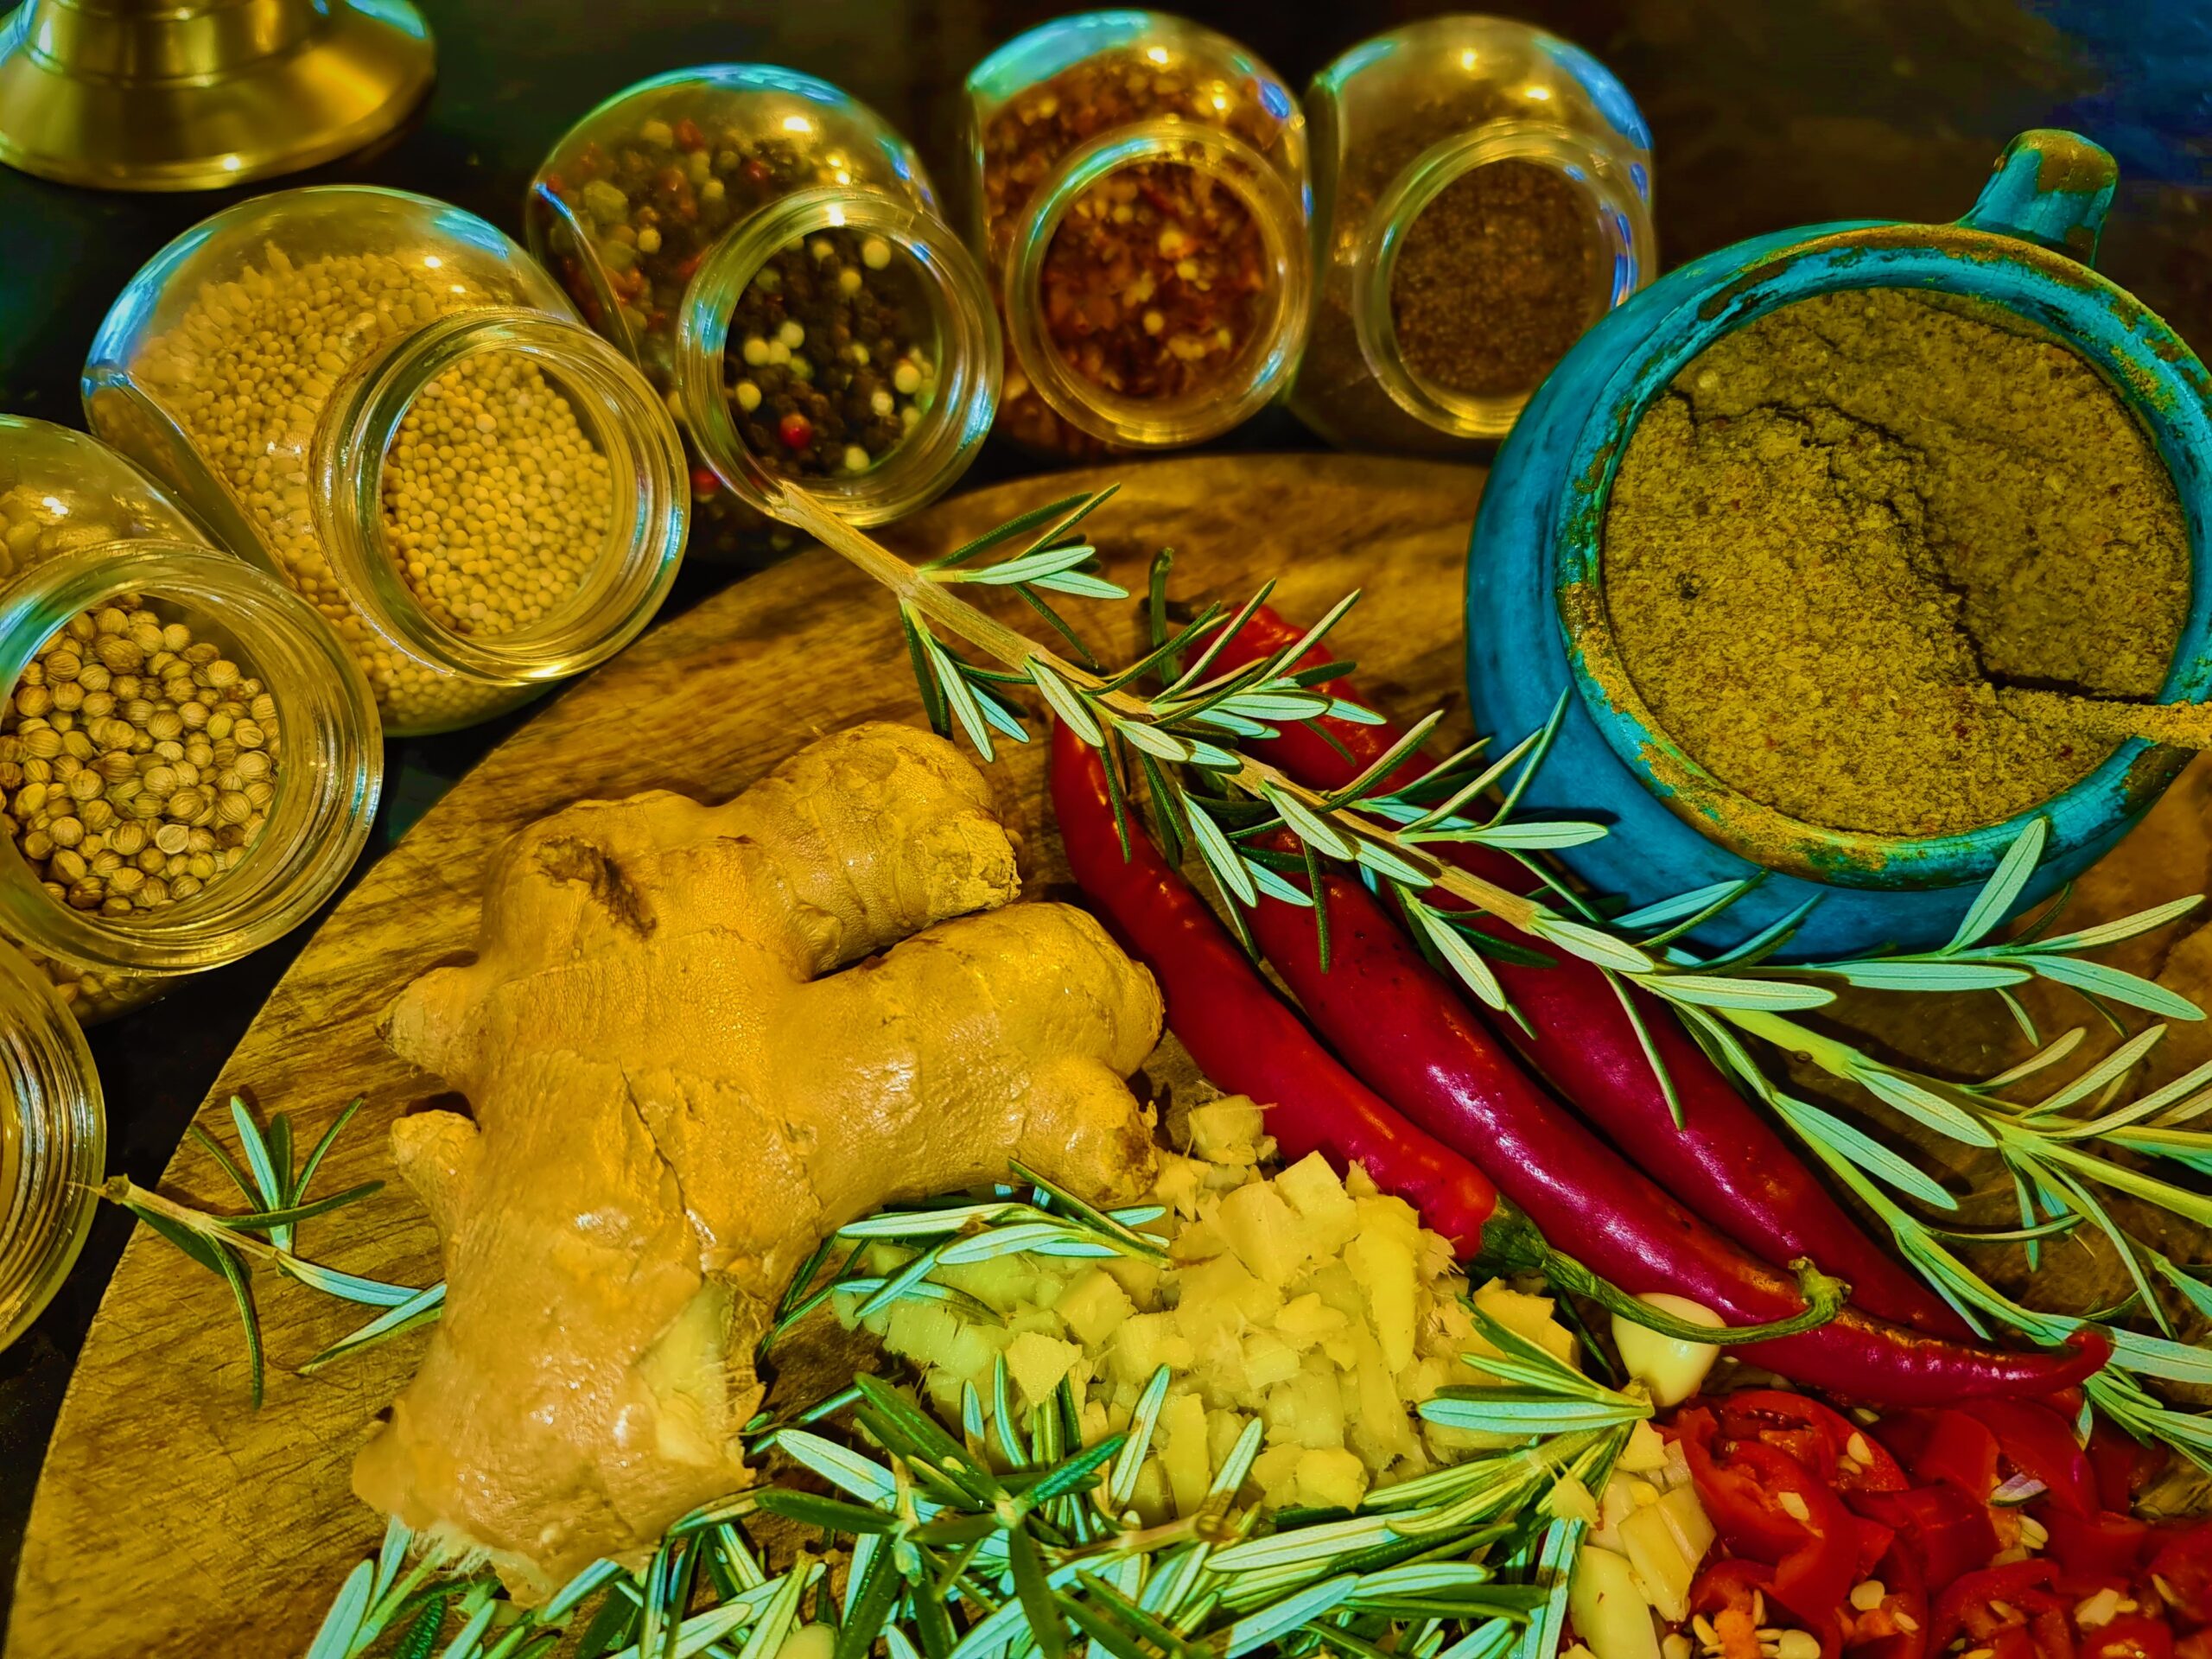
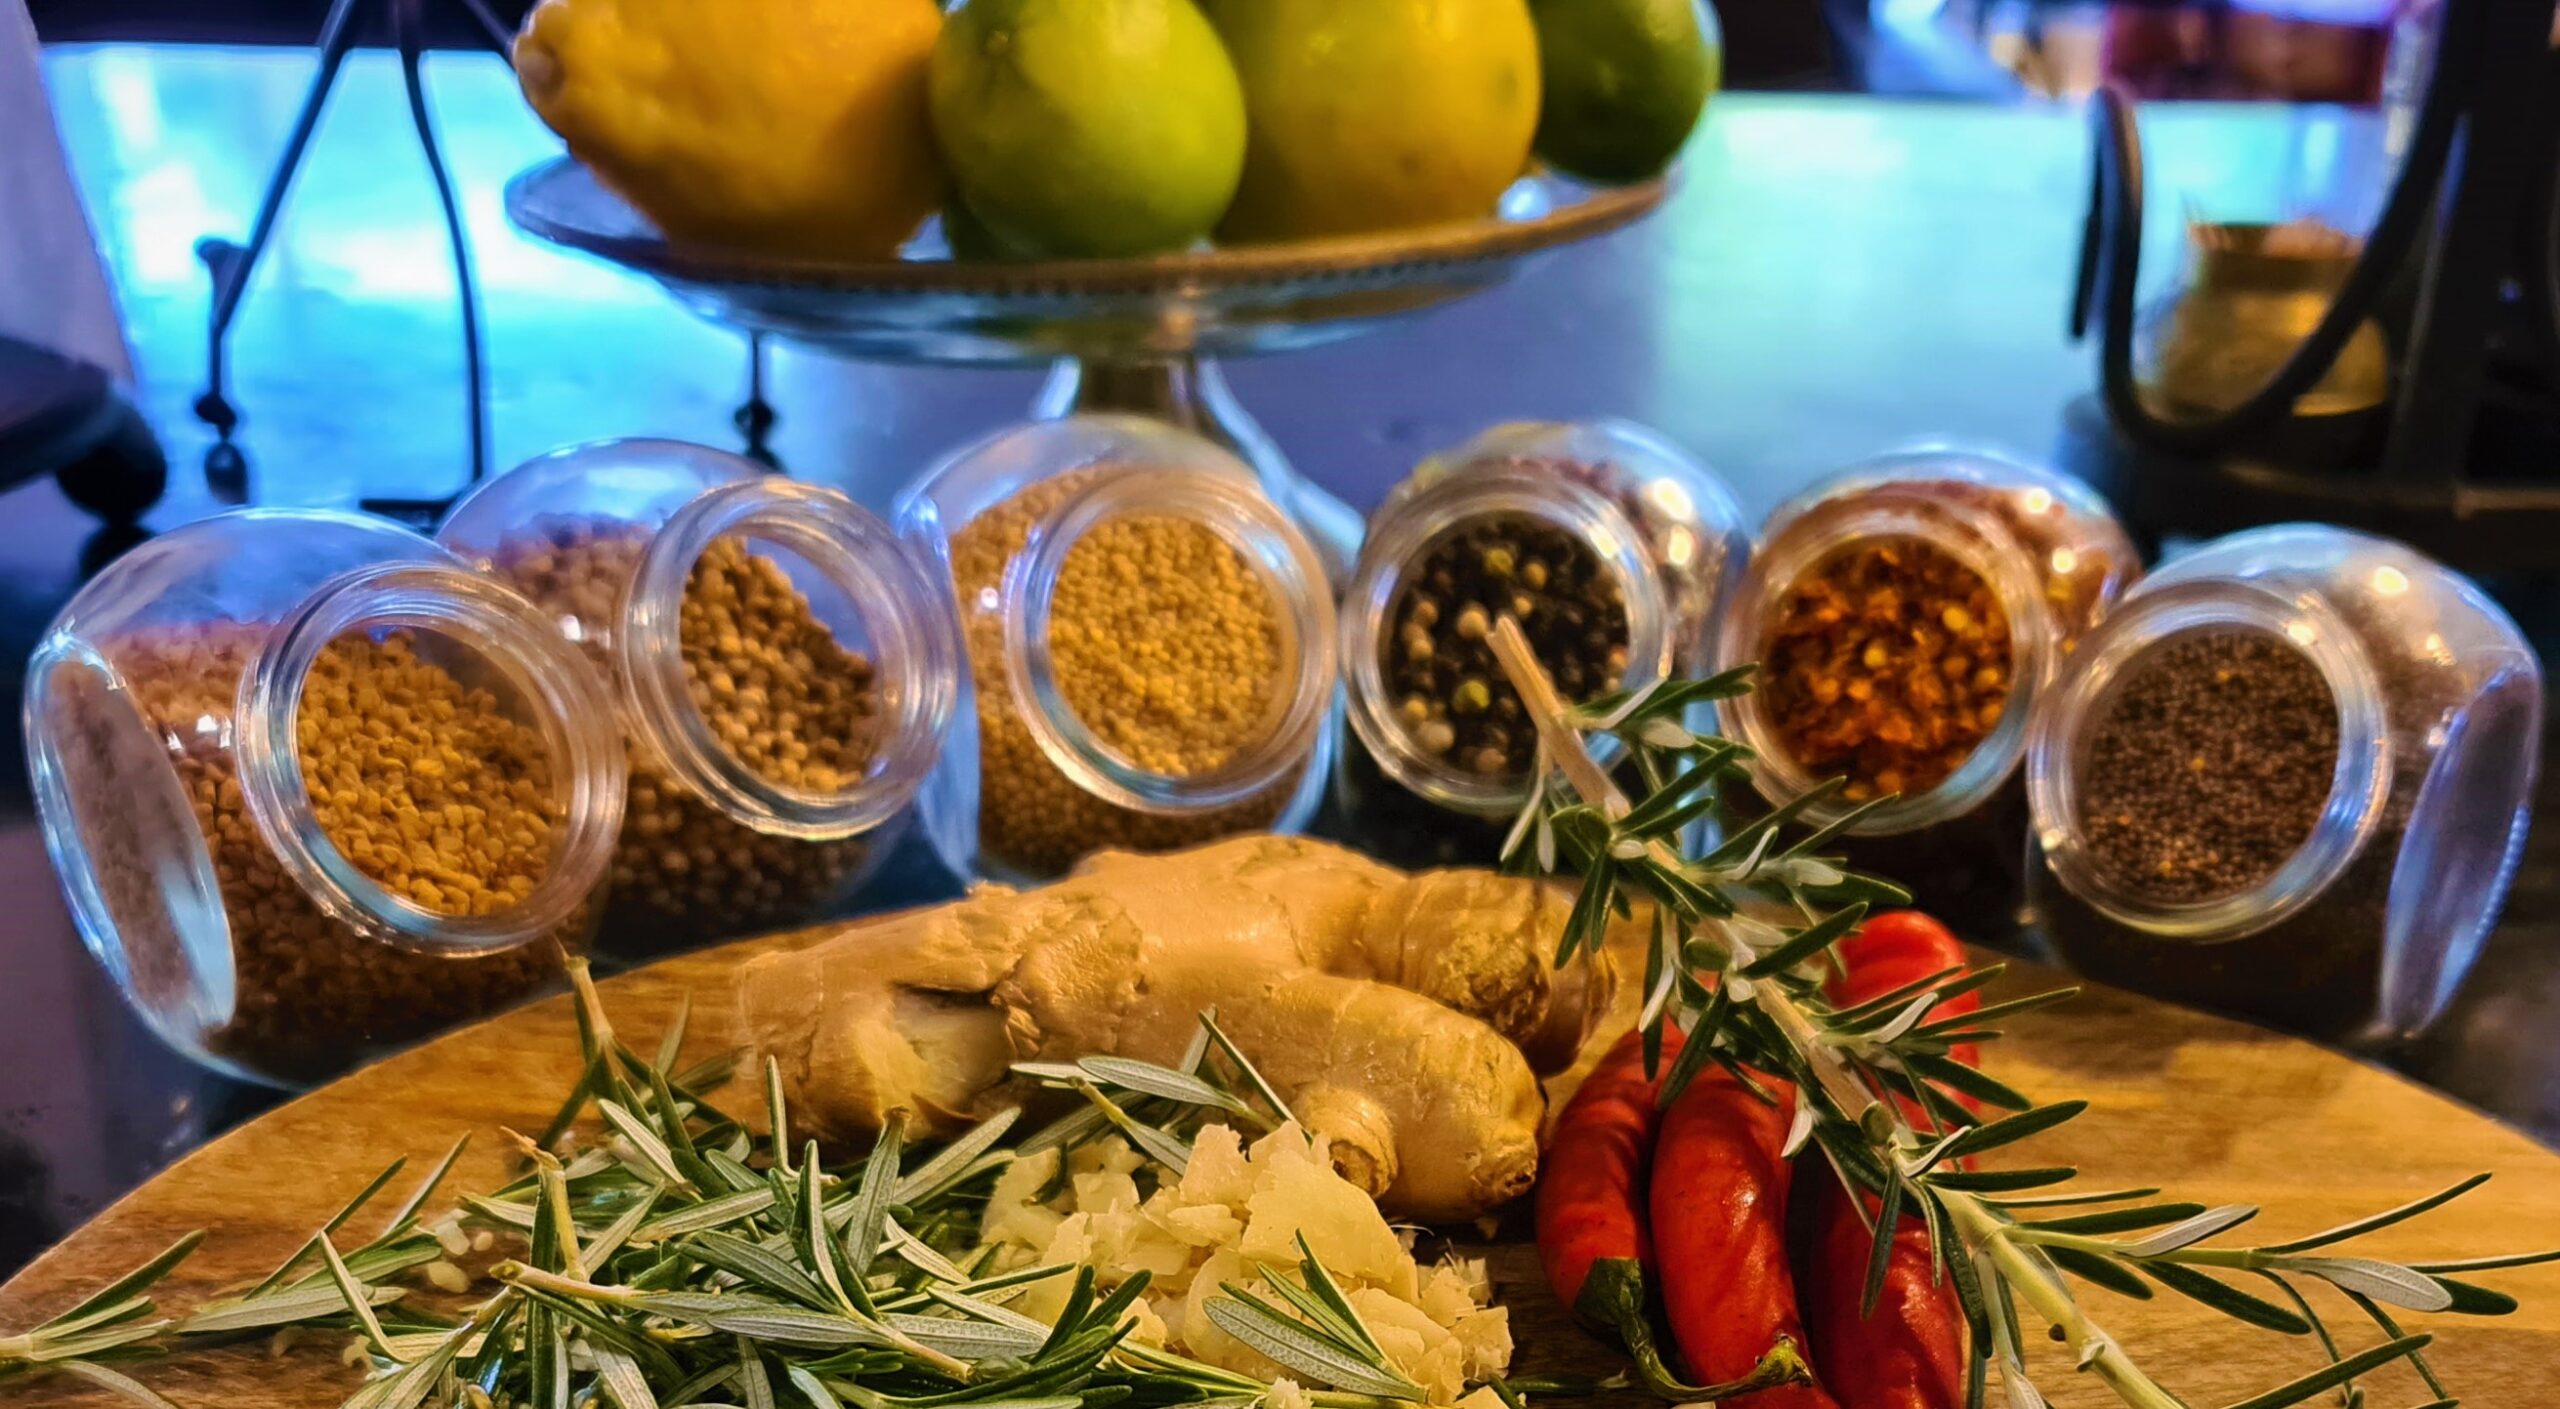
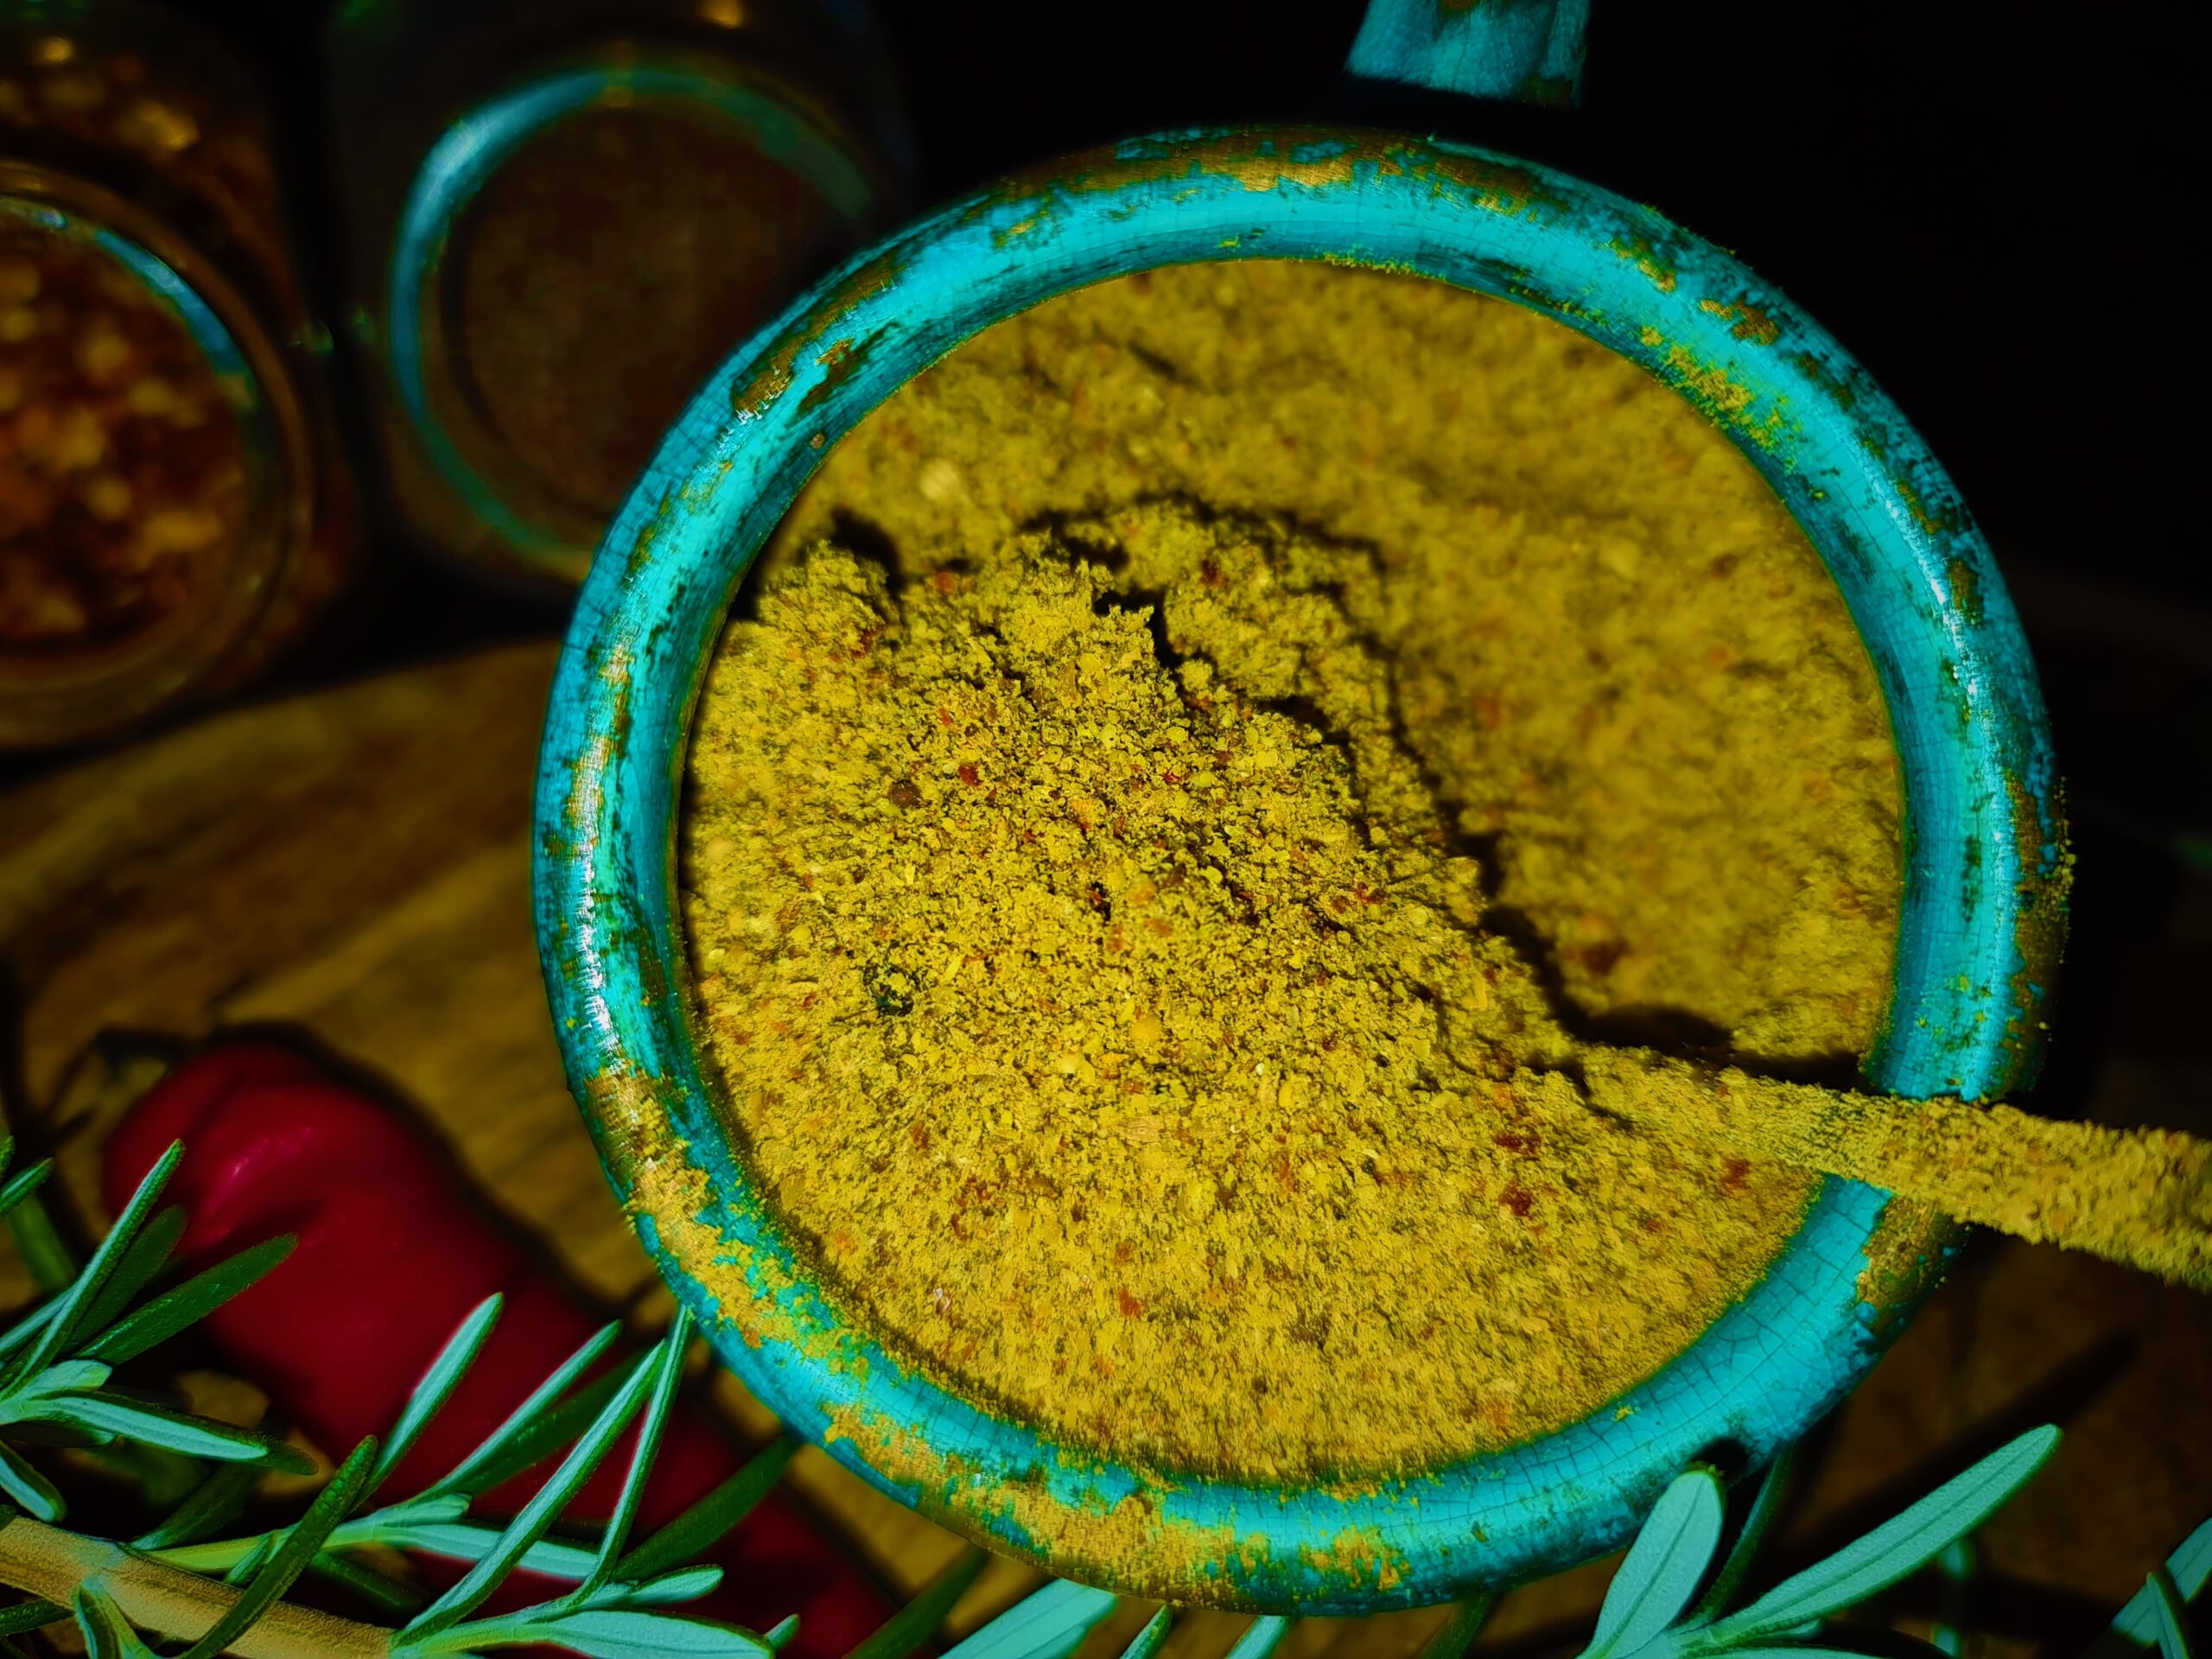
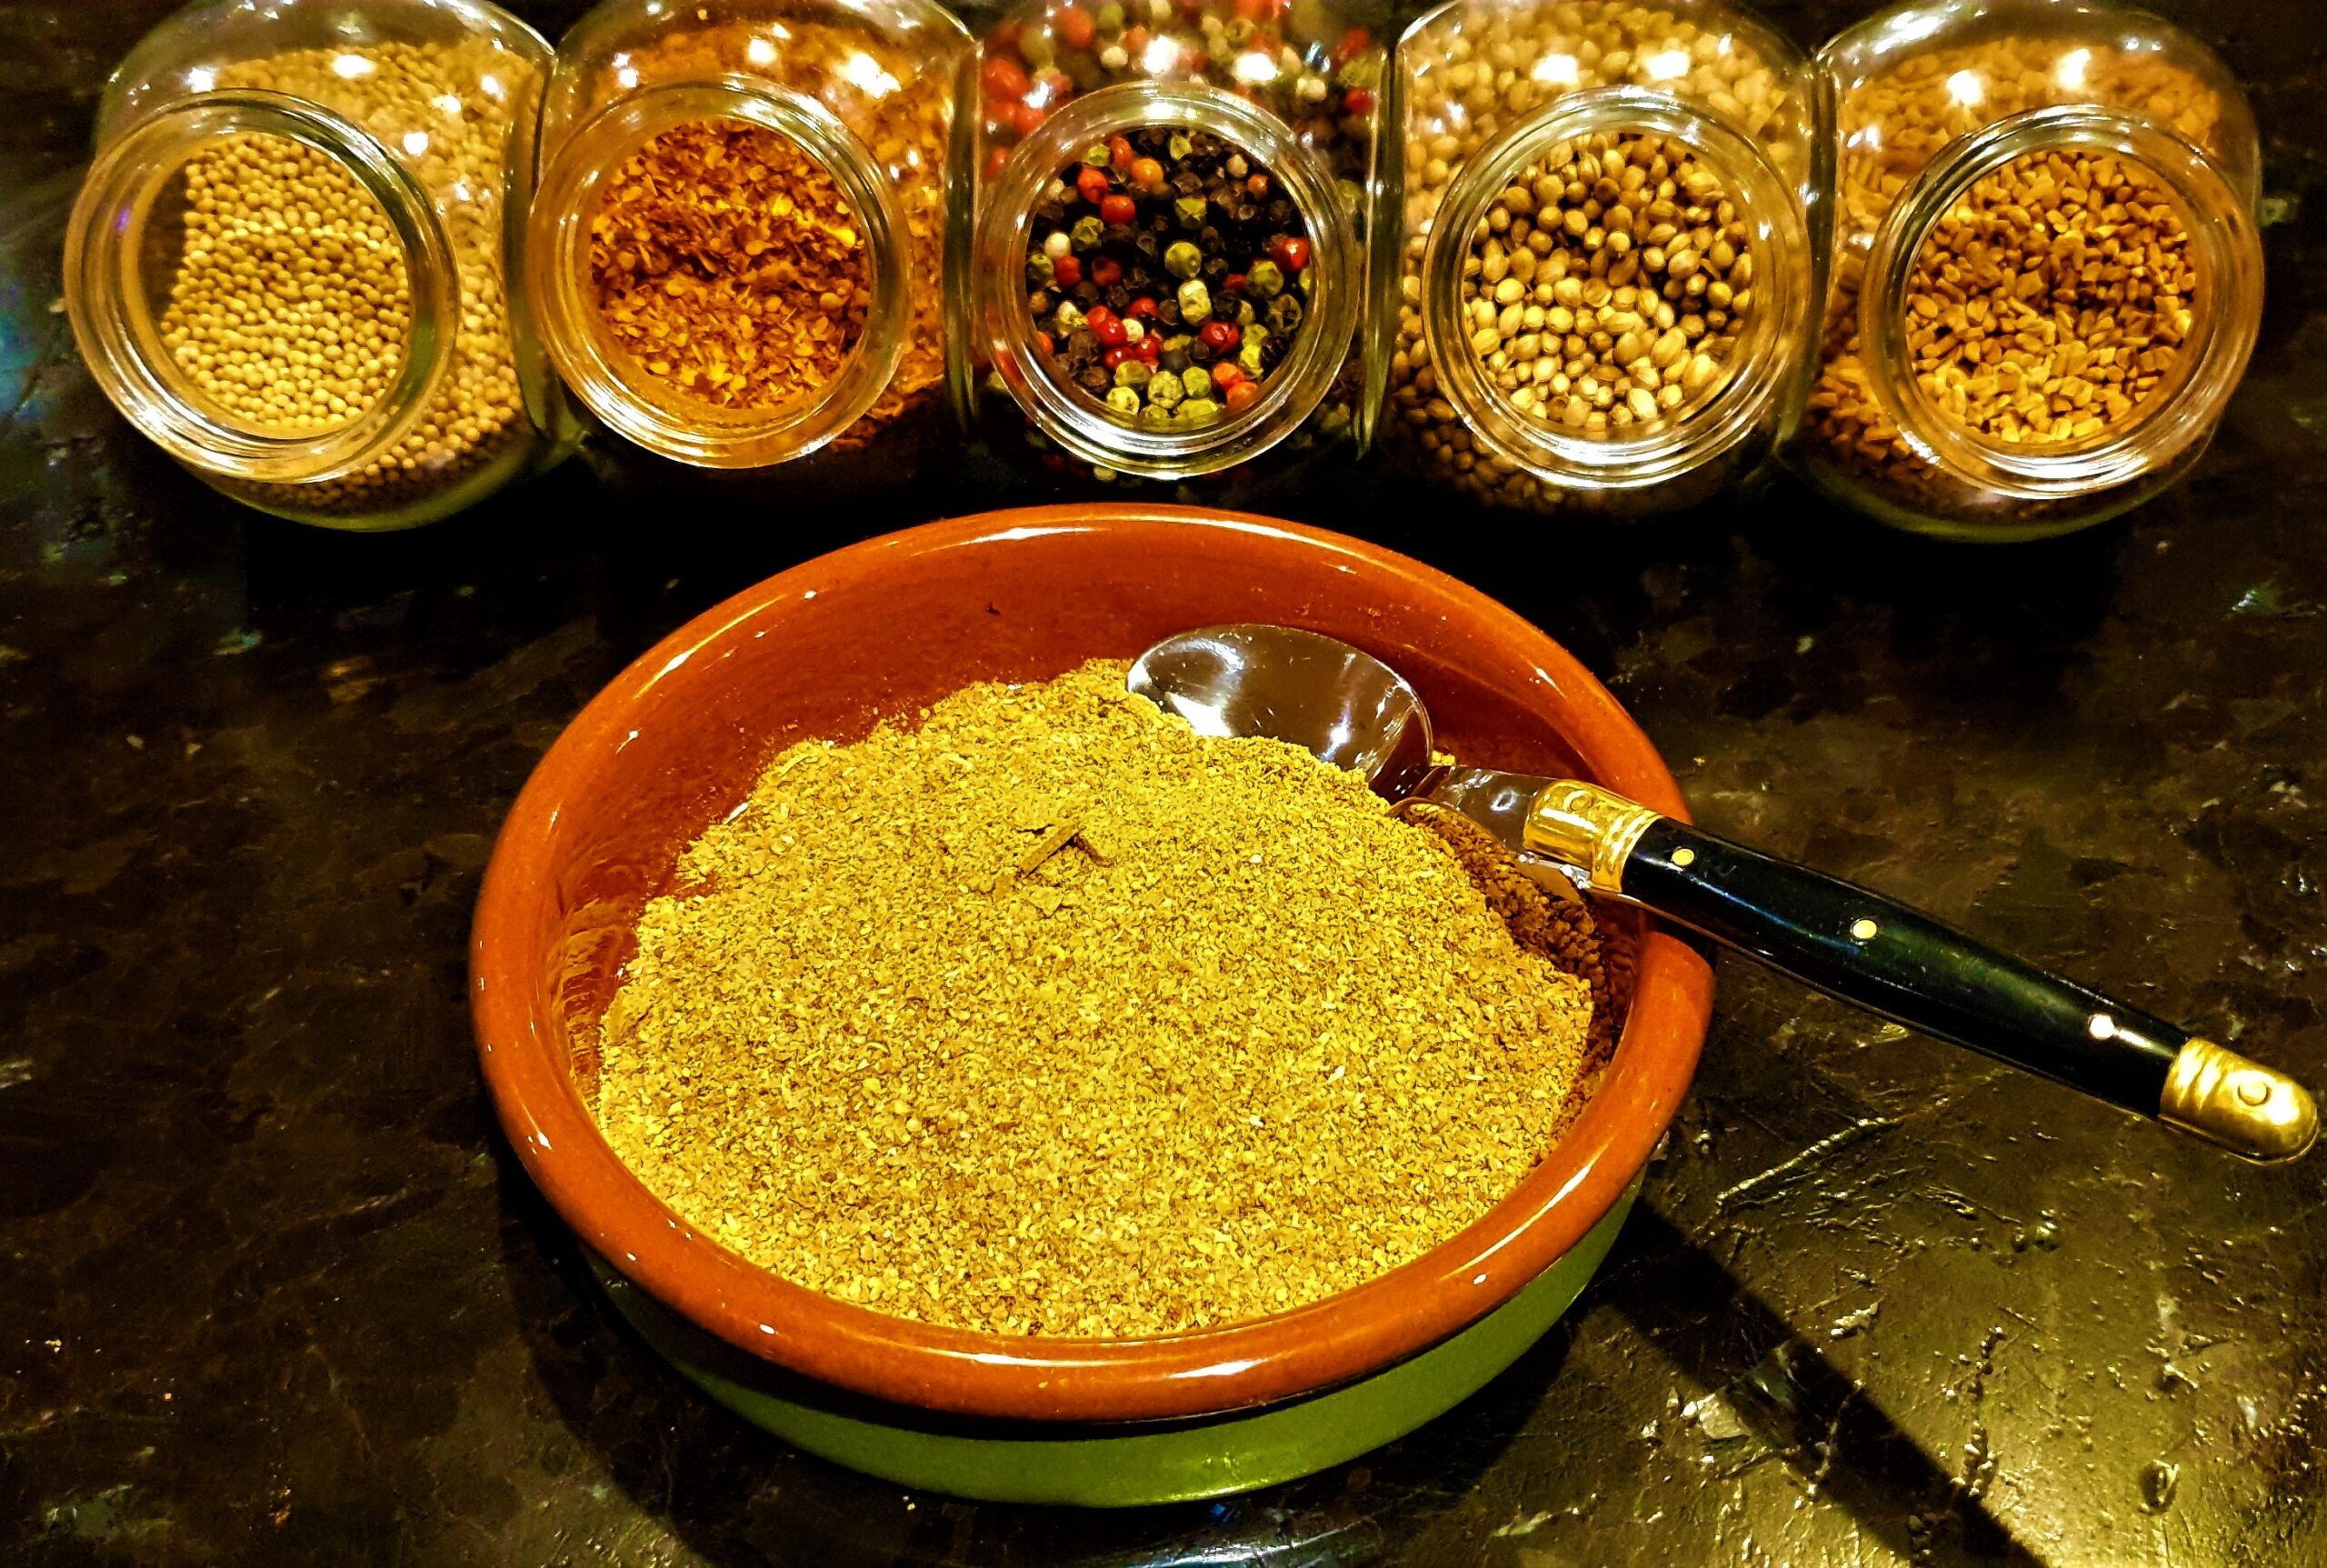
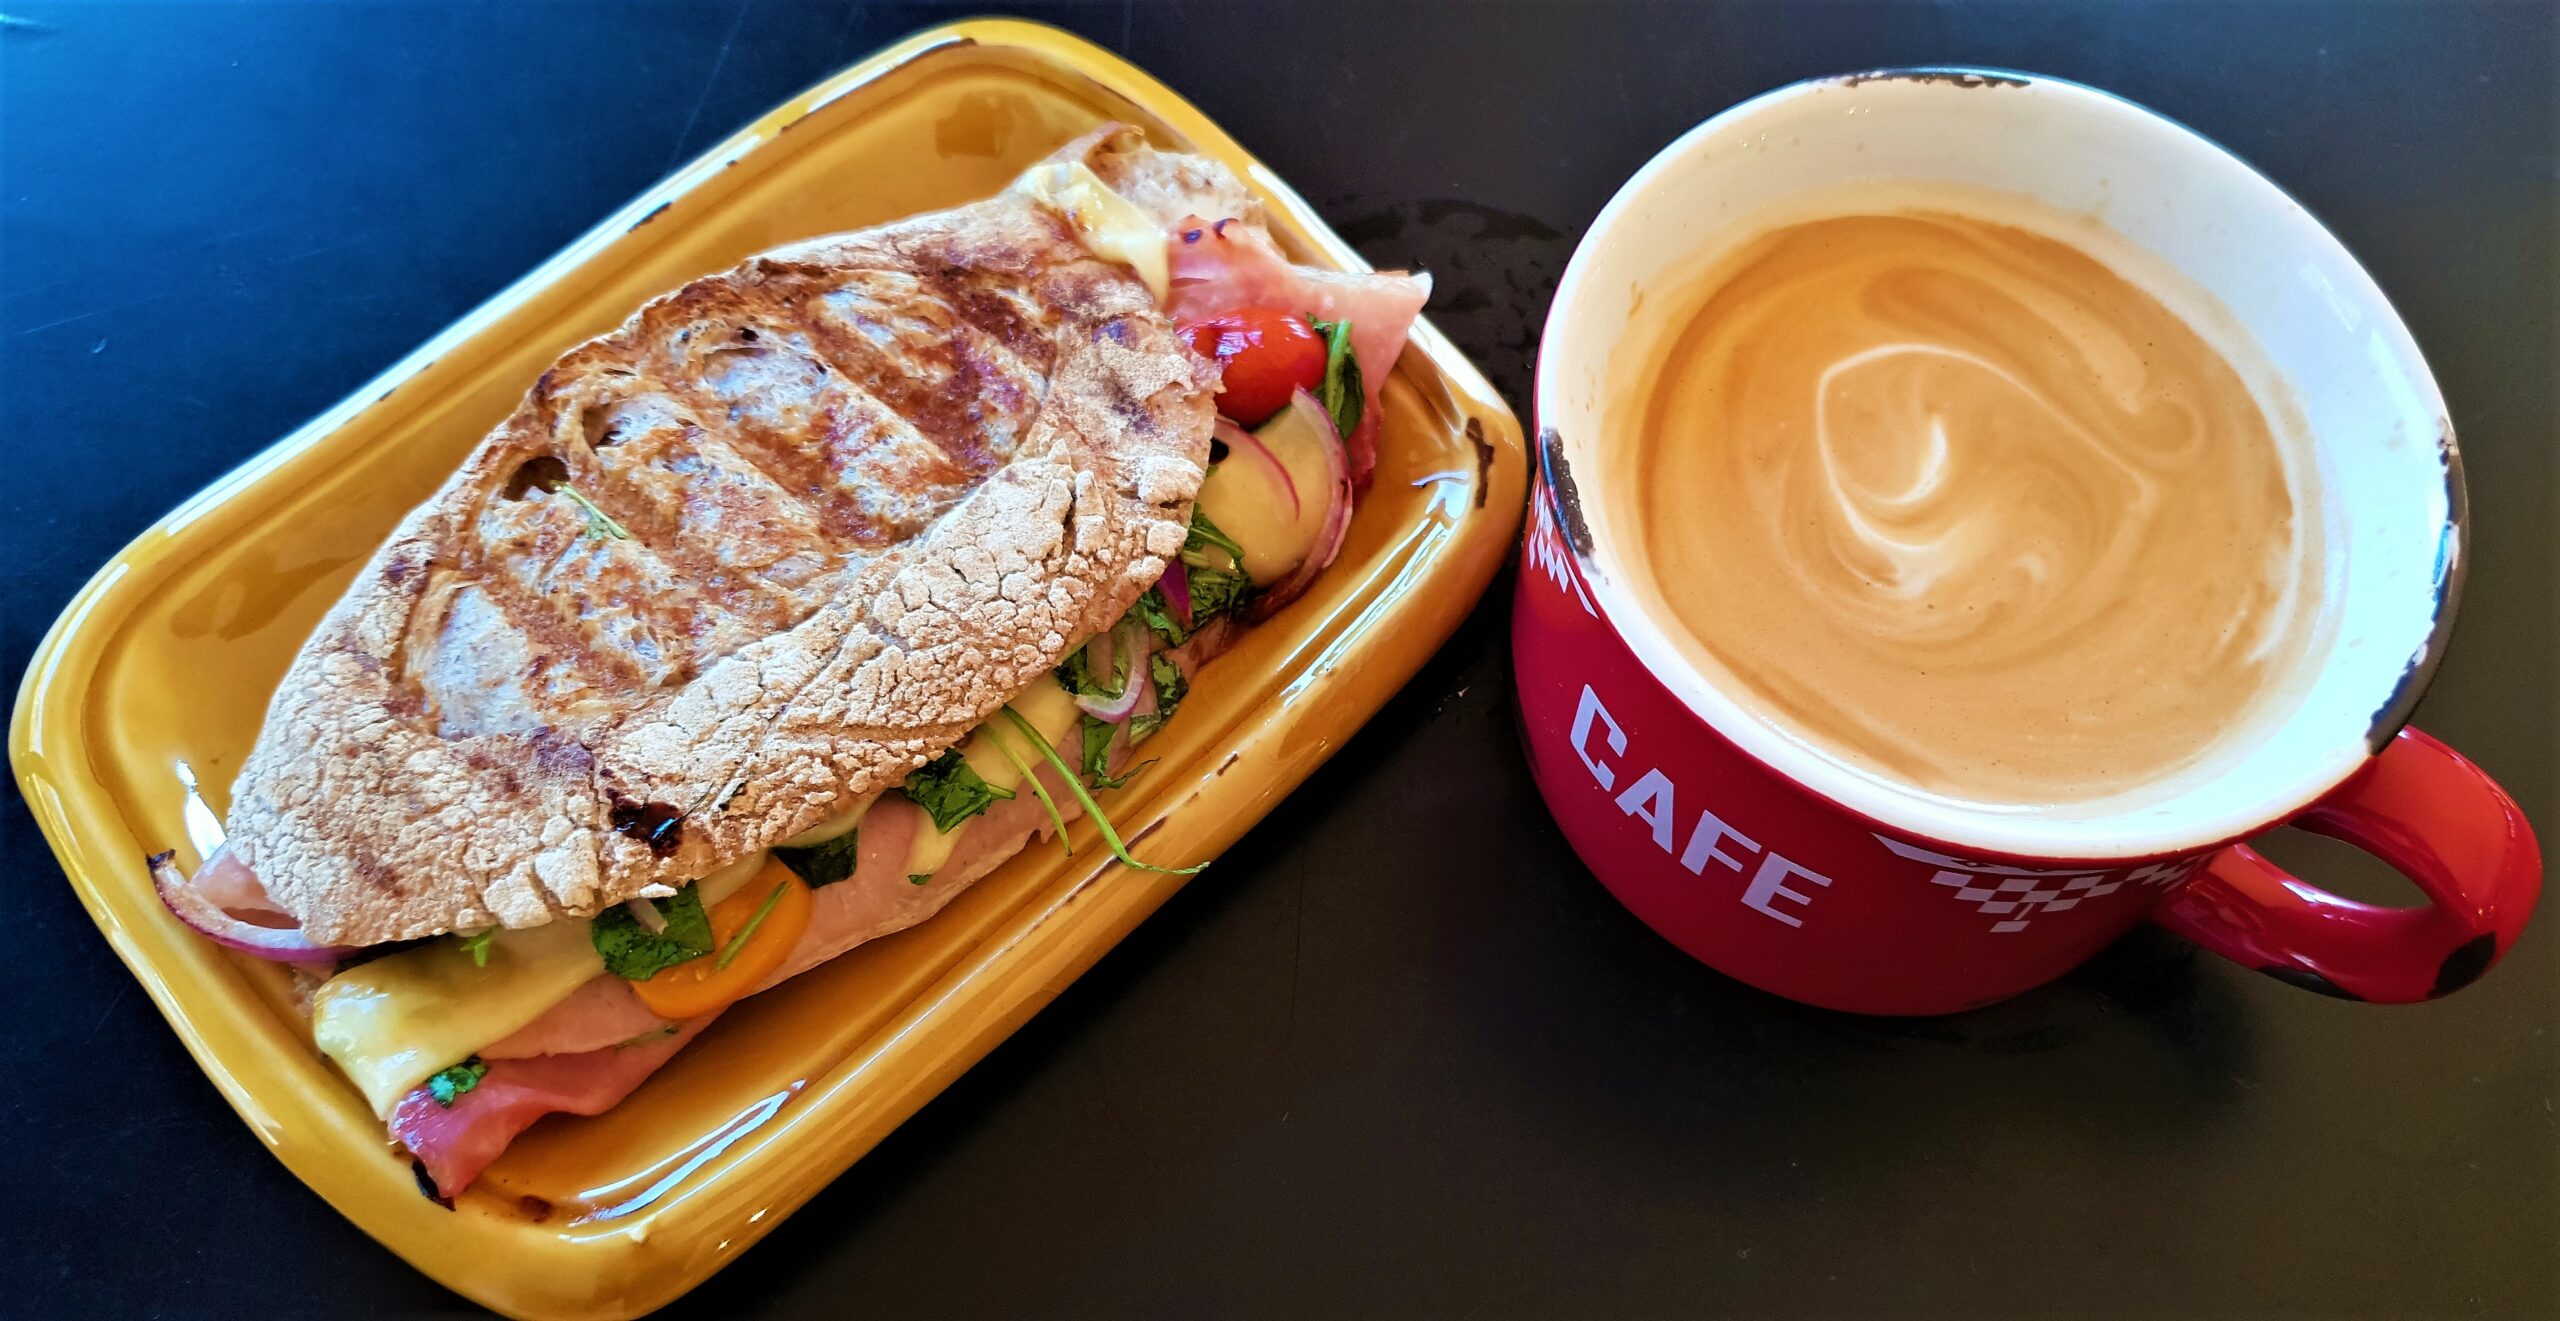
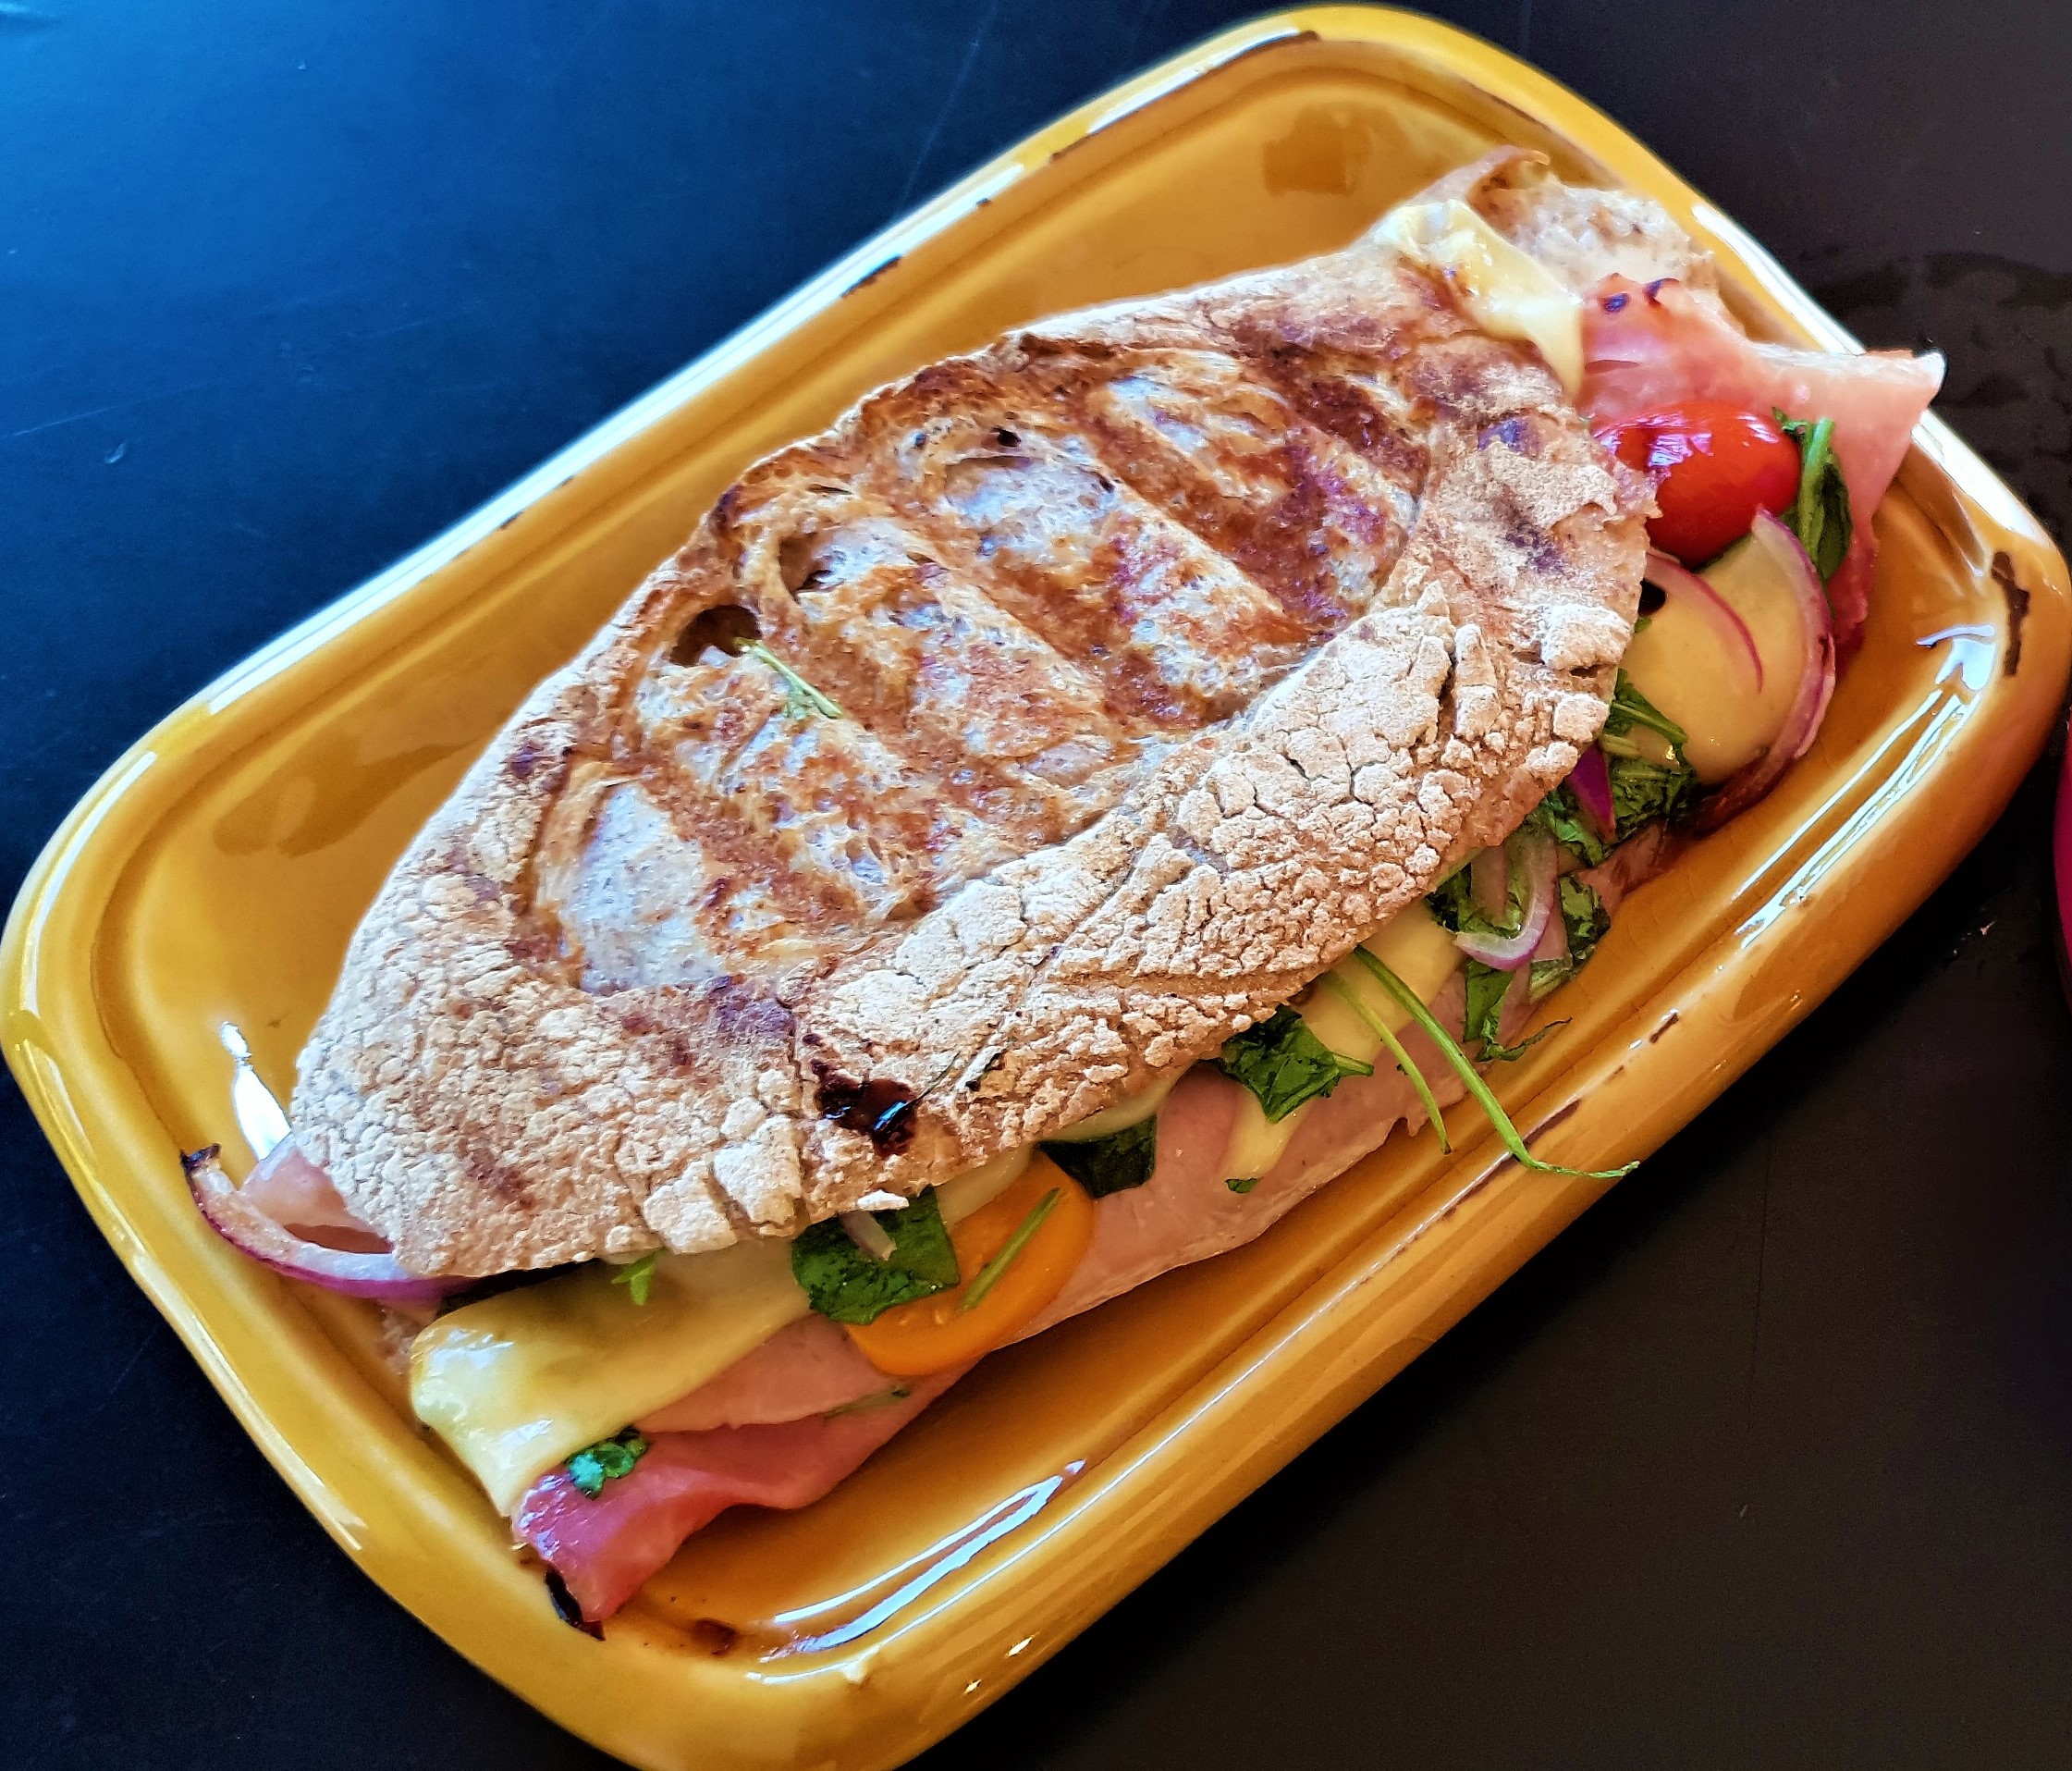
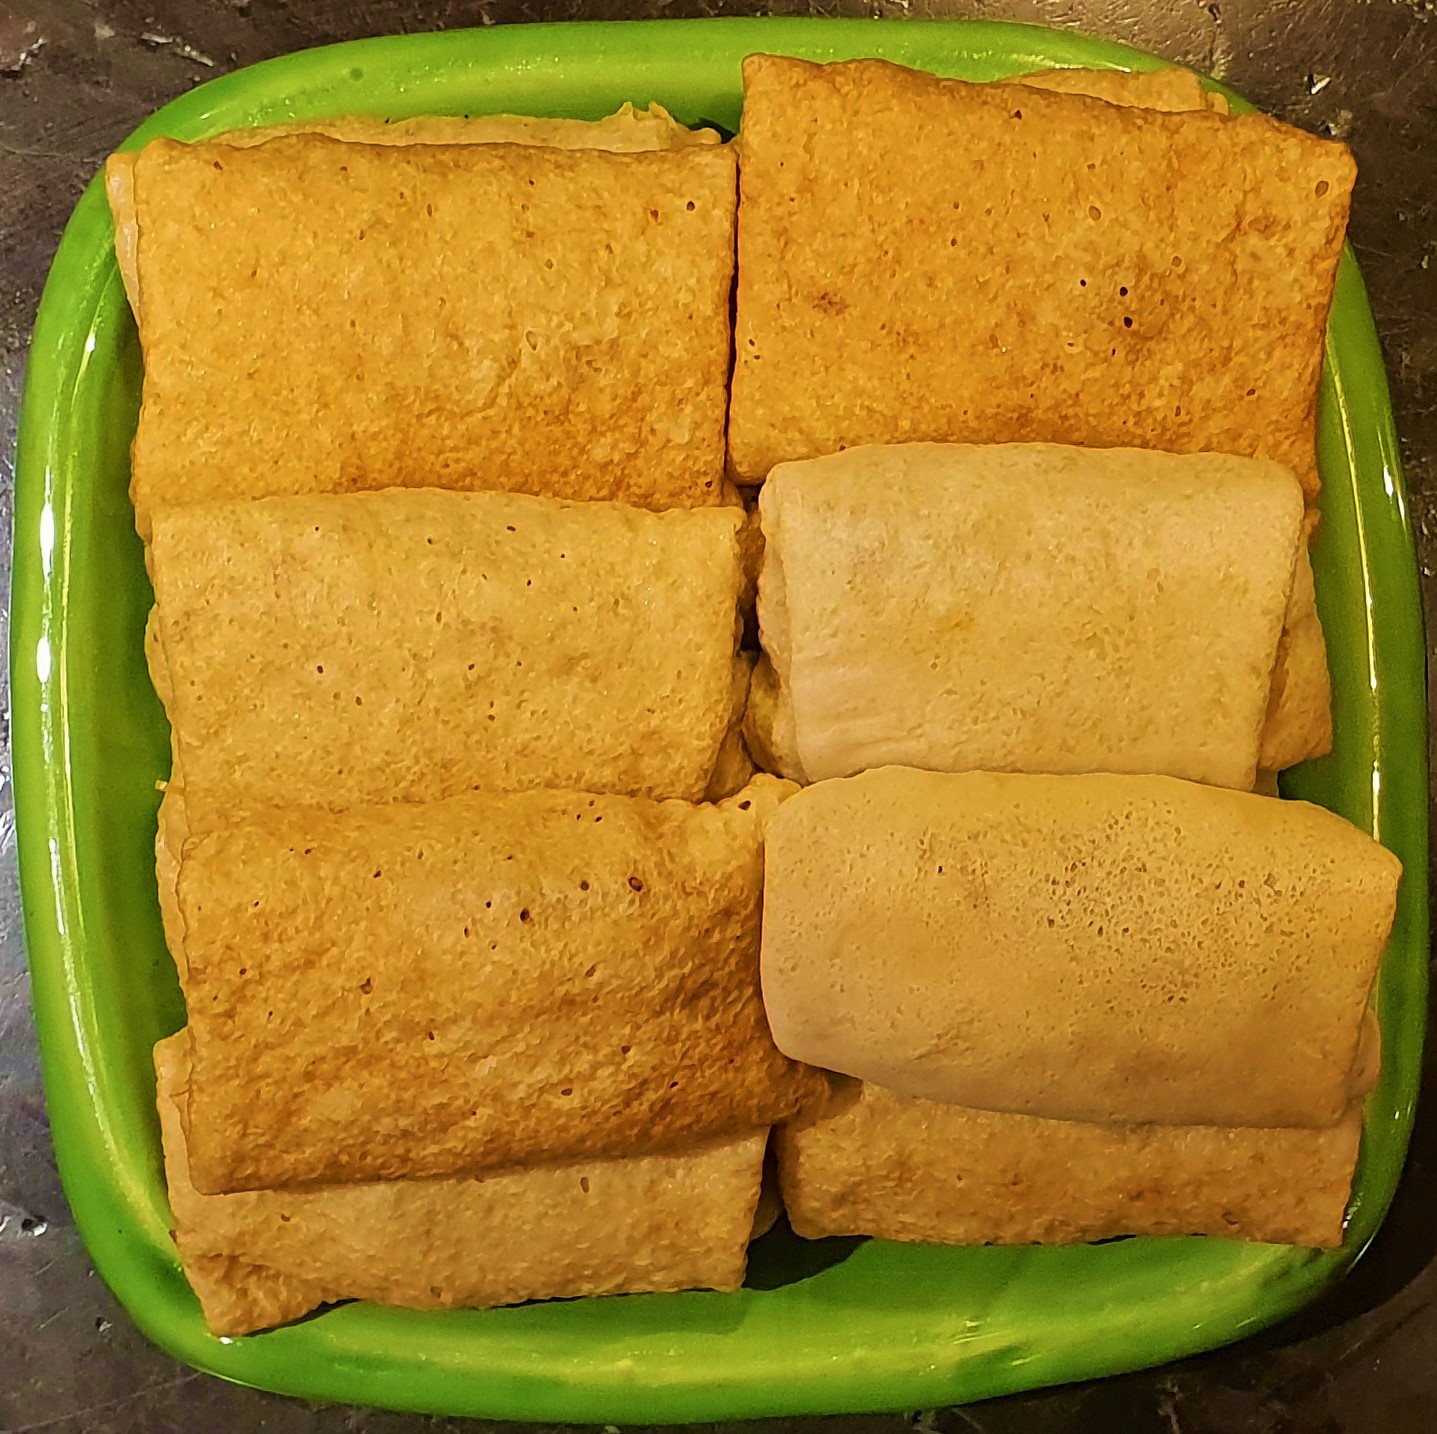
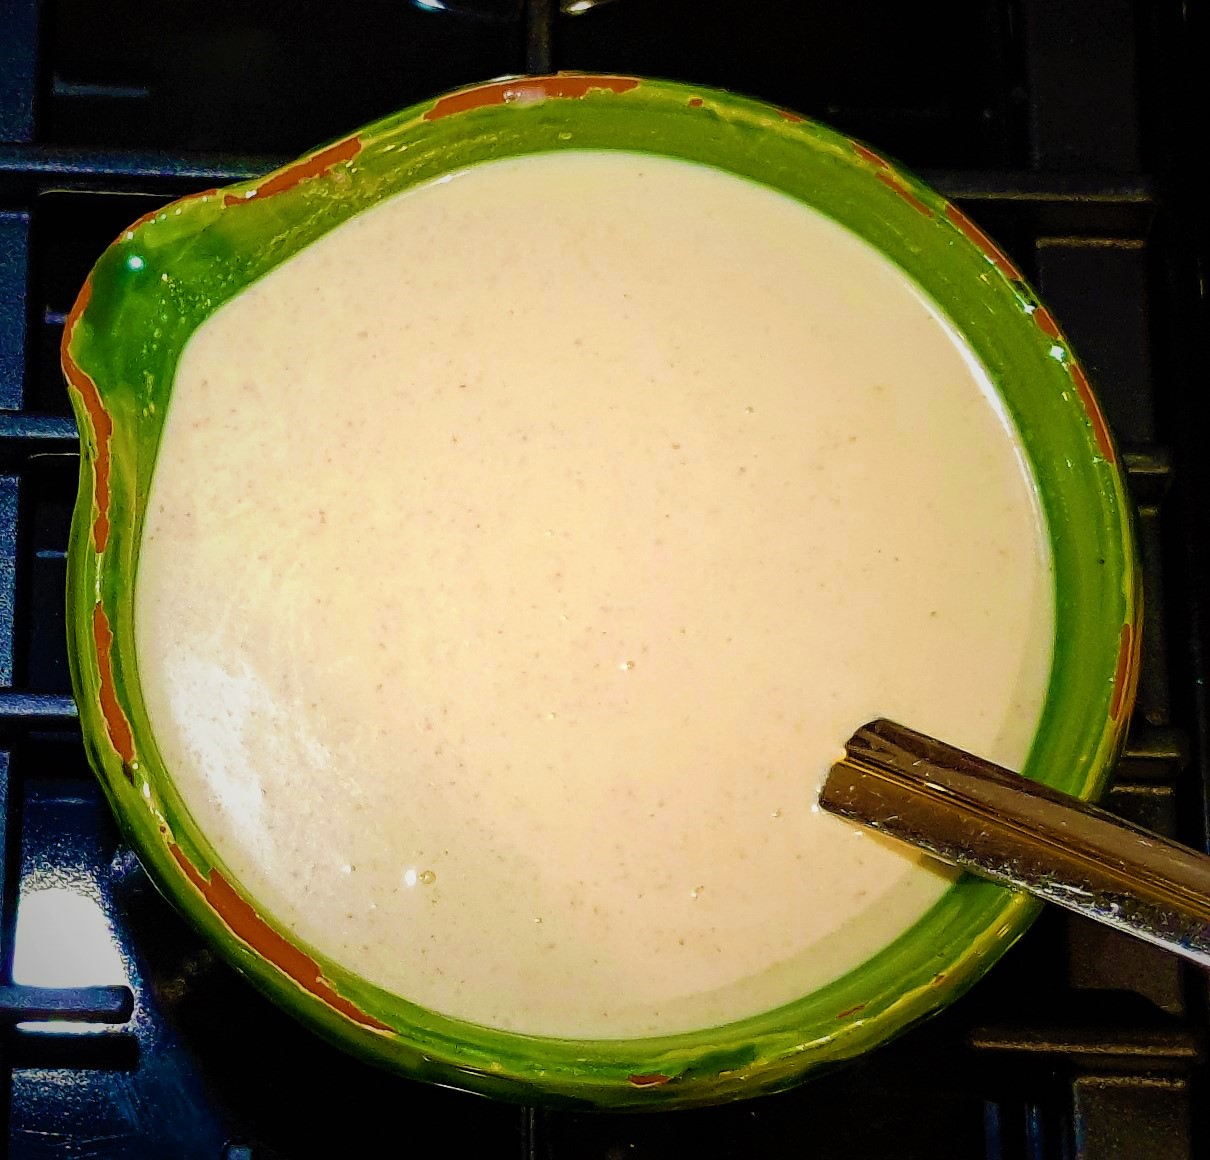
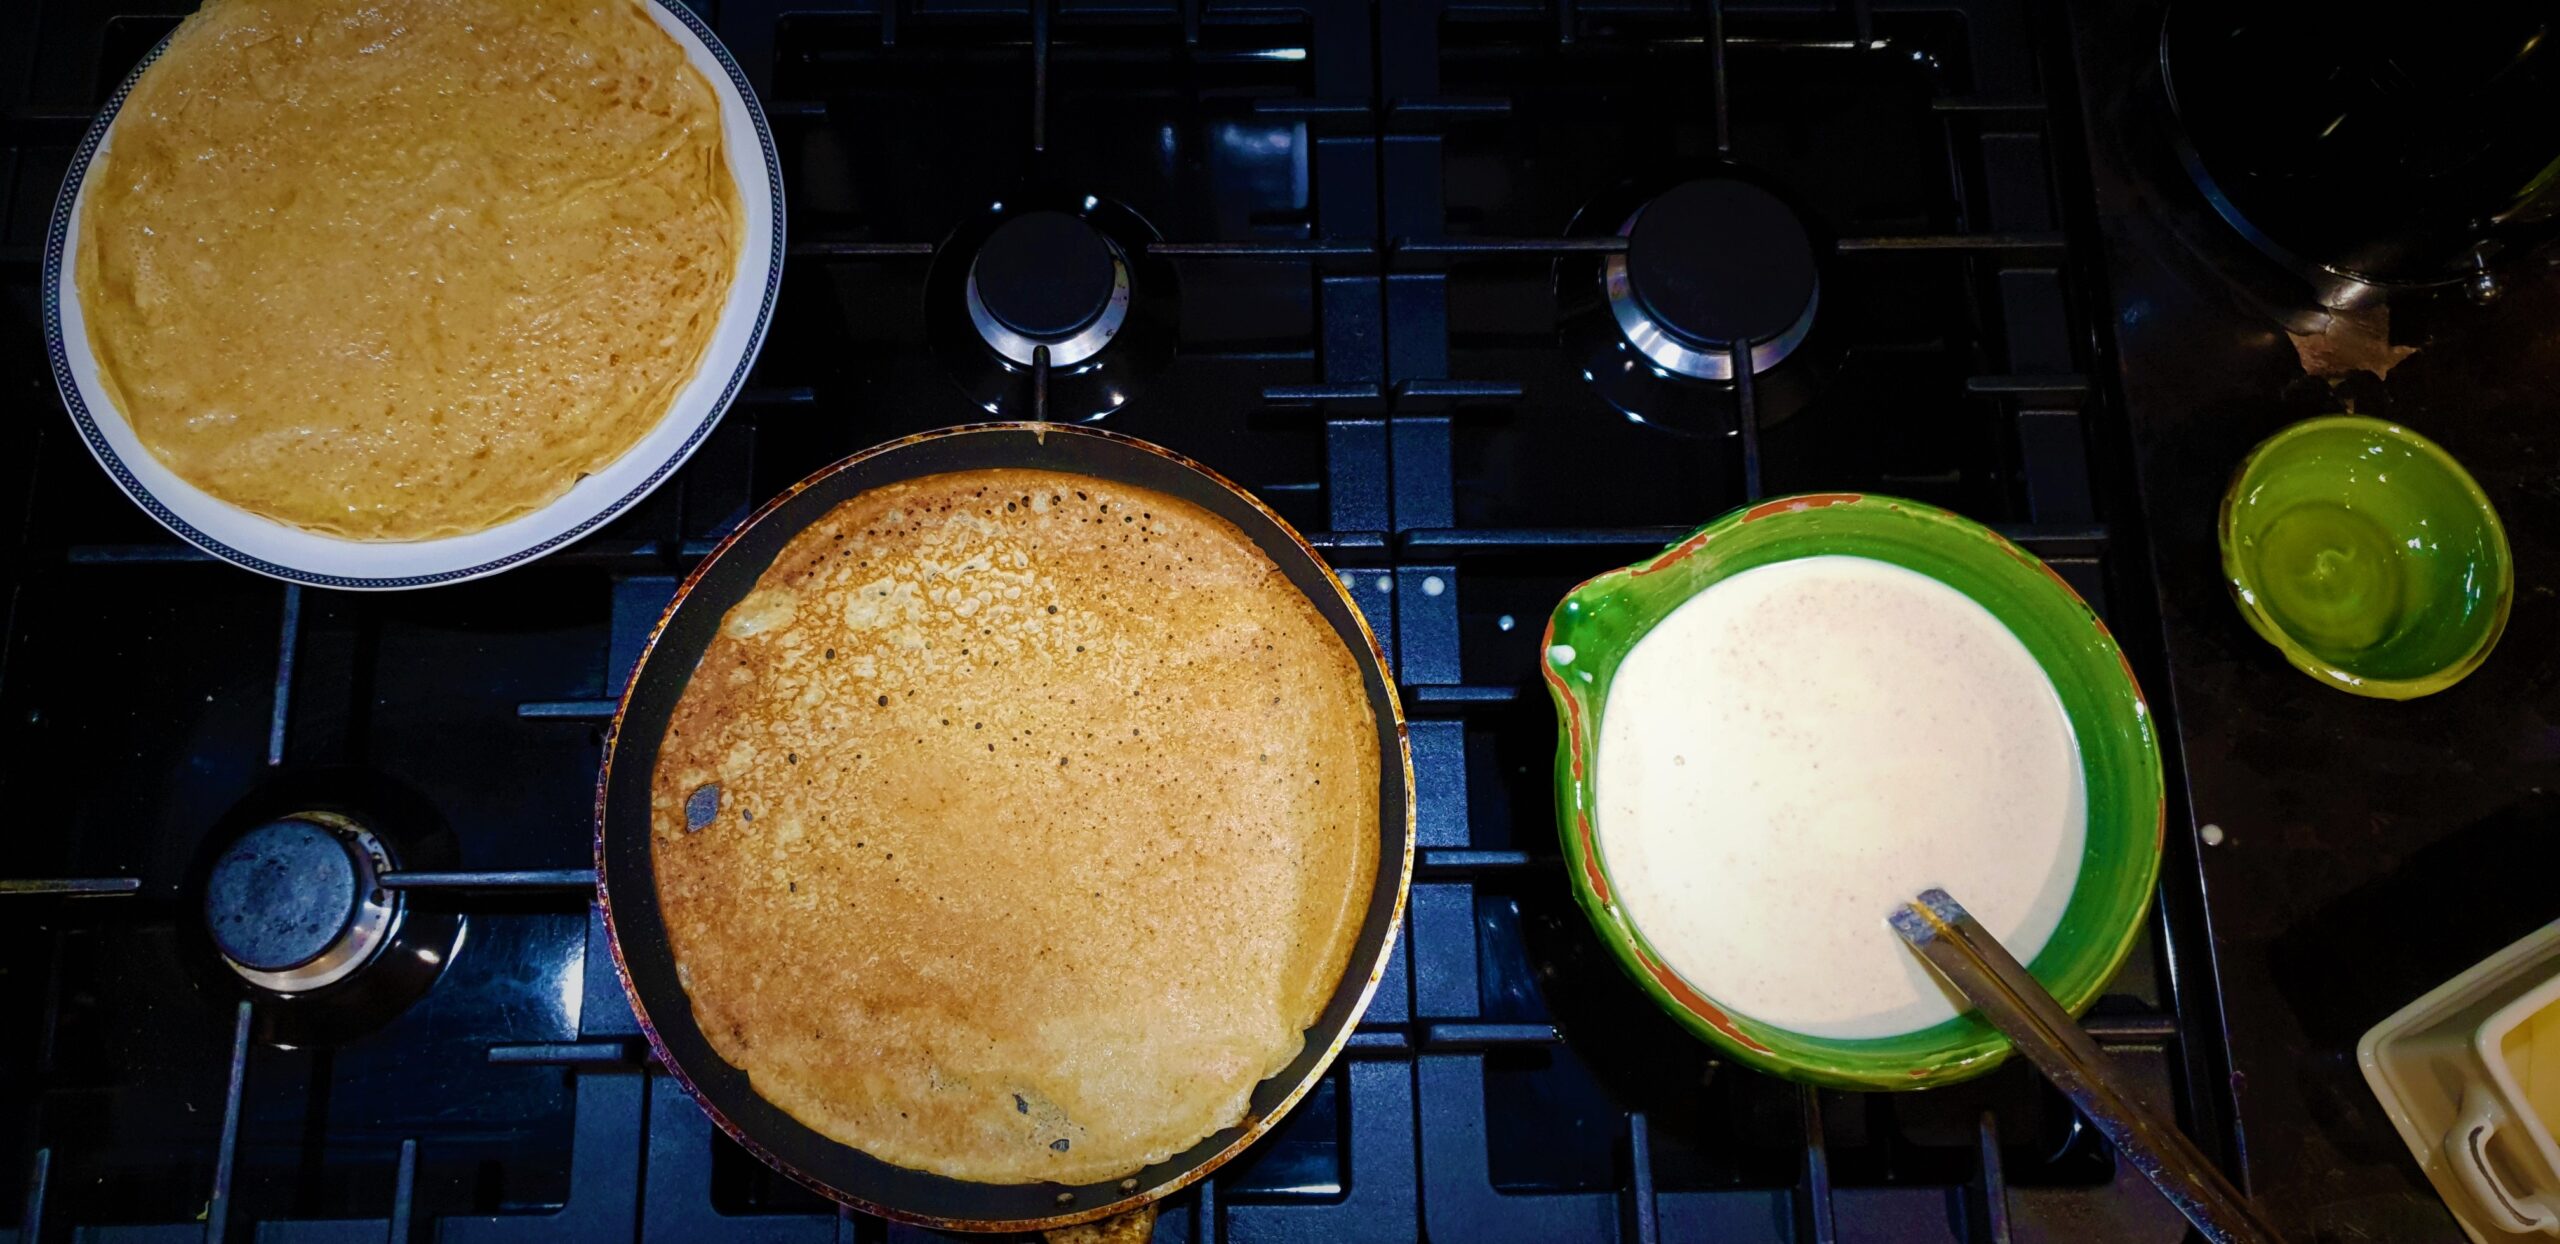
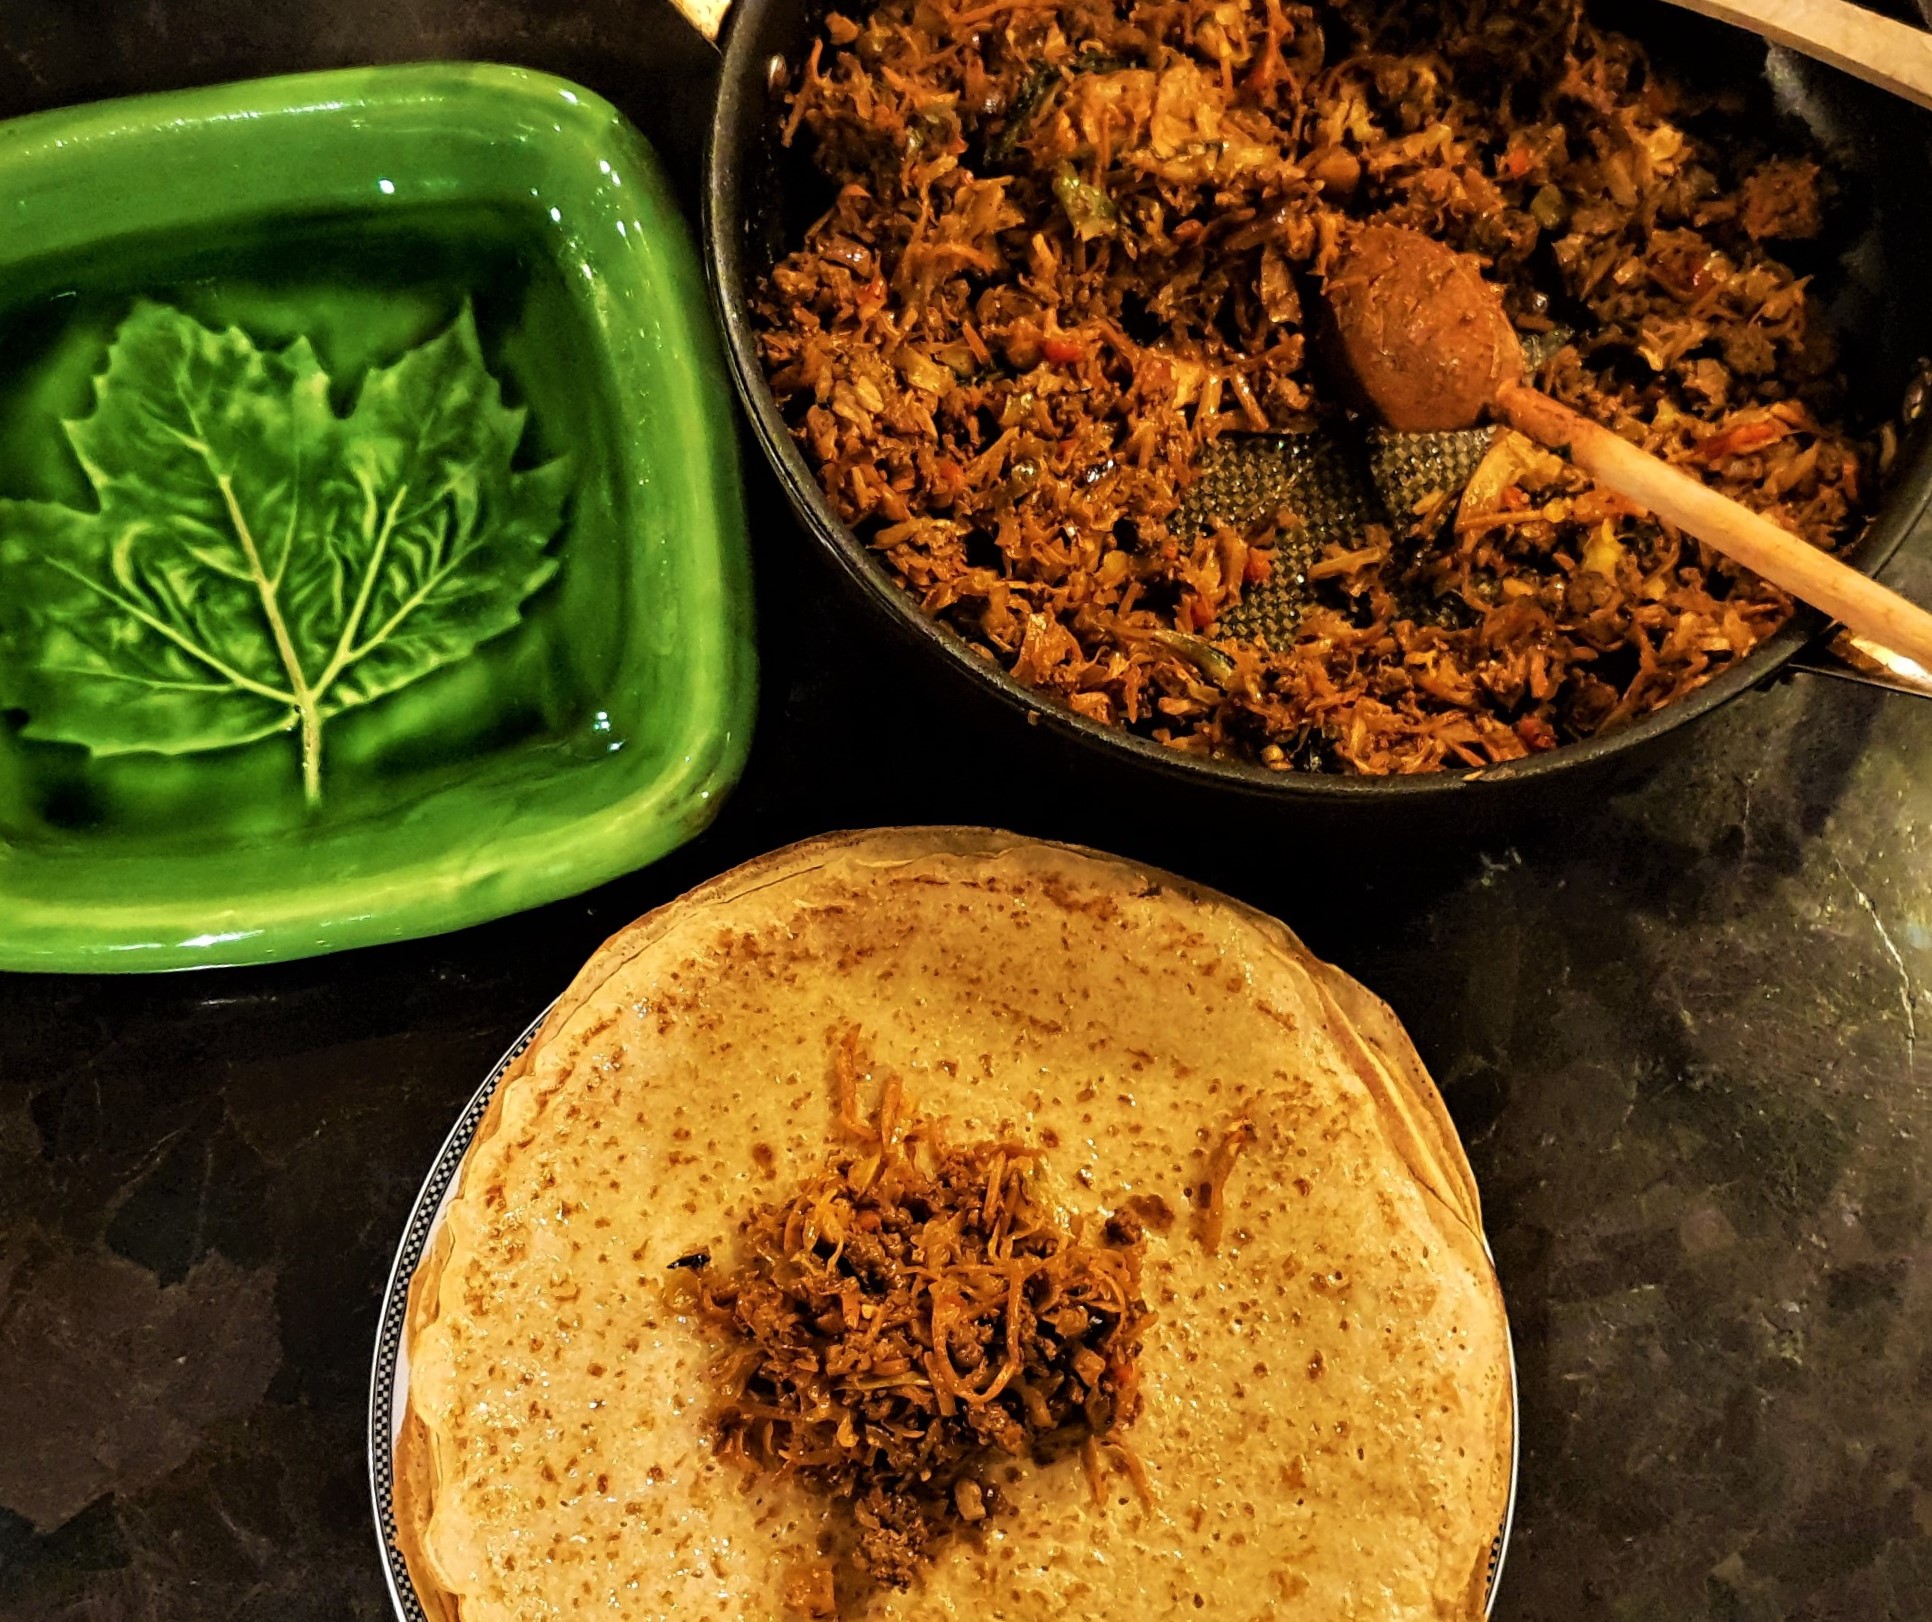
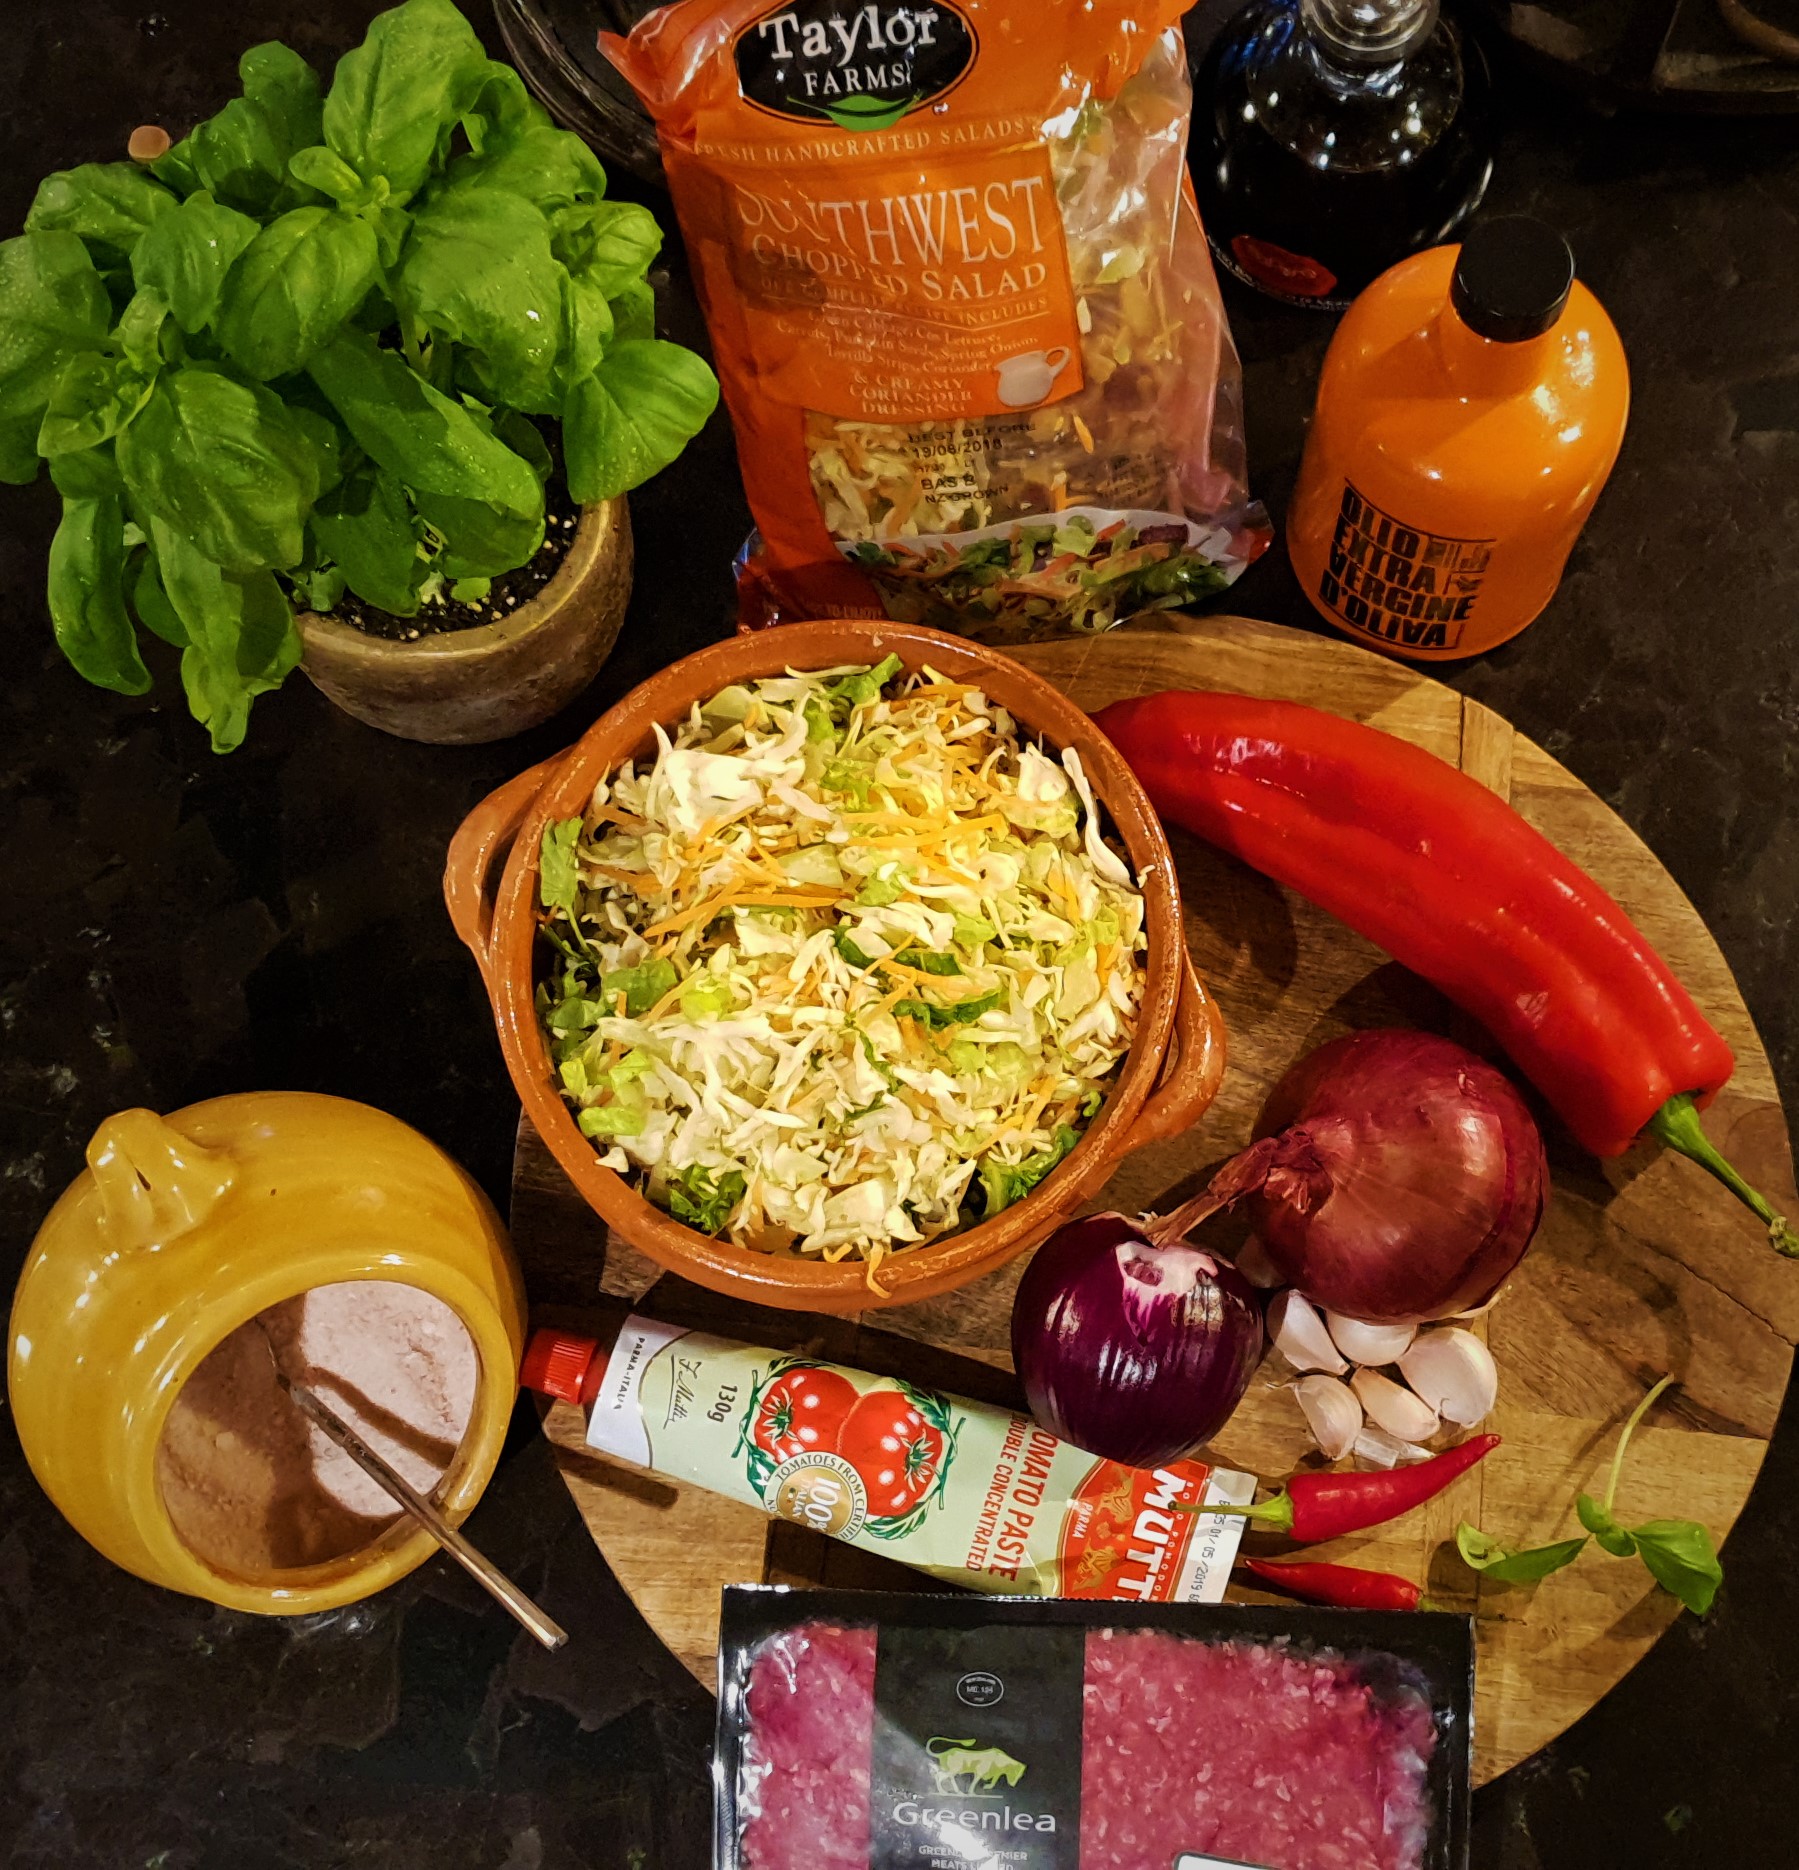
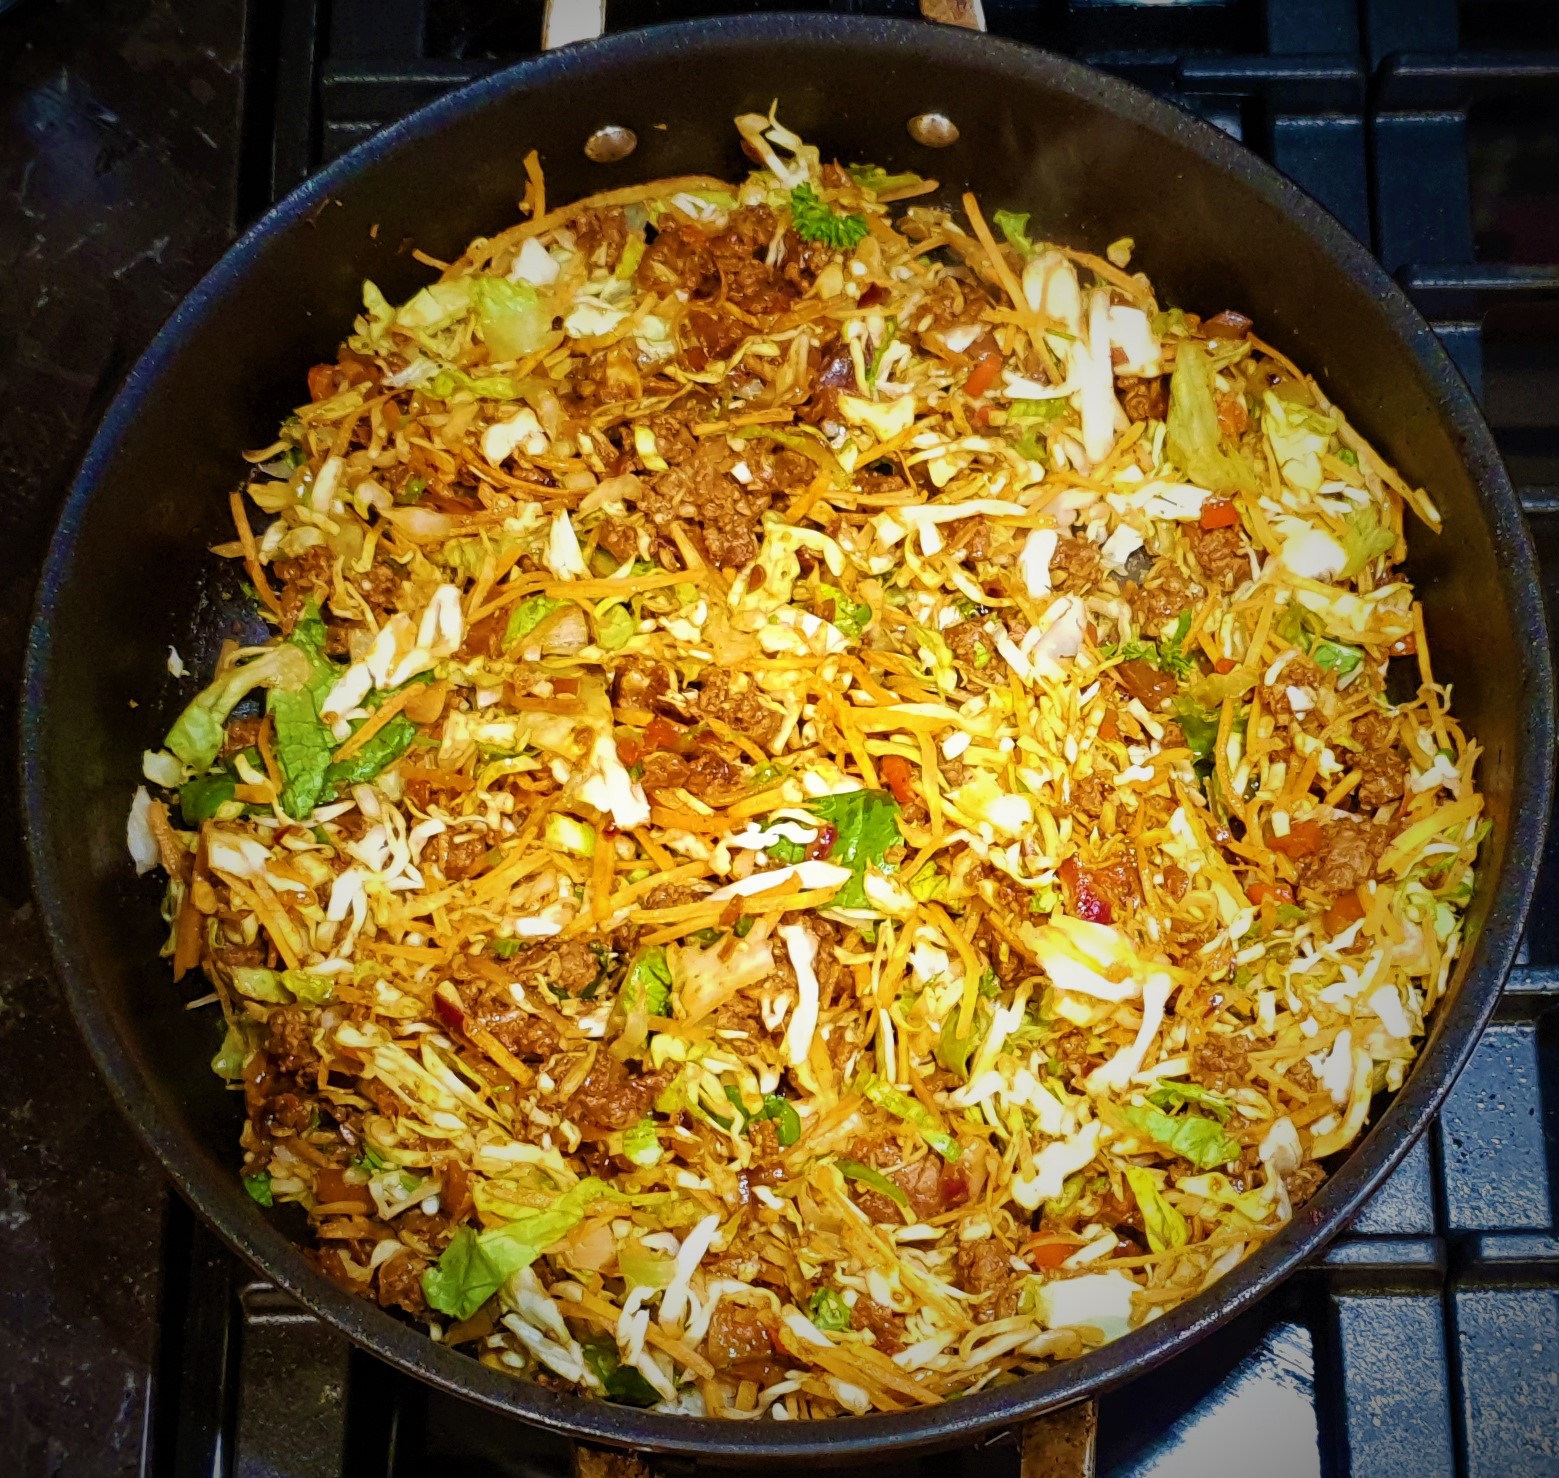
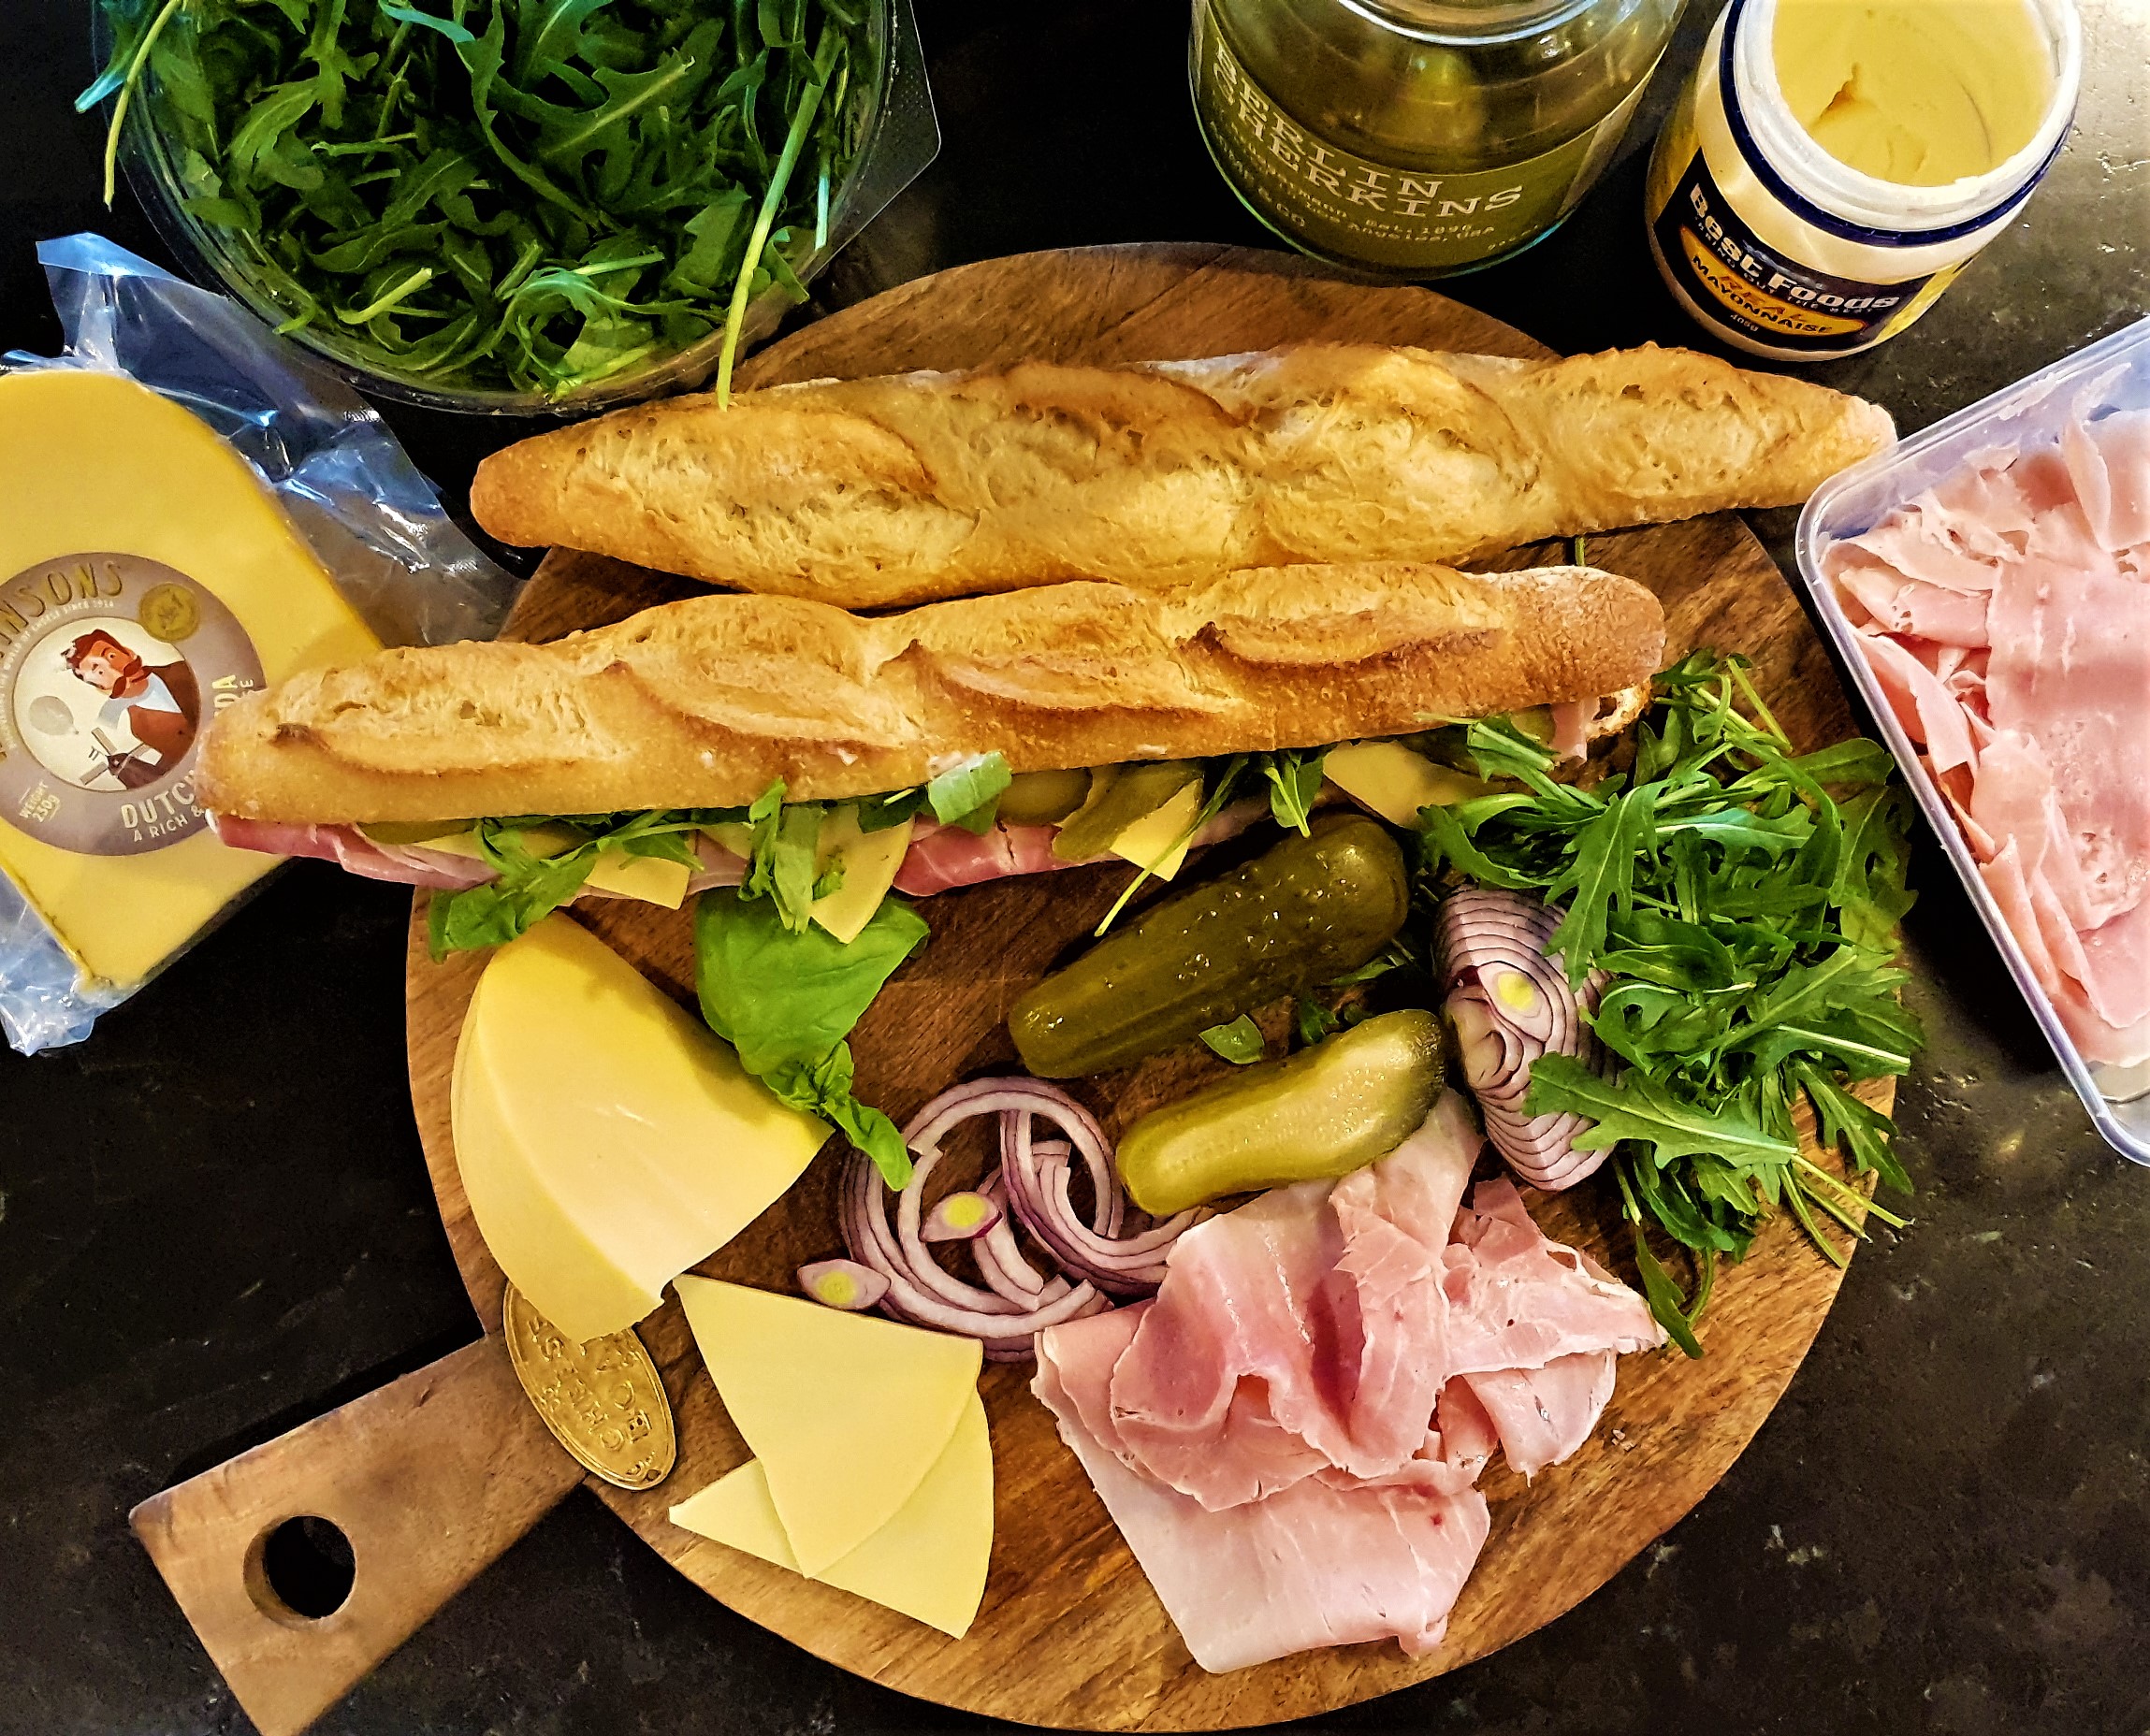
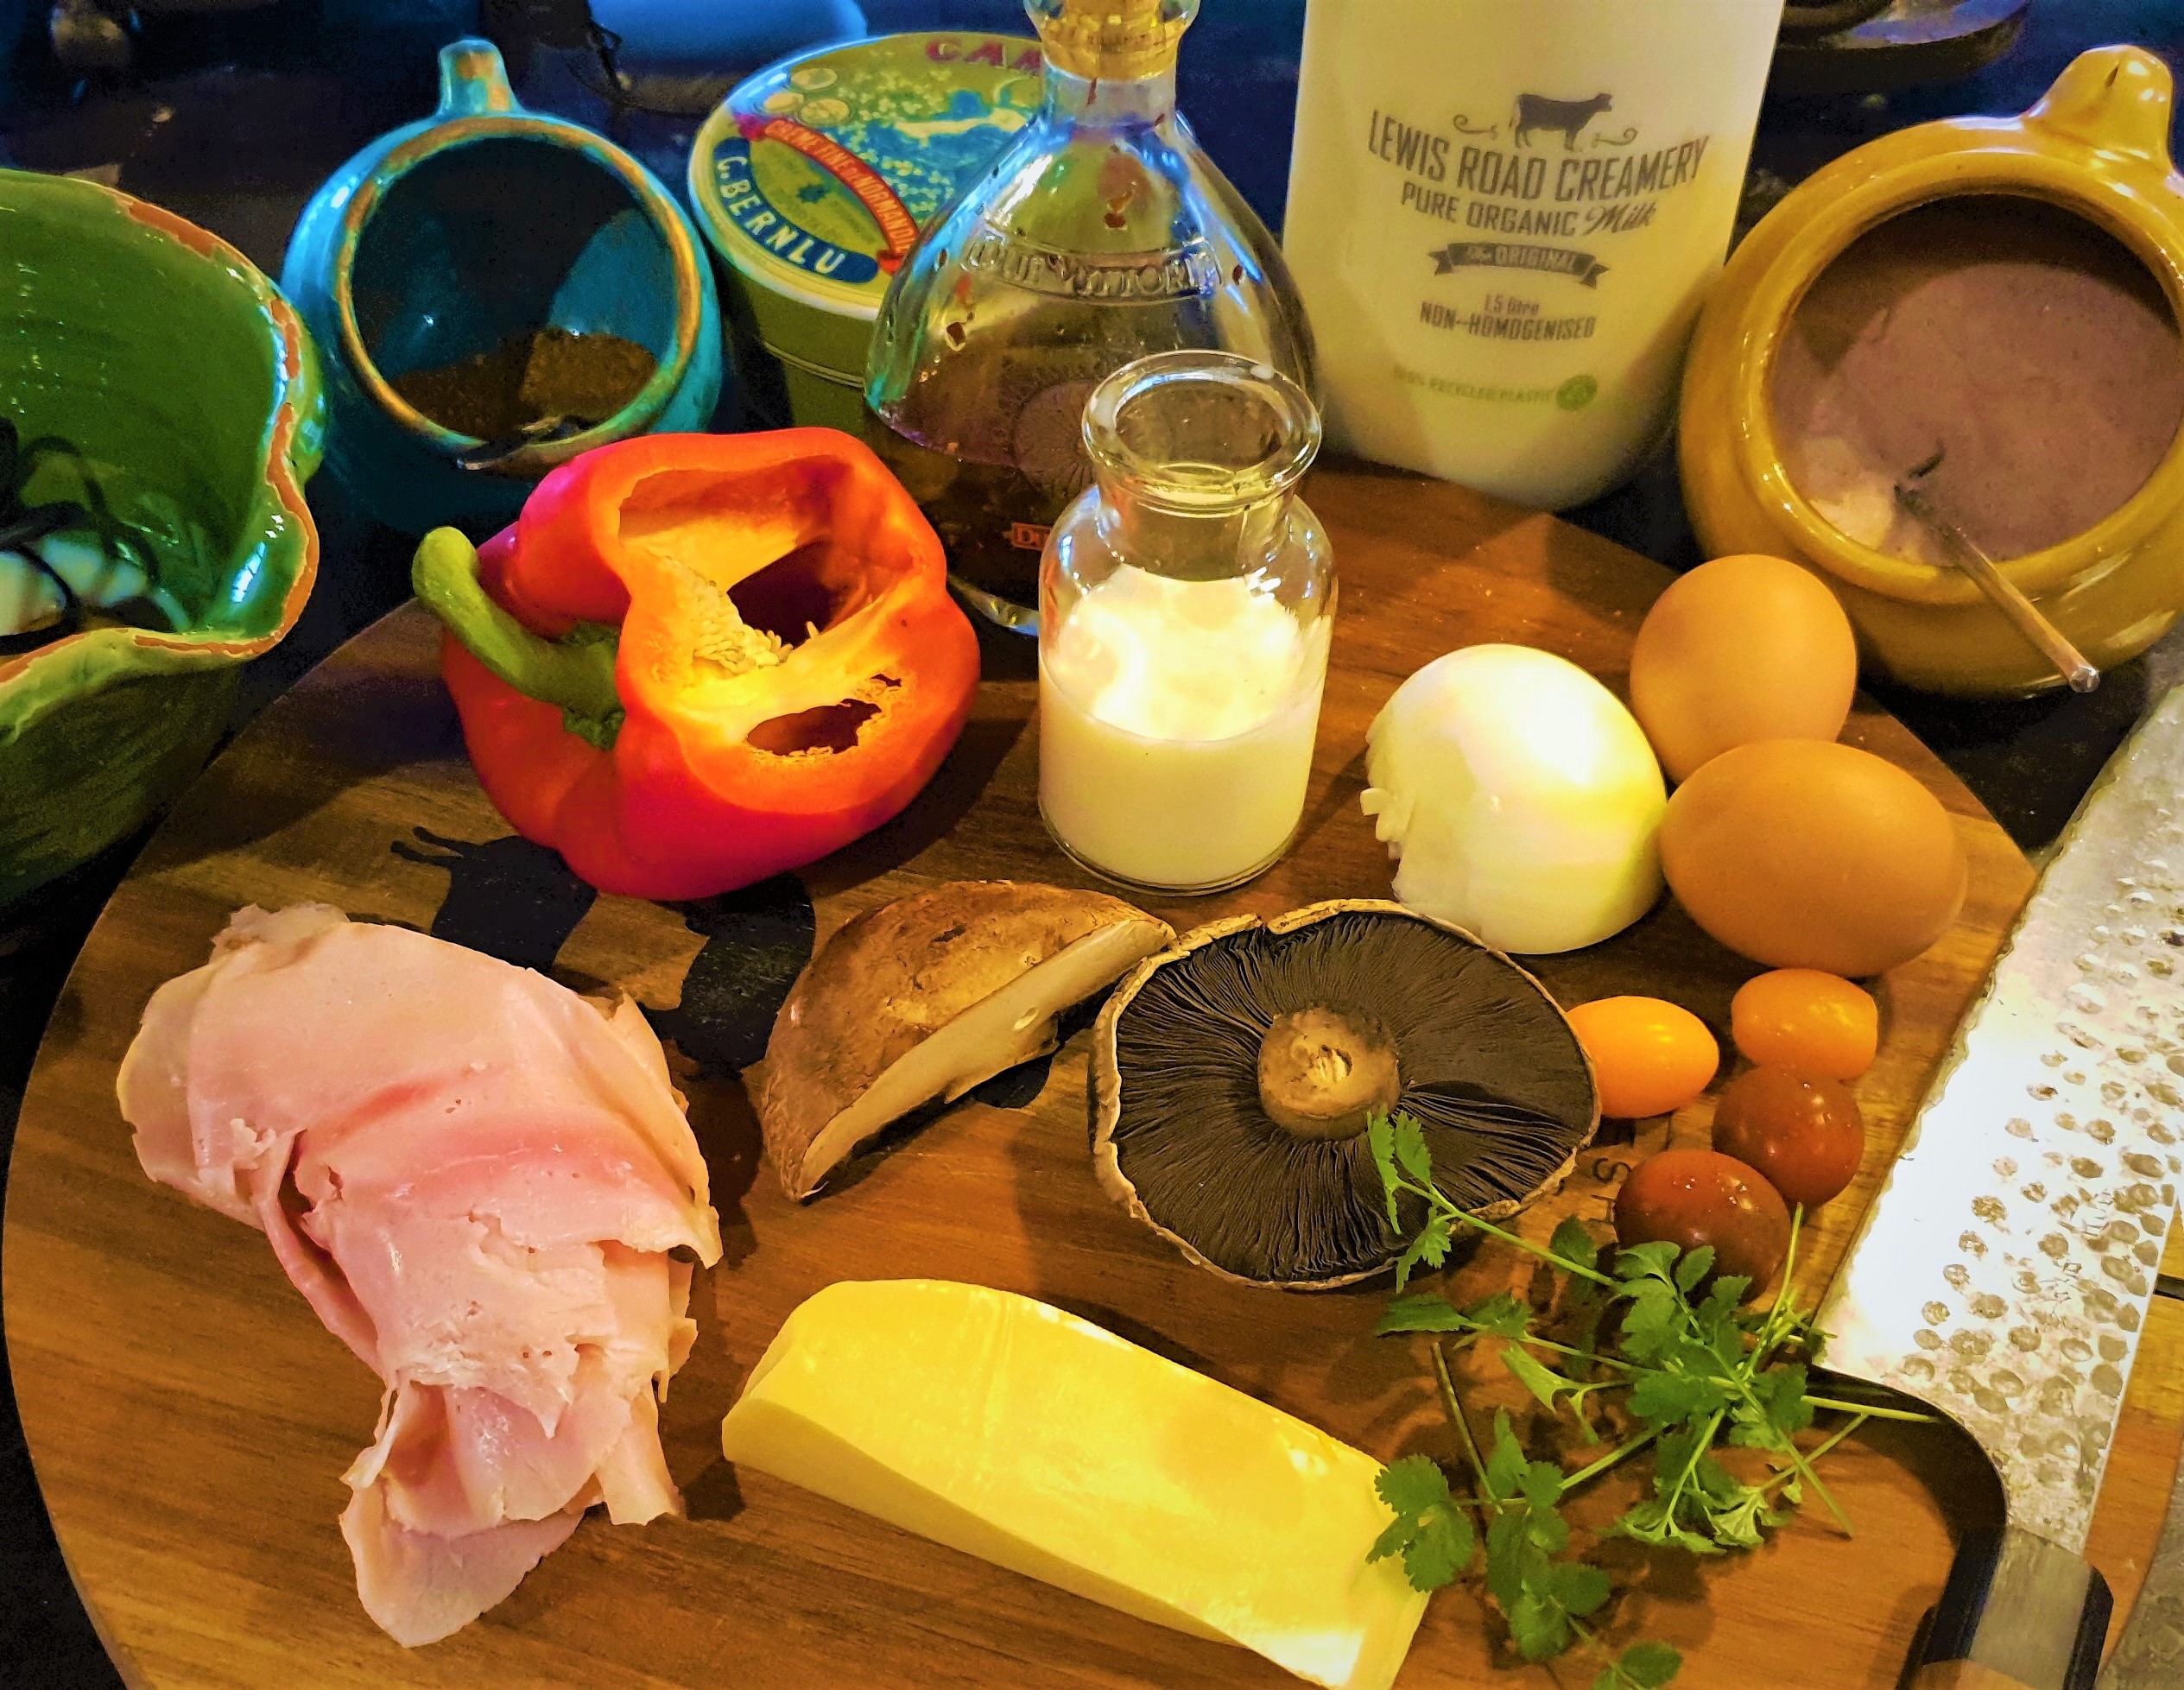
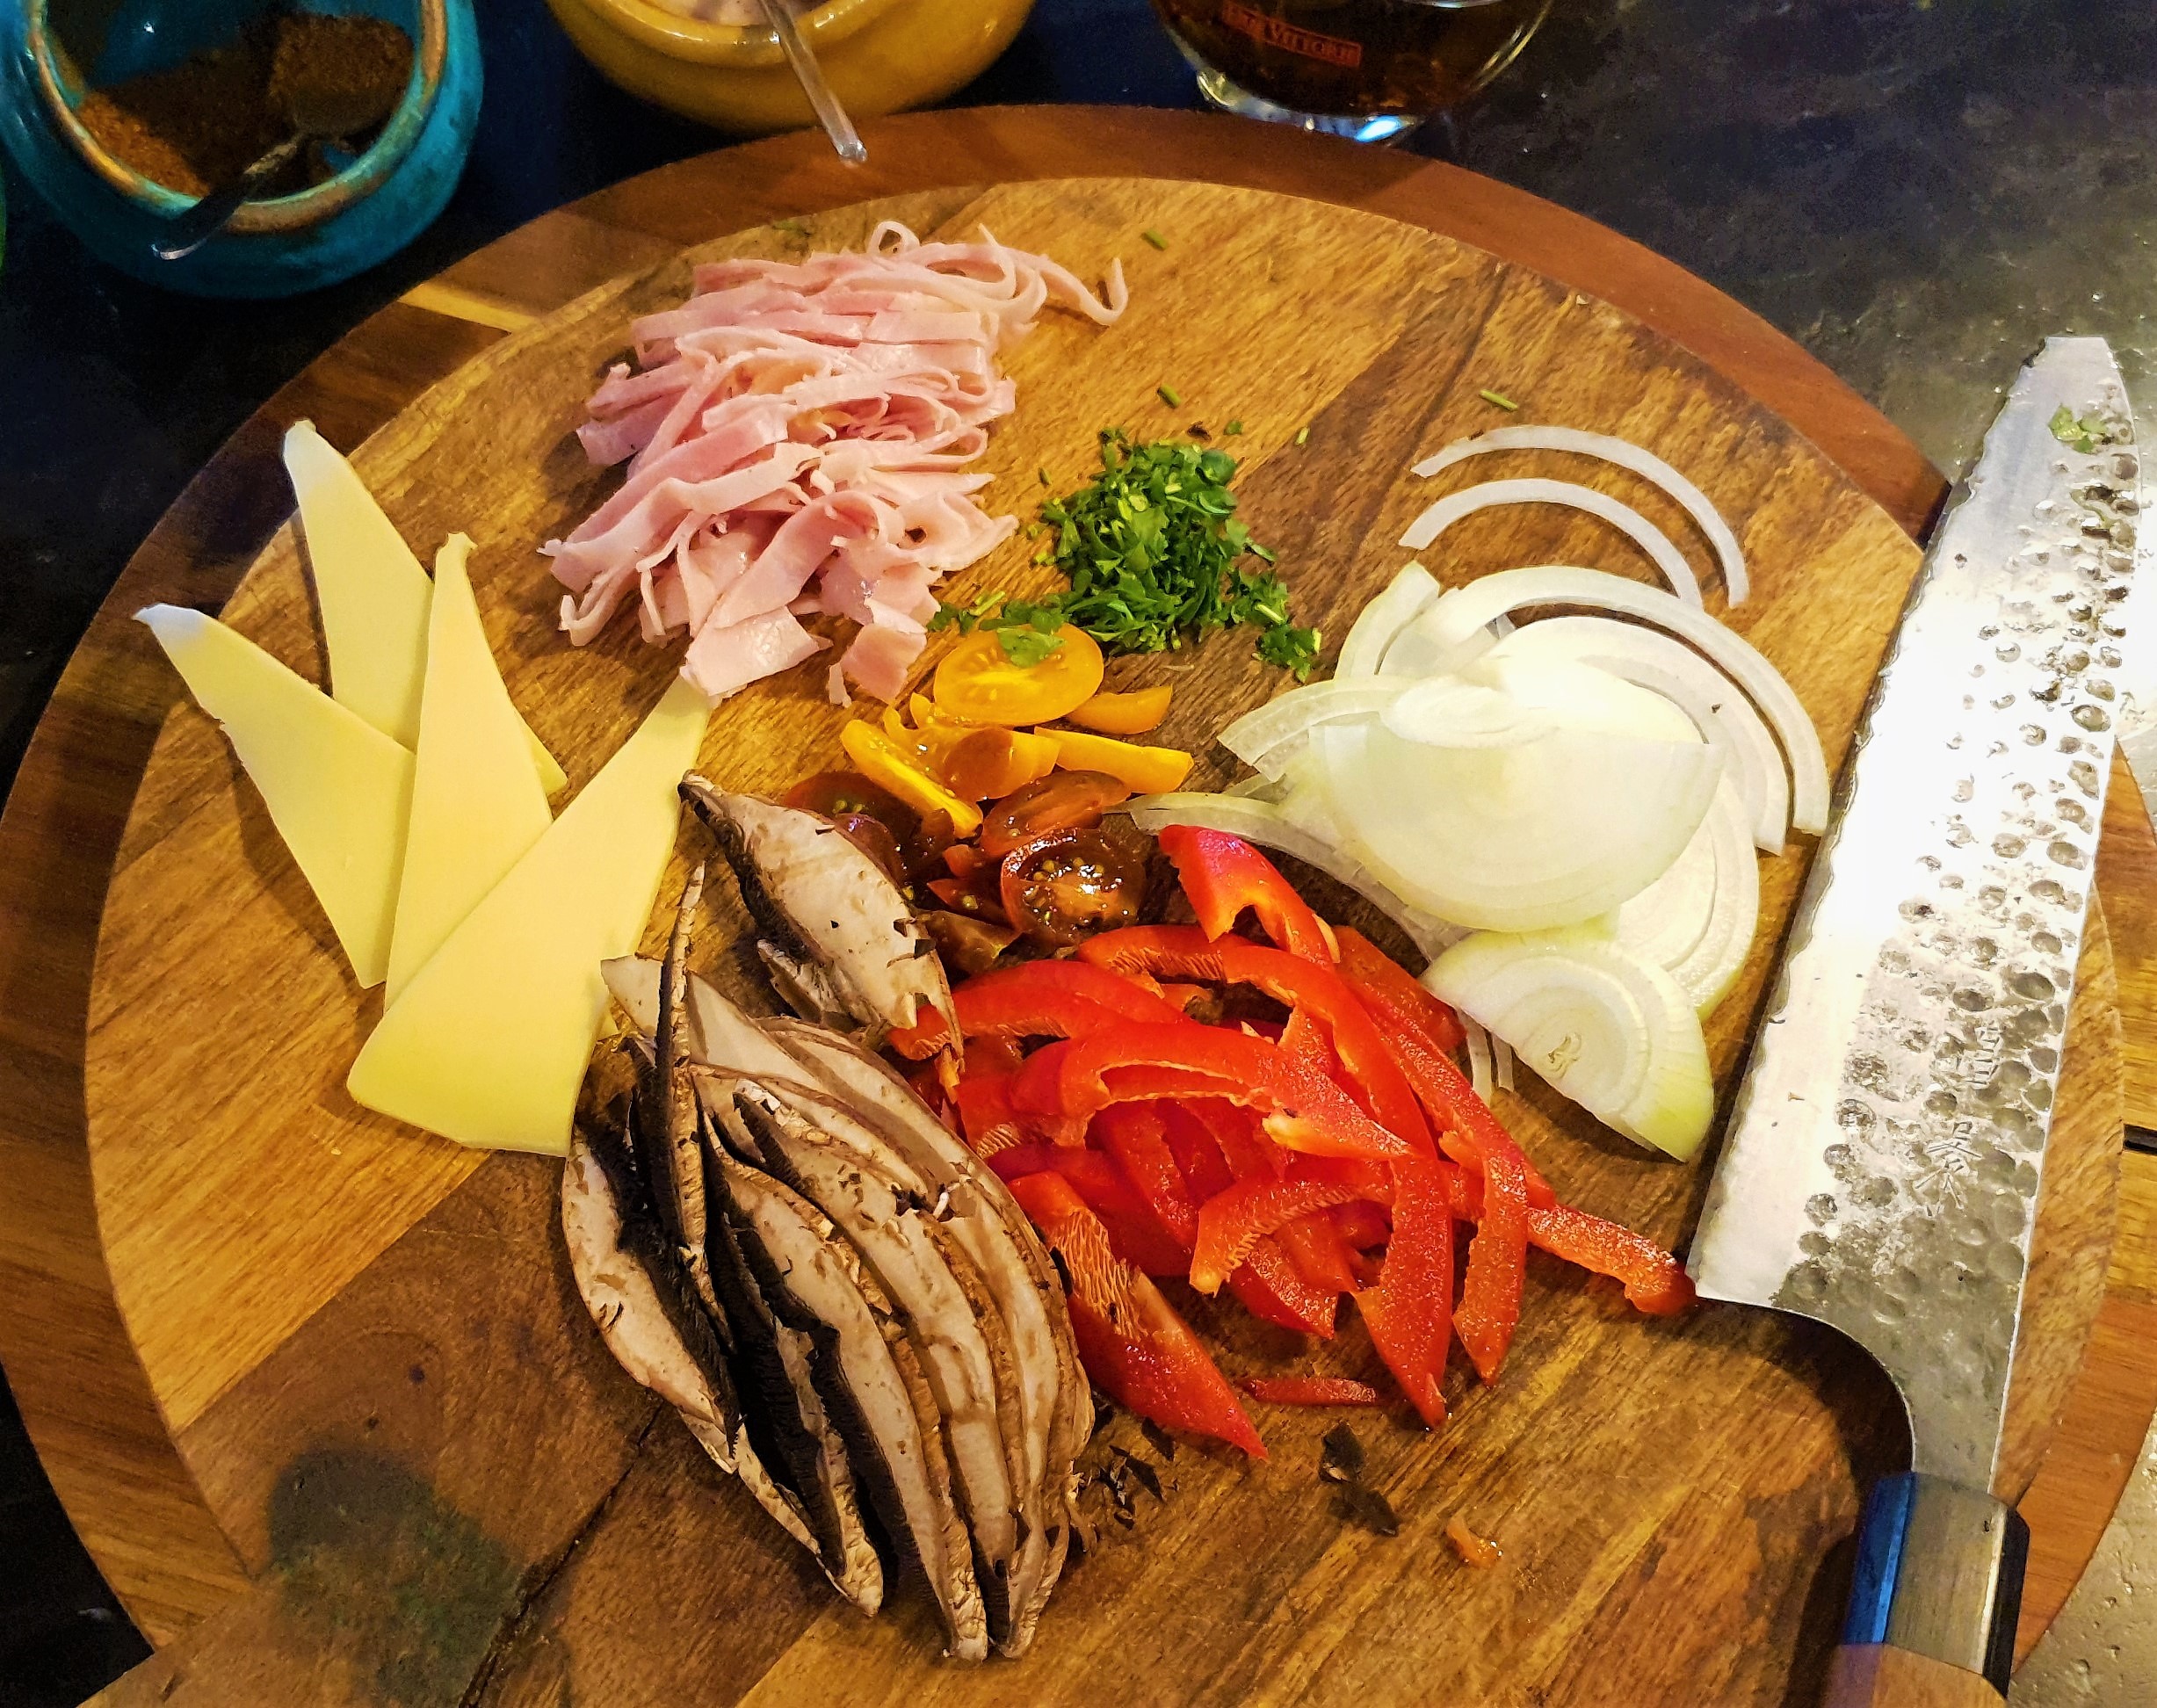
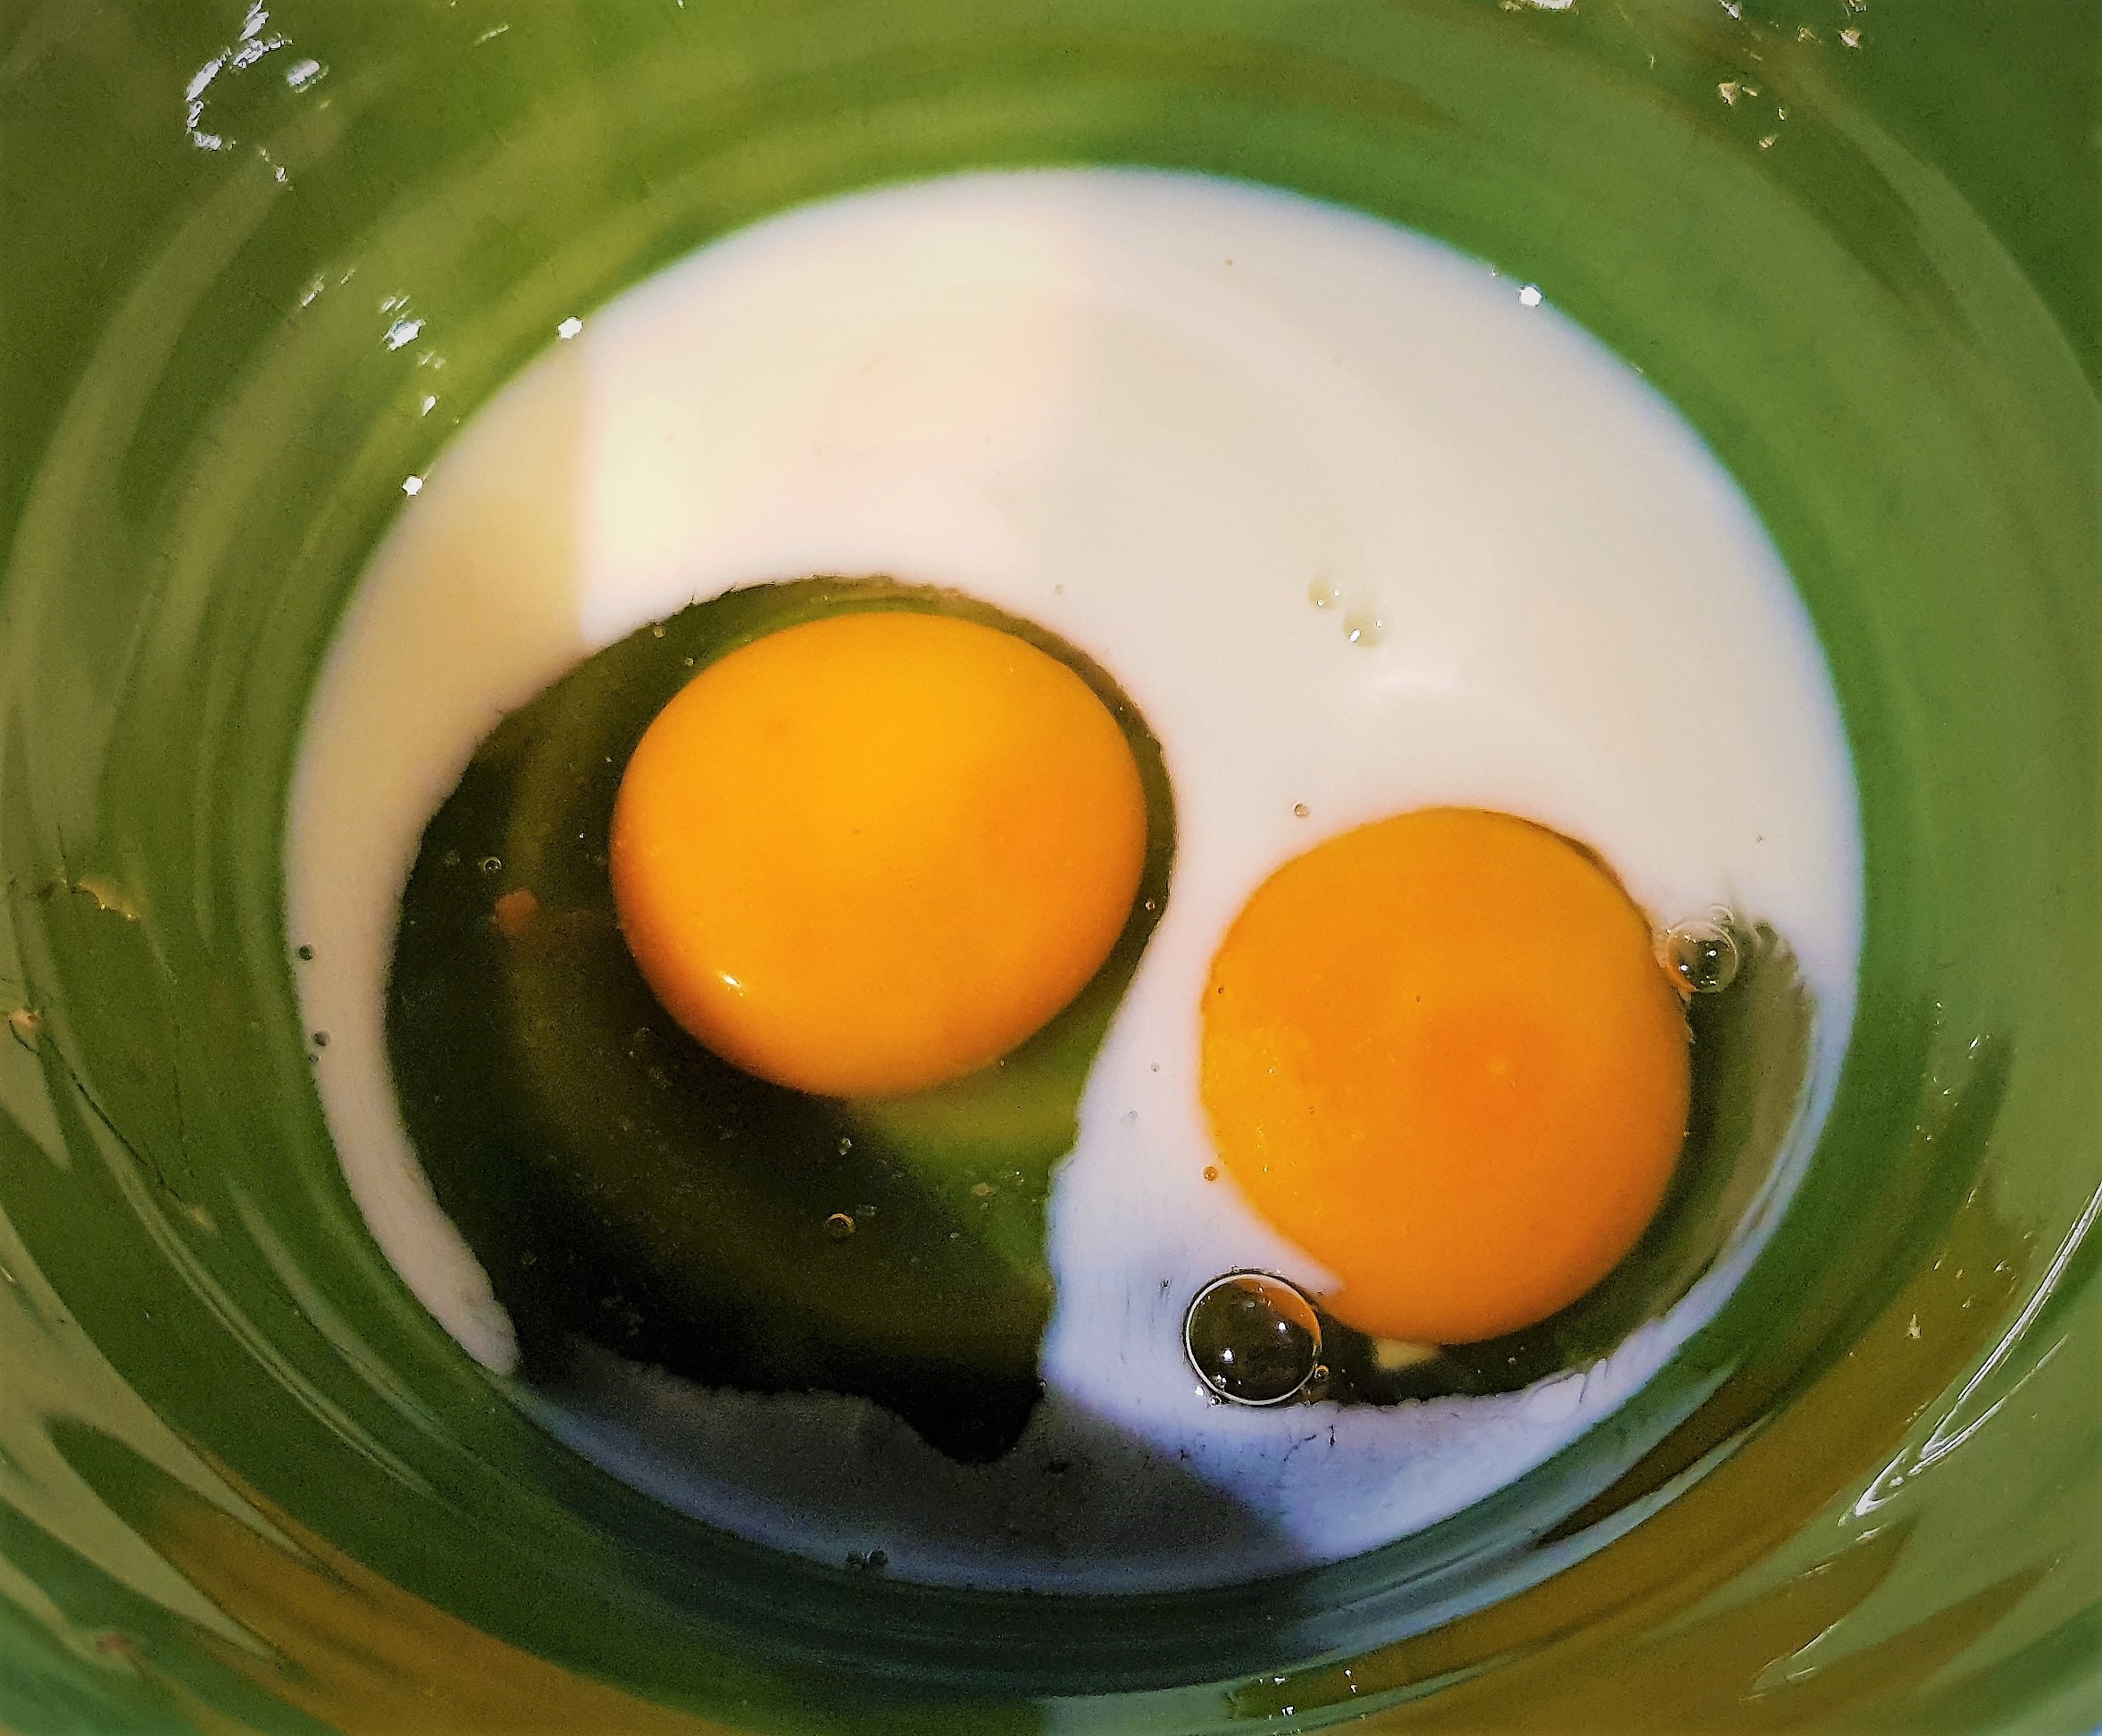
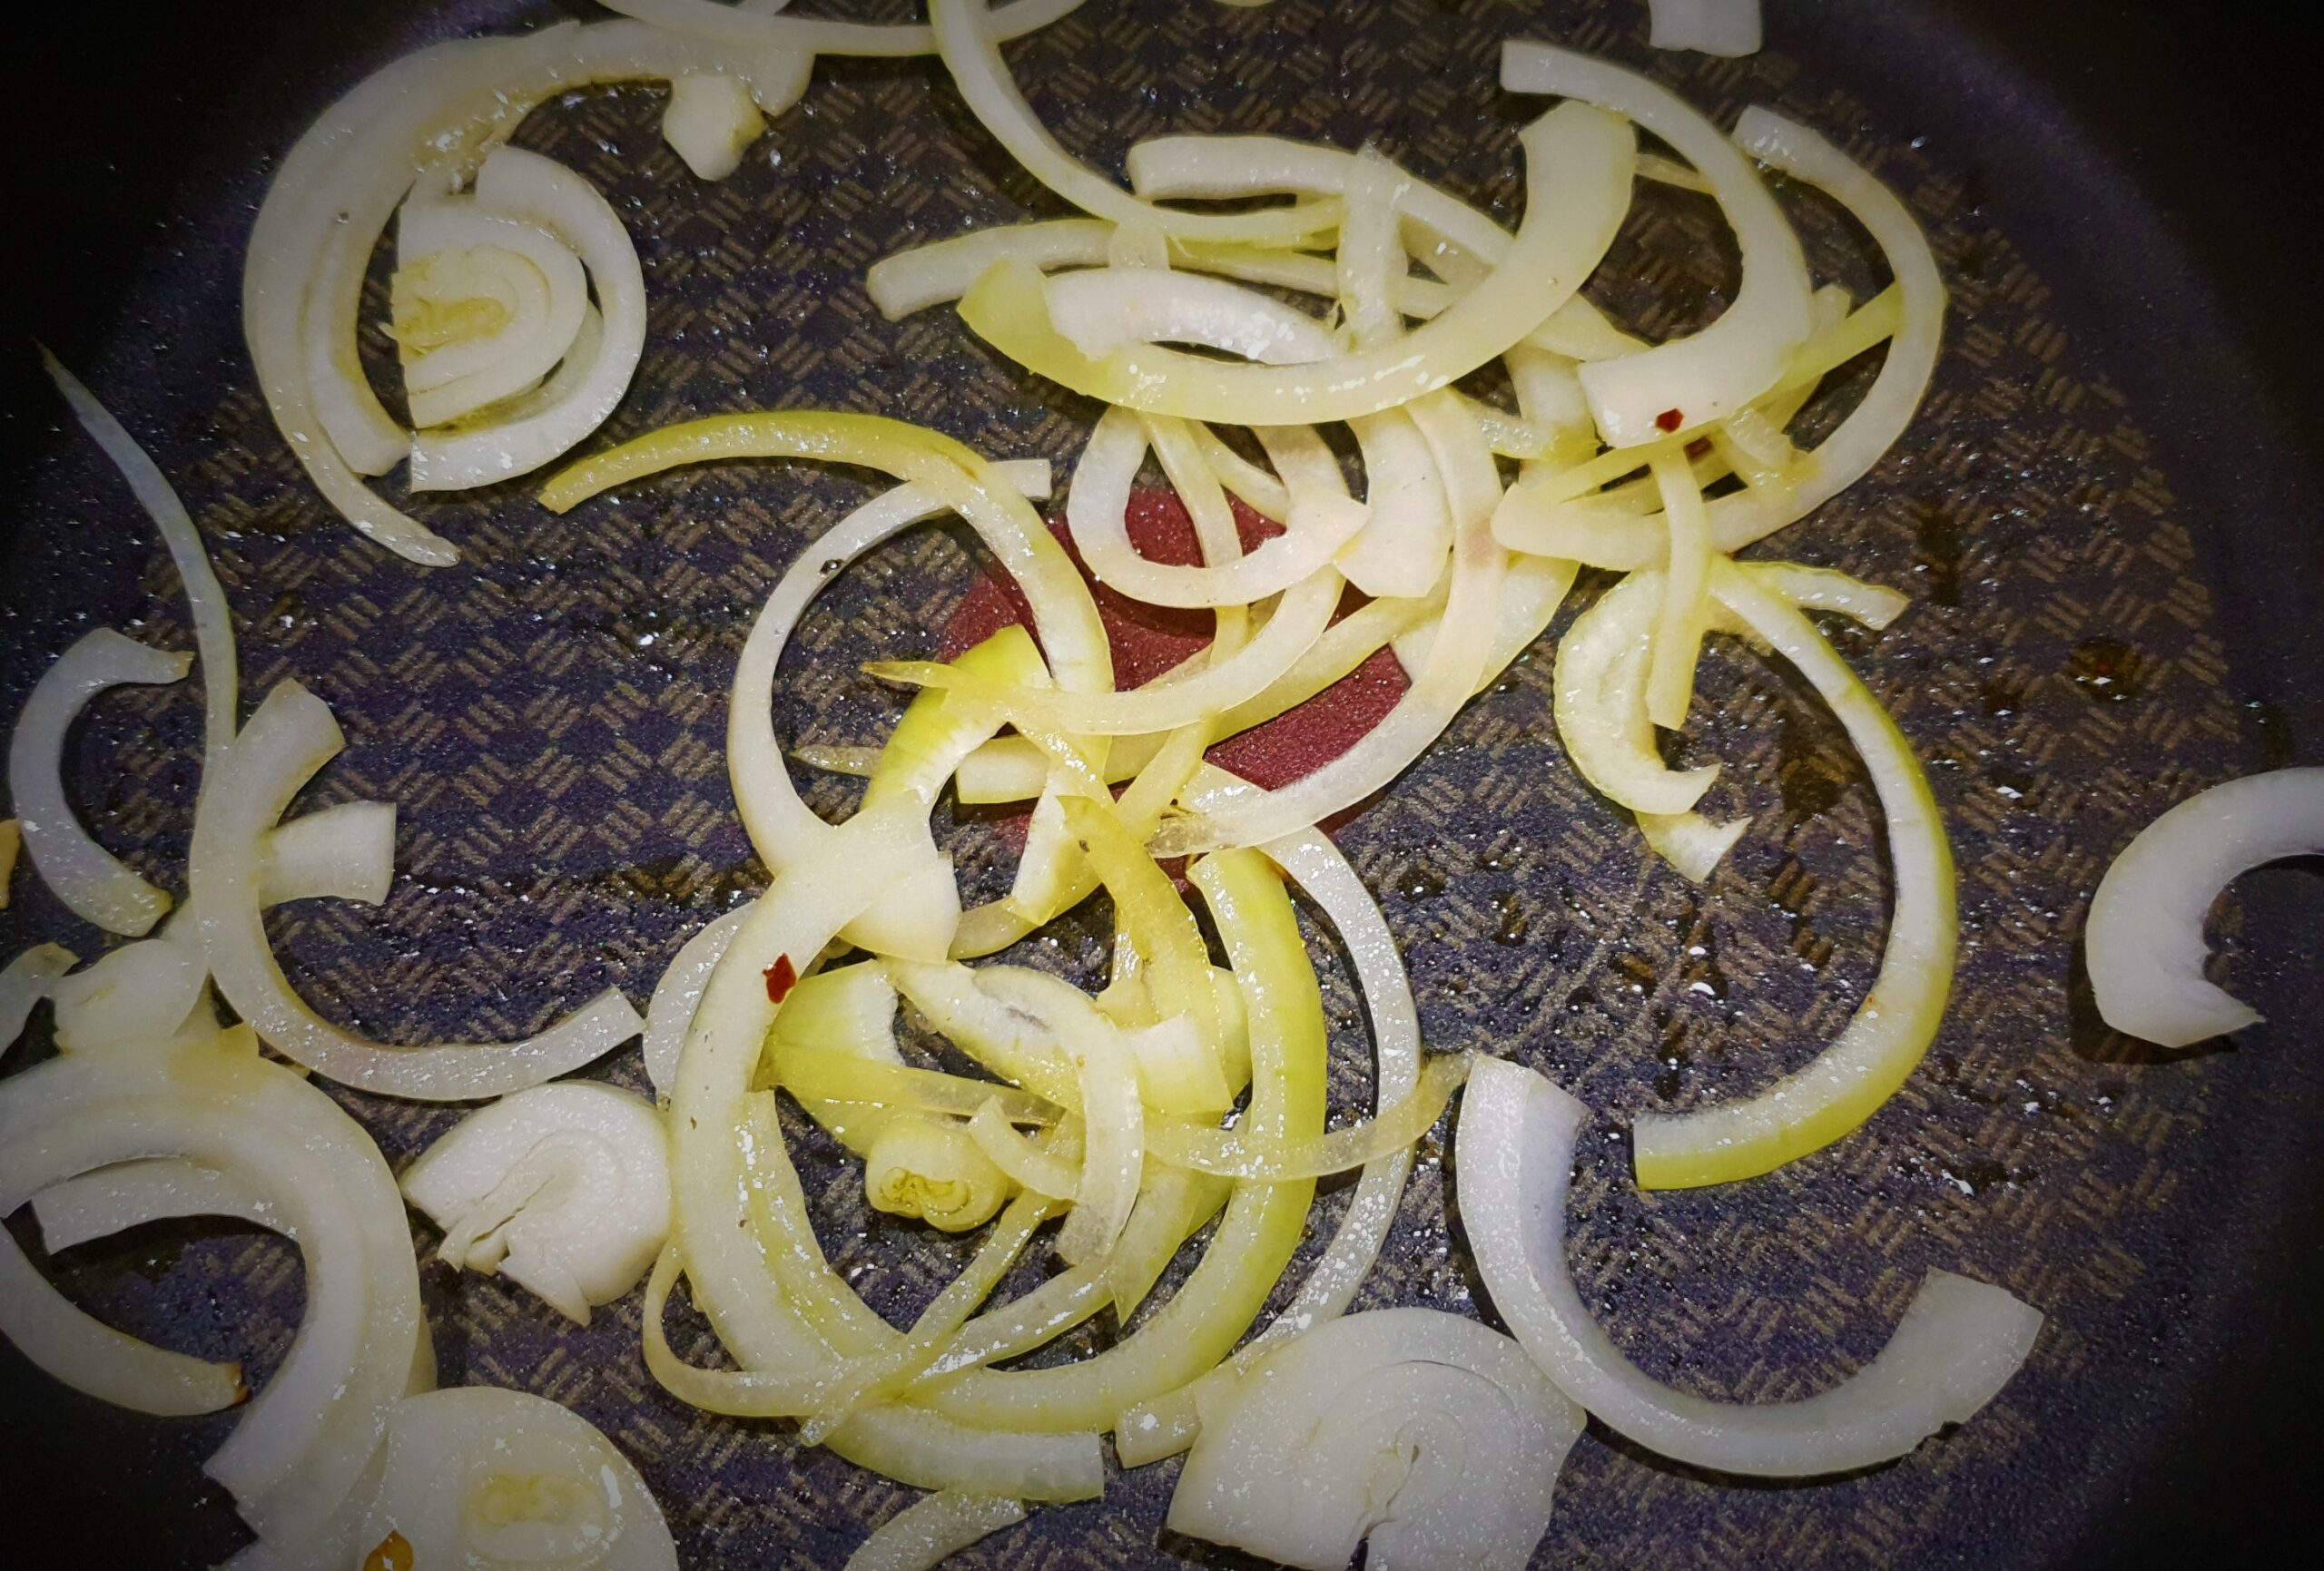
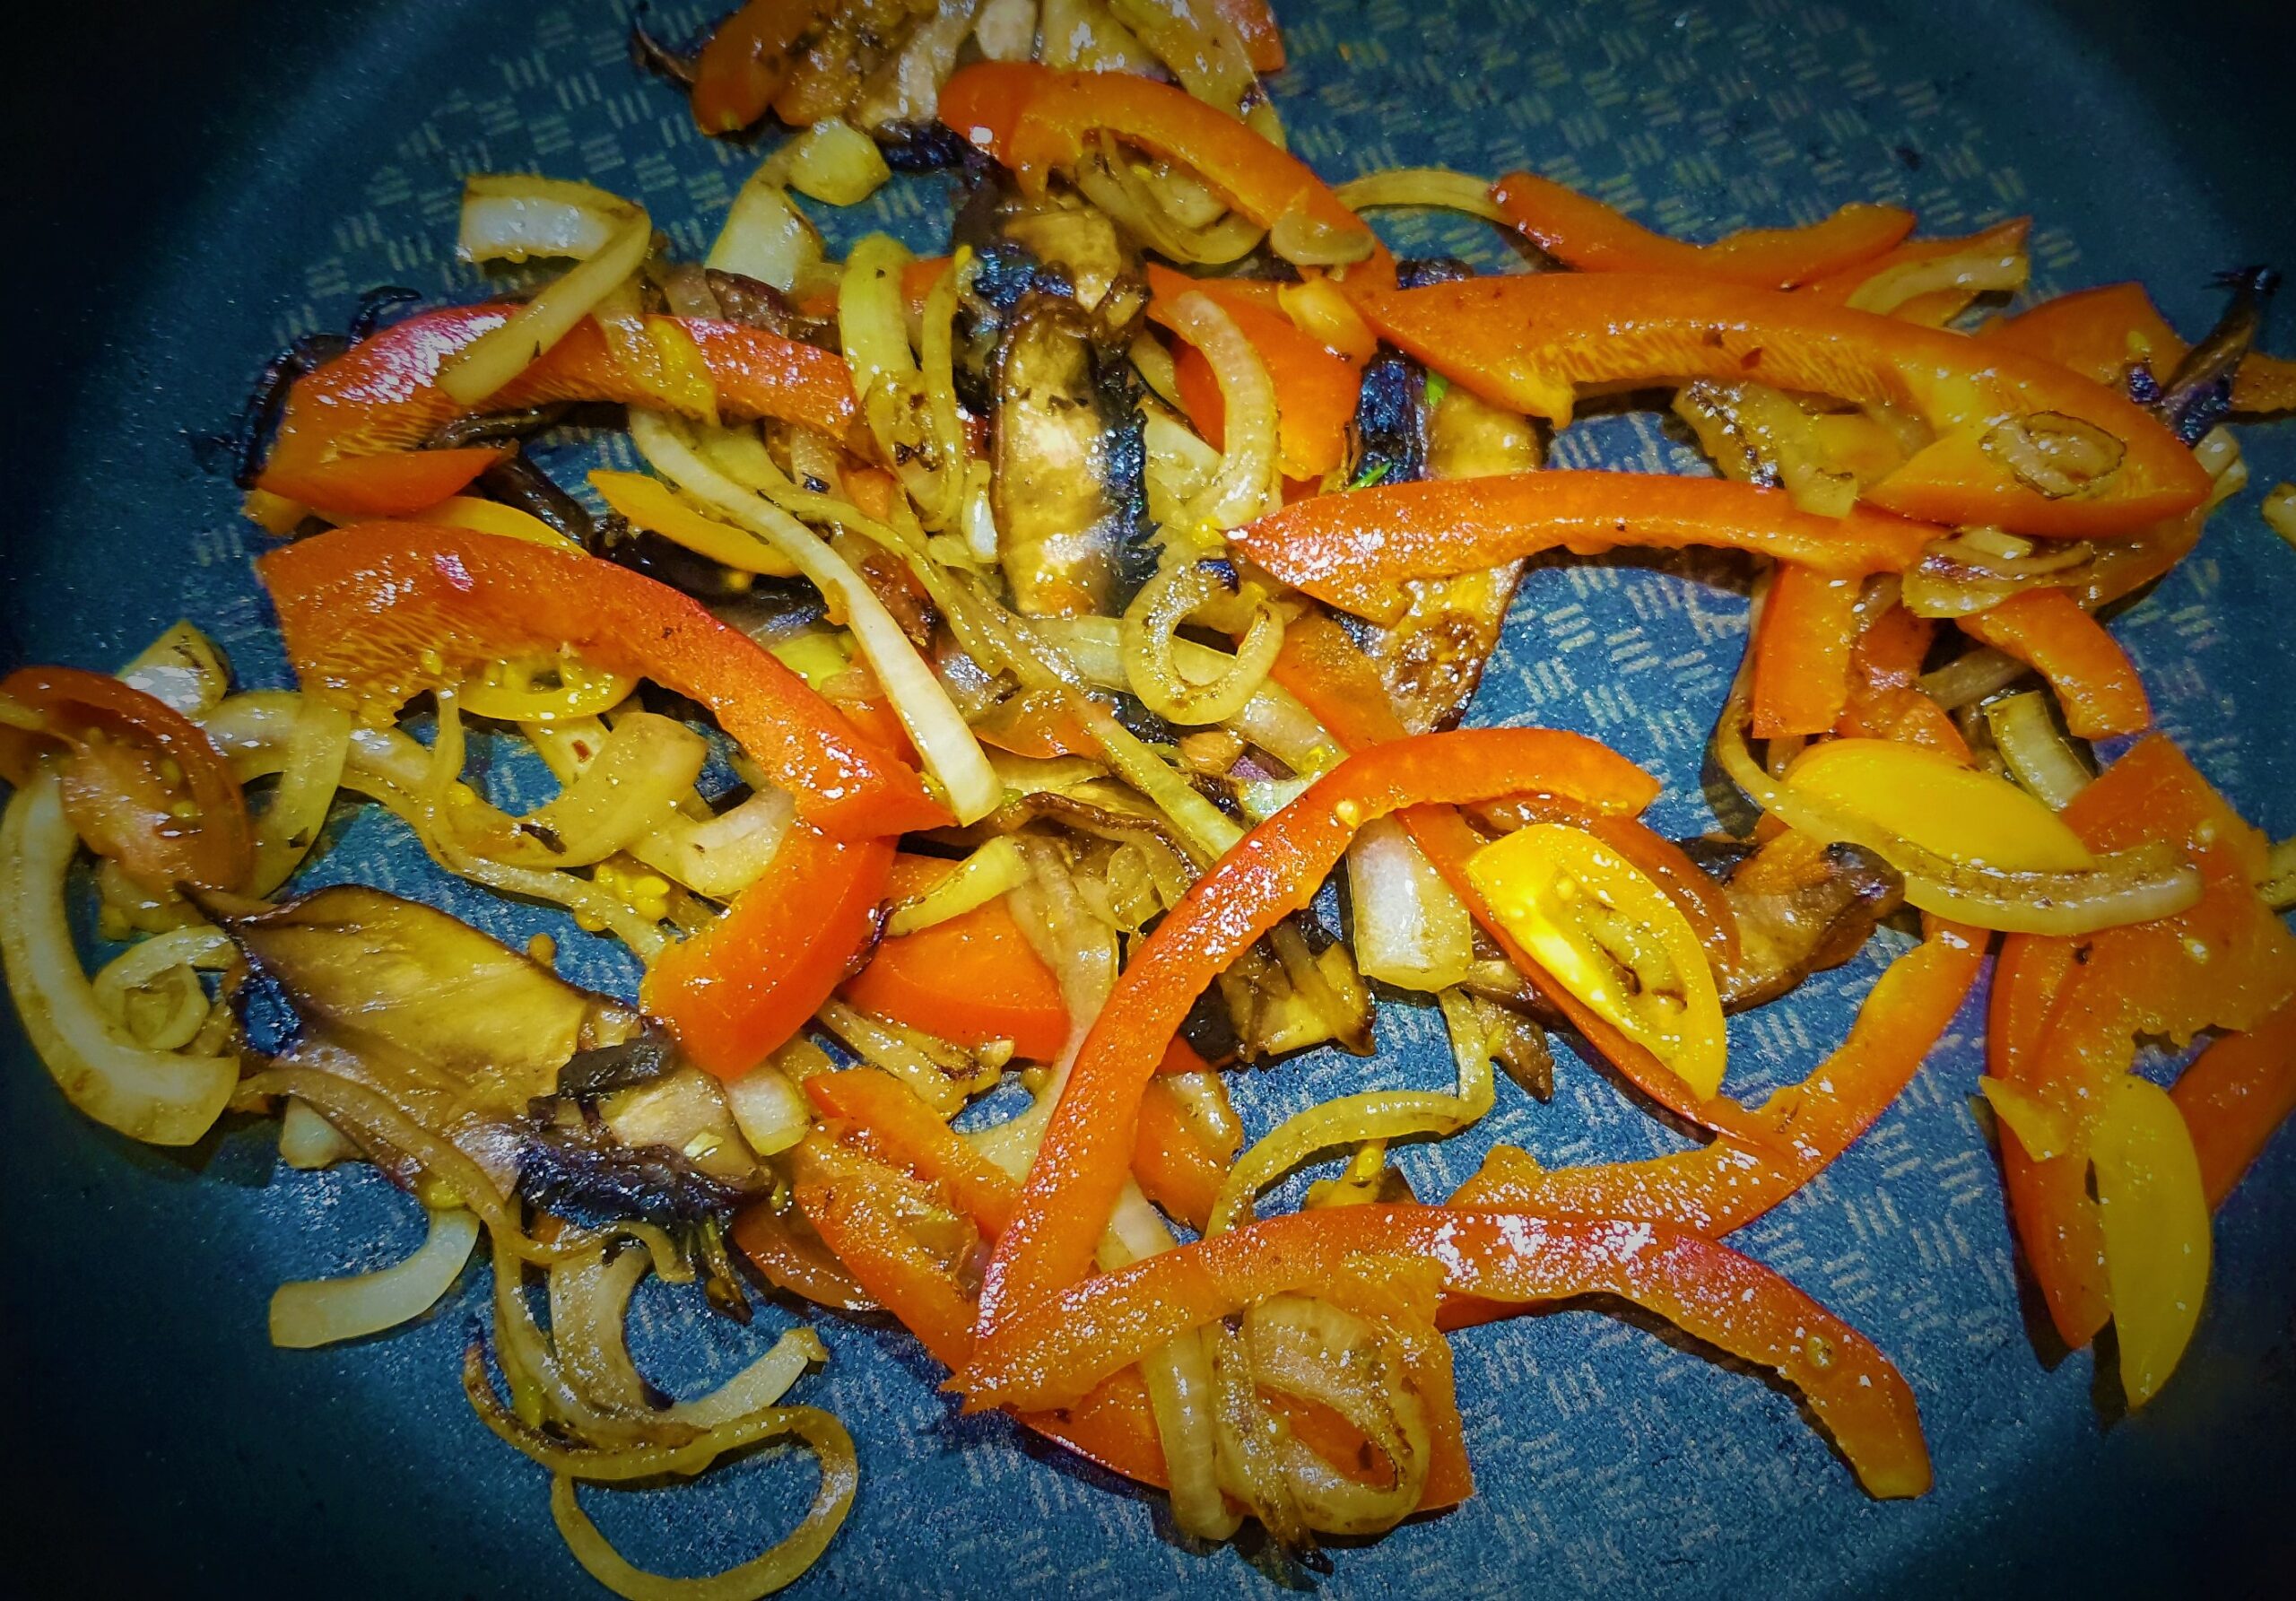
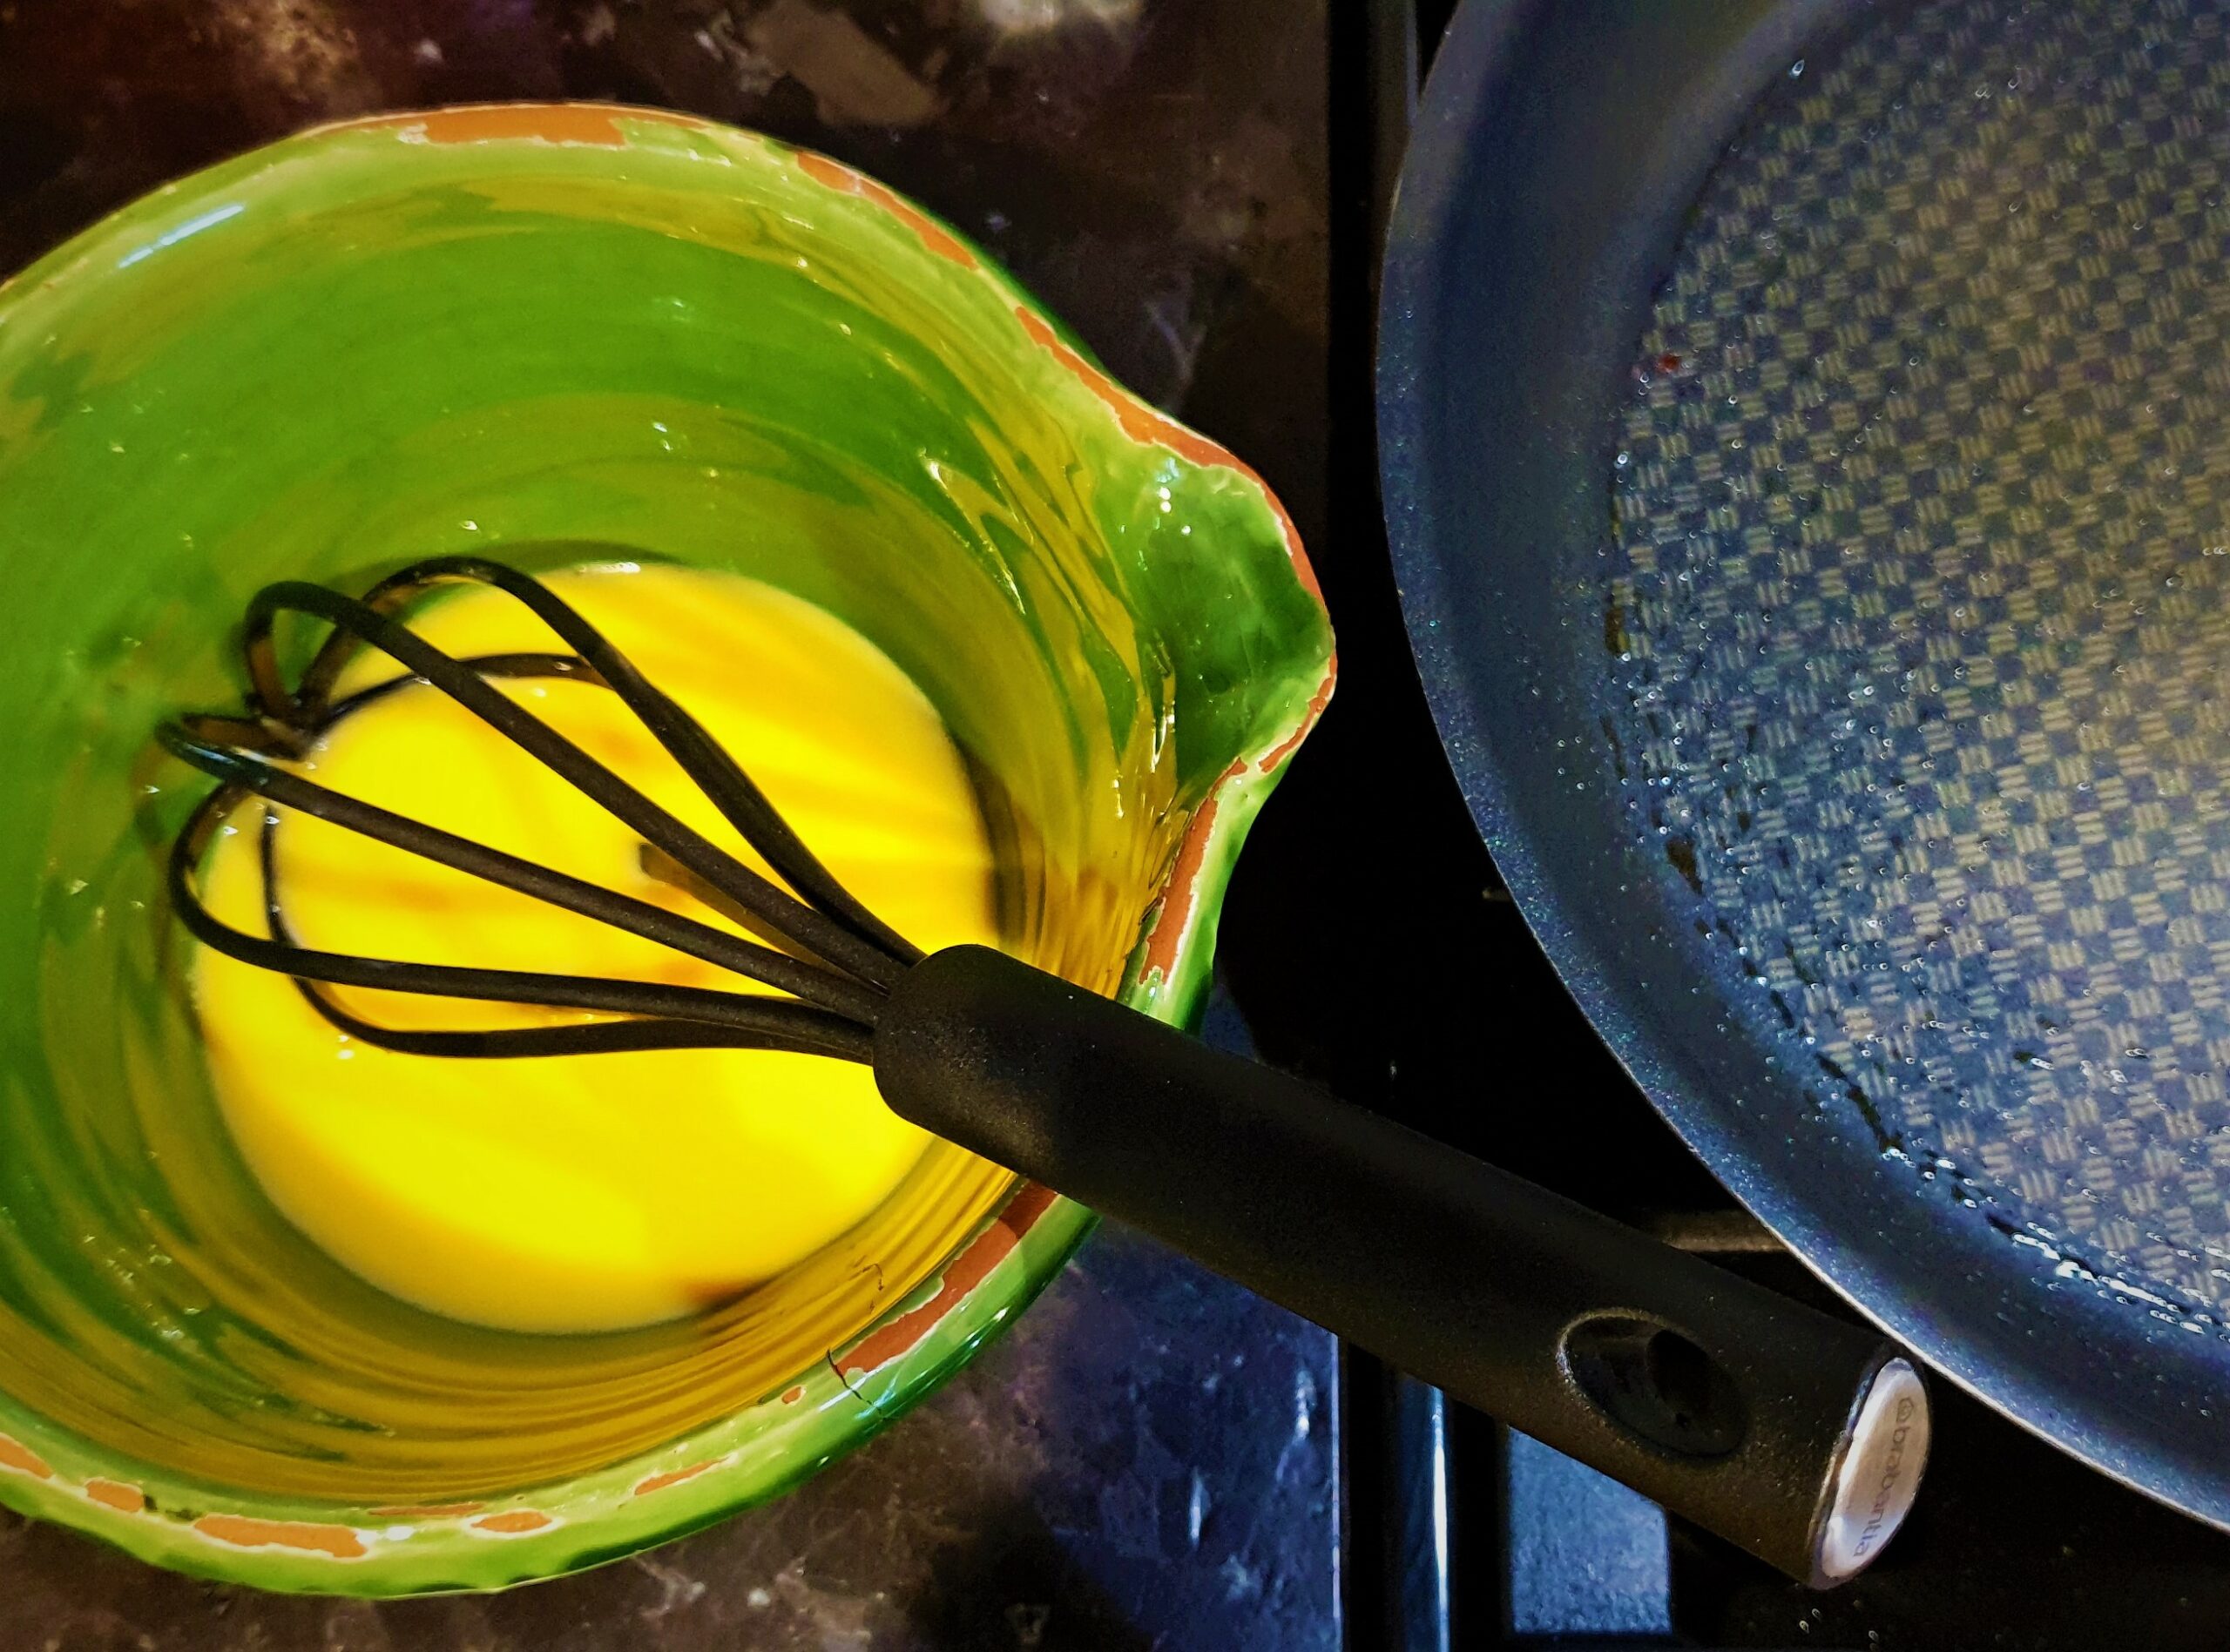
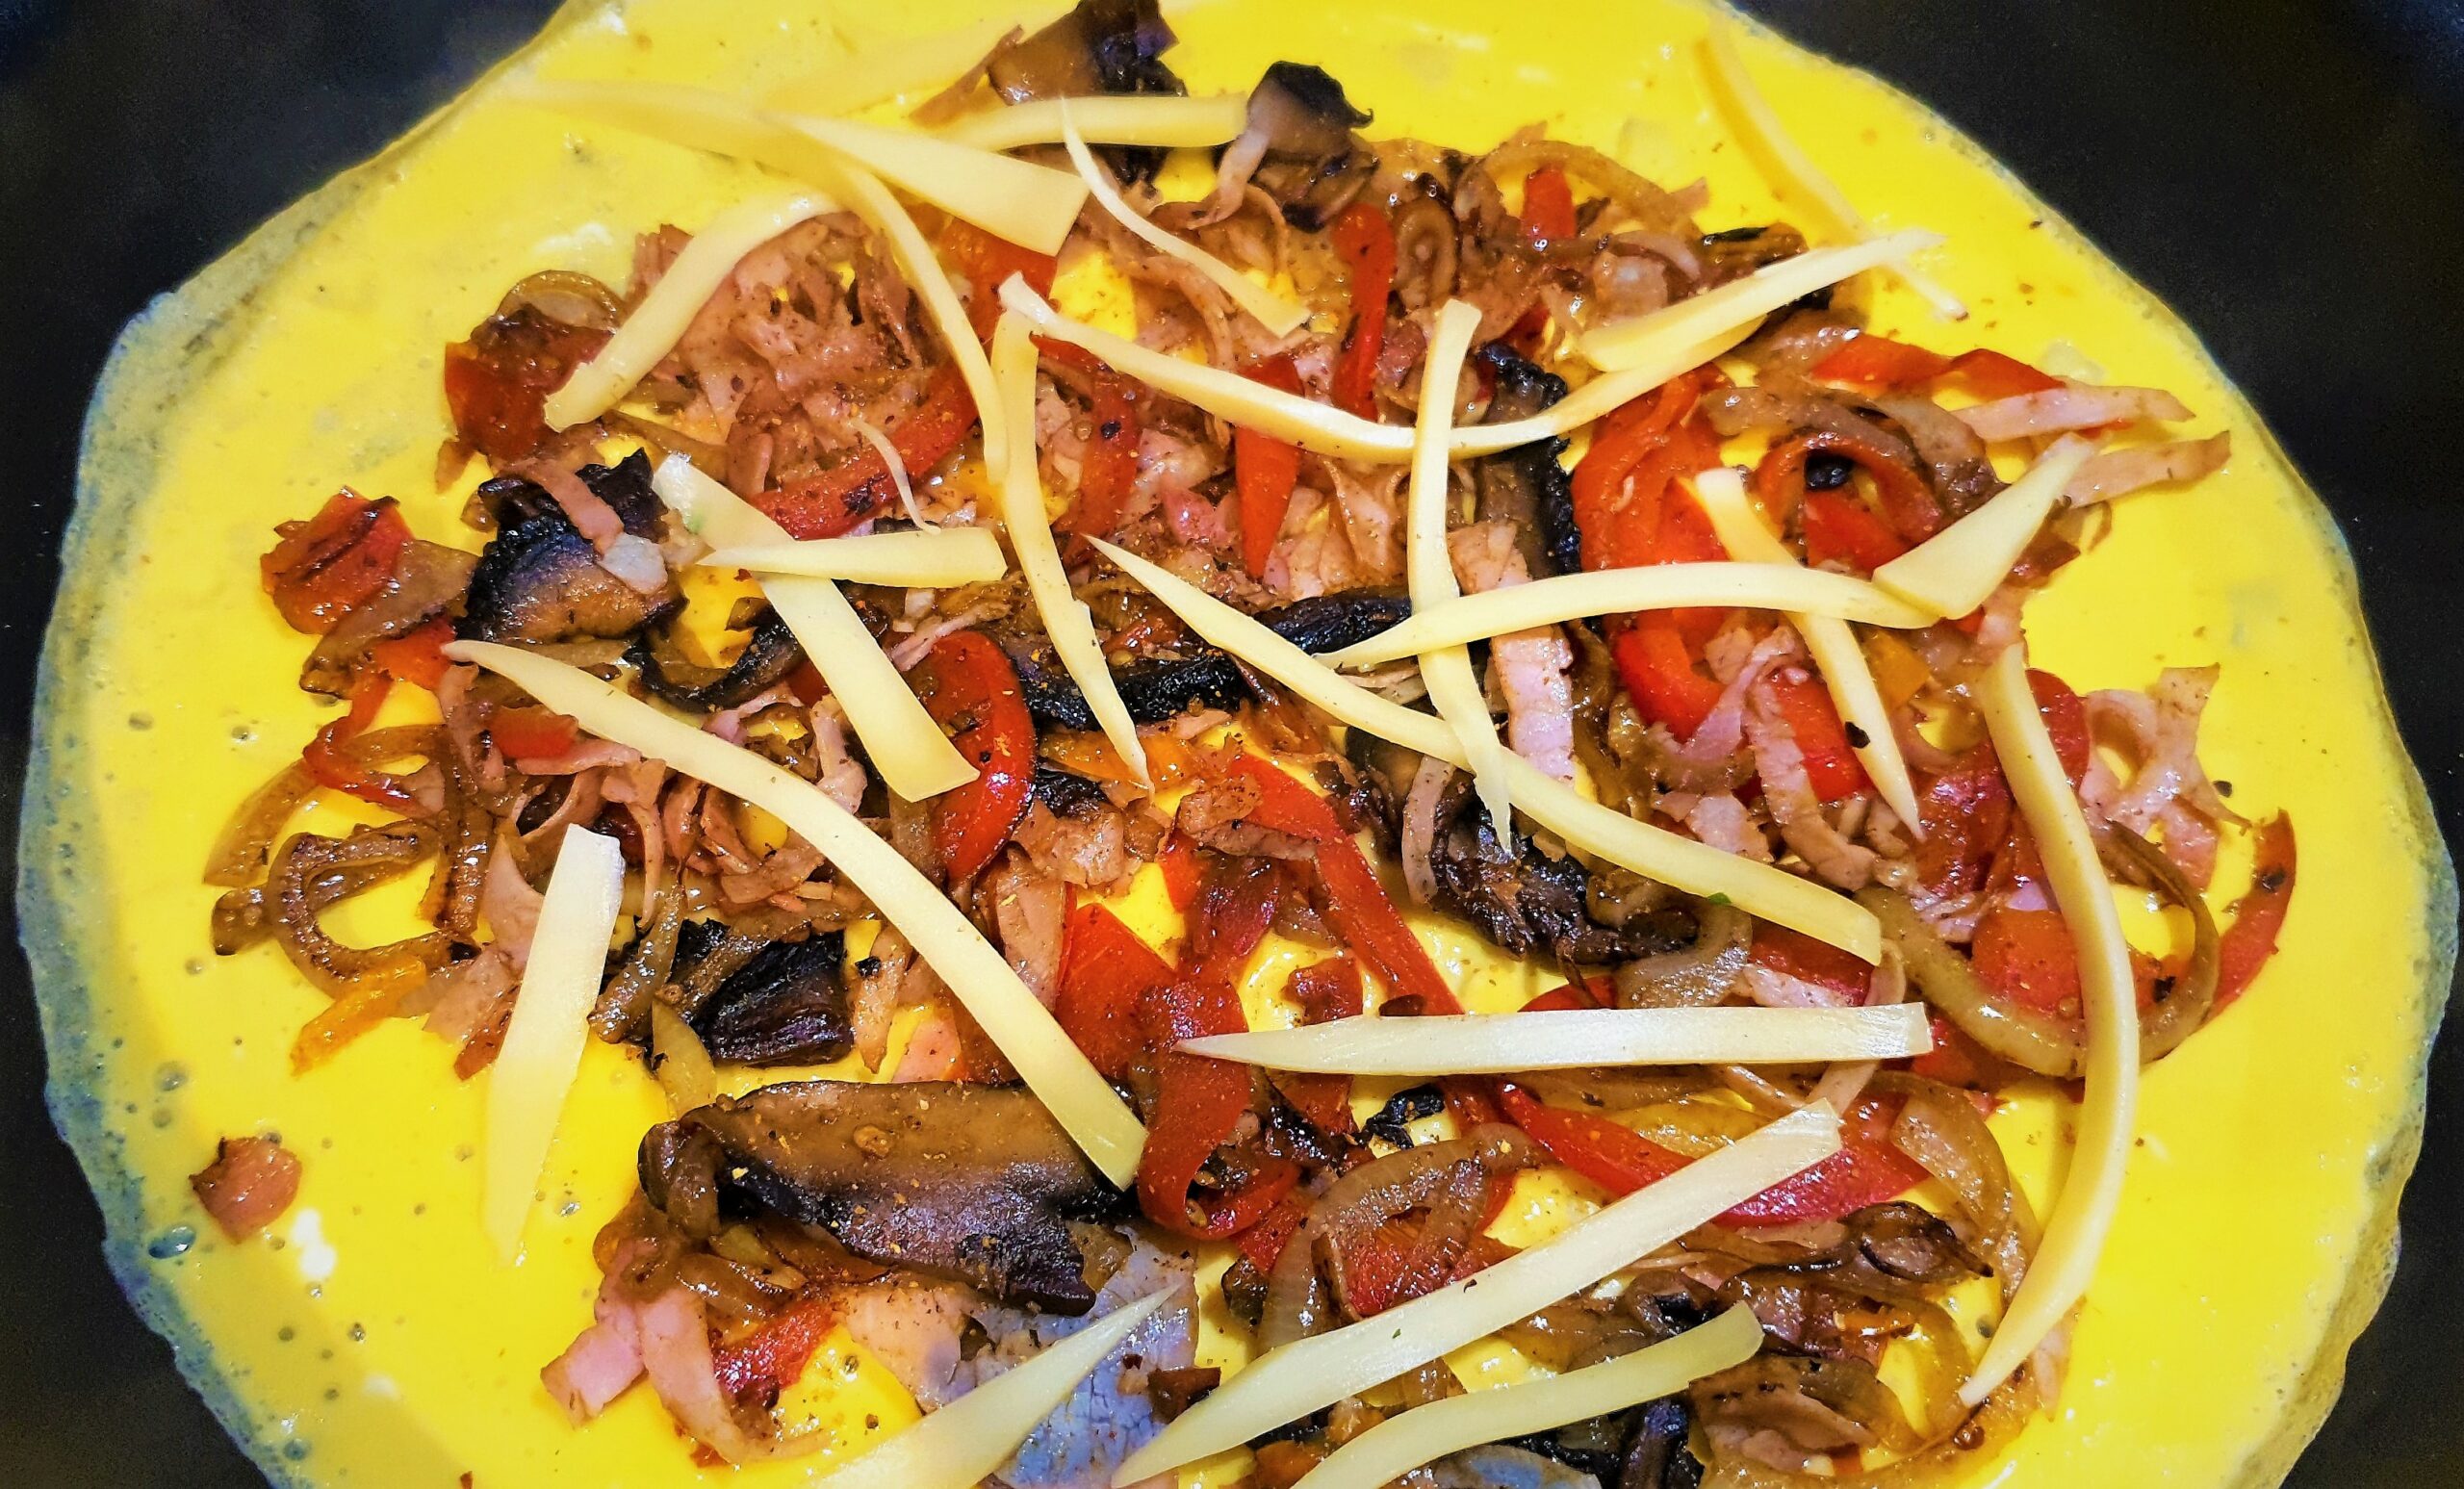
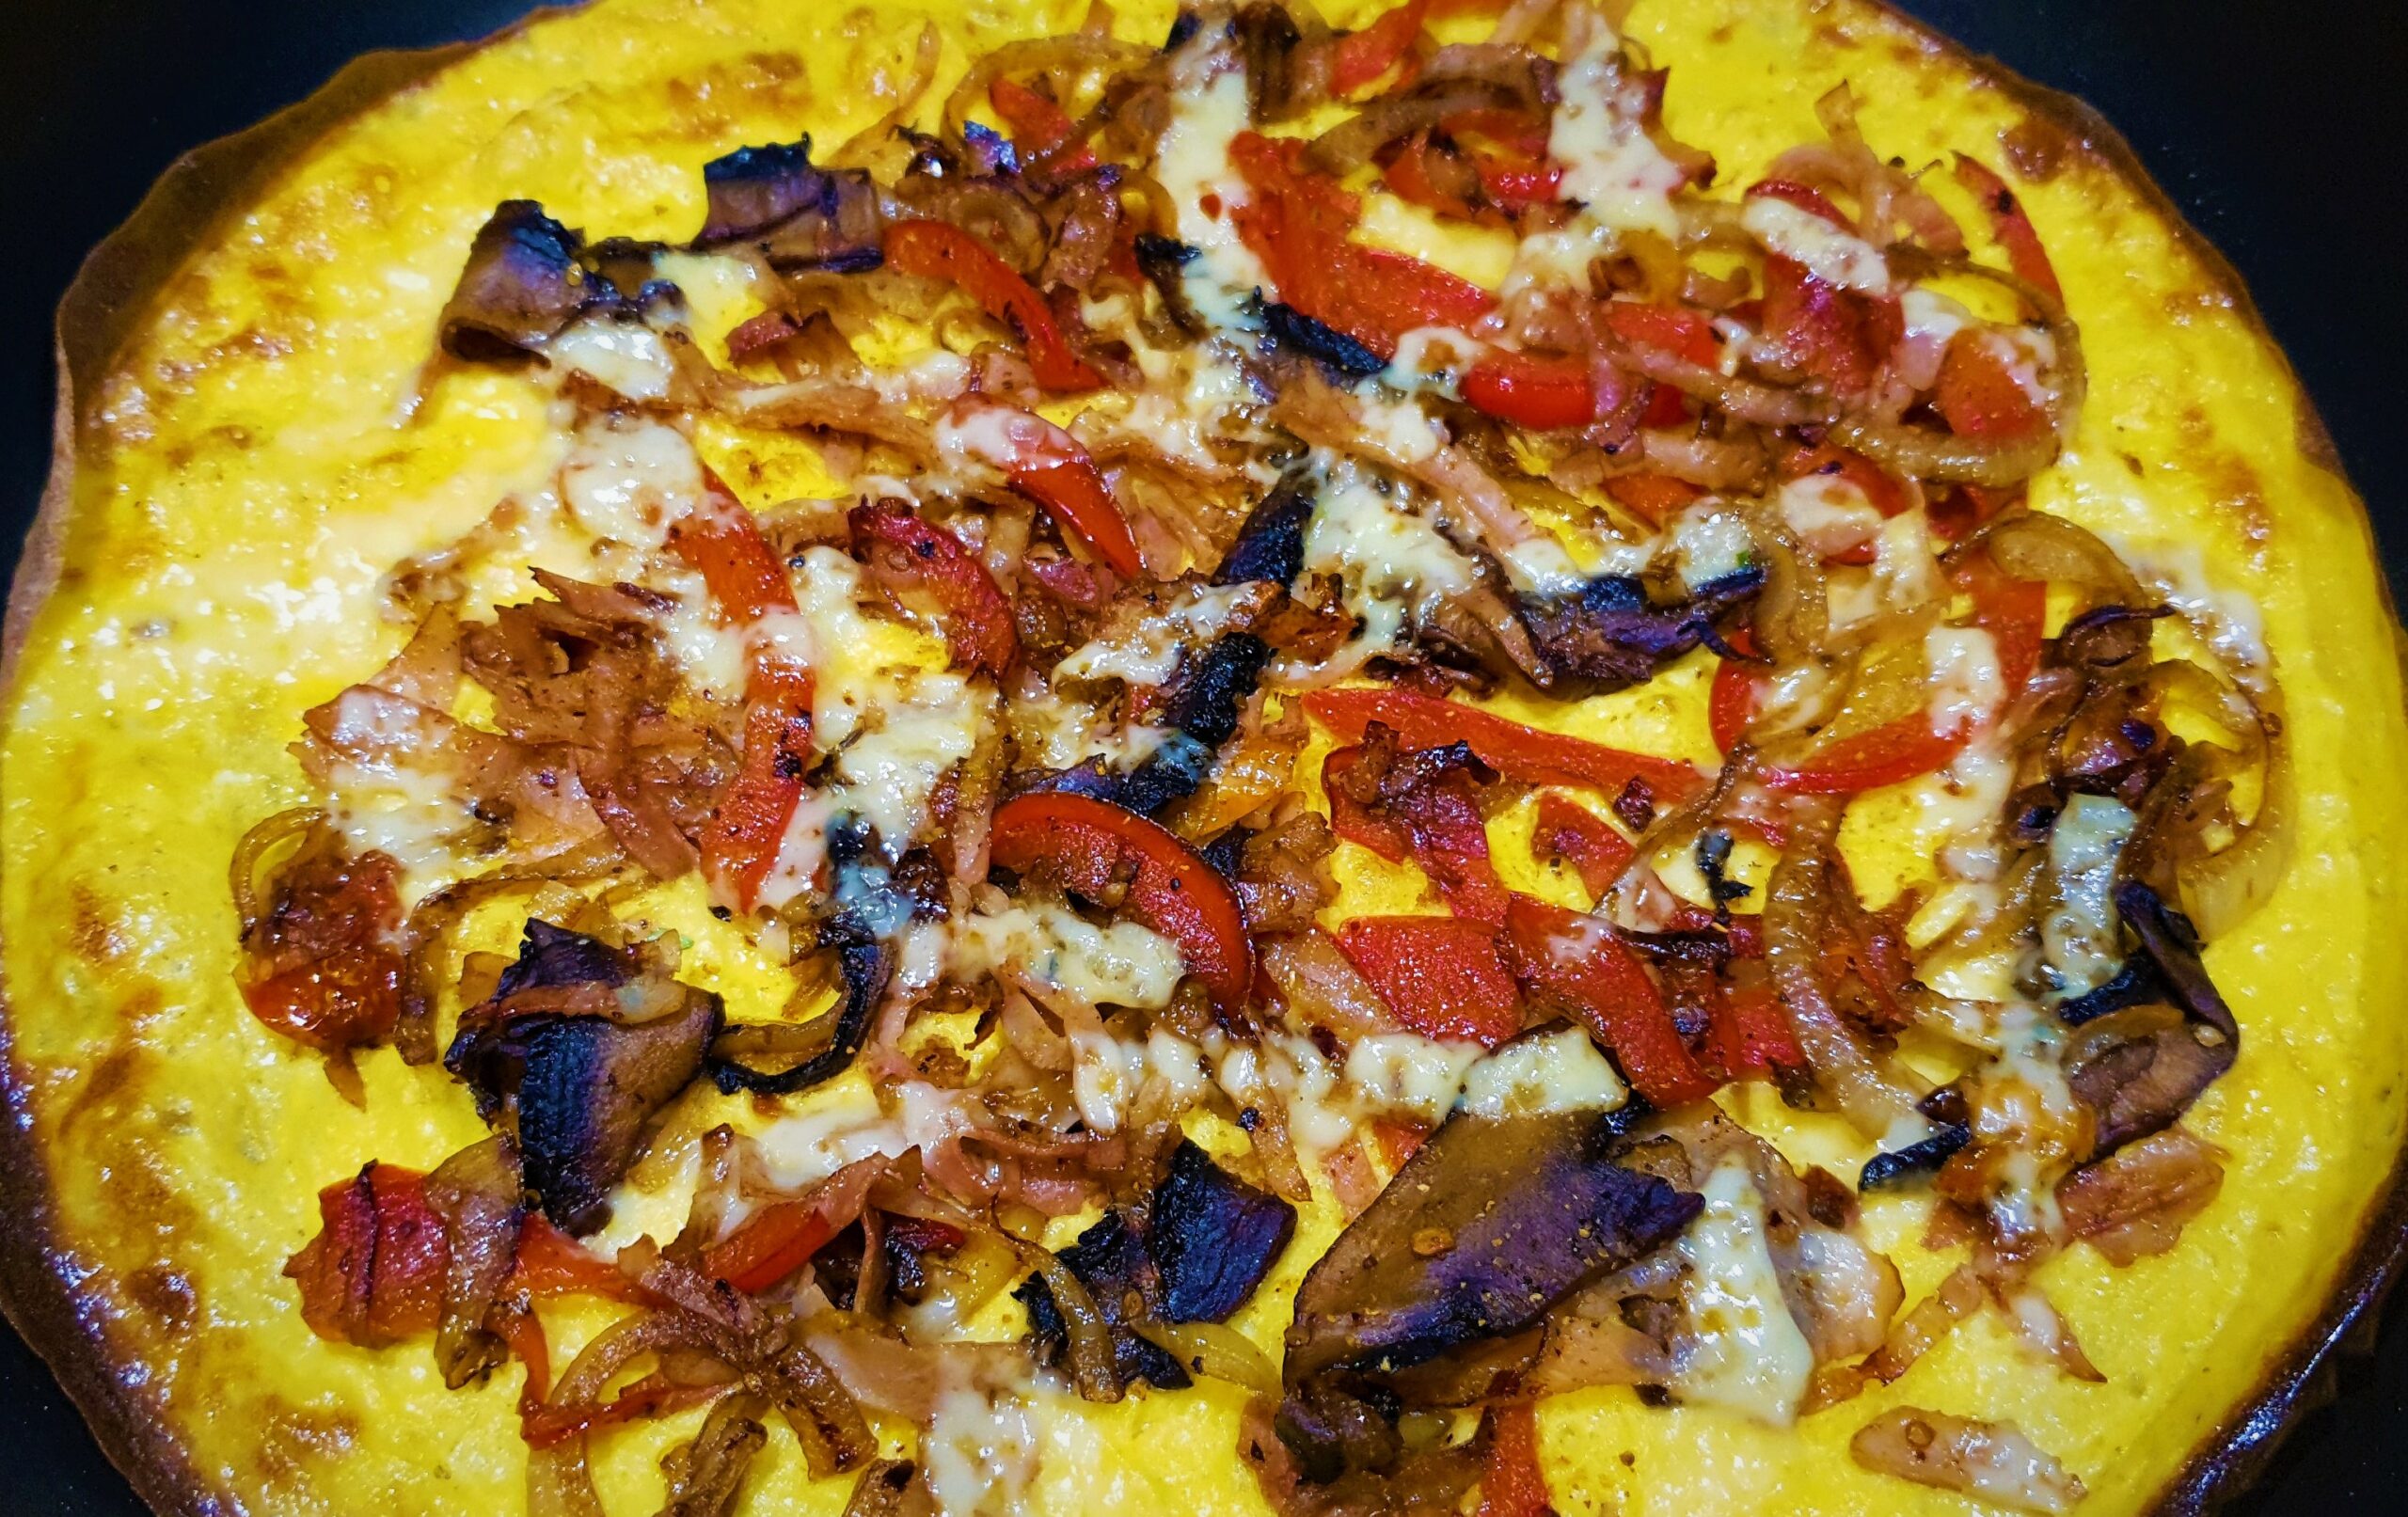
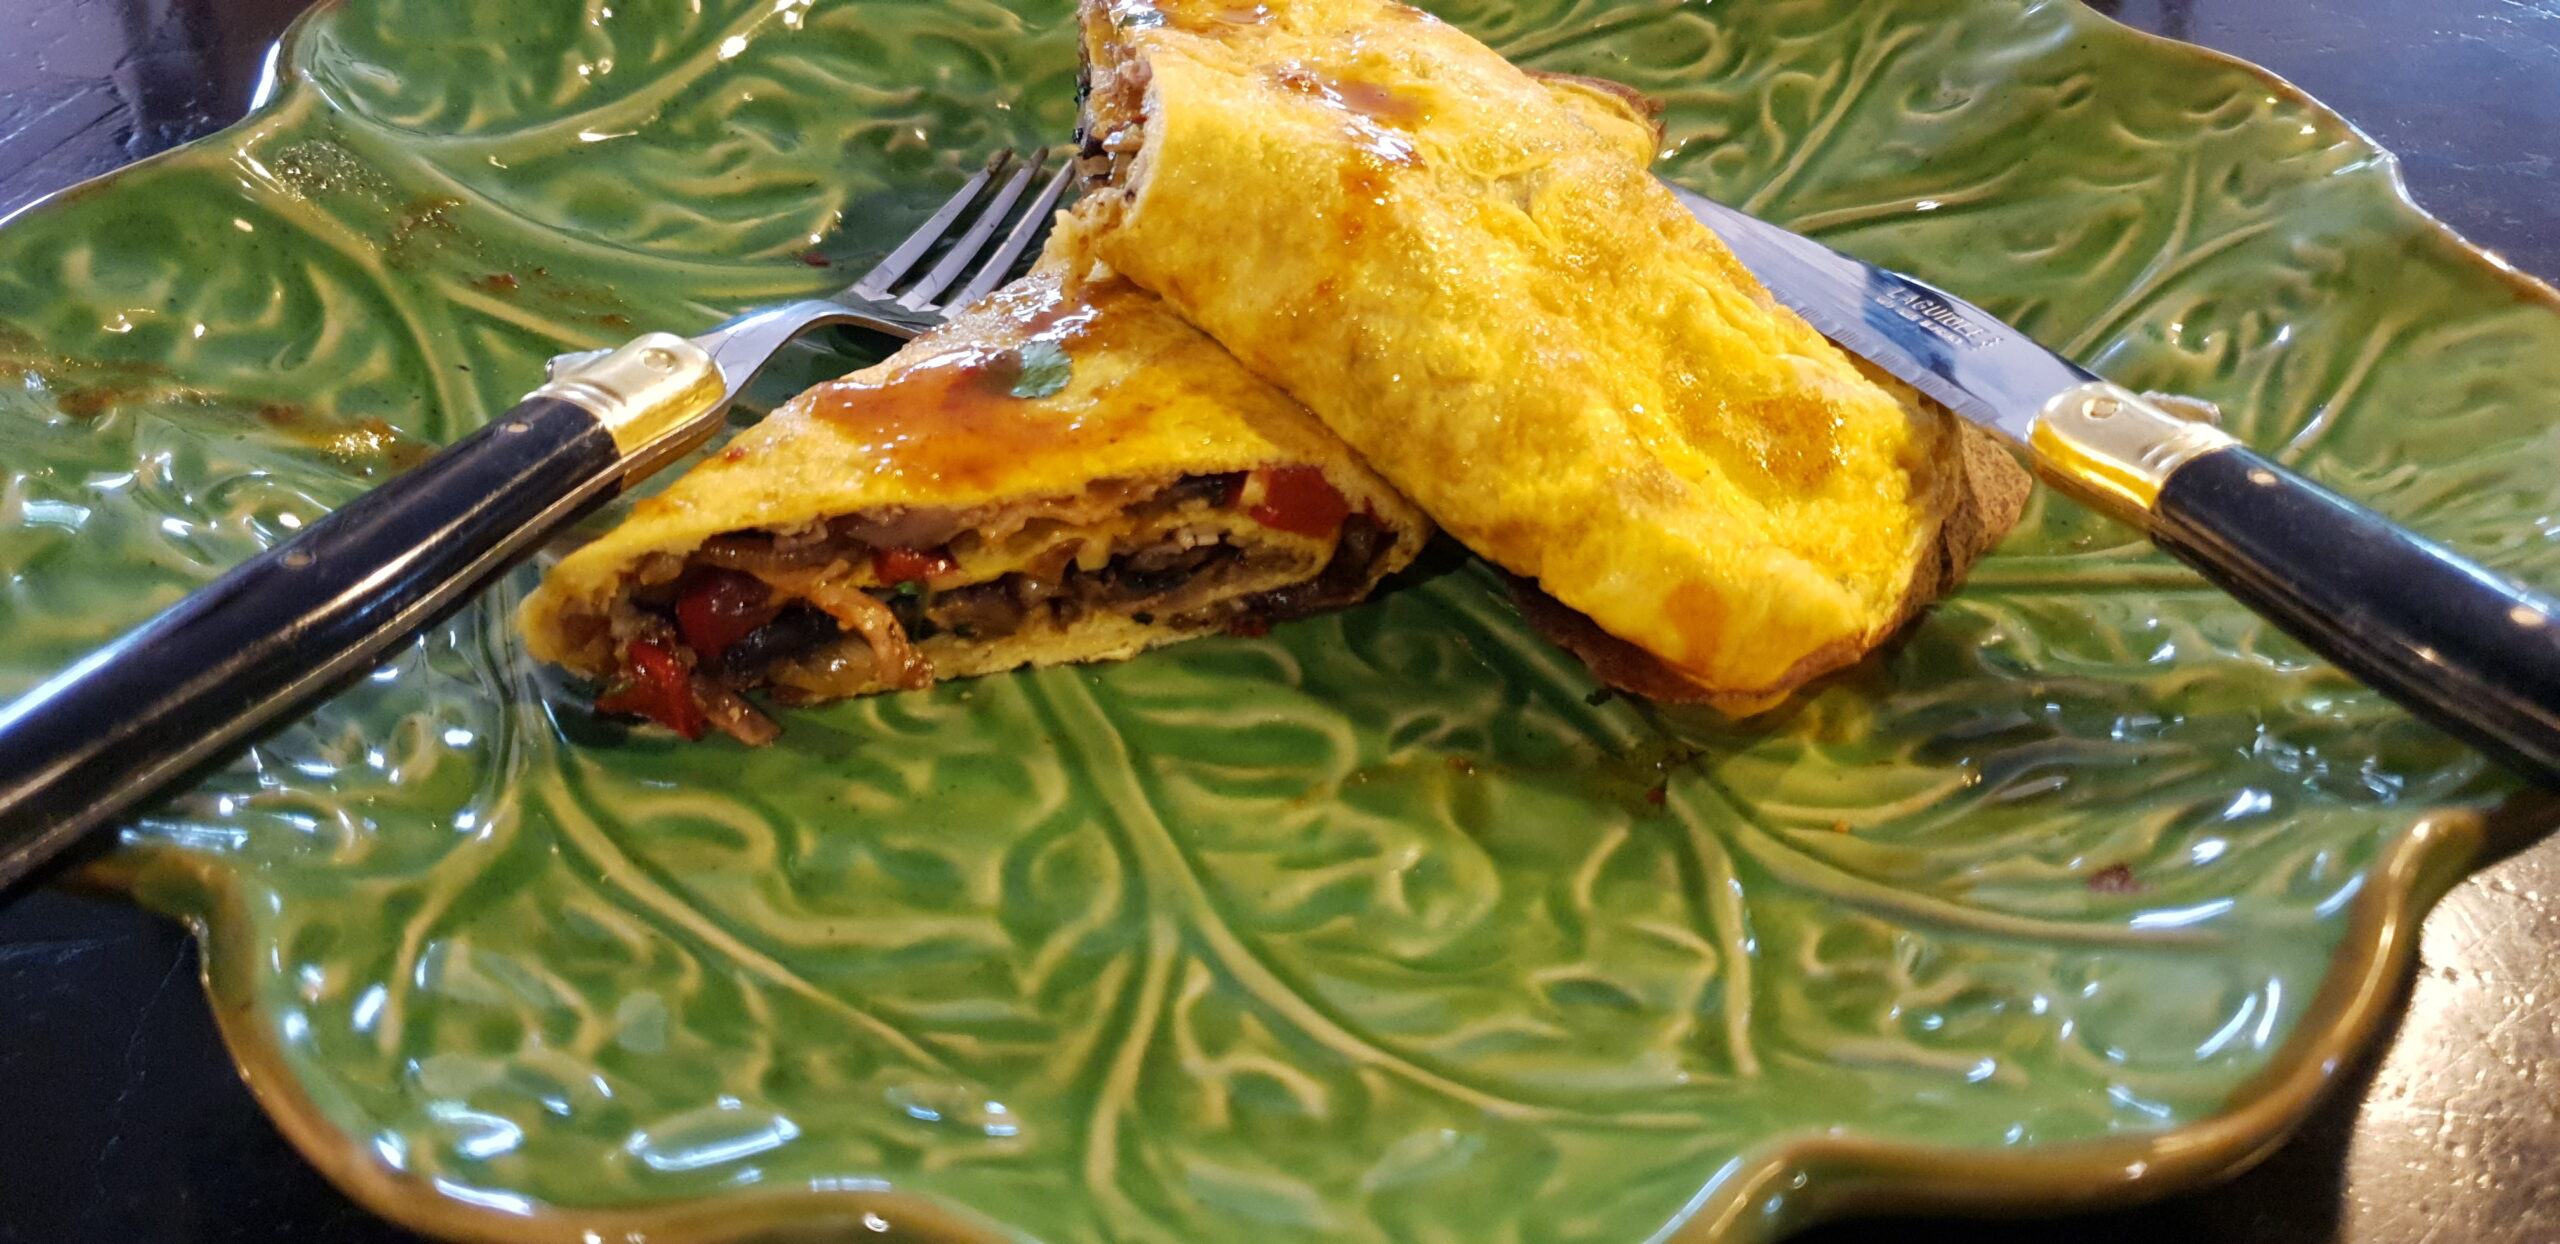
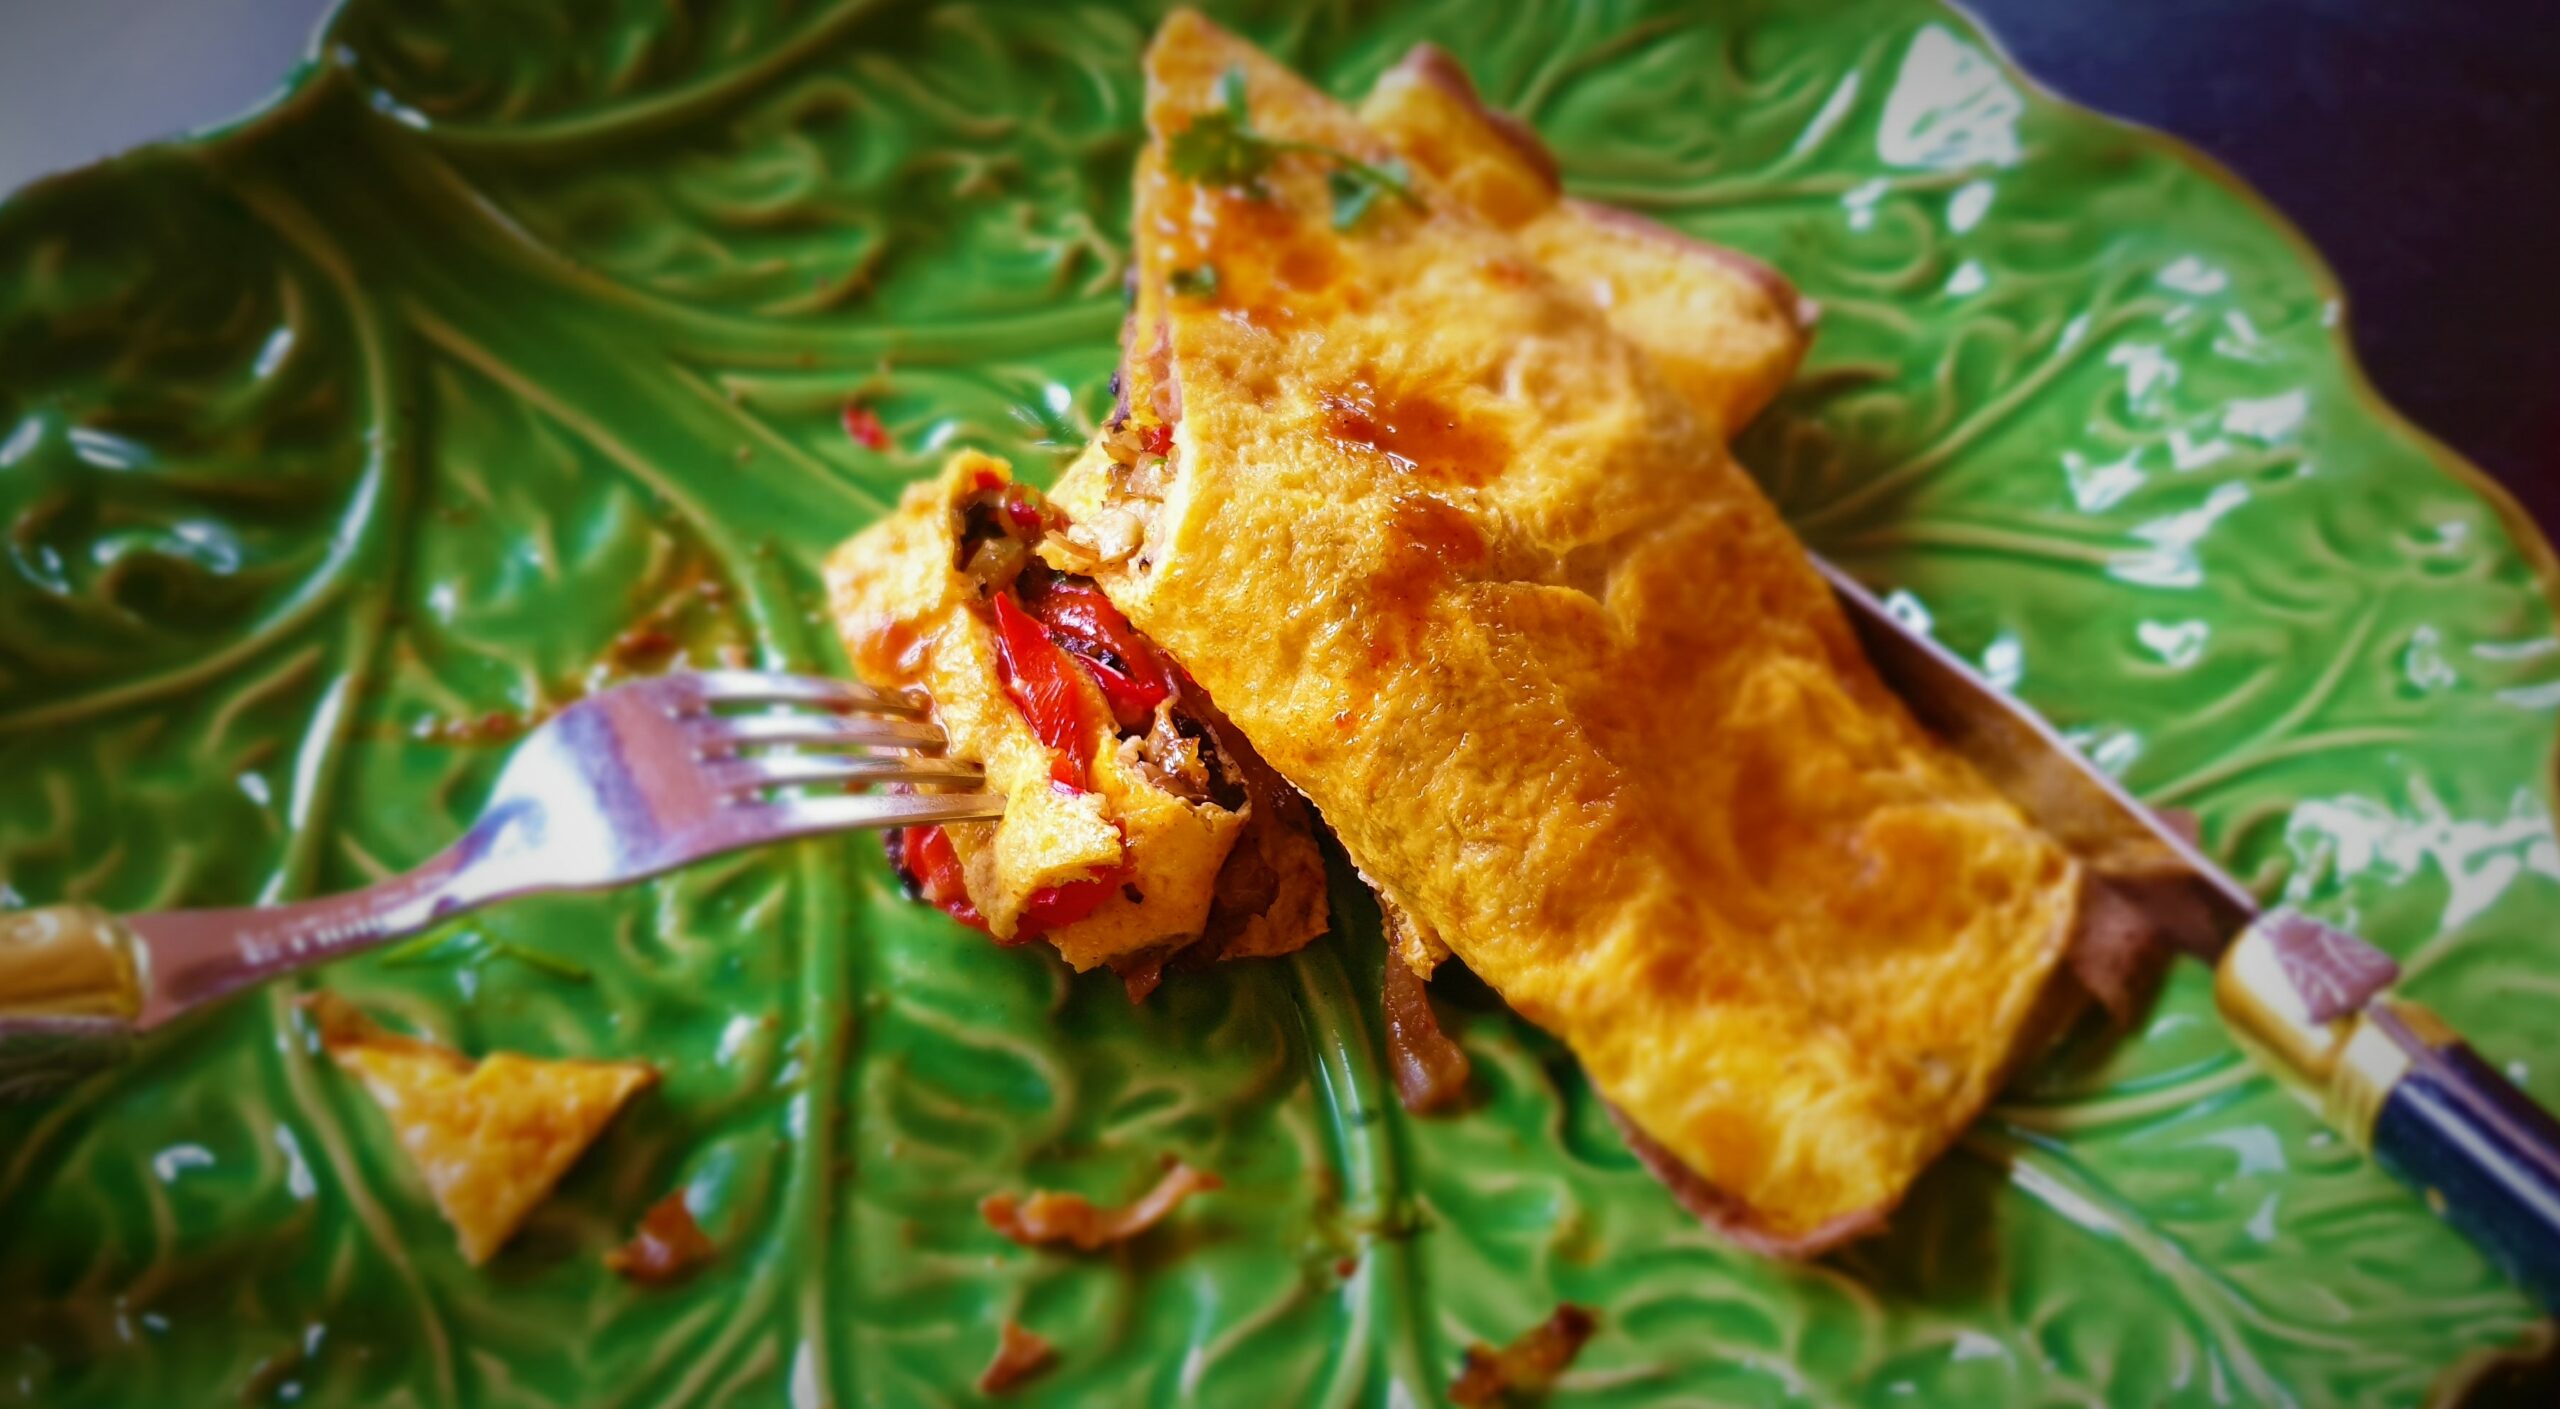
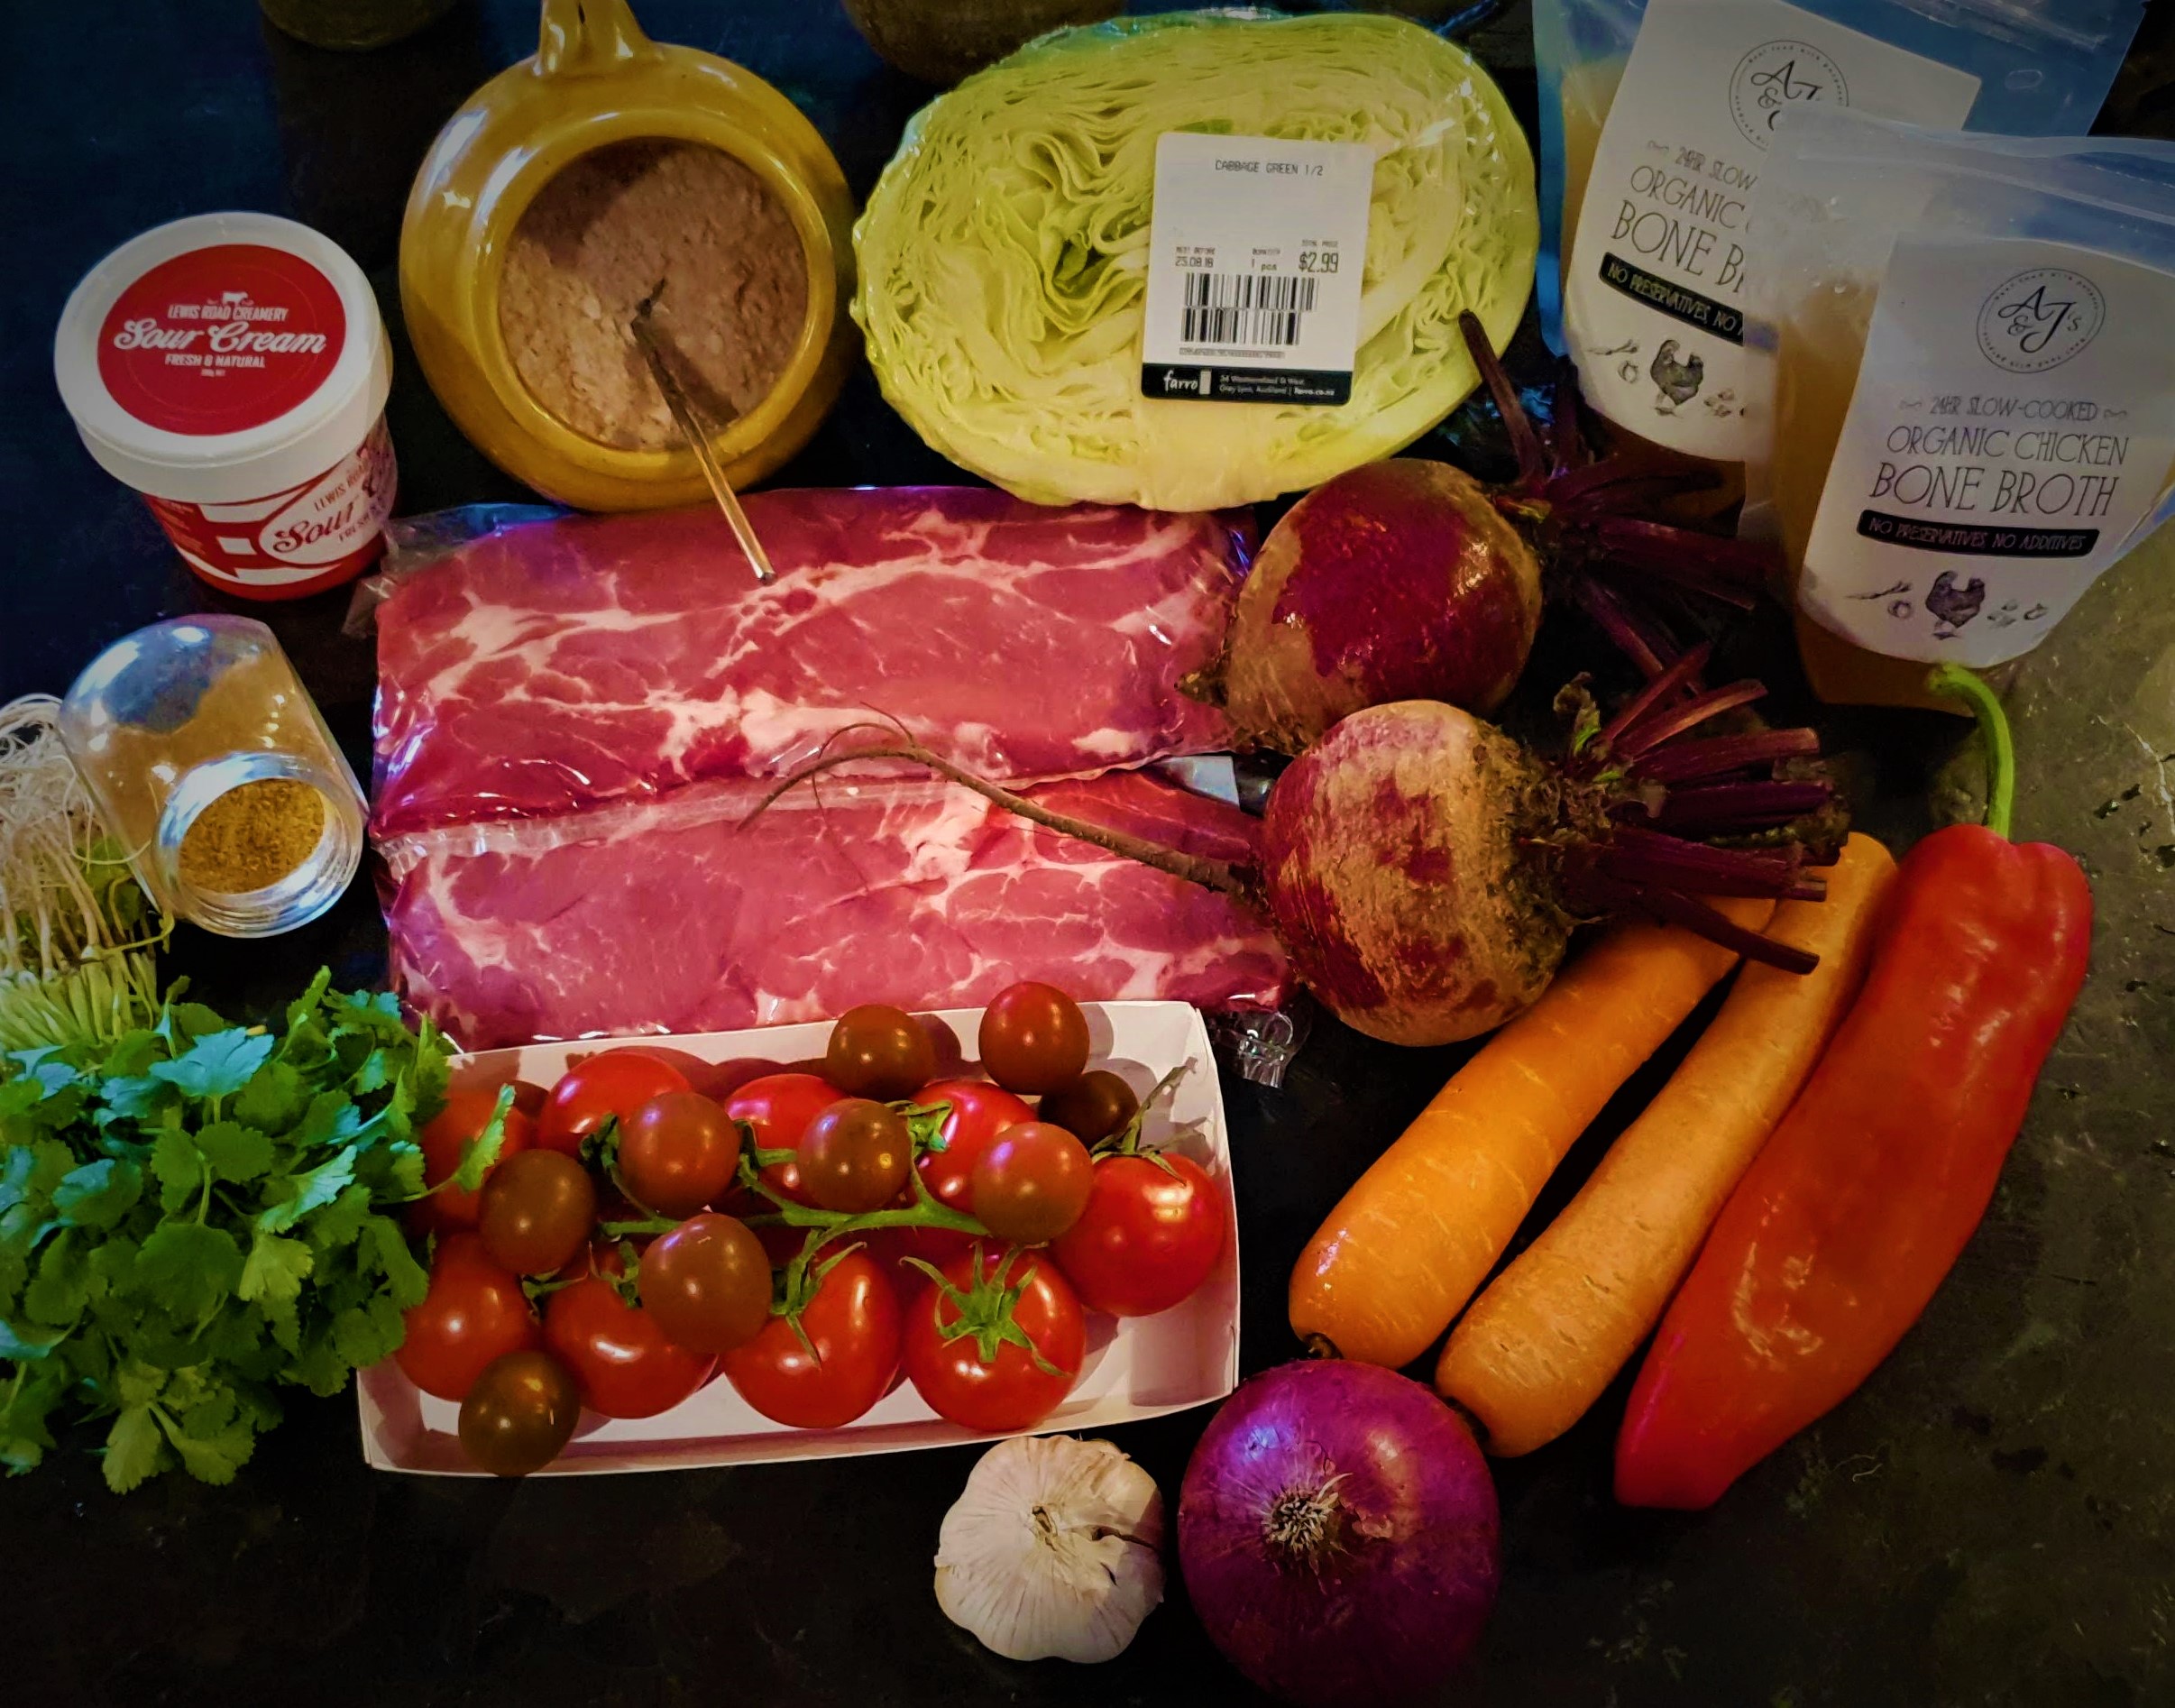
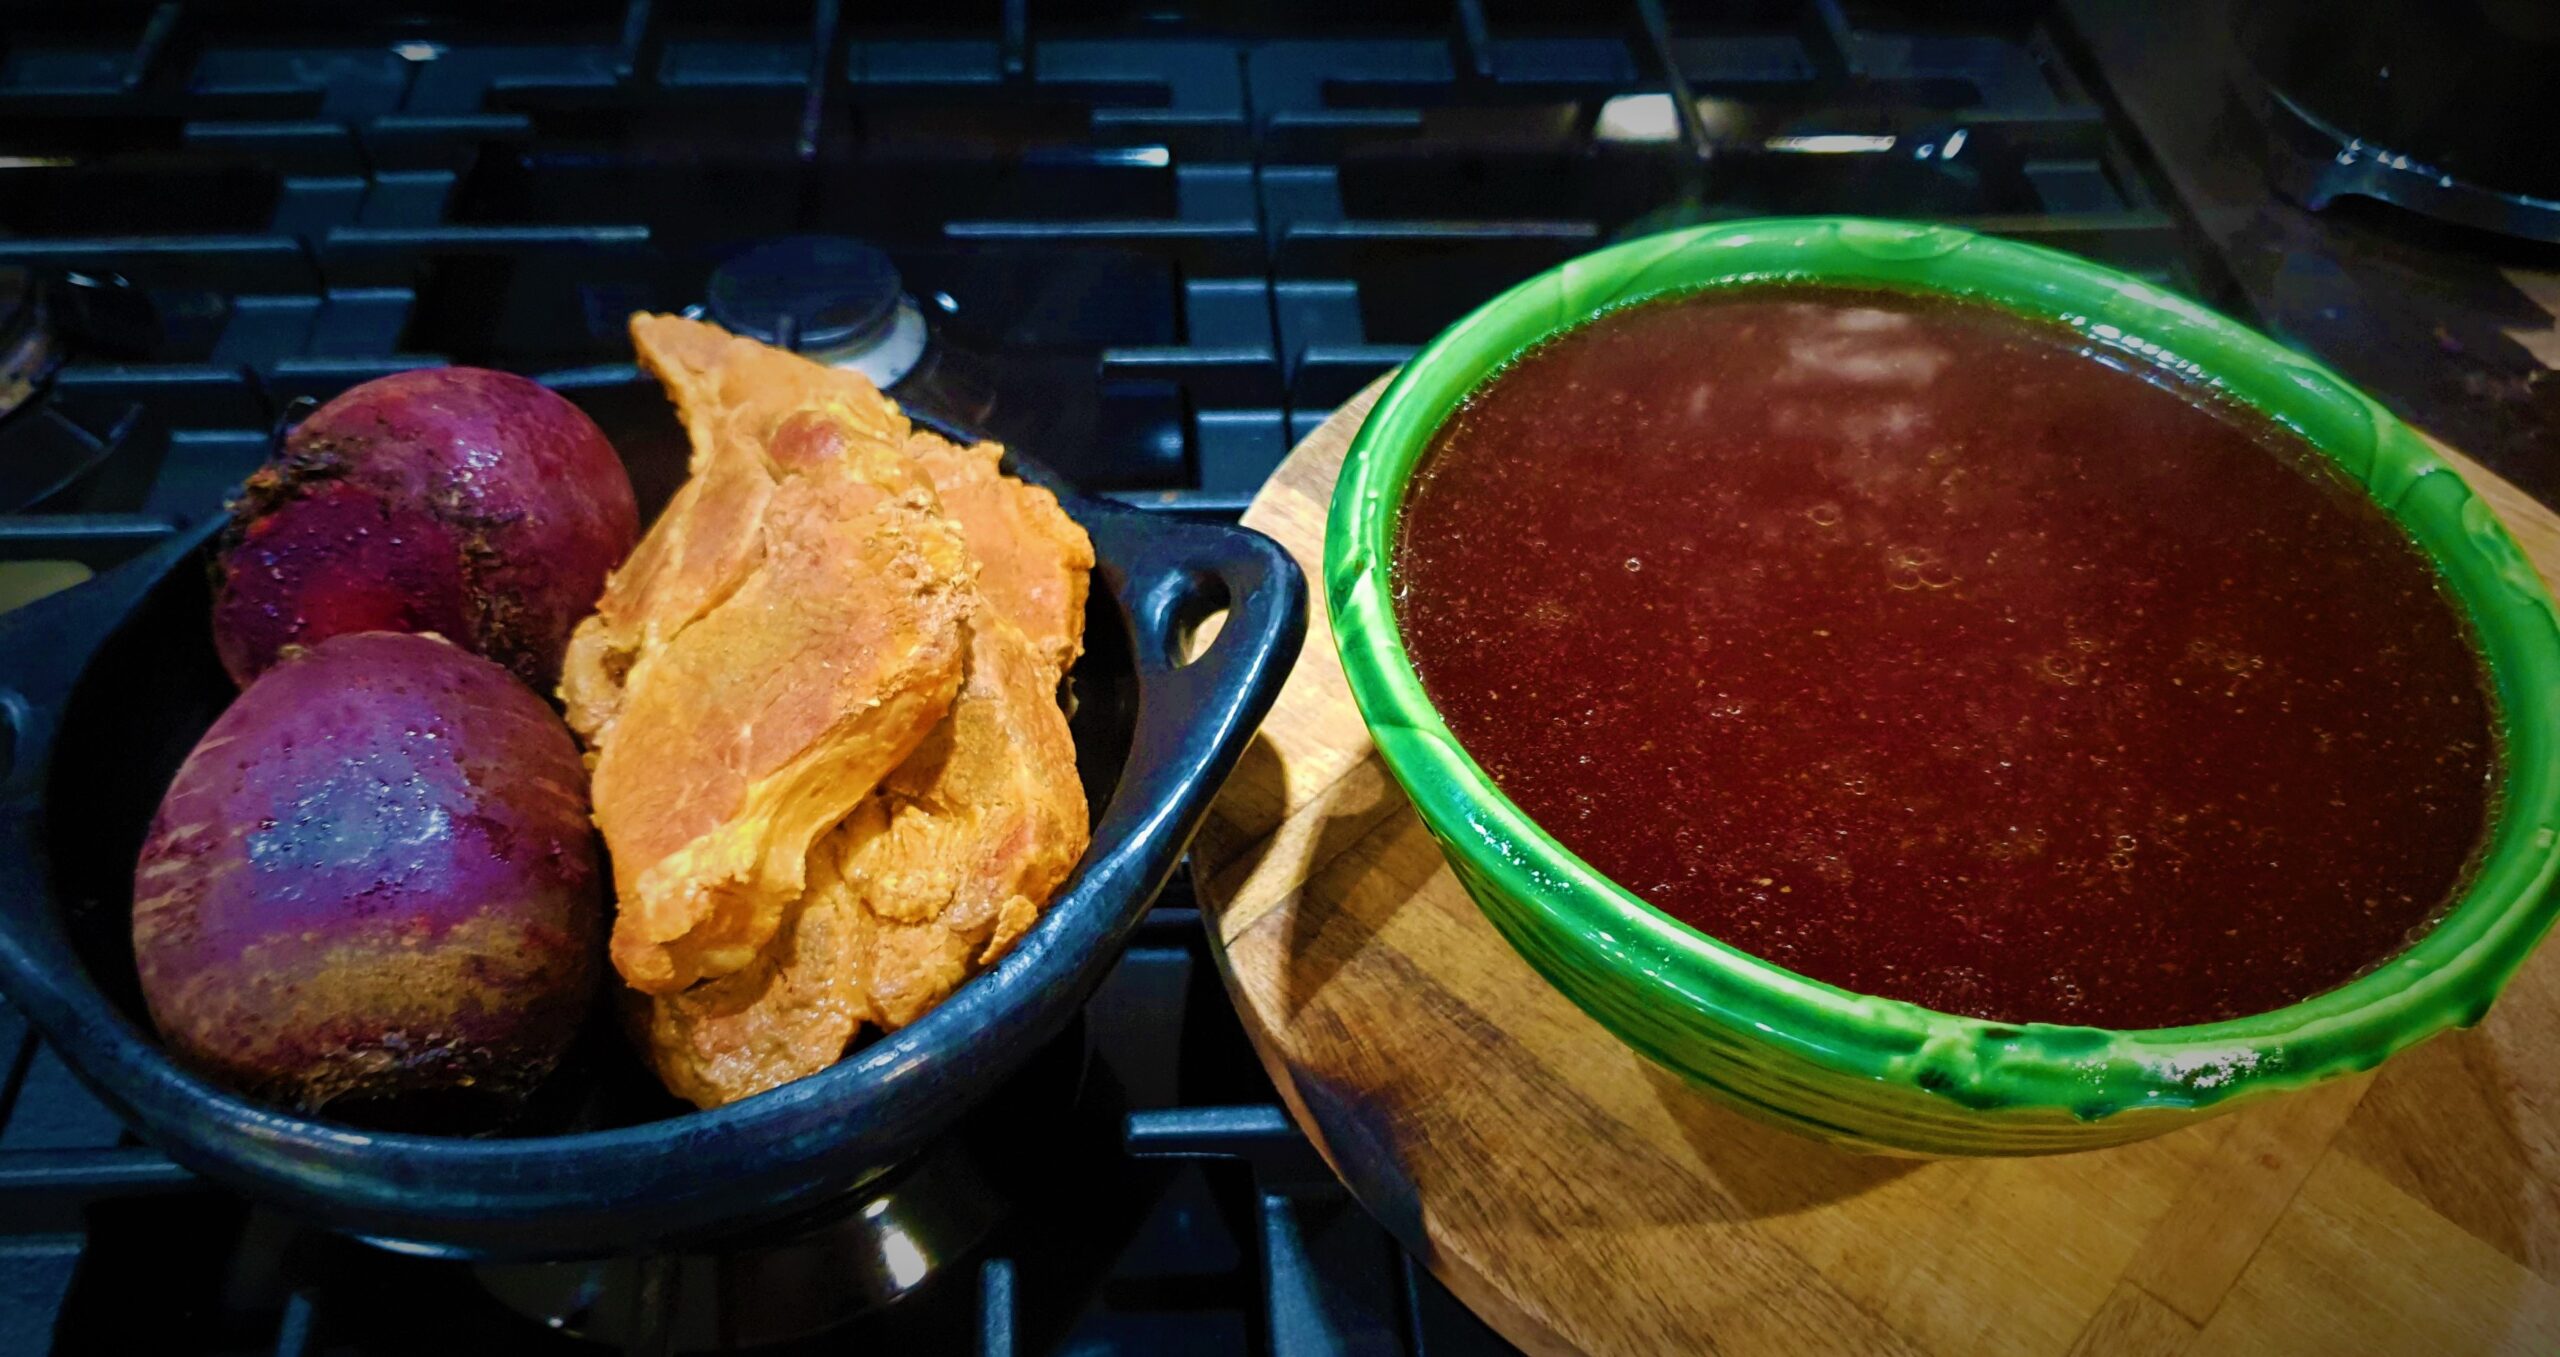
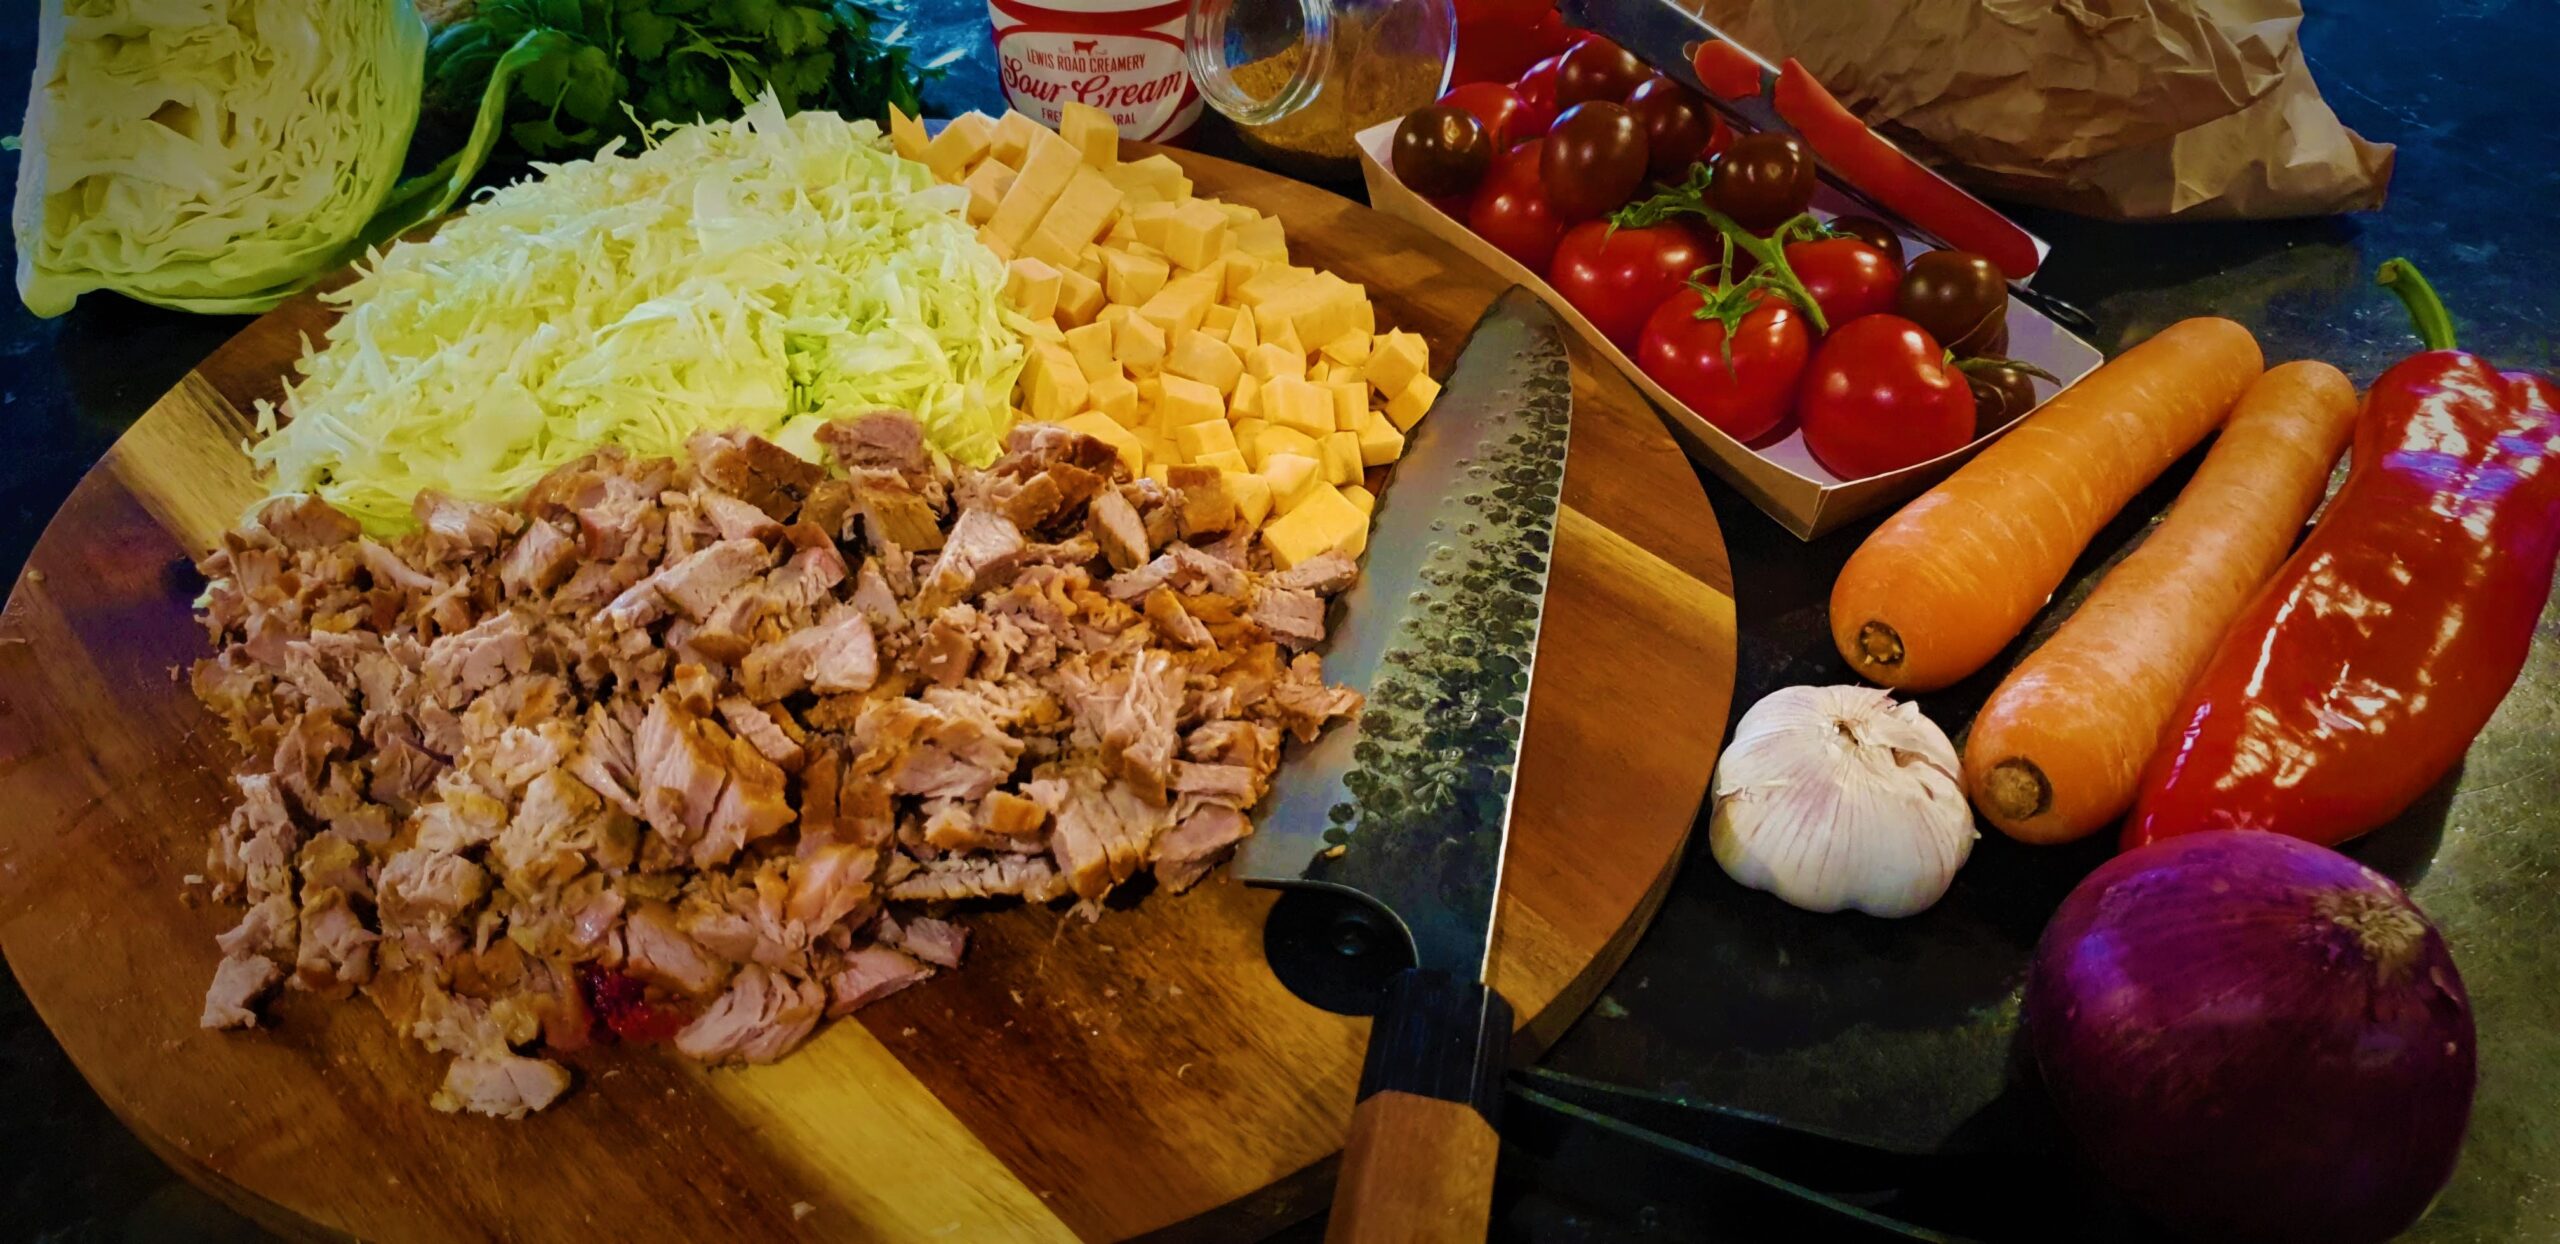
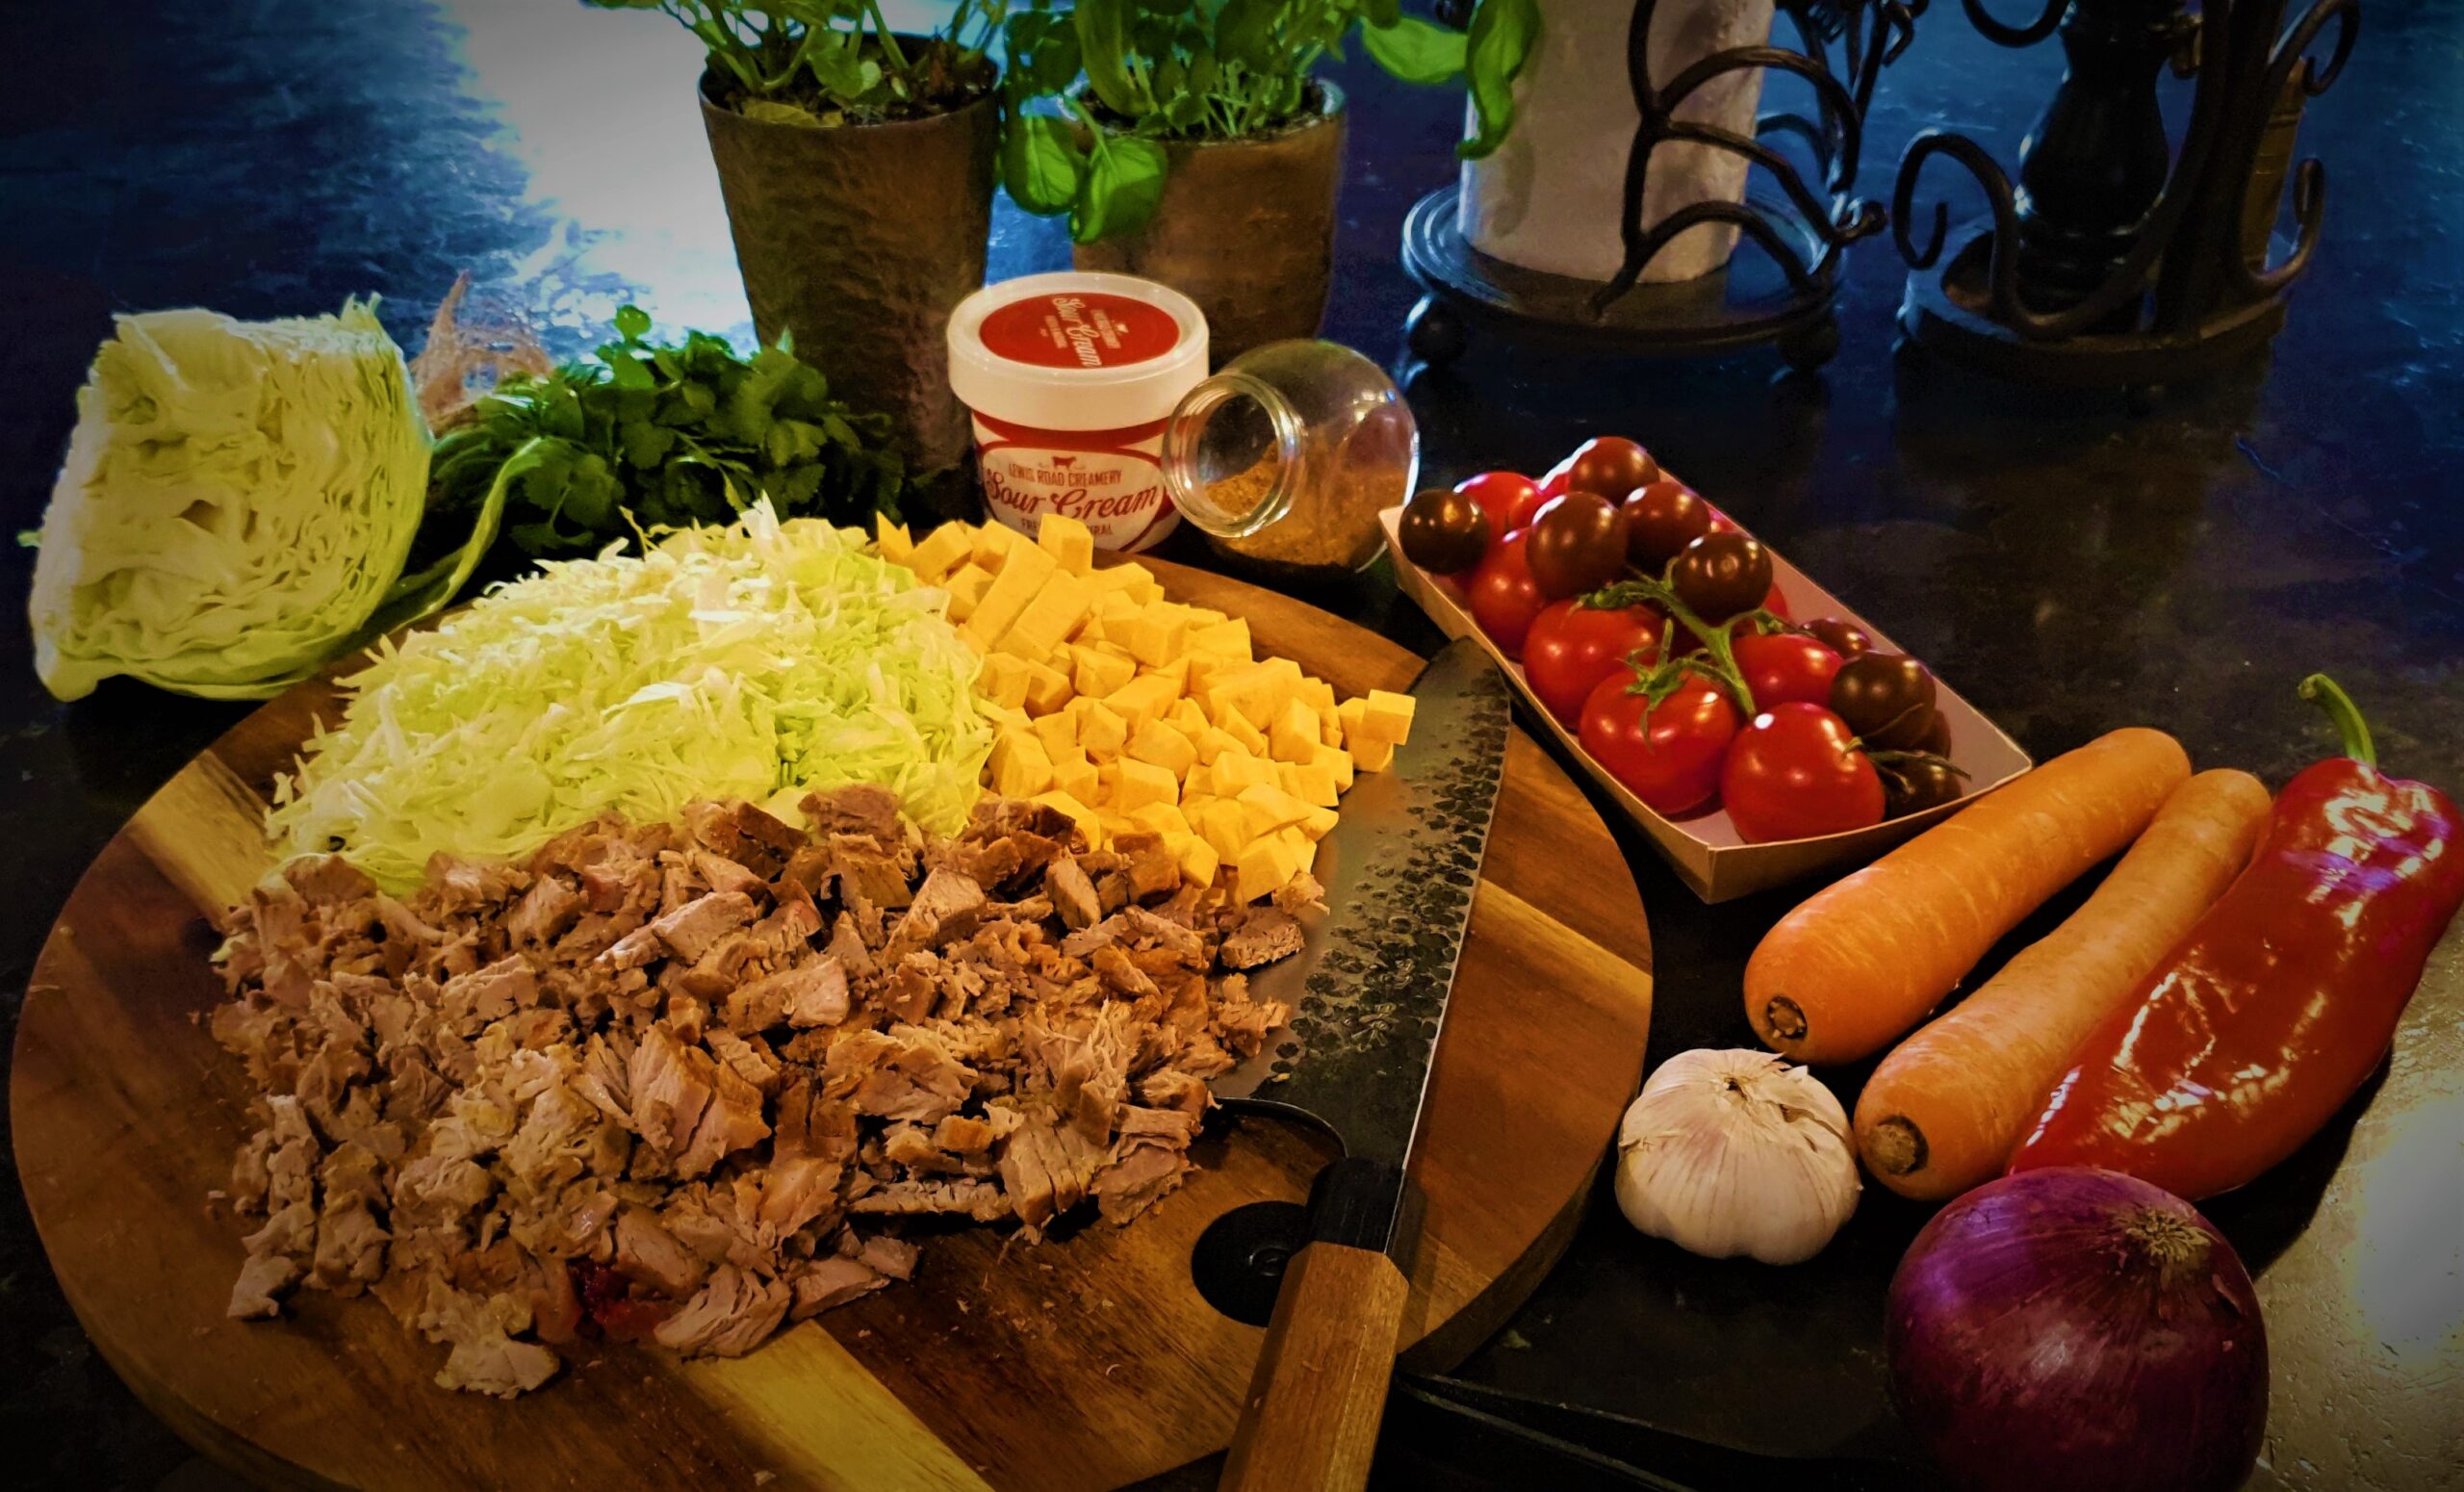
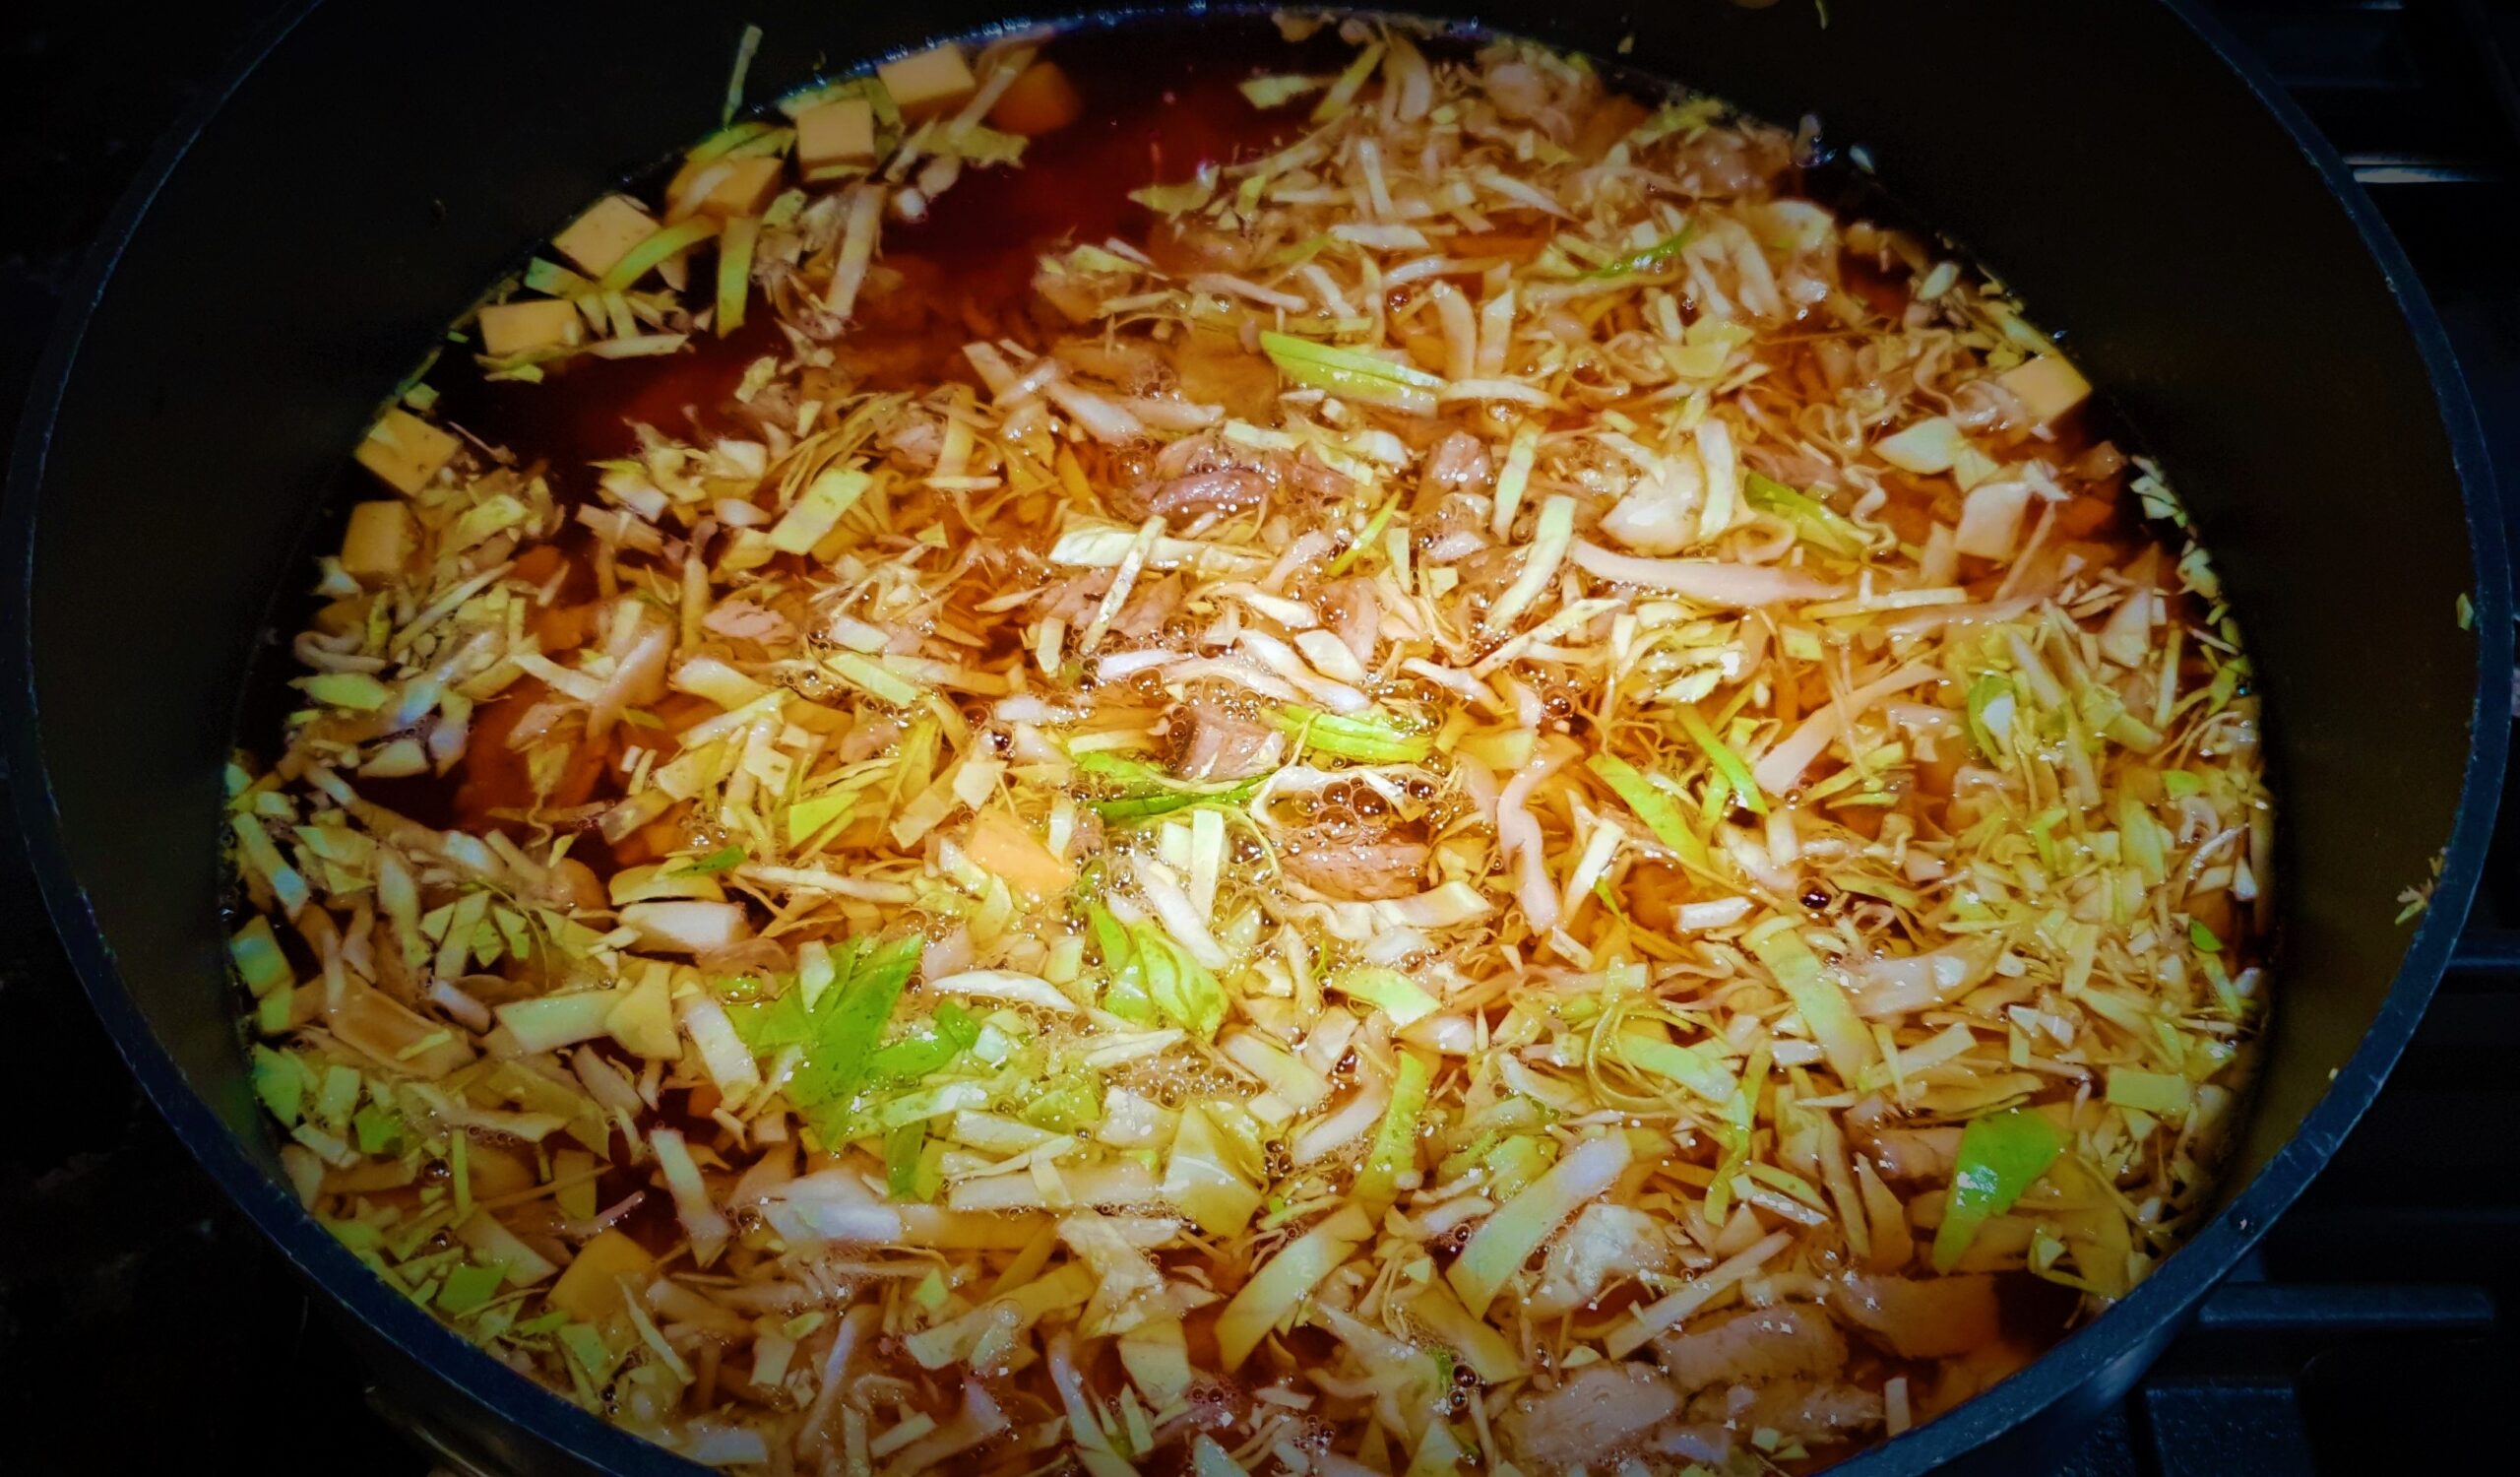
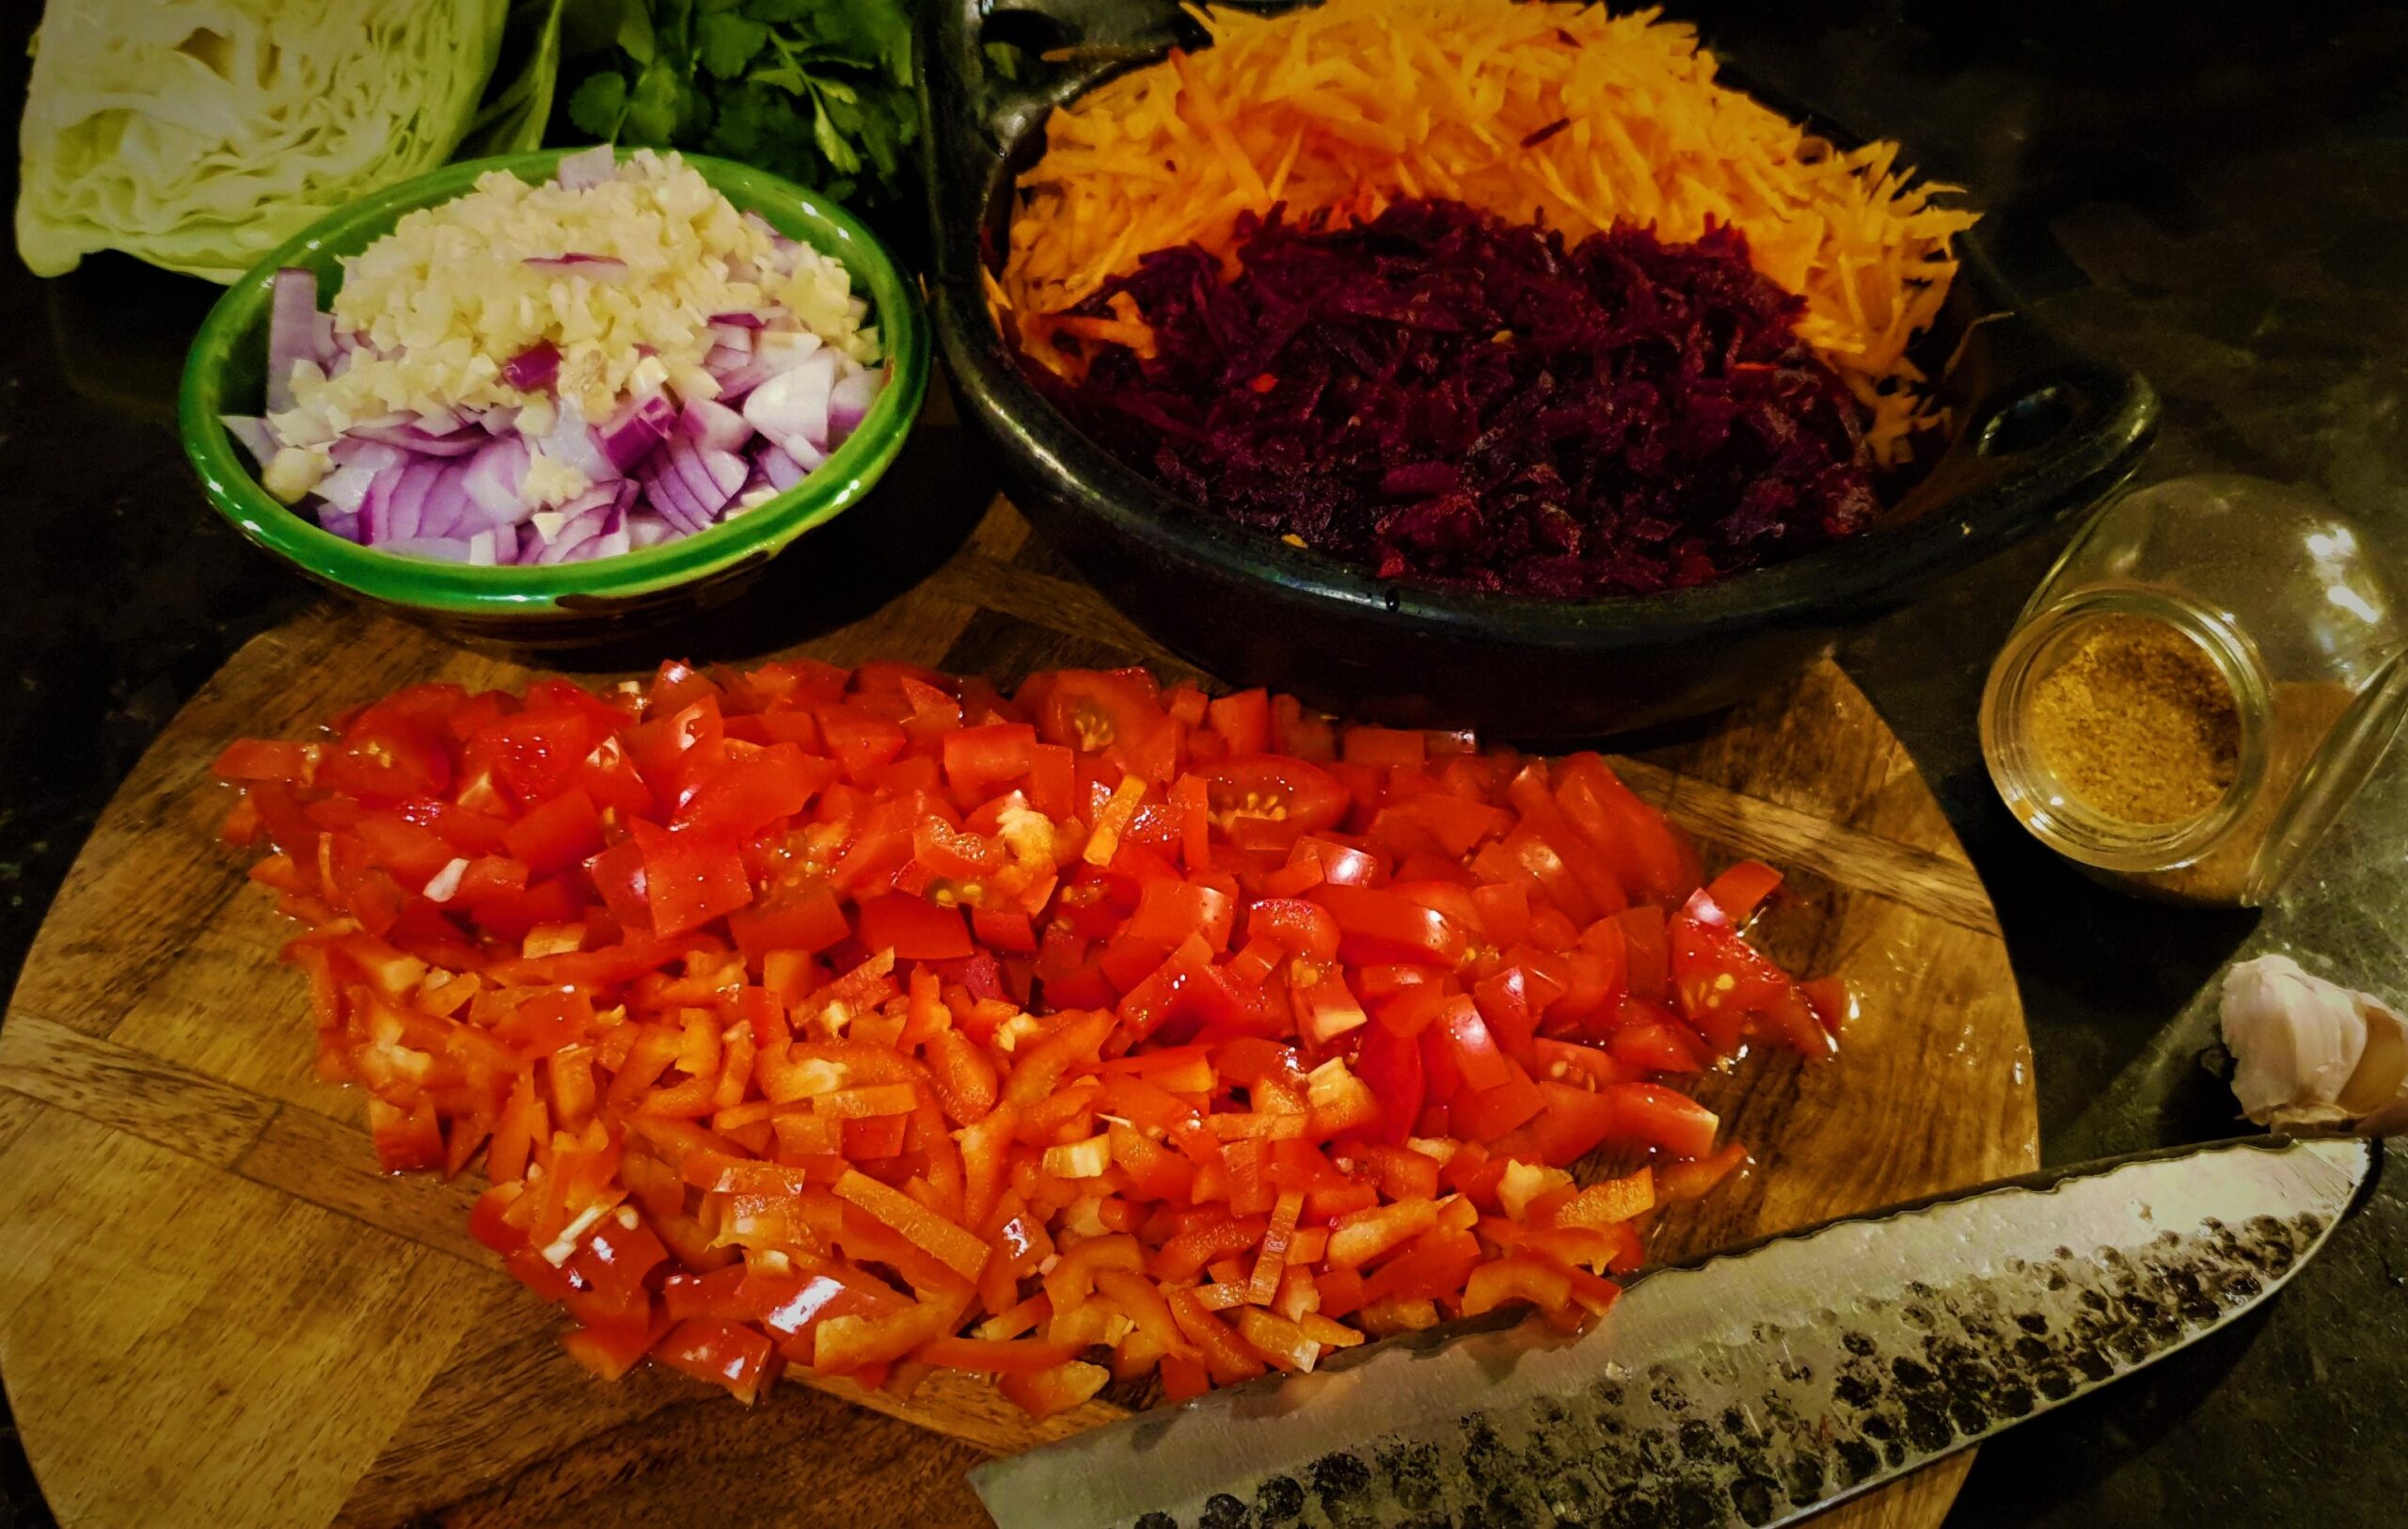
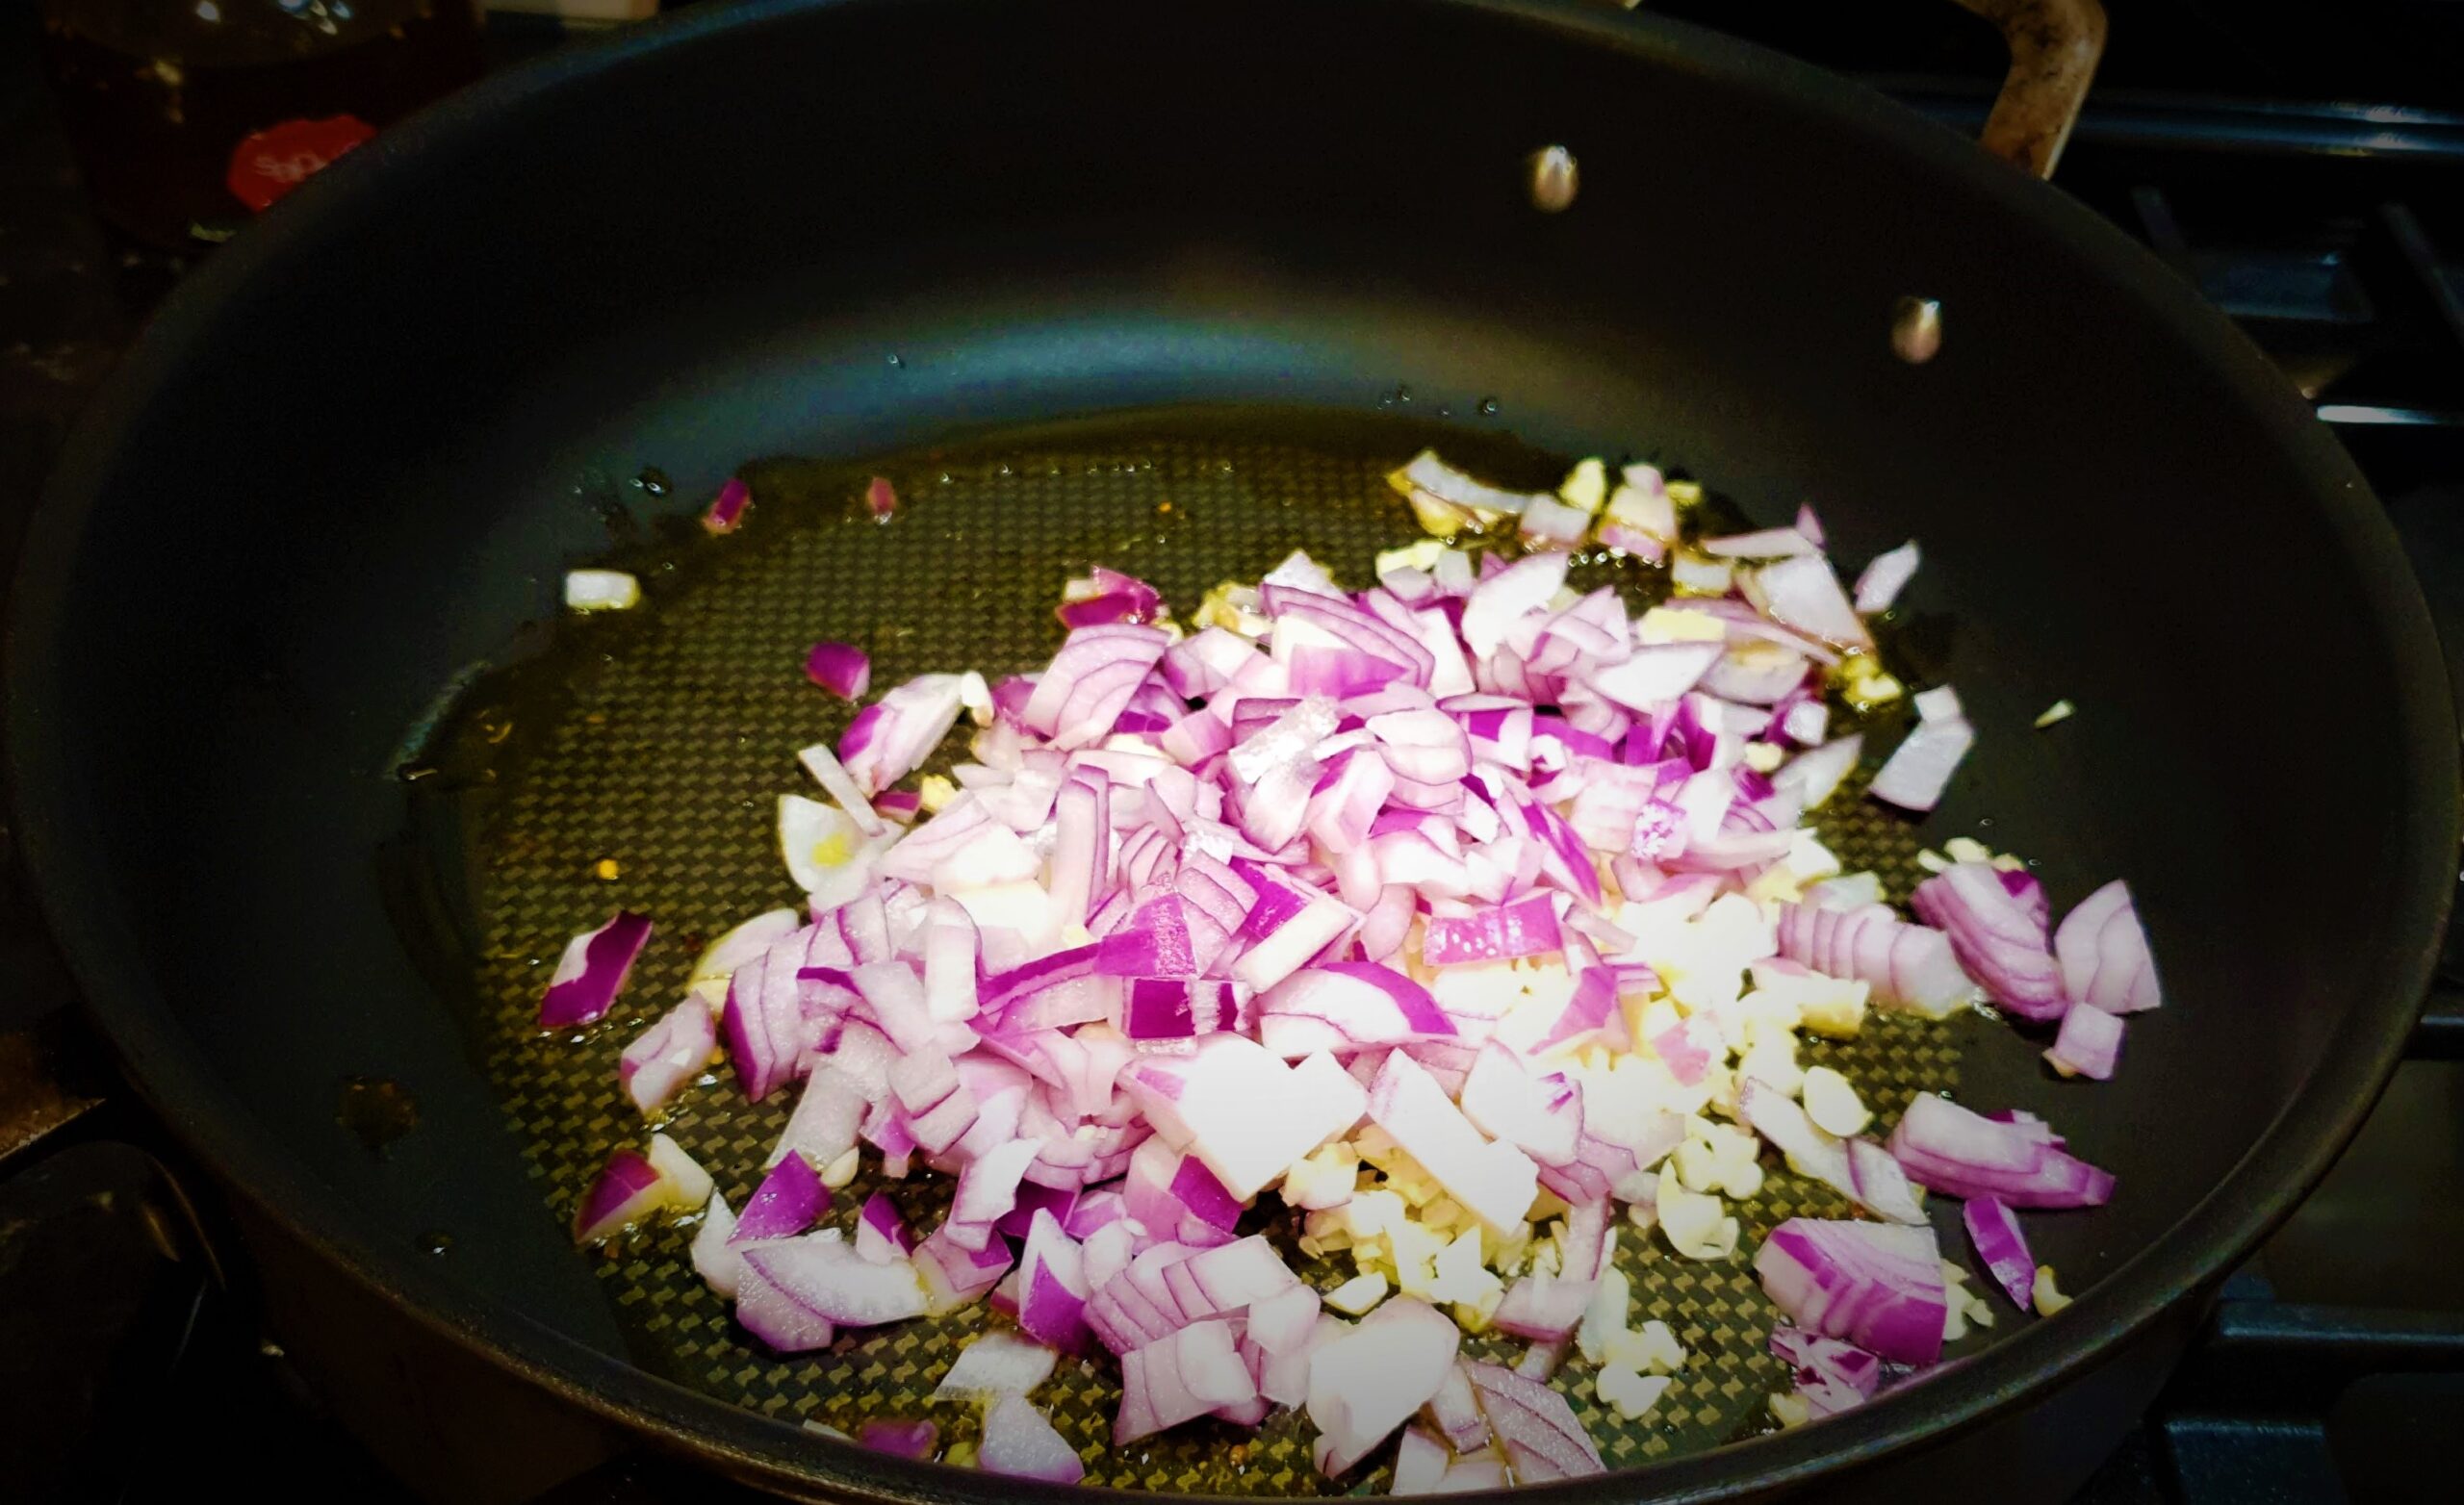
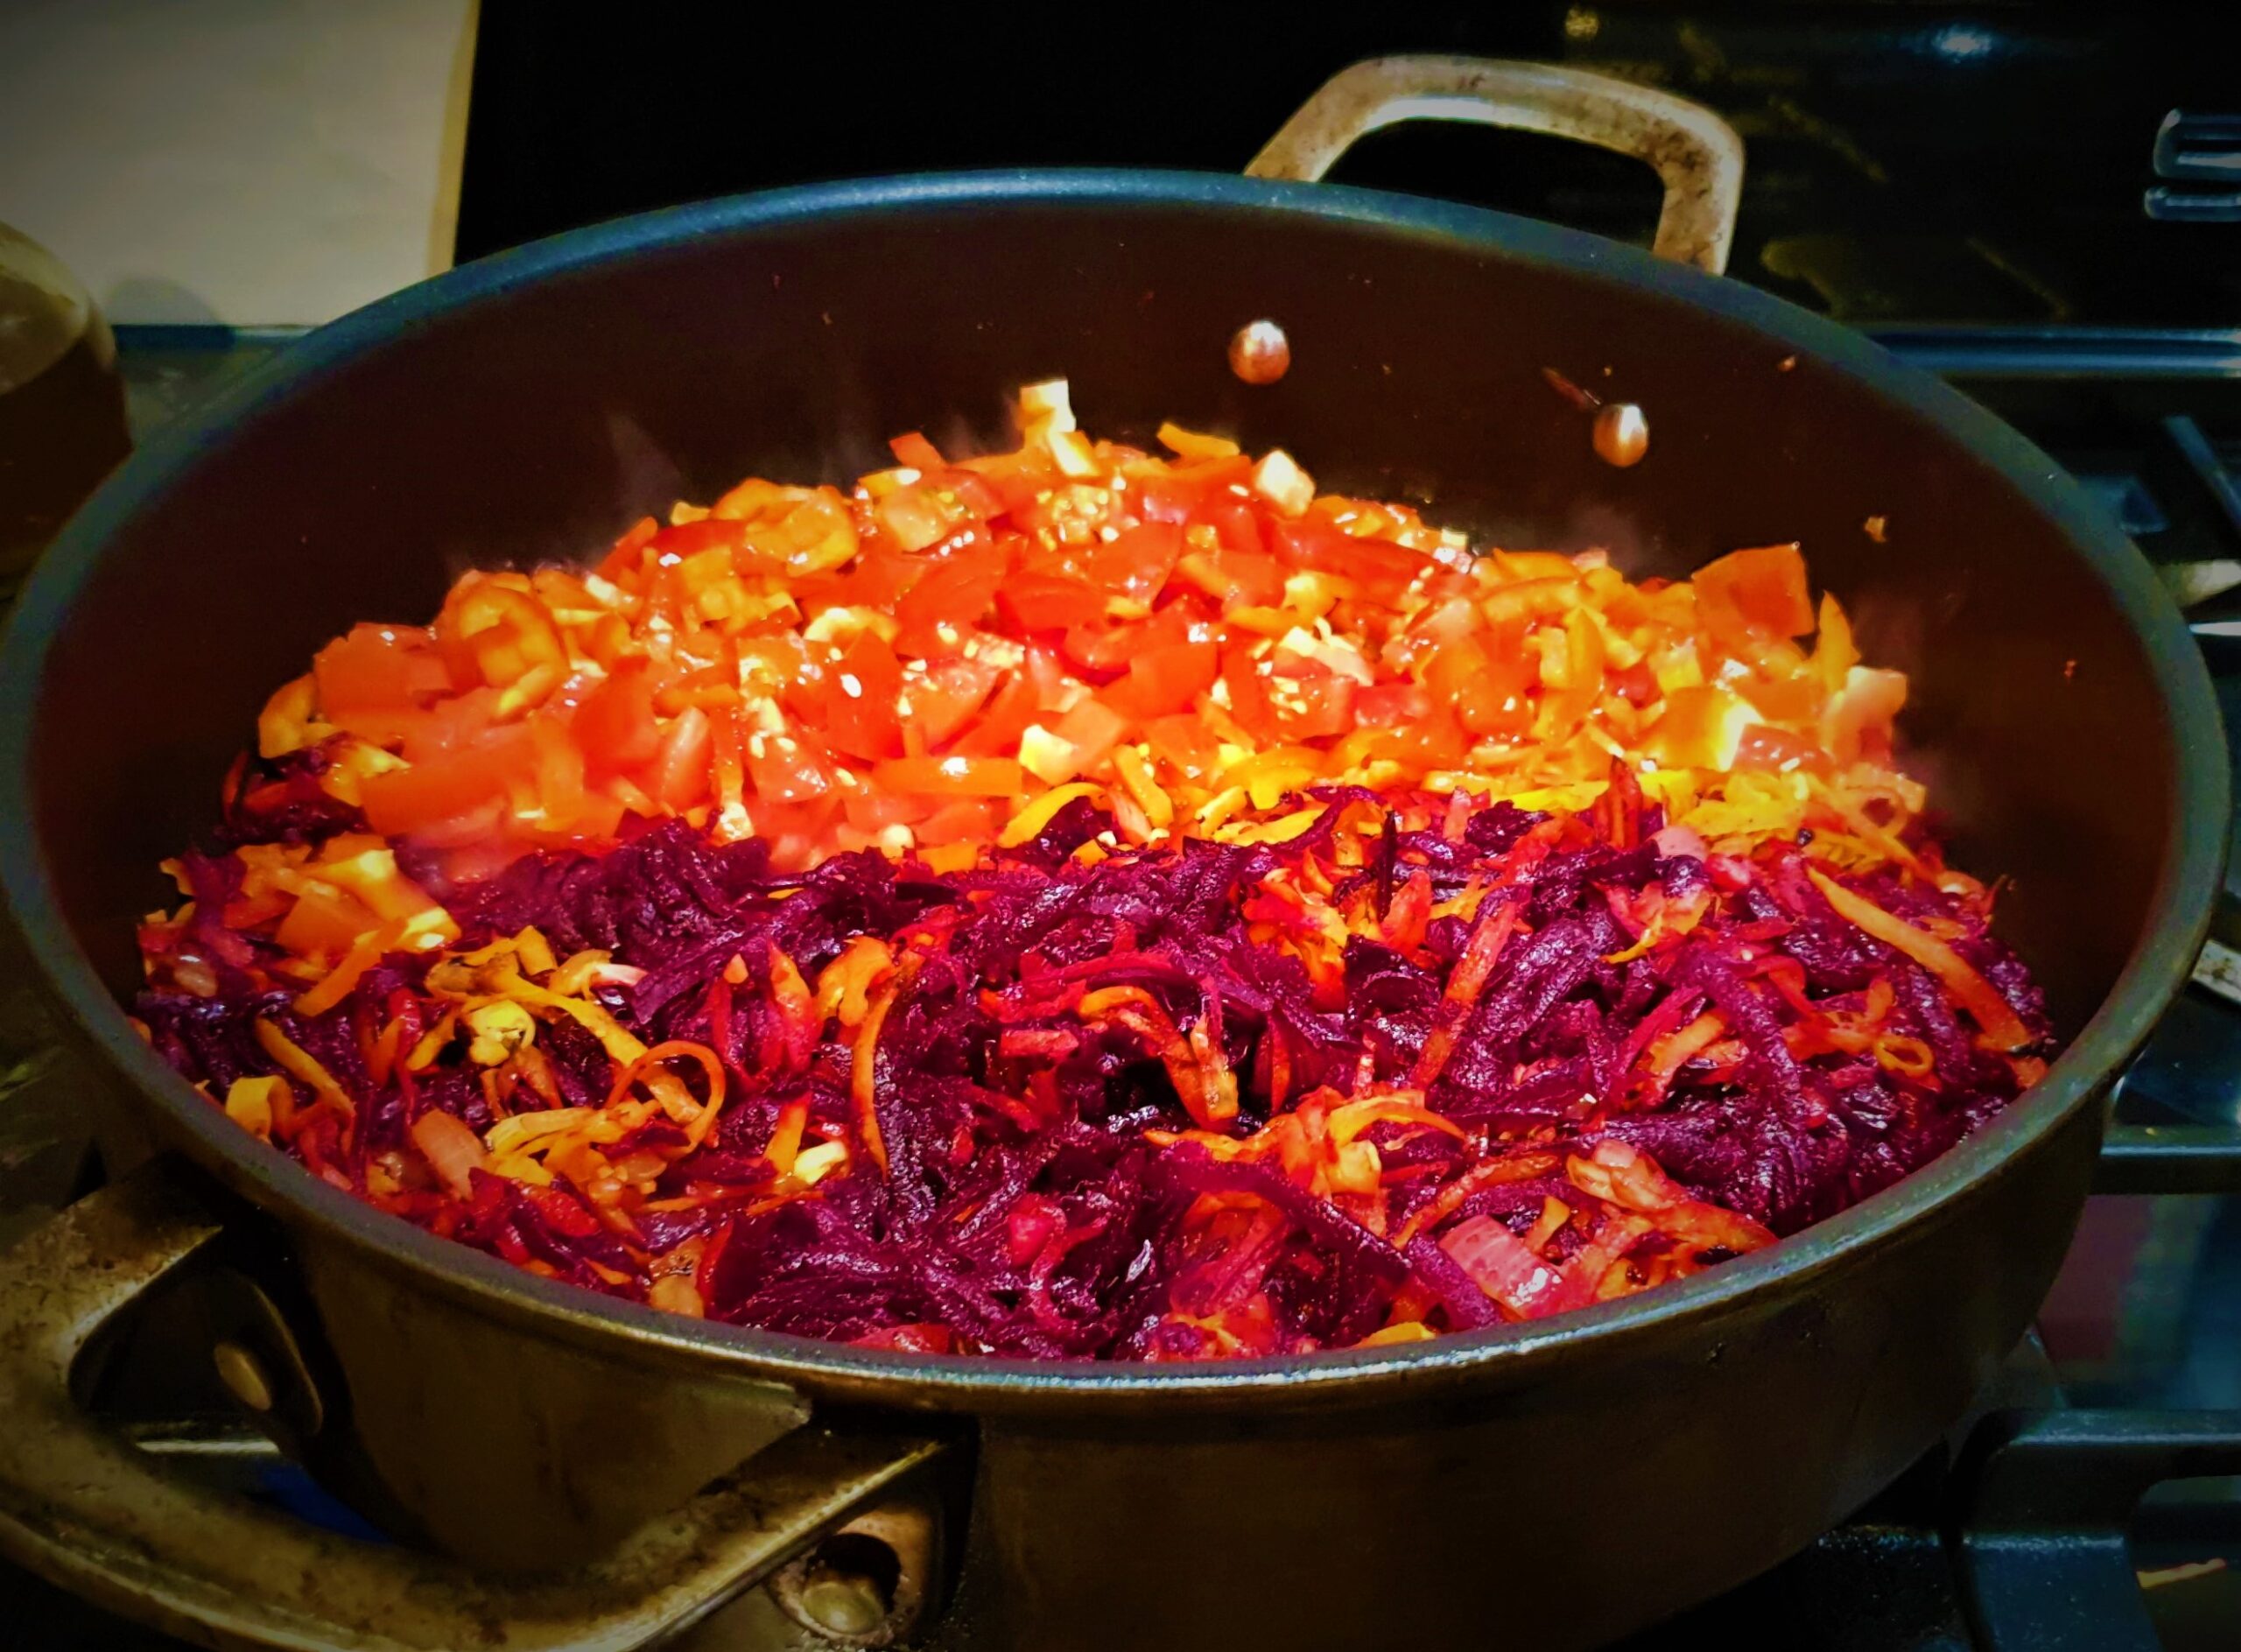
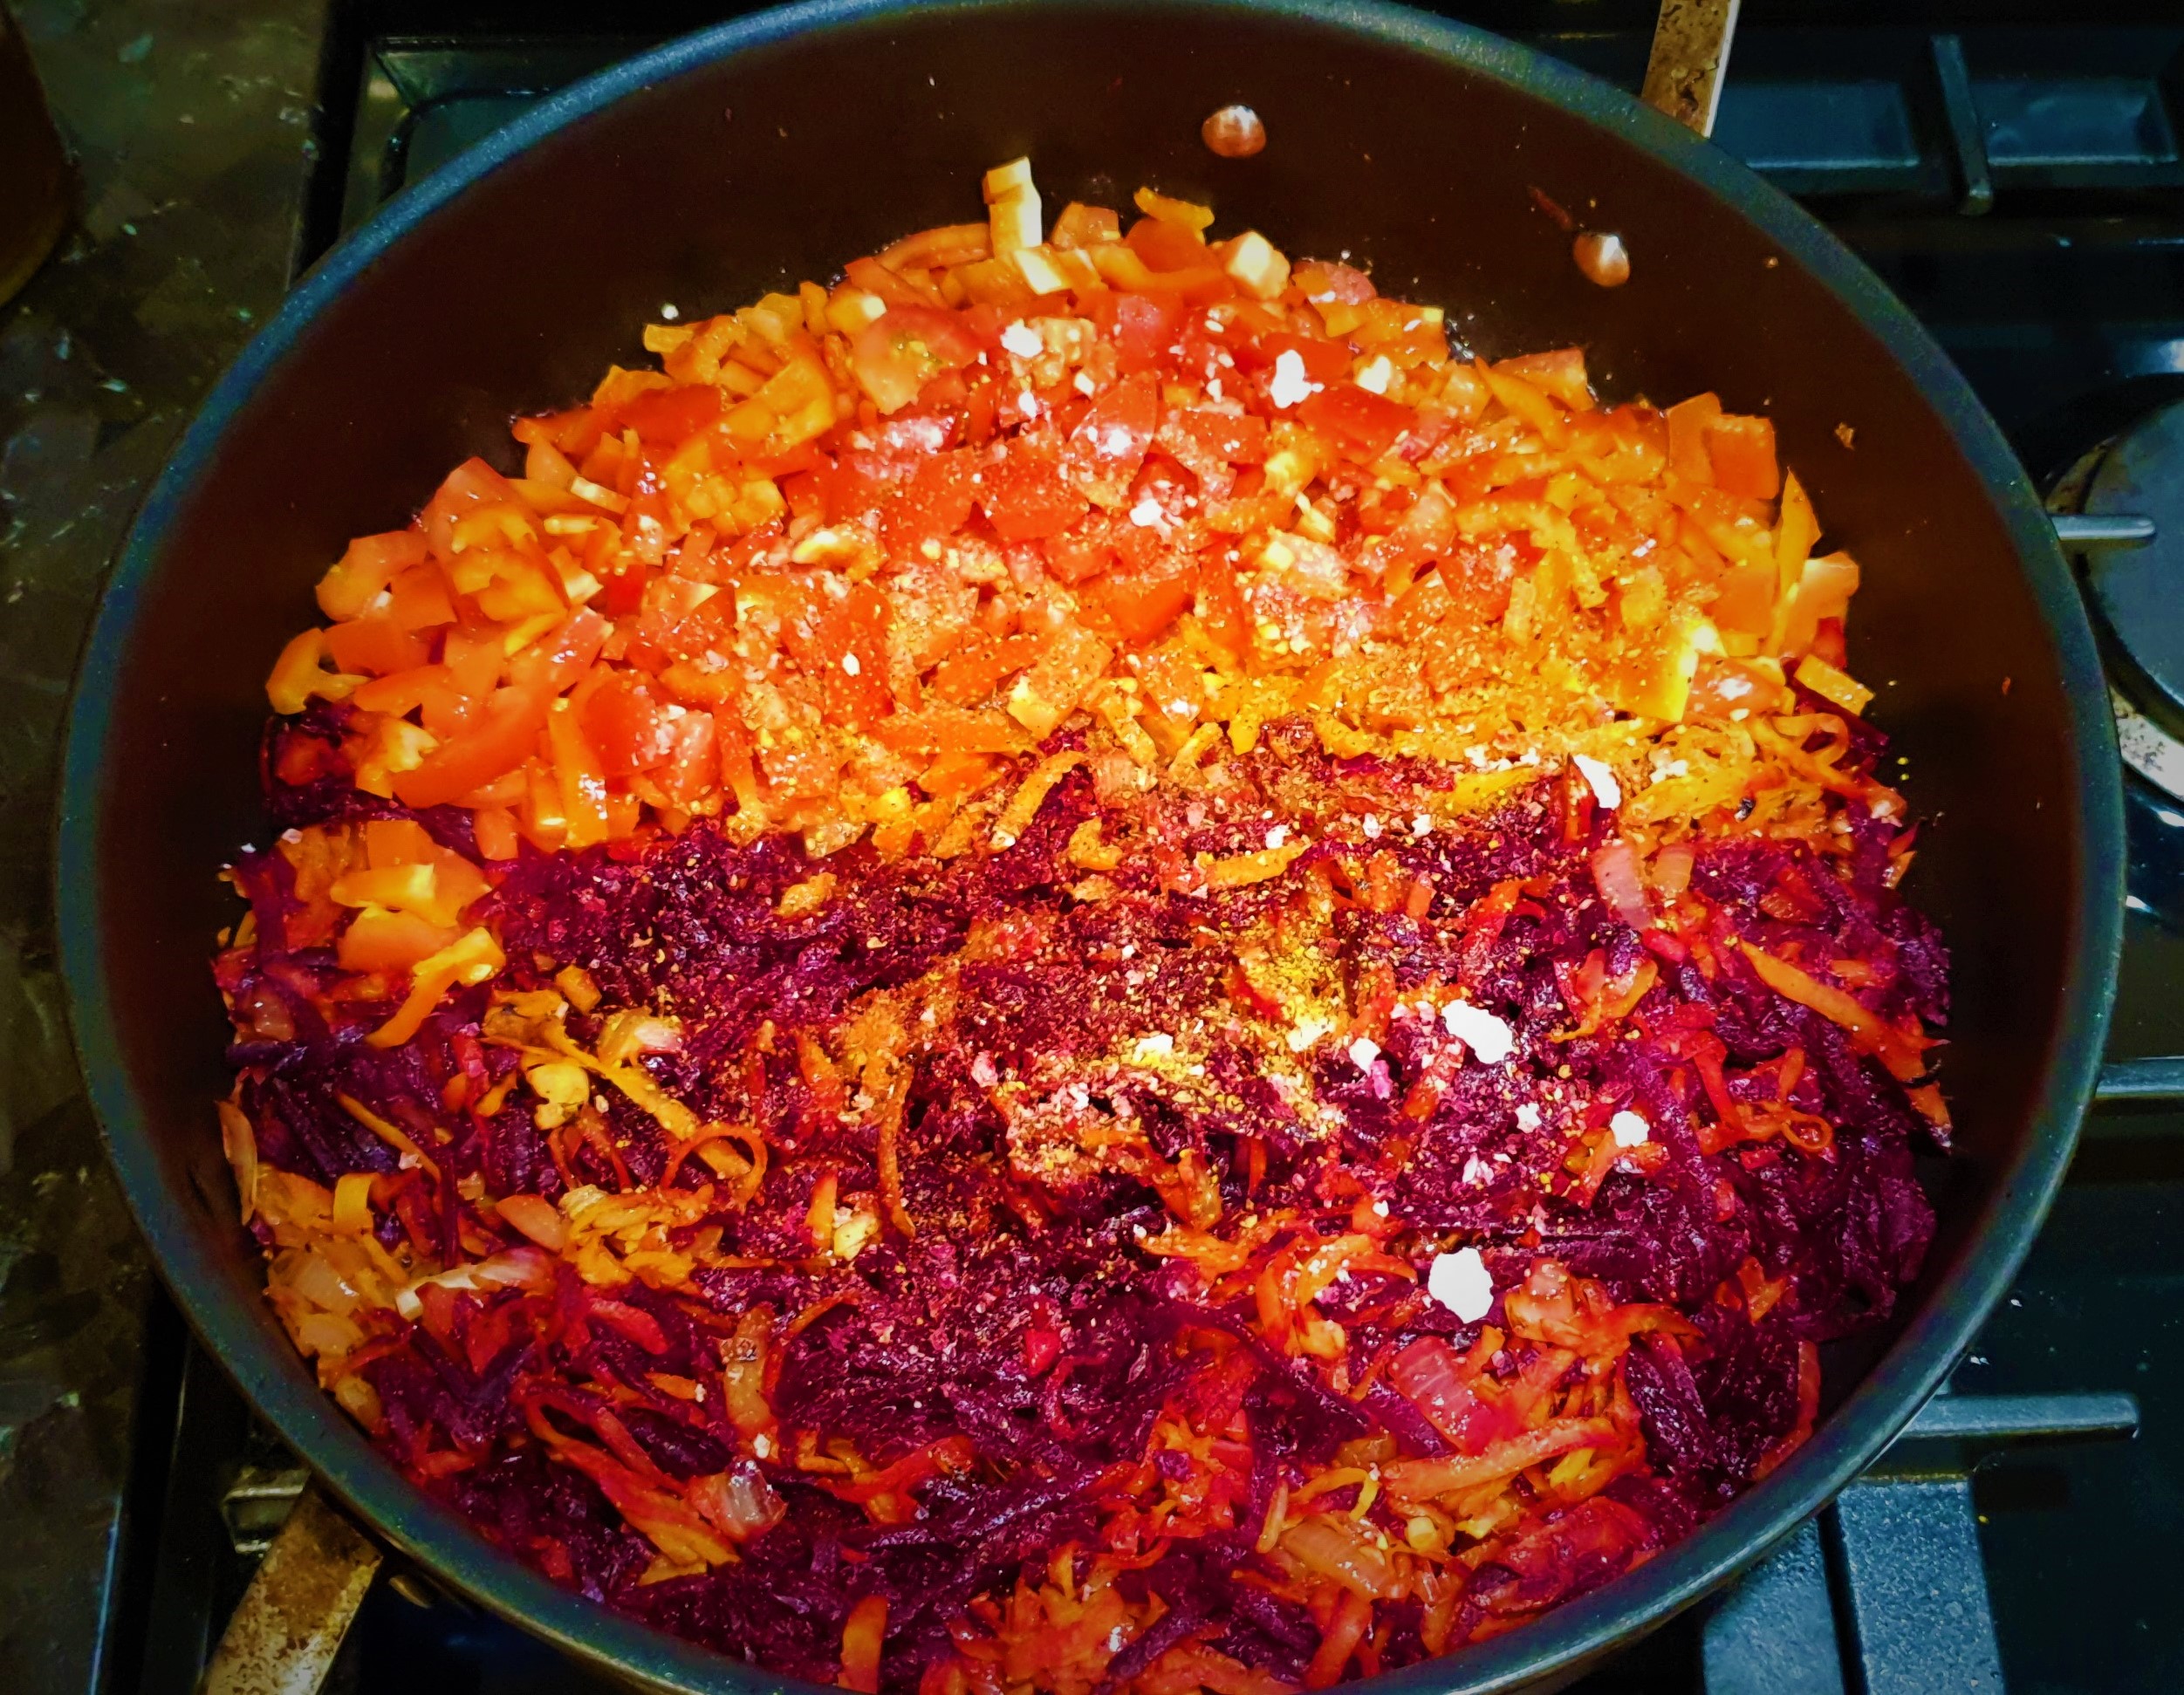
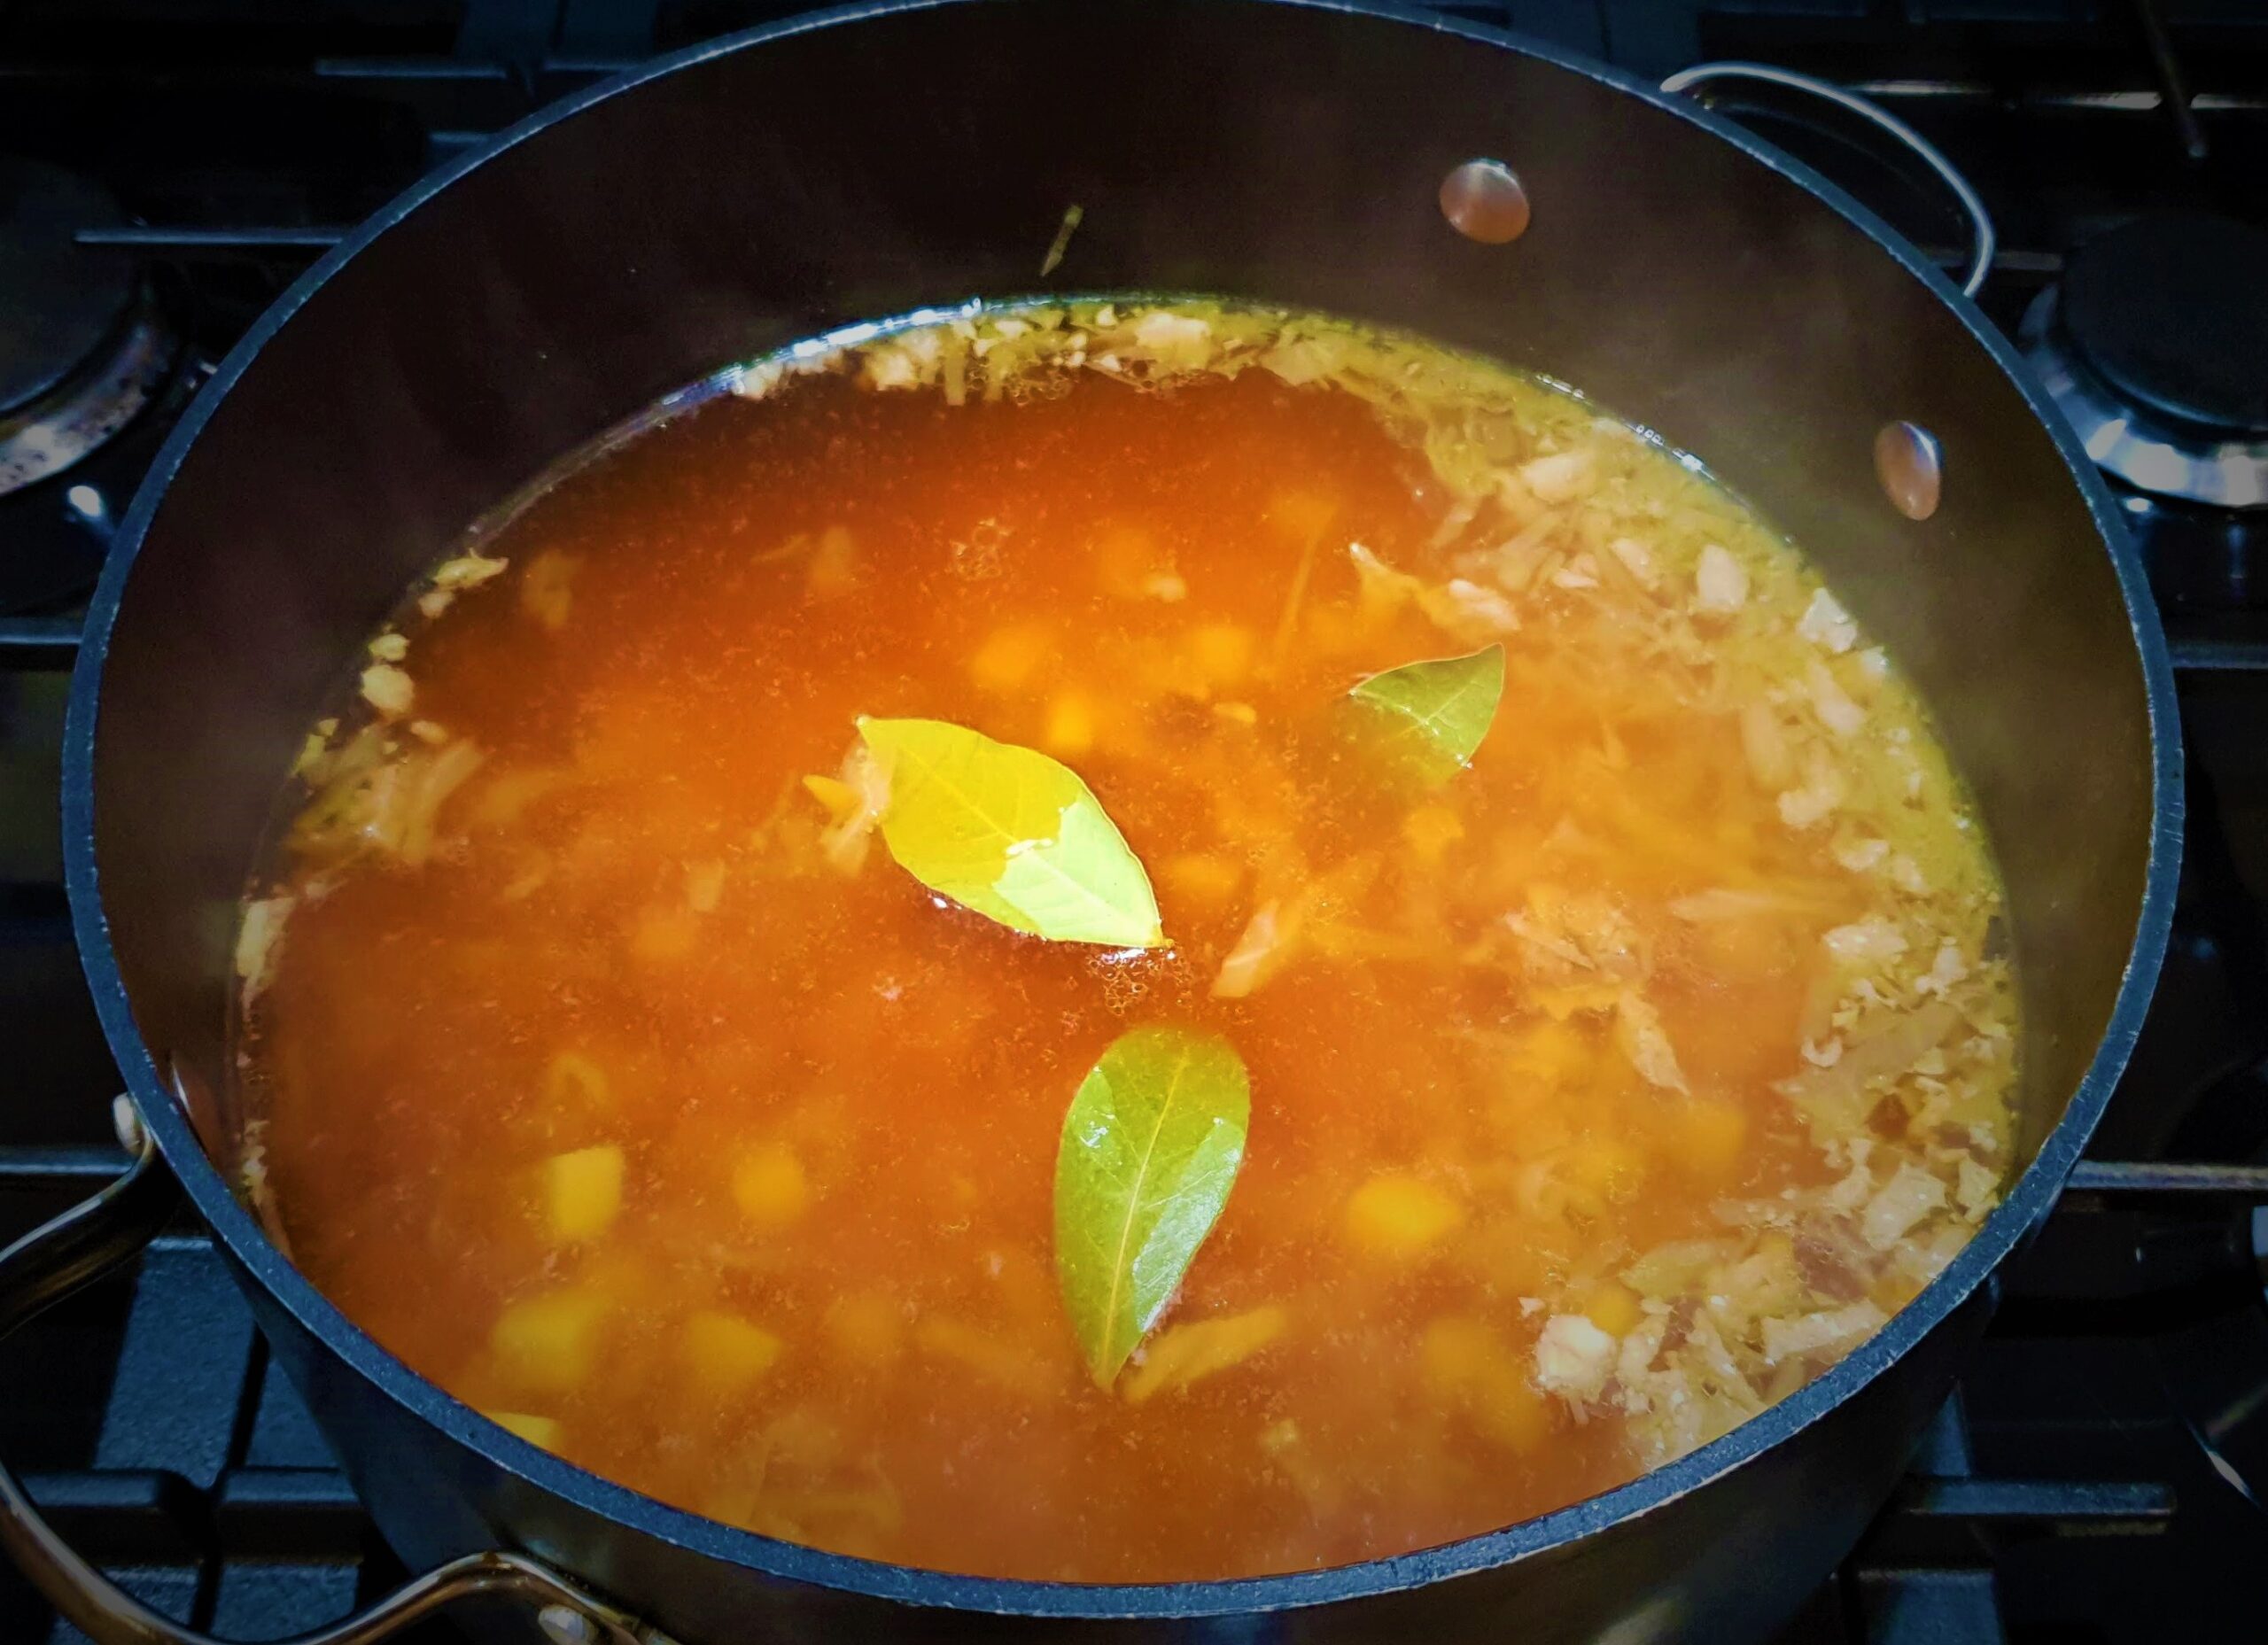
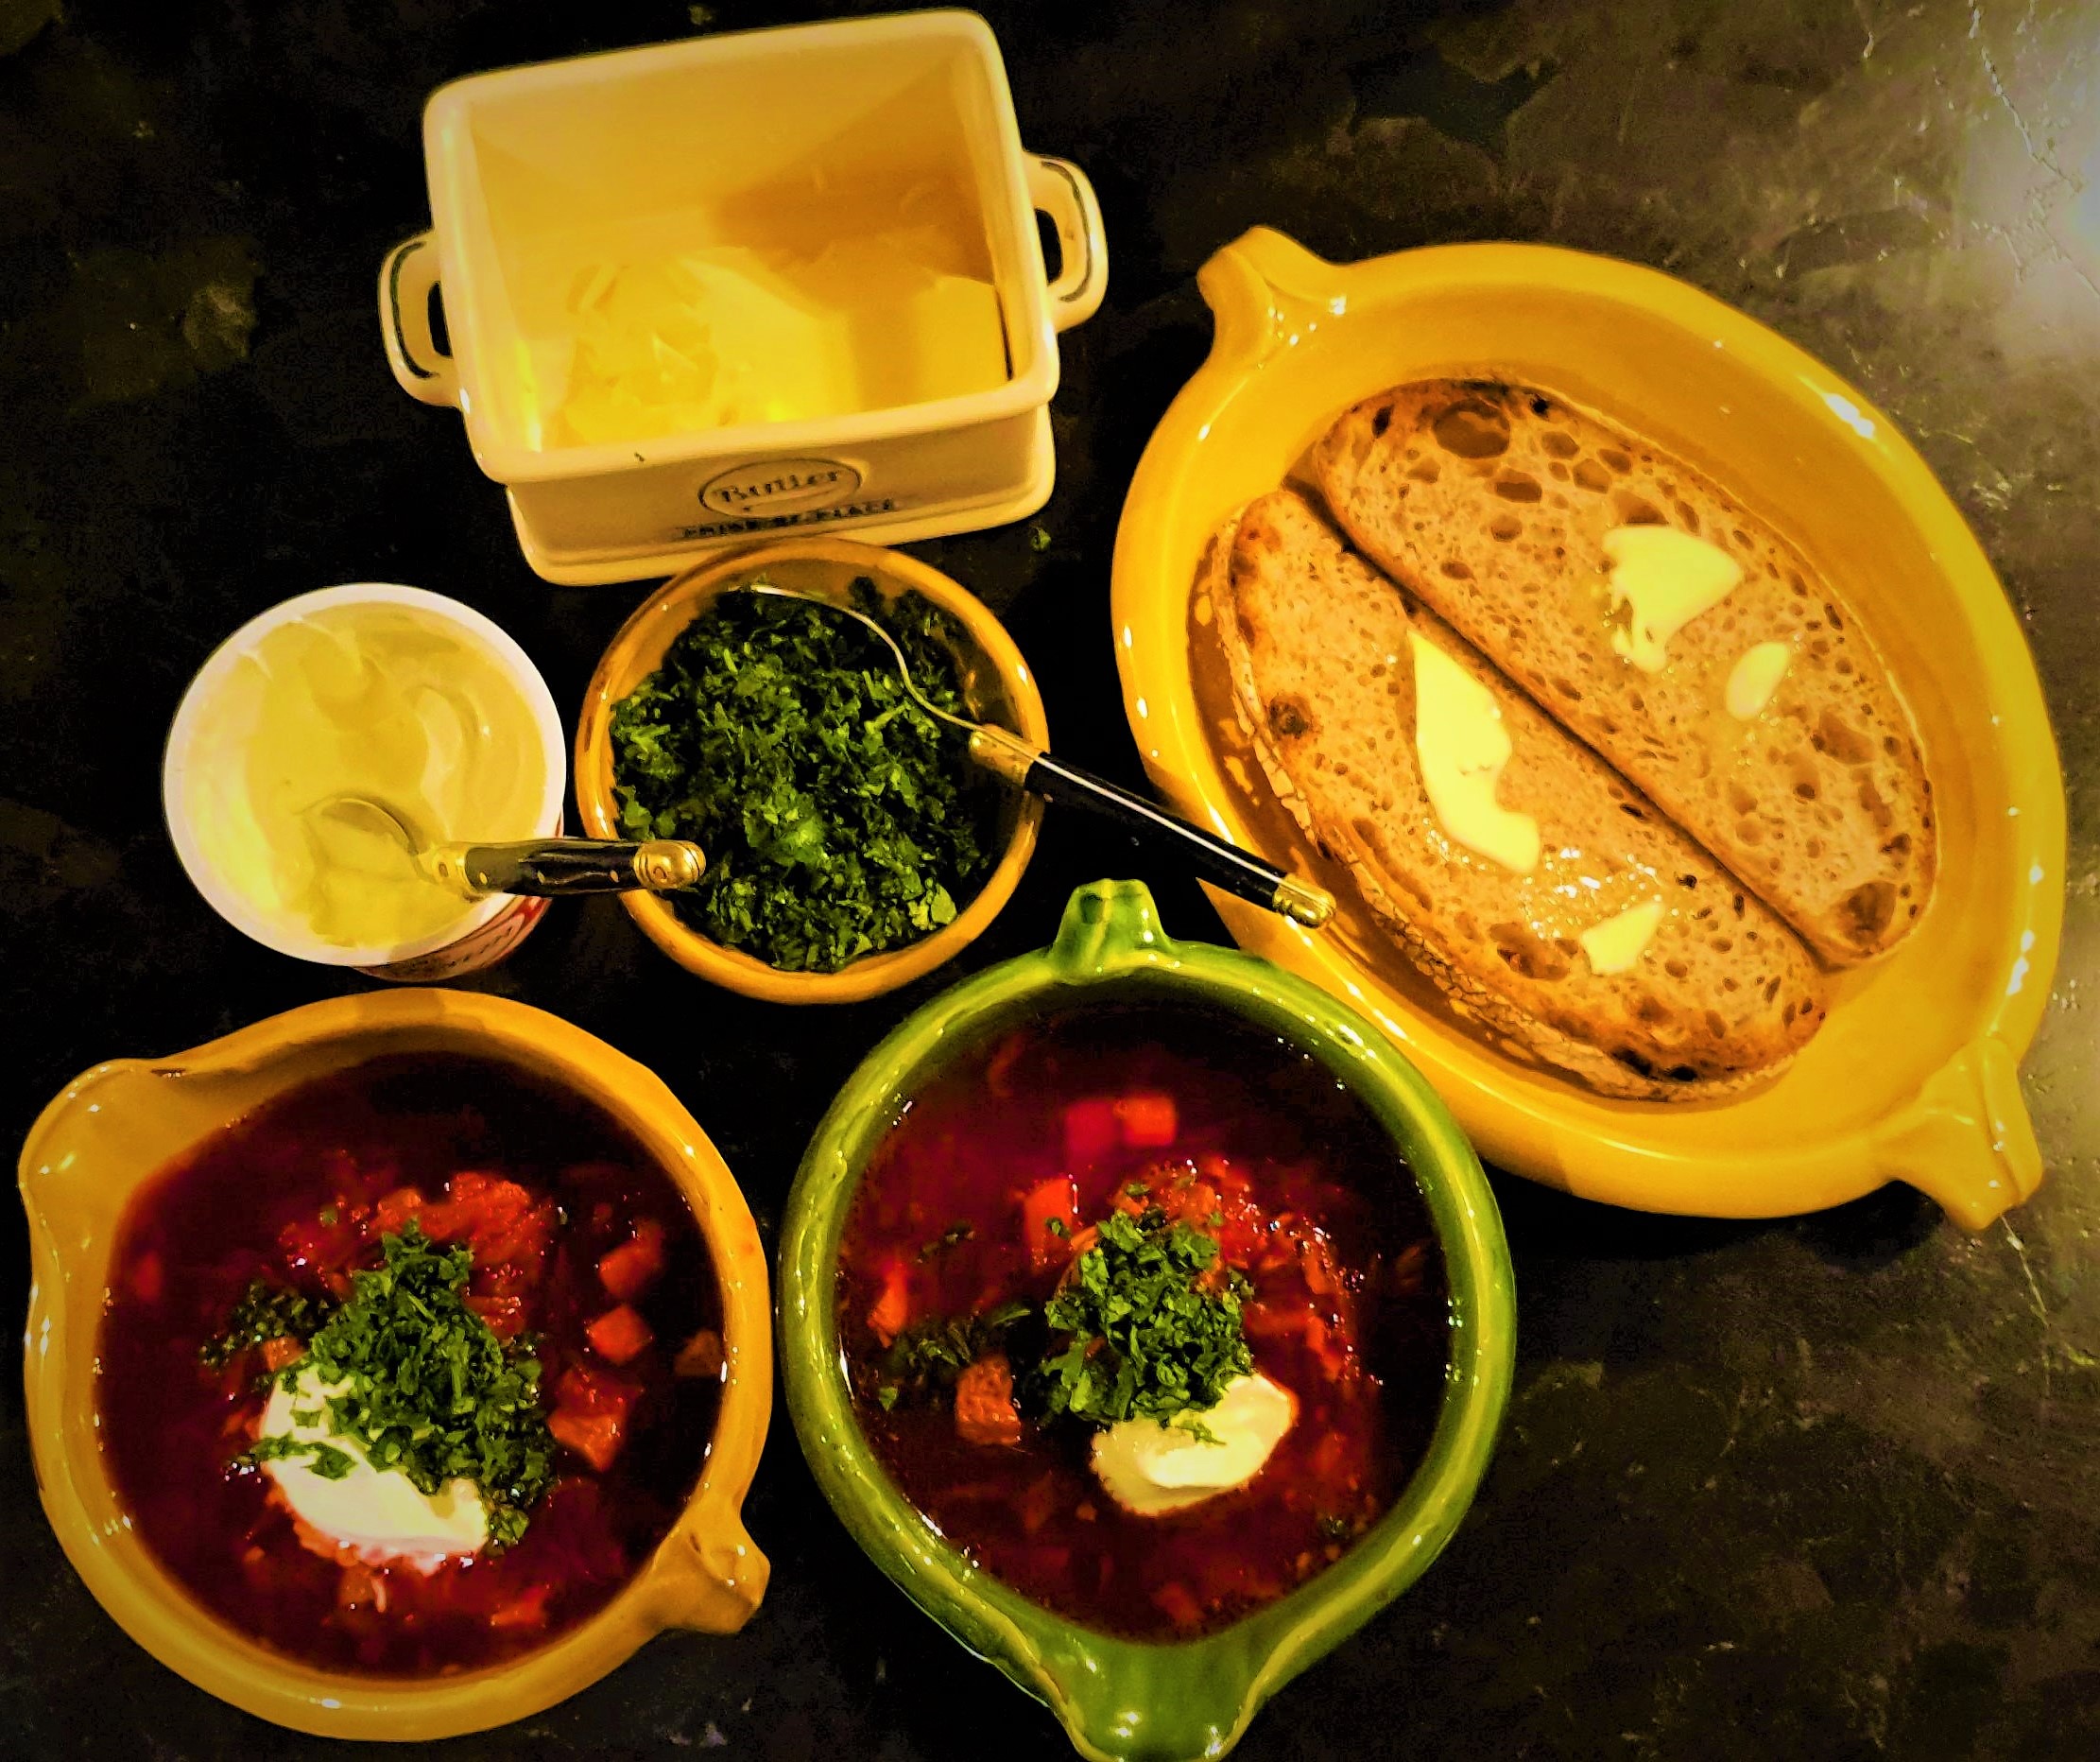
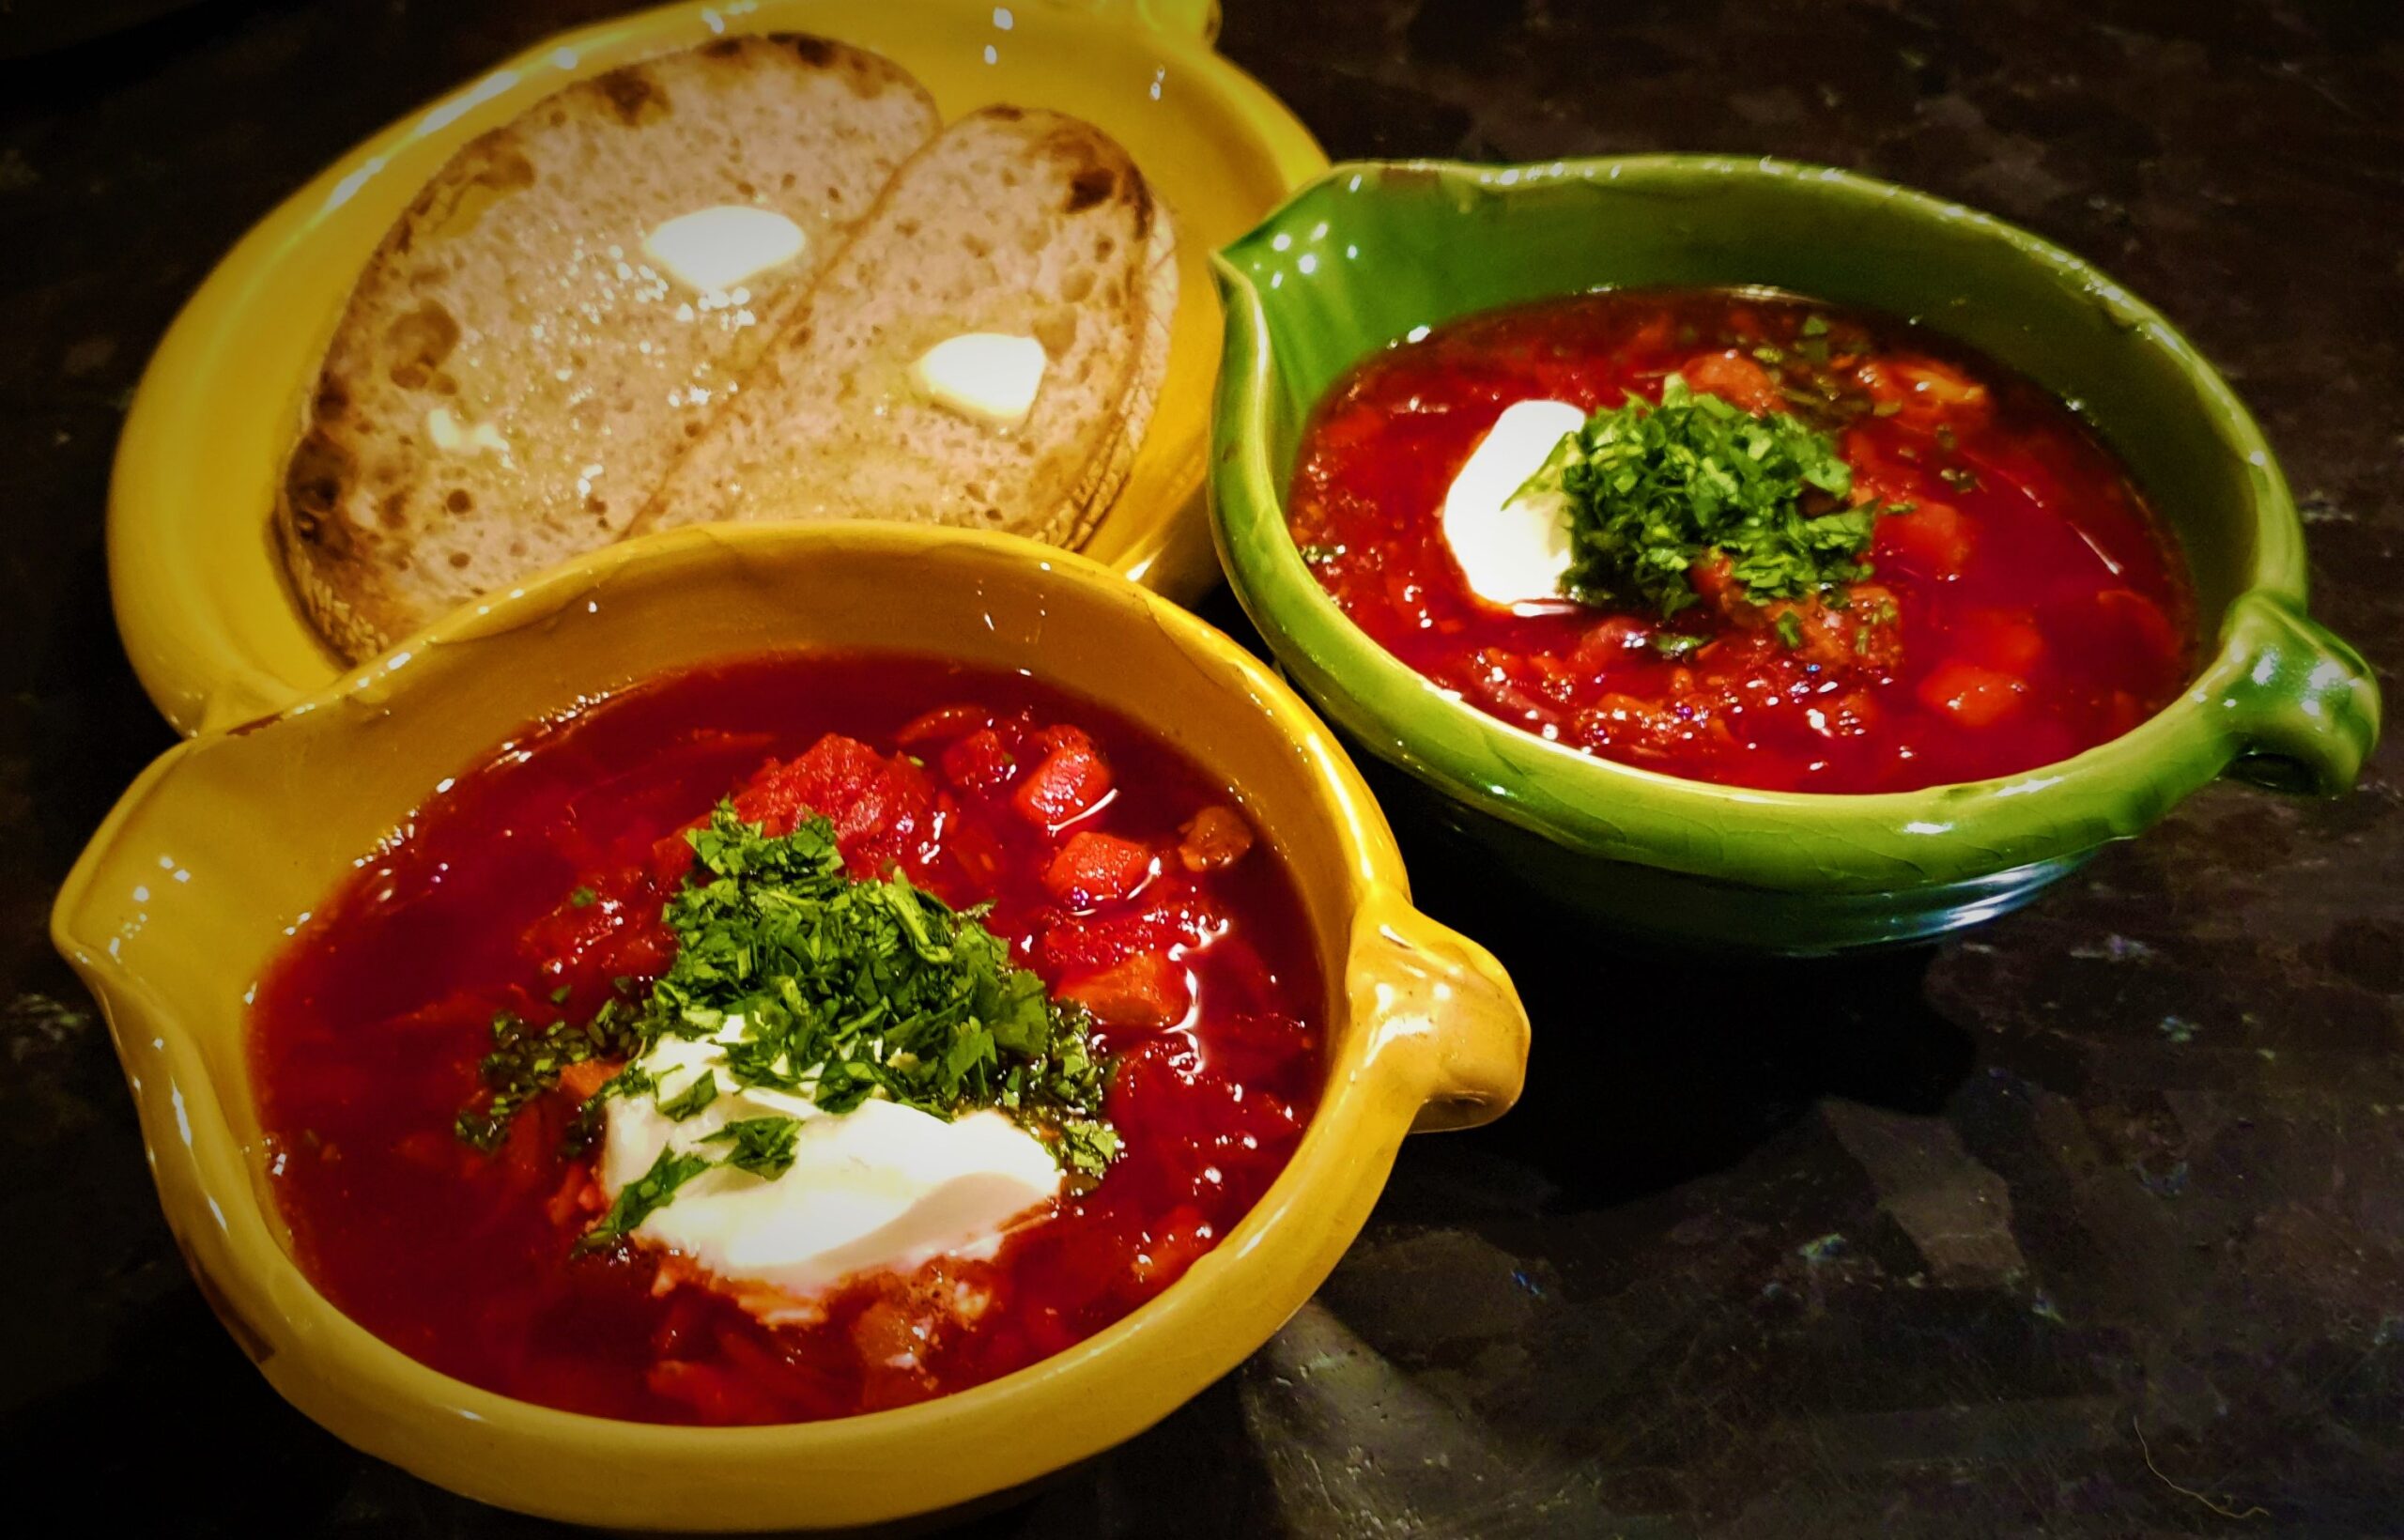