Hand Washing Ritual
Your Microbiome: Your First and Last Line of Defense
Your body is home to a remarkable ecosystem known as your microbiome—a living shield made of trillions of beneficial bacteria that protect you from viruses, pathogens, and environmental toxins. This flora doesn’t just live inside your gut—it thrives on your skin, in your airways, and even on the surface of your hands. It’s your internal and external armor, evolved over millennia to stand up to all kinds of viral invaders, even the nastiest ones.
But here’s the thing: in our obsession with cleanliness, we’ve gone too far. Constant hand-washing, scrubbing, and chemical sanitizing may feel protective, but they often do more harm than good. While it’s important to stay hygienic, overdoing it—especially with harsh hand sanitizers—wipes out the good bacteria alongside the bad, leaving your immune system exposed and untrained.
Our bodies aren’t meant to live in sterile environments. They’re built to adapt, respond, and defend. A healthy balance of hygiene means cleansing without stripping your skin’s protective microbiome. Washing your body morning and night is more than enough. But scrubbing your hands obsessively or slathering them in alcohol-based sanitizers can backfire, weakening your immunity and making you more vulnerable—not less.
When the world went into panic mode during the peak of COVID, I remember thinking: how can we turn this fear into something lighter, more hopeful? That’s when a little idea sparked—what if we made hand-washing fun instead of fear-driven? That’s how the “Hand-Washing Ritual” poem was born. Inspired by the saying “a little bit of something is better than a whole lot of nothing”, it was my way of flipping the narrative from problem to playful solution.
The Hand-Washing Ritual
A light-hearted poem for a balanced clean
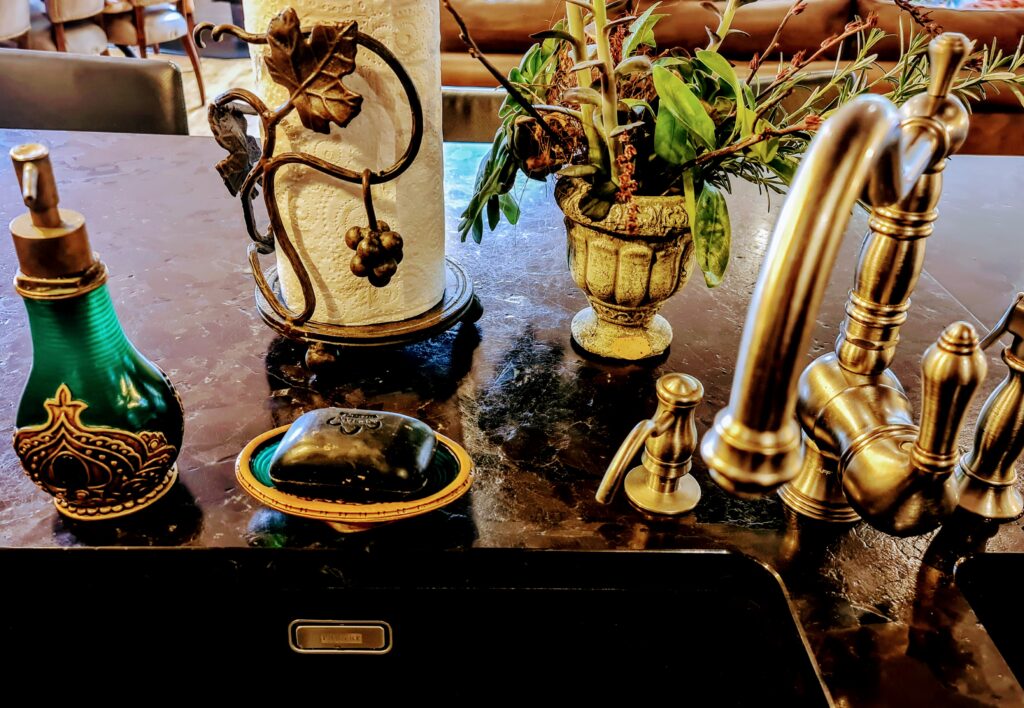
Soap bar in your hands, water flowing just right,
Roll it ‘til it foams, a soft candy-white.
Lather with rhythm, make it a song,
Say your name twice—it won’t take long.
Rinse till it squeaks, no residue trace,
Dry with a towel, no need to race.
Do it with care, not all day long—
Too much scrubbing? That’s where we go wrong.
Protect your flora, don’t wipe it away,
It’s your natural shield, come what may.
Hand-wash wisely, not out of fear,
And let your body’s wisdom steer.